WEEK 2: _ make the FabISP in-circuit programmer
Milling on the Modela
This week we set off to create a "programmer". Luckily, a little less intensive than conceiving a human who is highly adept at writing computer software, we are referring to a microcontroller programmer. This is a hardware device or board which is furnished with software that allows it to transfer machine language code from a PC to future microcontroller boards which we may want to make.
As Neil declared, we are programming [a board into] a programmer with a[n existing] programmer, in order for it to program future programmers [if you so wish].
I've selected the original fabISP.44 USB design. Good for it's reliable 200HZ crystal. The necessary cad files:


I have chosen the original fabISP.44 USB programmer design (cad traces above).
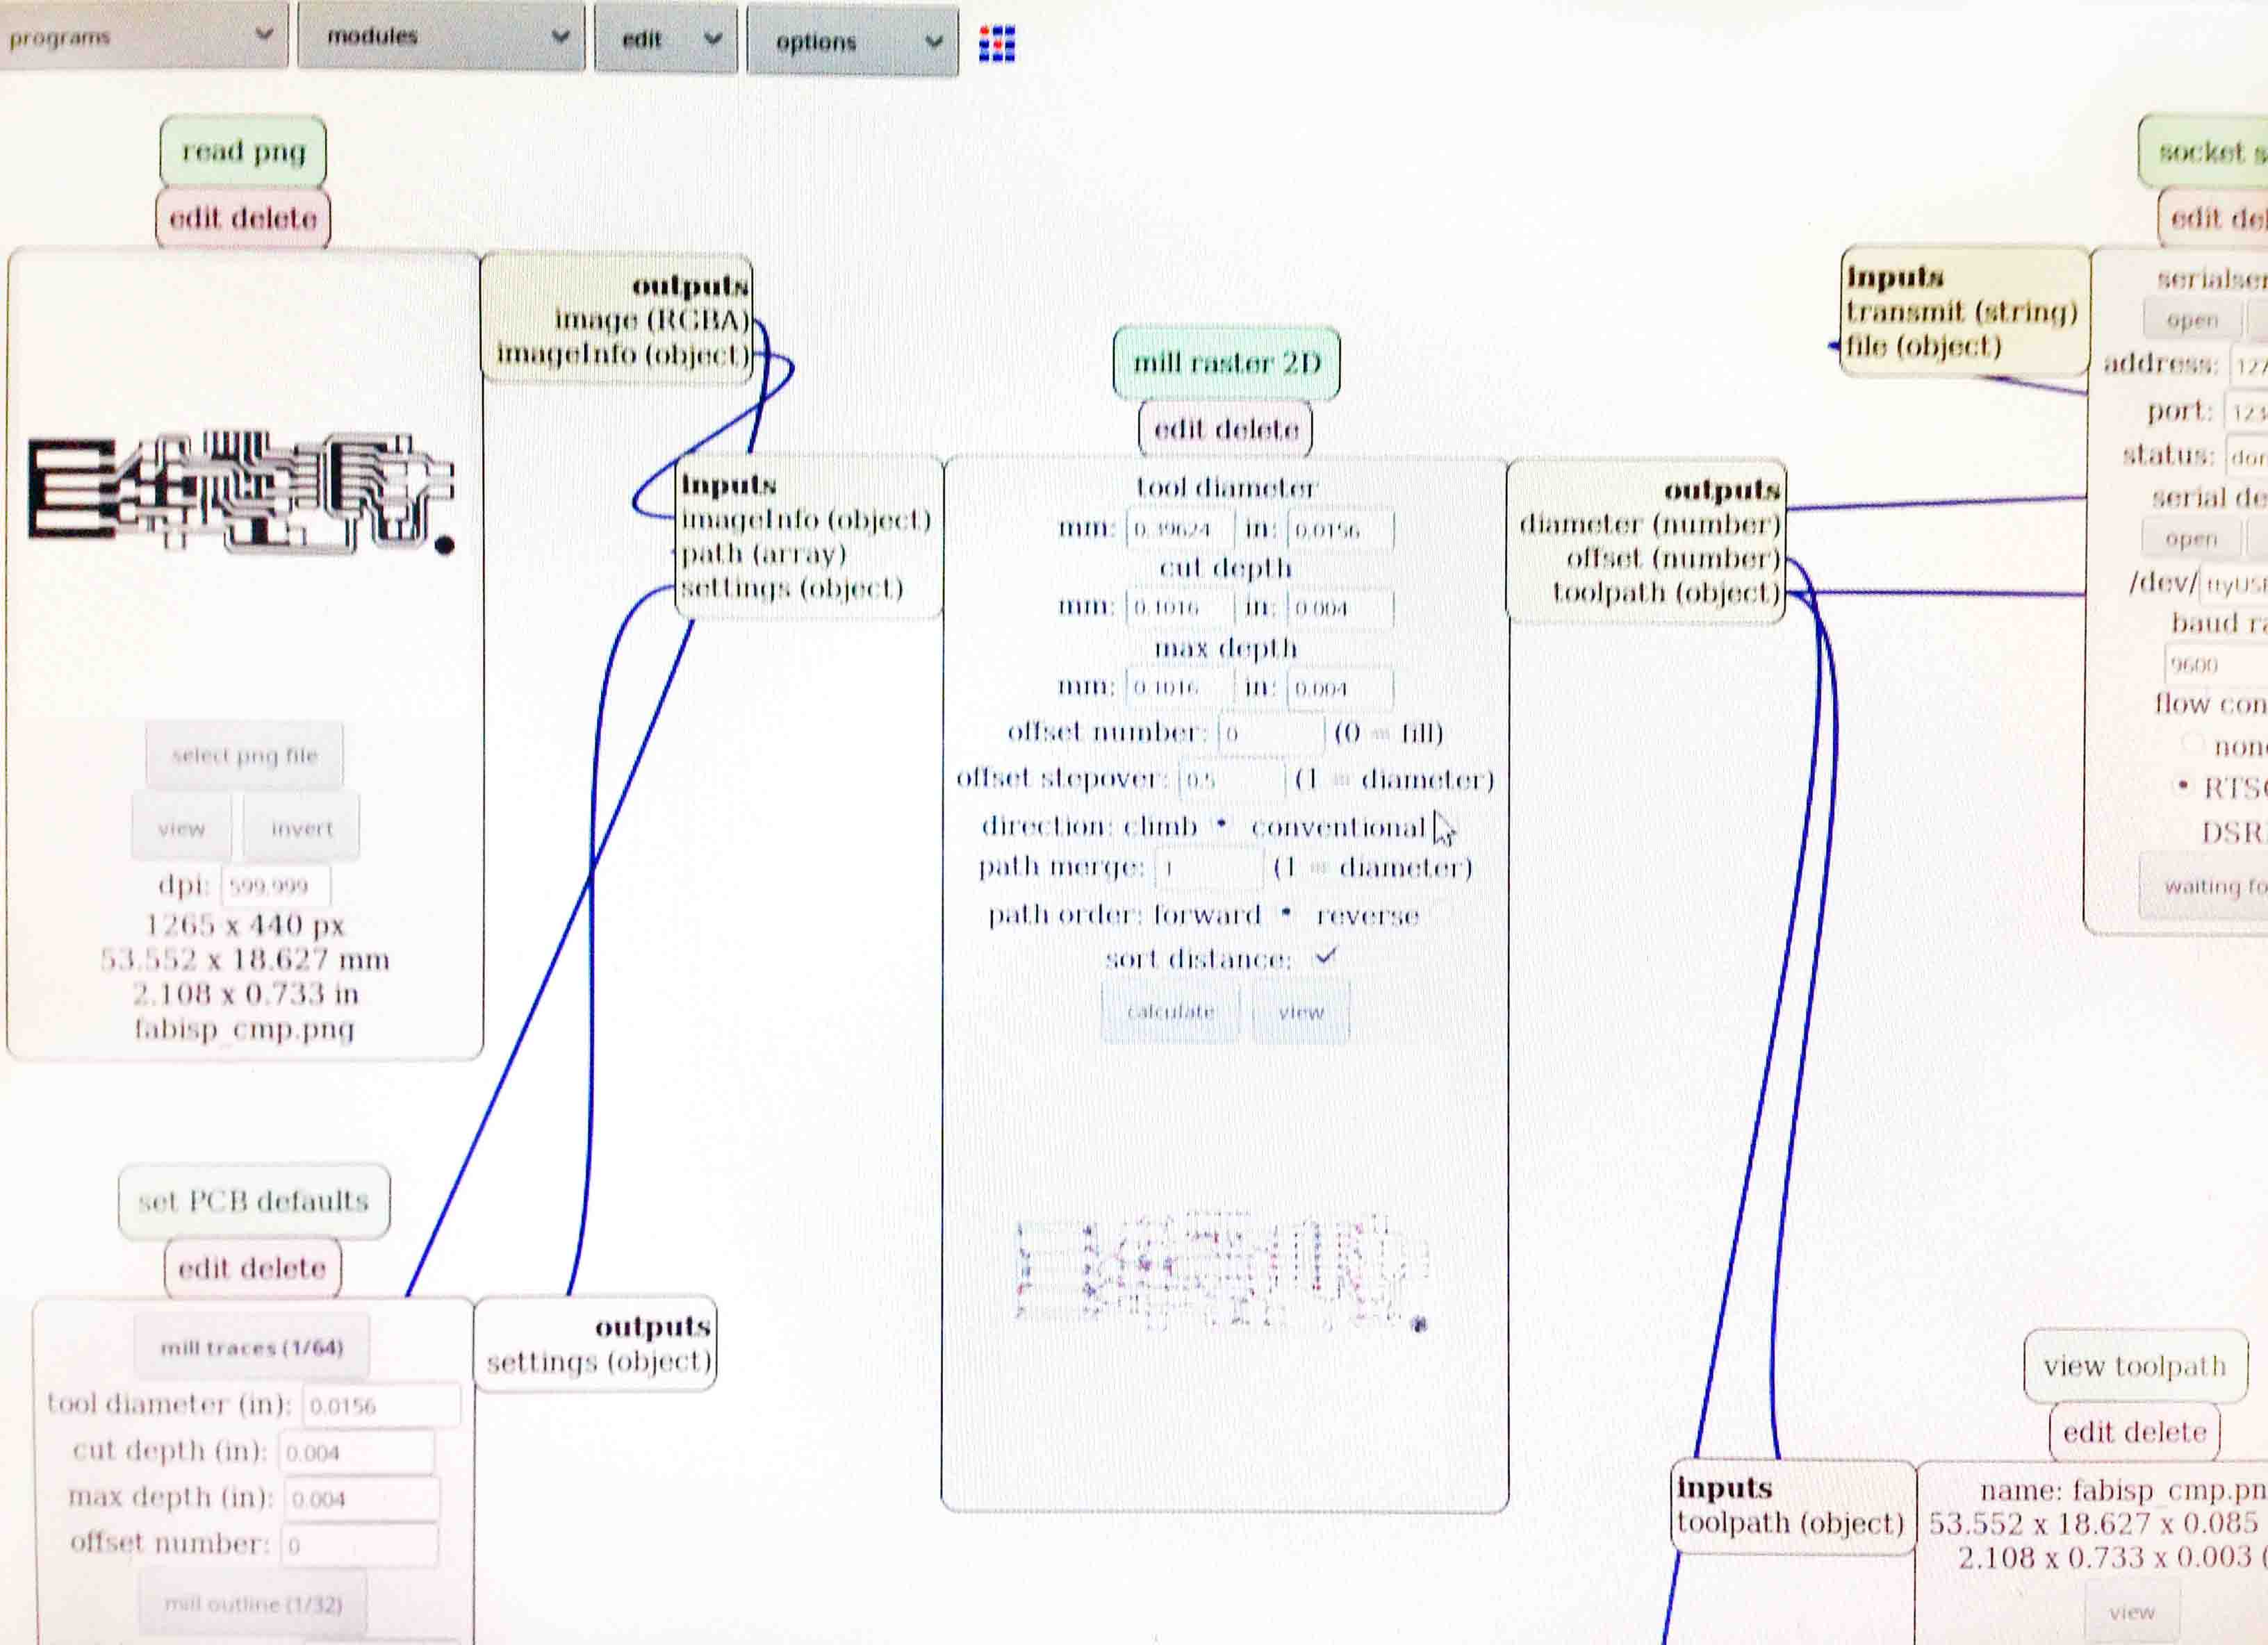
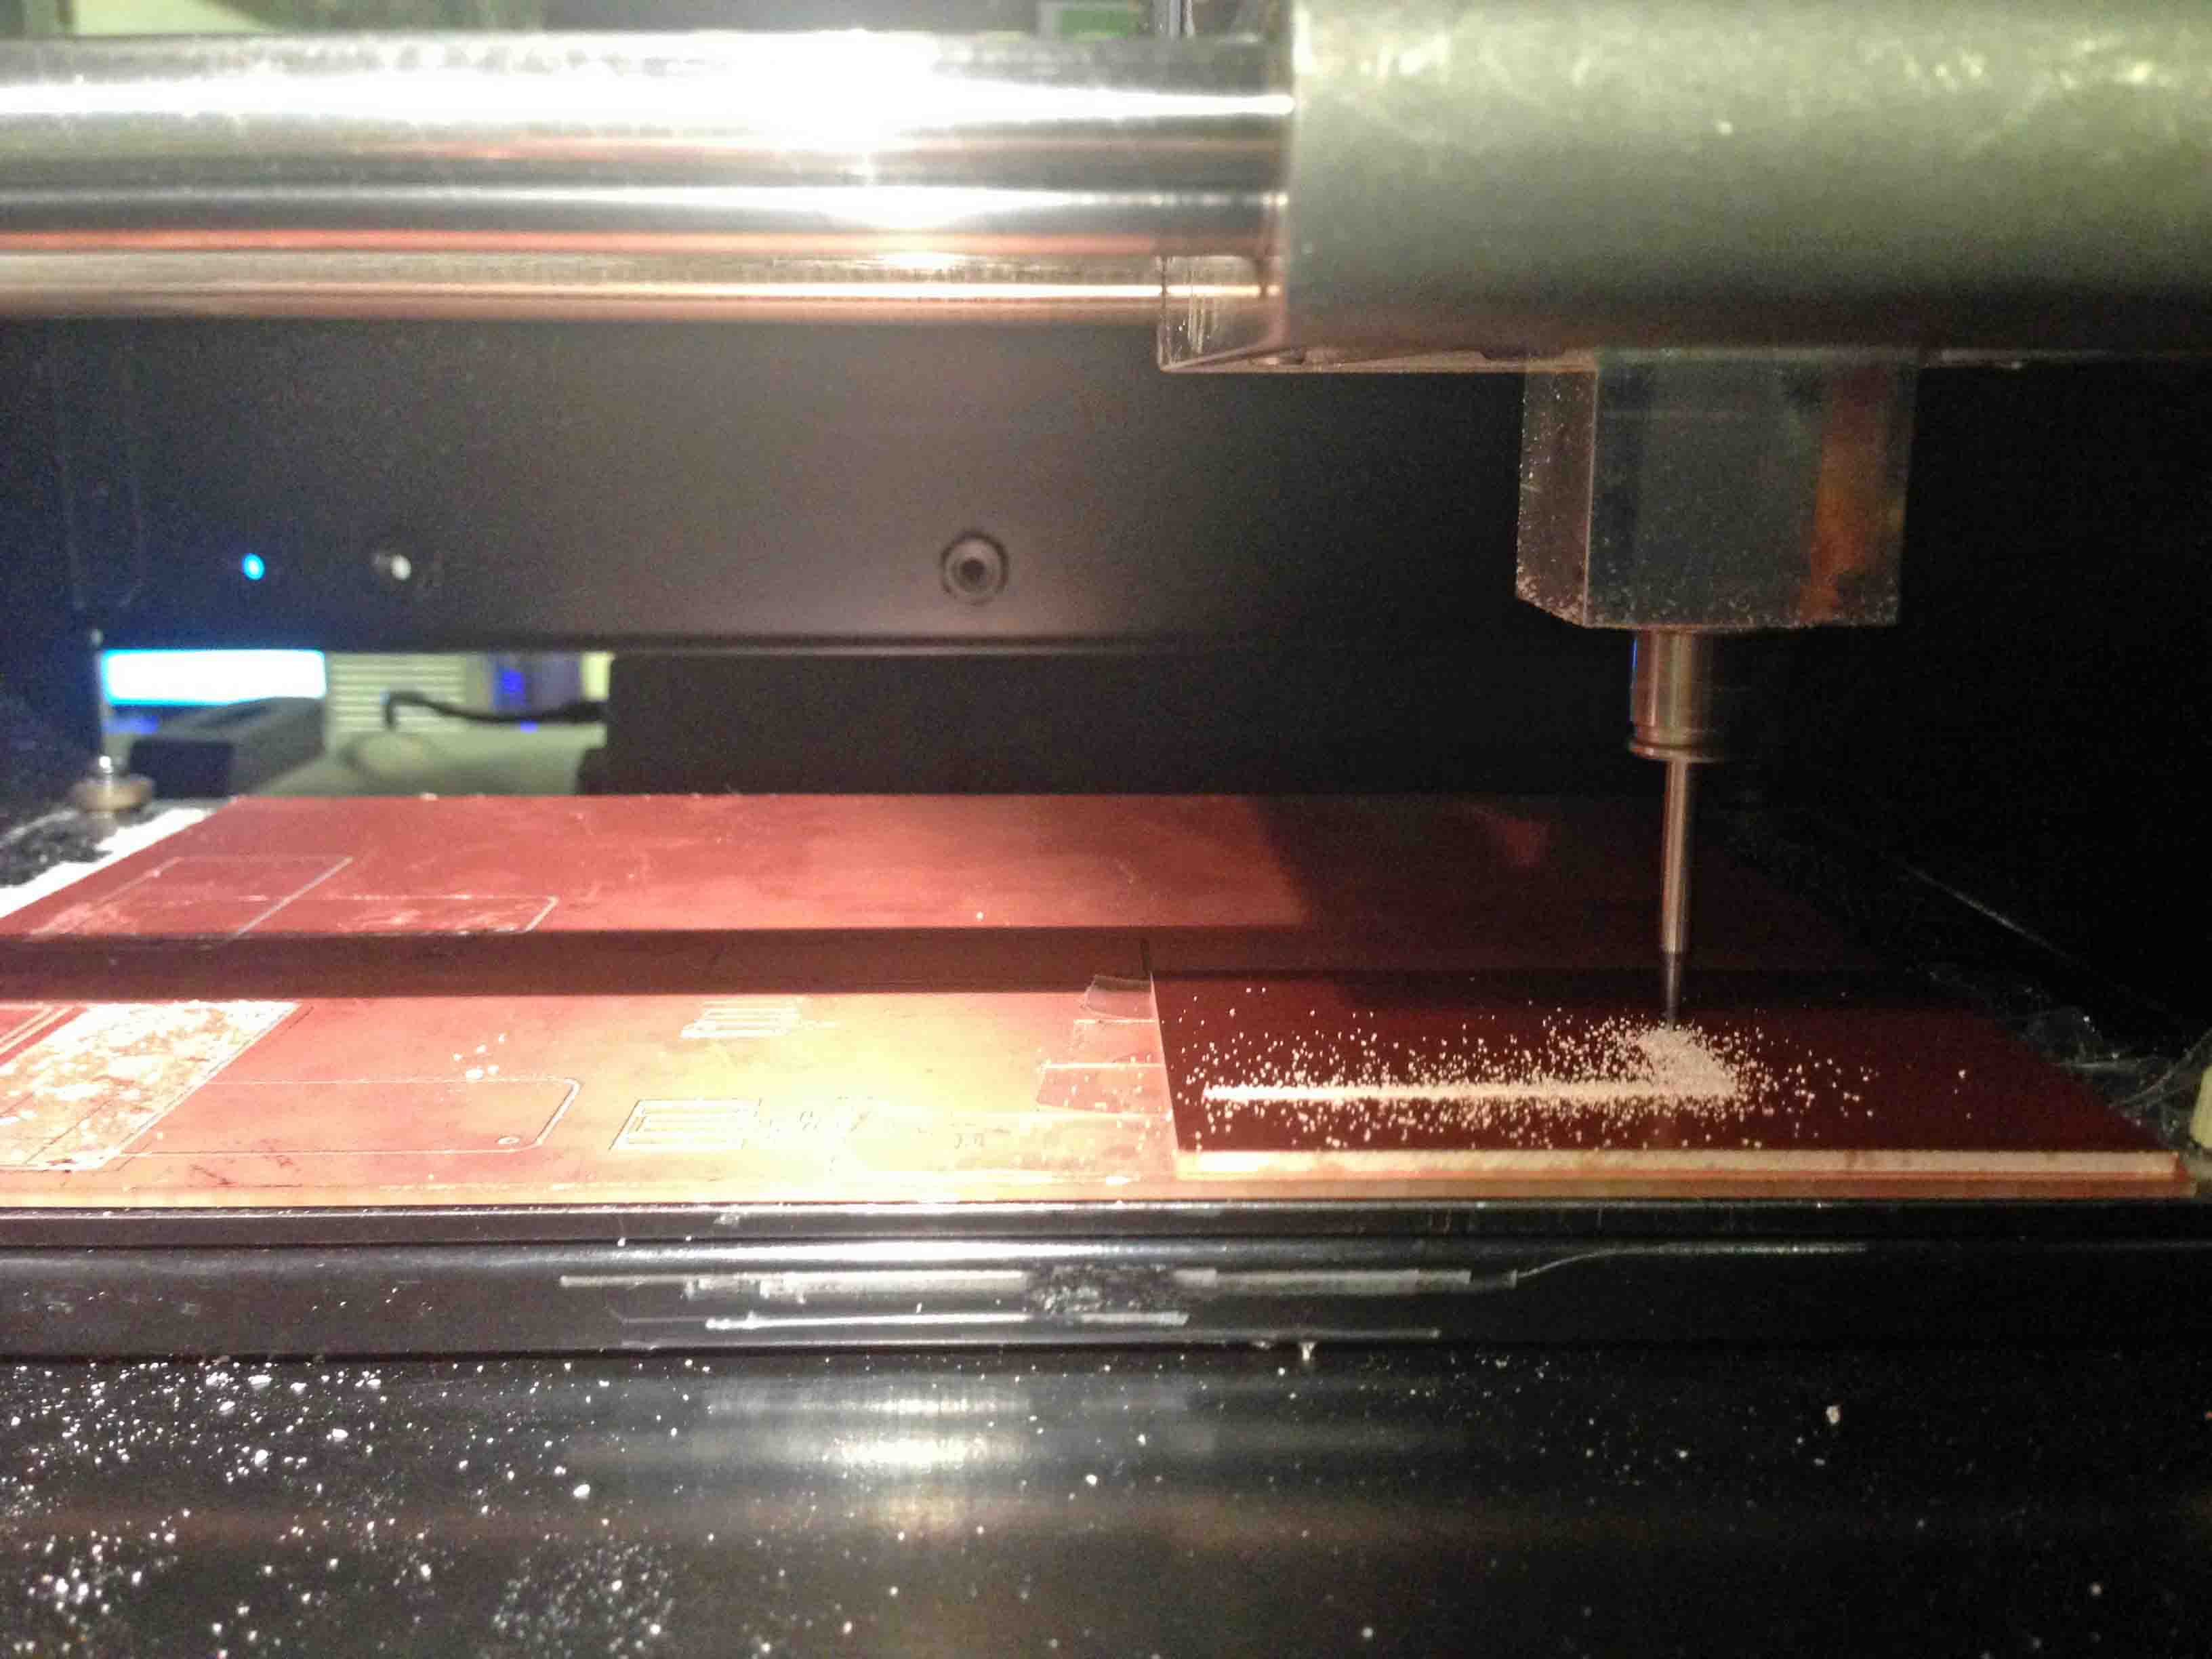
Using the fab module we can communicate with the Roland Modela Milling machine.
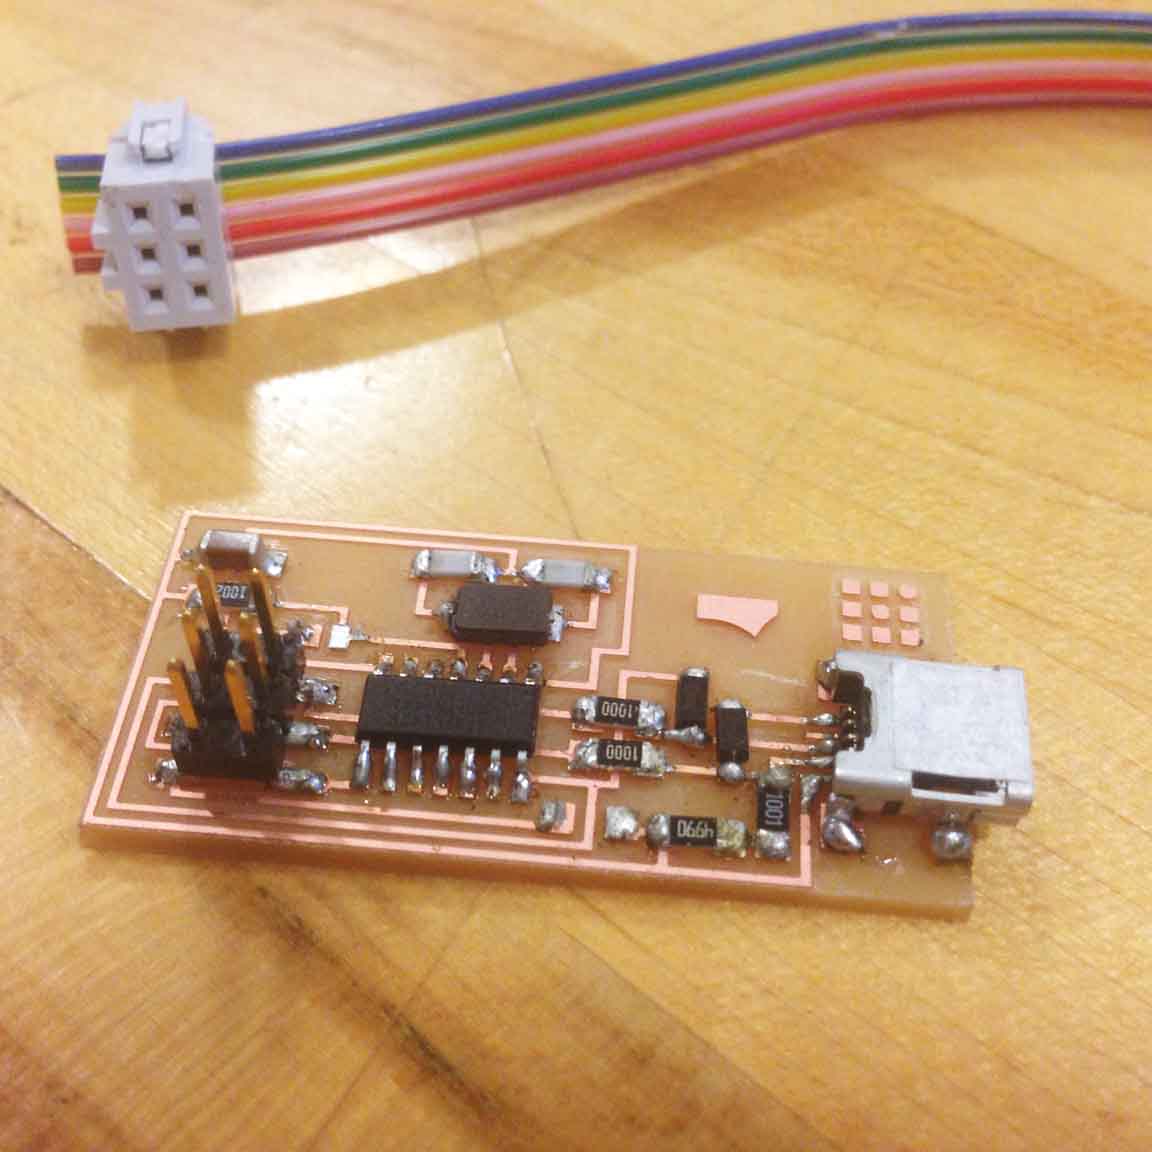
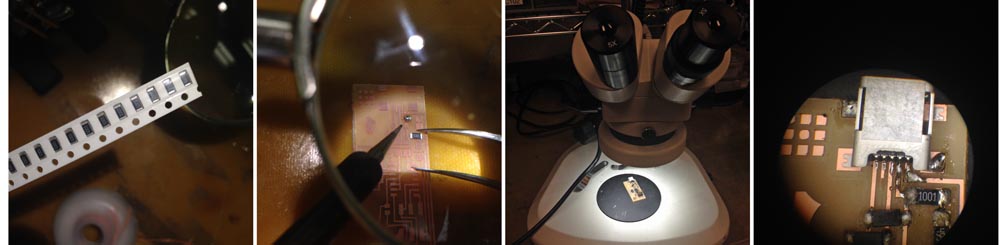
Surface Mount Stuffing
Stuffing my board's components, bottom to top (priority to small pieces), inside to outside (priority to hard-to-reach pieces). 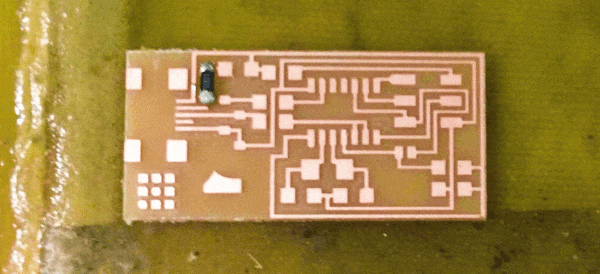
Surface mount components have many up-sides, but they are very, very, veeery tiny! I use the microscope constantly to inspect for good solder connections. The microUSB contacts presented a particular challenge for soldering shorts...
Programming the Programmer
For the most part, programming went on without a hitch. Once the make file is added to the board, the two jumpers (0 ohm resistors) must be removed to complete the board's metamorphosis into a programmer.