WEEK 5: _ make something big!
Beeeeeees! Hello - this week I am so excited to make a home for 80,000 of my closest friends. I dearly miss the bees I left back in Virginia (we won the county fair together with our dark honey) - and with bee extinction in the news - it's about time we start setting up a new hive for the spring. Ubran bee keeping very valuable to the ecosystem, and made popular by Noah of Best Bees in this area. I plan to make my own bee box this week, and if I plop it on my roof come spring, I hope my roommates won't mind!
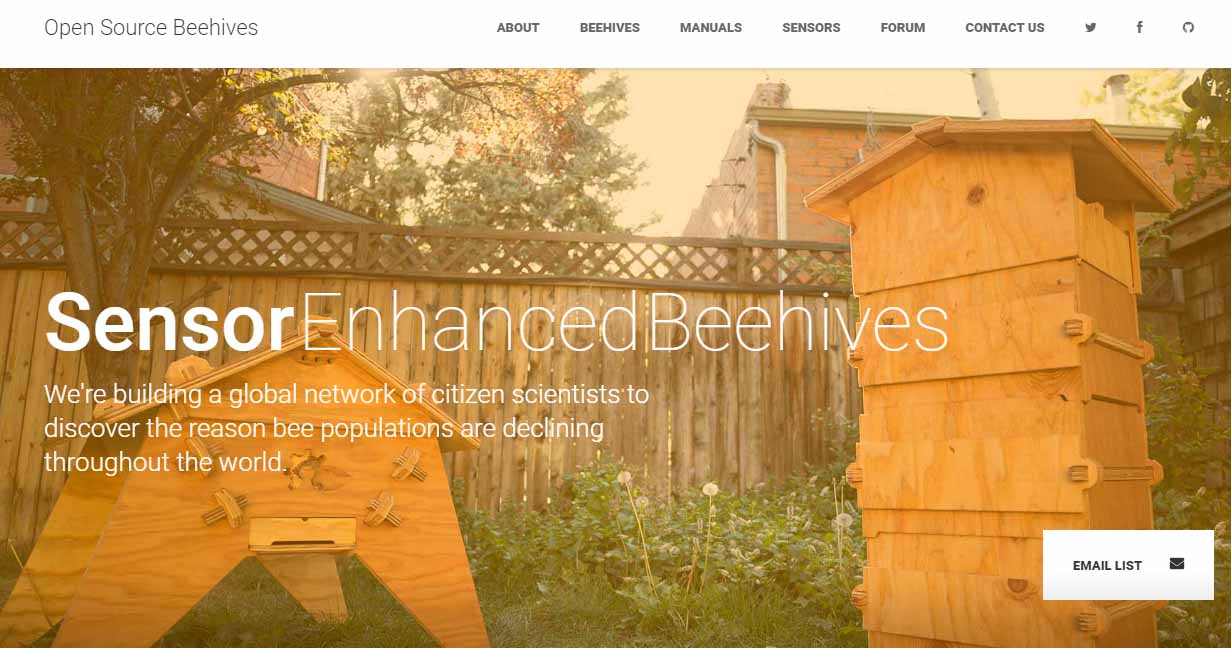
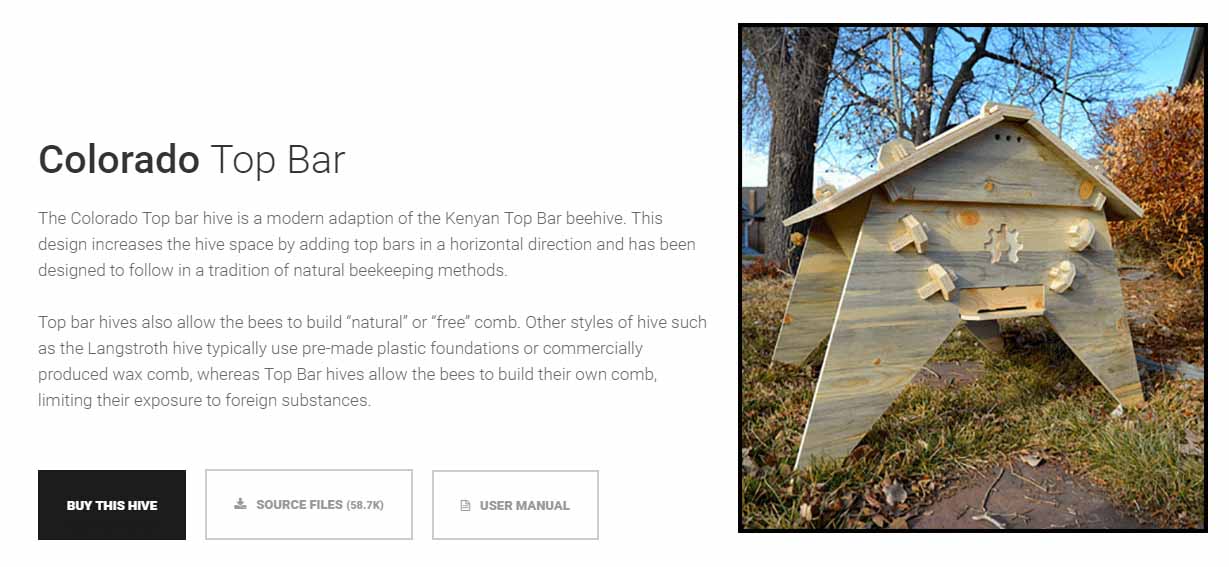
Luckily fab-ers worldwide have already taken up this challenge. The fab lab of Barcelona has an open initiative called Open Source Beehives, with beautiful CNC plans for multiple hive designs. Top bar hives are innately a tool of bee hive democratization, as they require much less manufactured parts and instruments to keep bees and harvest honey.
Understanding Tool Paths
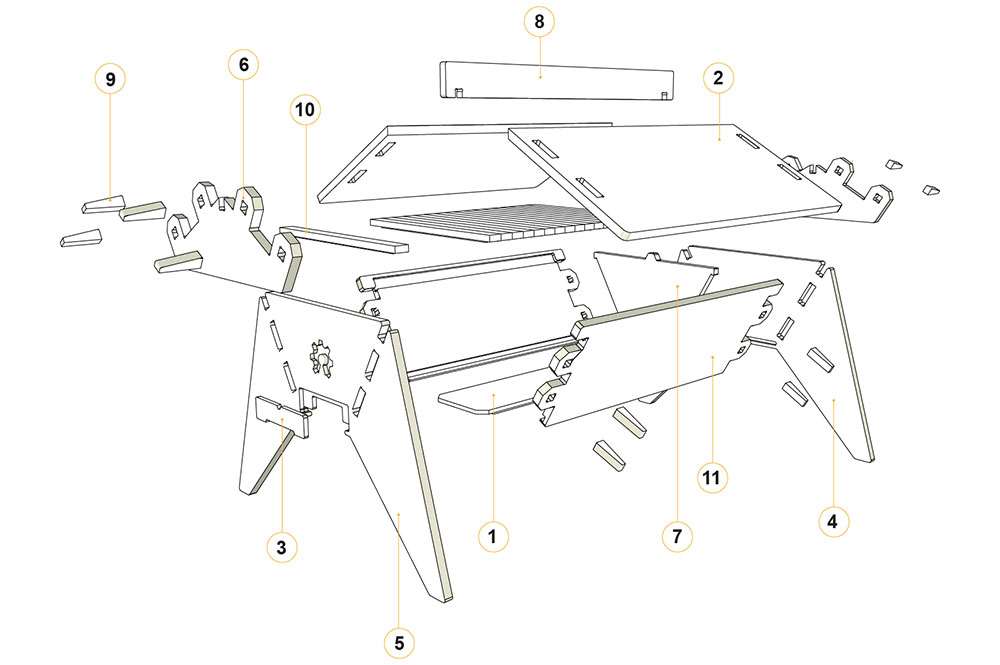
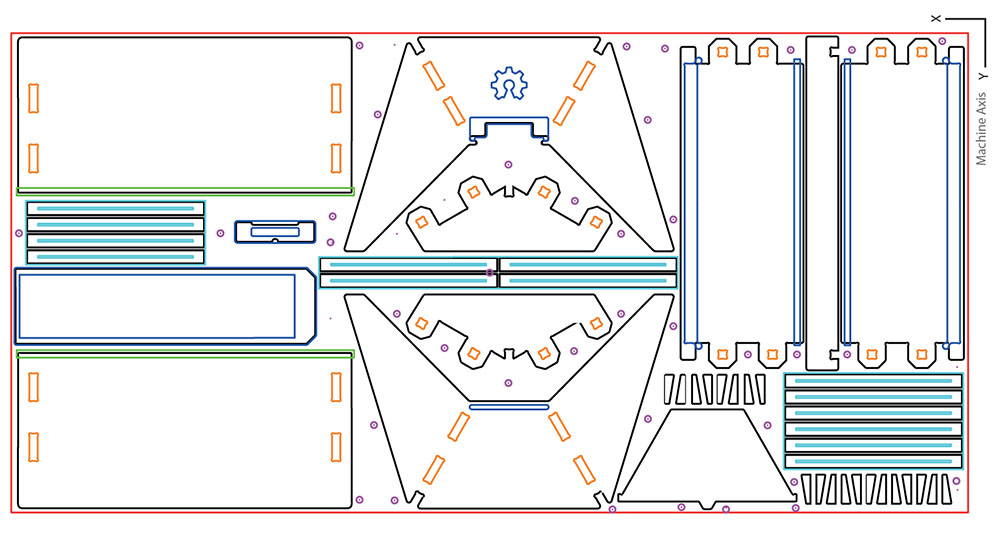
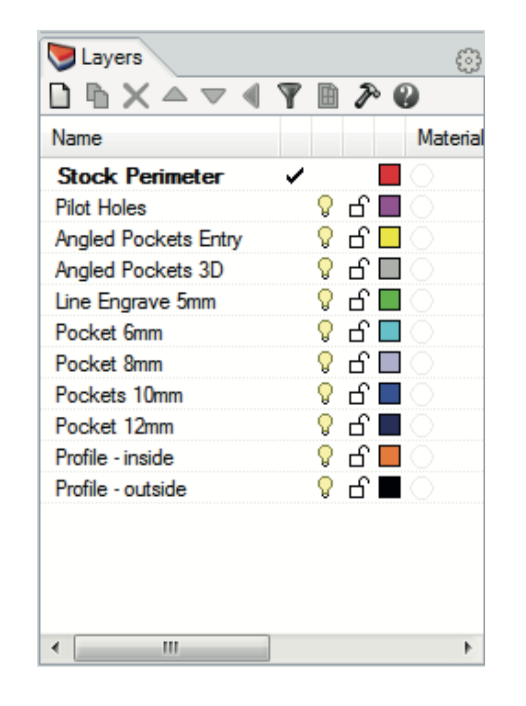
This tool path plan has almost a dozen 'layers' for different cutting specifications. Including angled cuts - how does this work. However, what I struggled the most with is understanding a way to take a preexisting .dxf file and parameterize parts of it (i.e. press fit joints) for my wood width (i.e. 0.435"). This would be a huge asset to their website for all other aspiring hive-makers ... next project.
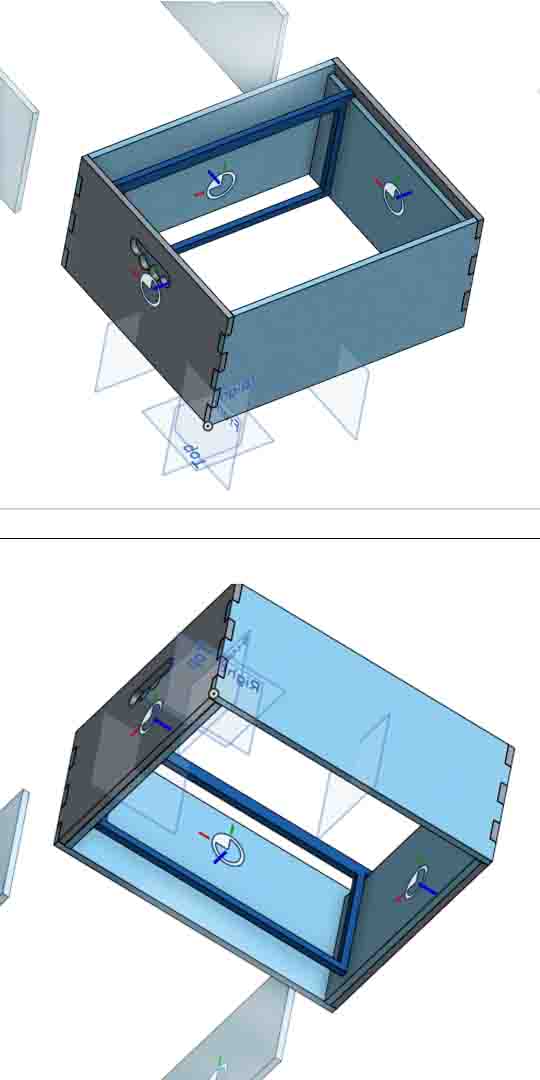
At this point I decide to make my own plans for a beehive. In OnShape I drafted a traditional box hive design, with the dimensions of a standards medium sized super and a ridge running along each interior edge for the frames of honey comb to be hung off of. It uses press fit joints at each of the corners.
Just like the laser cut week, OnShape allows you to export the face of any part as a DXF. I placed my filed in a 2D plane for cutting in the program V-Carve.
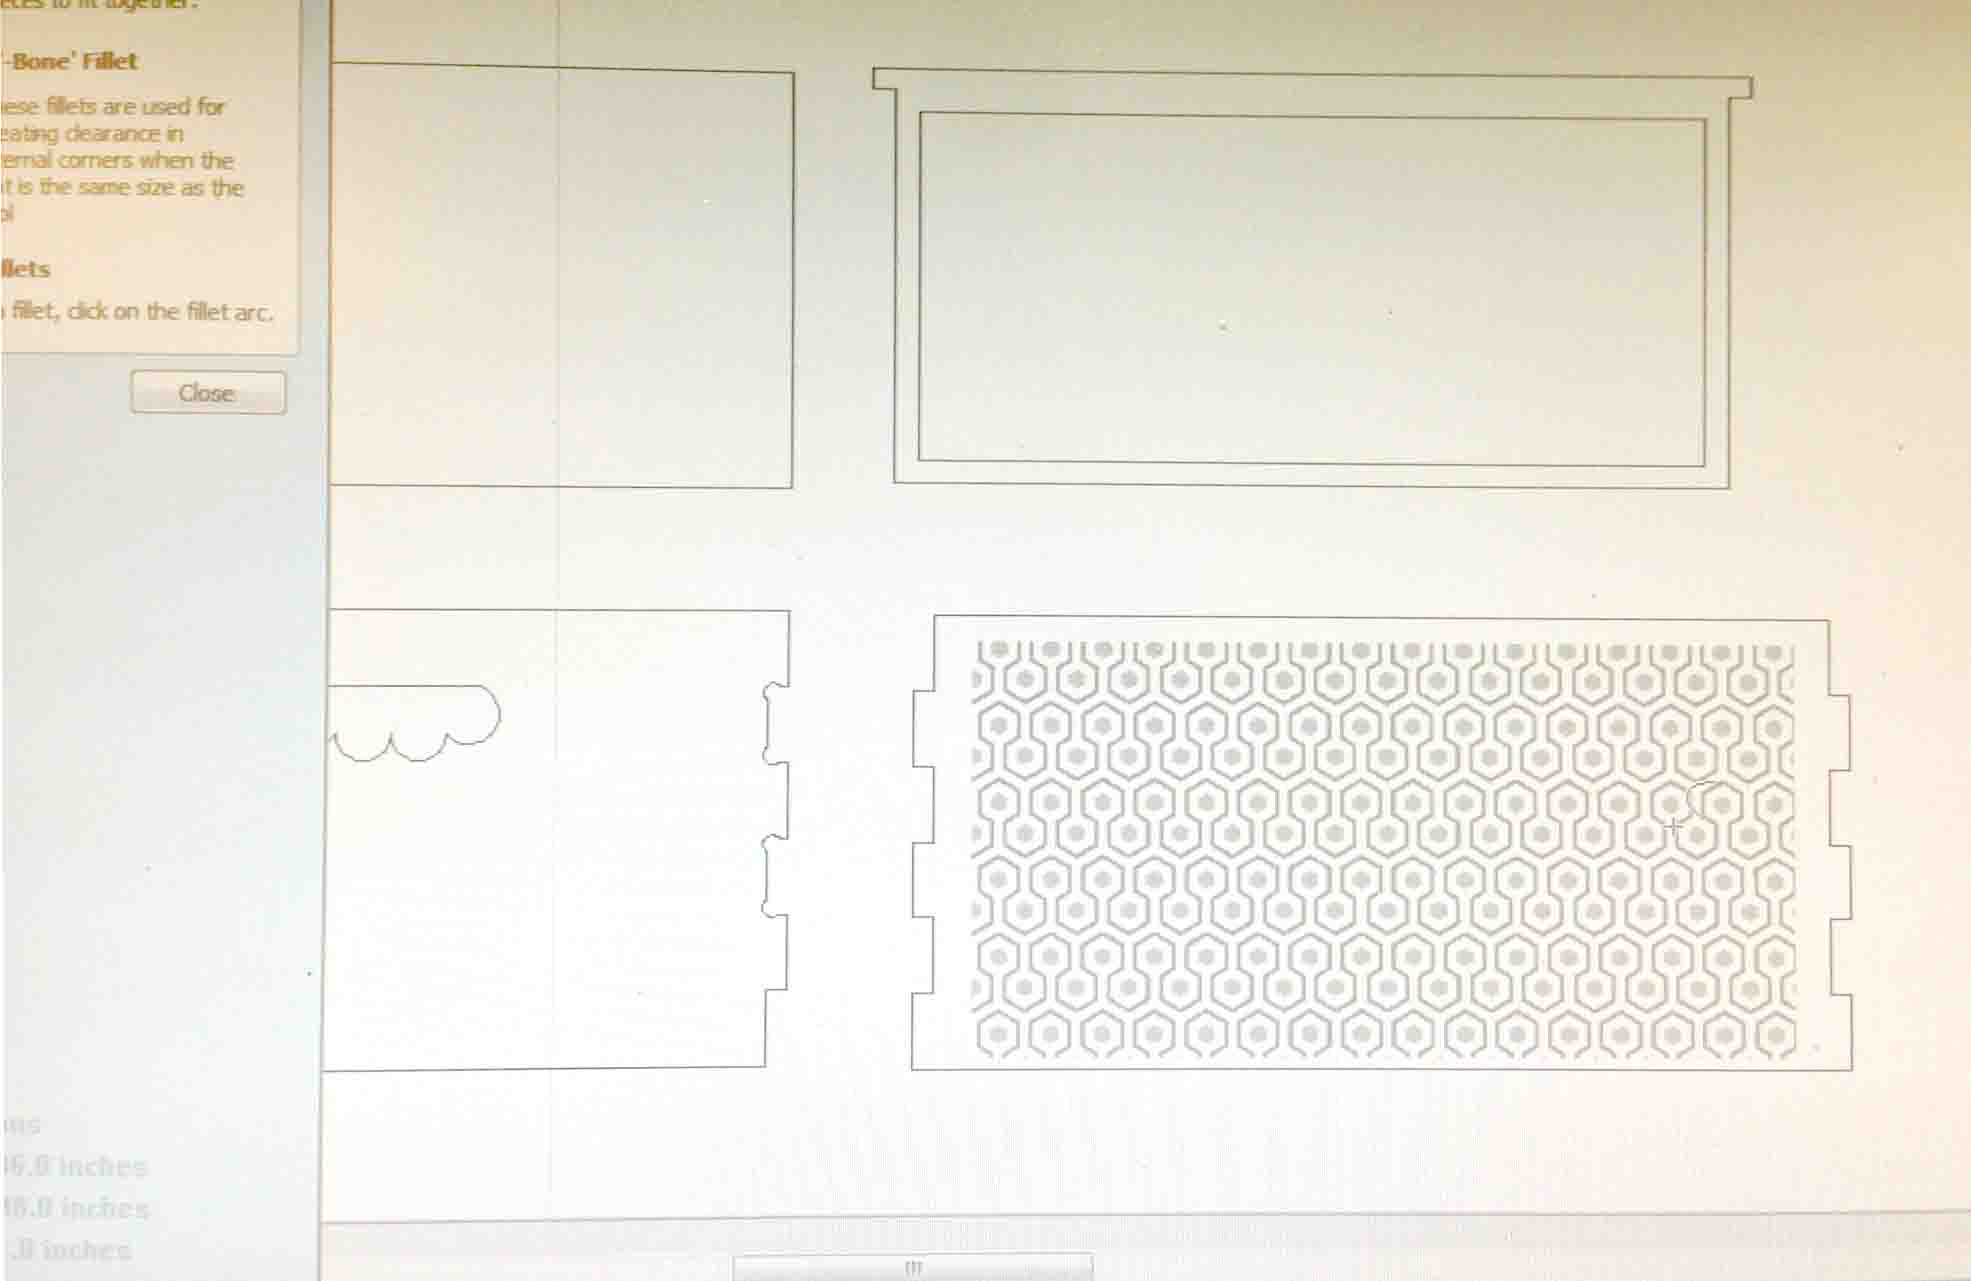
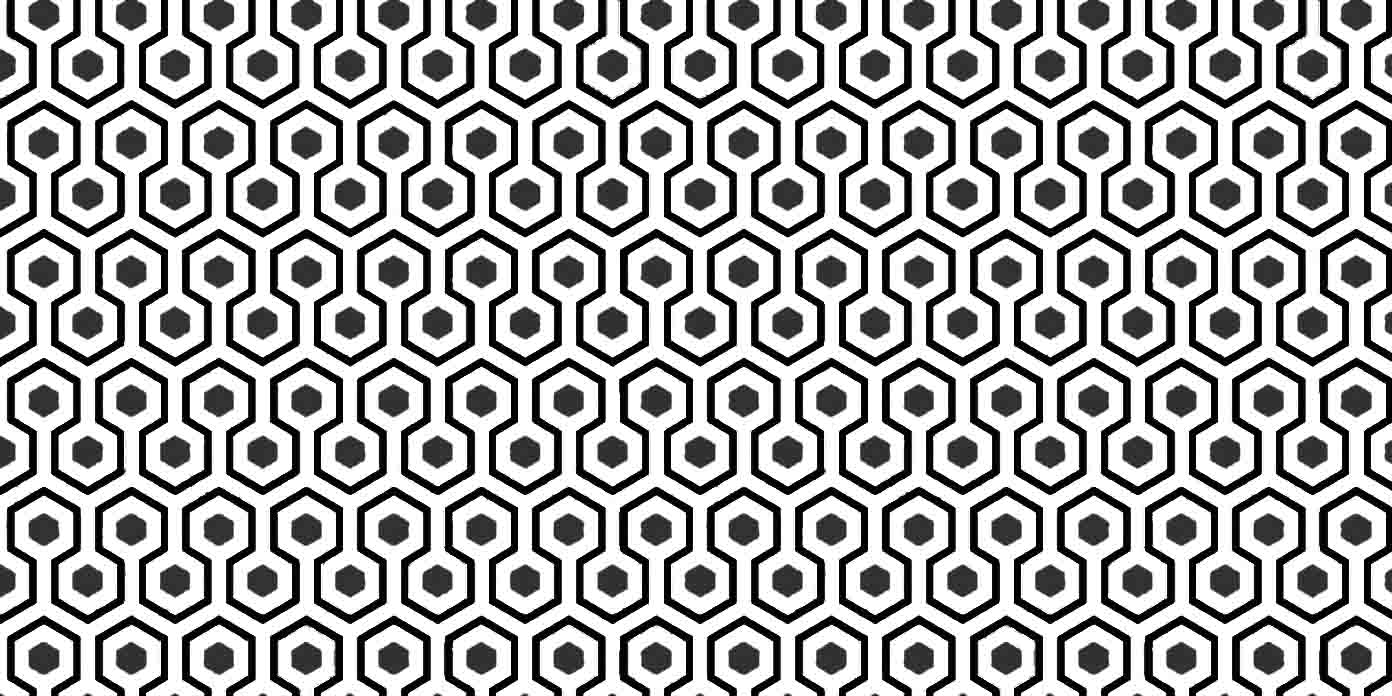
To add some complexity, I designed this hexagonal pattern the 'raster' 1/8" into the sides of the boxes. I drew the shape in Rhino, and made sure to 'join line' when importing it. For this I made a separate tool path in which I told VCarve that my material was much only 1/8" deep.
Computer Controlled Machining with ShopBot
Here goes nothing! (I'm still slightly afraid this machine wants to eat me). With help from section mates, we drilled our sheets of plywood into the sacrificial layer, turned on the fan, zeroed all three axis and began cutting. Boy did that pattern take a long time to cut.
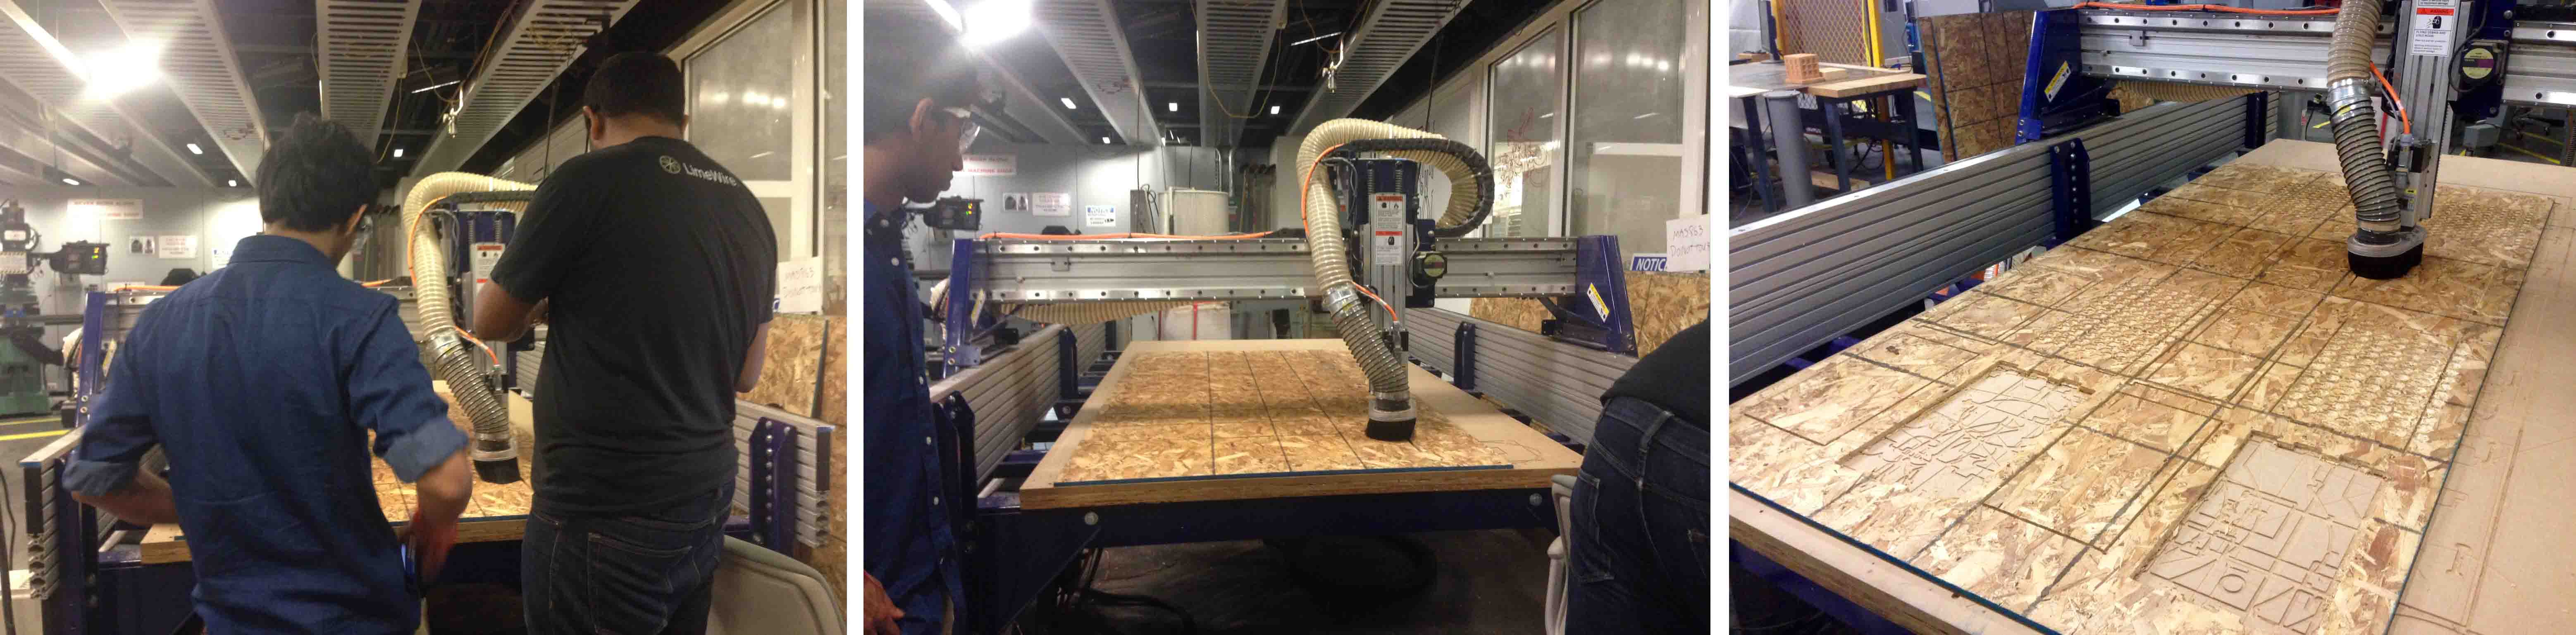
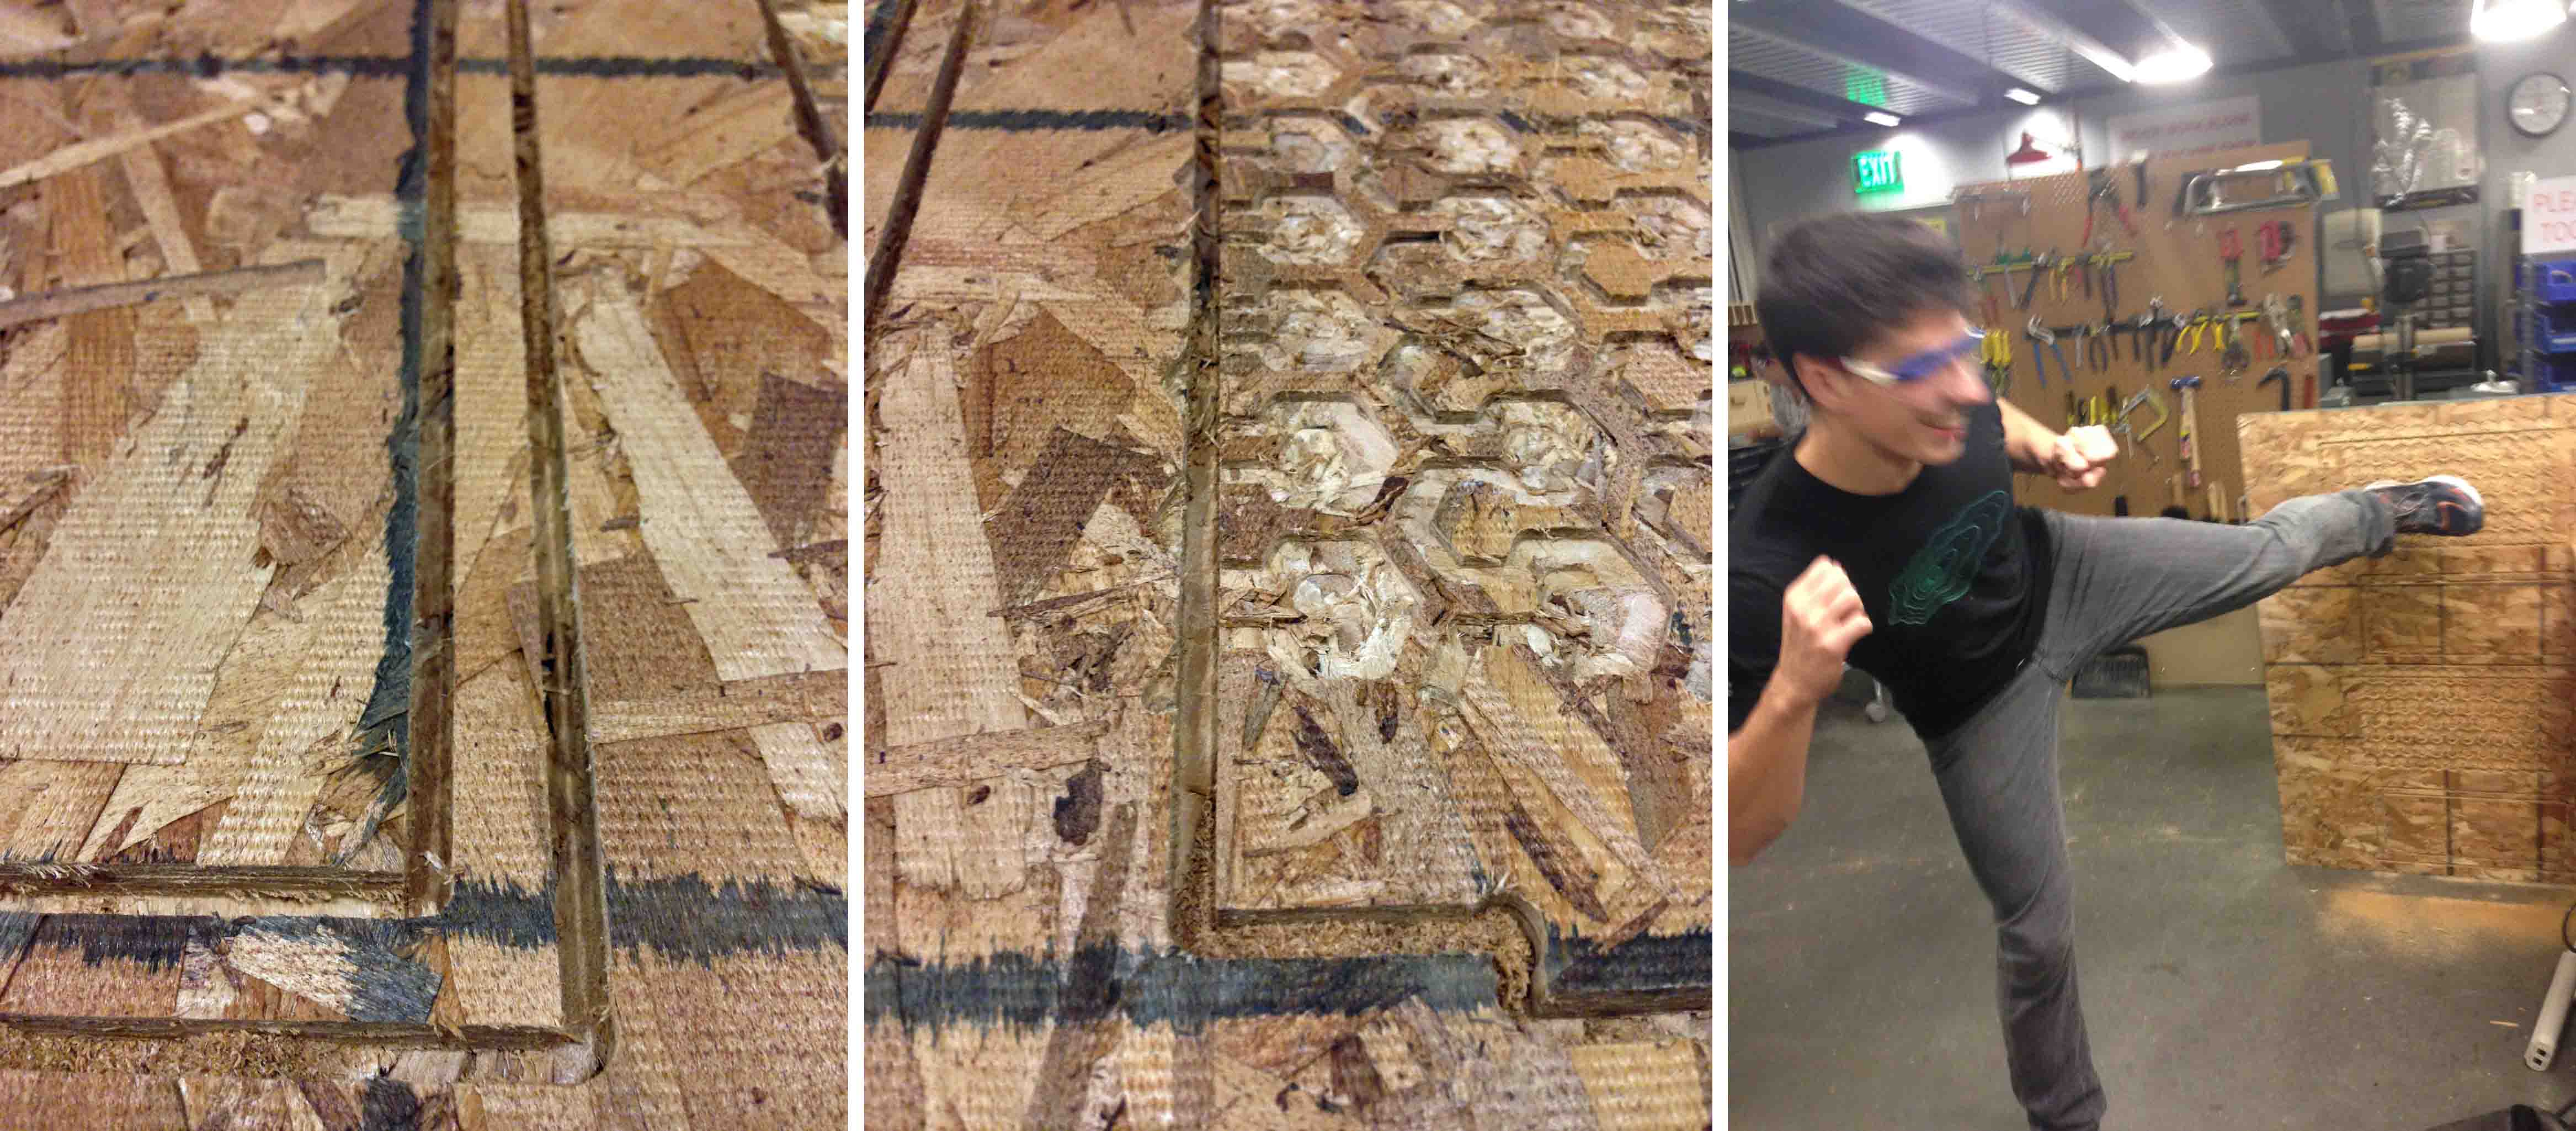
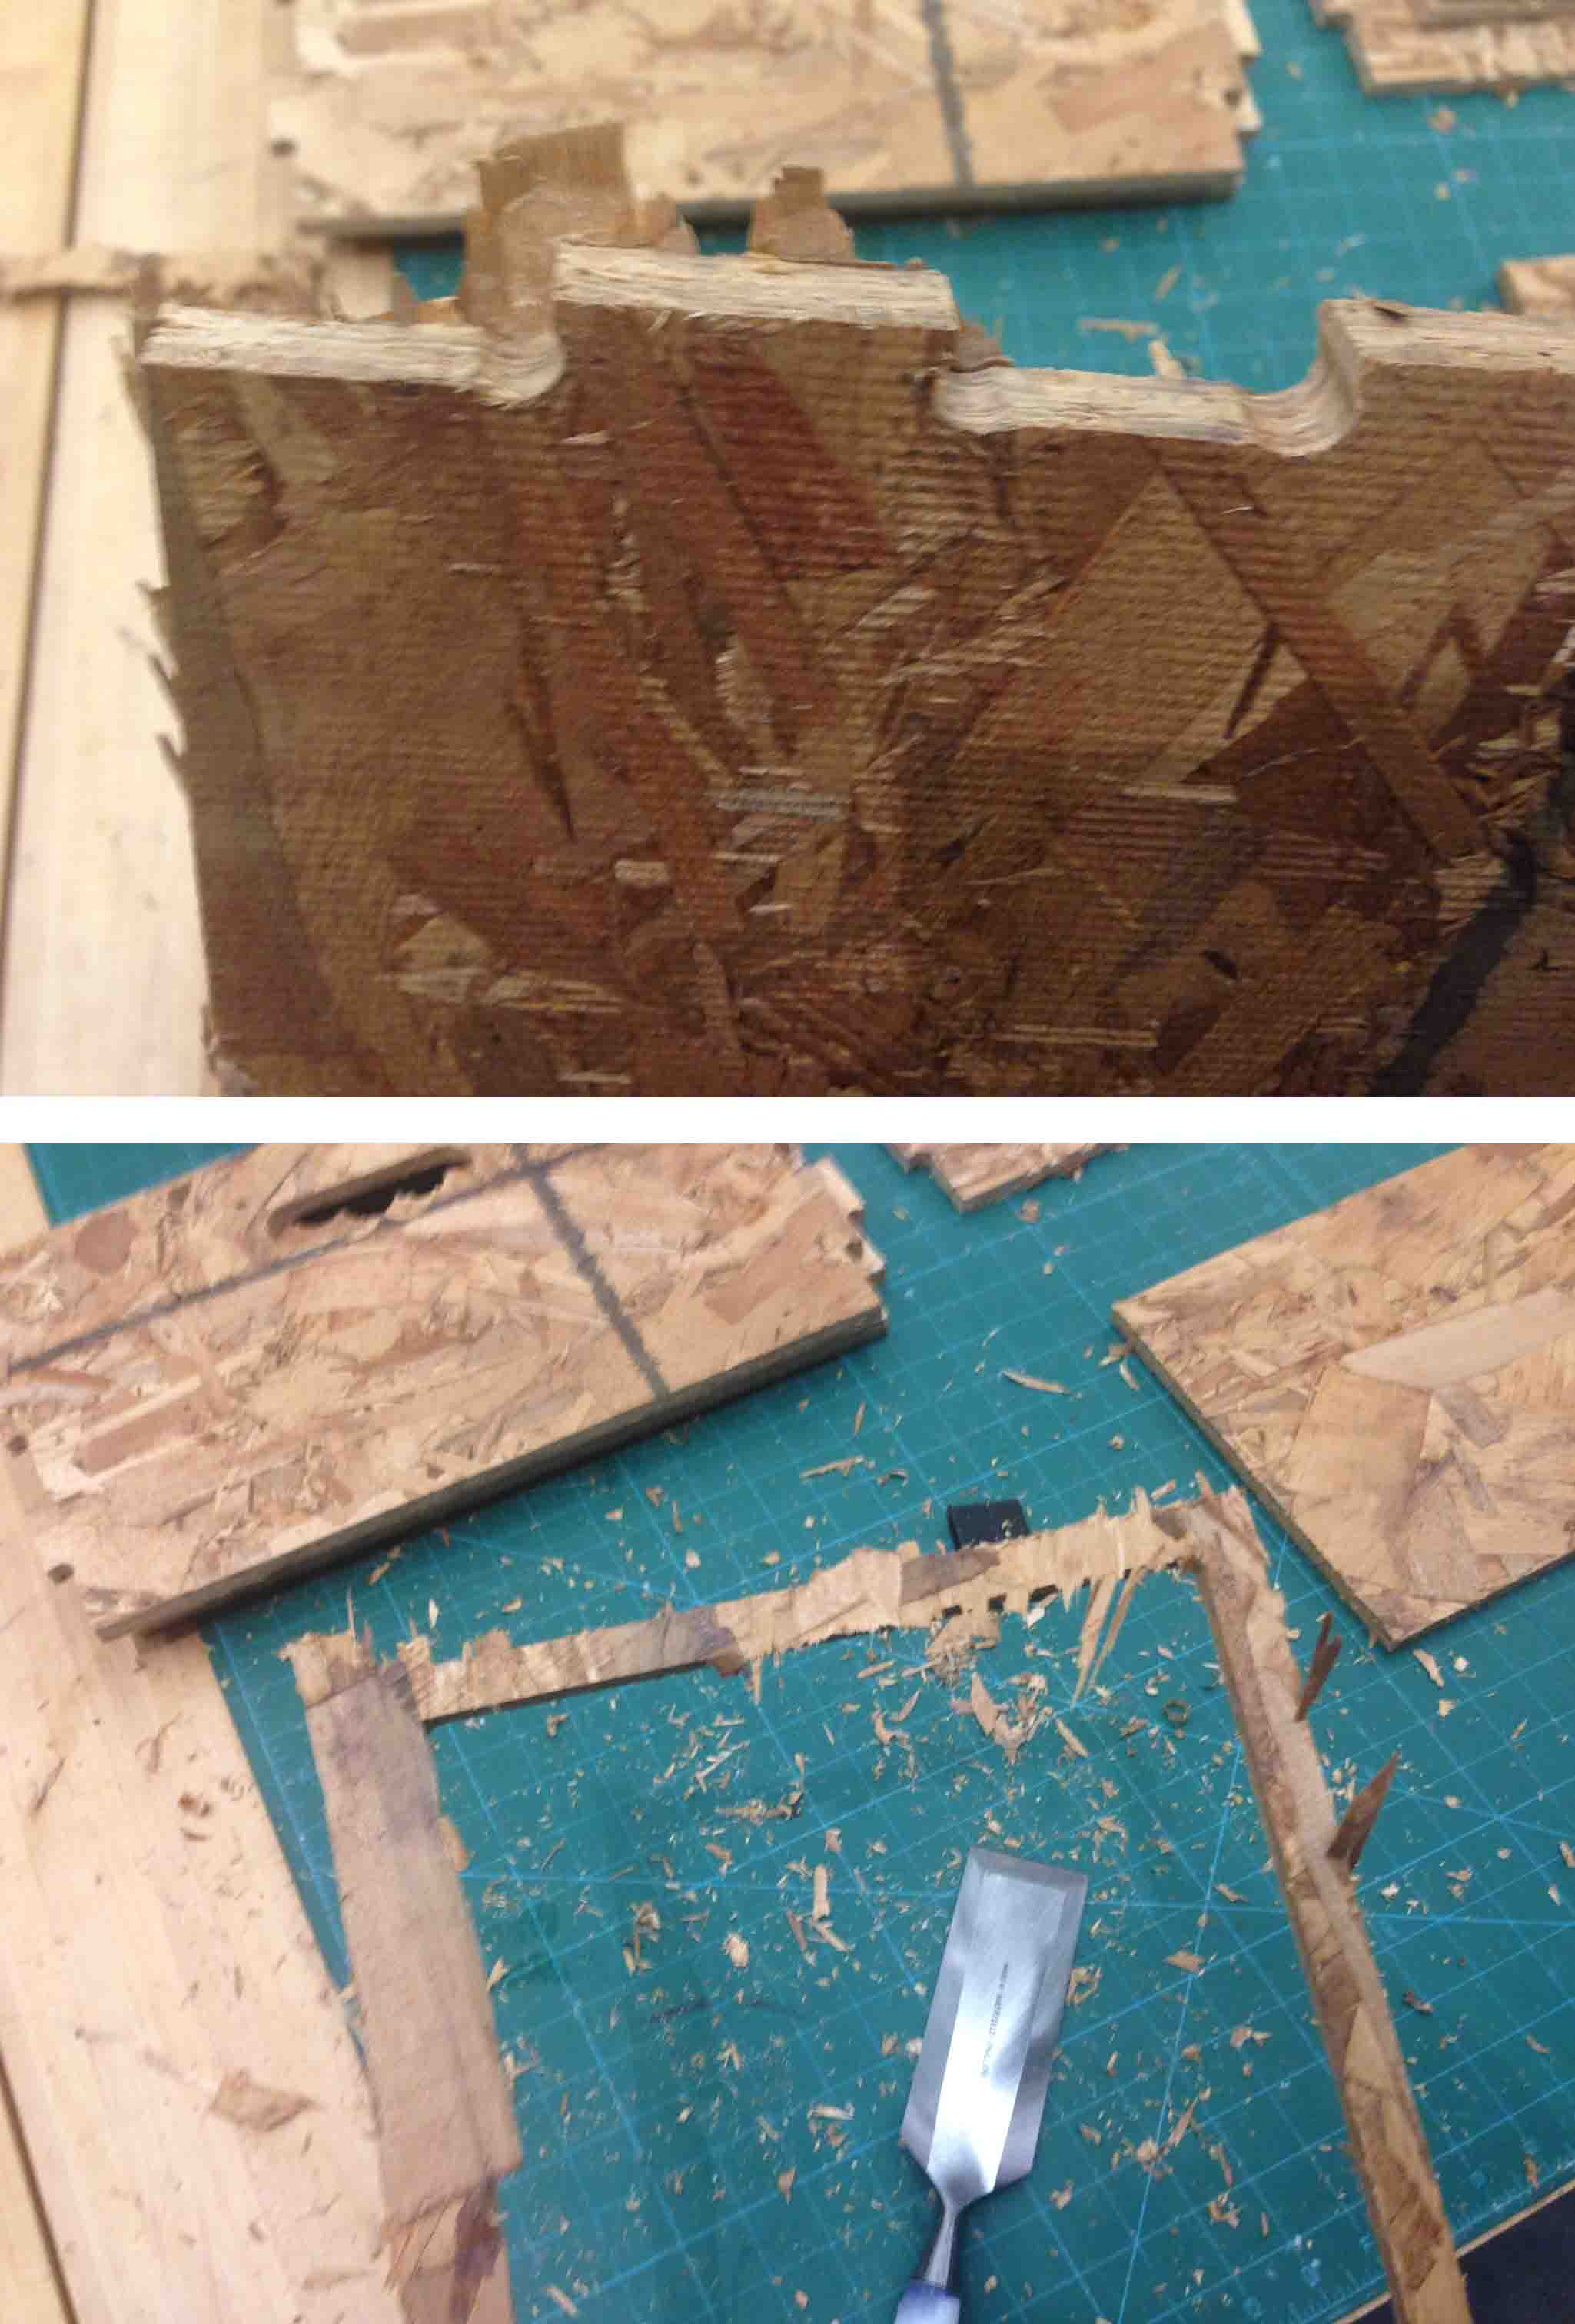
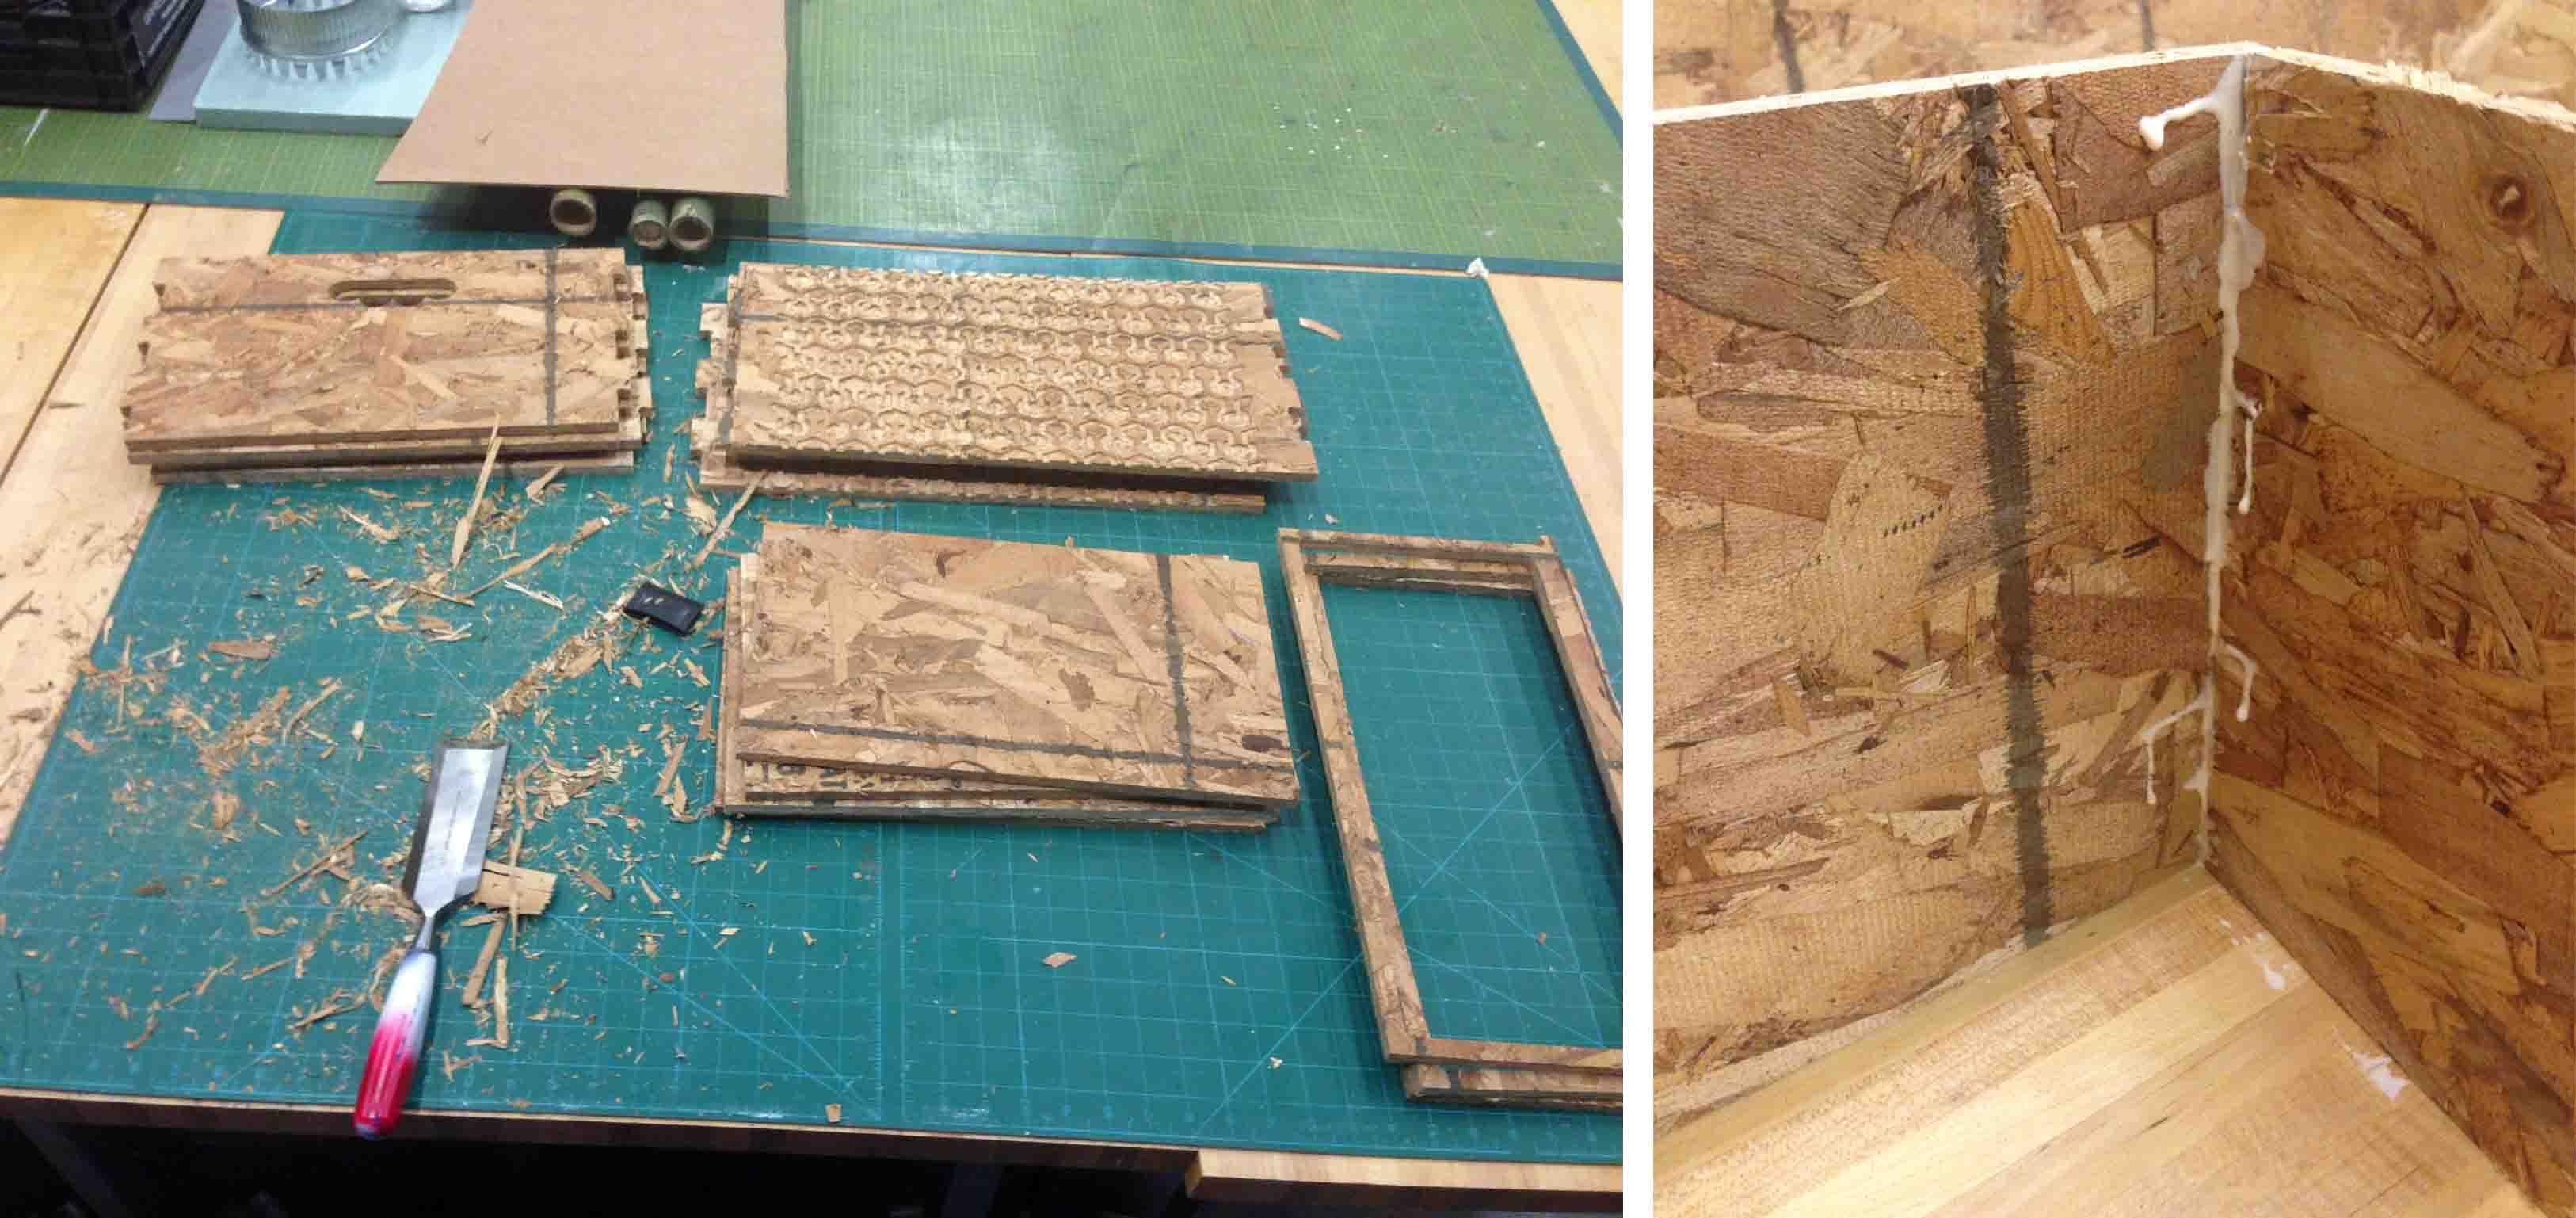
My one hang up in this process was that much of the wood did not cut all the way through. This is most likely because I did not push down hard enough when drilling it into the sacrificial layer - creating an uneven surface. The plywood is so cheap, it is easy to karate kick the pieces the rest of the way out (thank you Allan). However it leaves me with many undesirable splinters and jagged edges to deal with. I carefully shaved them down with a chisel.
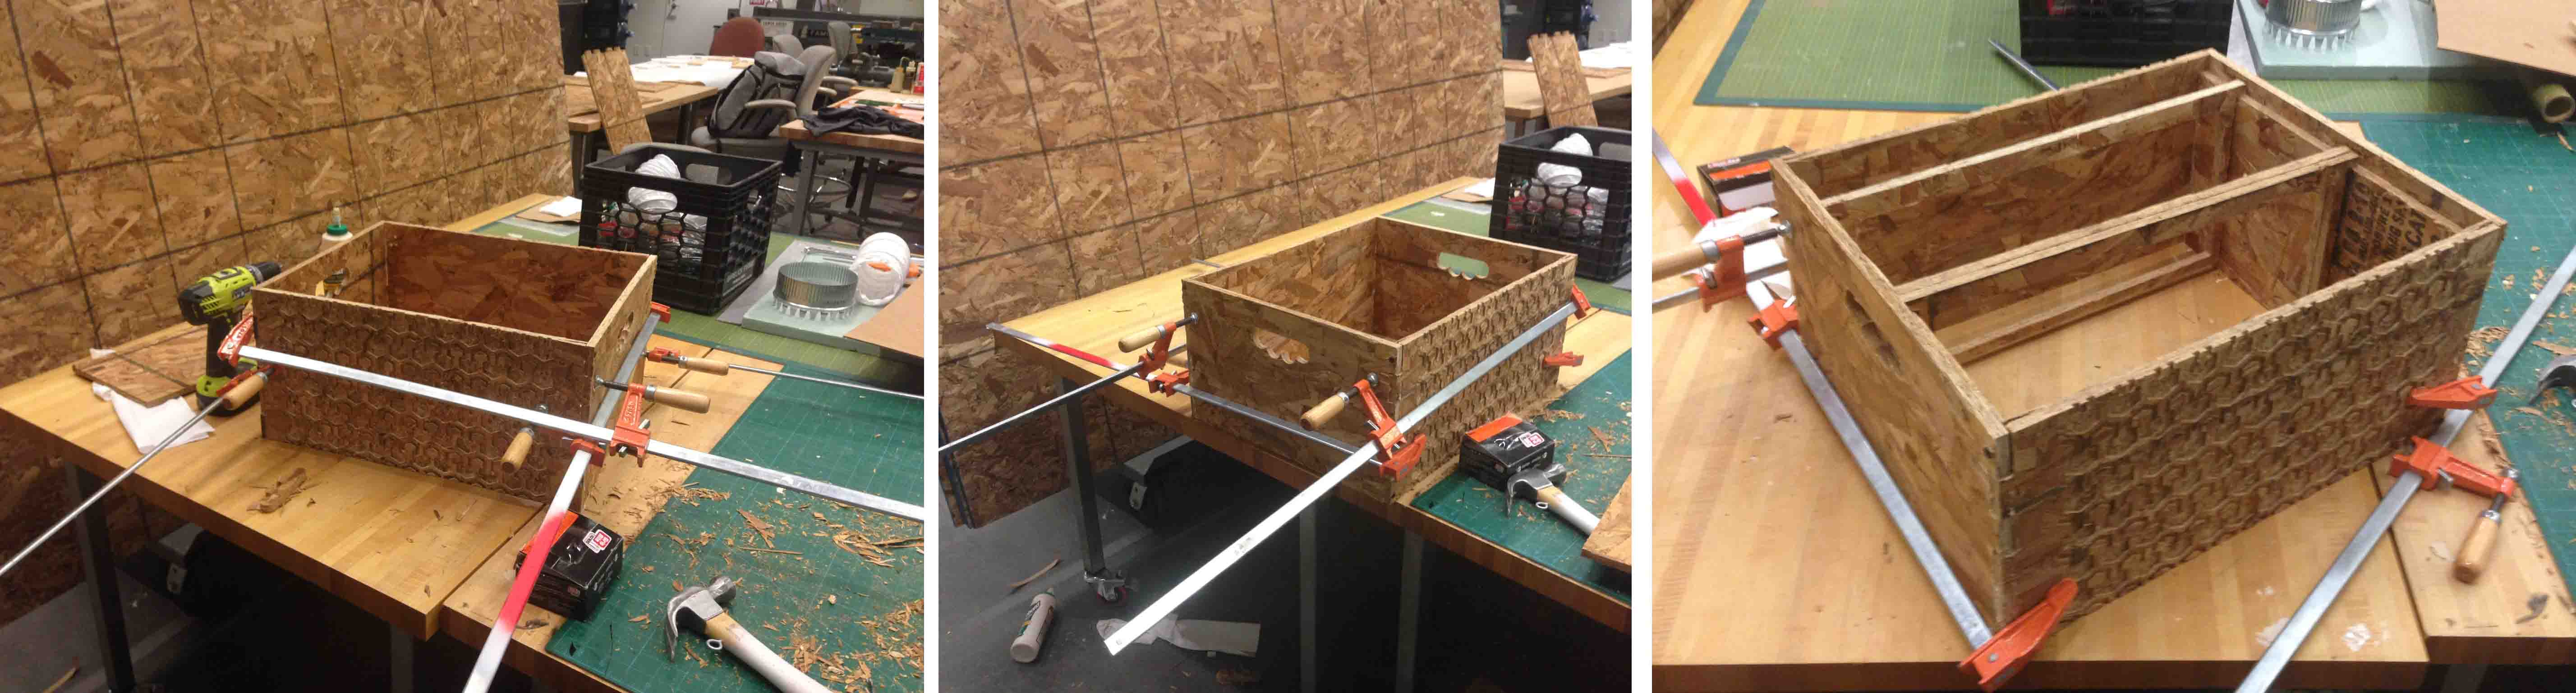
Bee Box Assembly
With all the pieces separated, assembly went very fast! Press fits were snug, but I added wood glue and some screws just for prosperities sake. I know how much press fit people hate glue though!
I clamped both boxes to dry overnight. The honeycomb patterning does a great job to soften the ugliness of the splintery plywood. Due to the chemicals used in the fabrication of plywood, I will probably not let bees used this exact hive. However, I look forward to sourcing wood of a little higher quality and trying it again this spring!