WEEK 9: _ read the MSDS and TDS on resins, design and fabricate a 3D mold, and produce a fiber composite part.
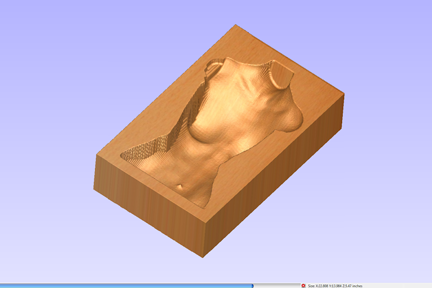
Design and Mill a 2" Mold
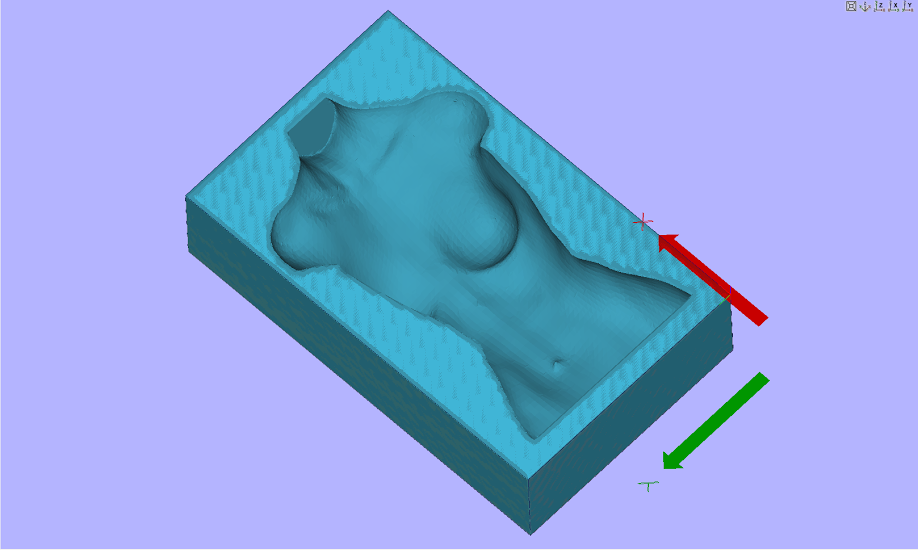
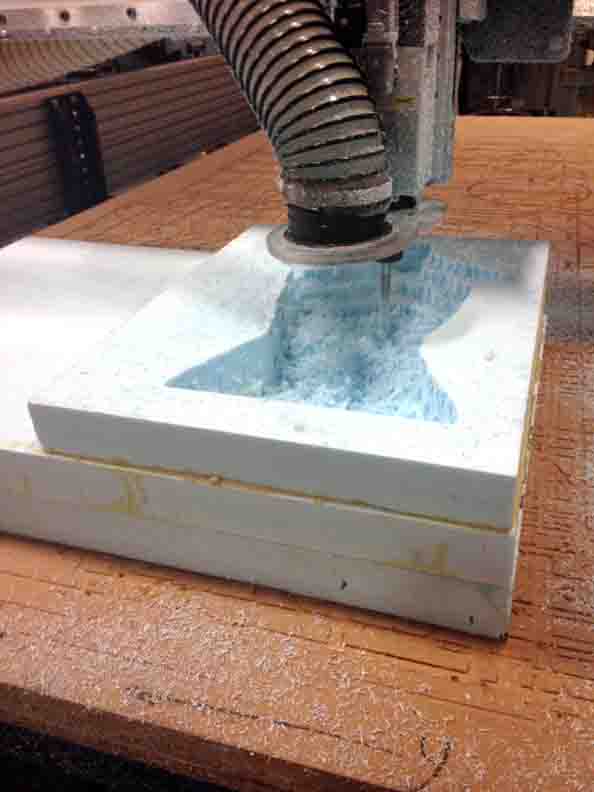
This week we have been given blue insulation foam as a quick, cheap way to mill shapes on the Shopbot, in order to create the form for a more hardy long material to be fabricated off of. The foam is approximately 2" thick, but we were tipped off that you can stack pieces and clamp with gorrilla glue to have taller shapes.
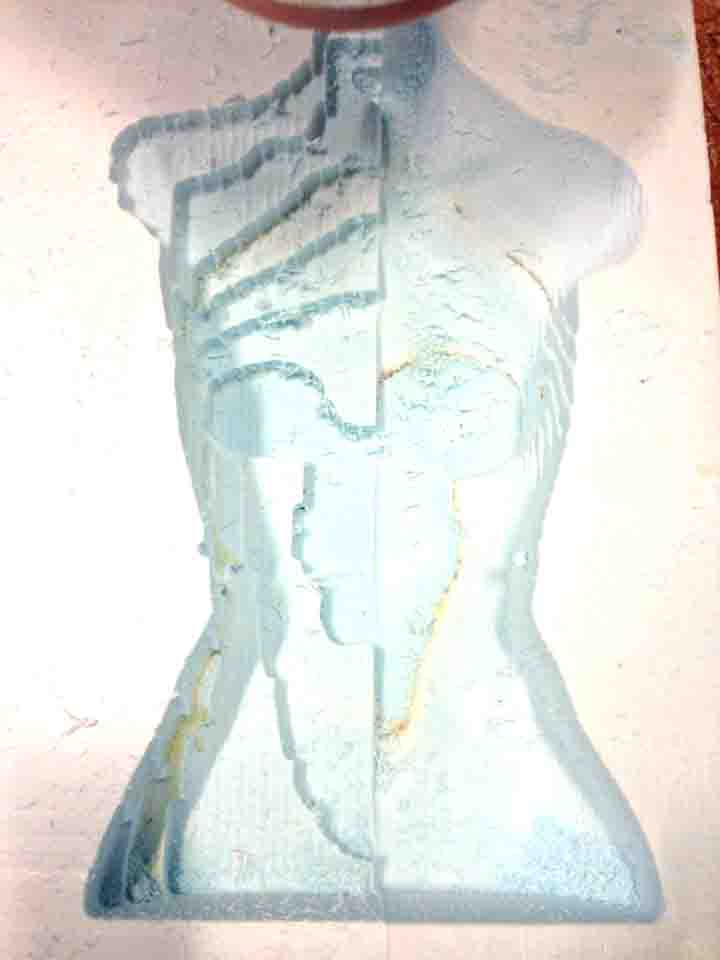
Our lab has had an ongoing focus on wearables, so I thought I would attempt to mill the lady who often models for us in computational simulations. I had to scale her down a bit, but I could fit her for the most part within 6" (stack of 3 foam blacks).
When cutting a piece this big, efficiency in tool path can mean the difference between a job taking 30 minutes or 4 hours - so it is worth tweaking your end mill and tool path settings for a bit. After over an hour of learning about tool paths from Tom and John, I was feeling rather comfortable with V-carve and had managed to shave the job time down to 45 min with a 1/4 mill - reasonable -.
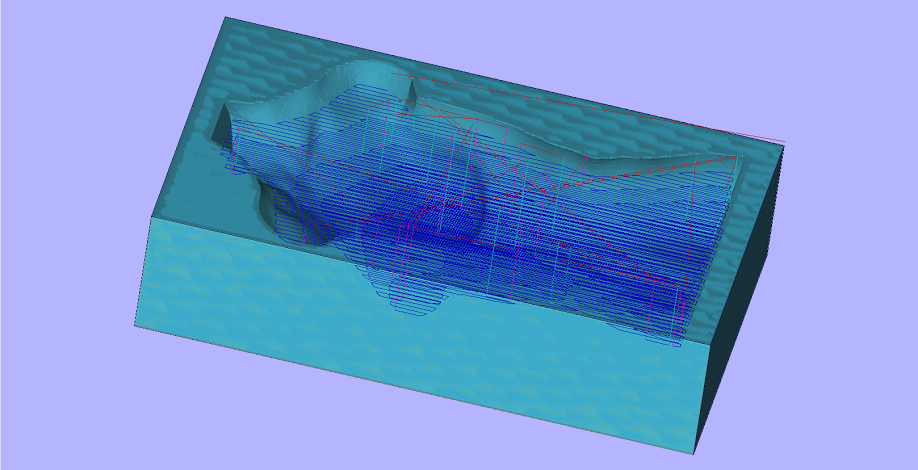
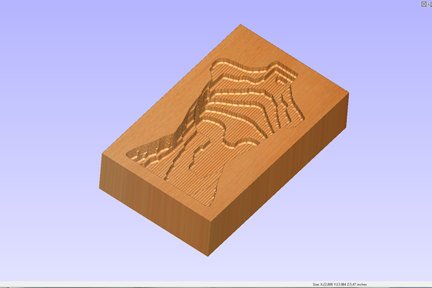

Foam is soft enough that there is not much harm it can inflict on a deep-cutting endmill, as opposed to wood or wood composite. the are still limitations on how deep the ShopBot can cut, based on the length on the endmill shaft. If the top of the drill slams into the surface of the foam, it will deform the foam and prevent the drill from going any deeper. This toolpath managed to get it just to that upper limit (see bottom right).
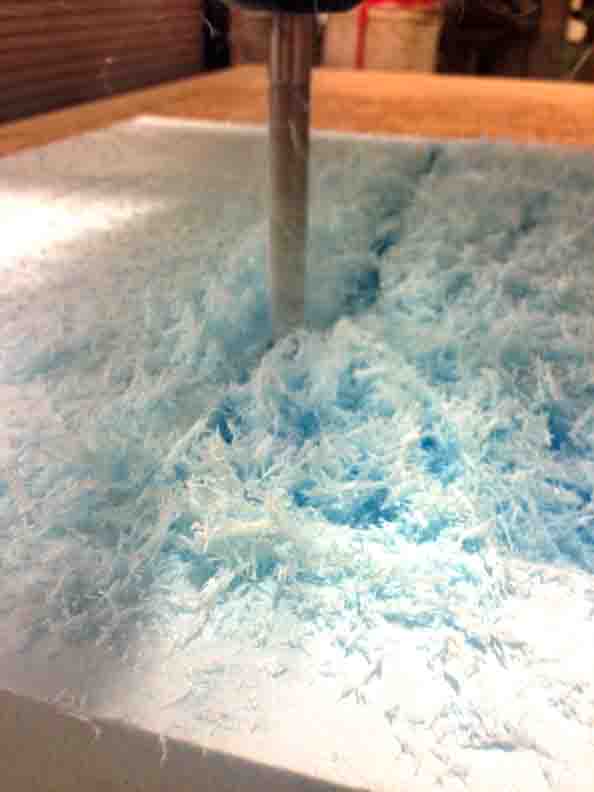

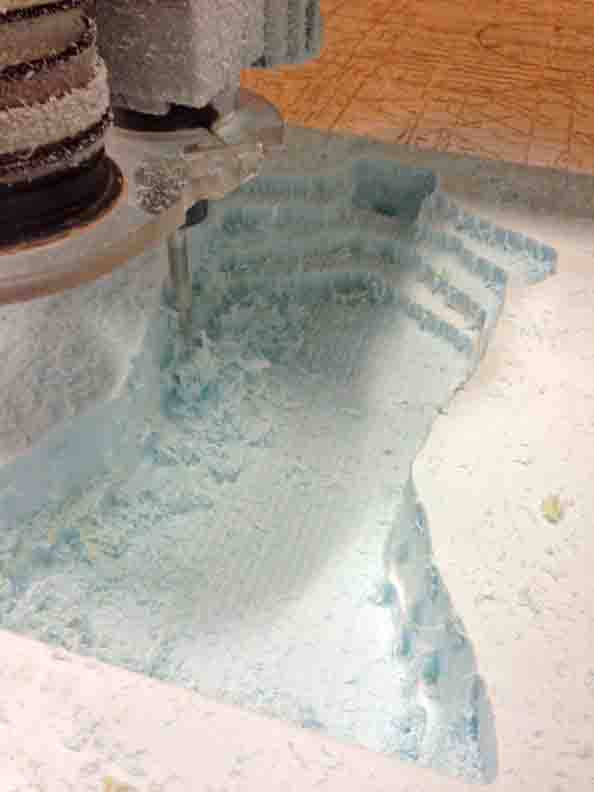

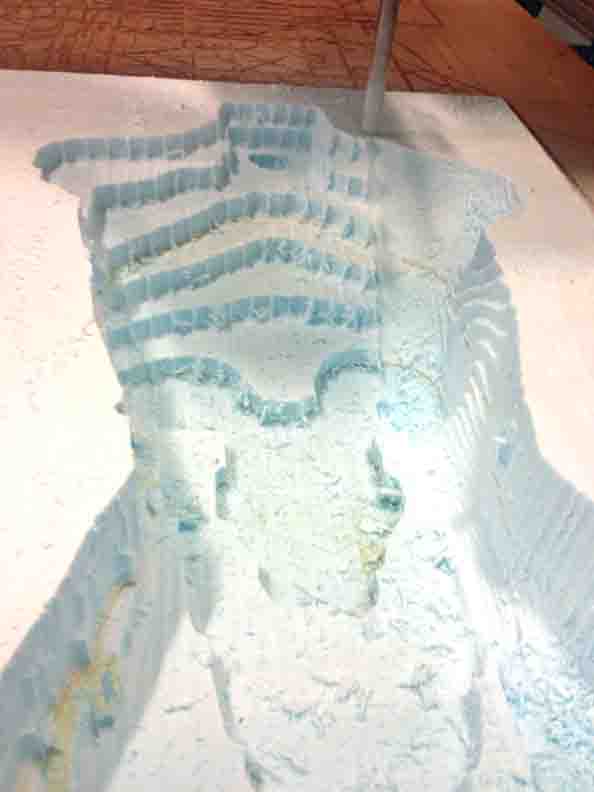

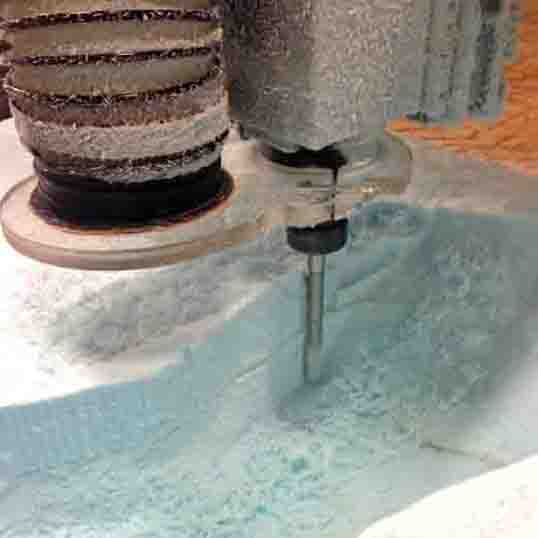
<< using as much endmill as possible, to go as deep as possible.
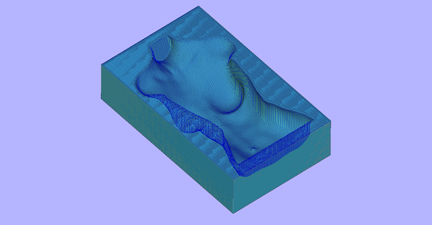
Unfortunately, this lady will have to wait. Because I chose to make a negative cut, there is no good way to make a composite using vacuum form. It would be interesting to try to use water forming (garbage bag full of water) with a lighter fabric that does not need so much force to be compressed. I have ordered linen and am waiting for it to arrive.
Another quick mold
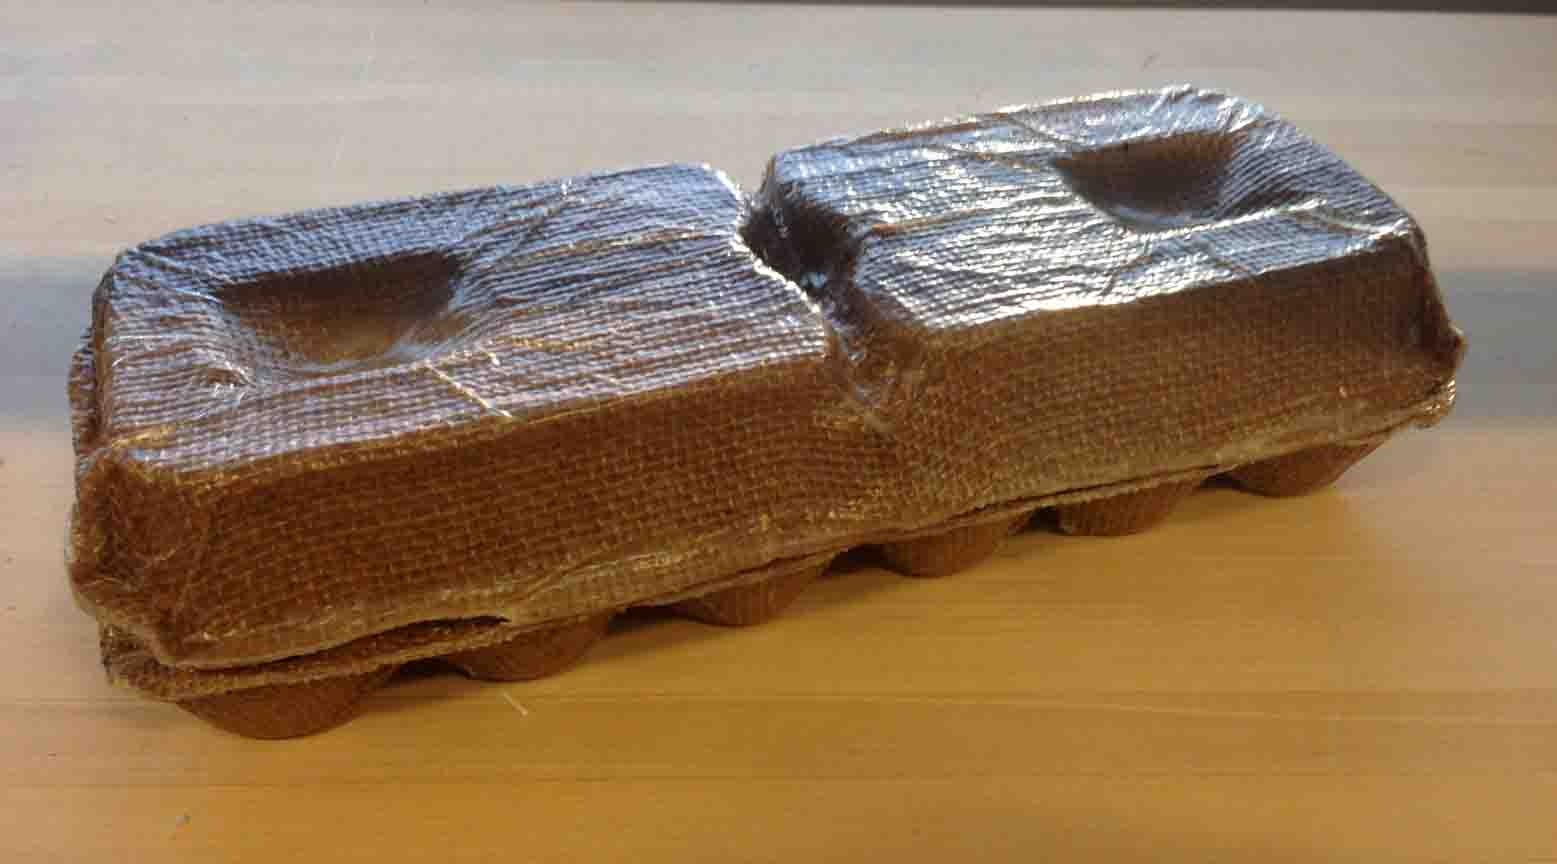
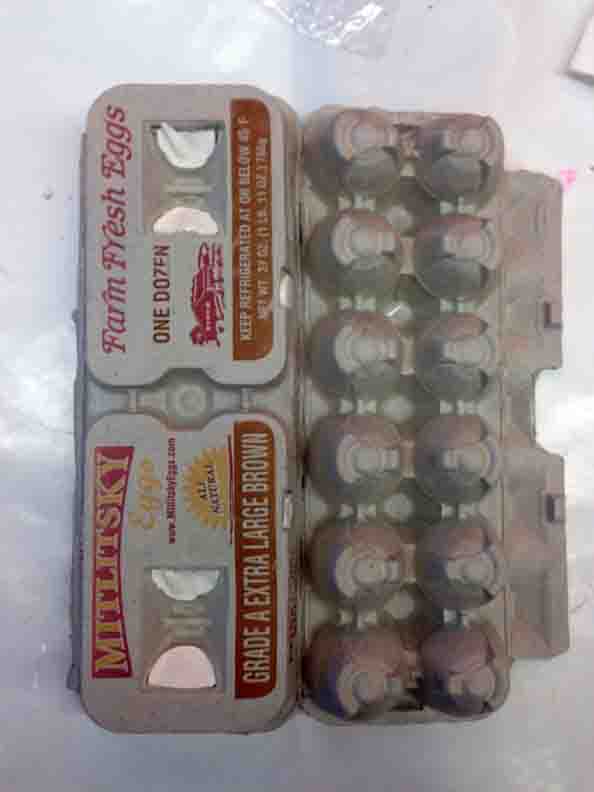
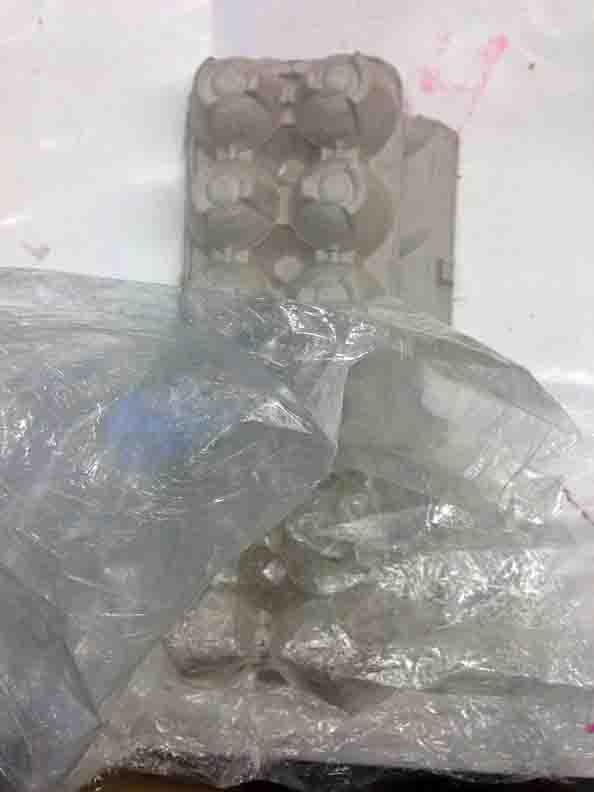
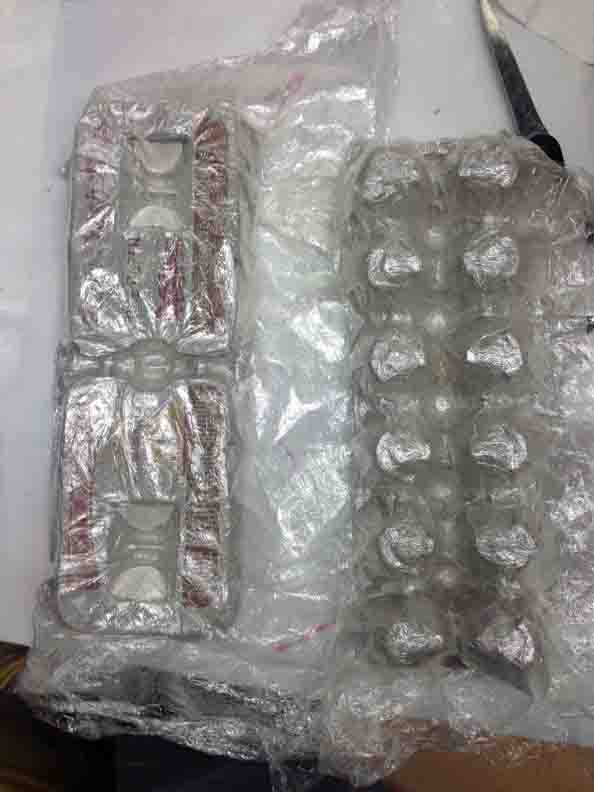
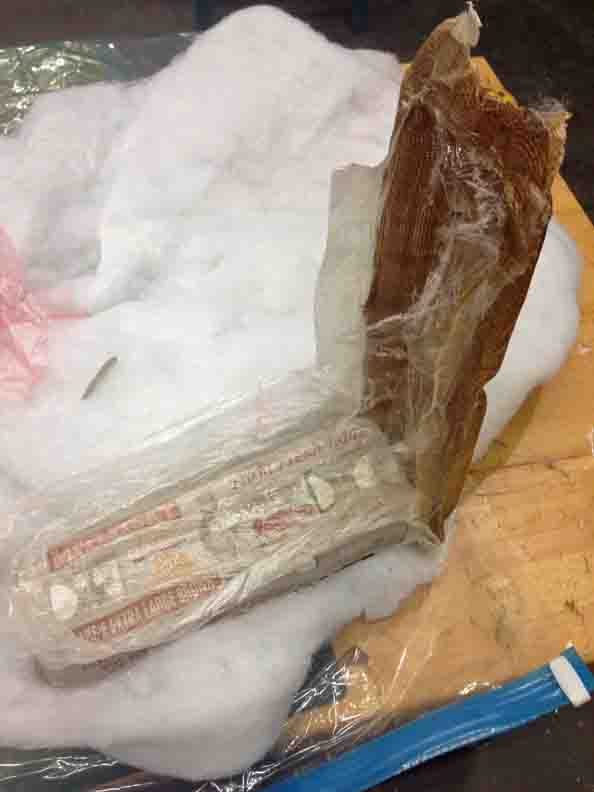
For now, I decided I need a "Bullet Proof Egg Carton" for resilient, reusable egg transport. To fab a quick mold, I try another approach with cast-able Dry Stone. The Dry Stone will allow the egg carton to keep its form when it is put under the pressure of the vacuum bag.
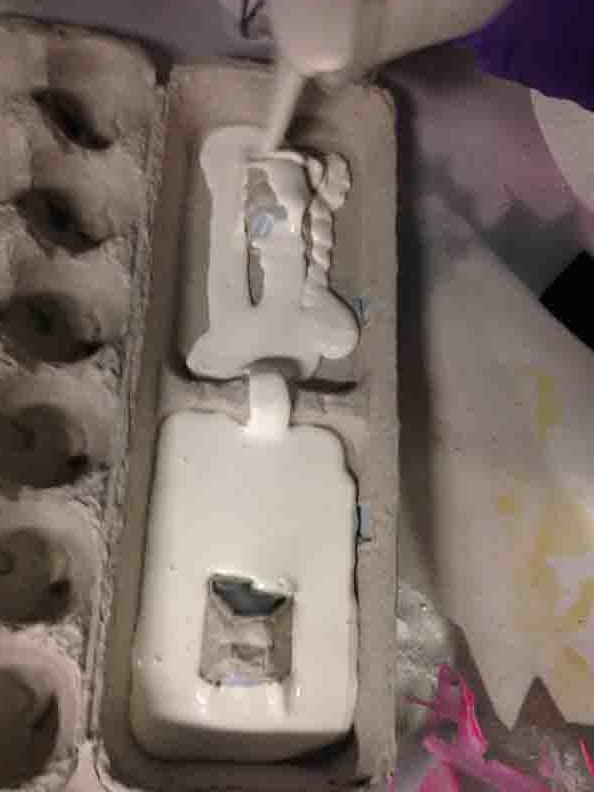
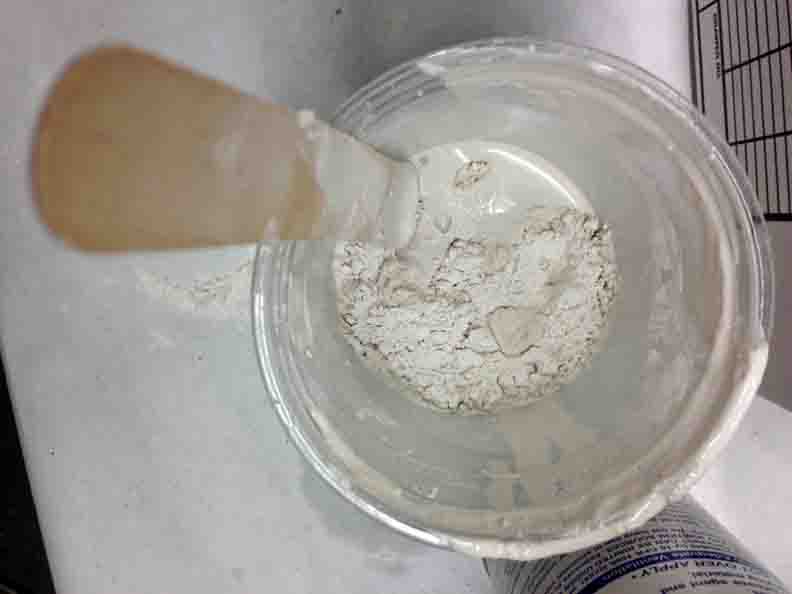
Product info: Gypsum dry stone, one hour dry time .
Resin Composit Building
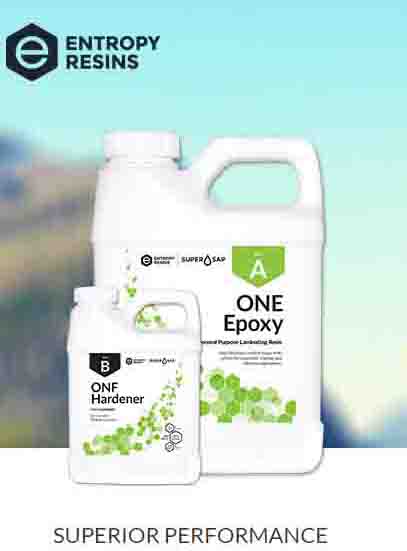
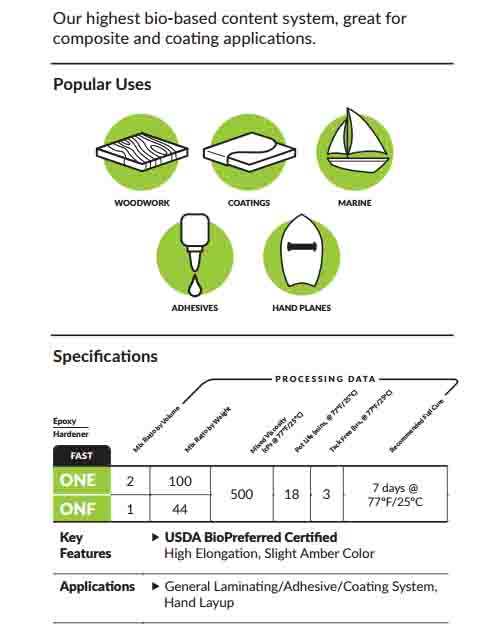
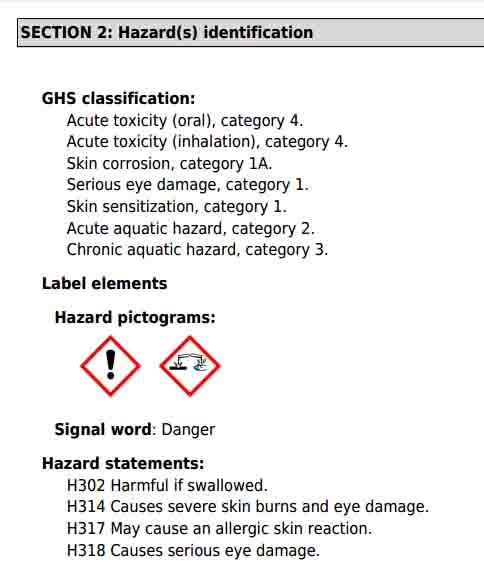
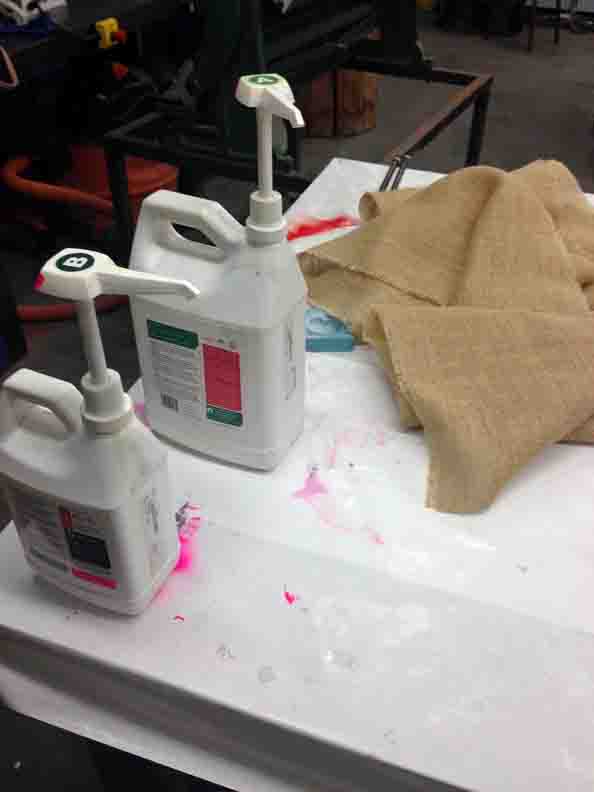
Making a composite is a big sandwich. We start with the glue. We are using a relatively eco-friendly exothermic resin called Entropy Resin Super Sap ONE/F. I went to the Entropy Resin website and found saftey information for working with it as well as some useful tips.
- The Material Saftey Data Sheet (MSDS) for the Epoxy, check it here
- The Material Saftey Data Sheet (MSDS) for the Hardener, check it here
- The Technical Data Sheet (TDS), check it here
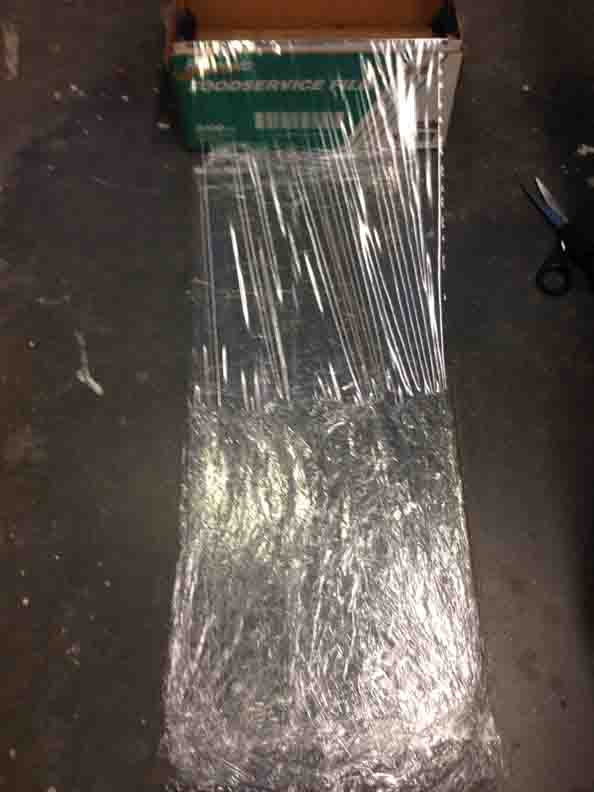
Now that that's out of the way. Step [1] of sandwich. Wrap your mold in some sort of 'release. Tin foil and saran wrap are both good options. I set multiple layers of saran wrap (i.e. X 7) Because the epoxy goes through an exothermic reaction, some of these layers will melt and stick to the composite and the others will help release the mold. ##PRO TIP# layer all of the saran wrap on itself, on a flat surface, and apply to your mold as one piece. This is much easier than trying to wrap your mold in a single piece of saran wrap seven times, and it retains more of the small details.
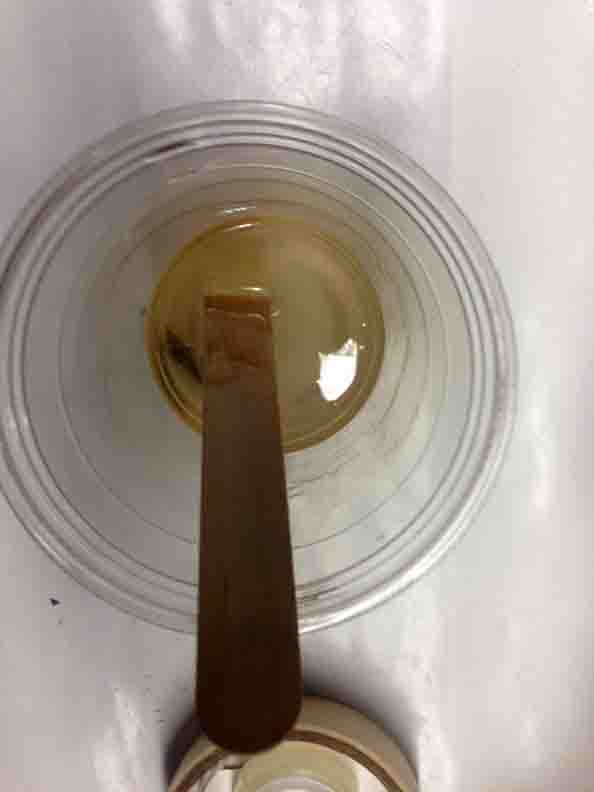
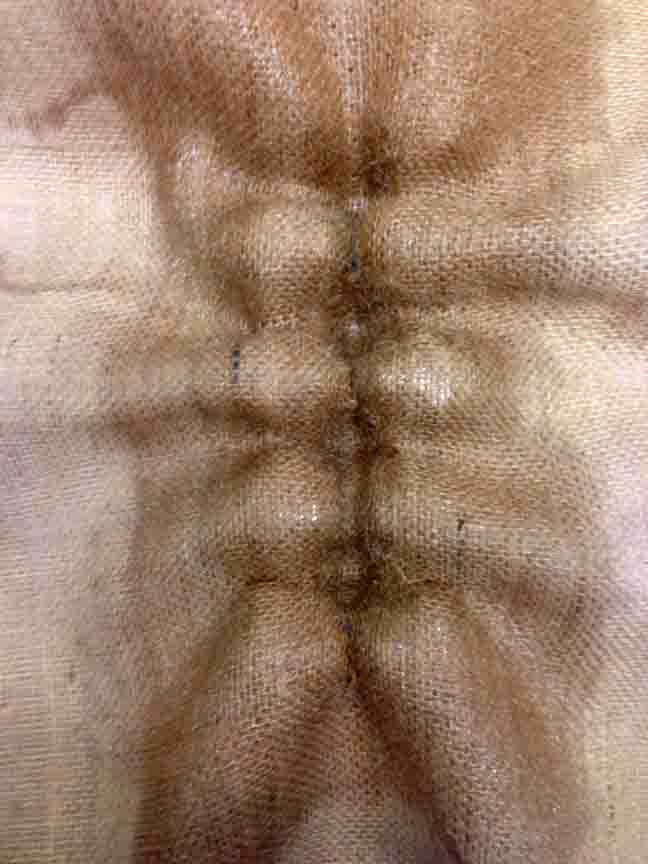
Step [2] is the application of the resin to the epoxy. Use a brush or popsicle stick to spread throughout the fiber and scrape evenly). Once completely saturated, Step [3] is to apply the burlap to your mold. 2-5 layers. I decided 2 was plenty and worked on cutting the burlap to relax it into the shape of the egg carton. Burlap is a very thick fiber that is surprisingly hard to encourage into a certain shape.

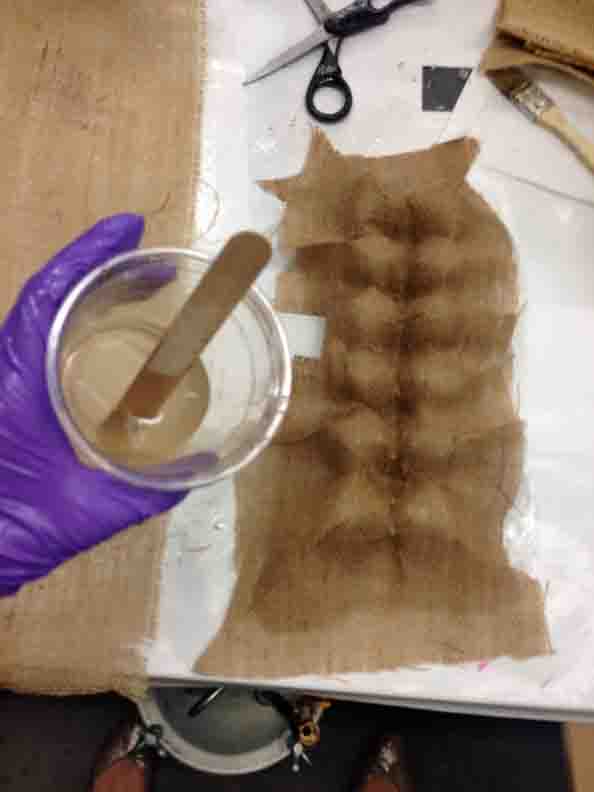
Here is my cutting pattern.
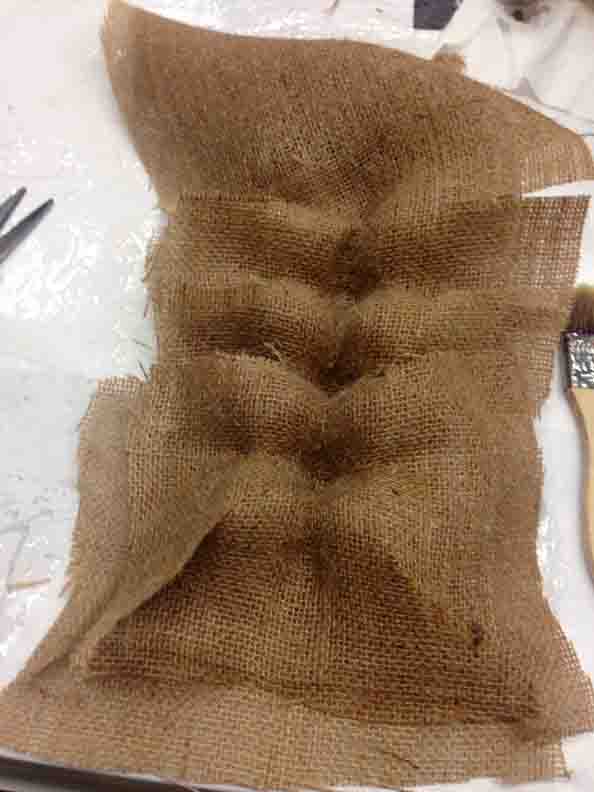

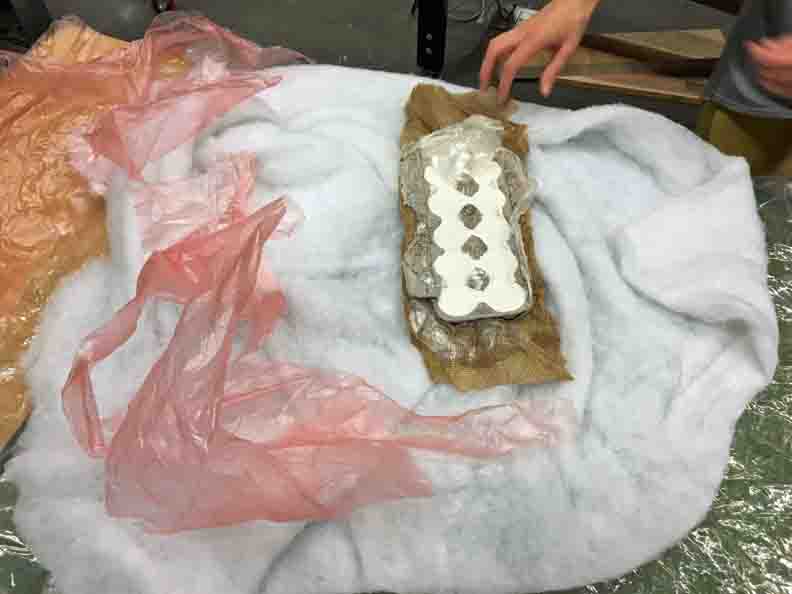
Step [4], I applied a layer of non-stick teflon around my composite. really pushed my fingers into the grooves to maintain the shape profile I was trying desperately to work into the burlap. [5] is the addition of the bleeder - breather, a fluffy cotton sheet that helps the vaccuumed air flow out while sopping up any excess resin that escapes into the bag. Finally, the last layer [6] is to put all this in a giant ziplock bag.
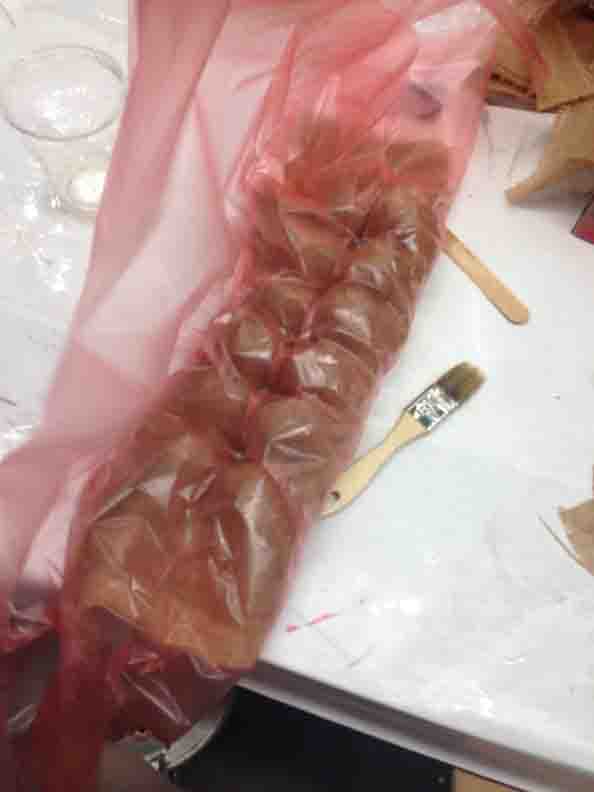
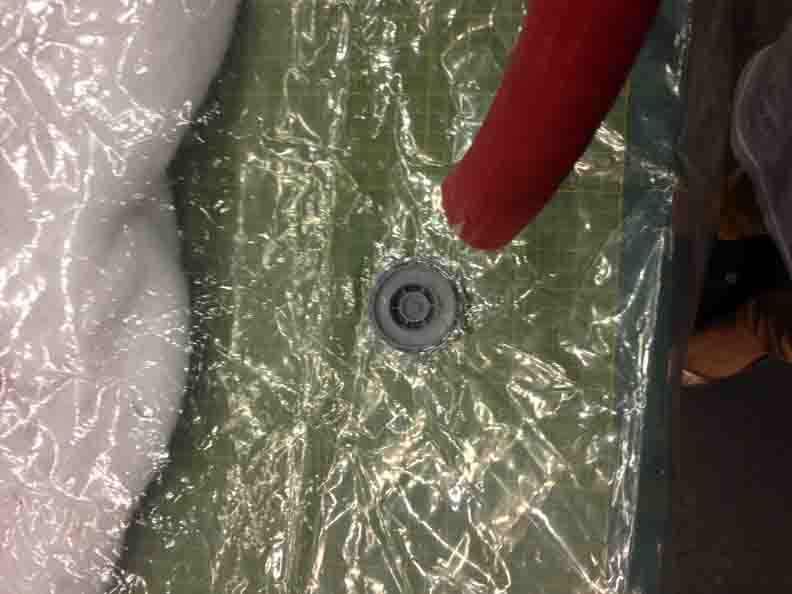
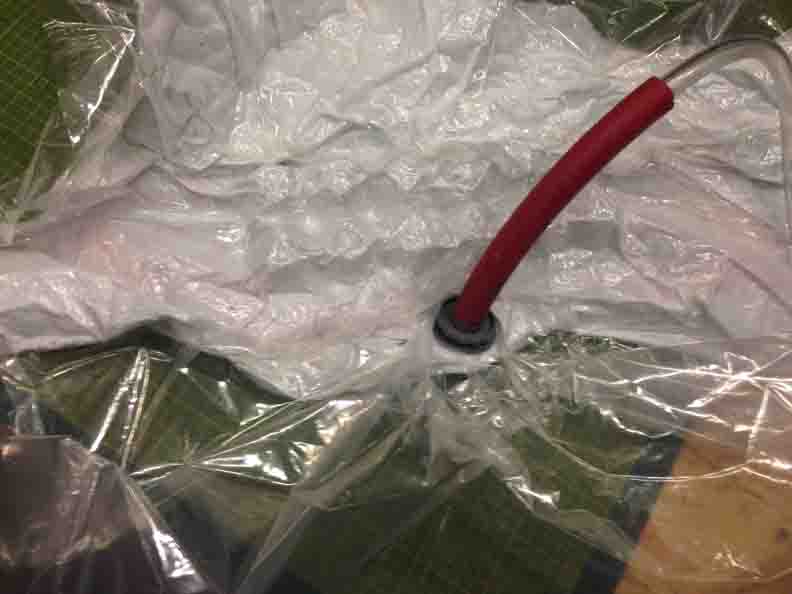
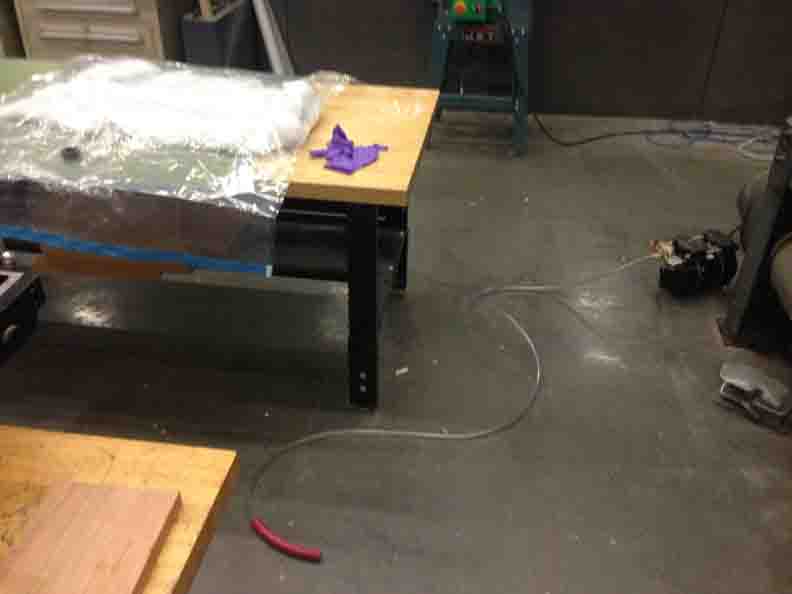
With the air valve left open, I let the pump run for four hours applying continuous suction. [P.S. make sure your bleeder sheet is positioned under the valve opening, so it can do it's job.] At this point the resin has gone through its exothermic reaction and has cured.
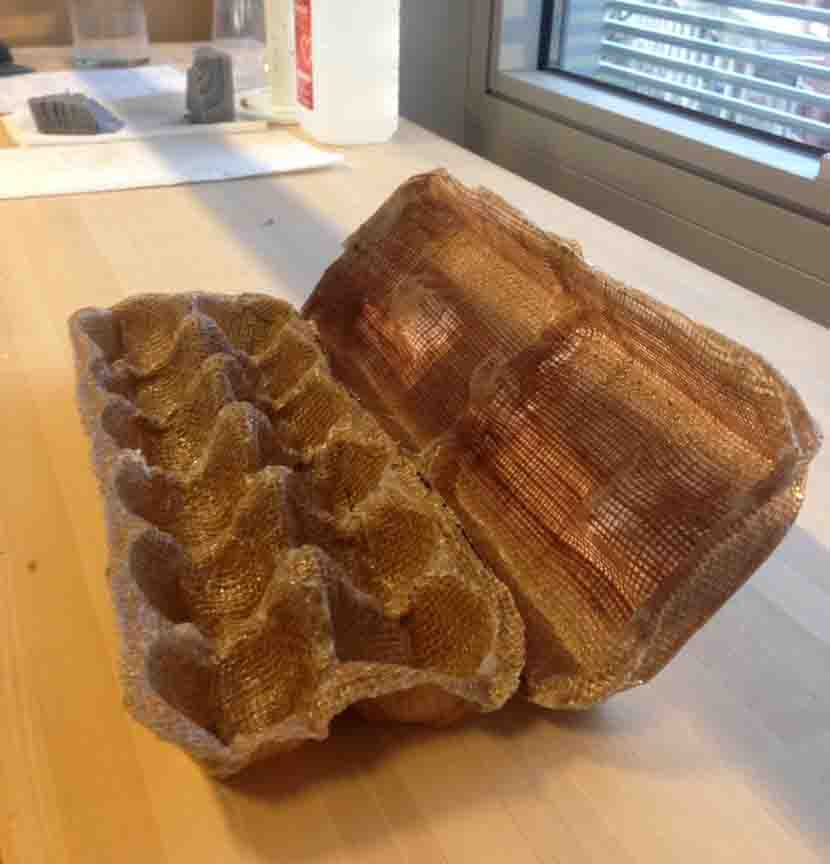
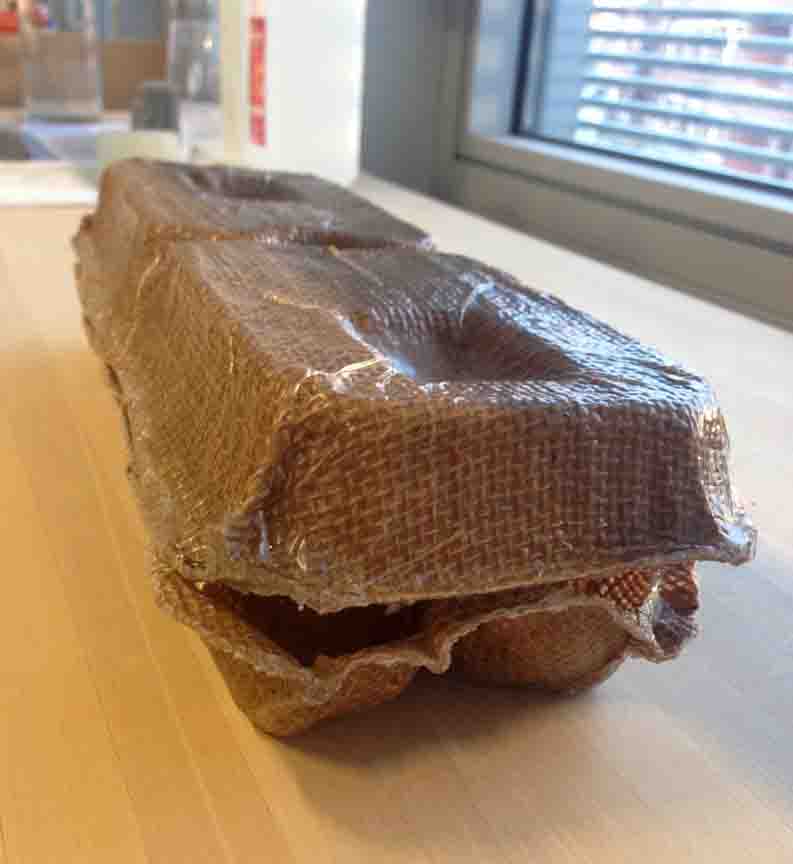
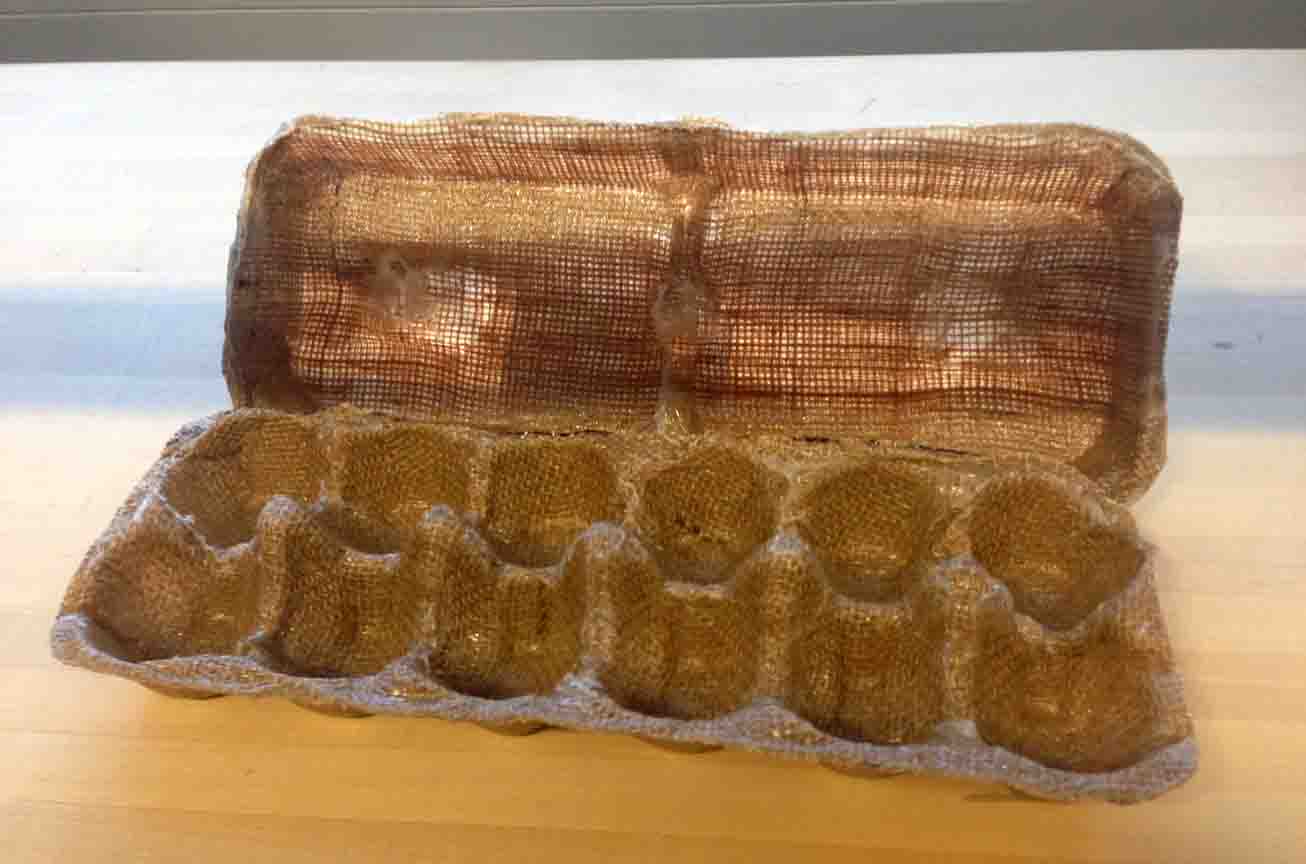
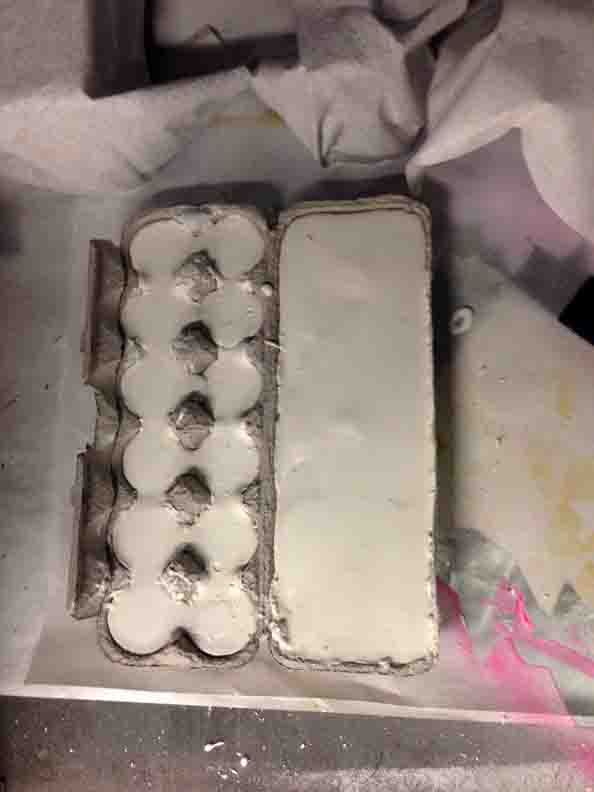
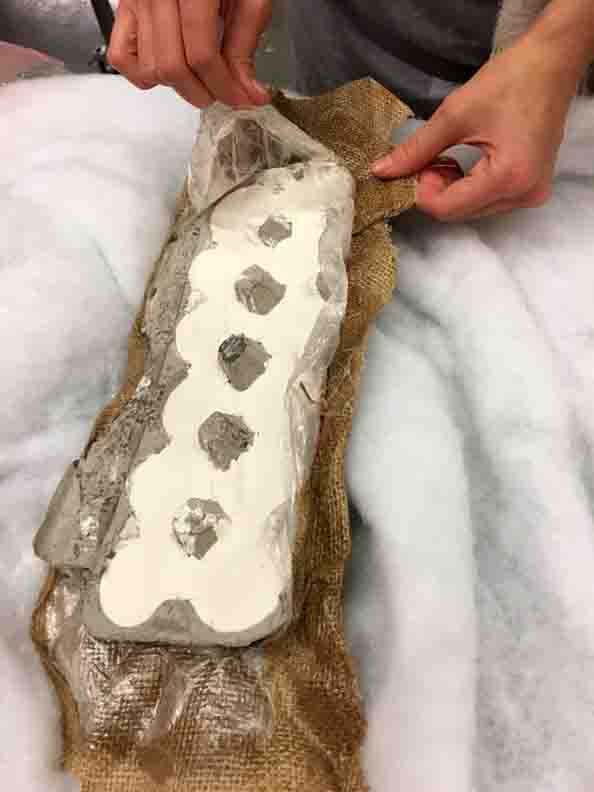
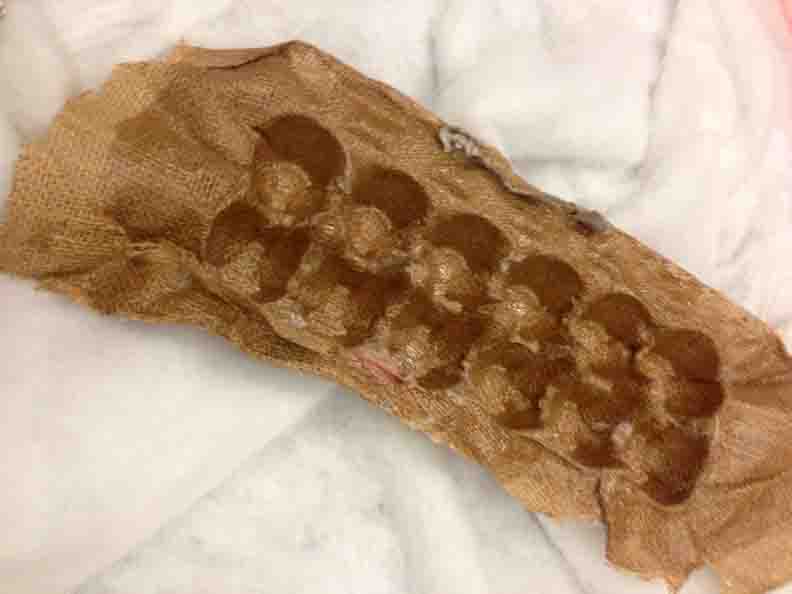
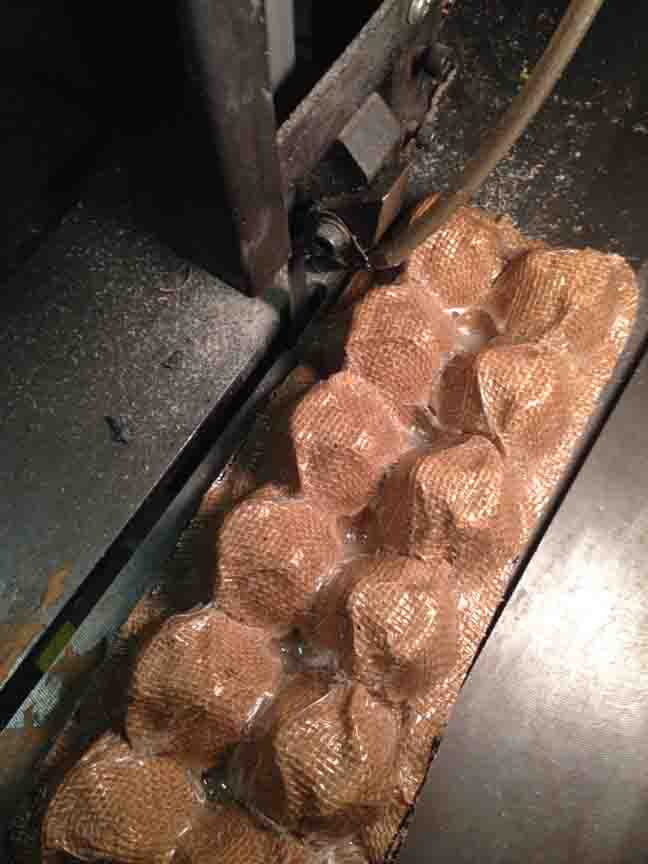
It took a little muscle to remove the egg carton due to places that the burlap had folded over or pinched the ridge. However, the layers of saran wrap worked just as they should. The carton mold pulled free with a good yank.
I am actually very surprised about how much detail in the undulating egg carton the burlap managed to pick up. It is very accurately and egg carton! The rough edges can be cleaned up in post processing.
Next time I can try to make more precise stress cuts in the burlap, possibly even using the laser cutter.

Post-Processing Composit
At this point I got to learn how to use the band saw. It is easily one of my favorite tools (which might be a crime, because it's definately not a CNC and pretty low tech). Ah well!
TADA! Final product, will add hinges and sell to hippies on etsy!