--How to Make (Almost) Anything--
--Week 08--
--Molding and casting--
--Step 1: Designing the mold in software
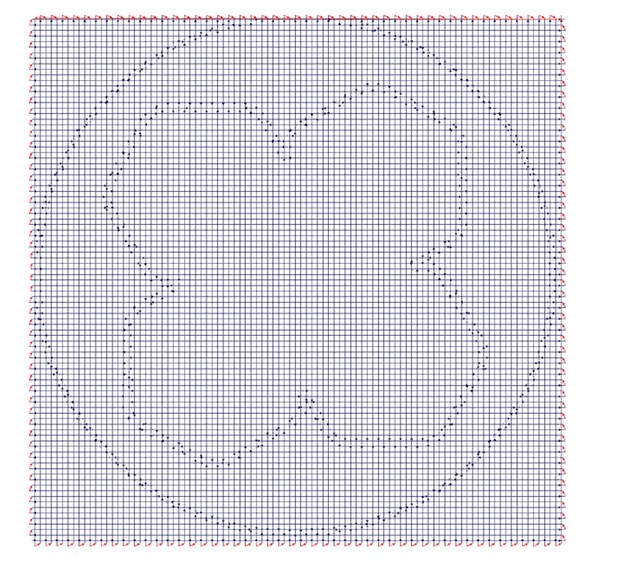
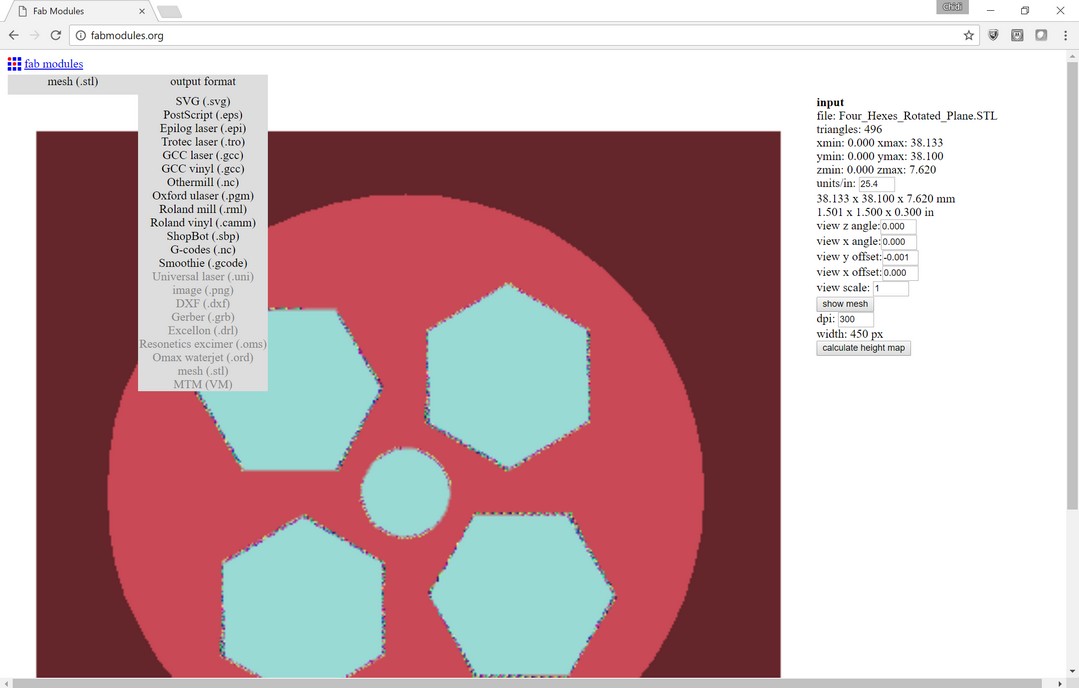
I wanted to keep this process as simple as possible, but also add some design elements, so what I came up with was a logo design of hexagons around a circle and within a larger concentric circle. Each hexagon is offset by a specified angle along the curvature of the circle. Figure 1 shows what the initial design looked like, and Figure 2 shows what the design with lips to keep the mold in the wax without creating an external box. I then exported this as an STL file.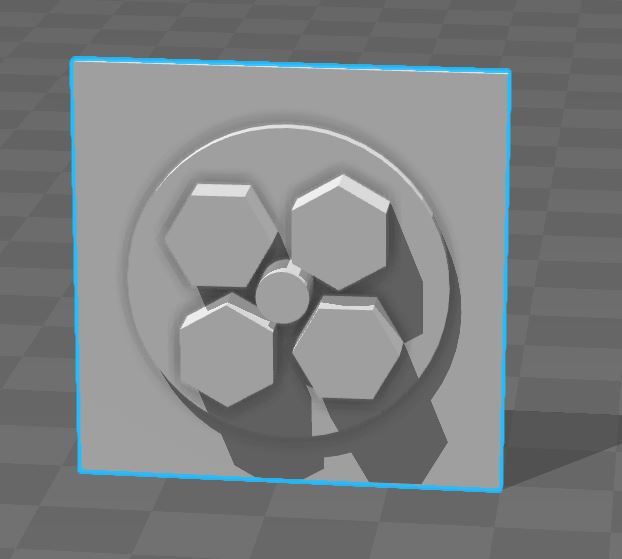
Figure 1: Initial logo design
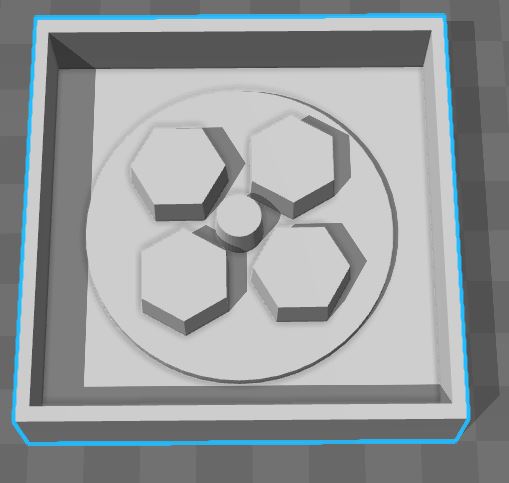
Figure 2: Design accounting for Oomoo pour and possible overflow
--Step 2: Creating a toolpath, milling, and molding
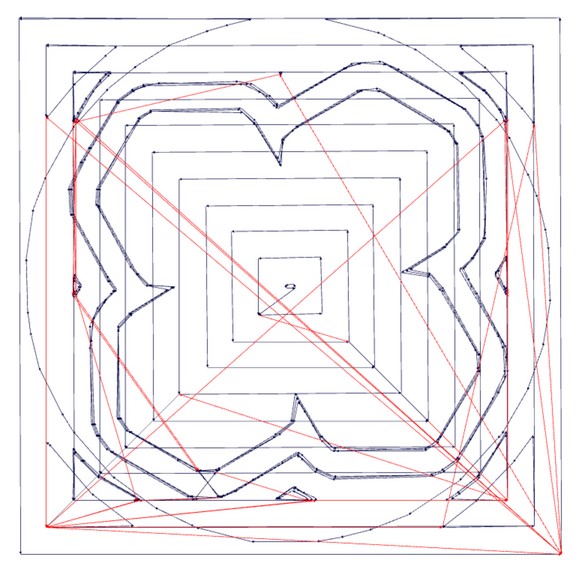
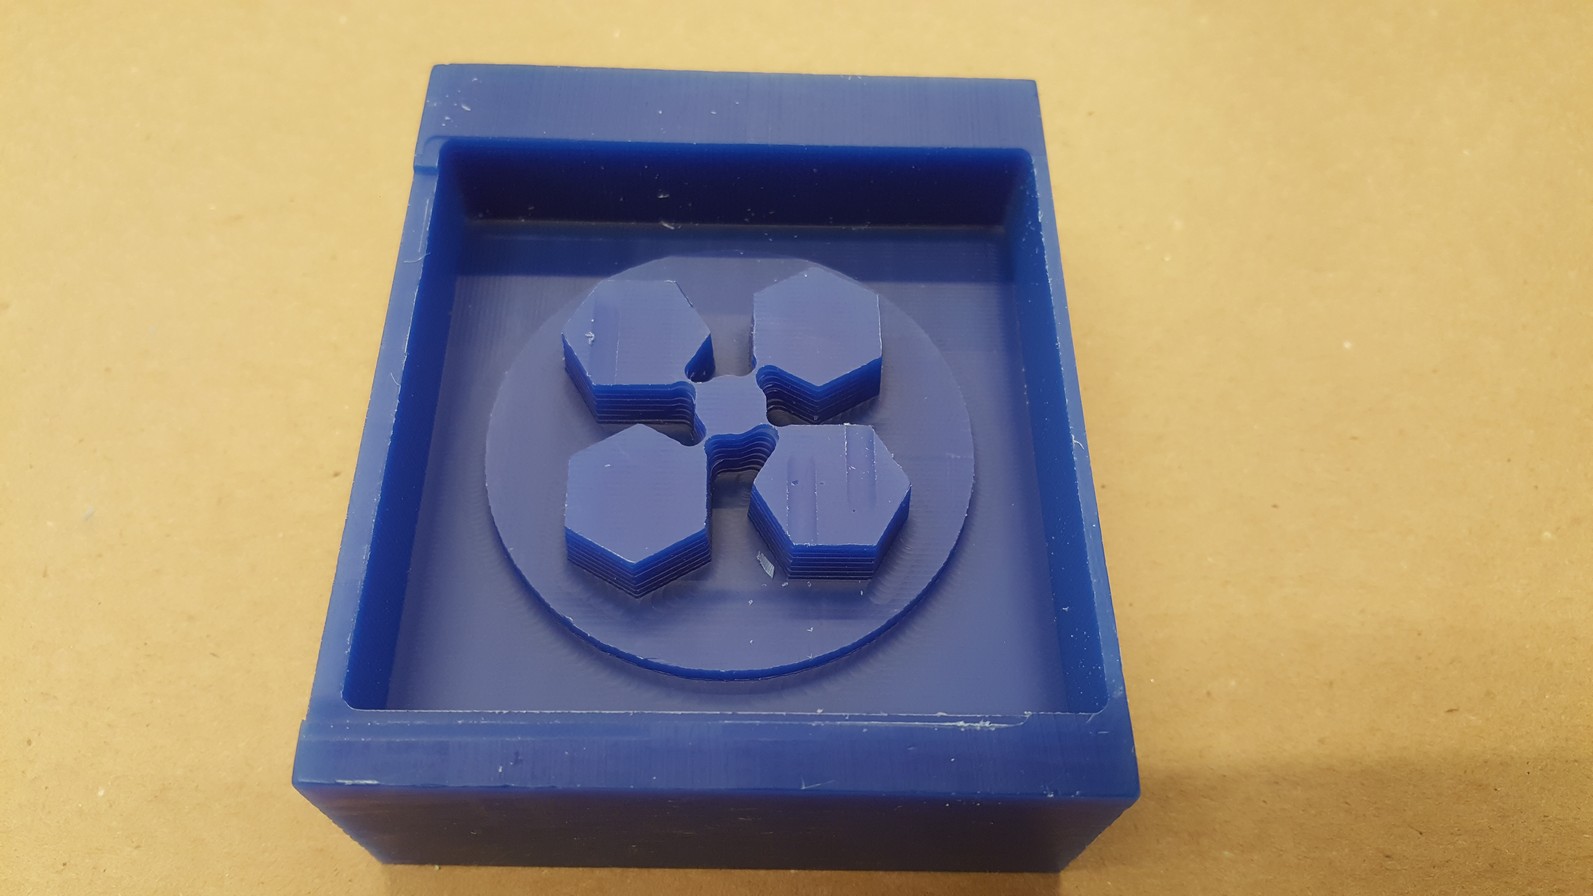
For this step, I went to the fabmodules.org website as specified by Neil and imported my STL file into the website, and the first thing that showed up was a mesh of the drawing. I then created a height map from this mesh, and proceeded to create the toolpath for the othermill machine. The first step was to create the "foam rough cut" path,and then the "foam finishing cut", saving each one along the way.Because I did not want to spend a lot of time with the cutting process, my mold was about 2in x 2in x 0.5in in dimension. Some of the features of my mold did not show up, because the resolution was too small at this scale. So the alternative was to scale the mold up and then the features would show up. I proceeded with the initial design first to see what the outcome would be.
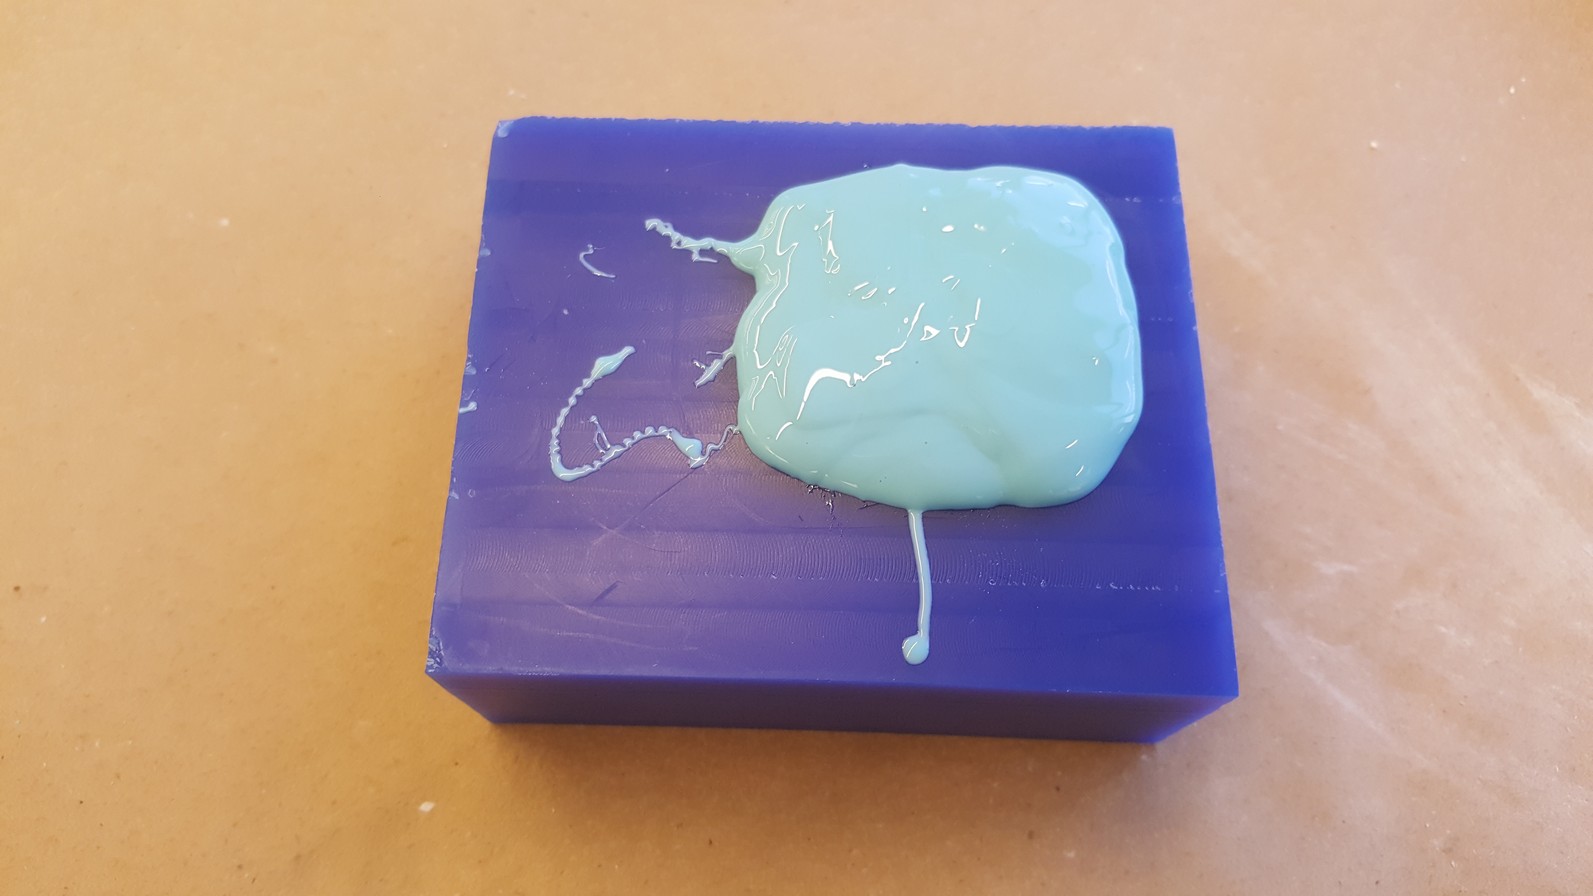
After the milling process, I mixed the oomoo and poured it in the milled out wax mold to create a negative of the mold, where the hydrostone would eventually be poured into to create the finished product. The oomoo mix was a 1 to 1 ratio by weight, and it was a slow mixing process. Where bubbles formed, I poured the mix slowly into a separate container in order to let the bubbles pop on the way down this is essential to create a featureless surface with the oomoo. After setting, the oomoo mold turned out as expected.
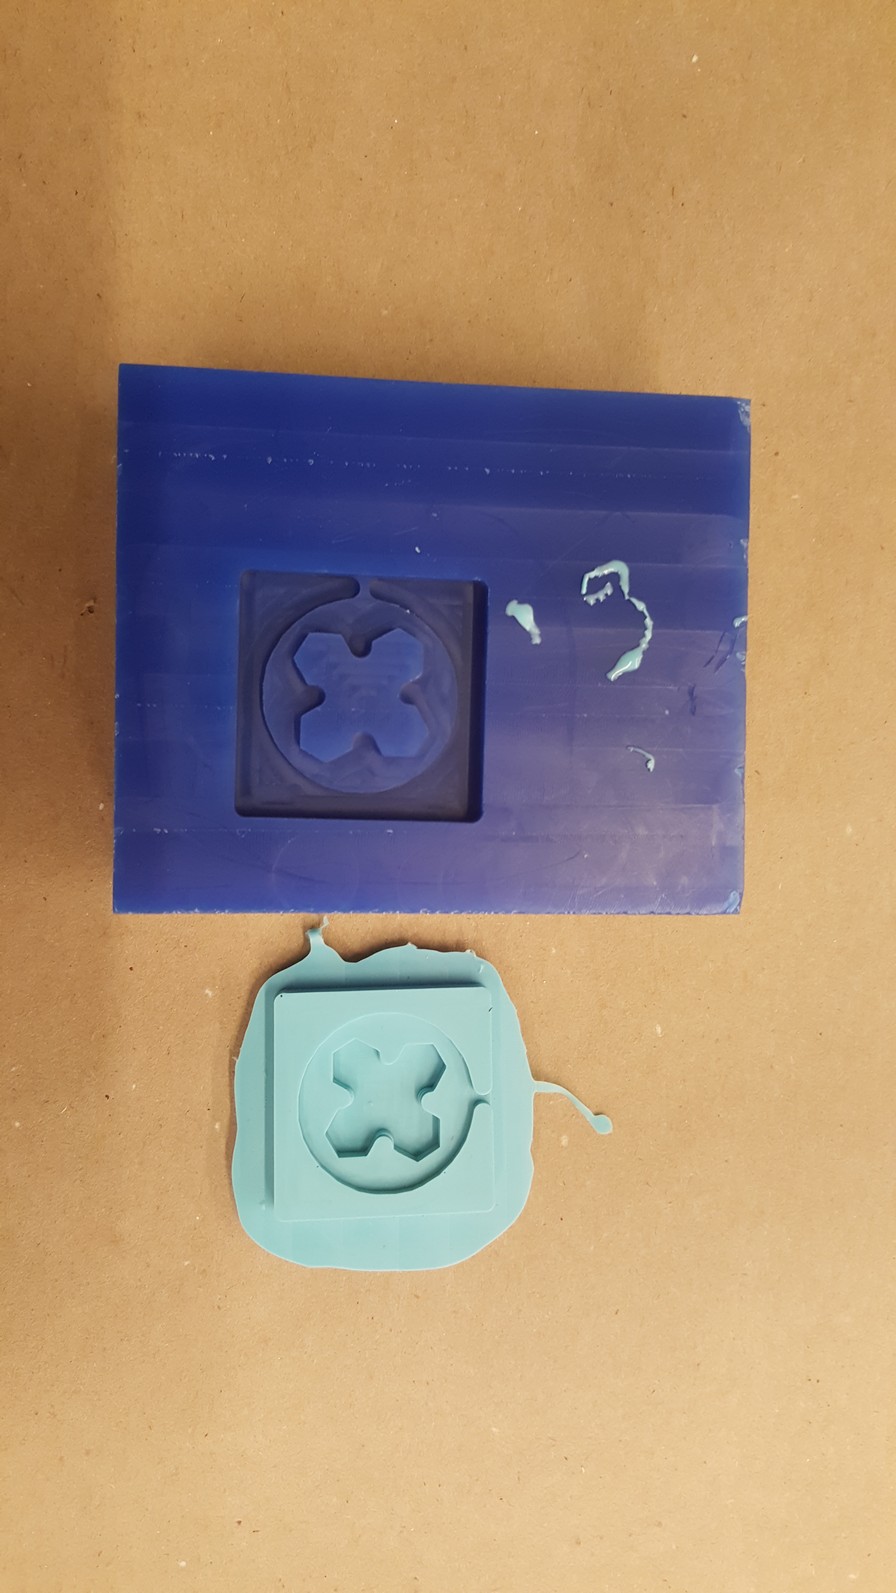
The next step was to pour the hydrostone mix (100 parts to 32 parts, water to powder ratio), after some vigorous mixing in a plastic cup for a number of minutes. When all the bubbles were tapped away, I then poured the mix into the oomoo mold, and let it sit until it set. Figure 3 shows walks through the entire process - The outcome was that there was some settling that occured with the hydrostone mix, which made some of the features brittle.
Foam rough cut - Small scale
Foam finishing cut - Small scale
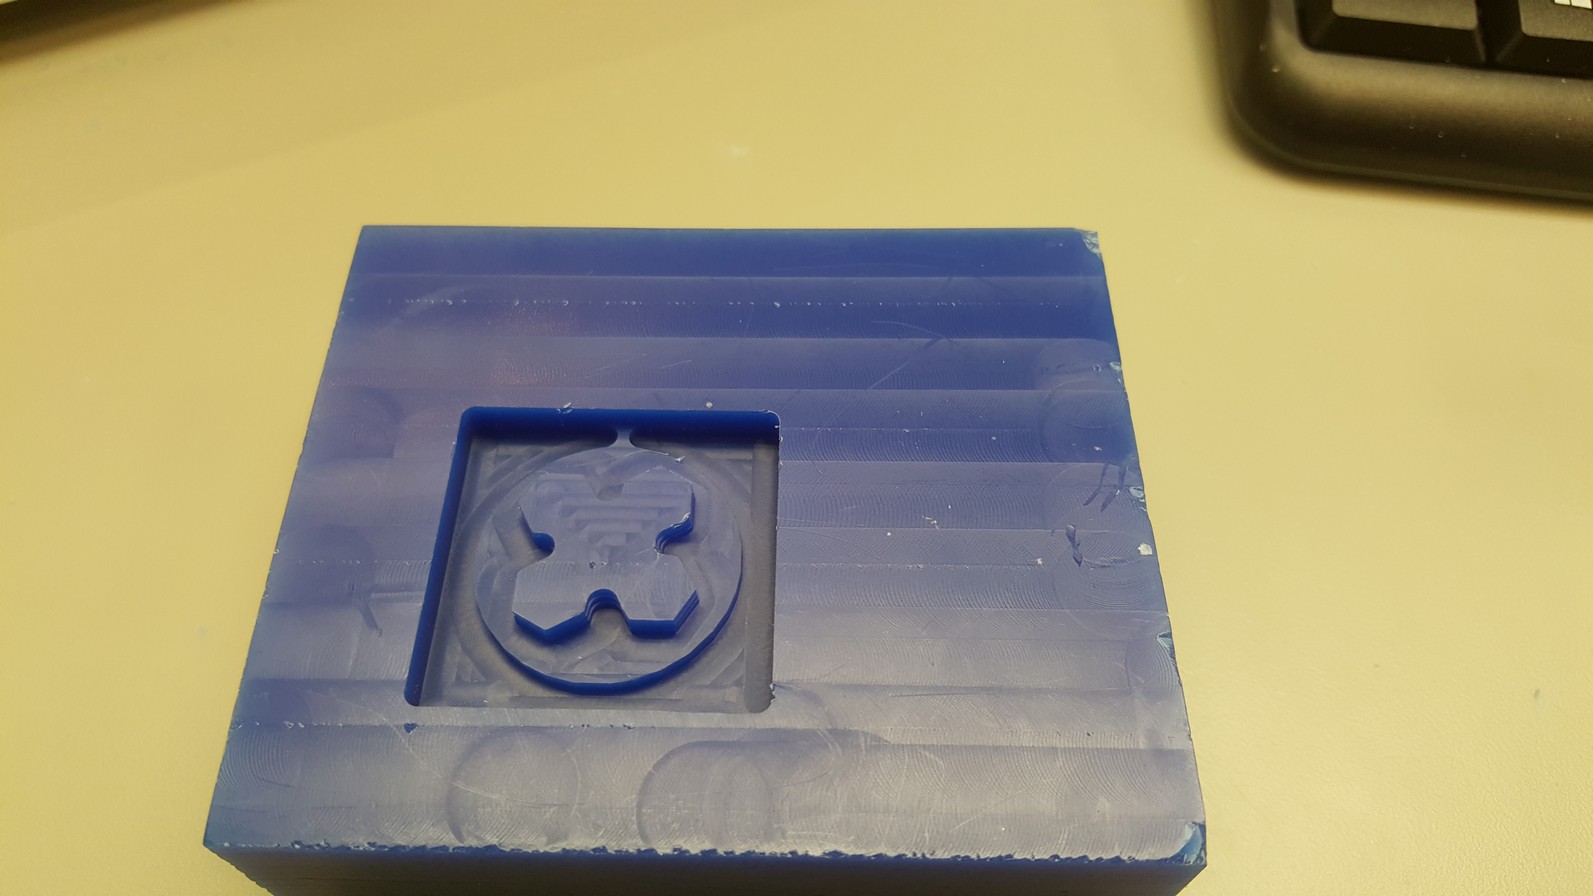
Milled wax - Small scale
Setting the Oomoo mold - Small scale
Finished Oomoo mold - Small scale
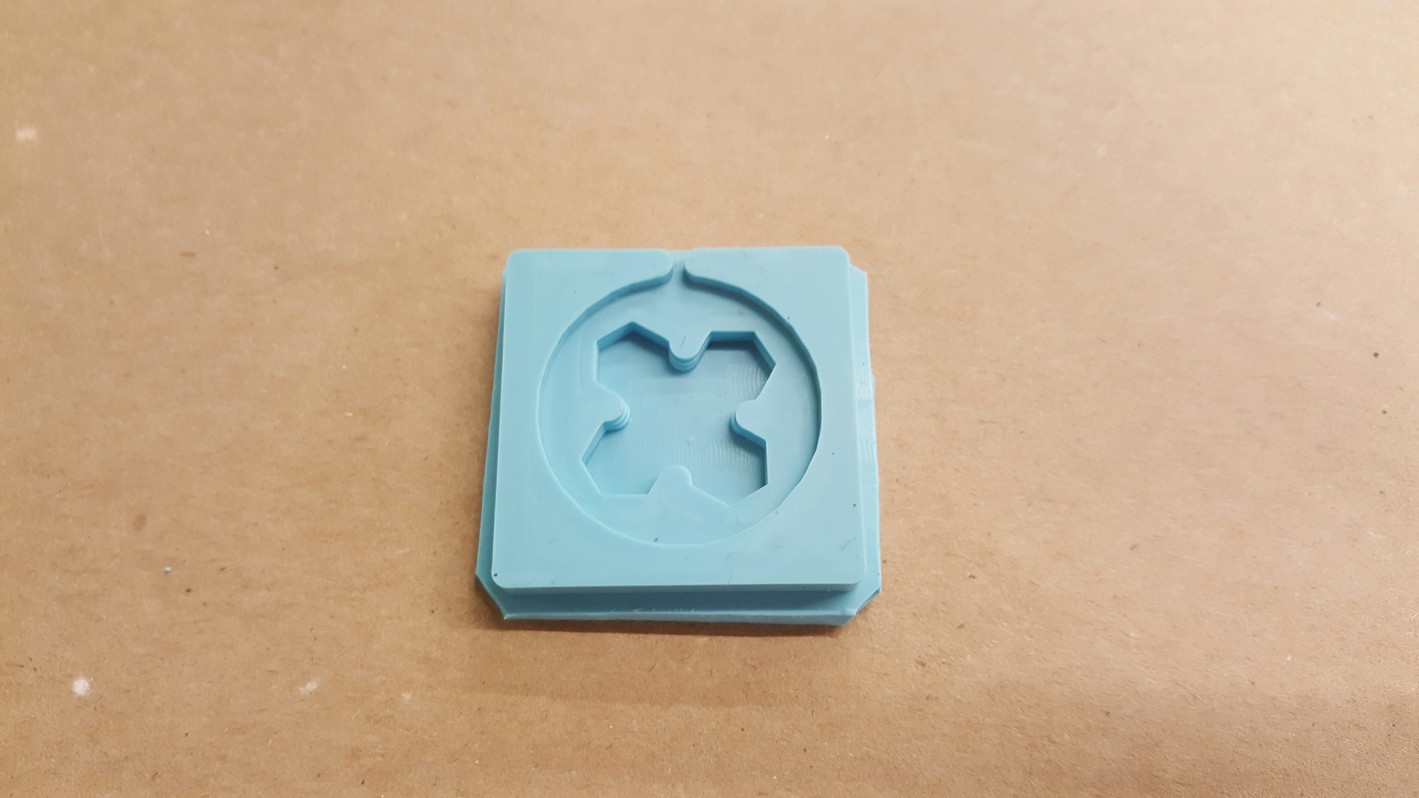
Finished Oomoo mold - Small scale
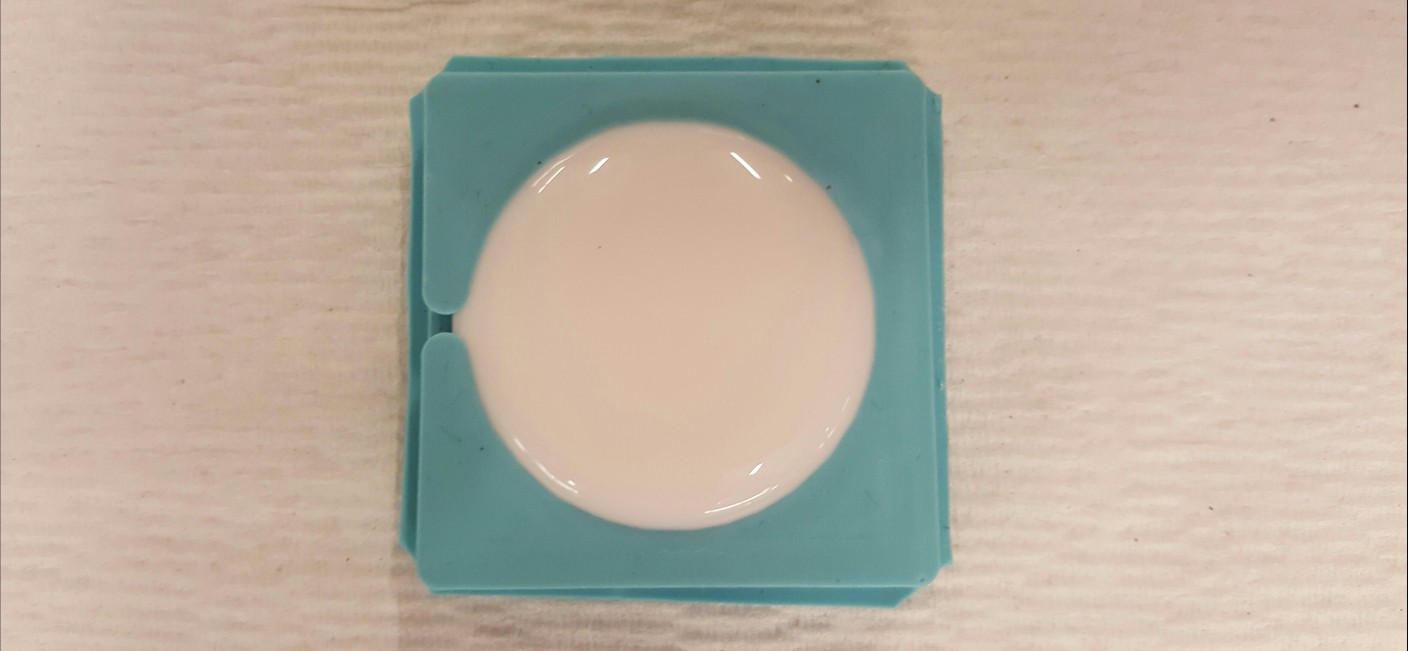
Setting the hydrostone mix - Small scale
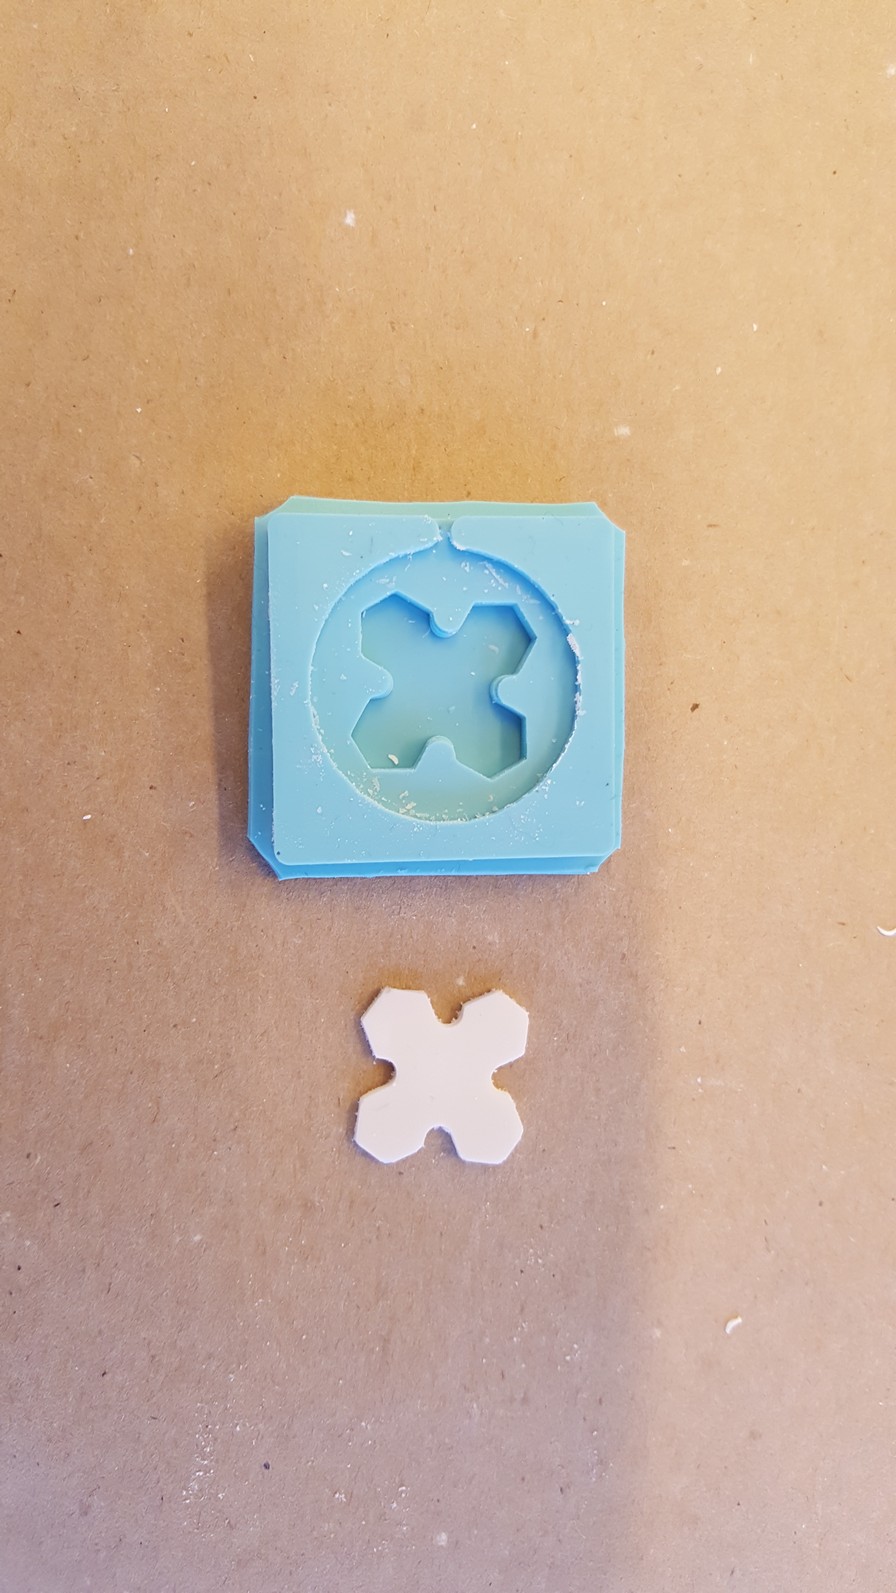
Finished Hydrostone mold "fail" - Small scale
Figure 3: Workflow of the milling to molding process for the small scale design
--Step 3: Reworking the process, but at a larger scale
The next step was to redo the process, but at a larger scale that allowed for all the design features in the STL file to be present. I reused the initial wax mold, but the reverse side, in order to save materials. Figure 4 walks through the steps involved for this process. There was a similar outcome from the hydrostone mix, and this suggests to me that I'm doing something wrong with the mixing process - I'm blaming it on catching up on three weeks worth of work from being out of the country for 1 week, out with a fever the following week, and piled with the third assignment the following week.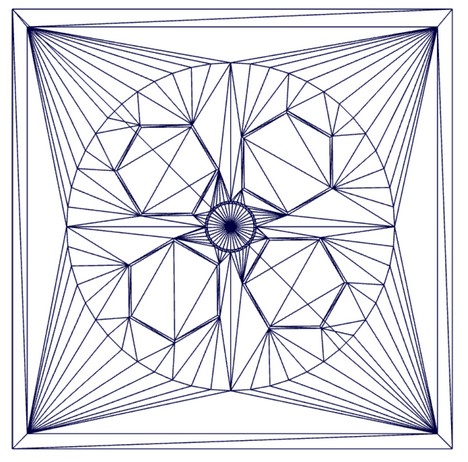
Mesh of the solid - Larger scale
Height map from fabmodules.org - Larger scale
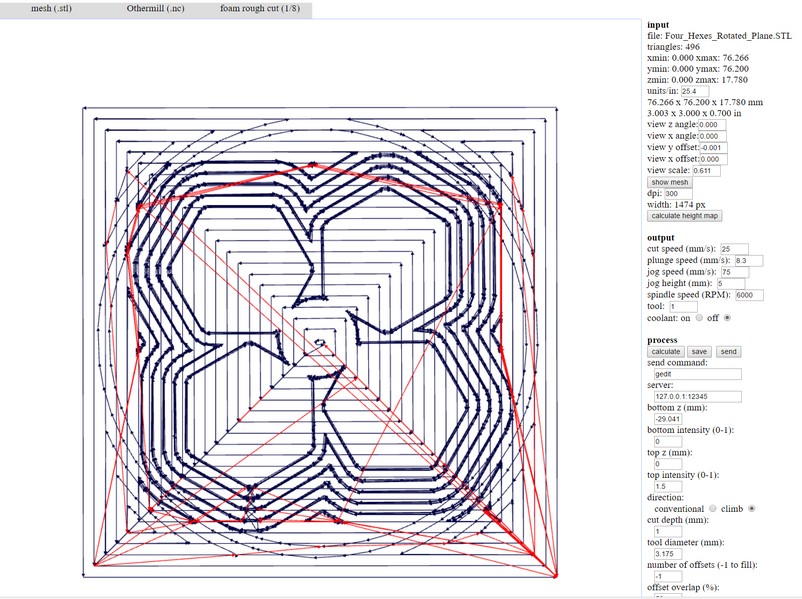
Foam rough cut - Larger scale
Reusing the brick for the larger scale mill
Milled wax - Larger scale
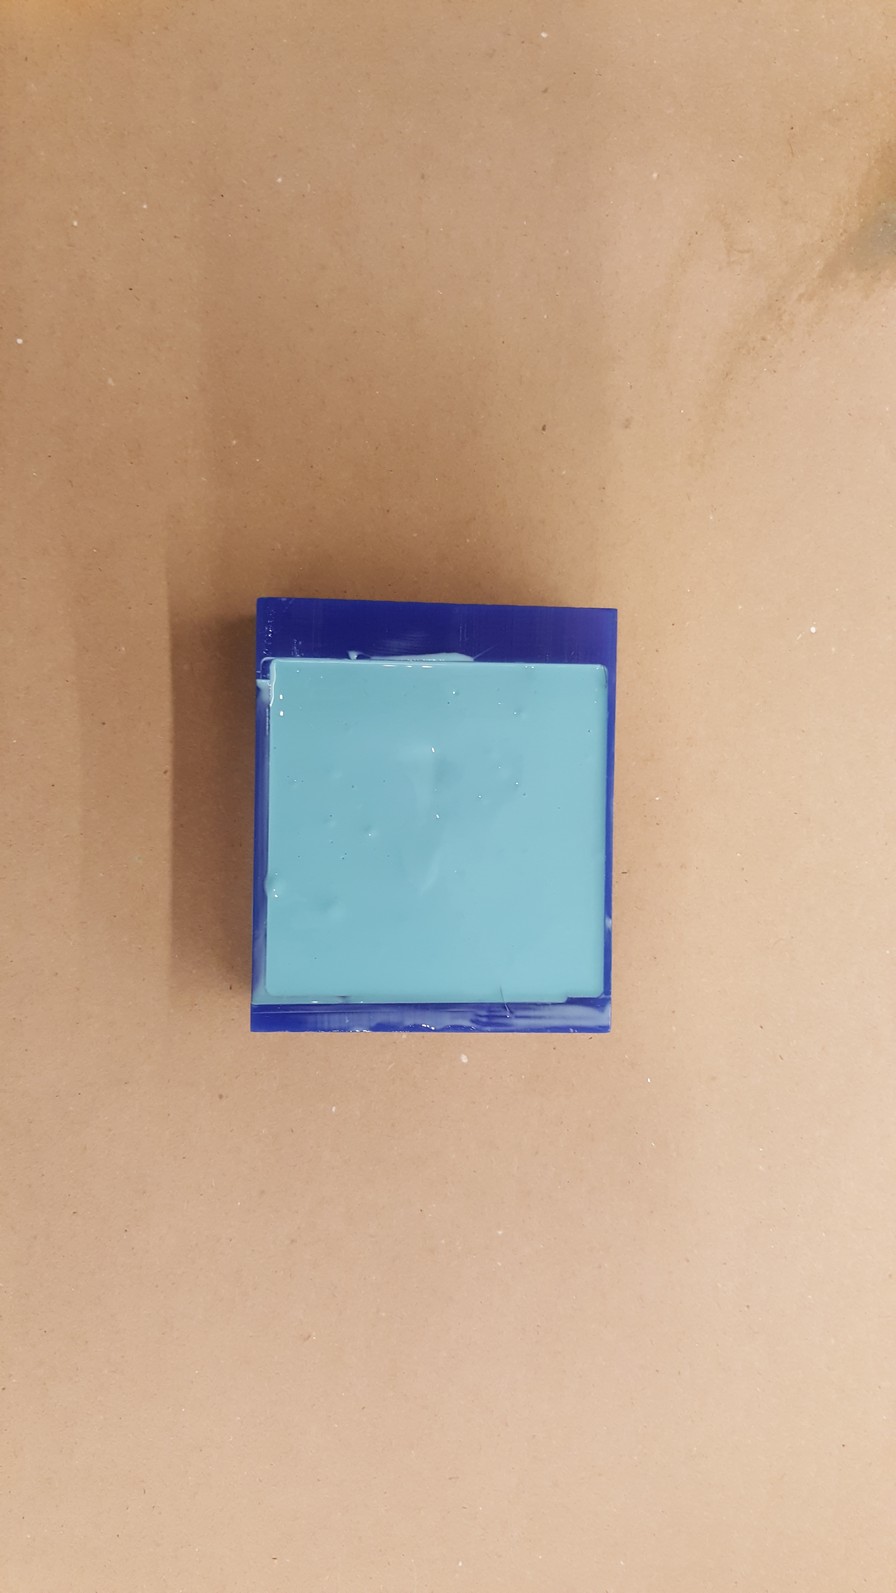
Setting the Oomoo mold - Larger scale
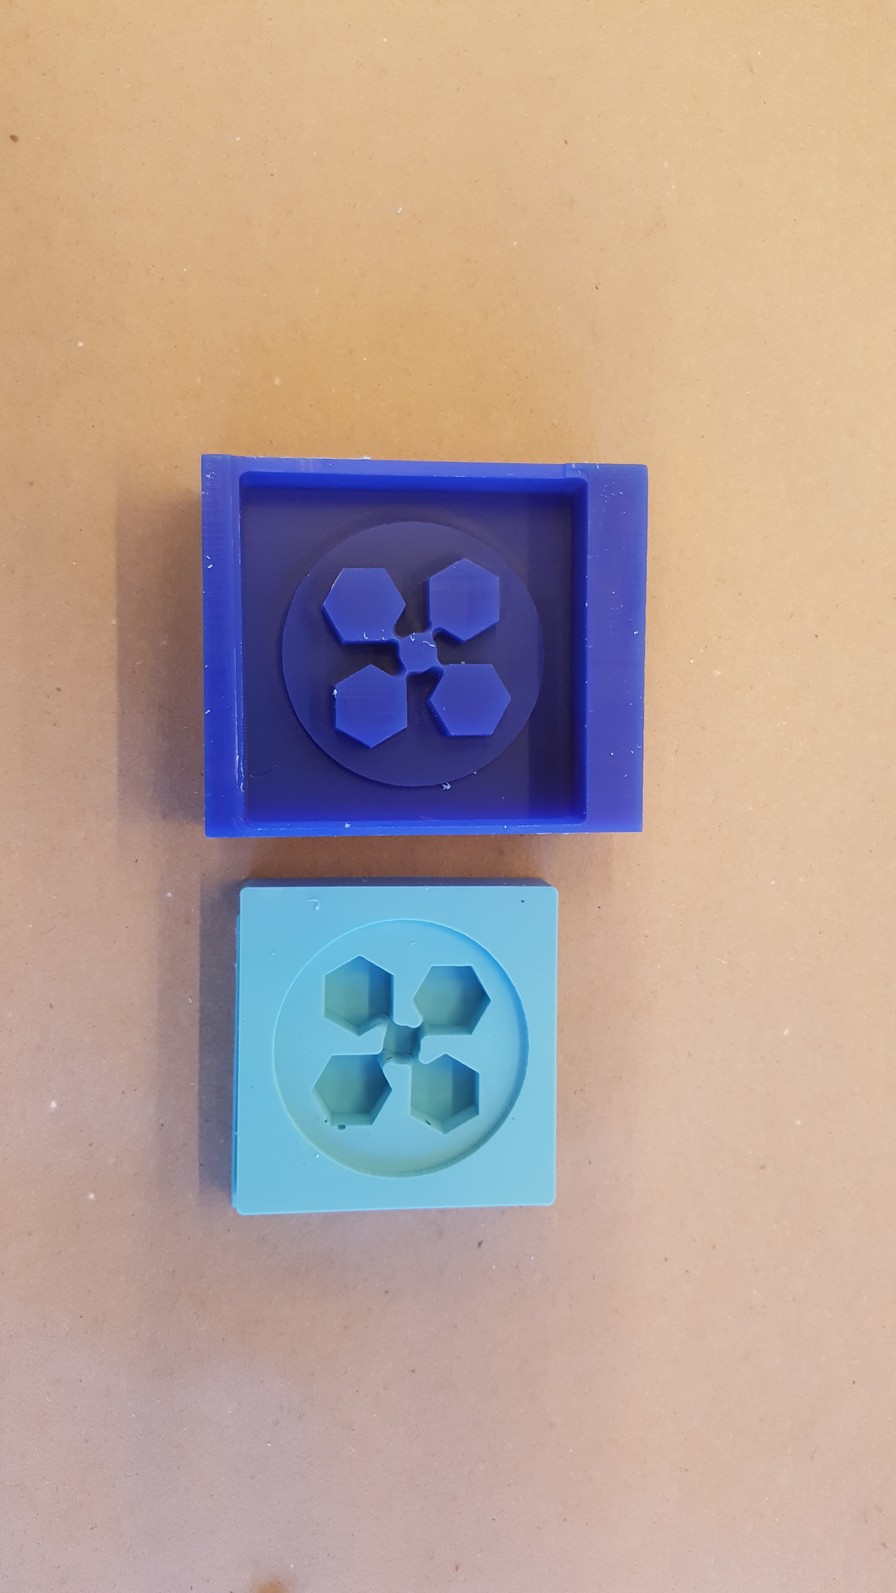
Finished Oomoo mold - Larger scale
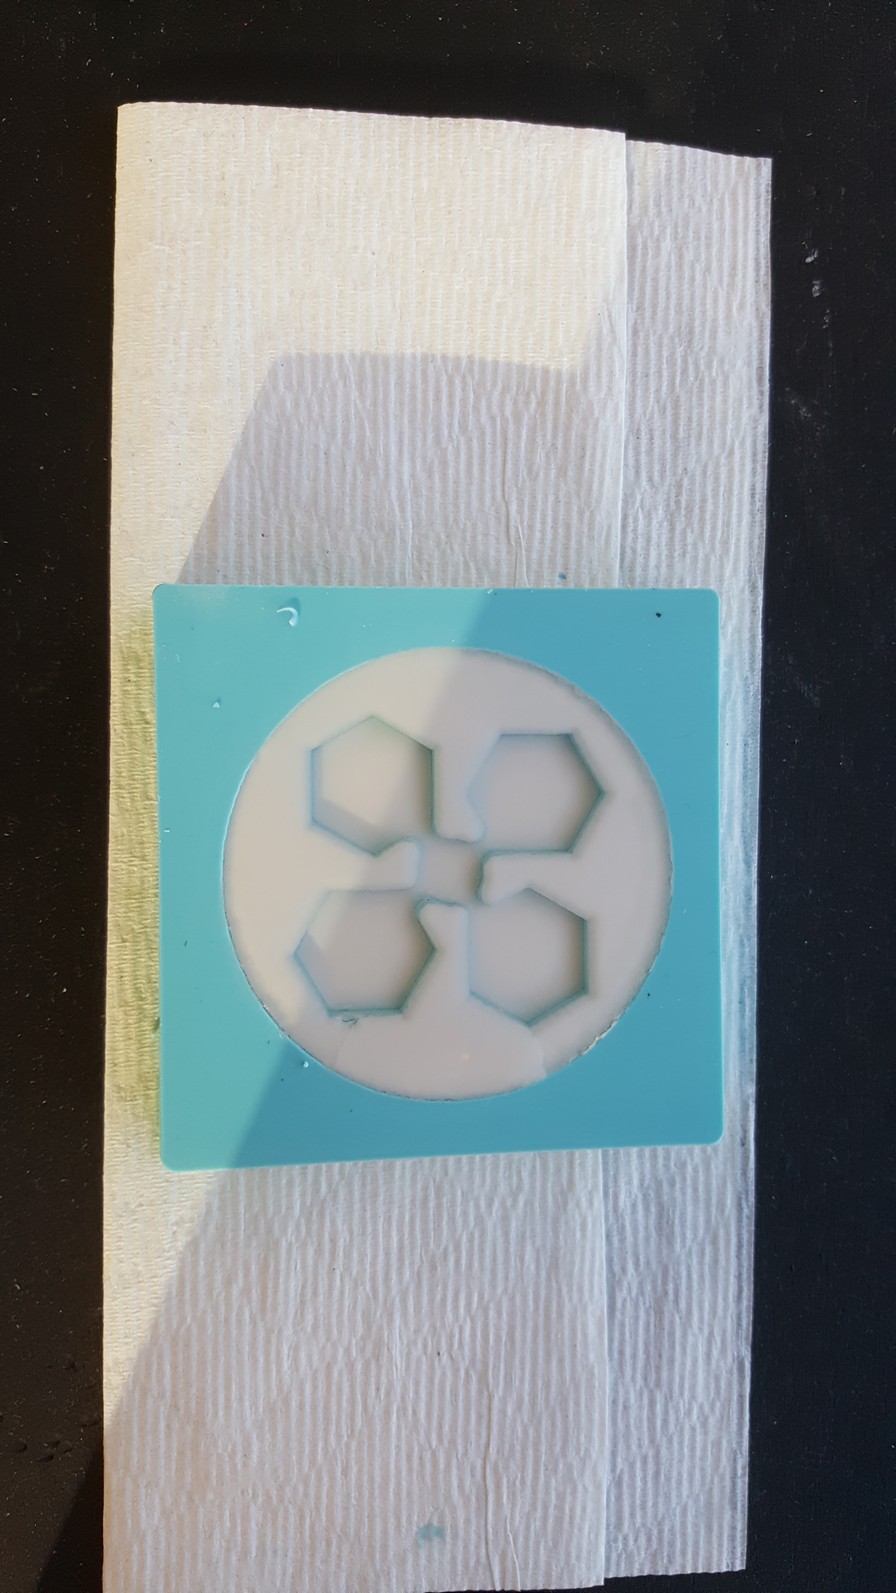
Setting the hydrostone mix - Larger scale (settling evident)
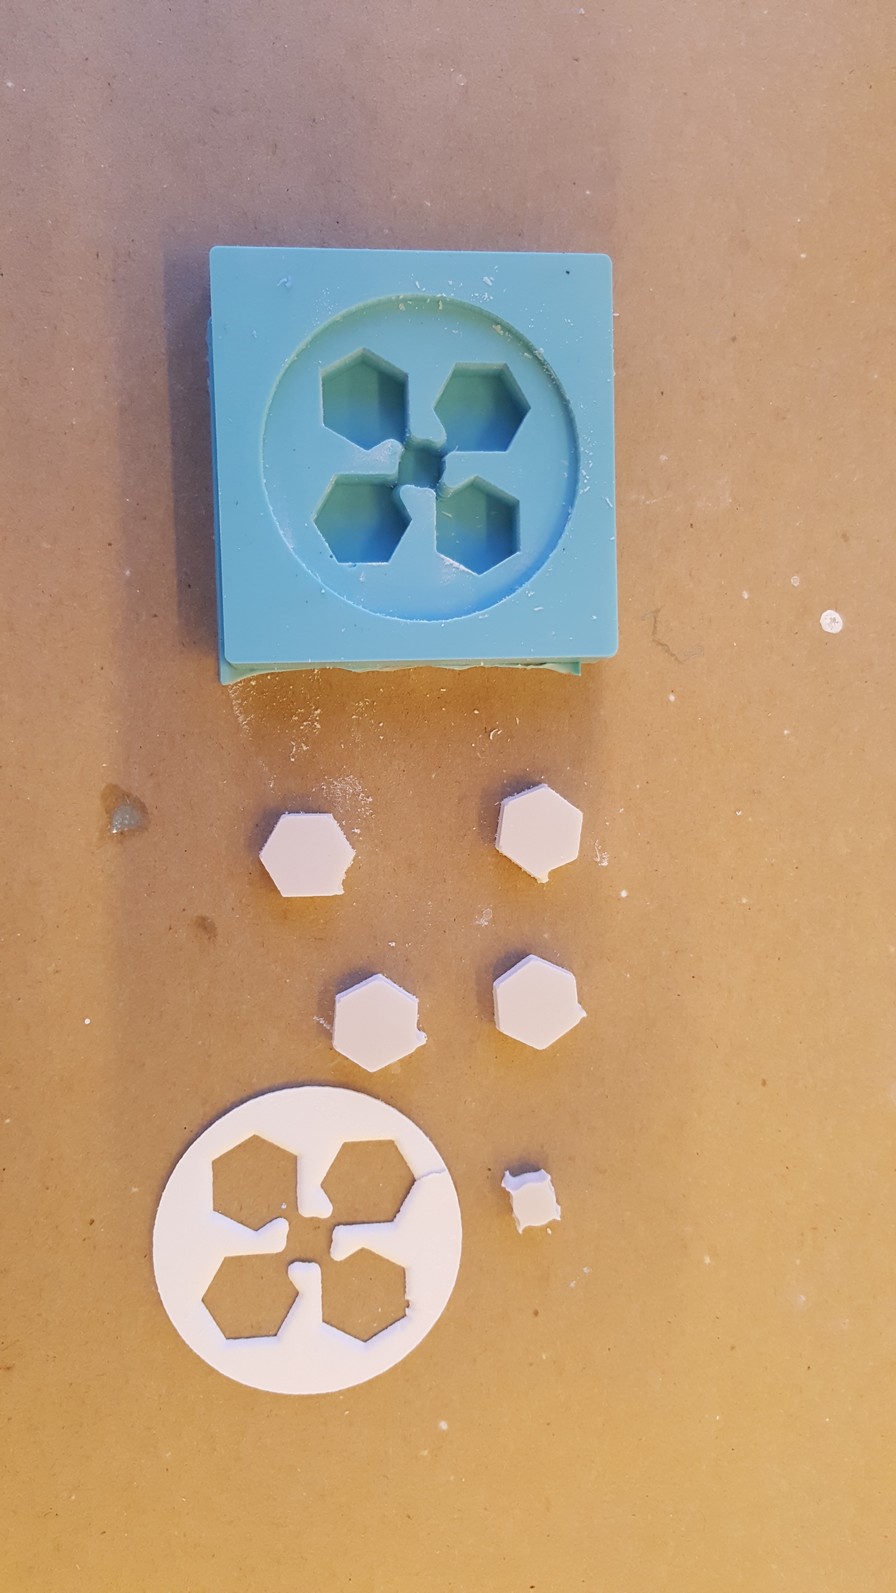
Finished Hydrostone mold "fail" - Larger scale
Figure 4: Workflow of the milling to molding process for the larger scale design
I am going to attempt the hydrostone mixing process at a later time.