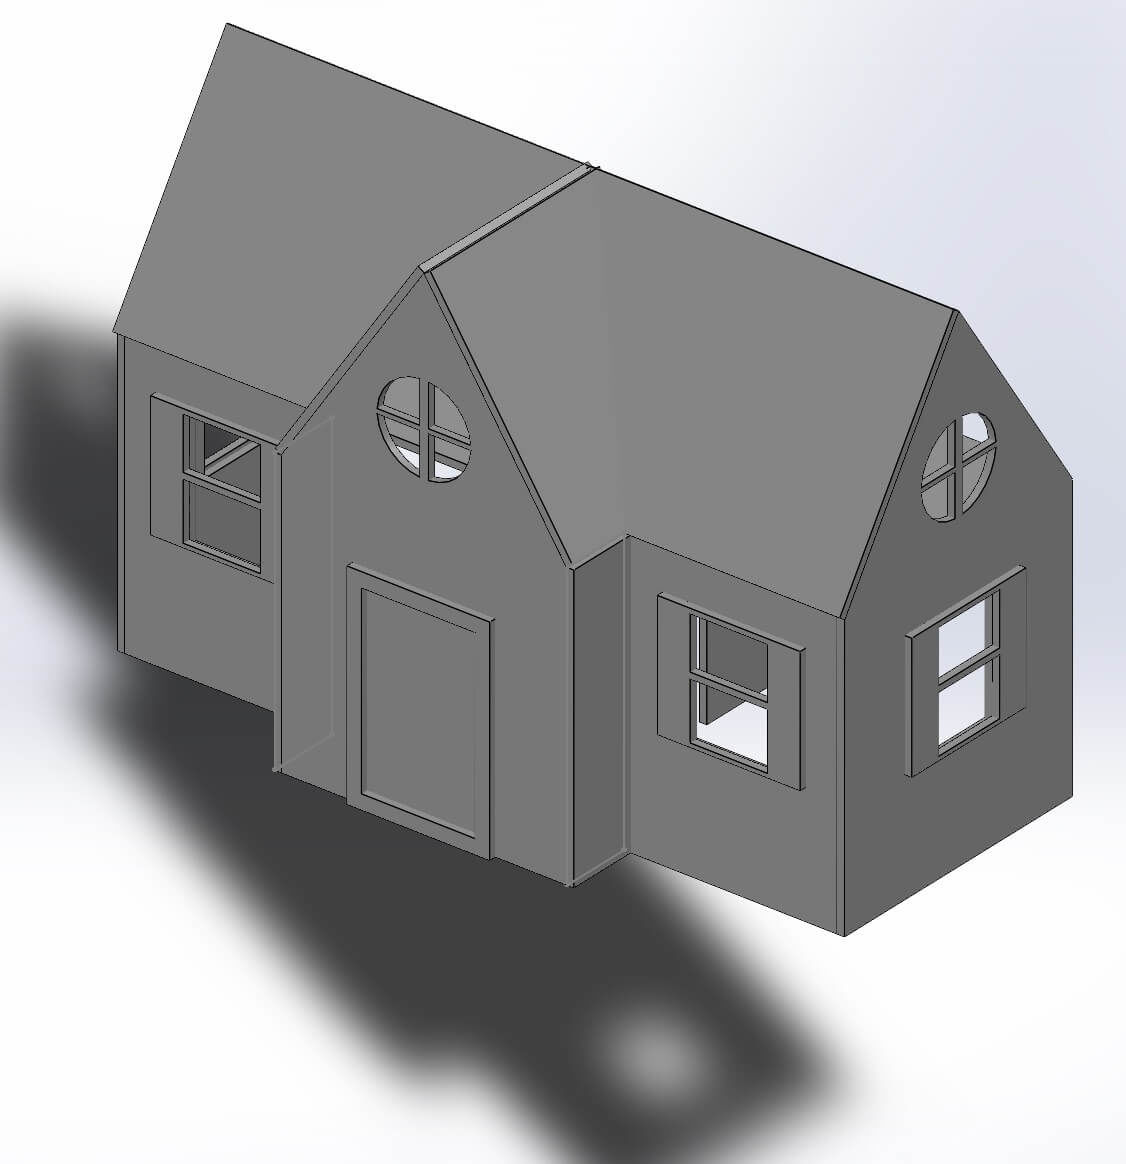
My idea is to make an interactive doll house. I am planning to lasercut the main structure as well as furniture, 3D print or mold/cast the dolls, and design pcbs to incorporate lighting into all of the rooms.
Here is the initial solidworks design:
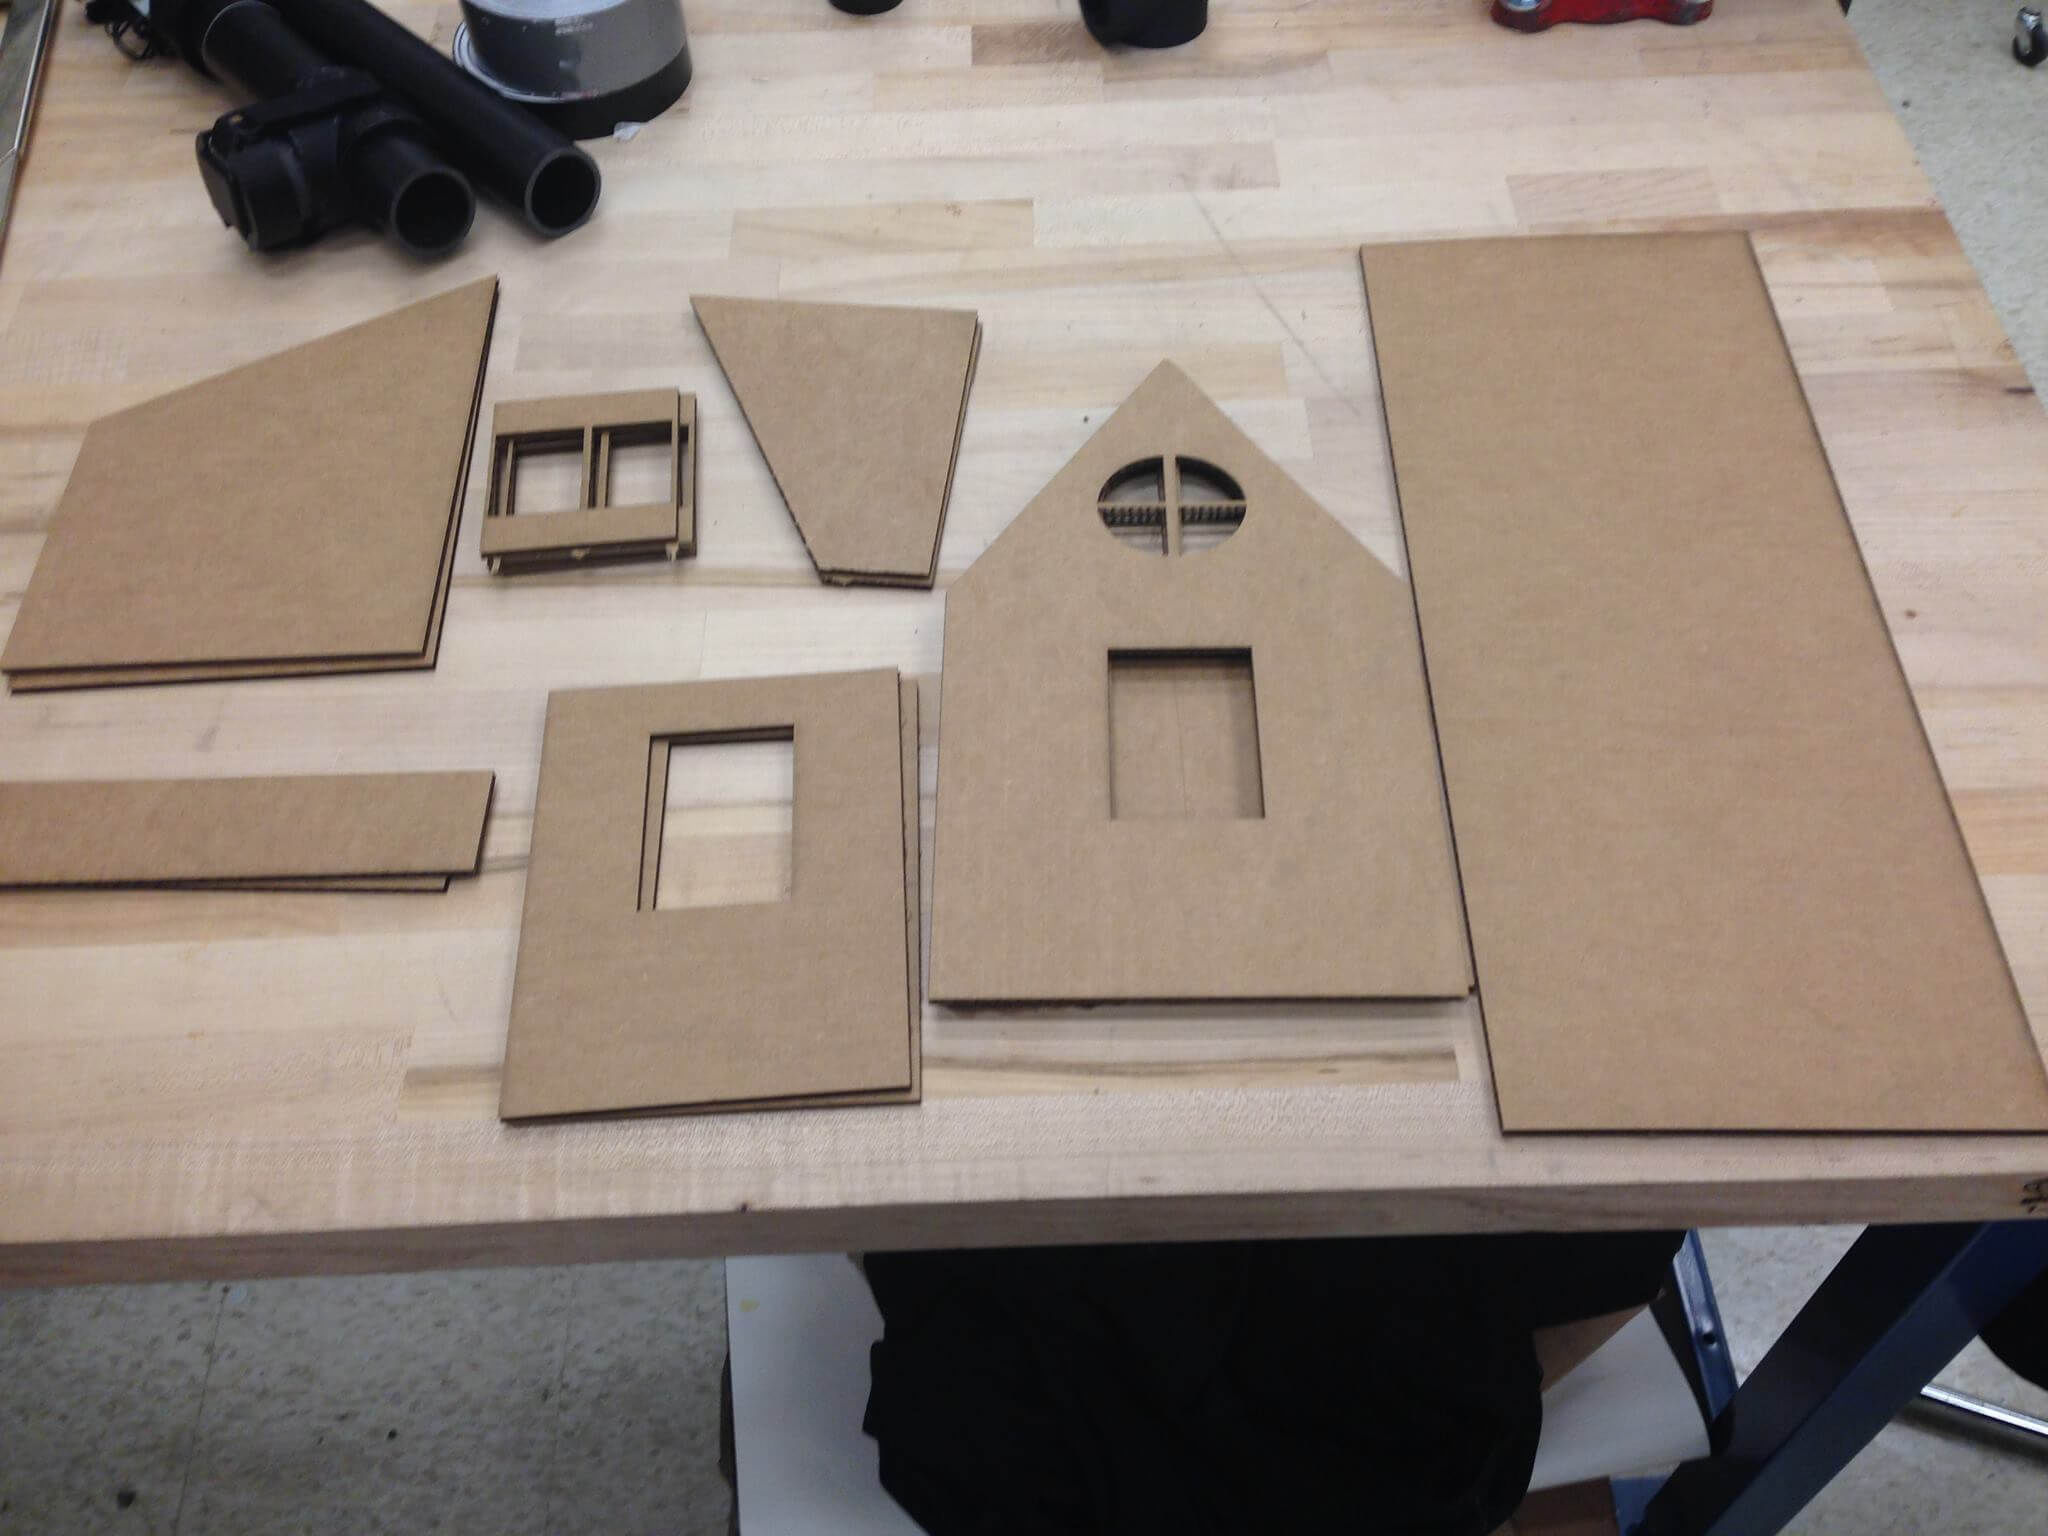
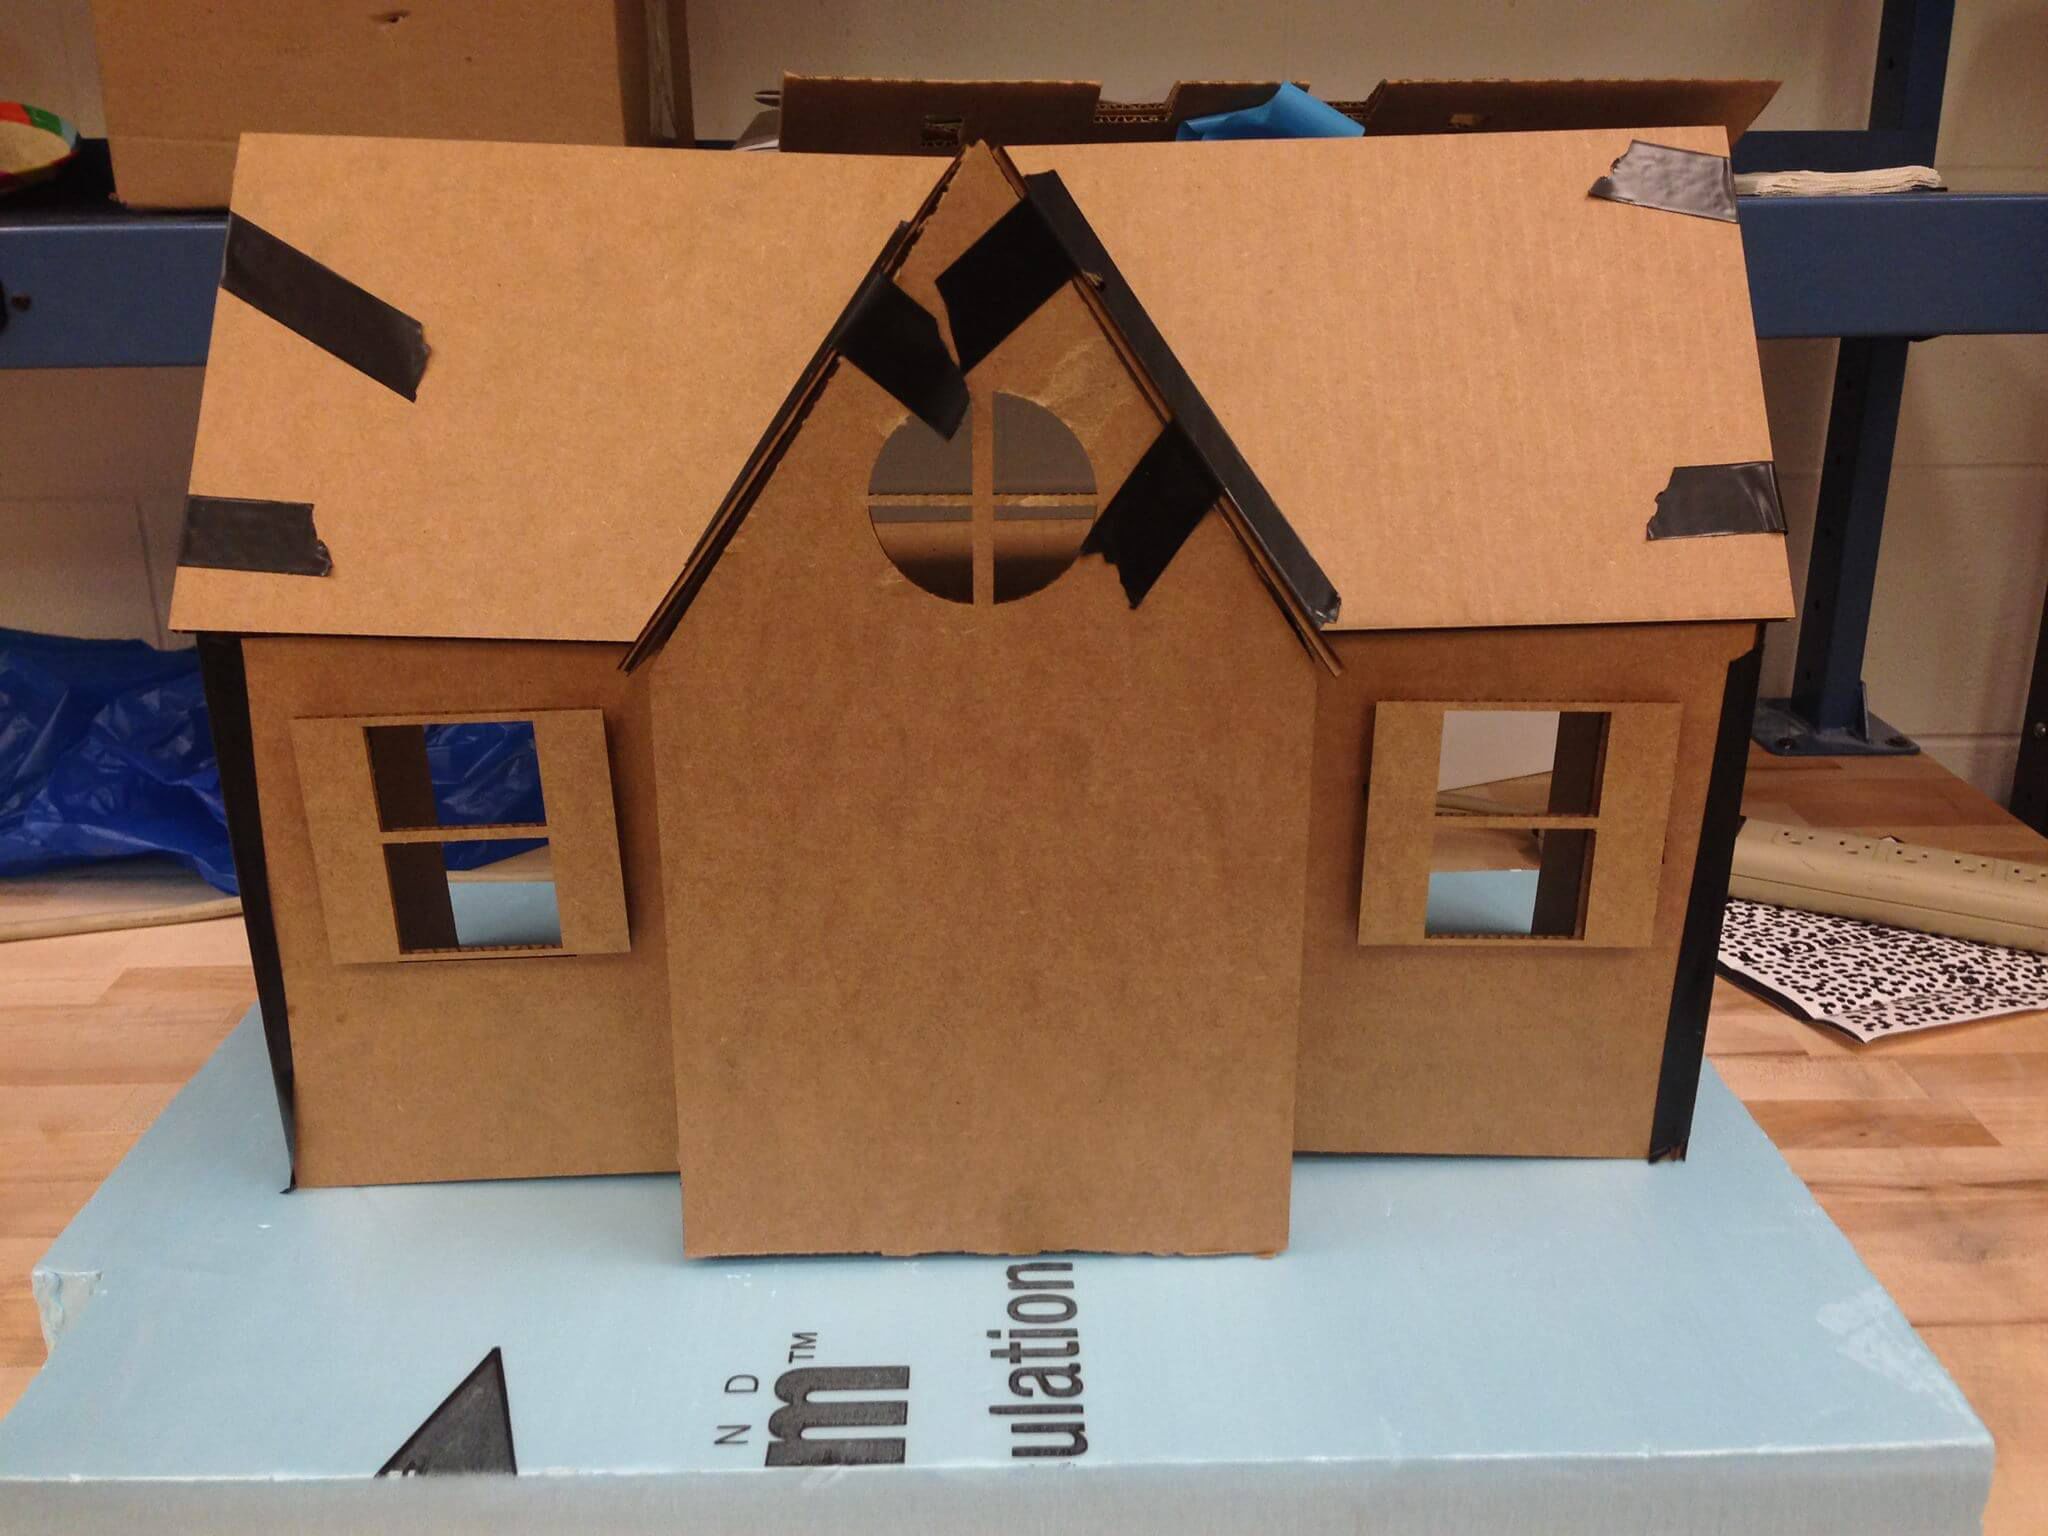
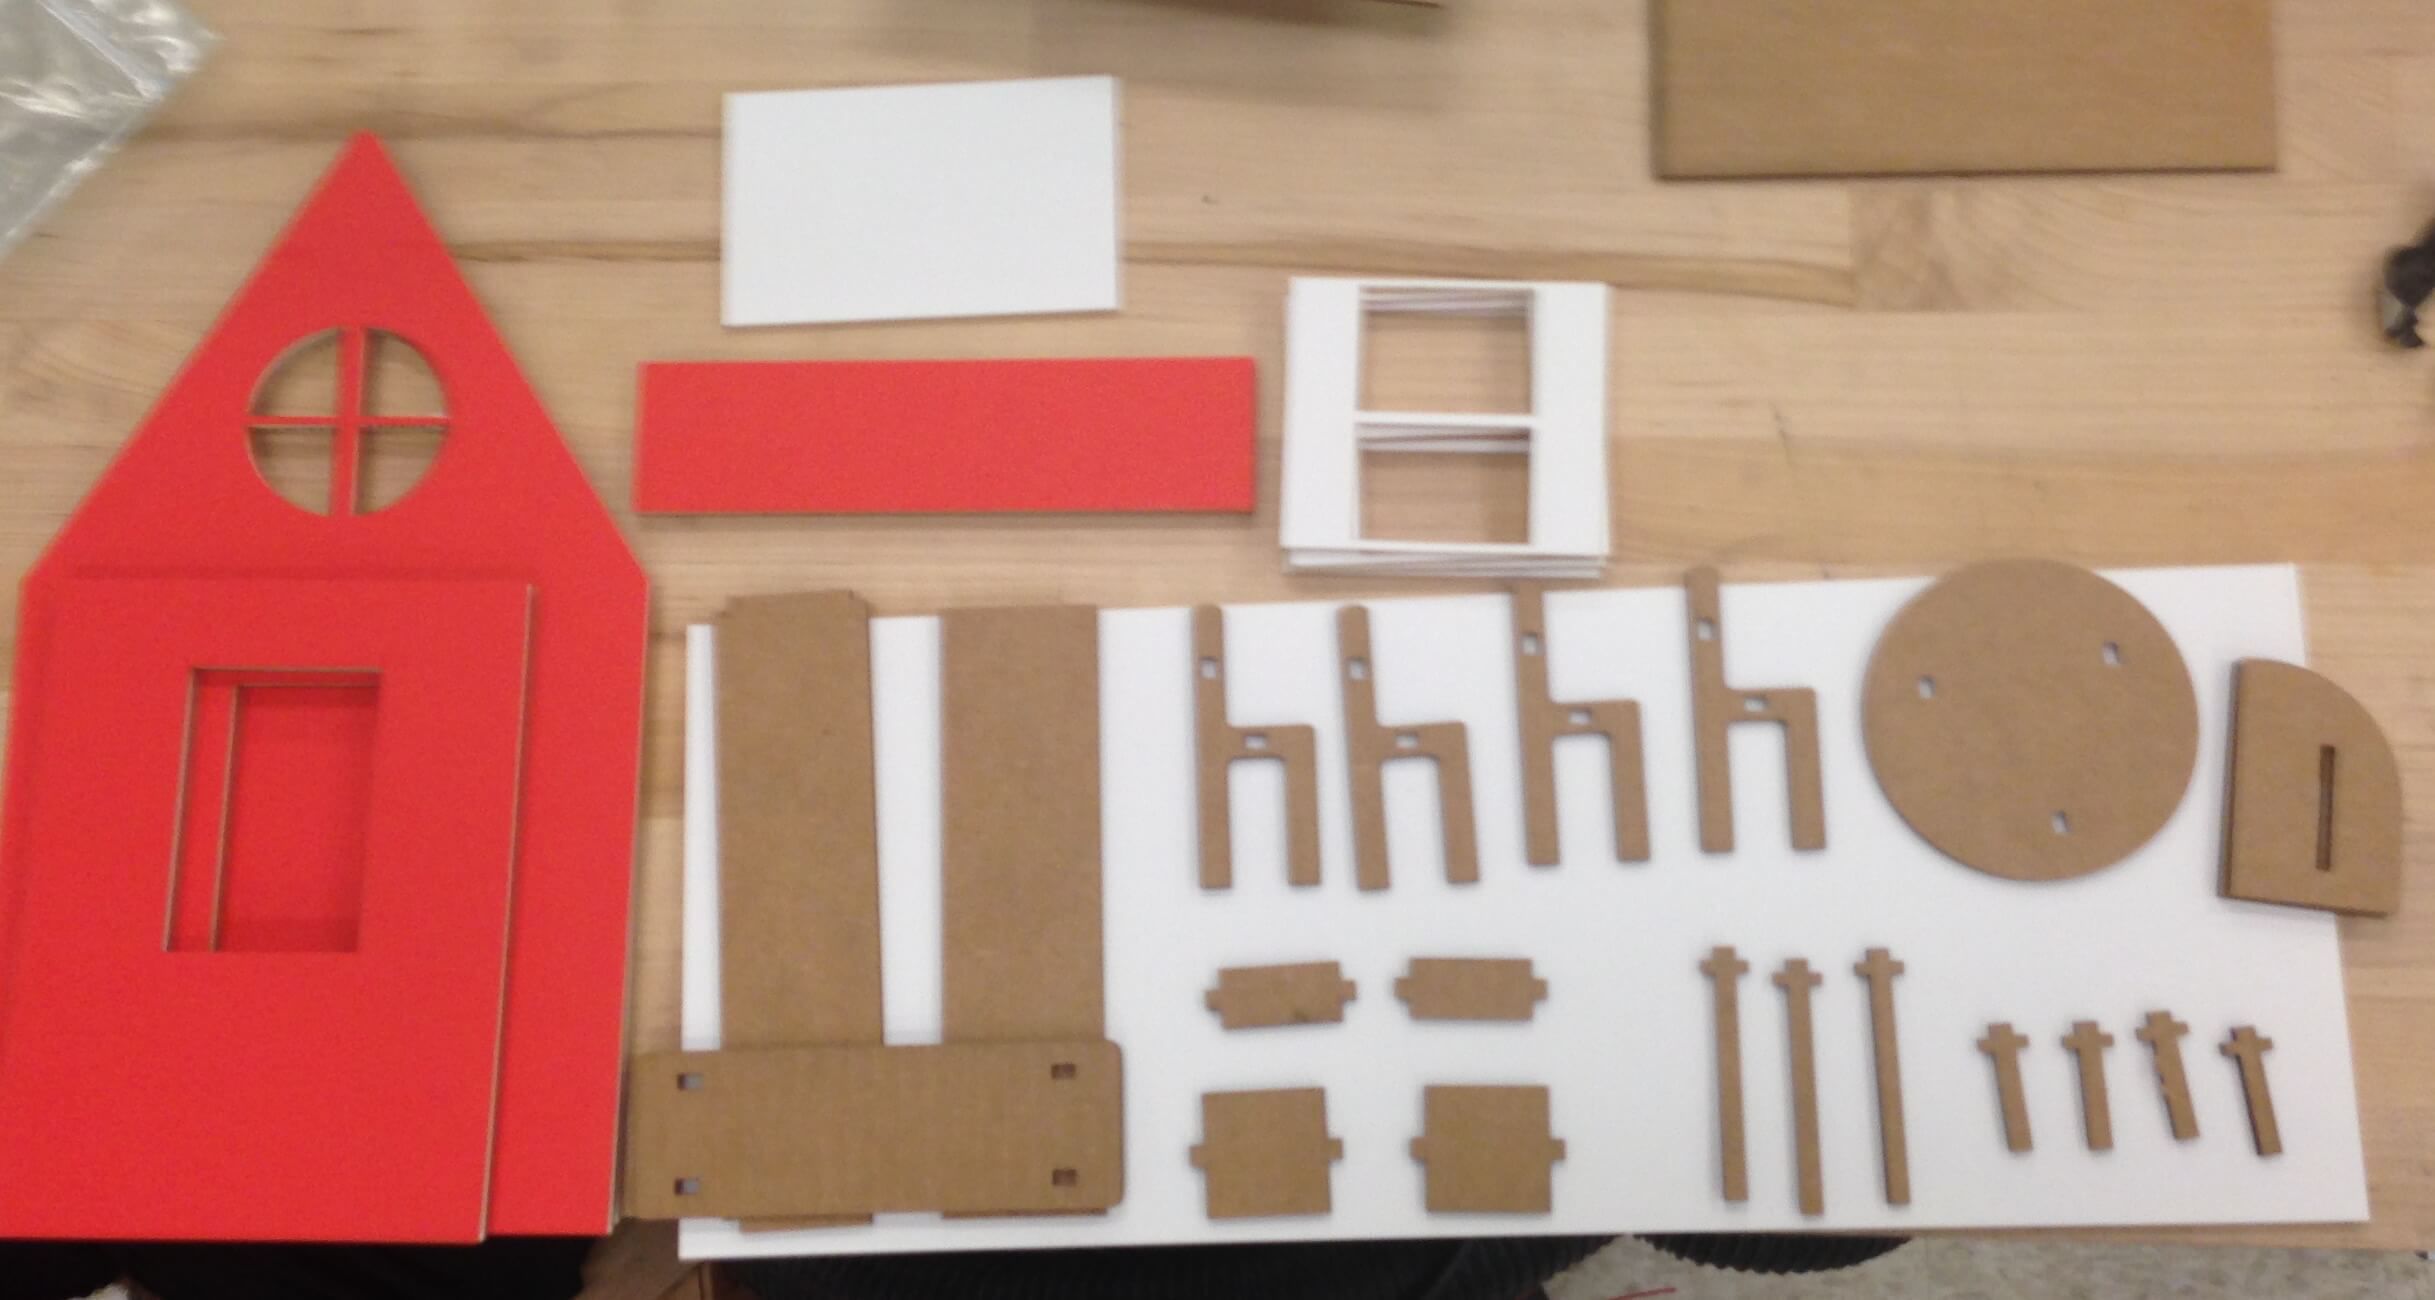
I tested the stability of the design and ease of fit by laser cutting all of the pieces with the cardboard stocked in lab. The following laser cutting settings were applied: 70% Power, 10% Speed.
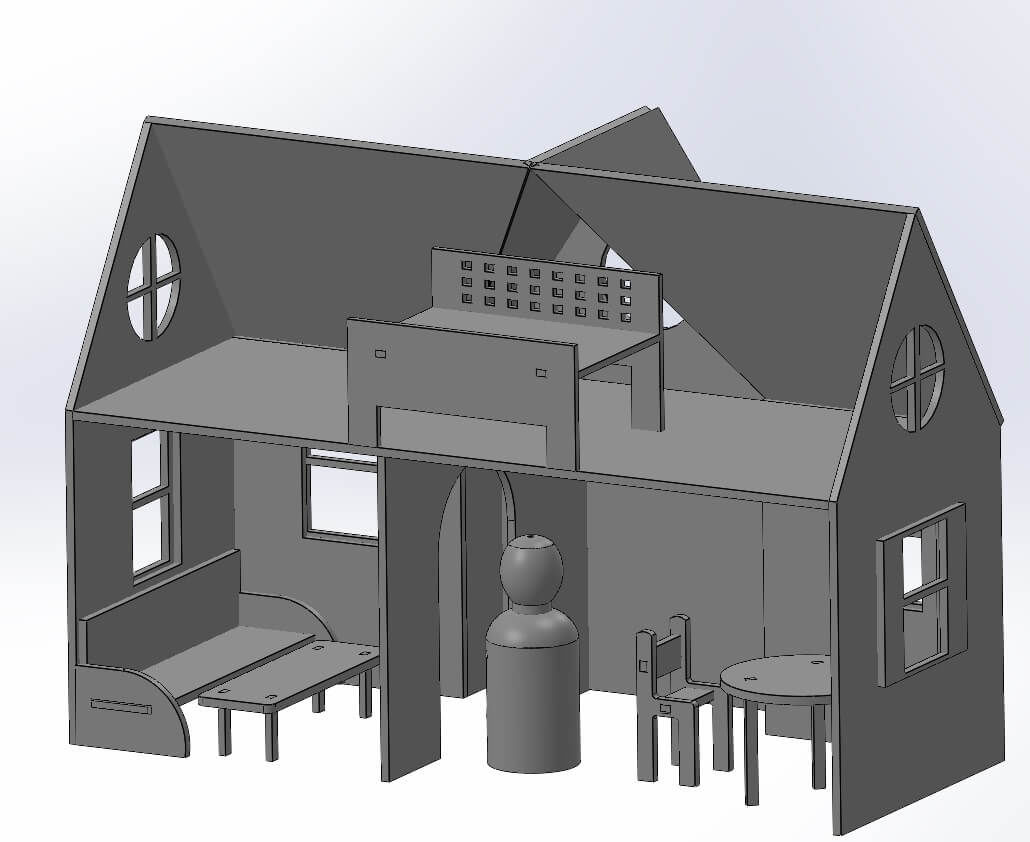
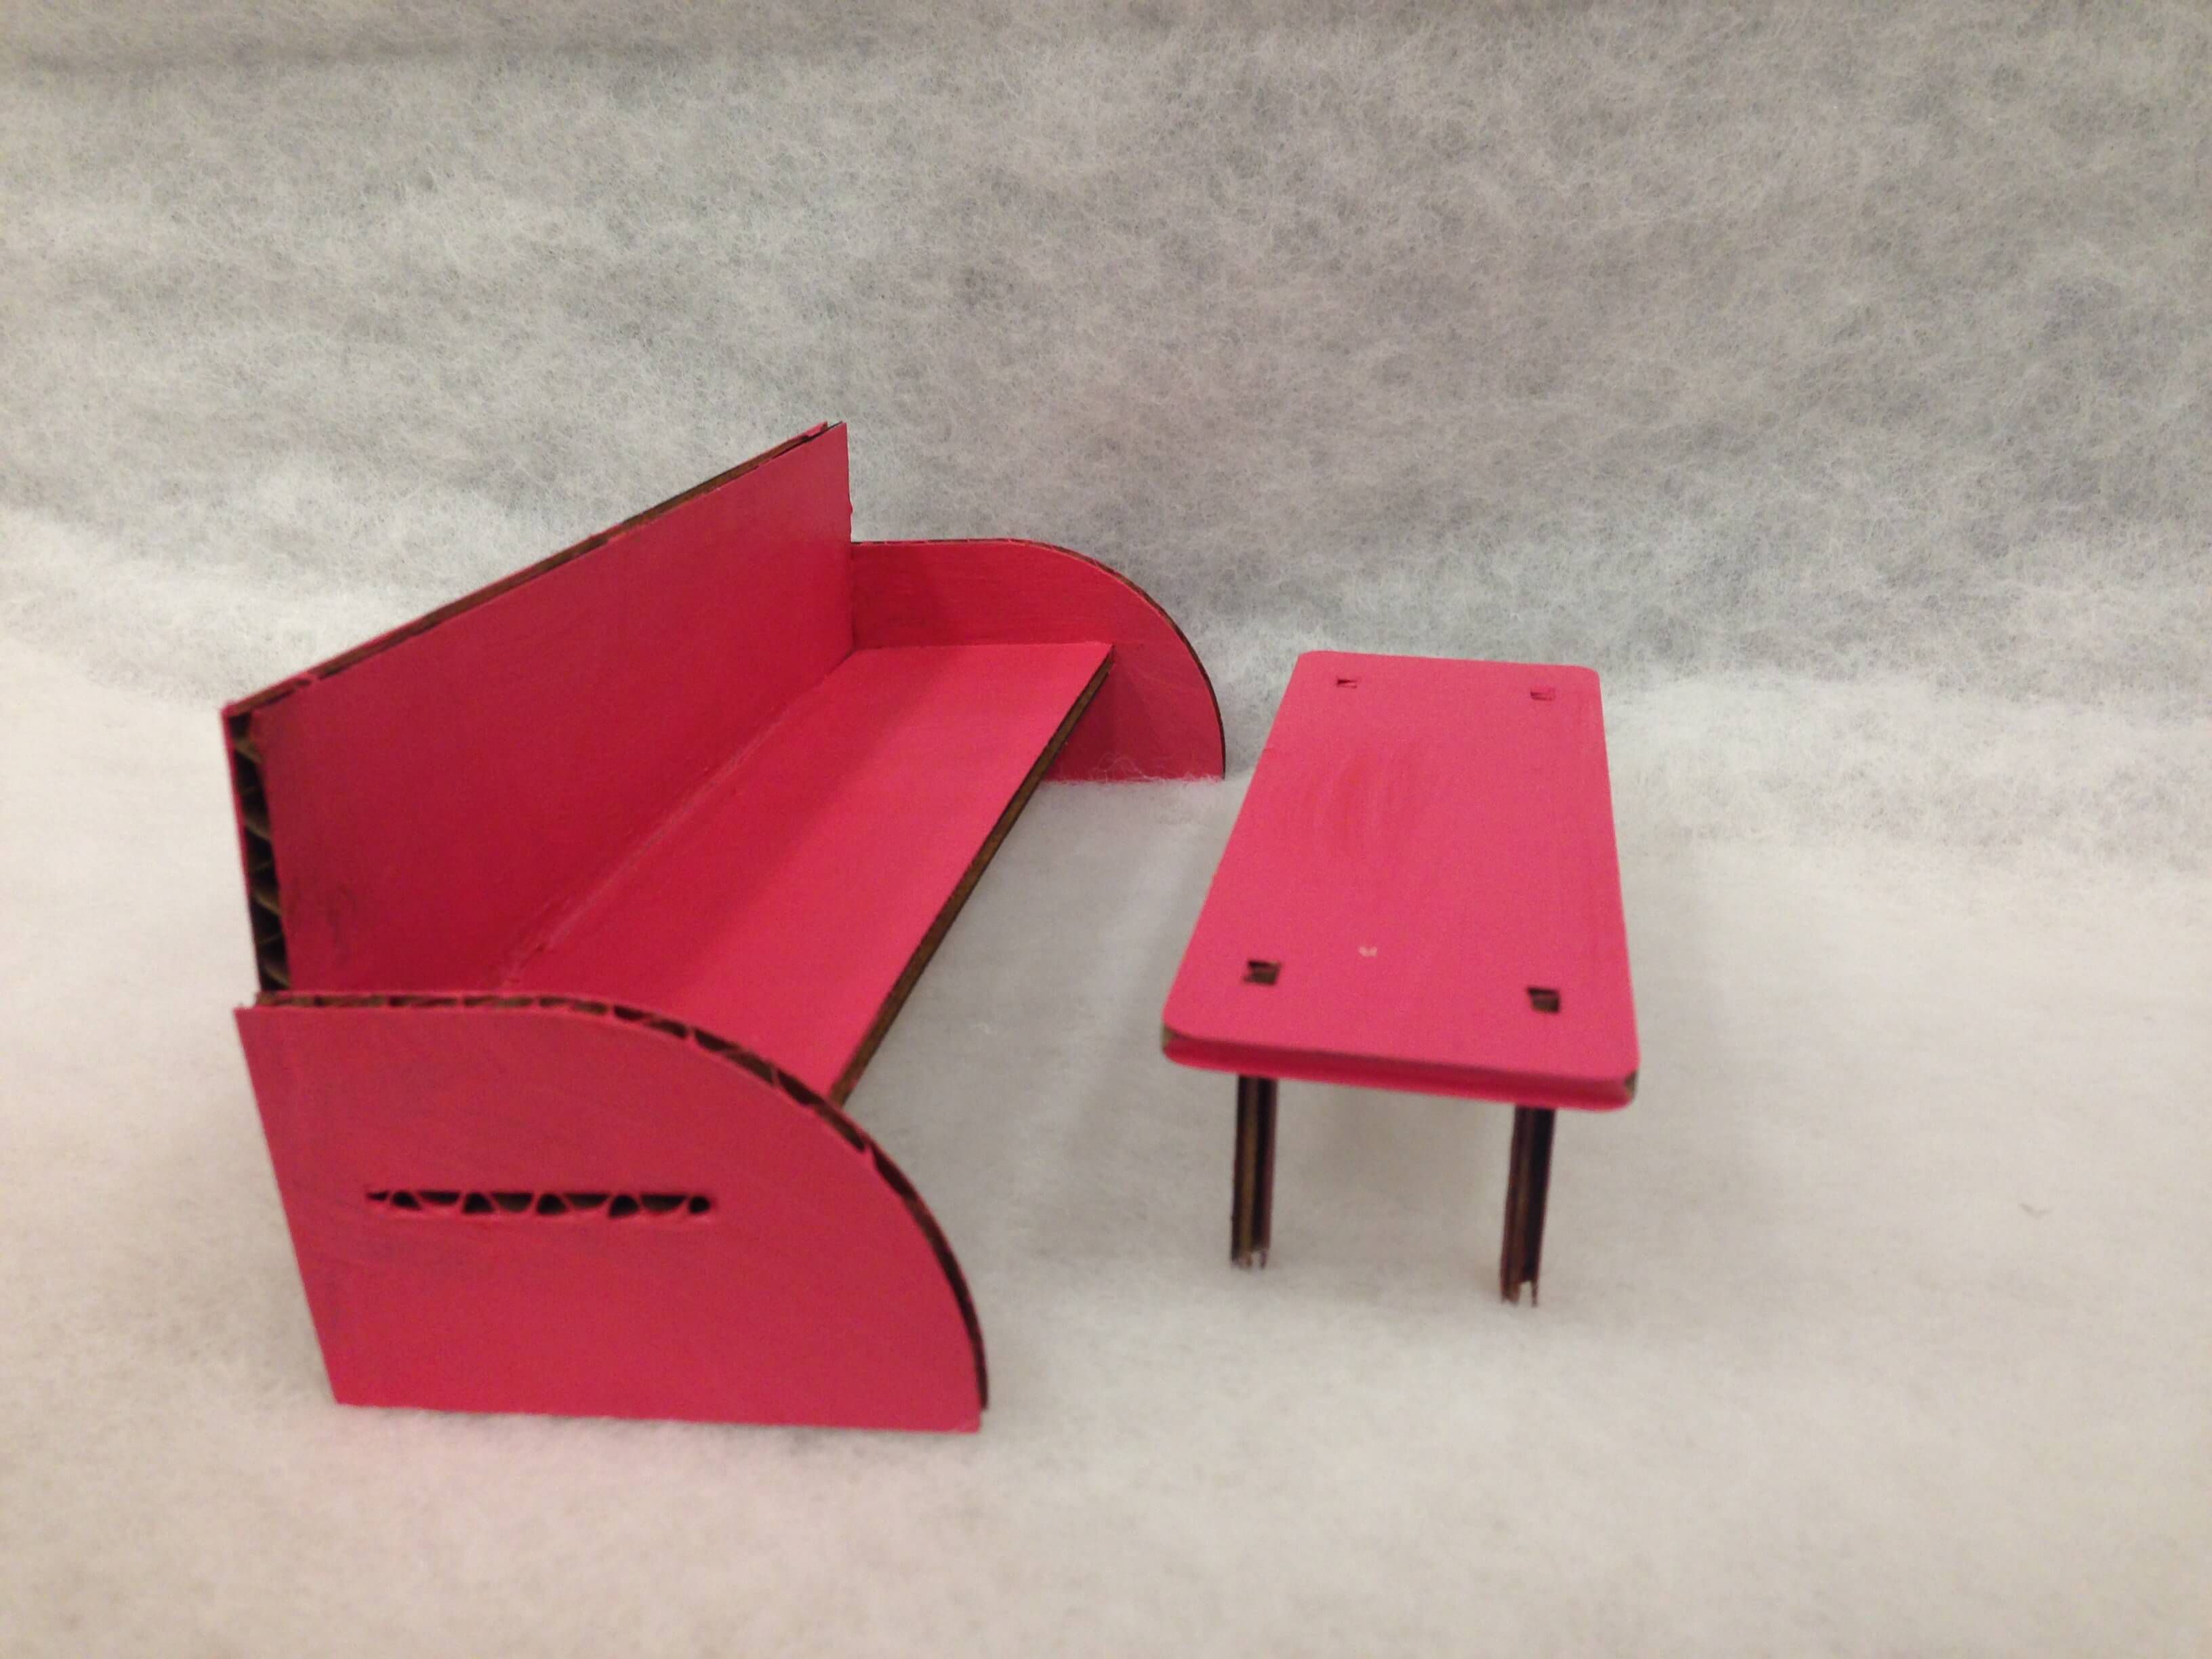
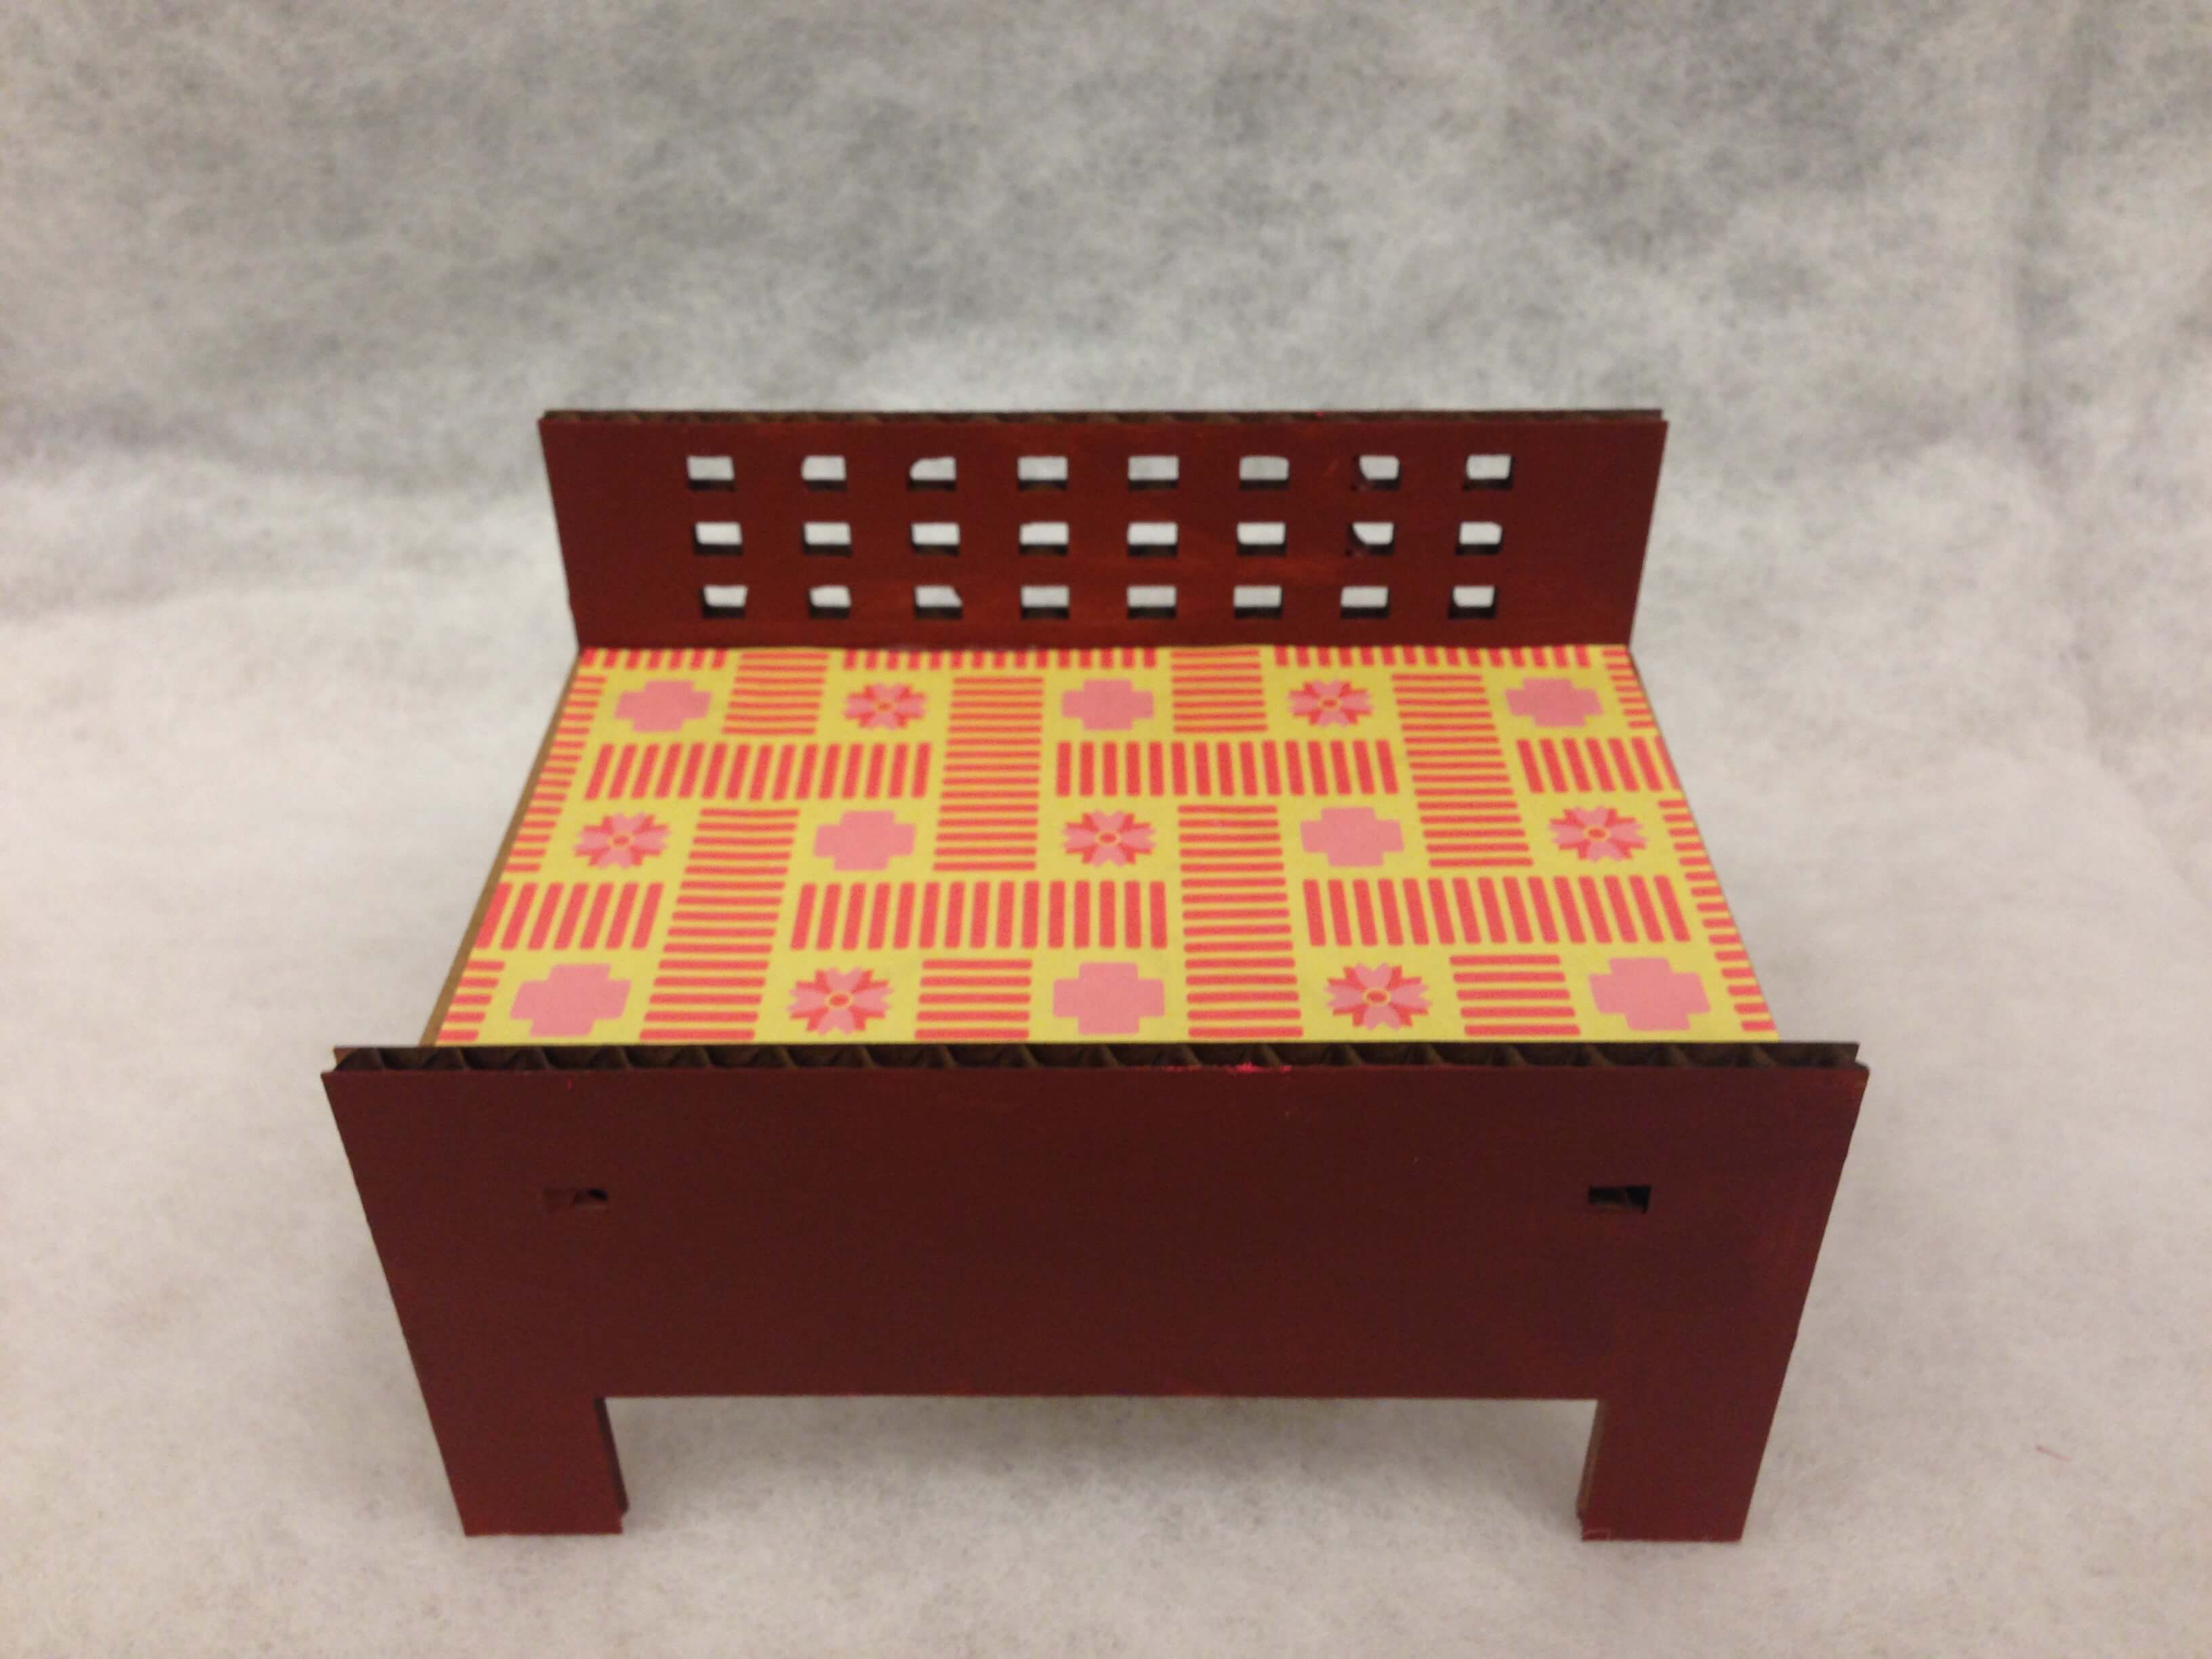
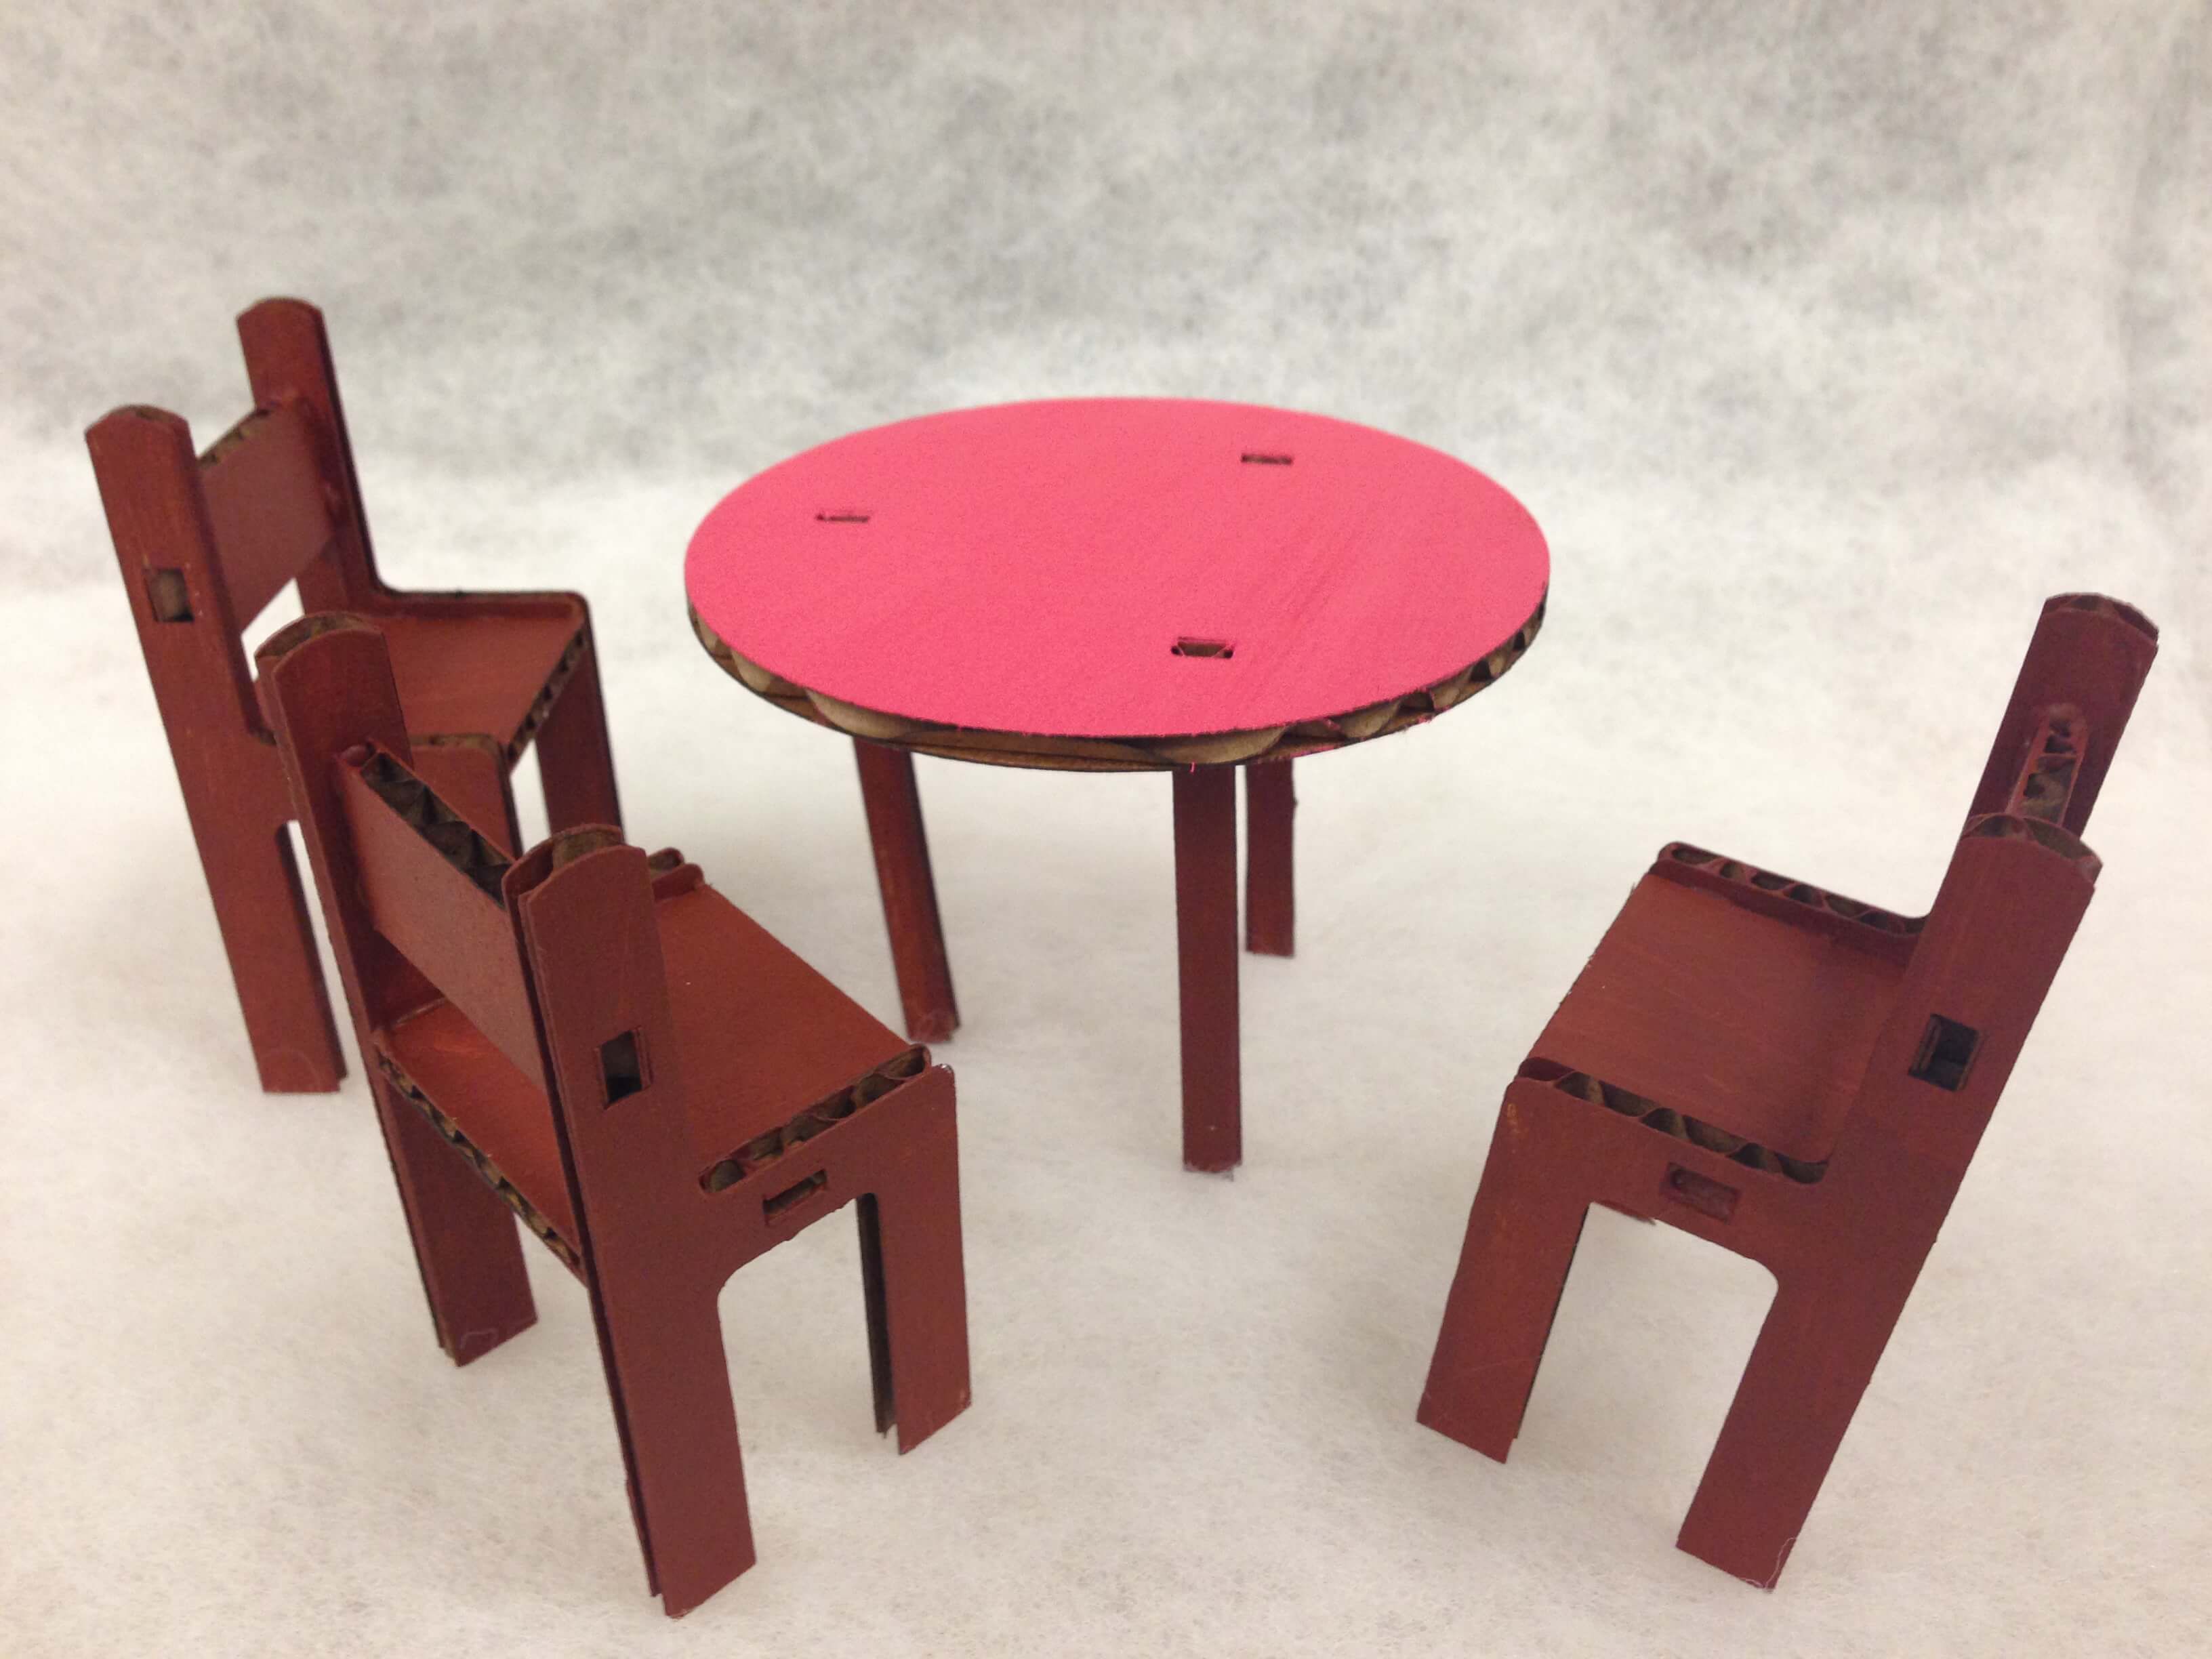
After validating that my intended dimensions carried over to the real thing, I moved forward with the design of the furniture and dolls. My goal was to make all of the furniture press fit. I ended up designing a couch, coffee table, chair, kitchen table, and bed as shown in the updated solidworks assembly:
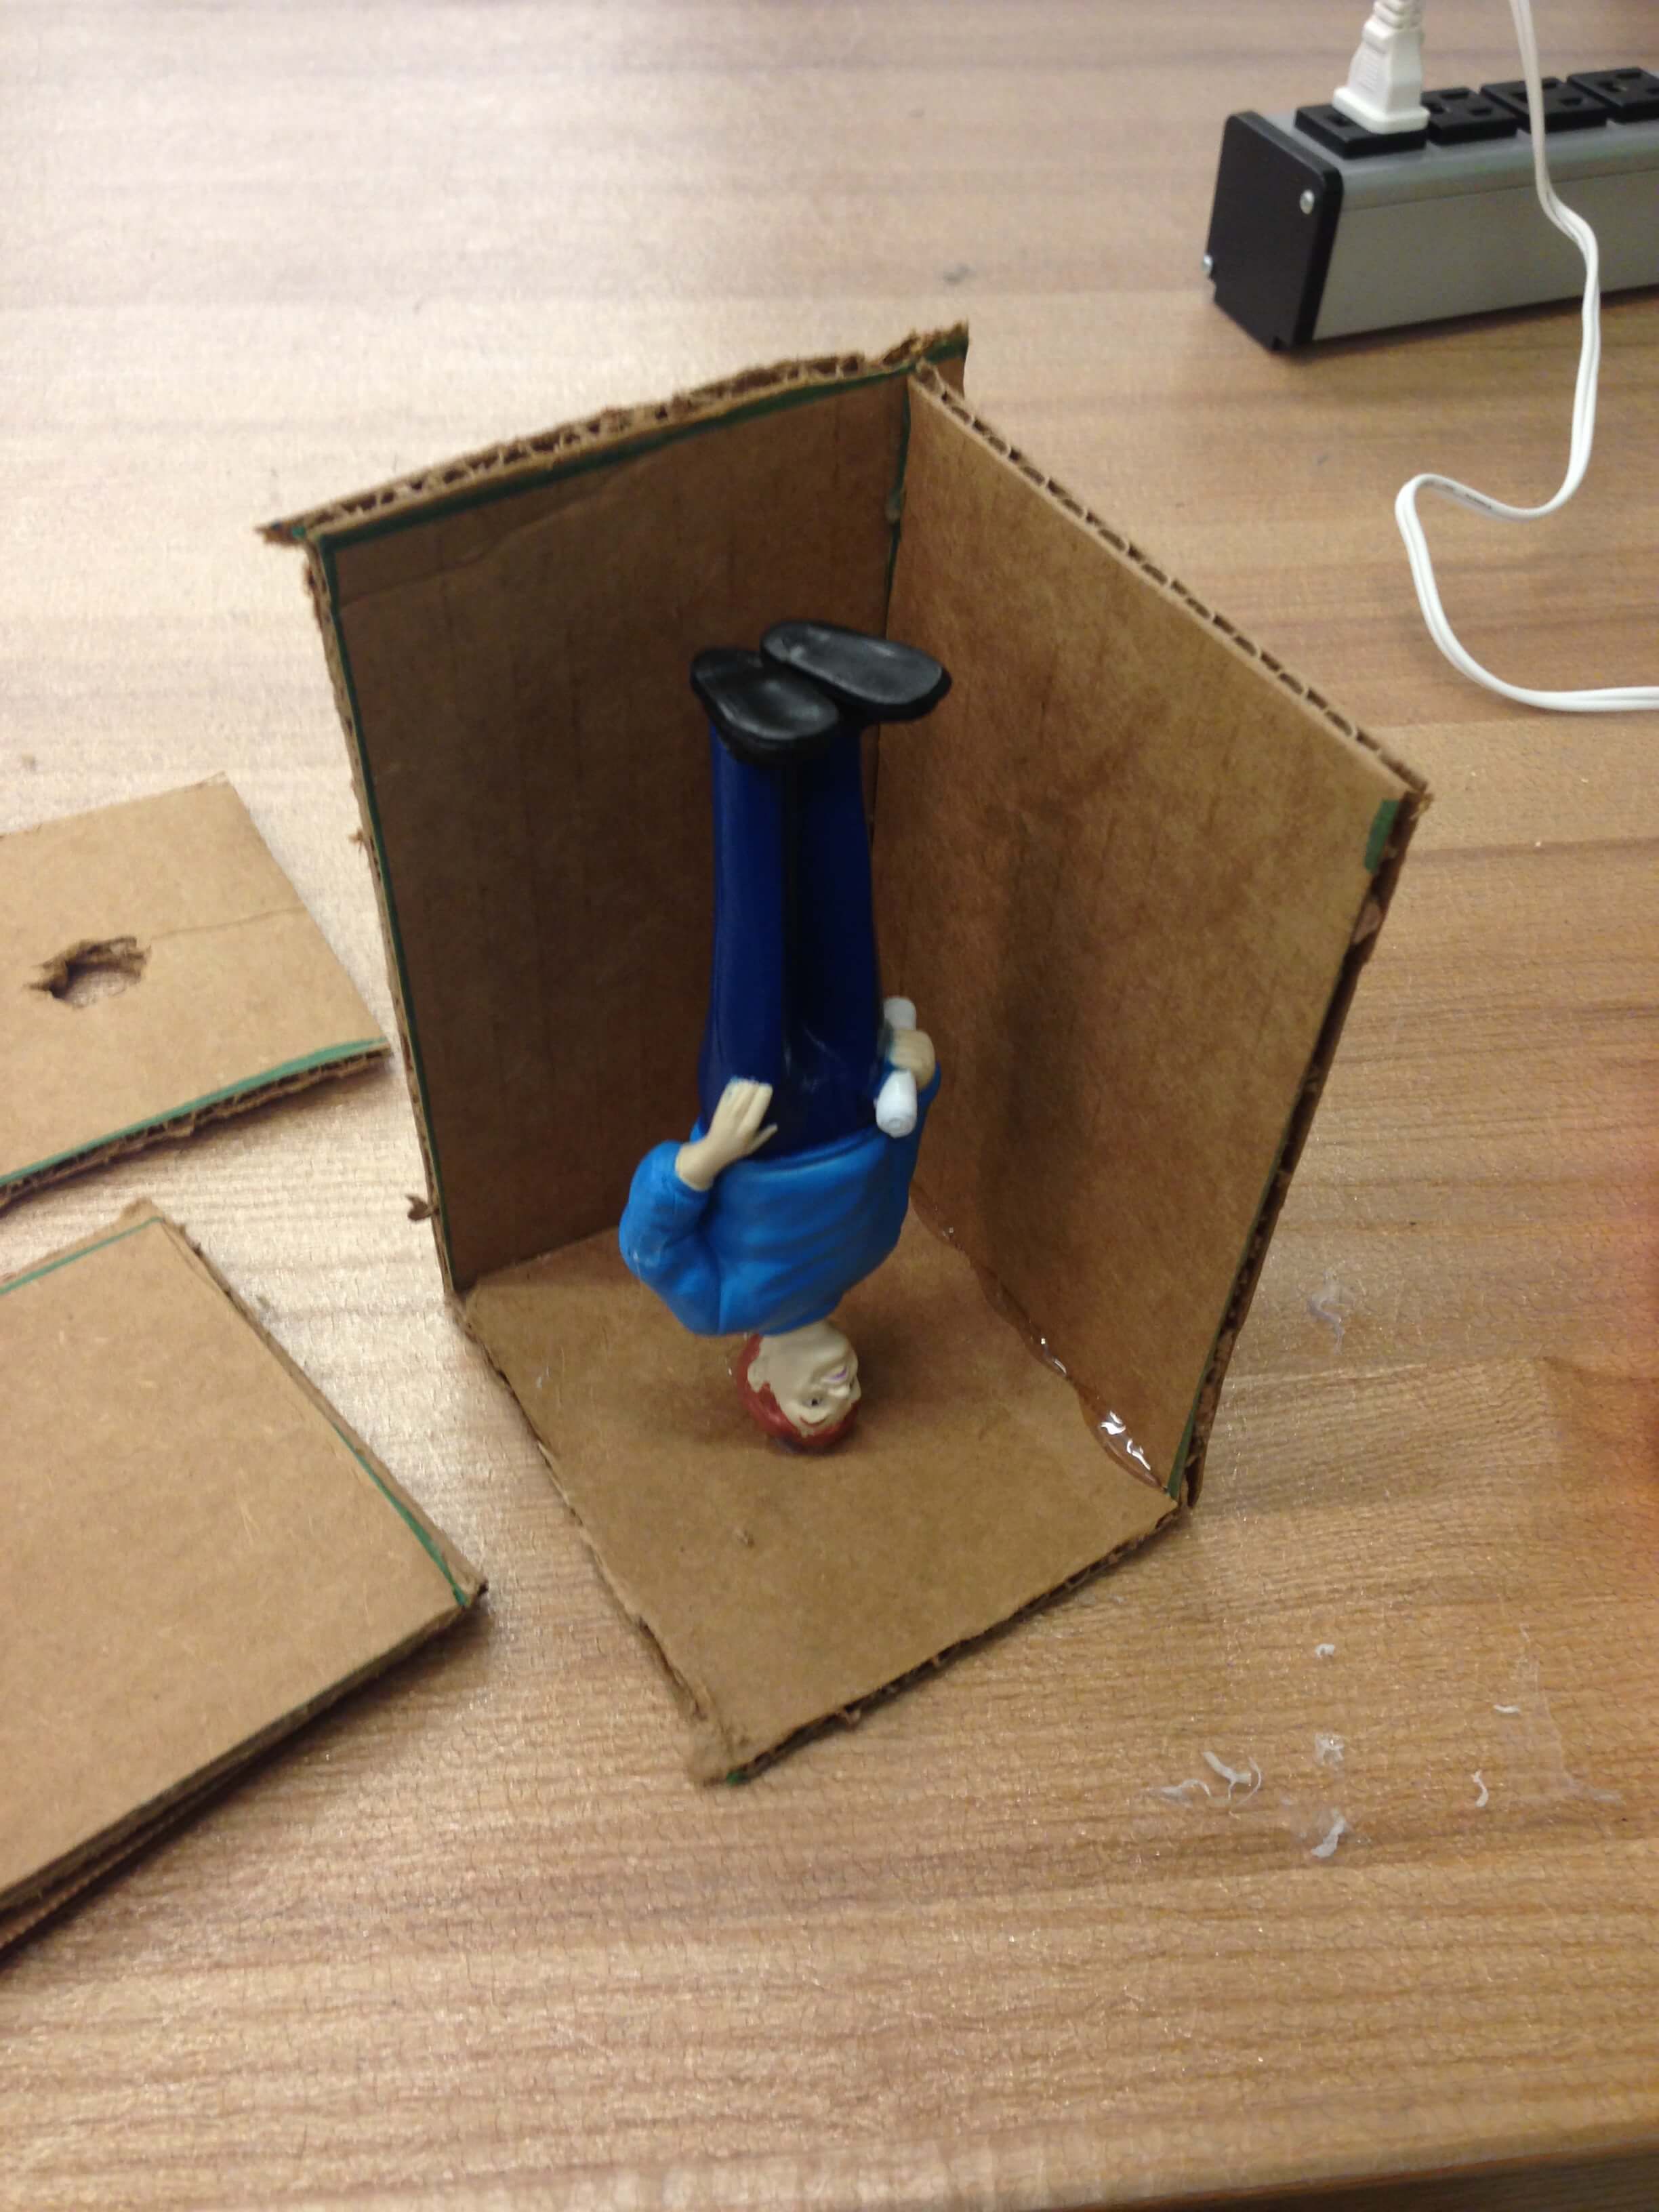
This image also shows the final design of the dolls as a simple head and body to be 3D printed. I originally planned to mold and cast a replica of a figurine I bought online. However, I found the process of creating a mold, following instructions from this
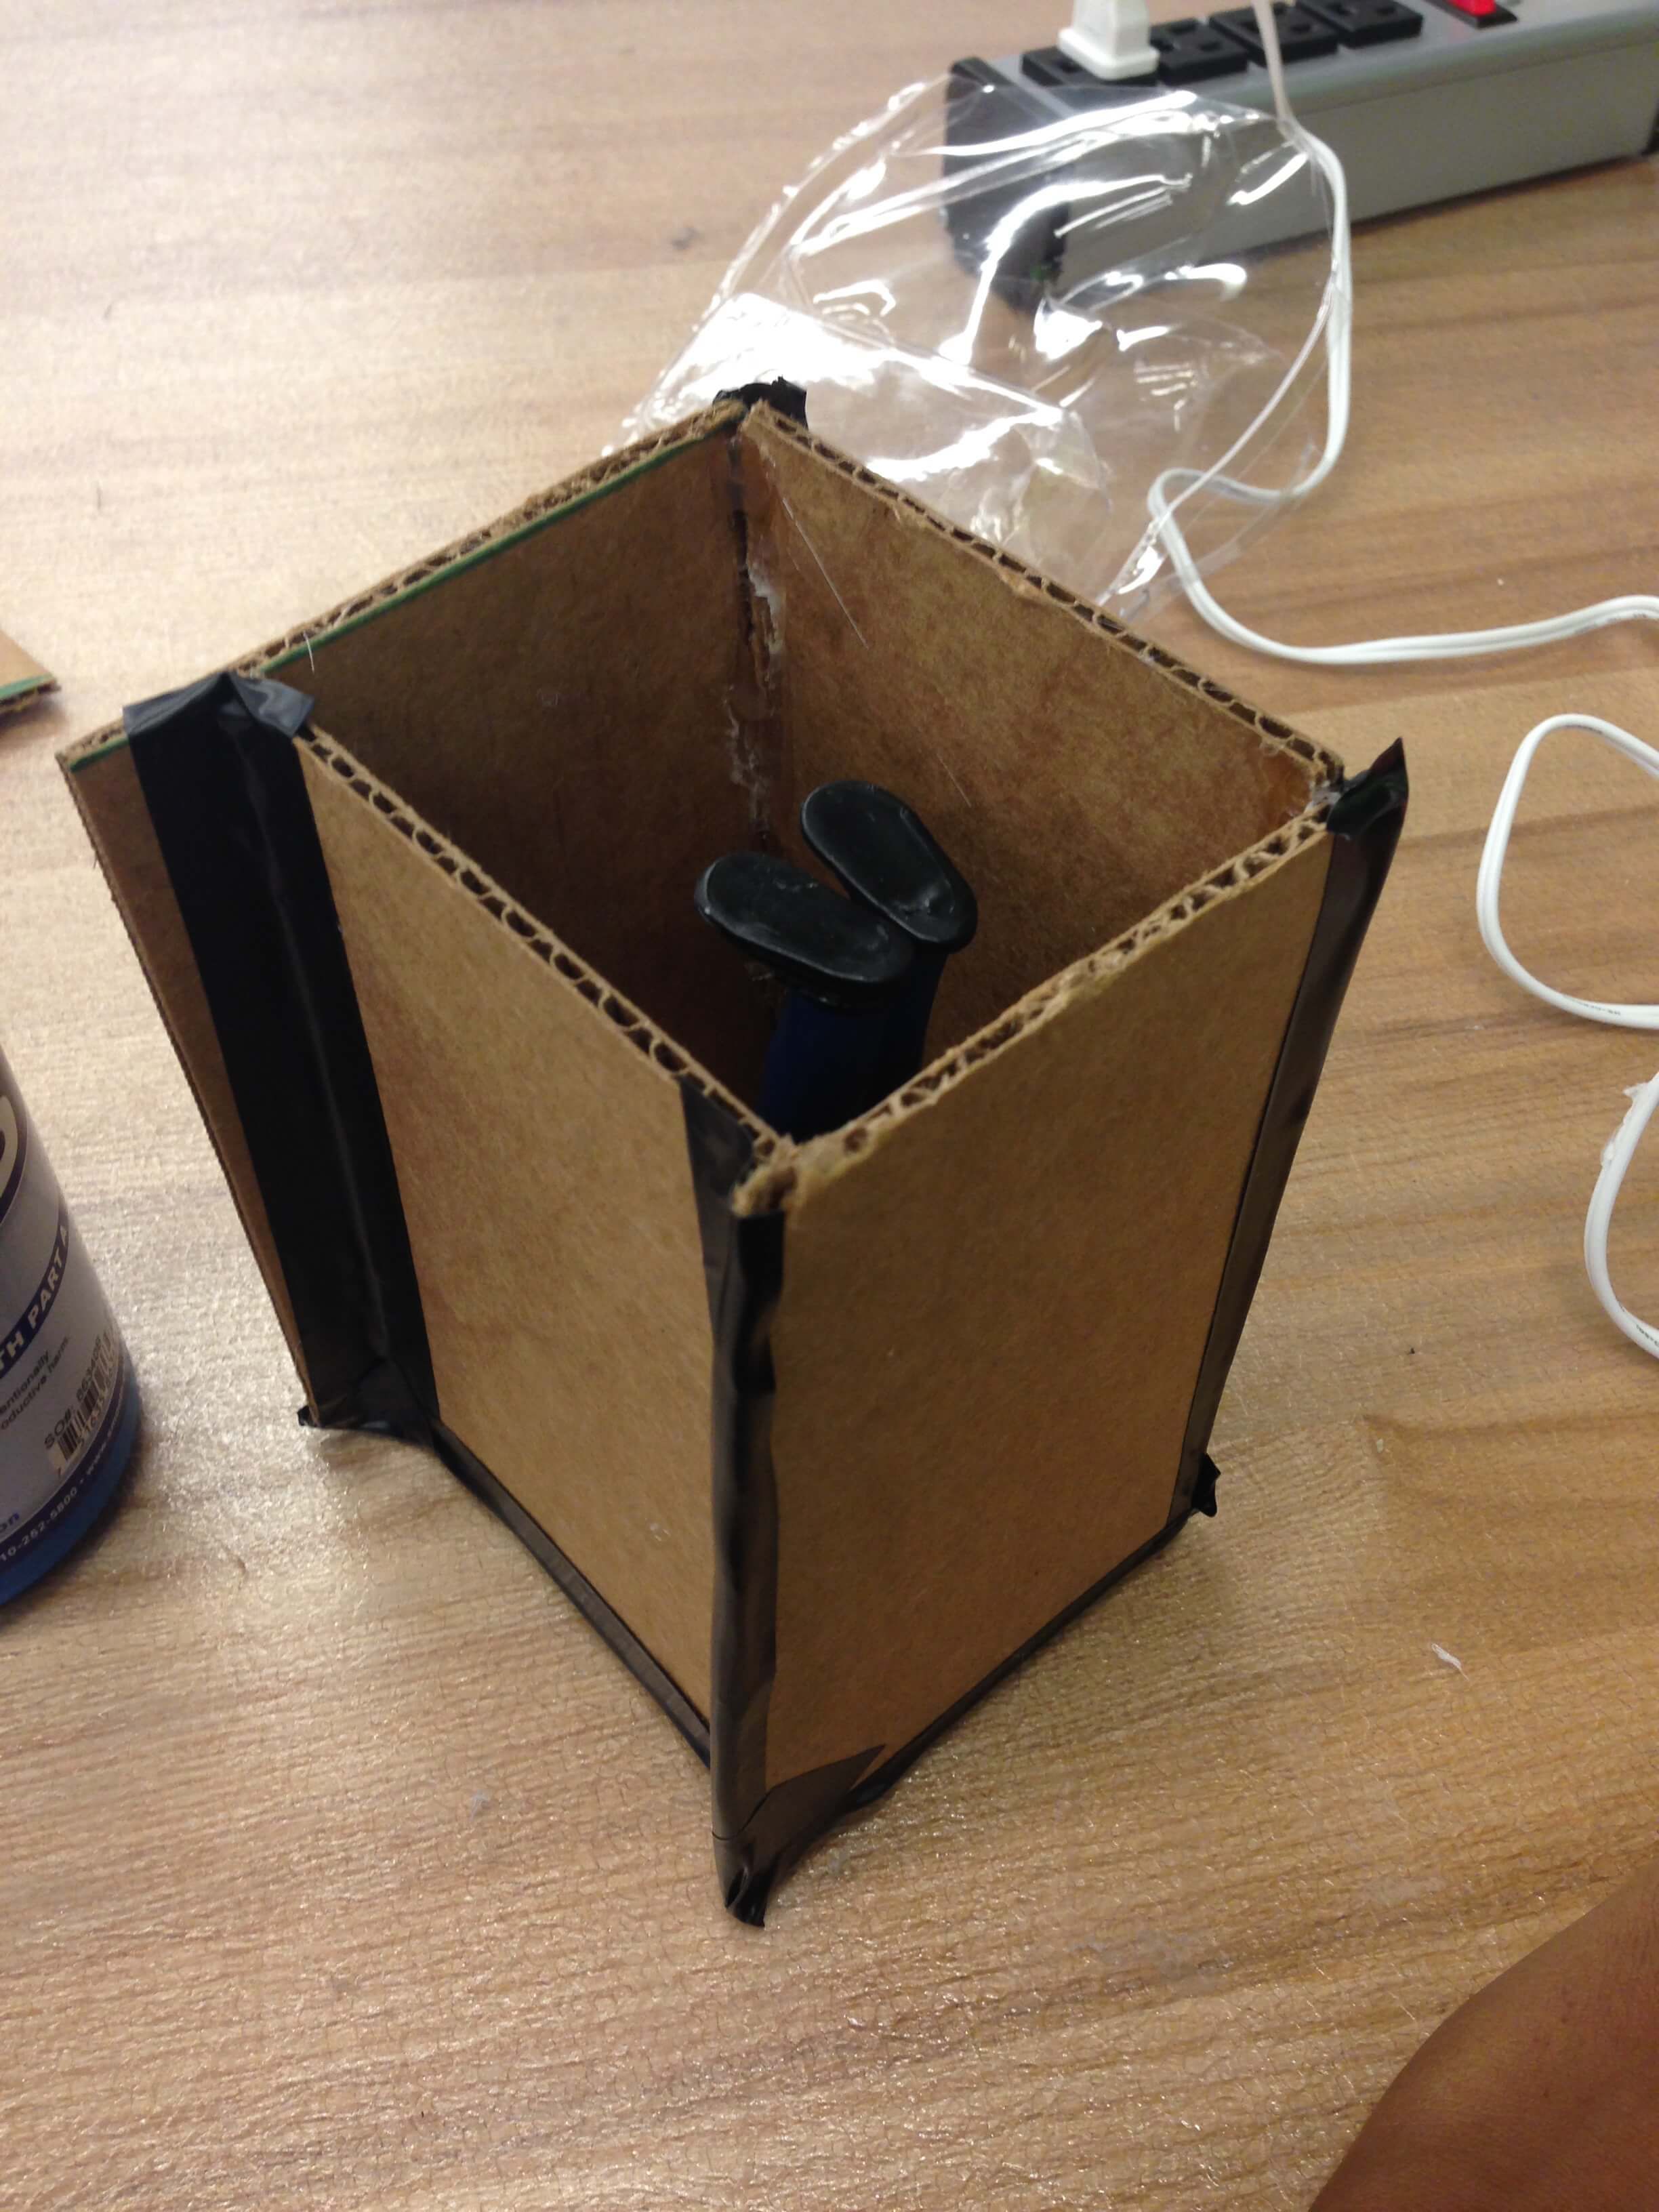
instructable , to be too difficult. This involved hot gluing the figurine to the bottom of a box, which must be sealed around the figurine to hold the oomoo.
The problem was with the sealing of the box. I applied a considerable amount of glue and tape to the sides of my box but could not prevent oomoo from seeping through. Eventually, I decided to stick to designing my own dolls in Solidworks and 3D printing since I only planned to make two of them.
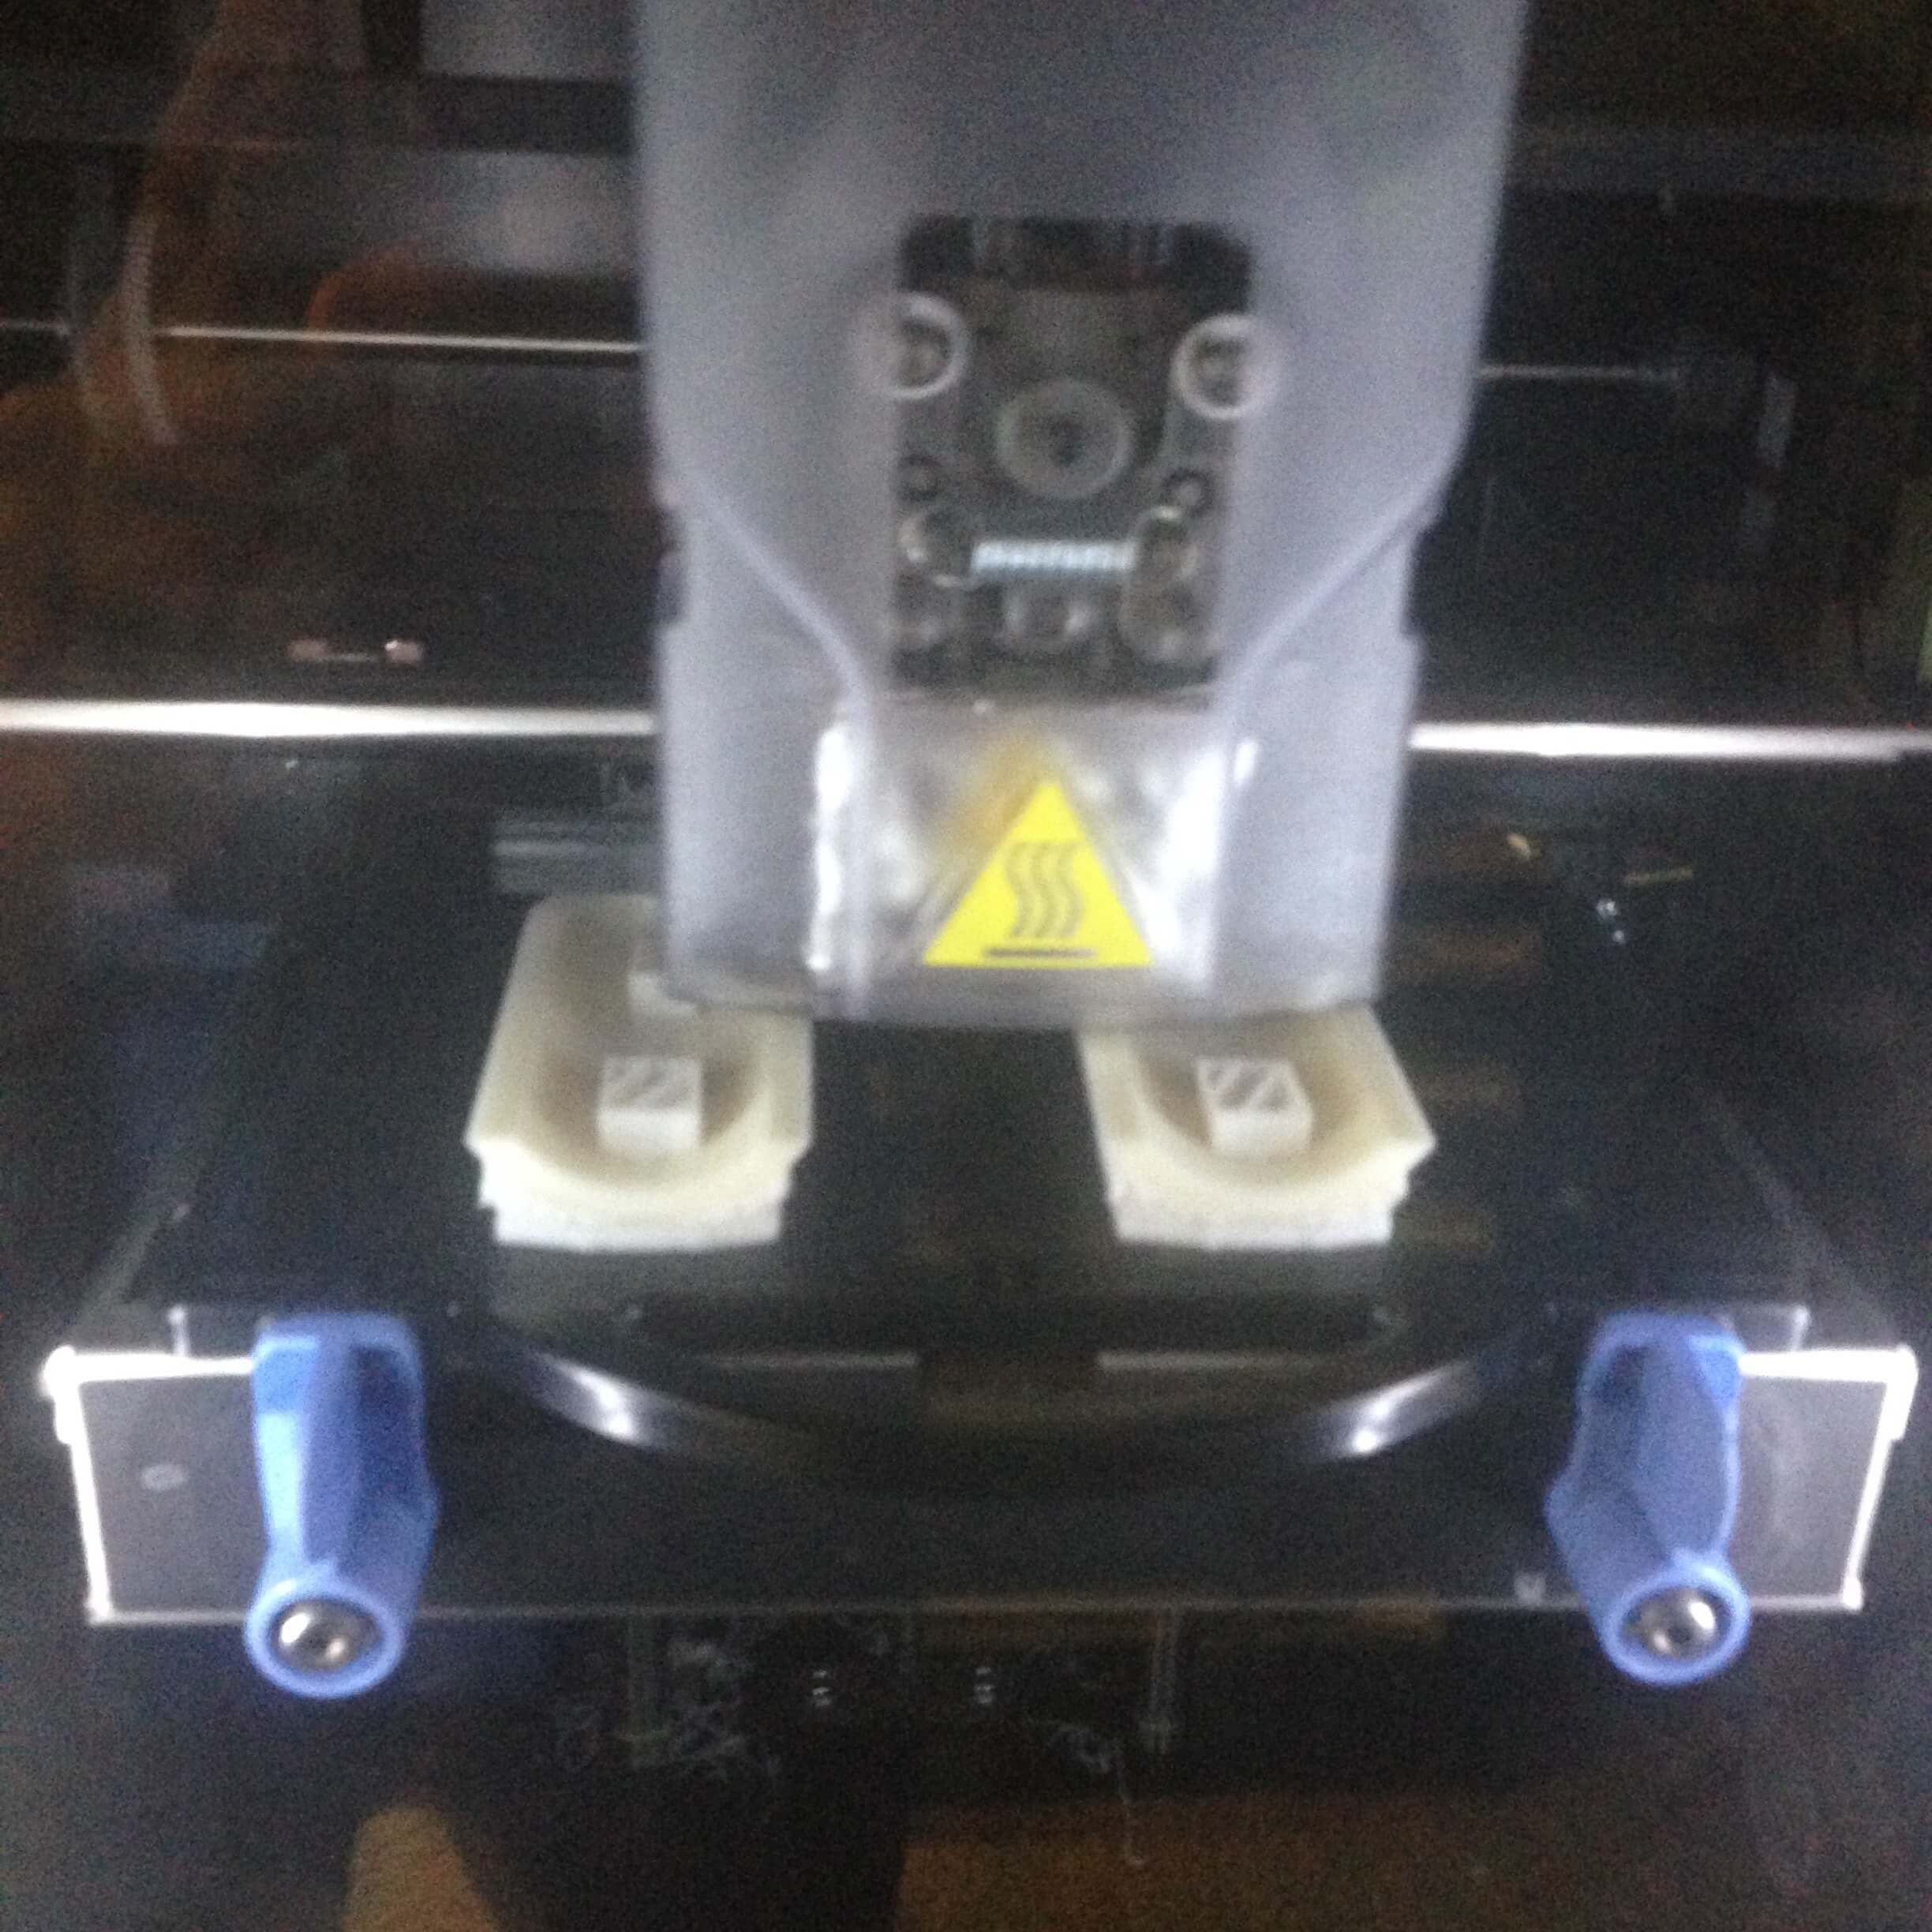
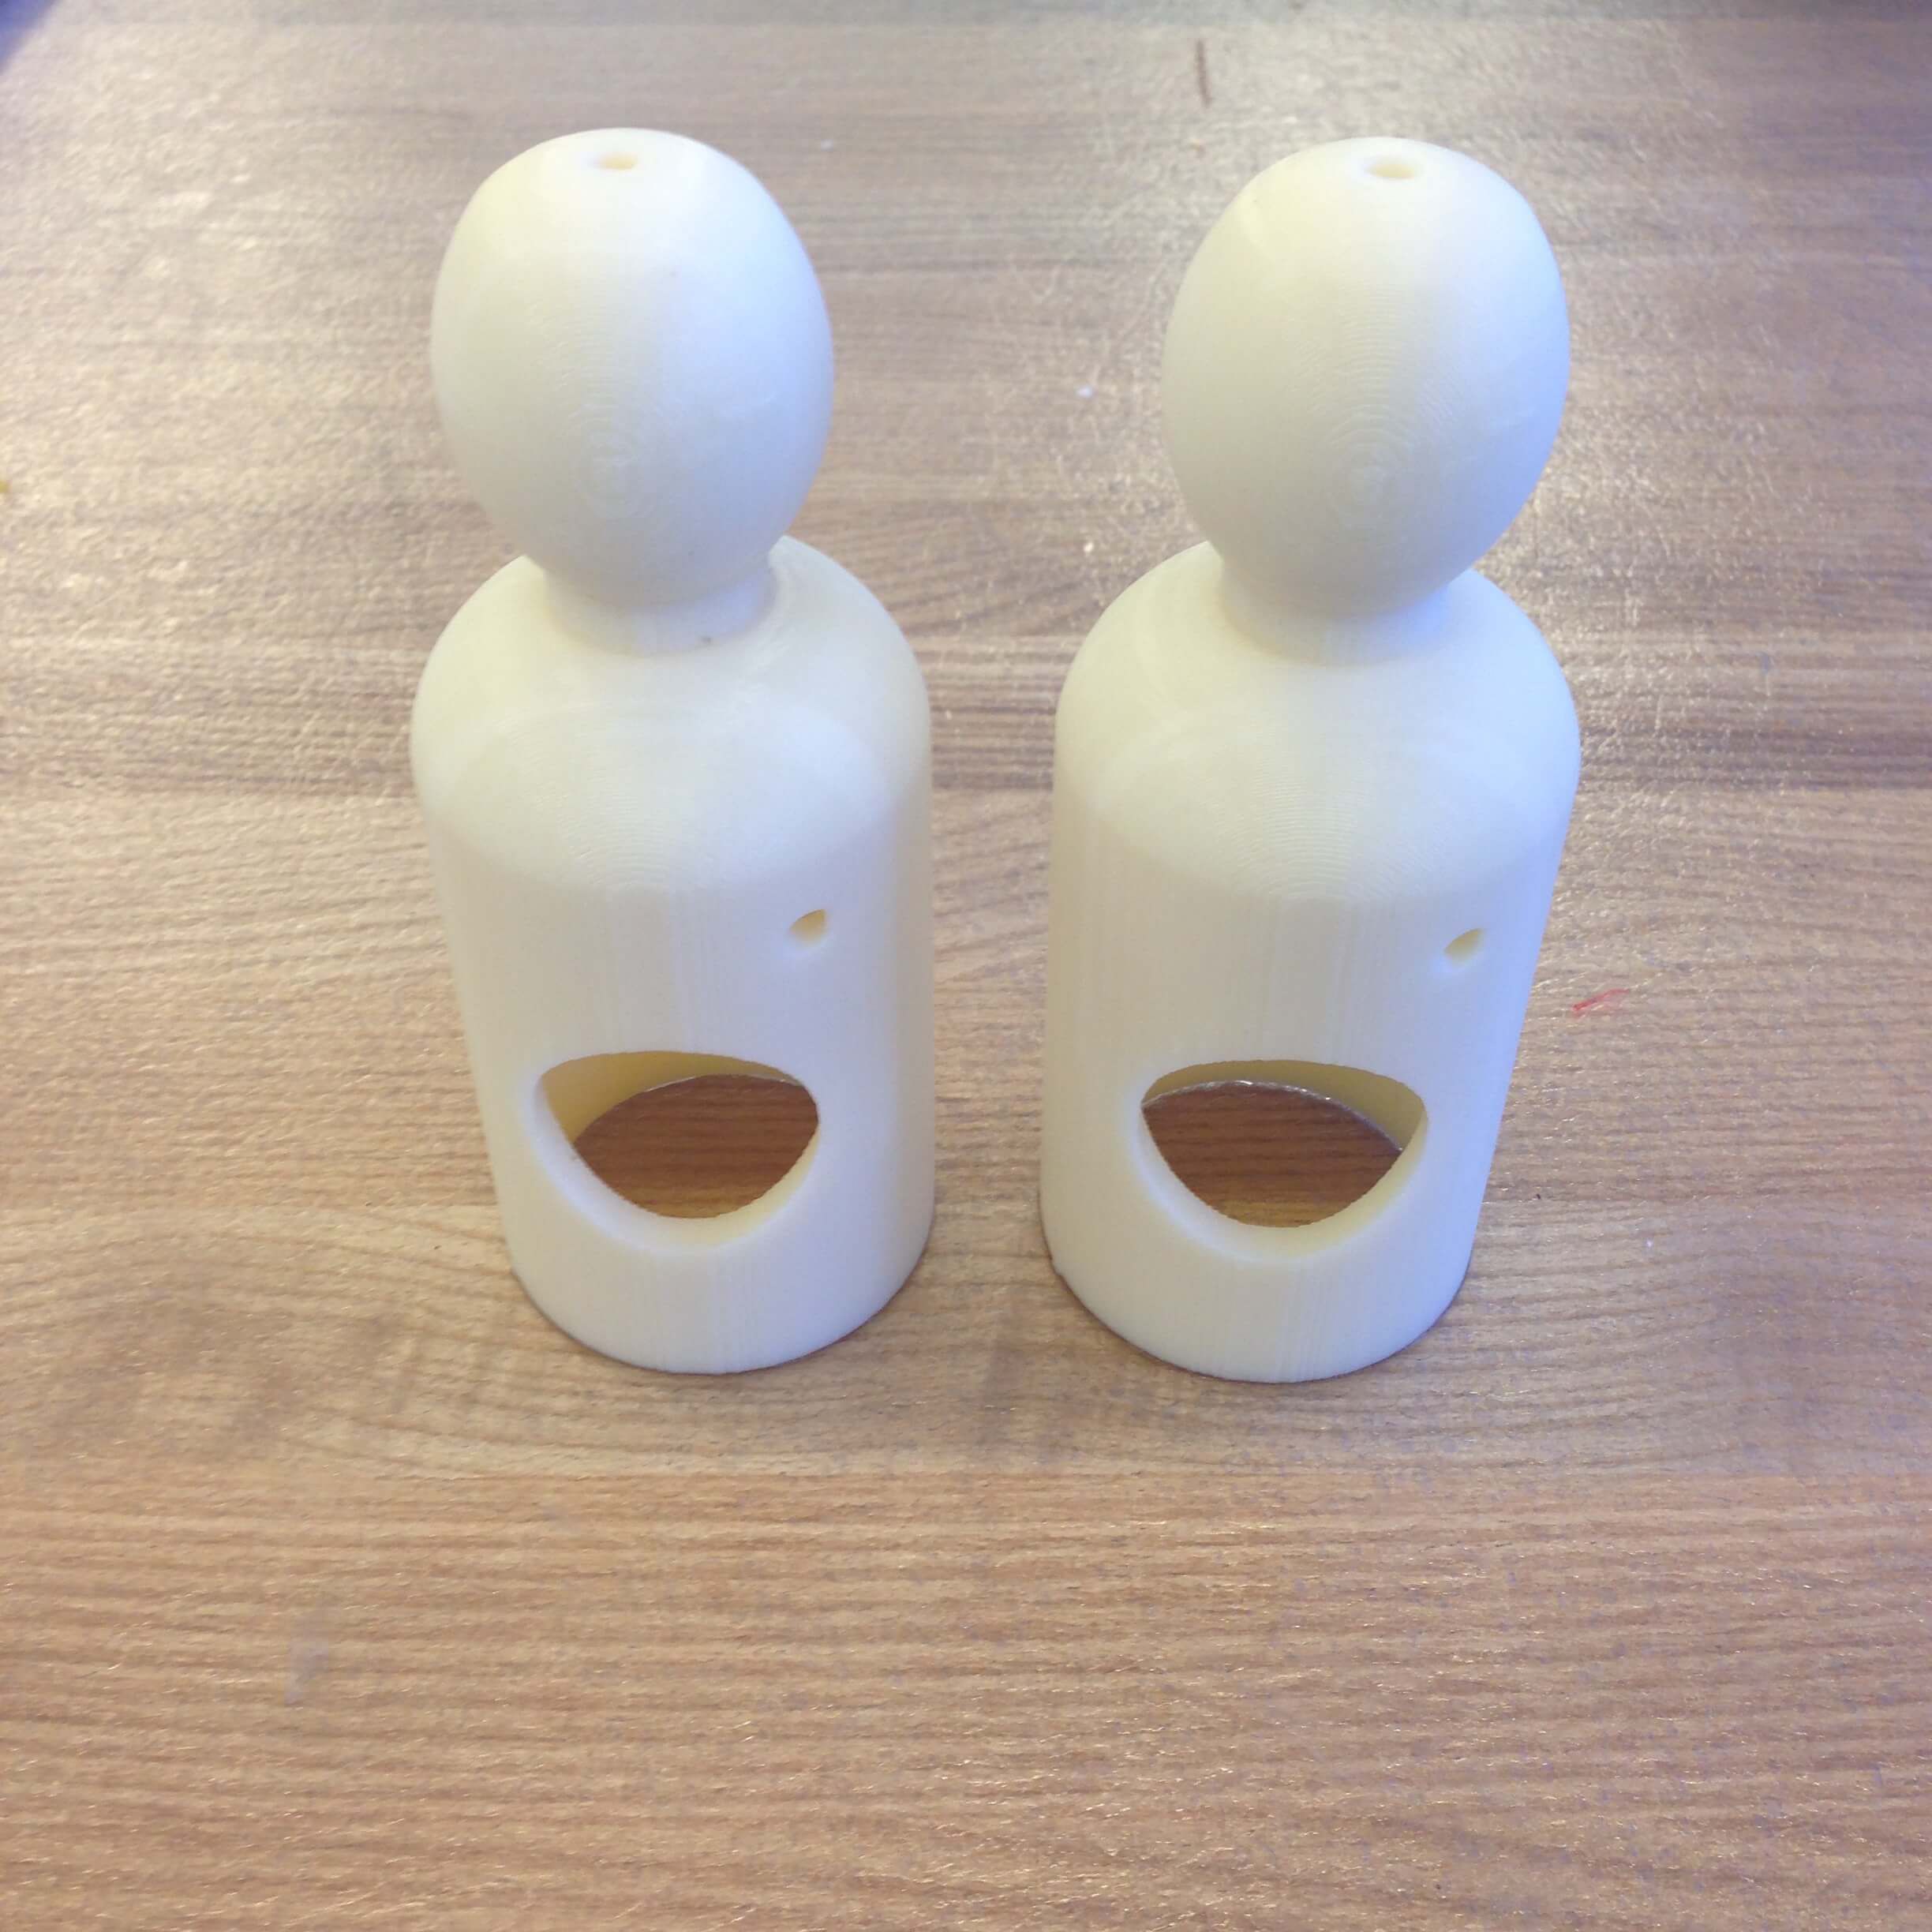
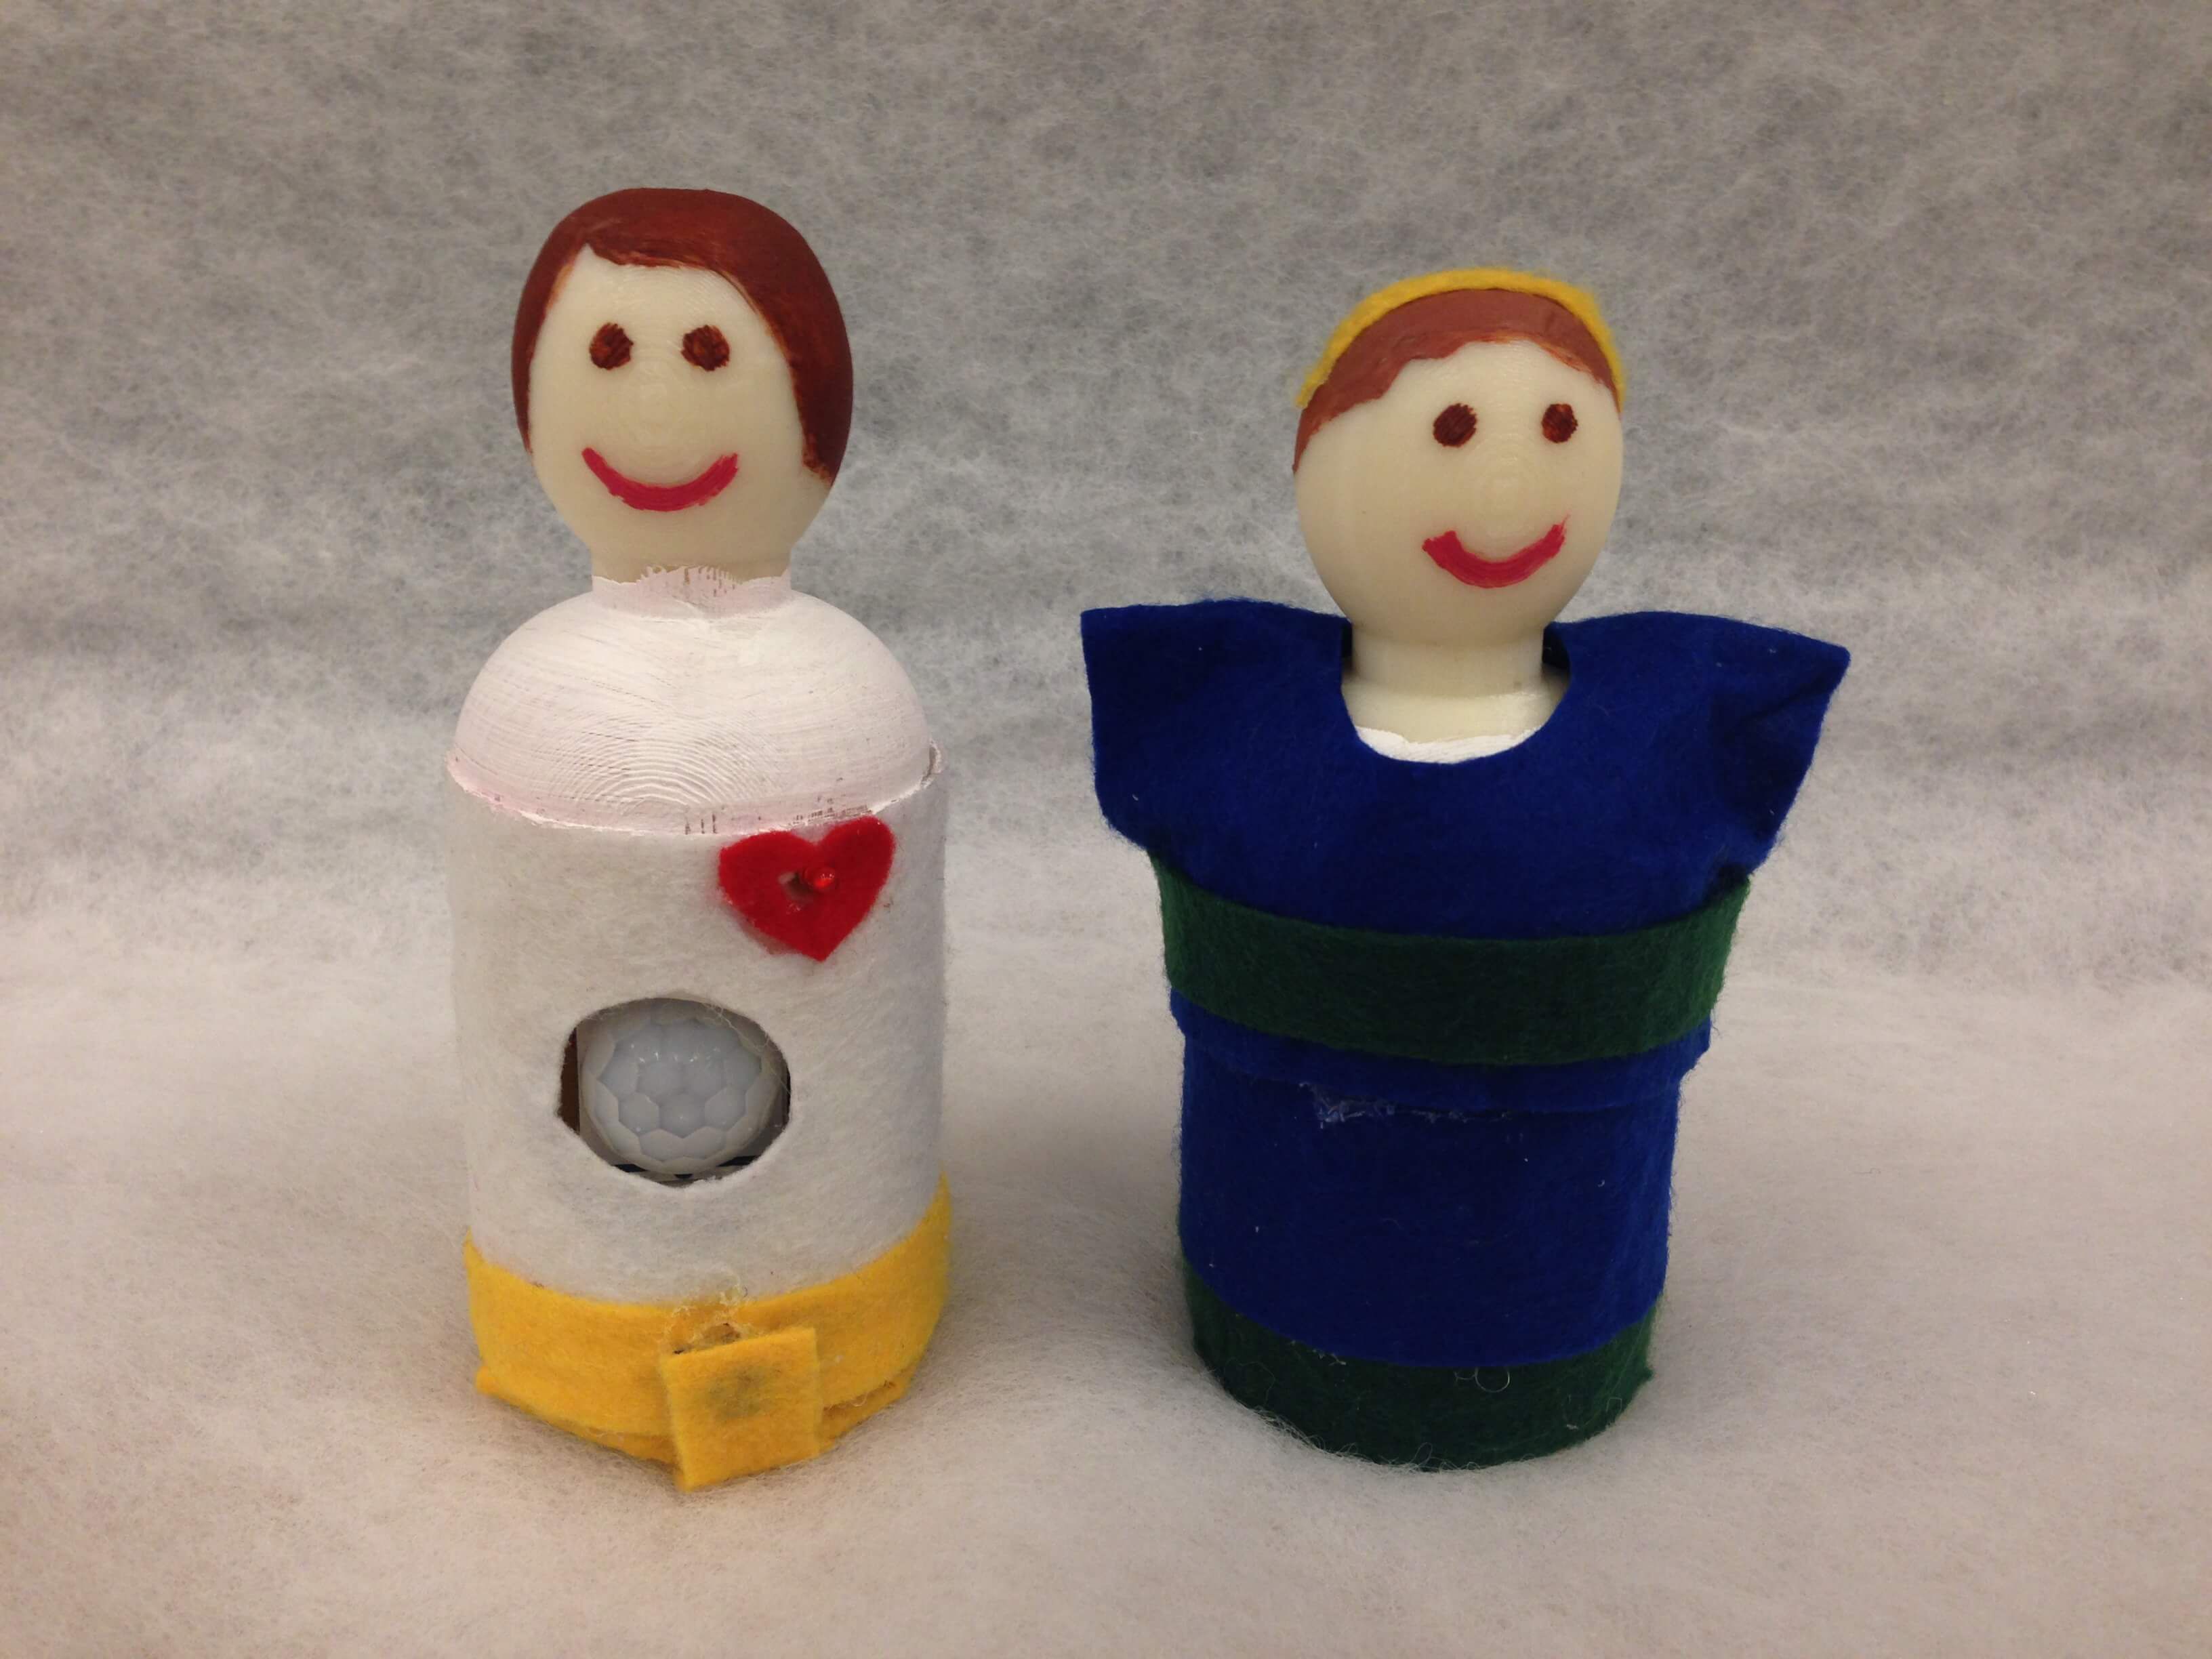
This decision ended up being for the best, because it allowed me to personalize their design so that electronics could be incorporated. The dolls were printed with a hole in their centers and at the location of their "hearts". My new idea was to install a motion sensor in the center of the dolls and an LED in through the heart holes. That way, their hearts would light up whenever the sensors detected motion nearby.Here are images of the dolls during and after printing
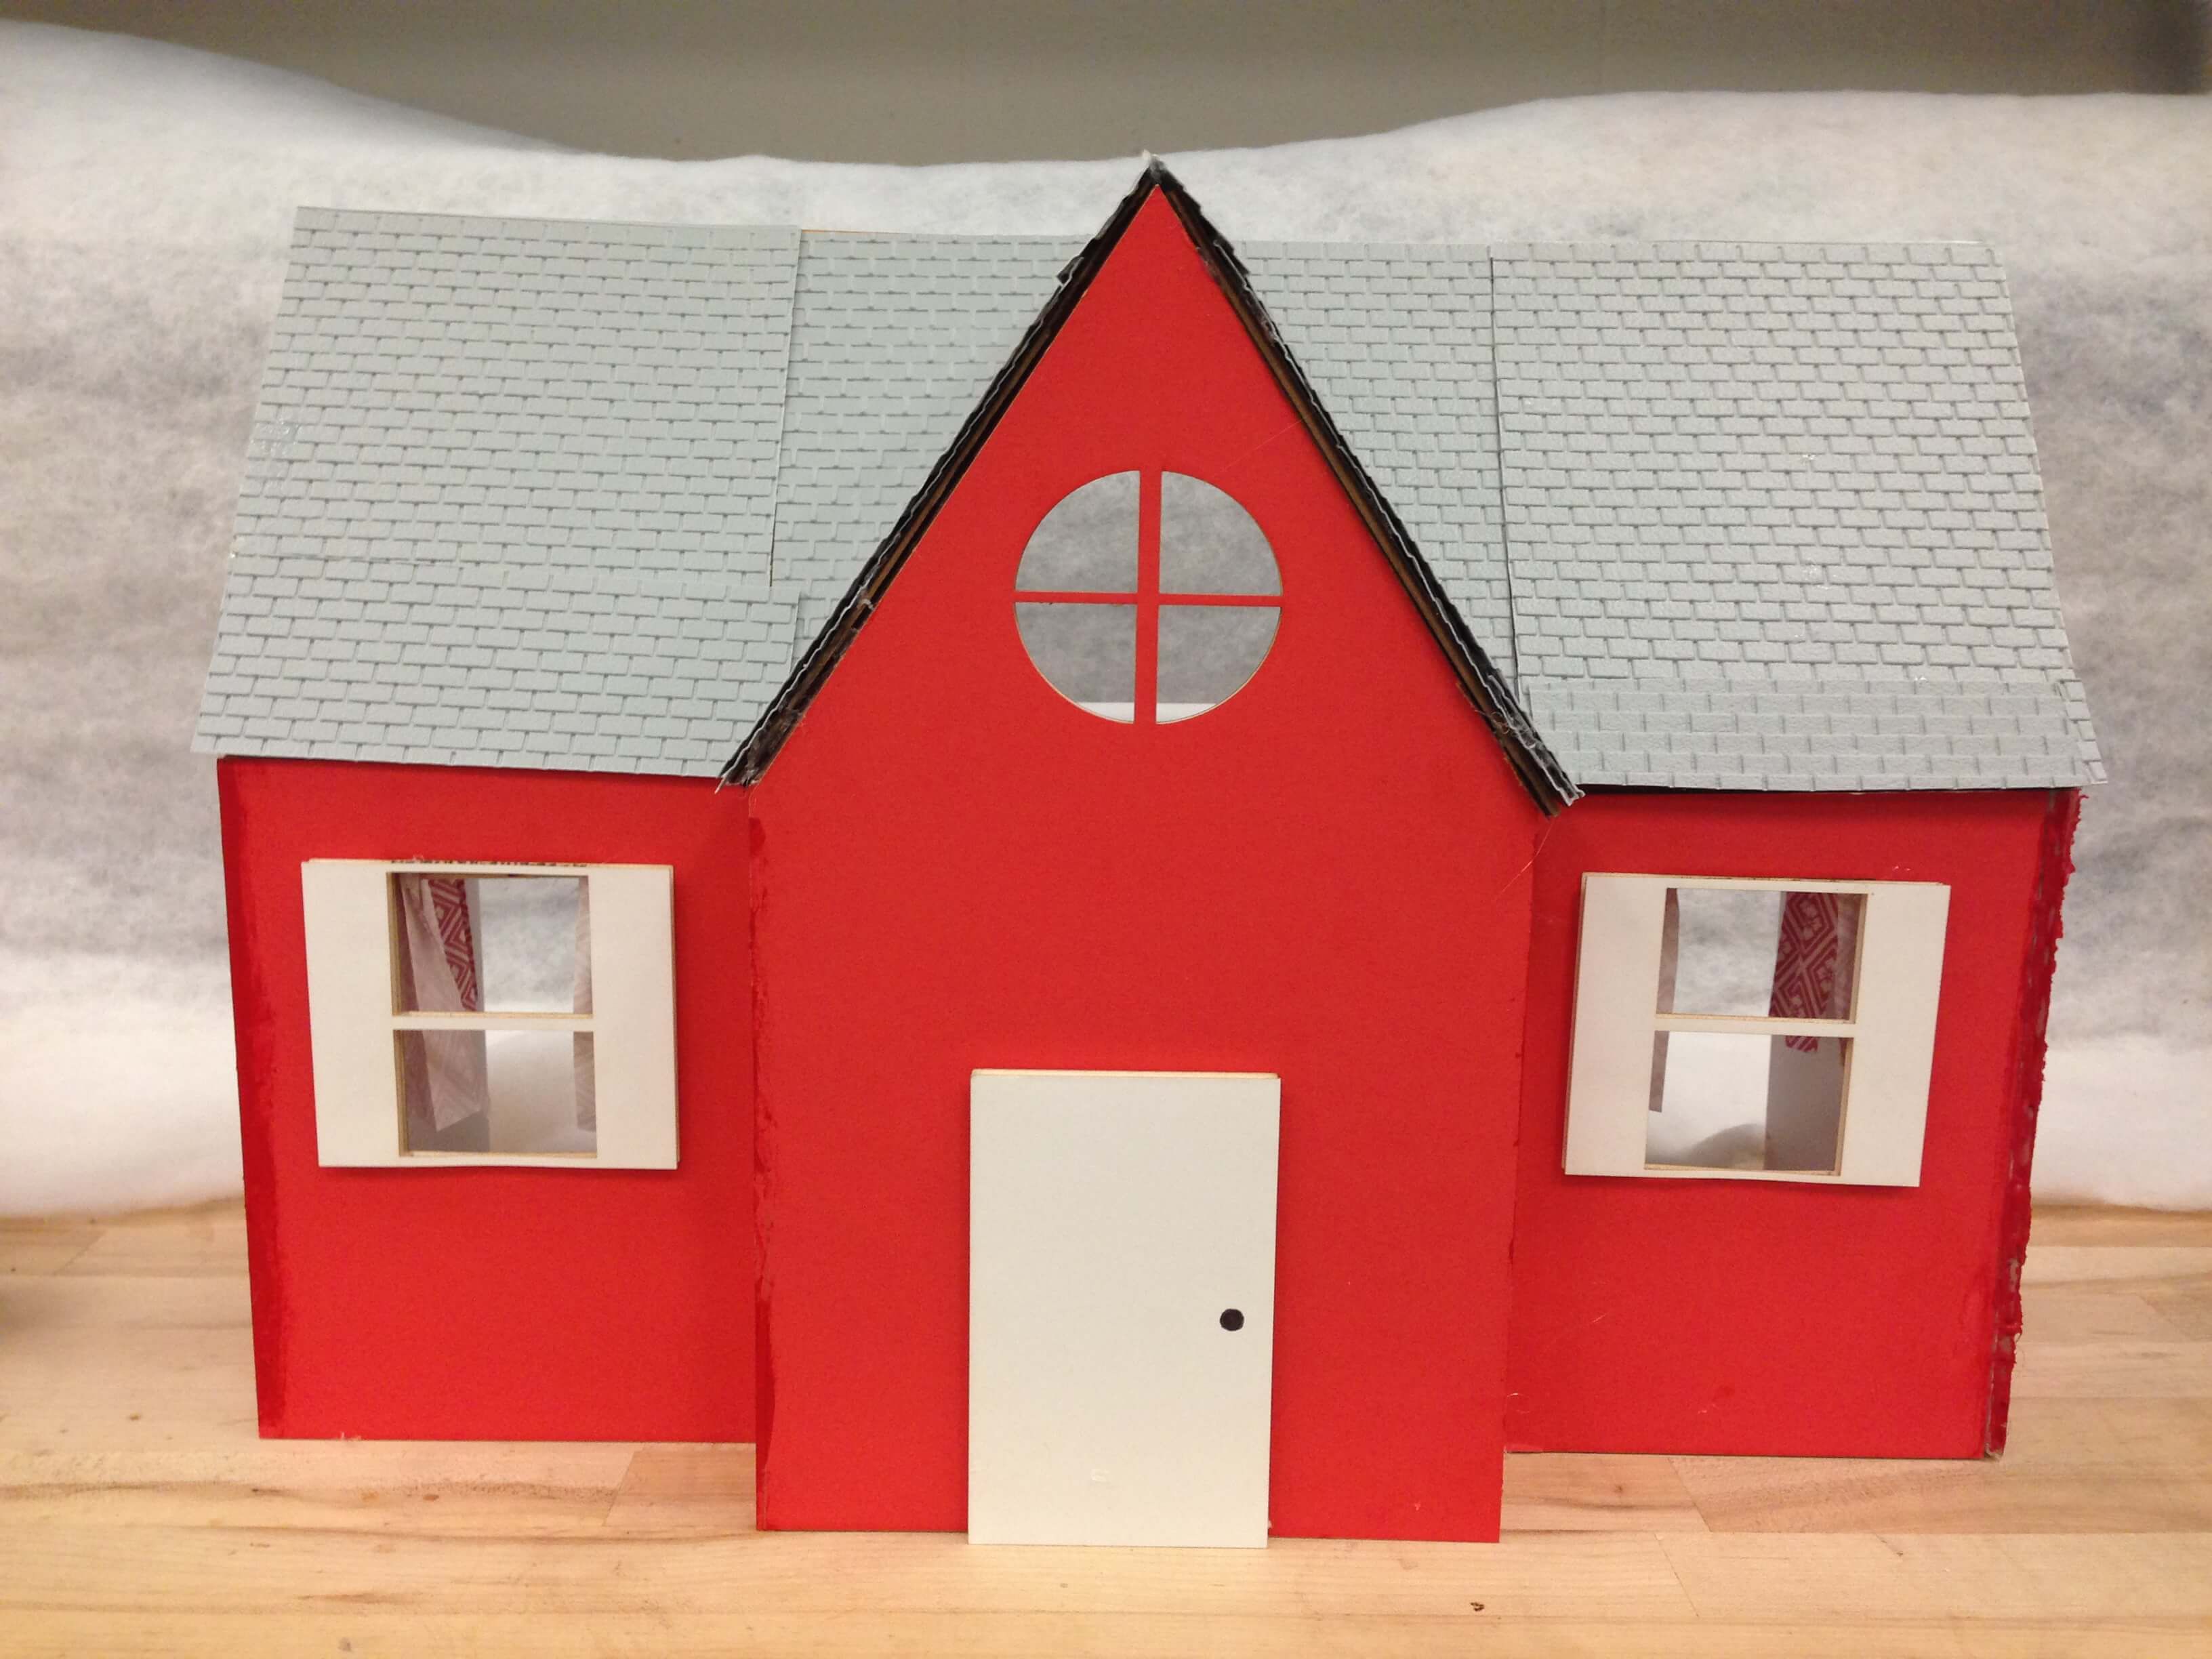
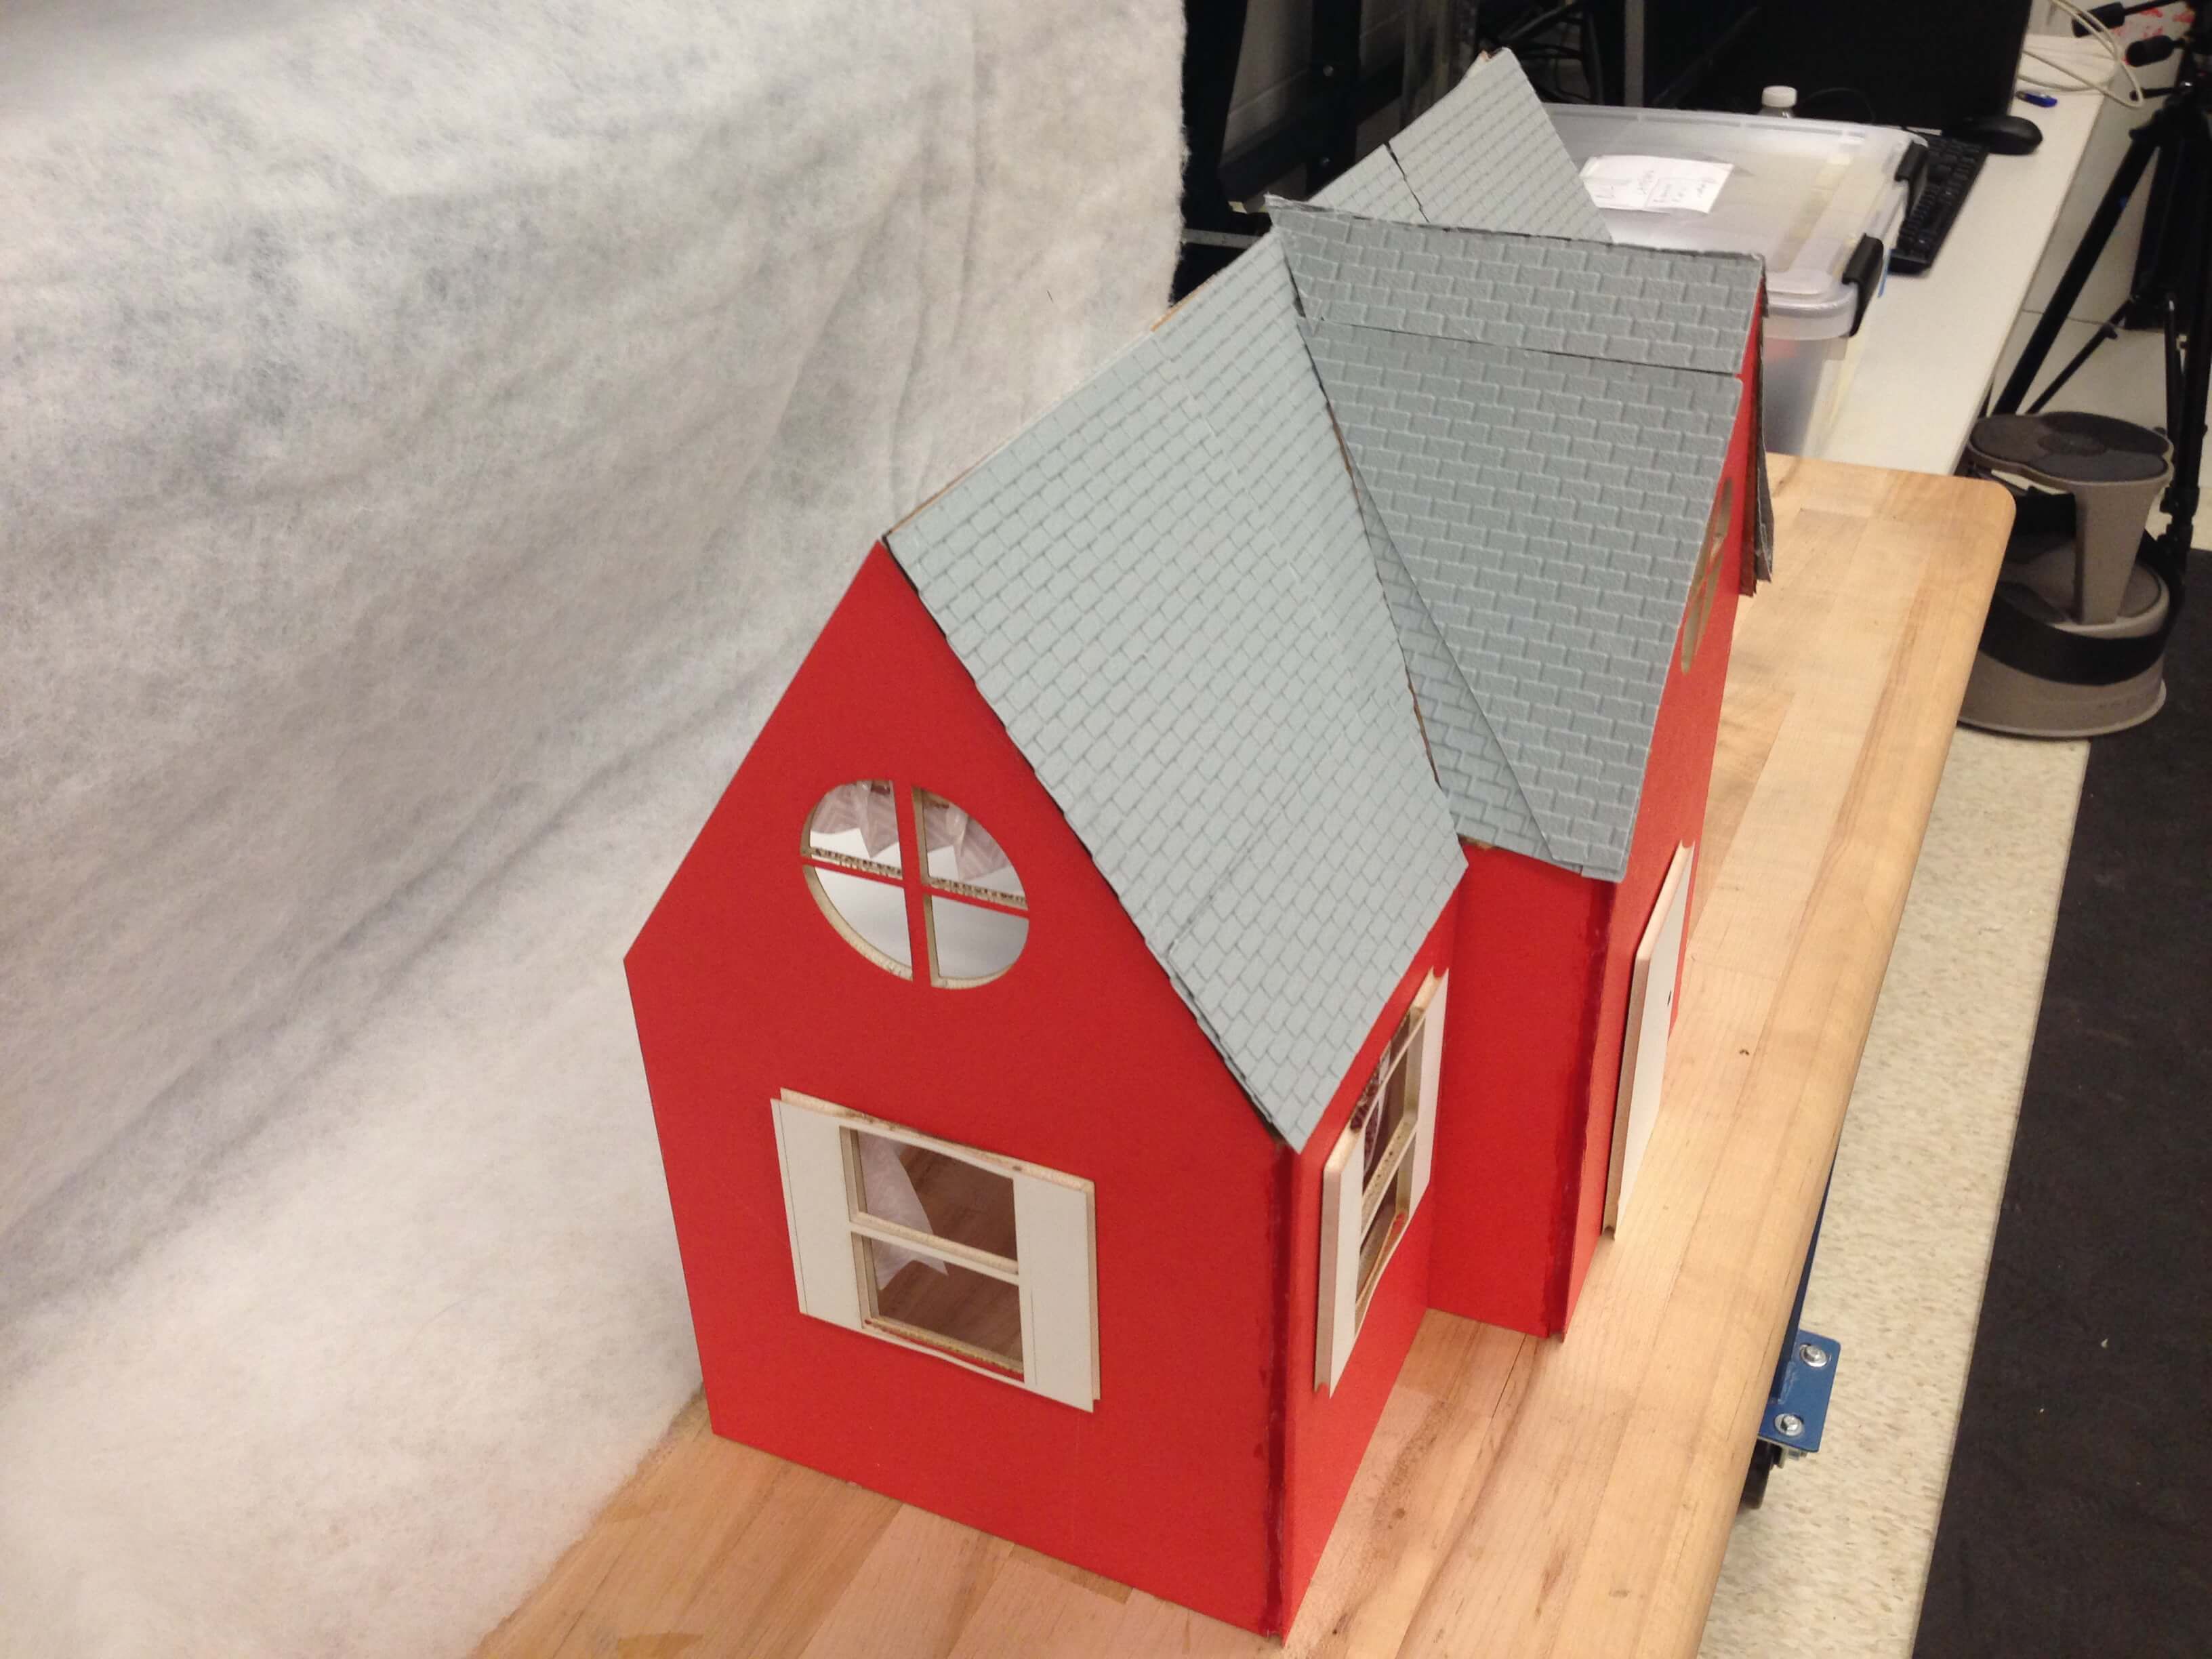
While the dolls were being printed, I worked on laser cutting another version of the house. I purchased some red foamcoare from Blicks and used the lasercutter's default settings for this material. I lasercut all of the press fit furniture with cardboard because I intended to paint them later on.
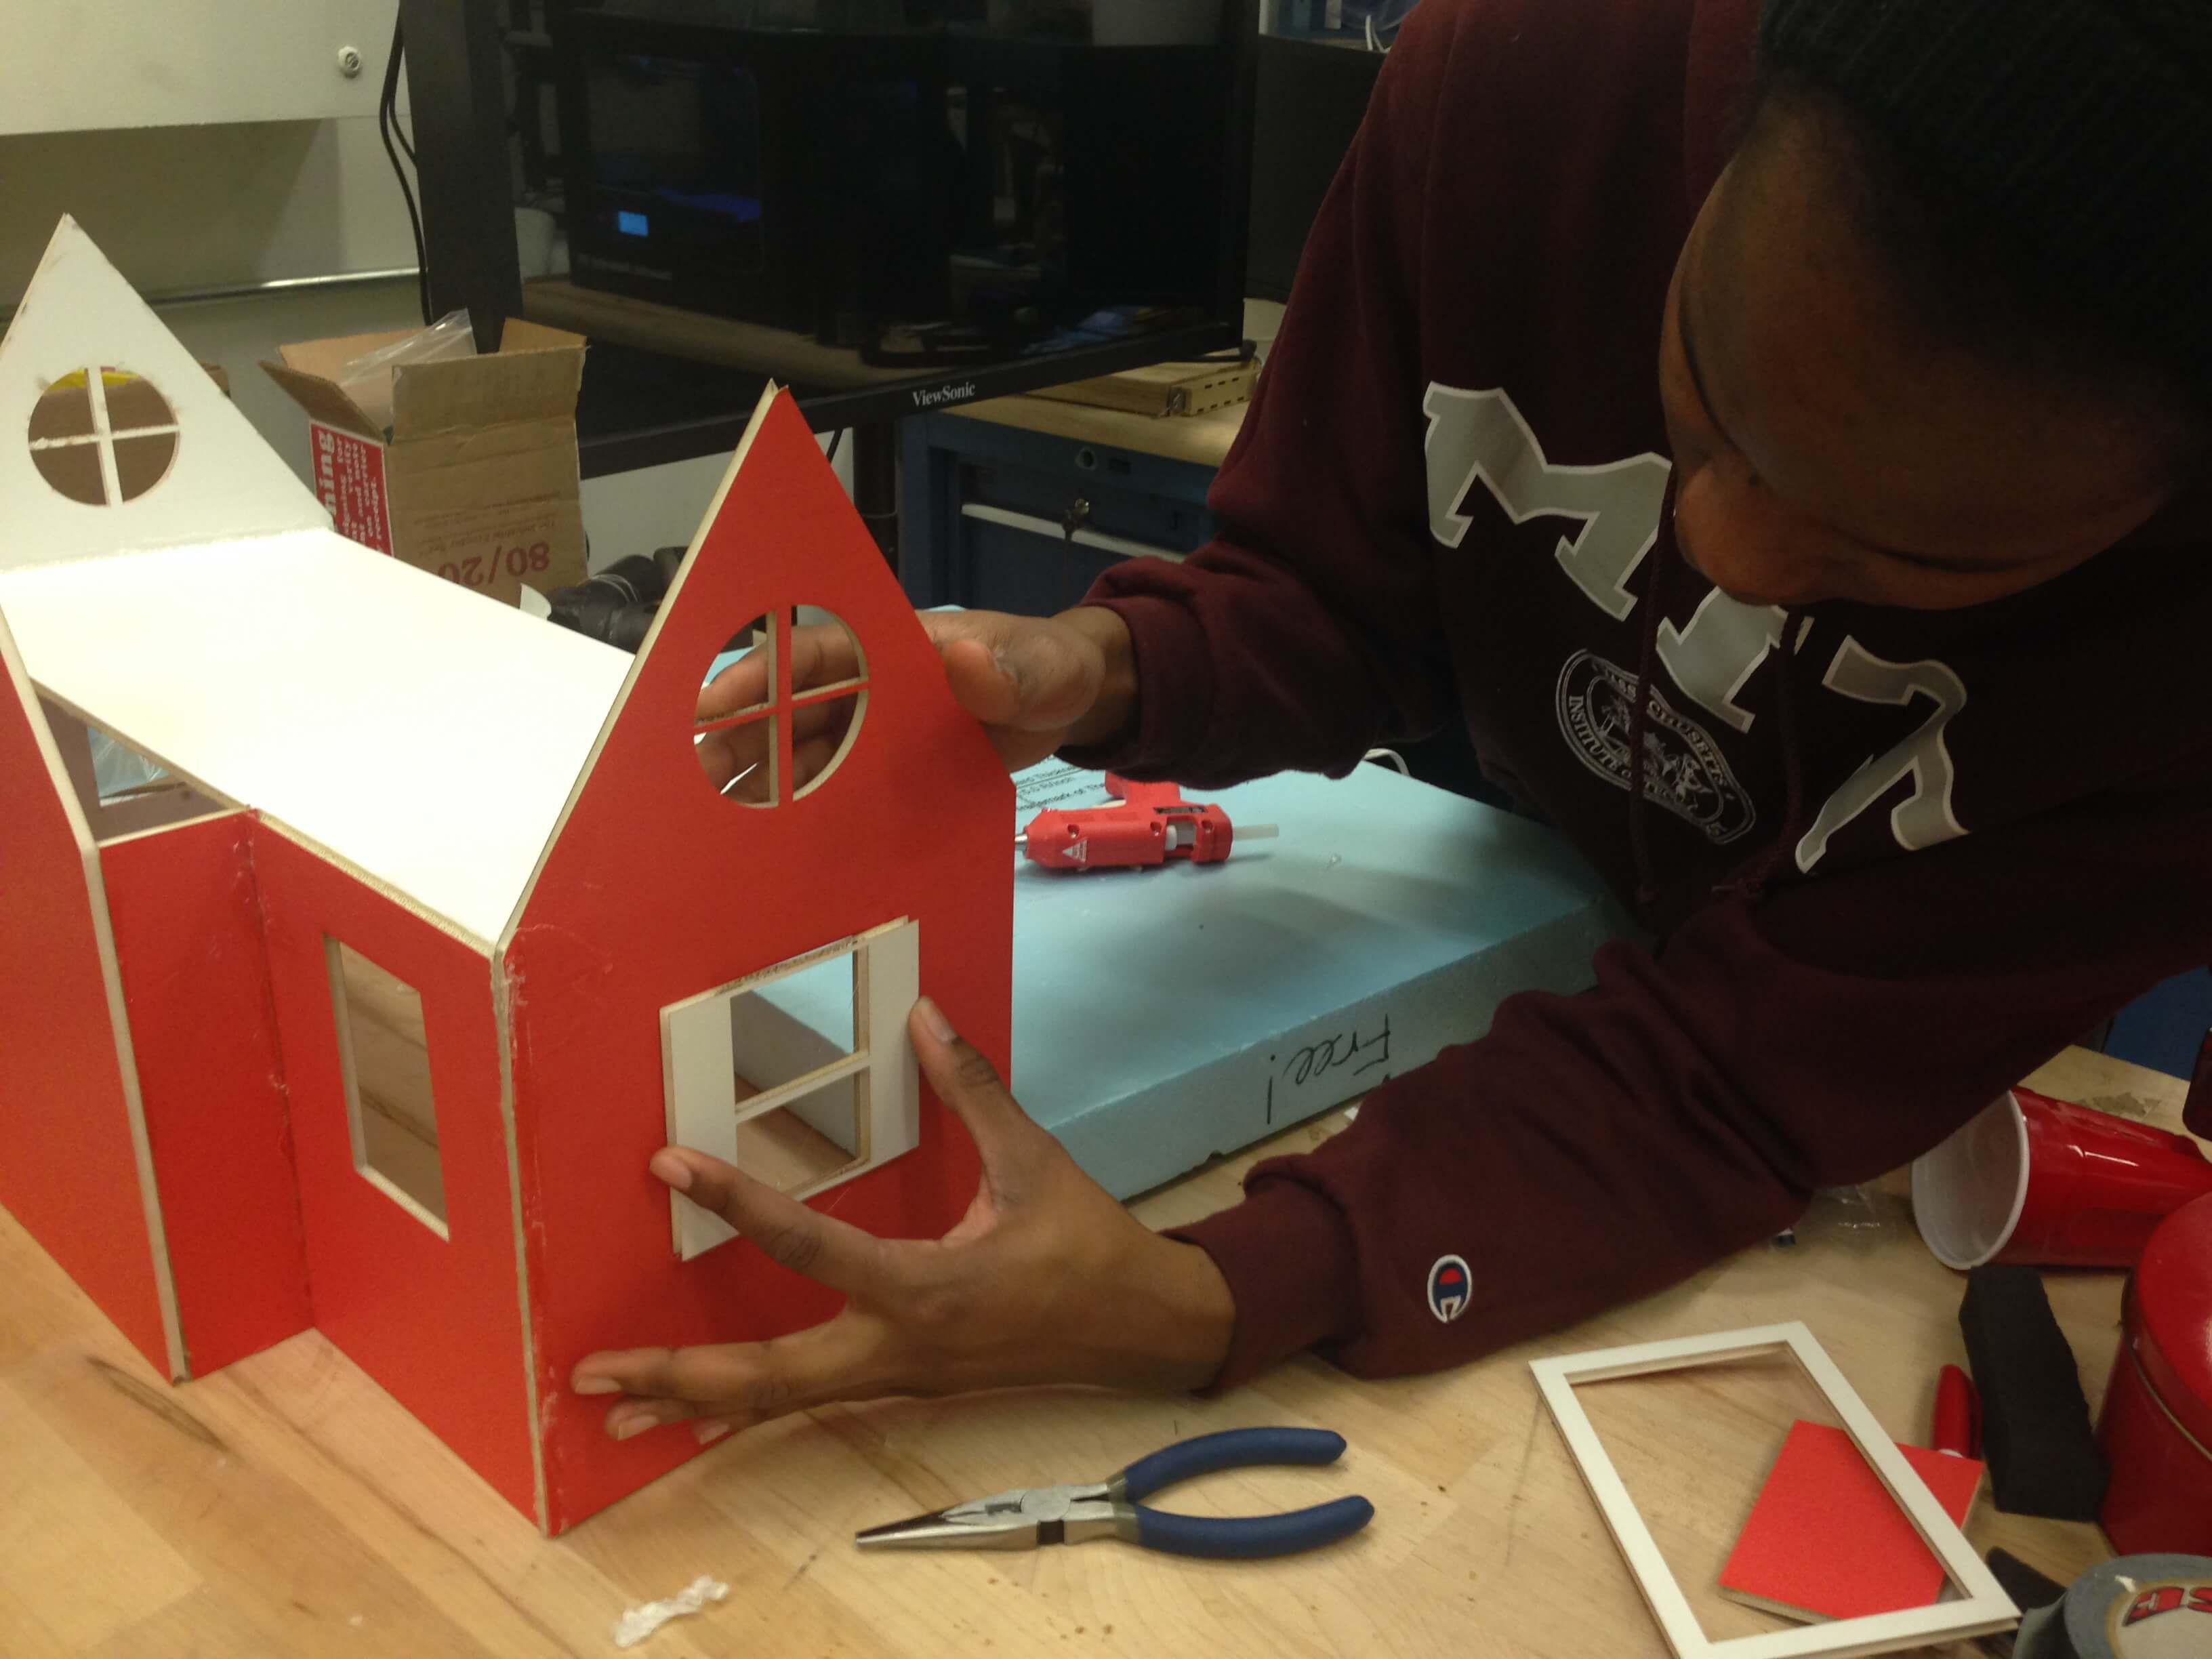
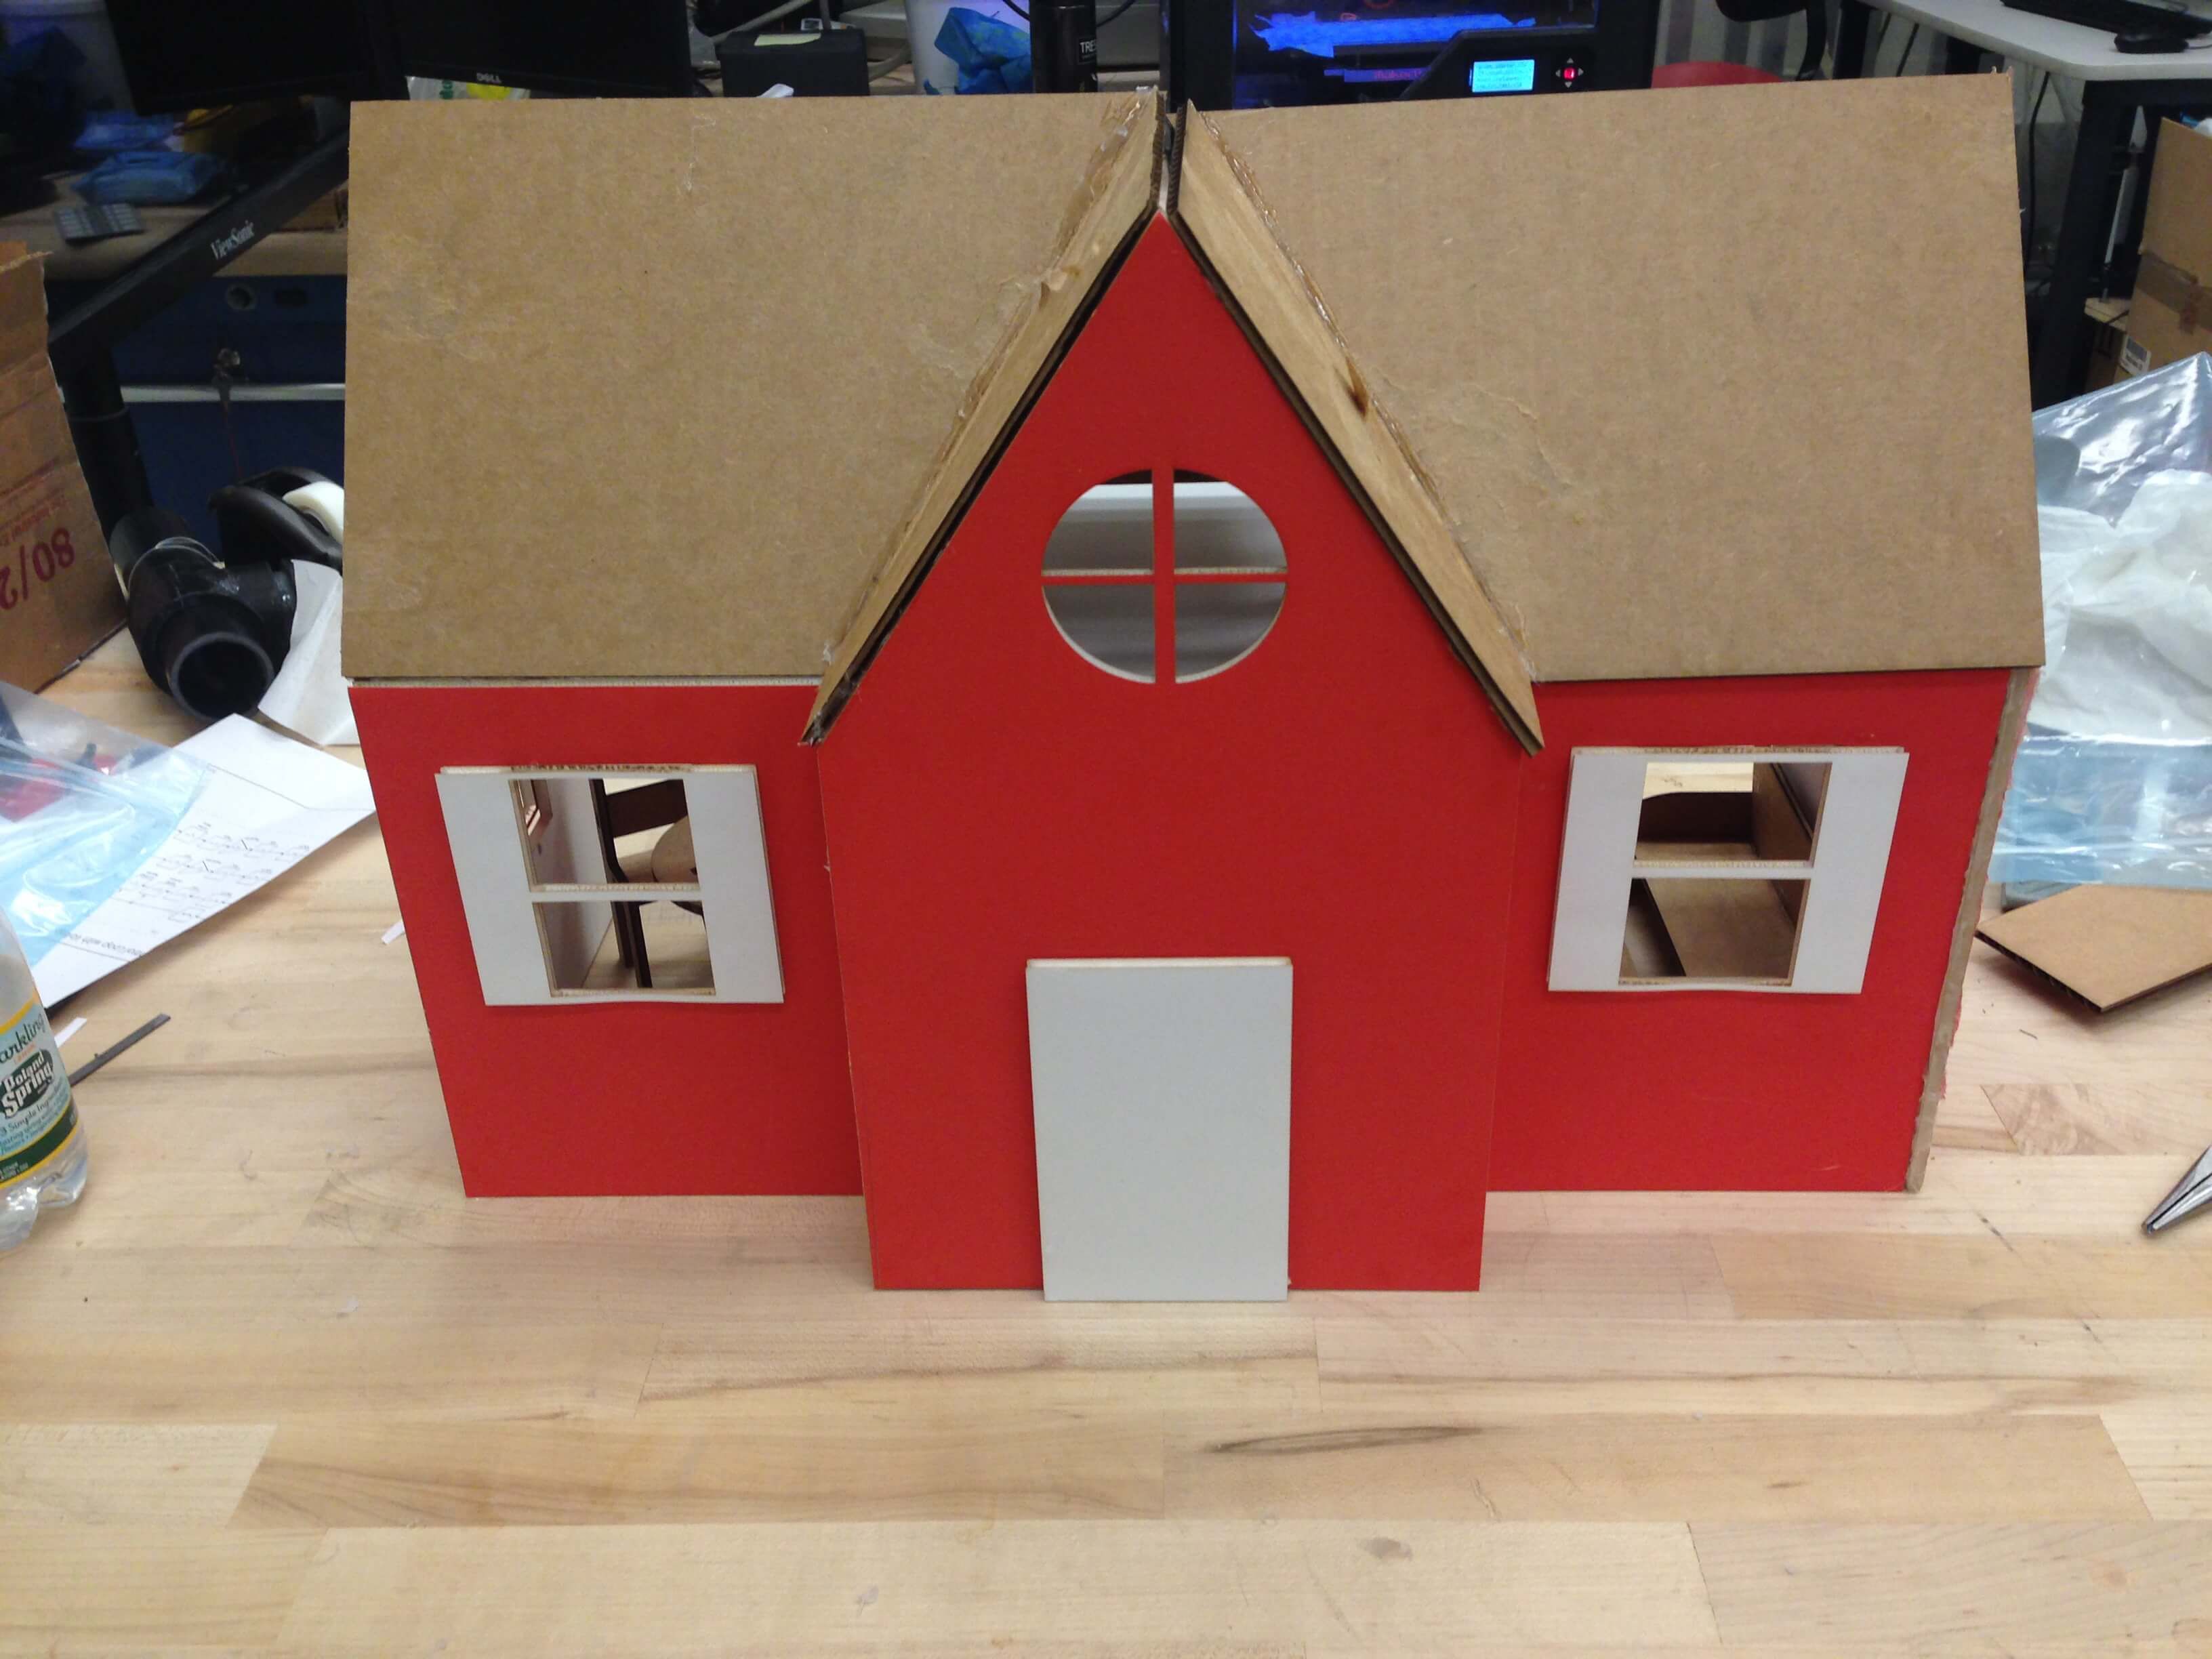
Then I moved on to the glue-intensive assembly:
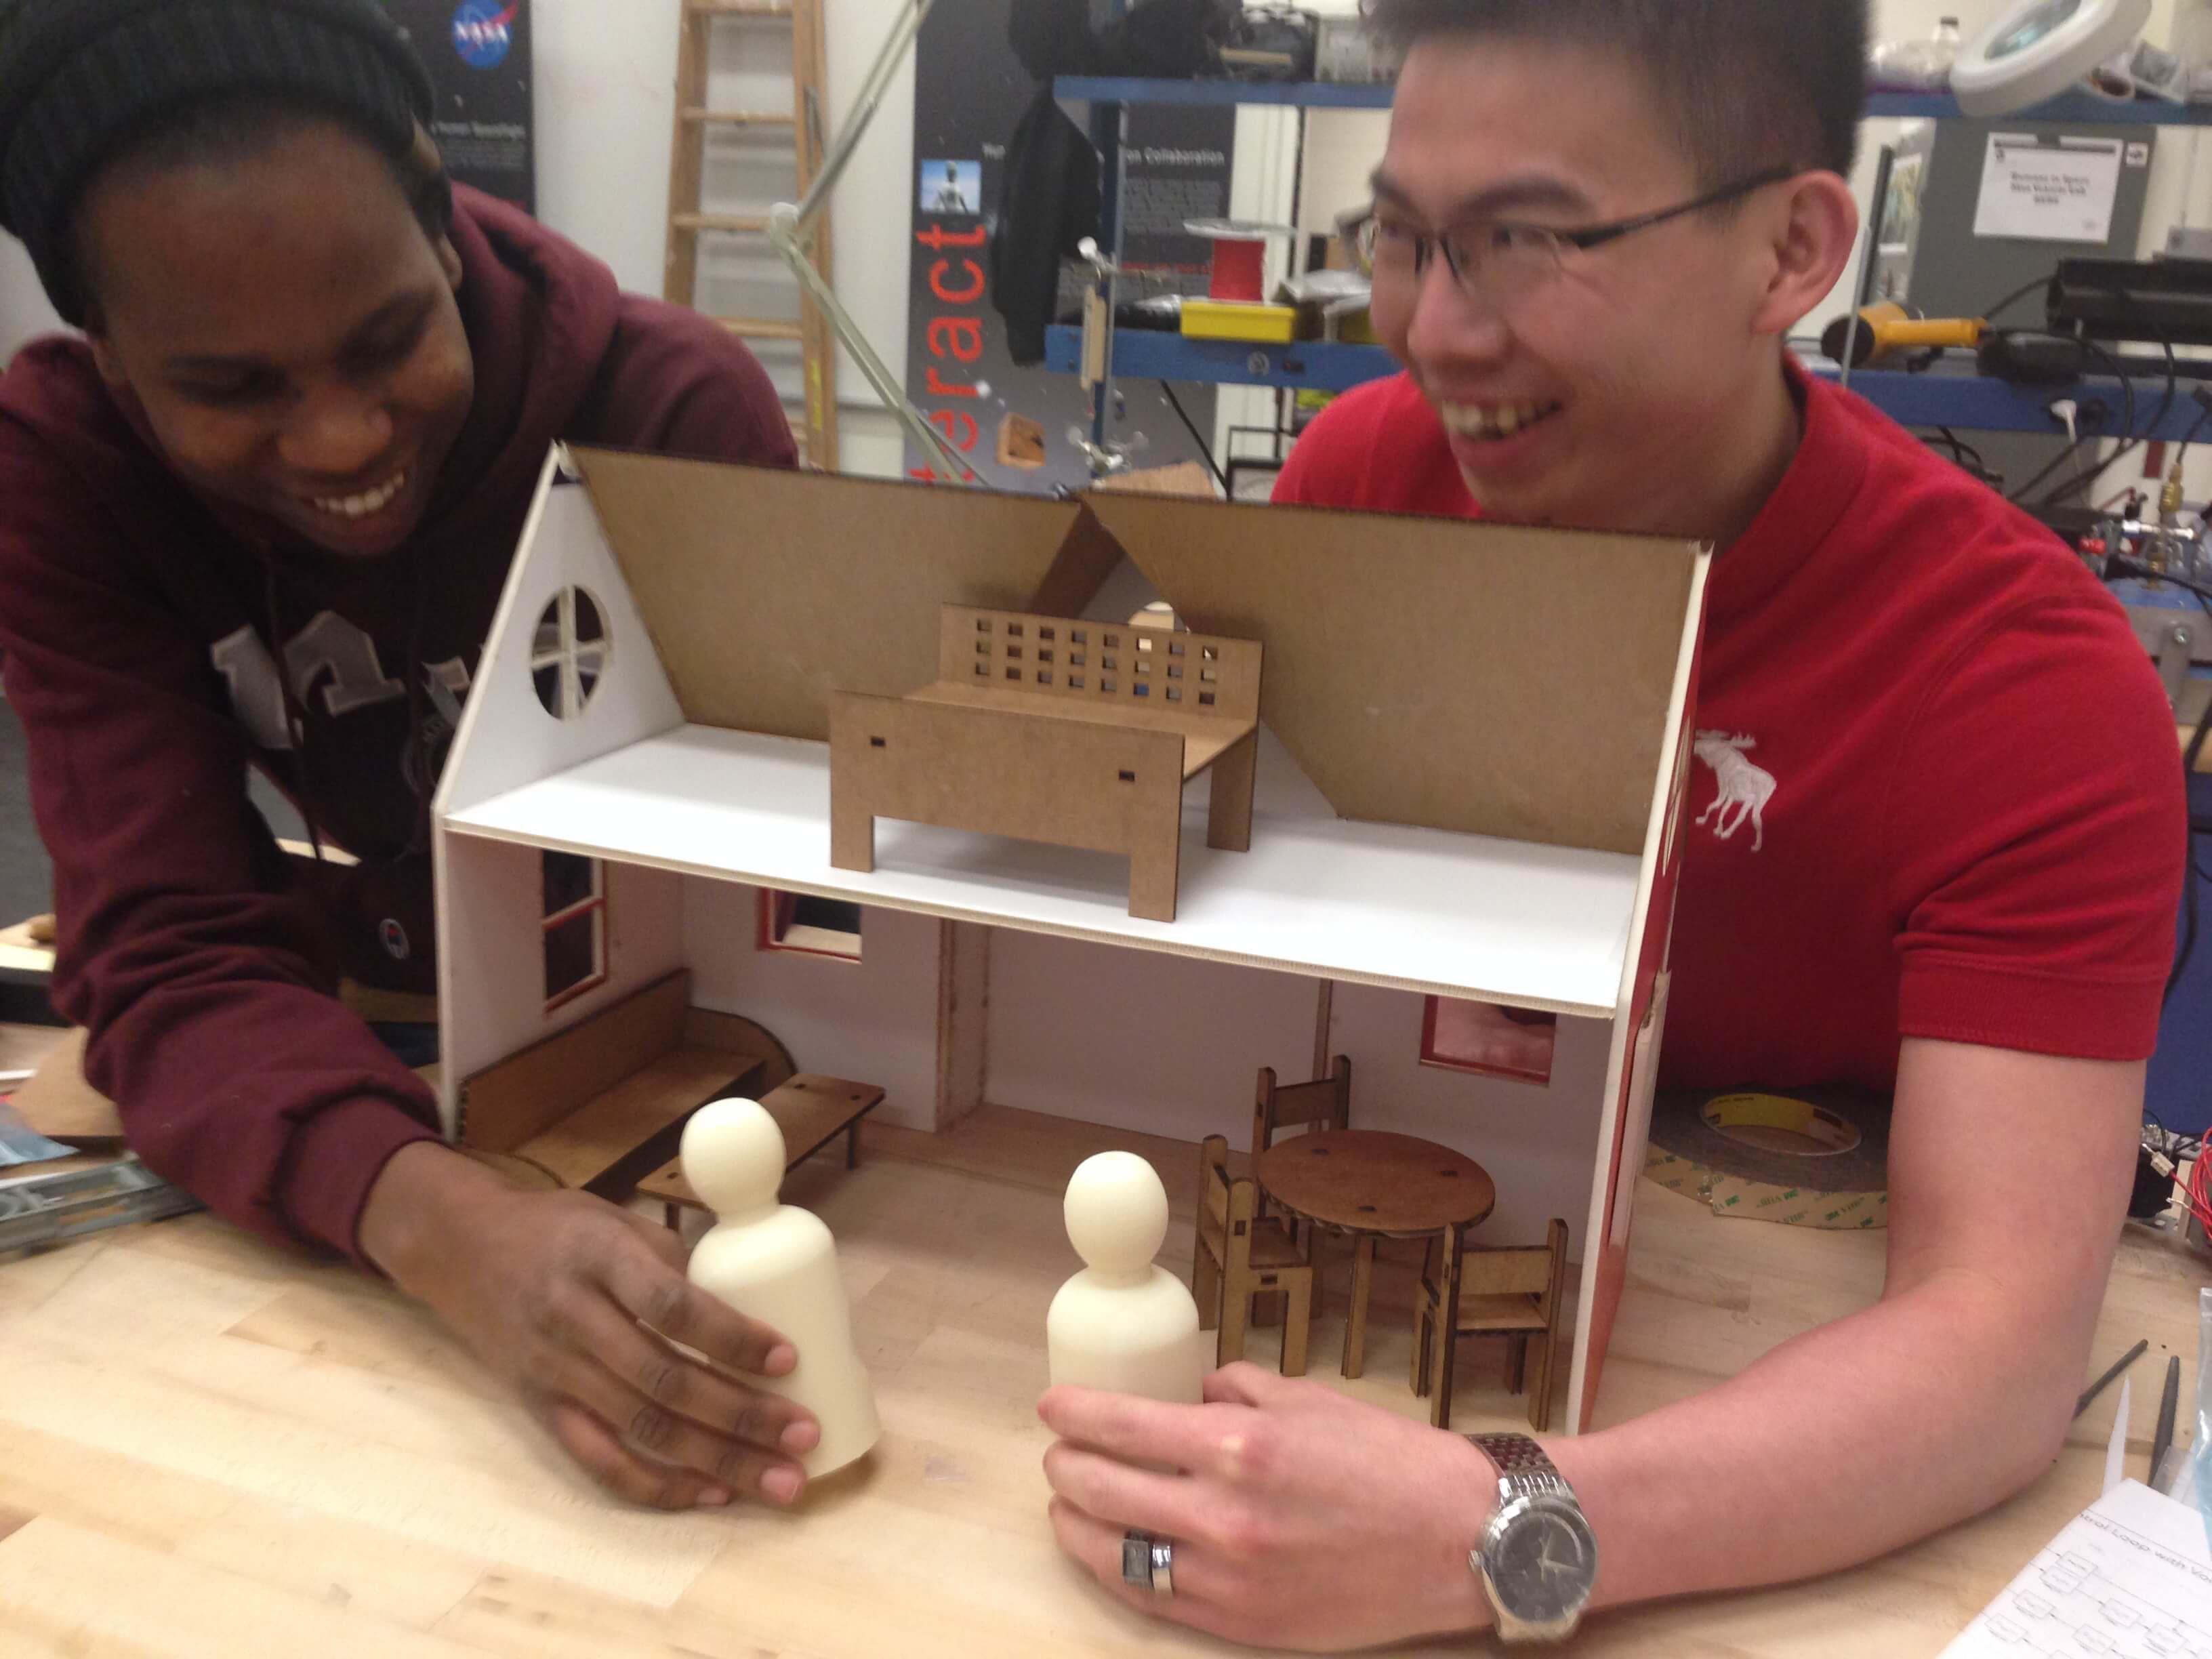
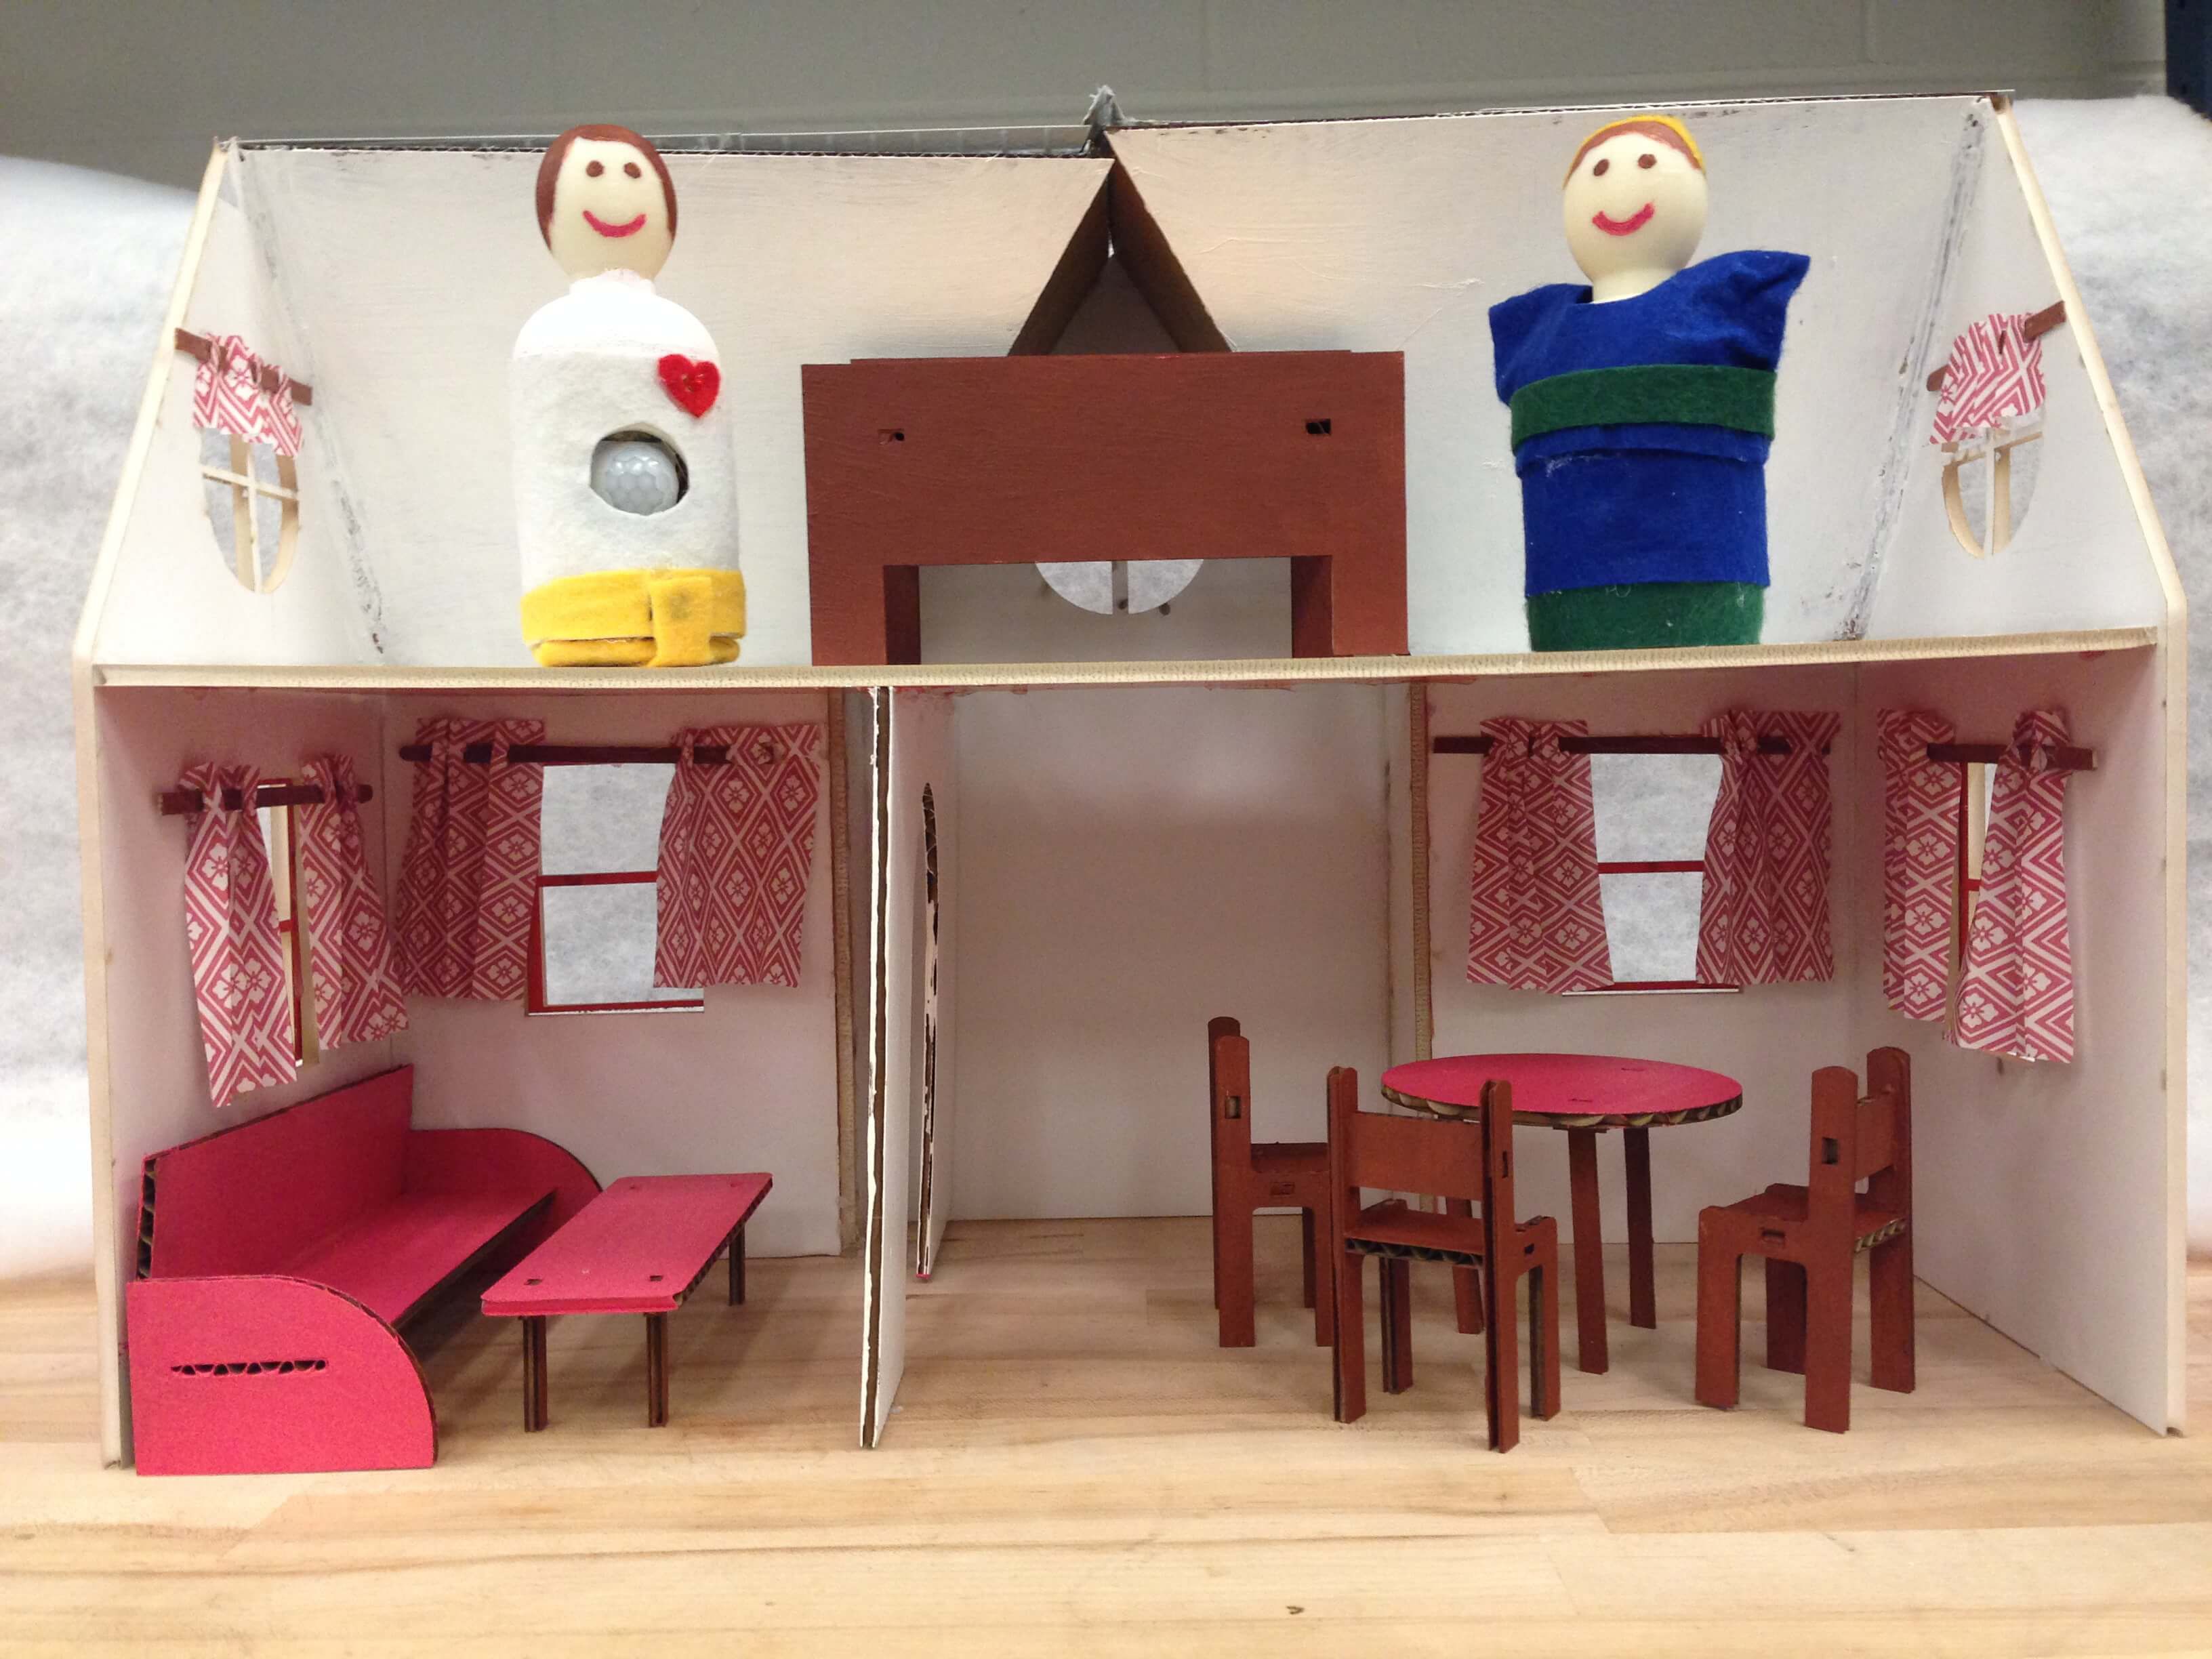
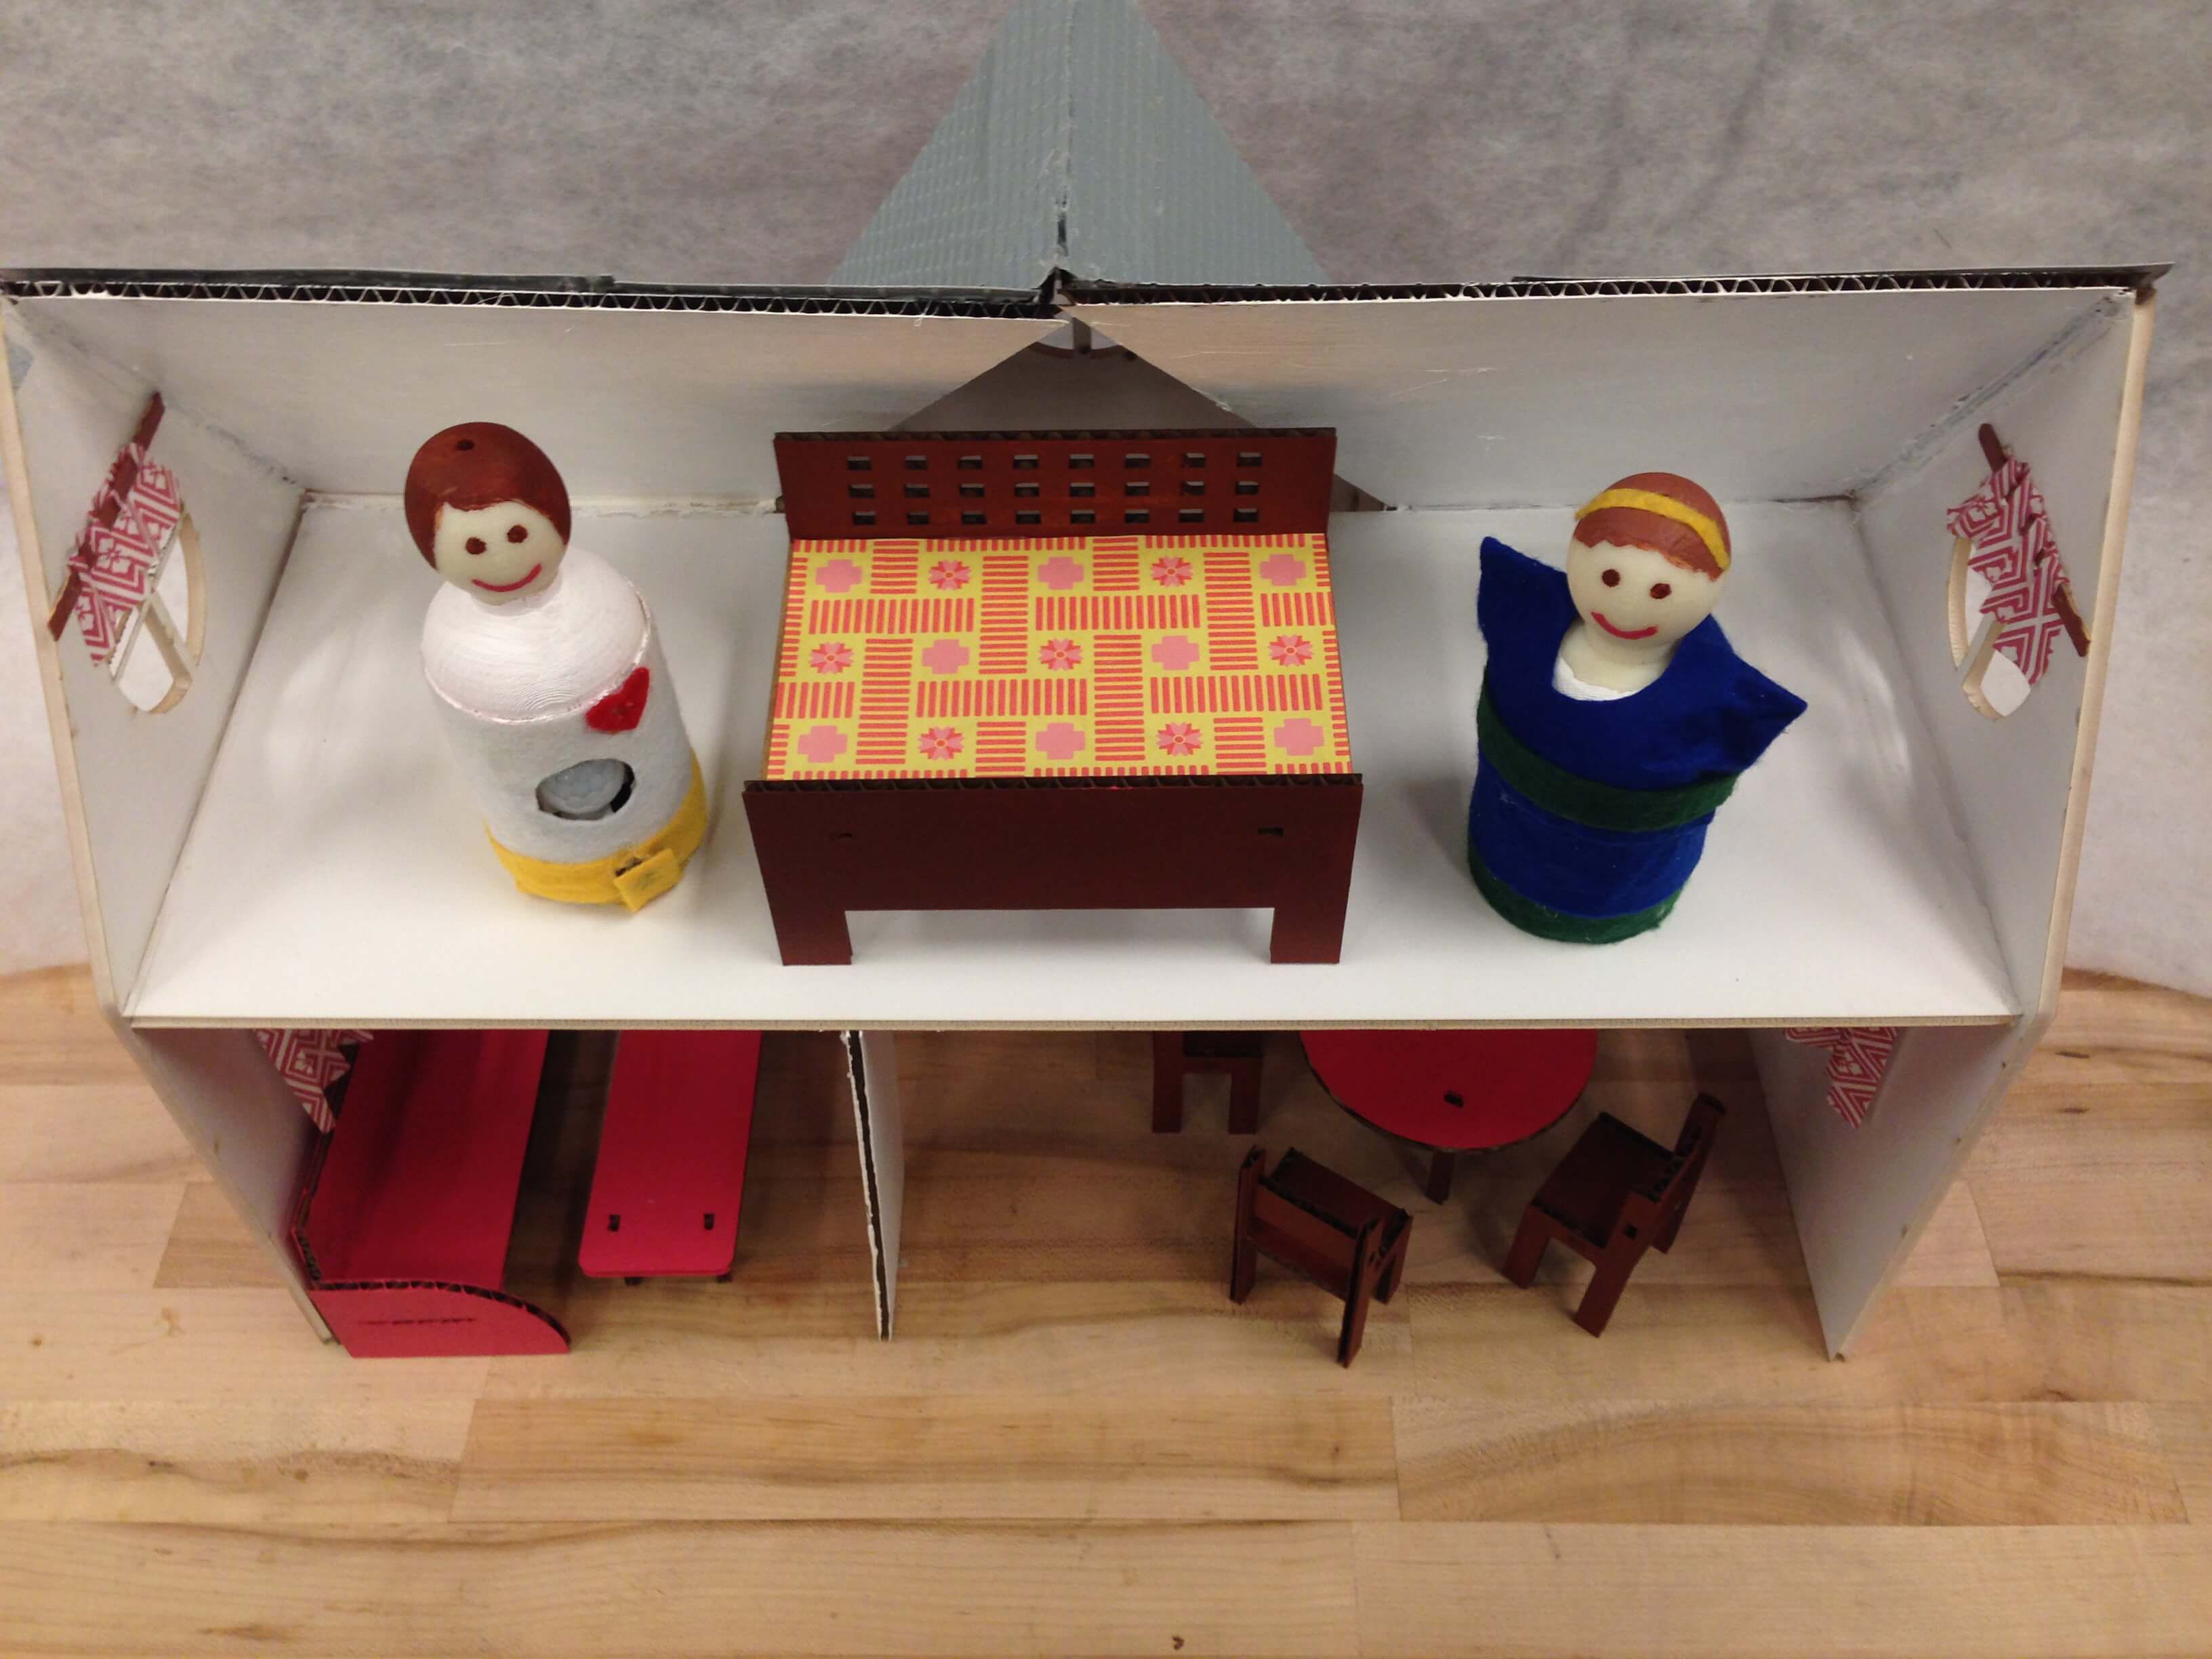
Here is the house with all of the assembled furniture and dolls added for scale. Also starring my labmate who insisted on playing with everything:
My next steps were to paint the inside of the house, furniture, and dolls. I incorporated some origami paper curtains as well.
Moving on to Electronics Design..
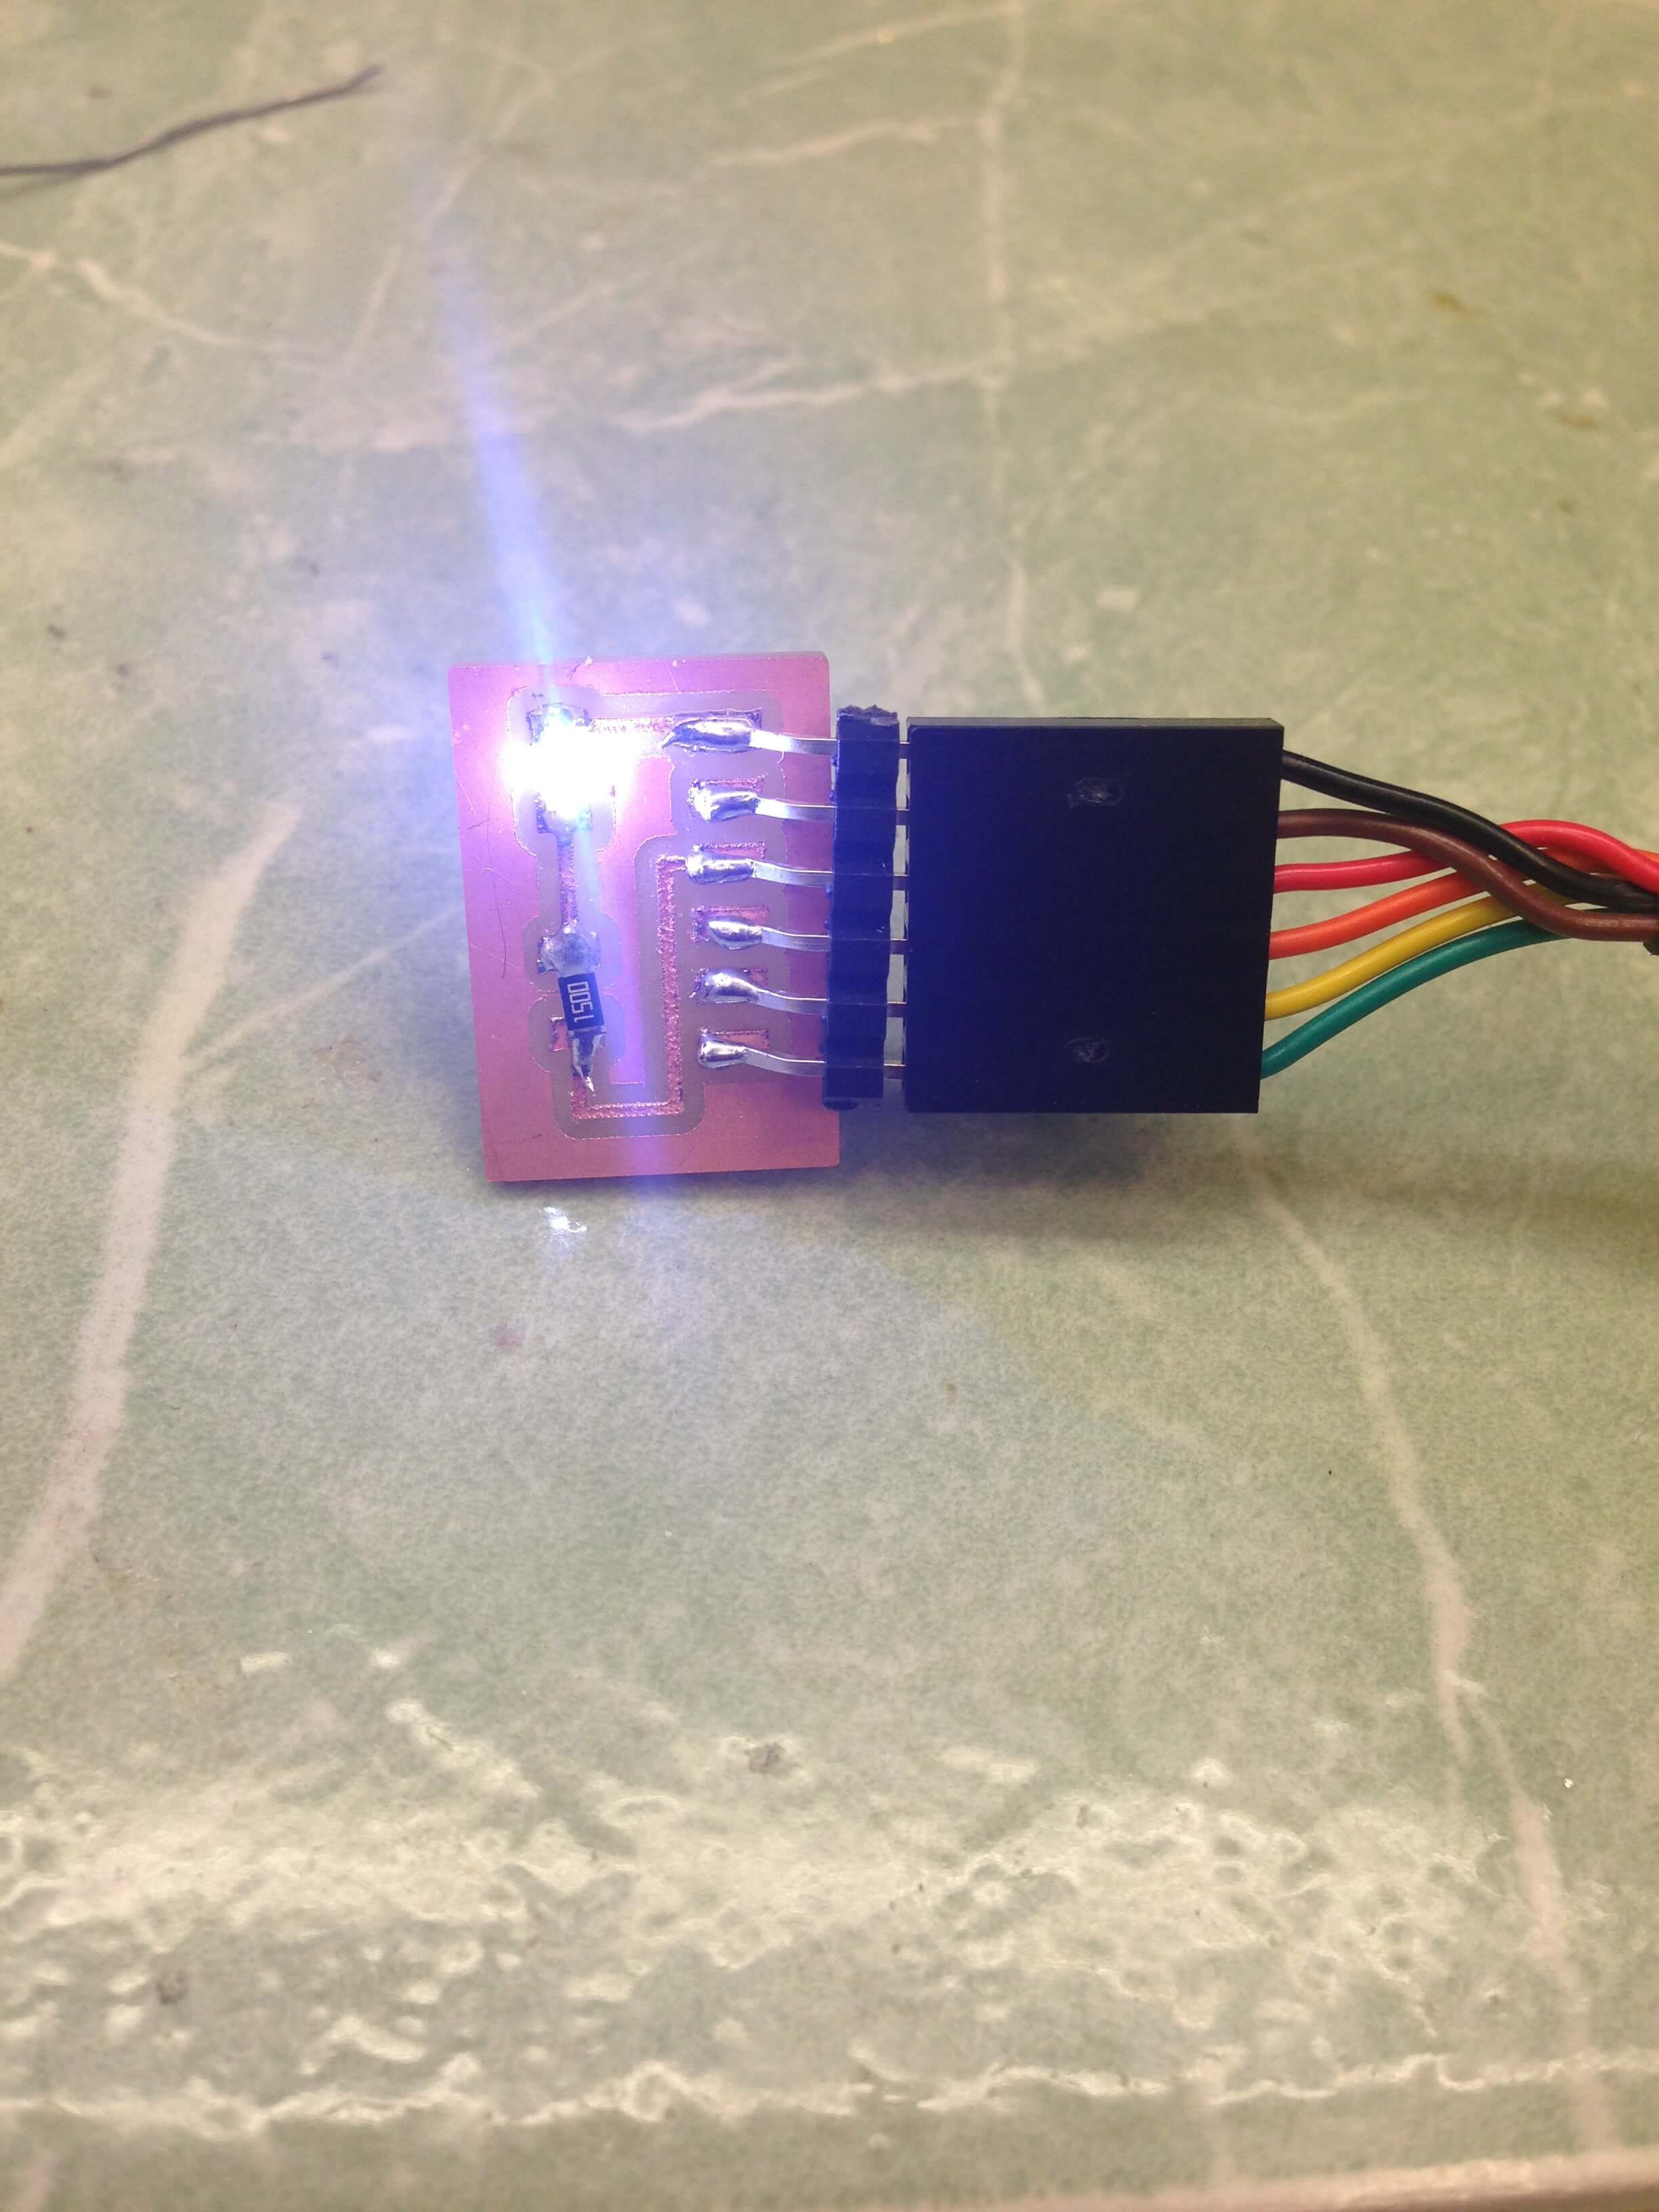
I have had a pretty tough time getting my boards to program this semester so I decided to start with a simple pcb design and build up from there. I initially planned to incorporate motion activated lighting into the house so that when dolls were in a certain room, the nearest lamp would turn on. I planned to use a white LED and tested the resistance value selected from my calculations on a super basic board I milled to connect the LED directly to power. This also helped me to verify that the LED was oriented in the correct direction, given that the cathode mark on the LED was hard to detect.
I wanted the LED to be attached to wires rather that directly soldered to the board, to allow for more flexible in constructing a decorative piece around it. I recreated the connections on the board above using wires alone to confirm that this method of connection was effective.
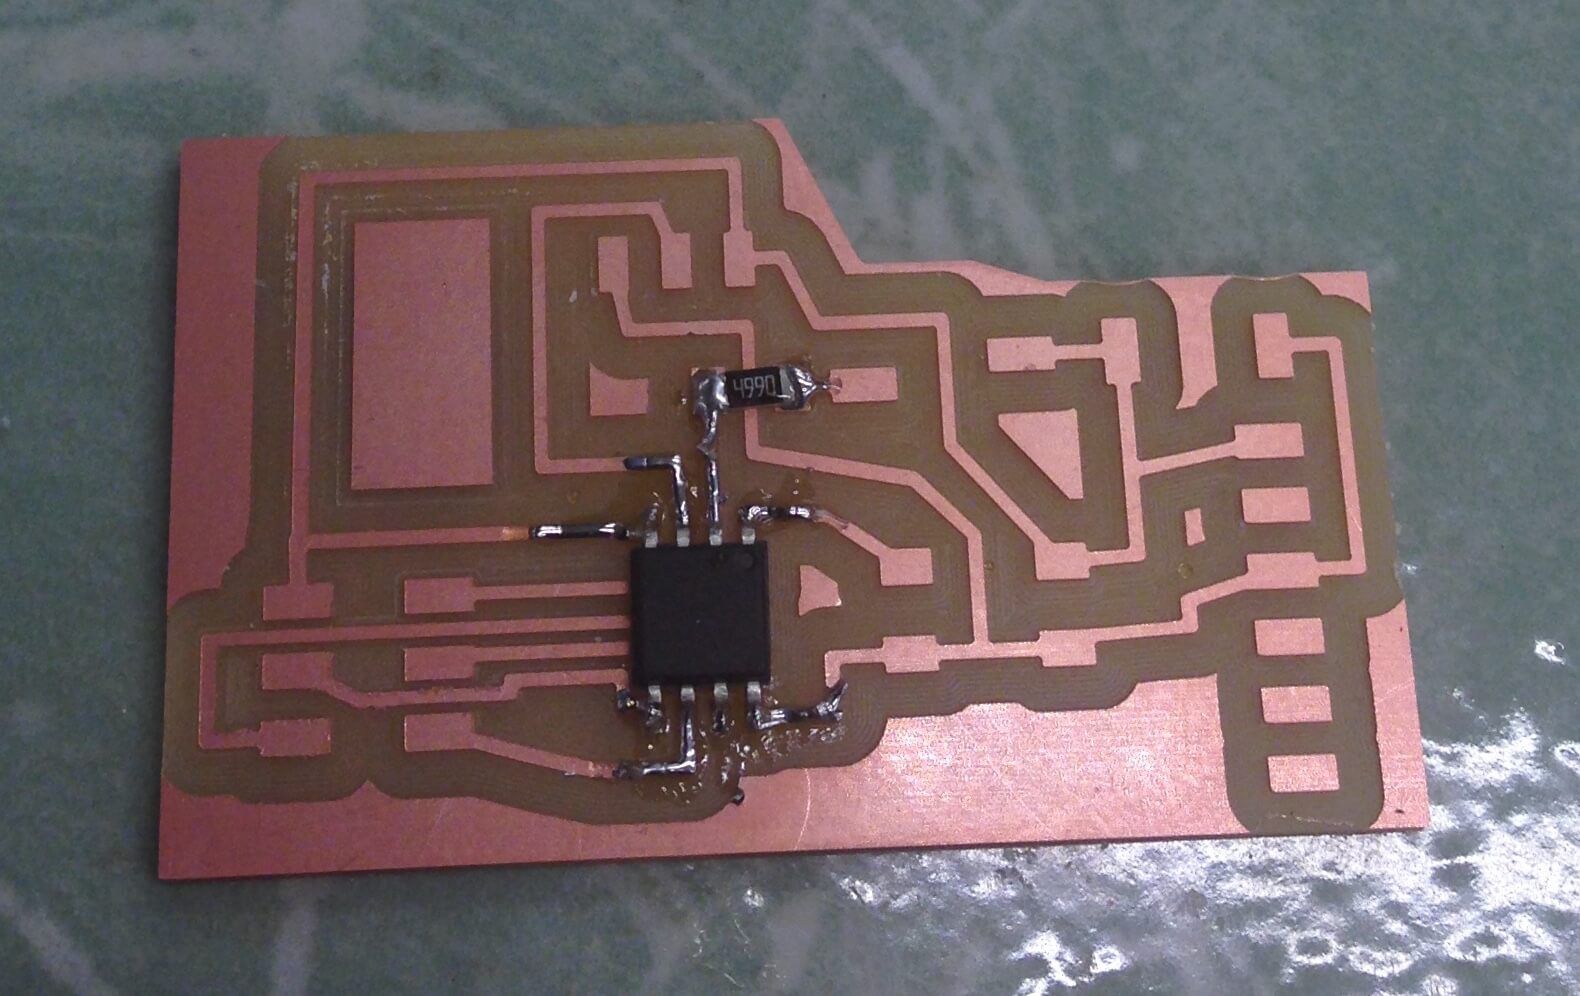
Now that I knew my LED would turn on if correctly connected, I moved forward with designing a board that would use the motion sensor as an input device and the LED as an output device. I created wide pads to enable easy soldering of the LED wires to the board.
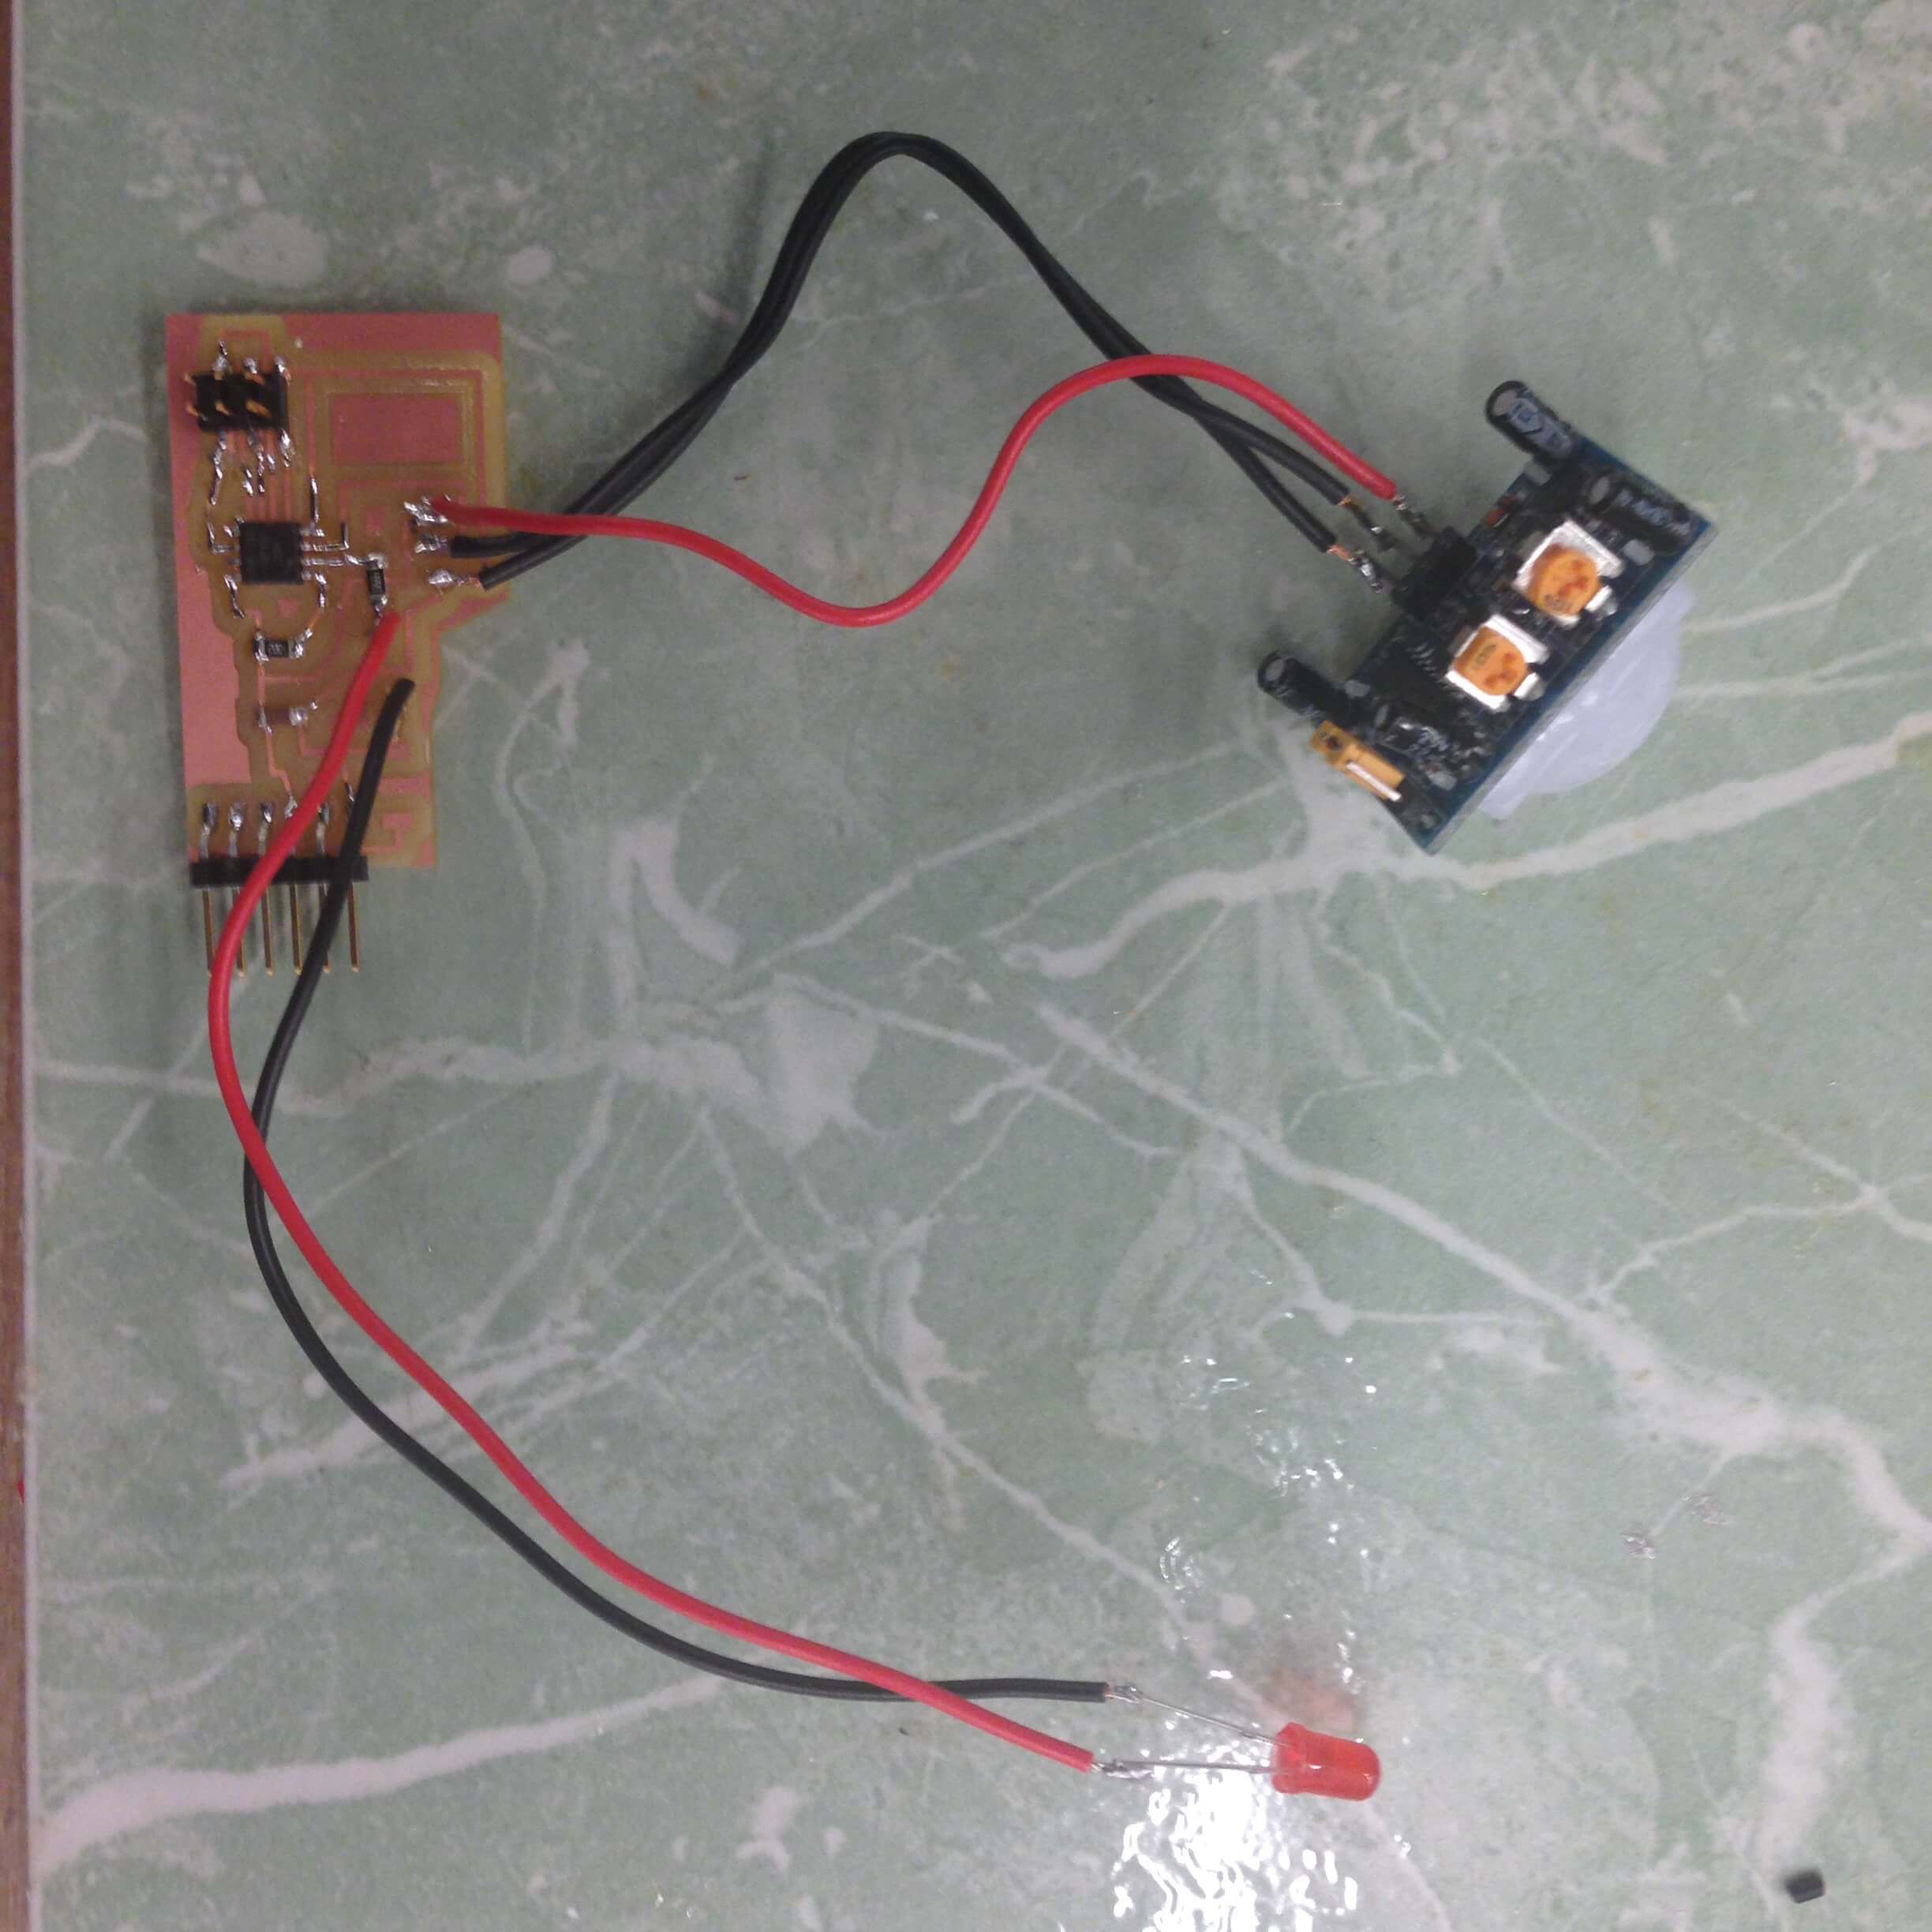
Here is the milled board in the early stages of soldering and in the final arrangement with a red LED. As briefly mentioned in the doll design description above, I changed my electronics component so that instead of lights turning on when dolls entered a room, their hearts would light up when motion was detected. I ended up just making one board instead of two due to time constraints and a botched soldering job on the second milled board.
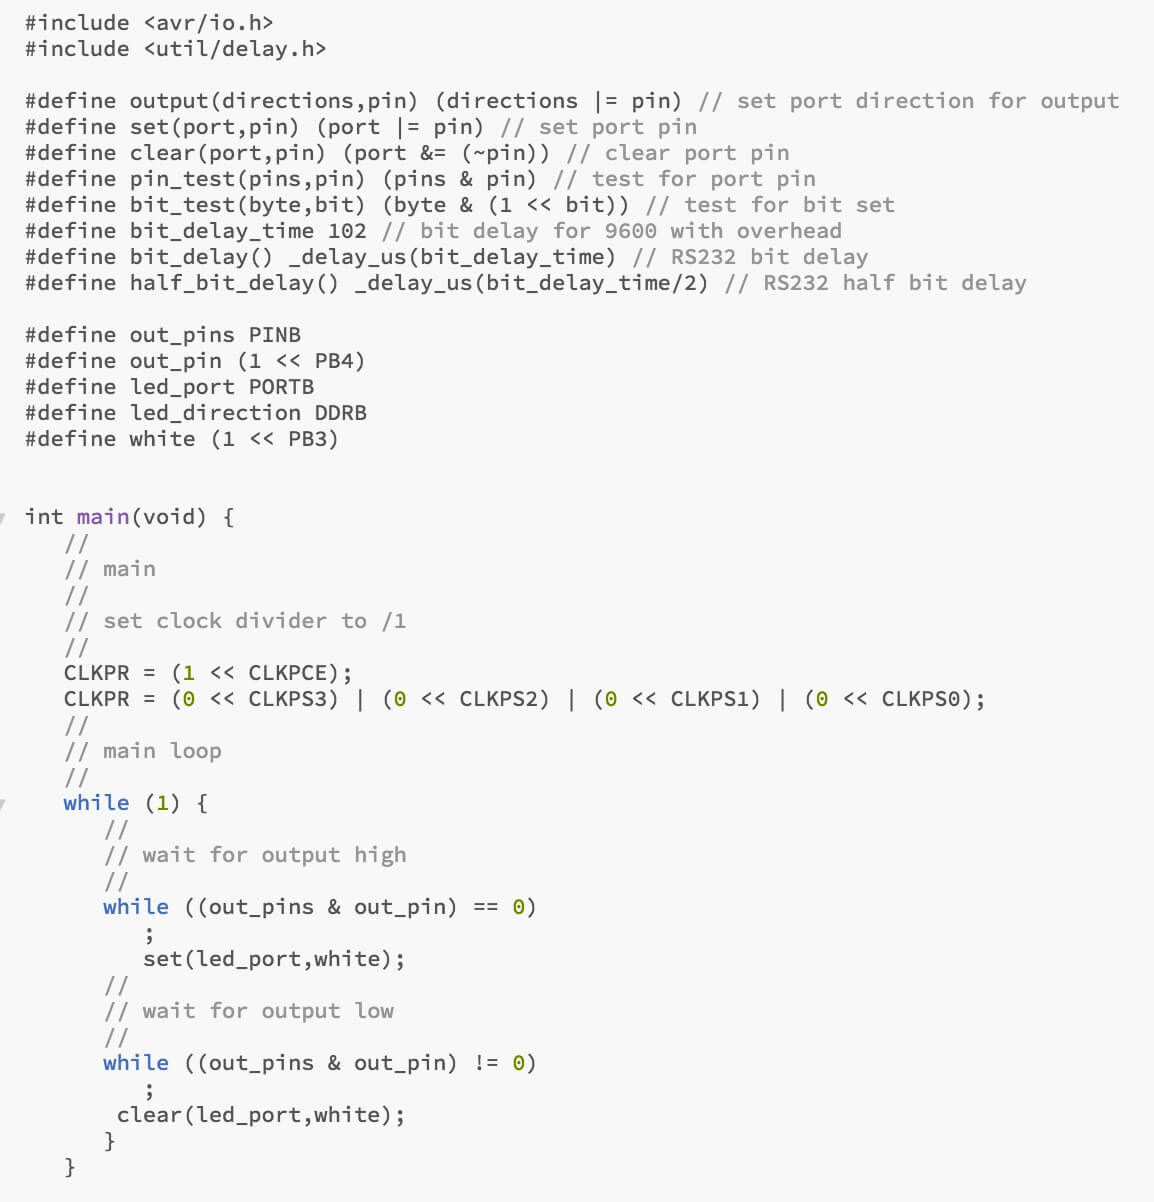
I was really excited to find that the board programmed and functioned without major issues! Here is the c code, adapted from Neil's motion sensor code from input devices week:
I powered the board using a 3V coin cell battery shown below in a black battery holder purchased from Microcenter.The motion sensor and LED fit into the doll pretty well. I attached some velcro to a strap on the bottom of the doll to enable me to access the on off switch. The finished doll is below:
Cost of Materials:
The cost ended up being a little pricey since I did not own glue gun or any decorative materials and ended up buying entire bottles of paint when I only needed a small amount for the project. I also bought some extra foamcore to practice on. If this house was constructed in a classroom environment where most of these things are readily available, or cardboard was used for the entire house, it would be pretty cheap to make.
cardboard = free
4 sheets of red foamcore = $26
assorted paint, paint brushes, paint palette, origami paper, glue gun/glue, roof tiles, felt, and other decorative items = $40
coin cell batteries and holder with switch = $6.49