Chika Makes Things 2016
Week 2: Computer-Controlled Cutting
Goal: Design, make, and document a parametric press-fit construction kit,
accounting for the lasercutter kerf, which can be assembled in multiple ways.
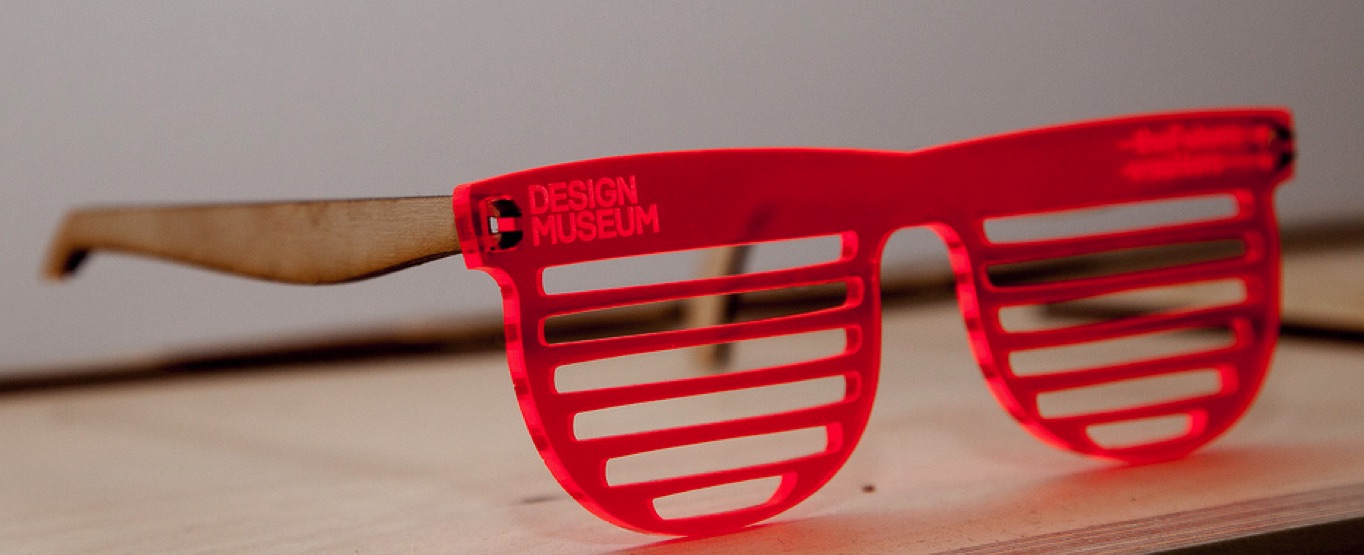
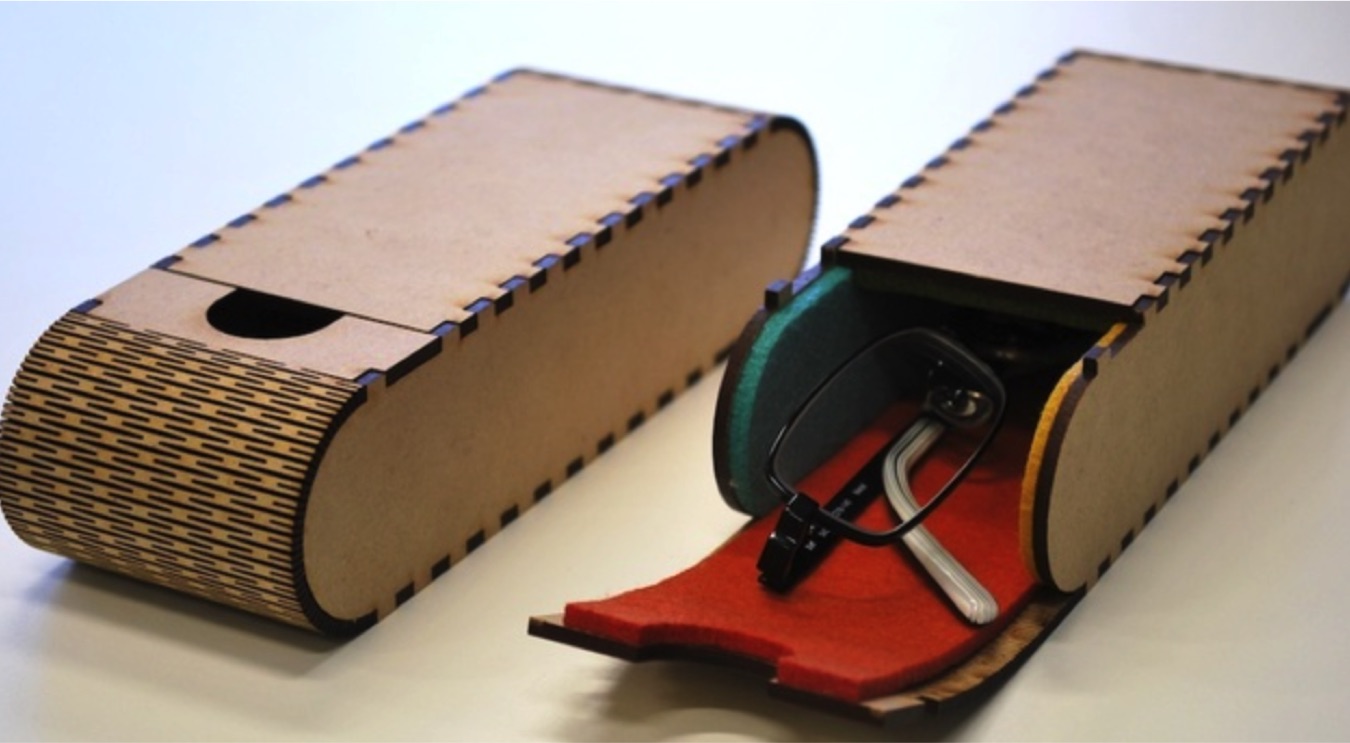
Process: I decided to design a press-fit glasses kit with a case and different glasses styles included. The inspiration for the assembly stemmed from a pair of shades from Design Museum and laser cut glasses case from instructables.com (shown below).
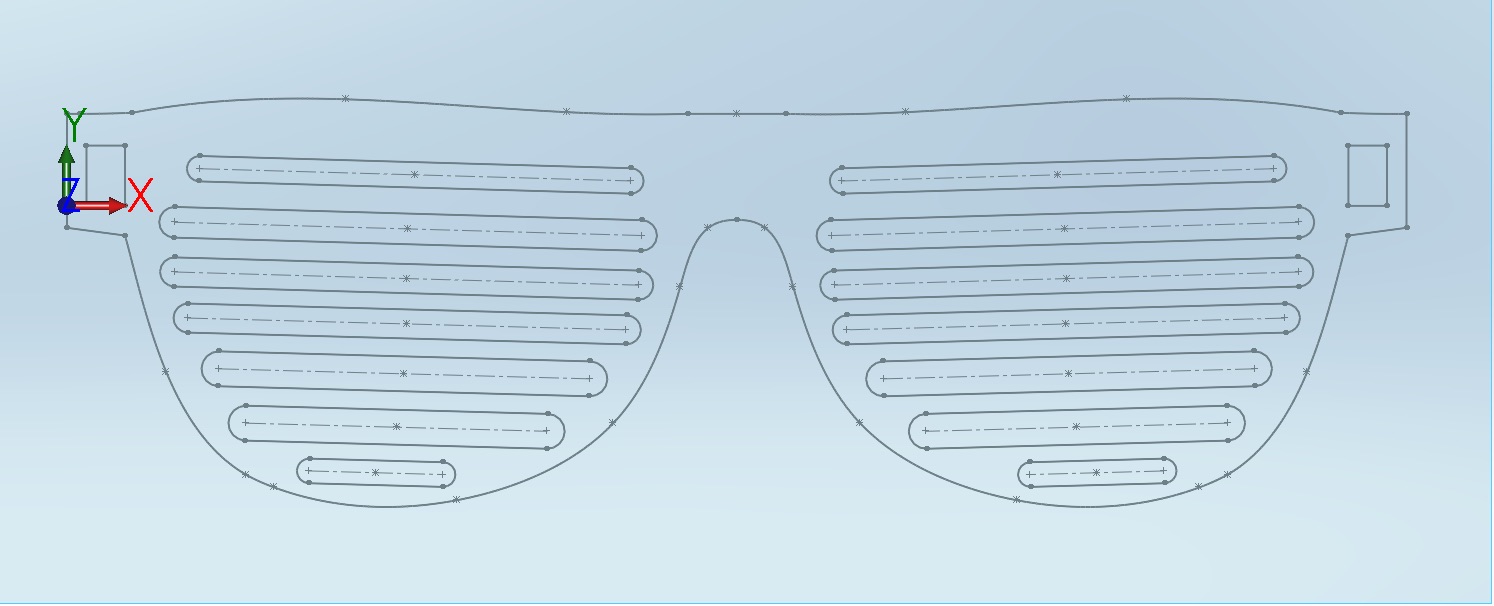
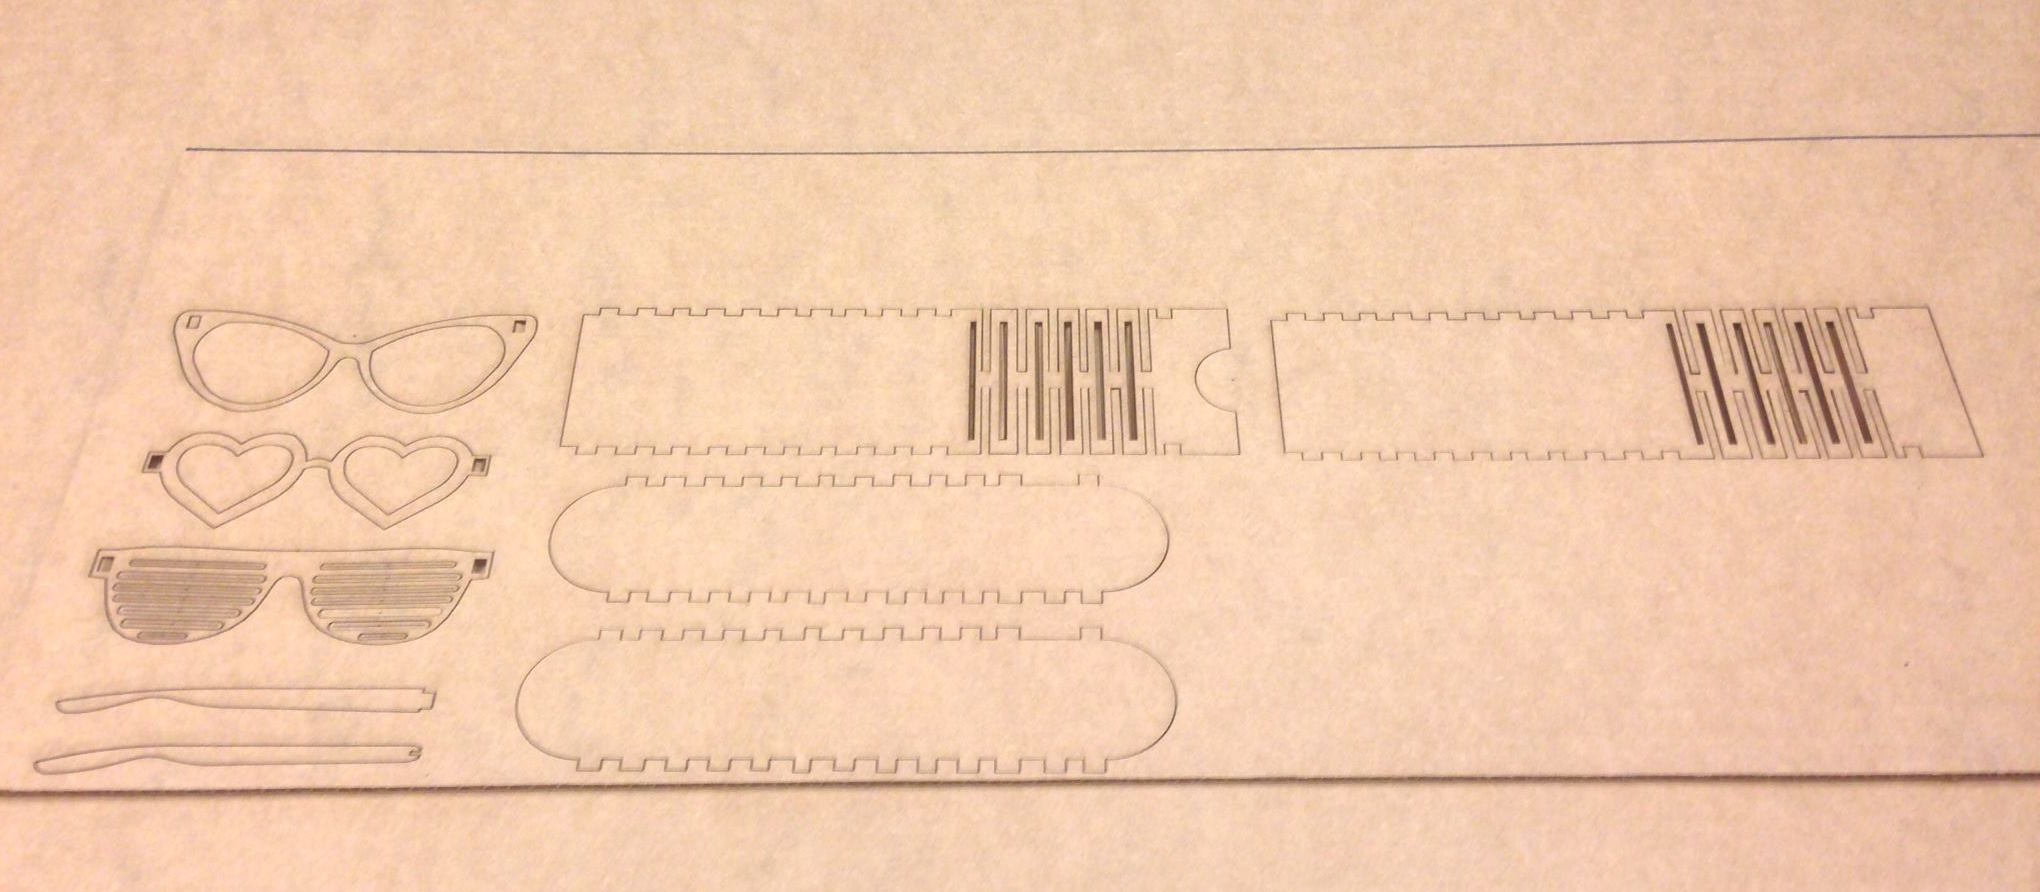
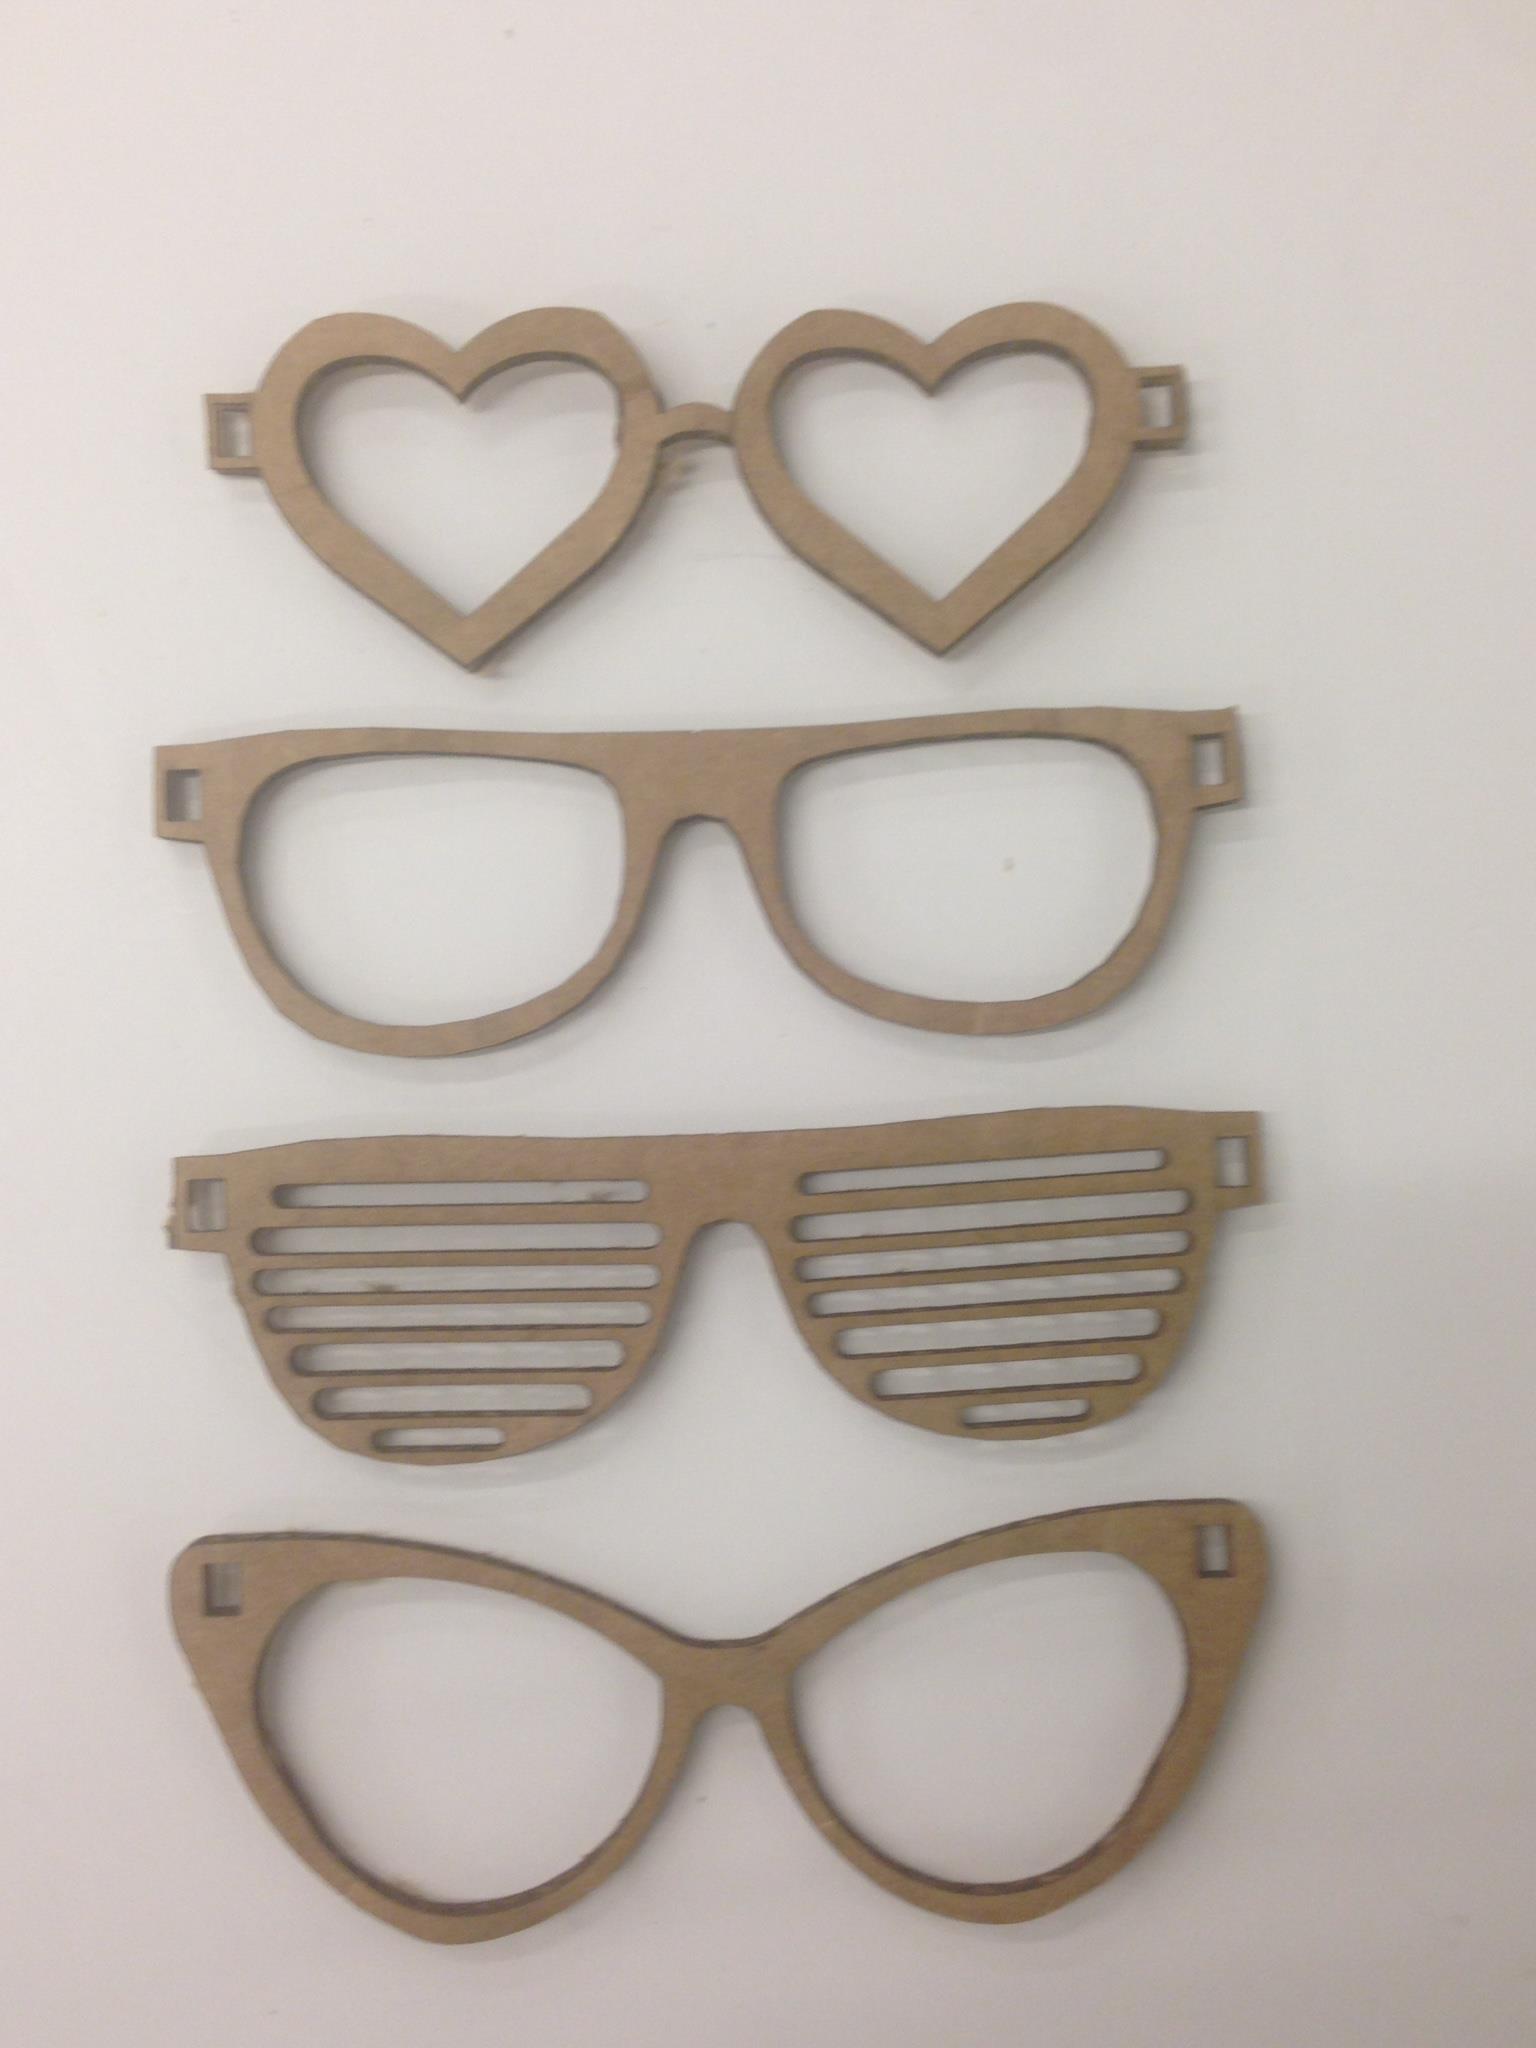
I chose to design glasses in four styles: cat eye, nerdy/hipster, hearts, and stunna/kanye west. To create the .dxf files, I imported images of these styles that I found online to solidworks and sketched over them in the front plane.
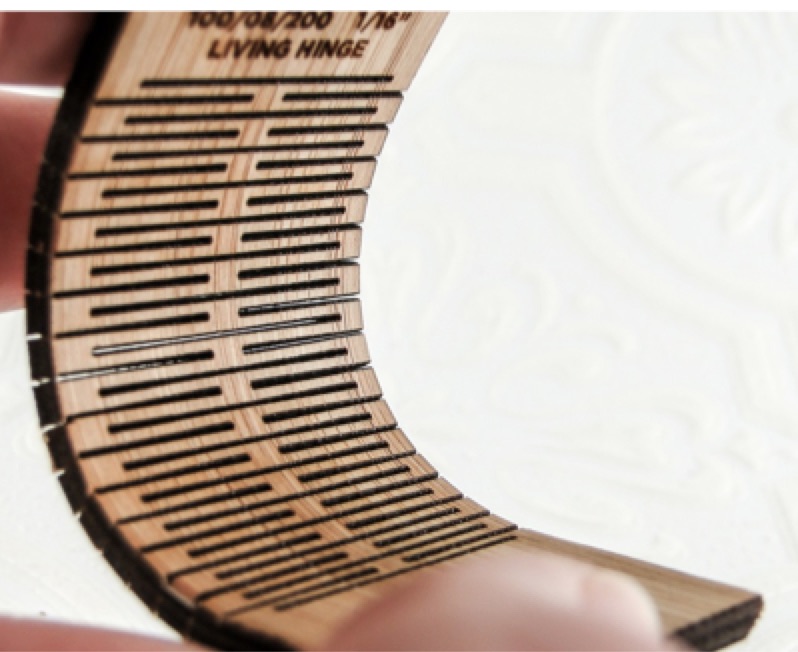
The case design was a little trickier. Although I had a basic layout to work with based on an instructables pdf, the original design of the curved aspect of the case included lines that were too thin and close together for the scale I needed. After a search for bendable lasercut designs on google, I came across this image:
This pattern was incorporated into the case sketch for the final design. All cuts were made using 70% power and 10% speed.
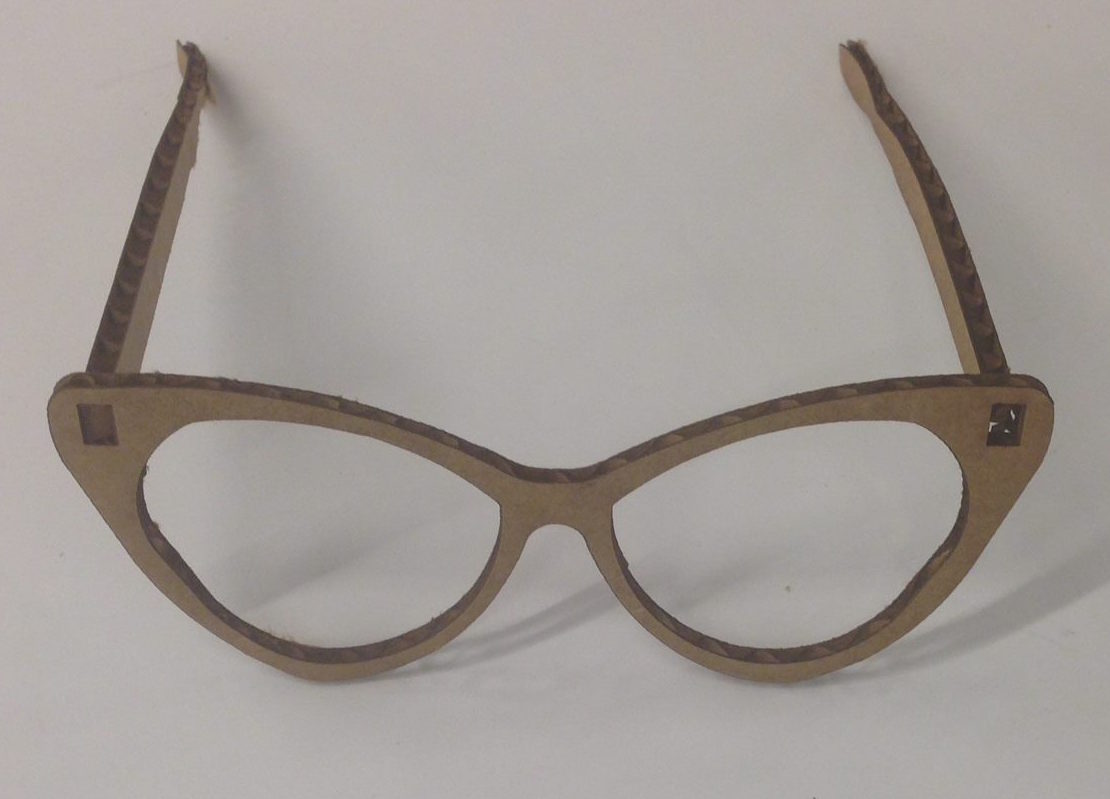
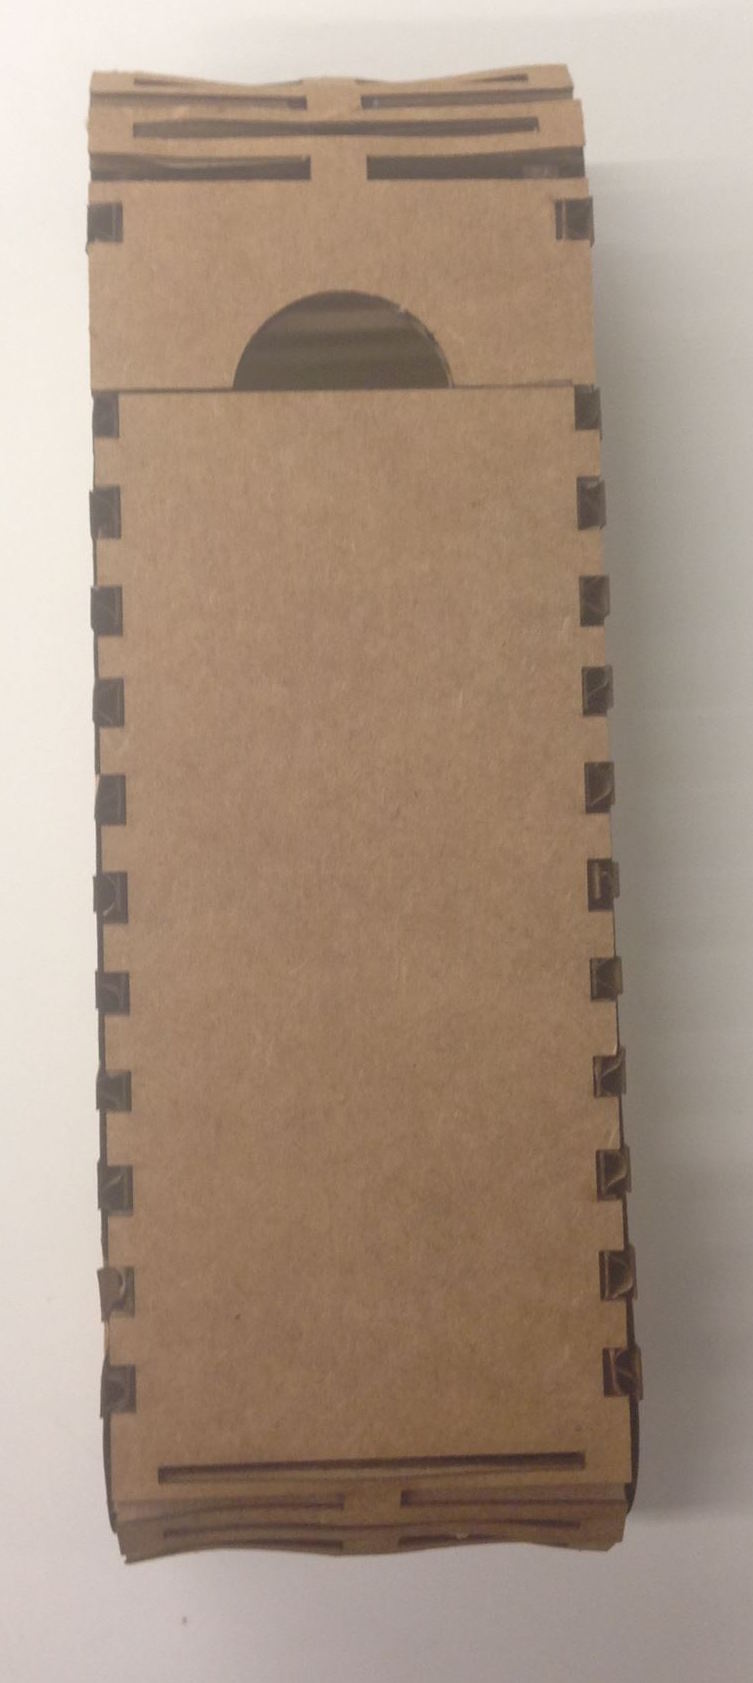
Here is what one of the pairs of glasses and the final case look like when assembled:
Challenges: The hardest part was designing the temples or parts of the glasses hanging over the ears. I was hoping to used a curved design at the end point with a slot in the middle, so that the temples would slide into the square hole in the frames and sit there in compression. However, a couple test runs showed that a simpler square design that slid into the frames was more secure. My first attempt at designing the curved and square temples was unsuccessfully due to incorrect calculations. Instead of increasing the sketch size to account for the 0.005 beam diameter, I decreased the sketch size by 0.005. Consequently the first couple of stems were pretty tiny.