Chika Makes Things 2016
Week 3:Electronics Production
Goal: Make an in-circuit programmer by CNC milling and soldering a printed circuit board (PCB).
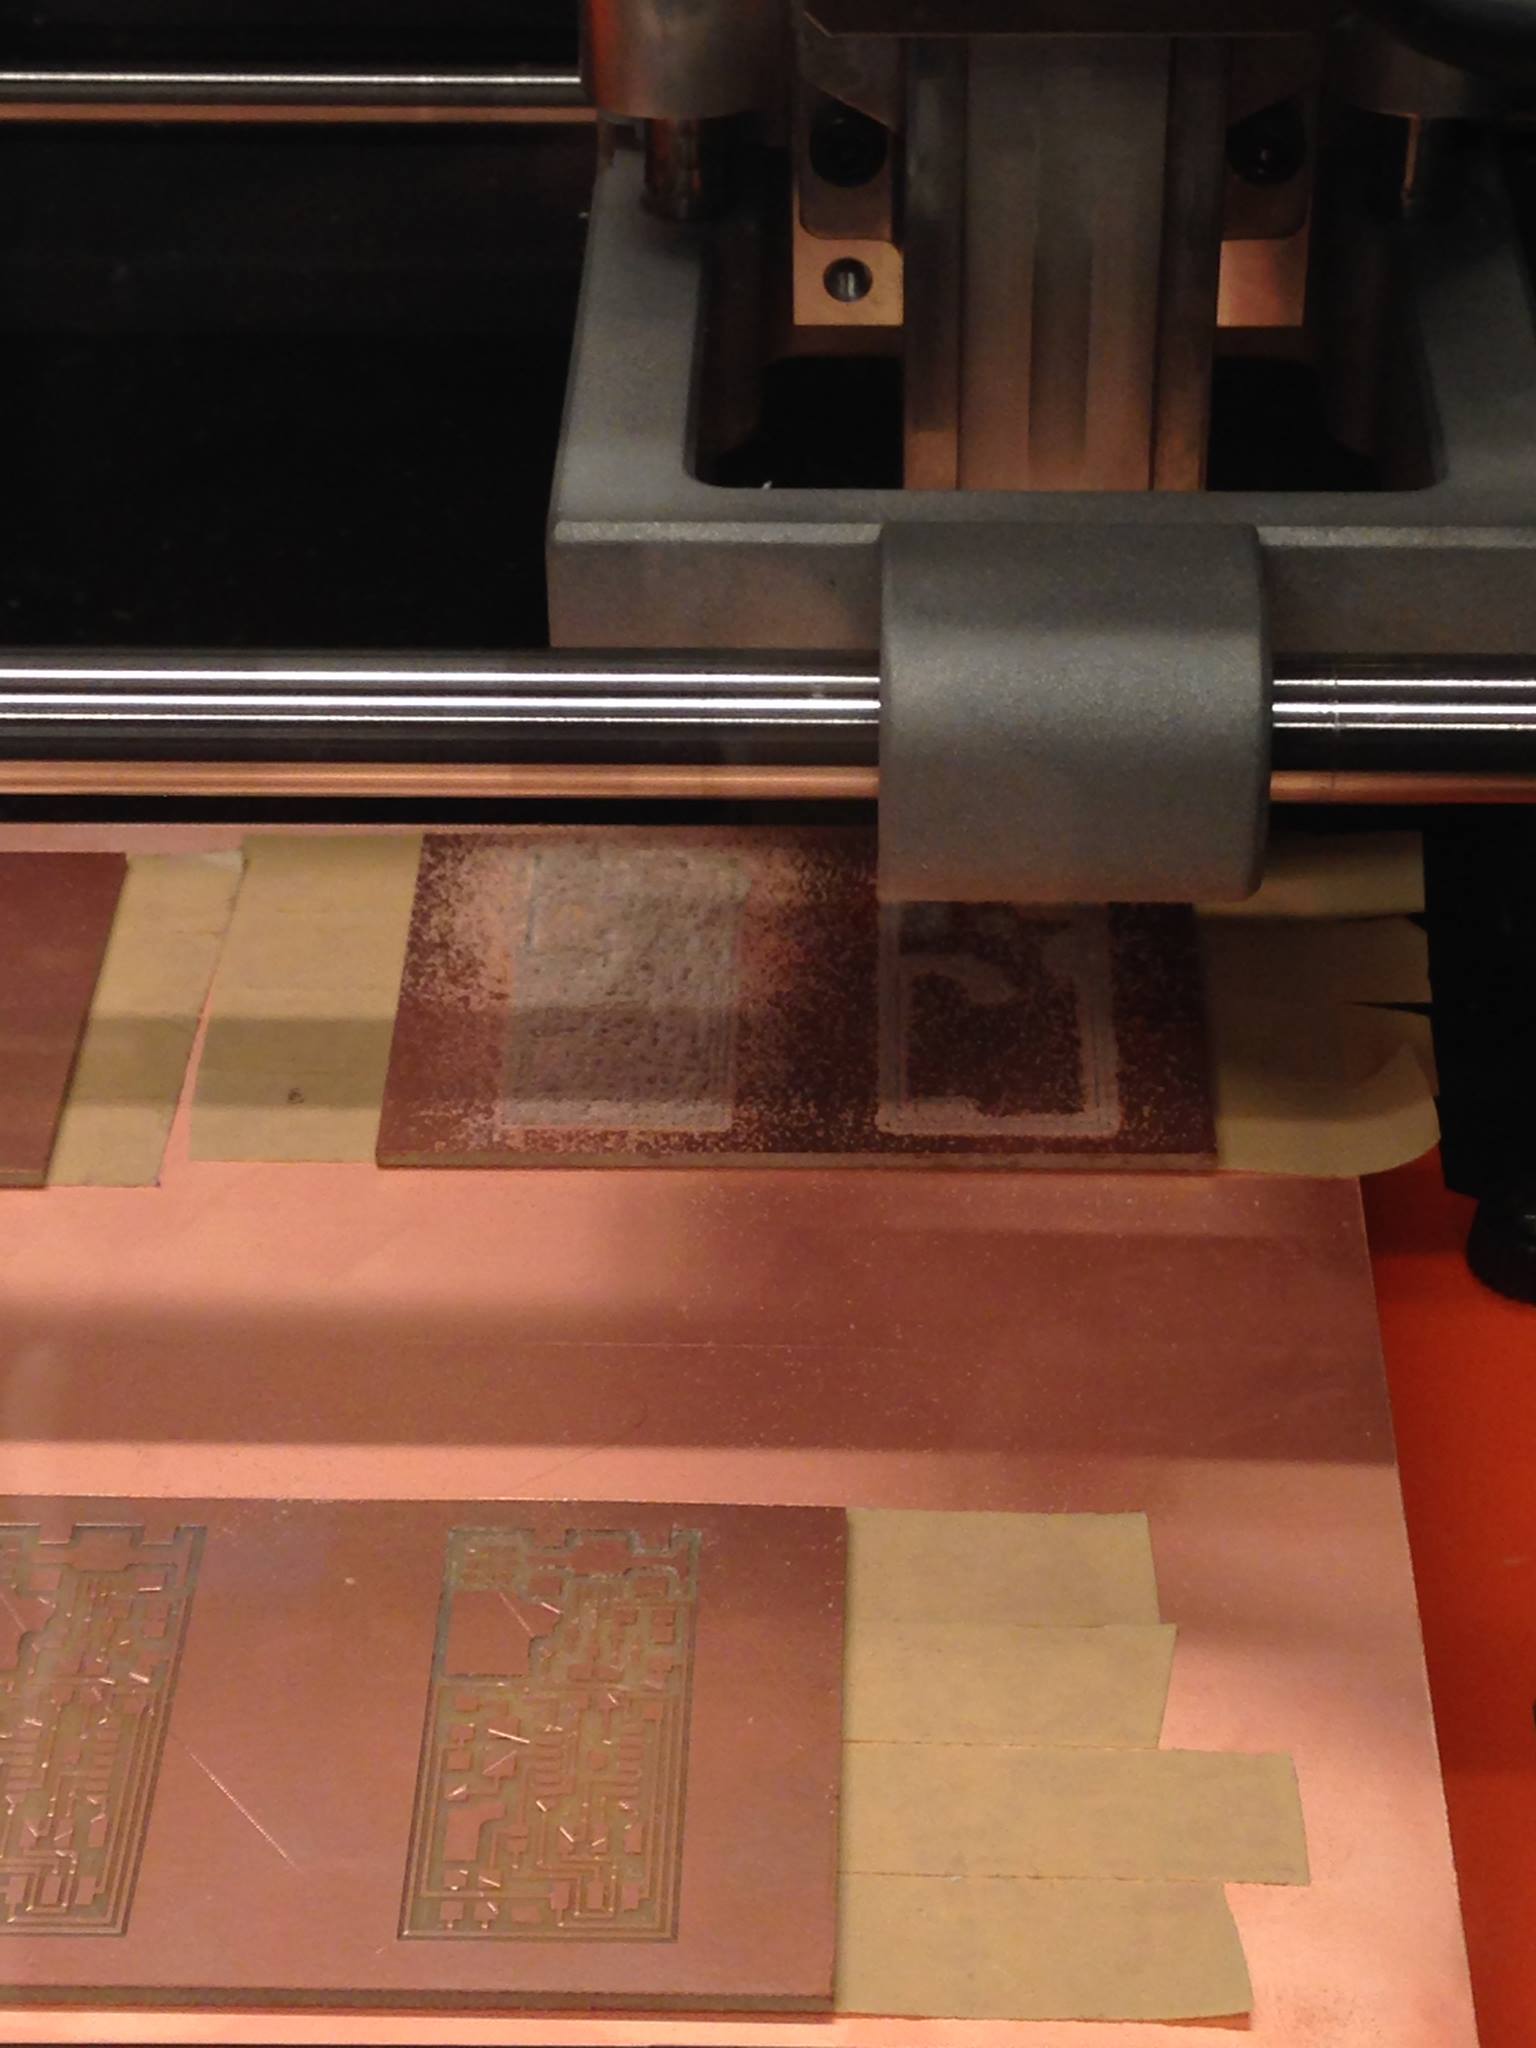
Process: The machining of the PCB went smoothly. I teamed up with 4 other students to mill the traces on several boards, change the tool bit once, and mill all of the board outlines. This required recording the x and y coordinates of the origin for each person's milling job. The greatest challenges were ensuring that all dust from previous milling jobs had been removed and that the double sided tape lay evenly for each person. The tape for one of the people I was milling with was actually slightly thicker than the tape I used which resulted in me having to redo the zeroing process.
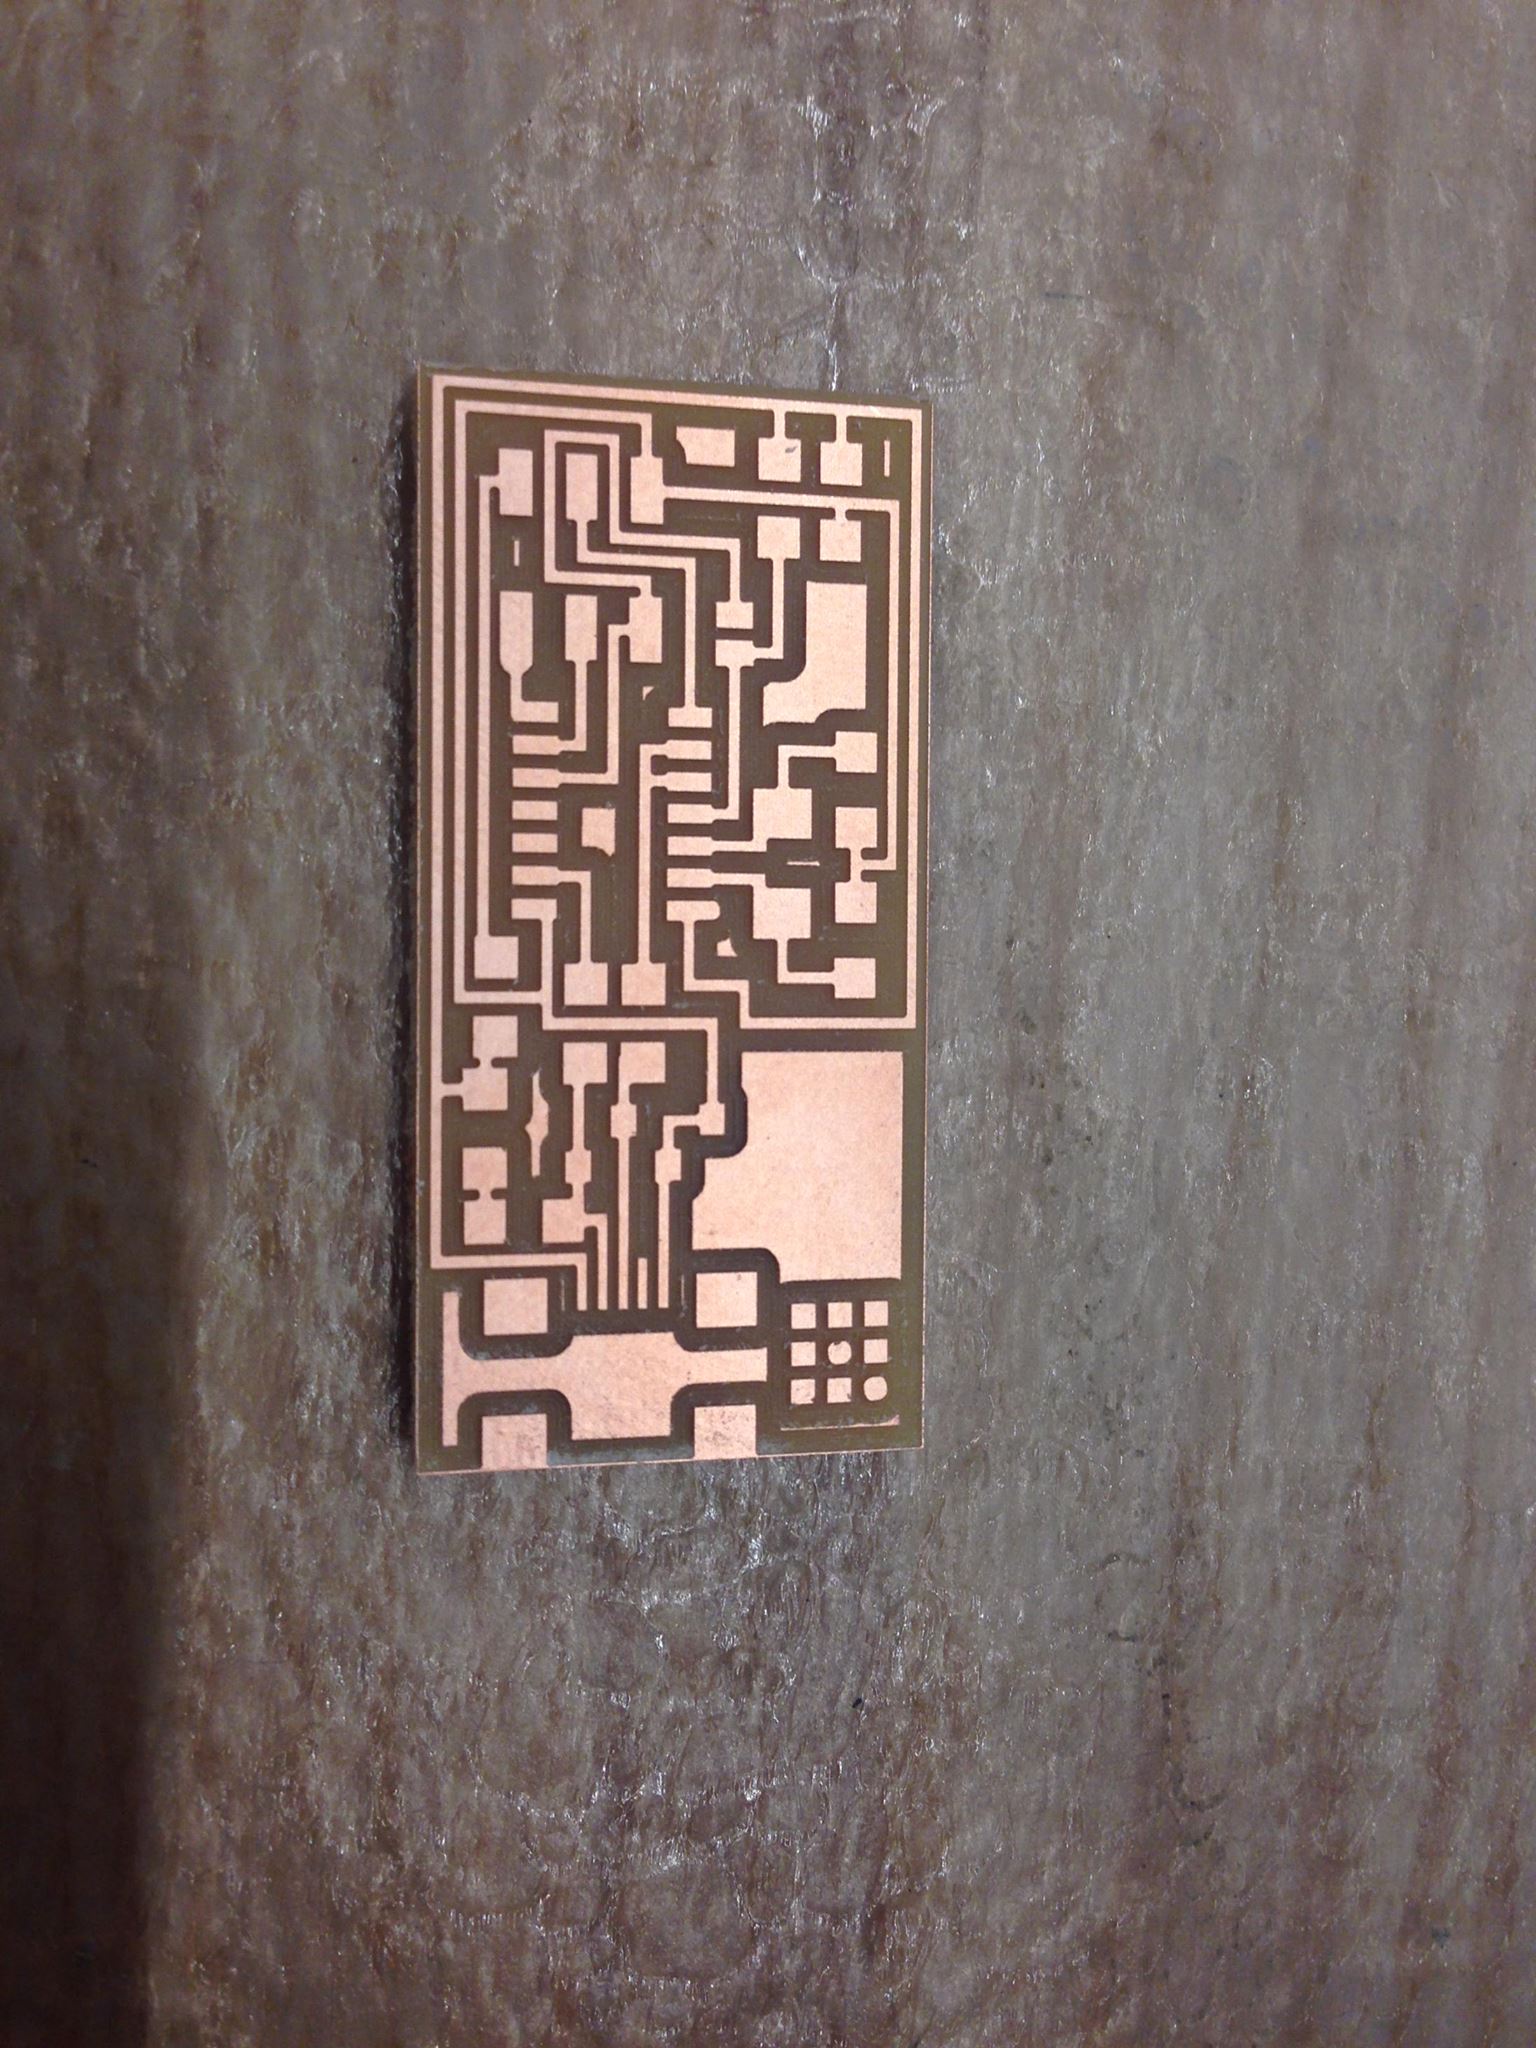
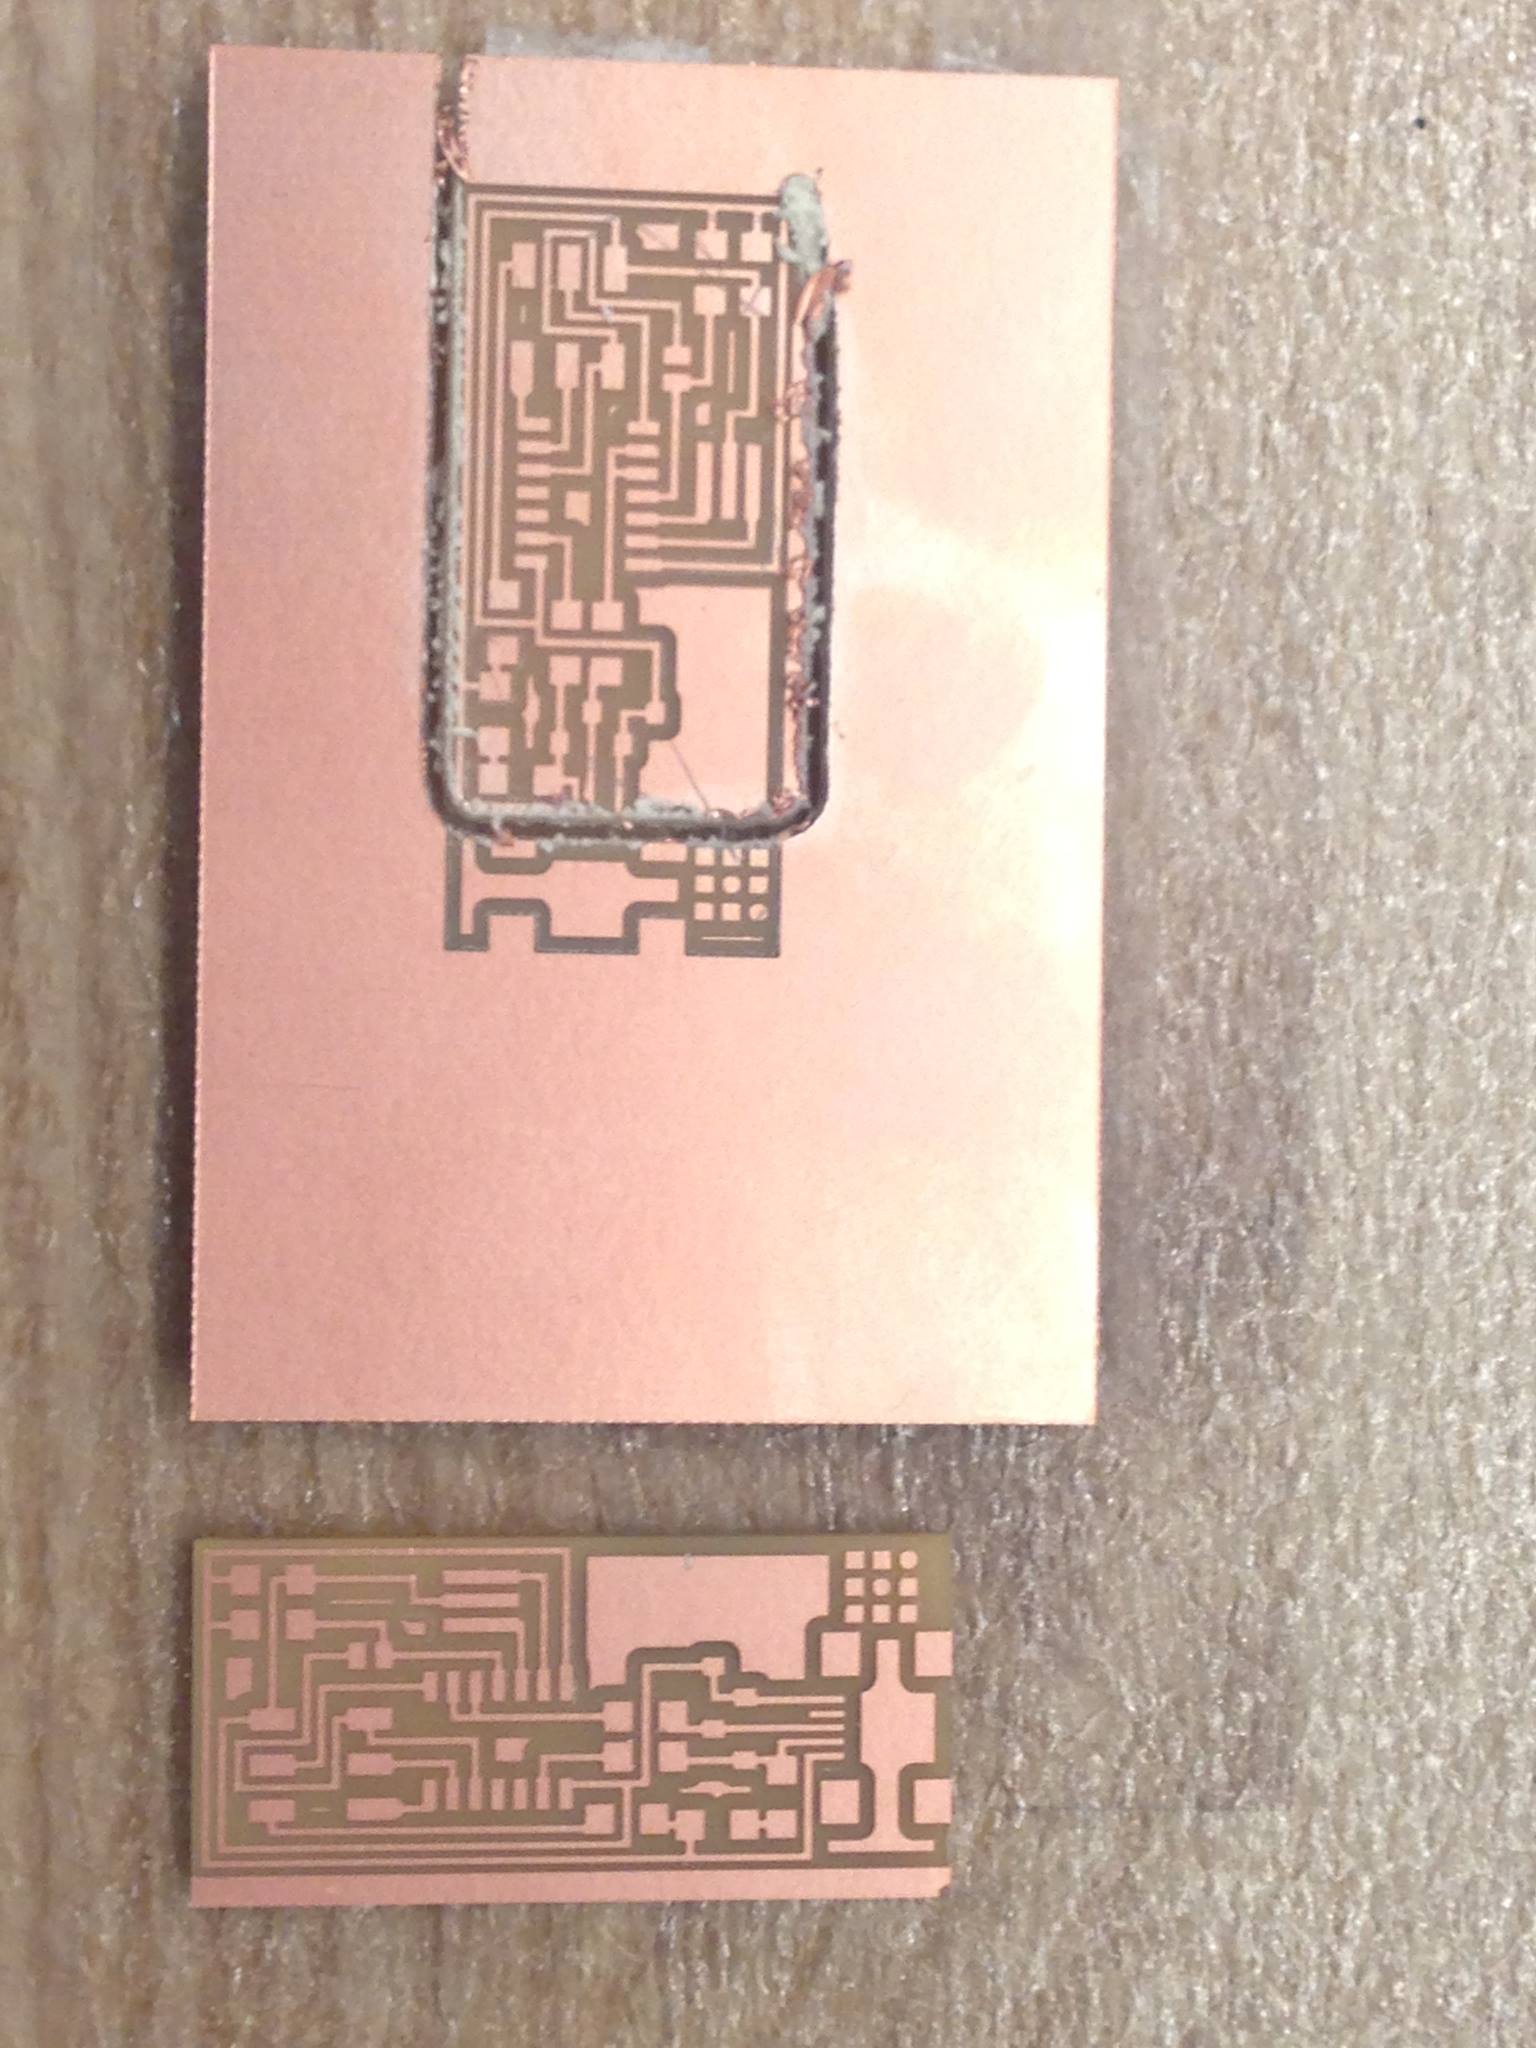
Here are a couple examples of milling jobs gone wrong that I observed. After noticing these I made extra care to select the right outline file and zero correctly.
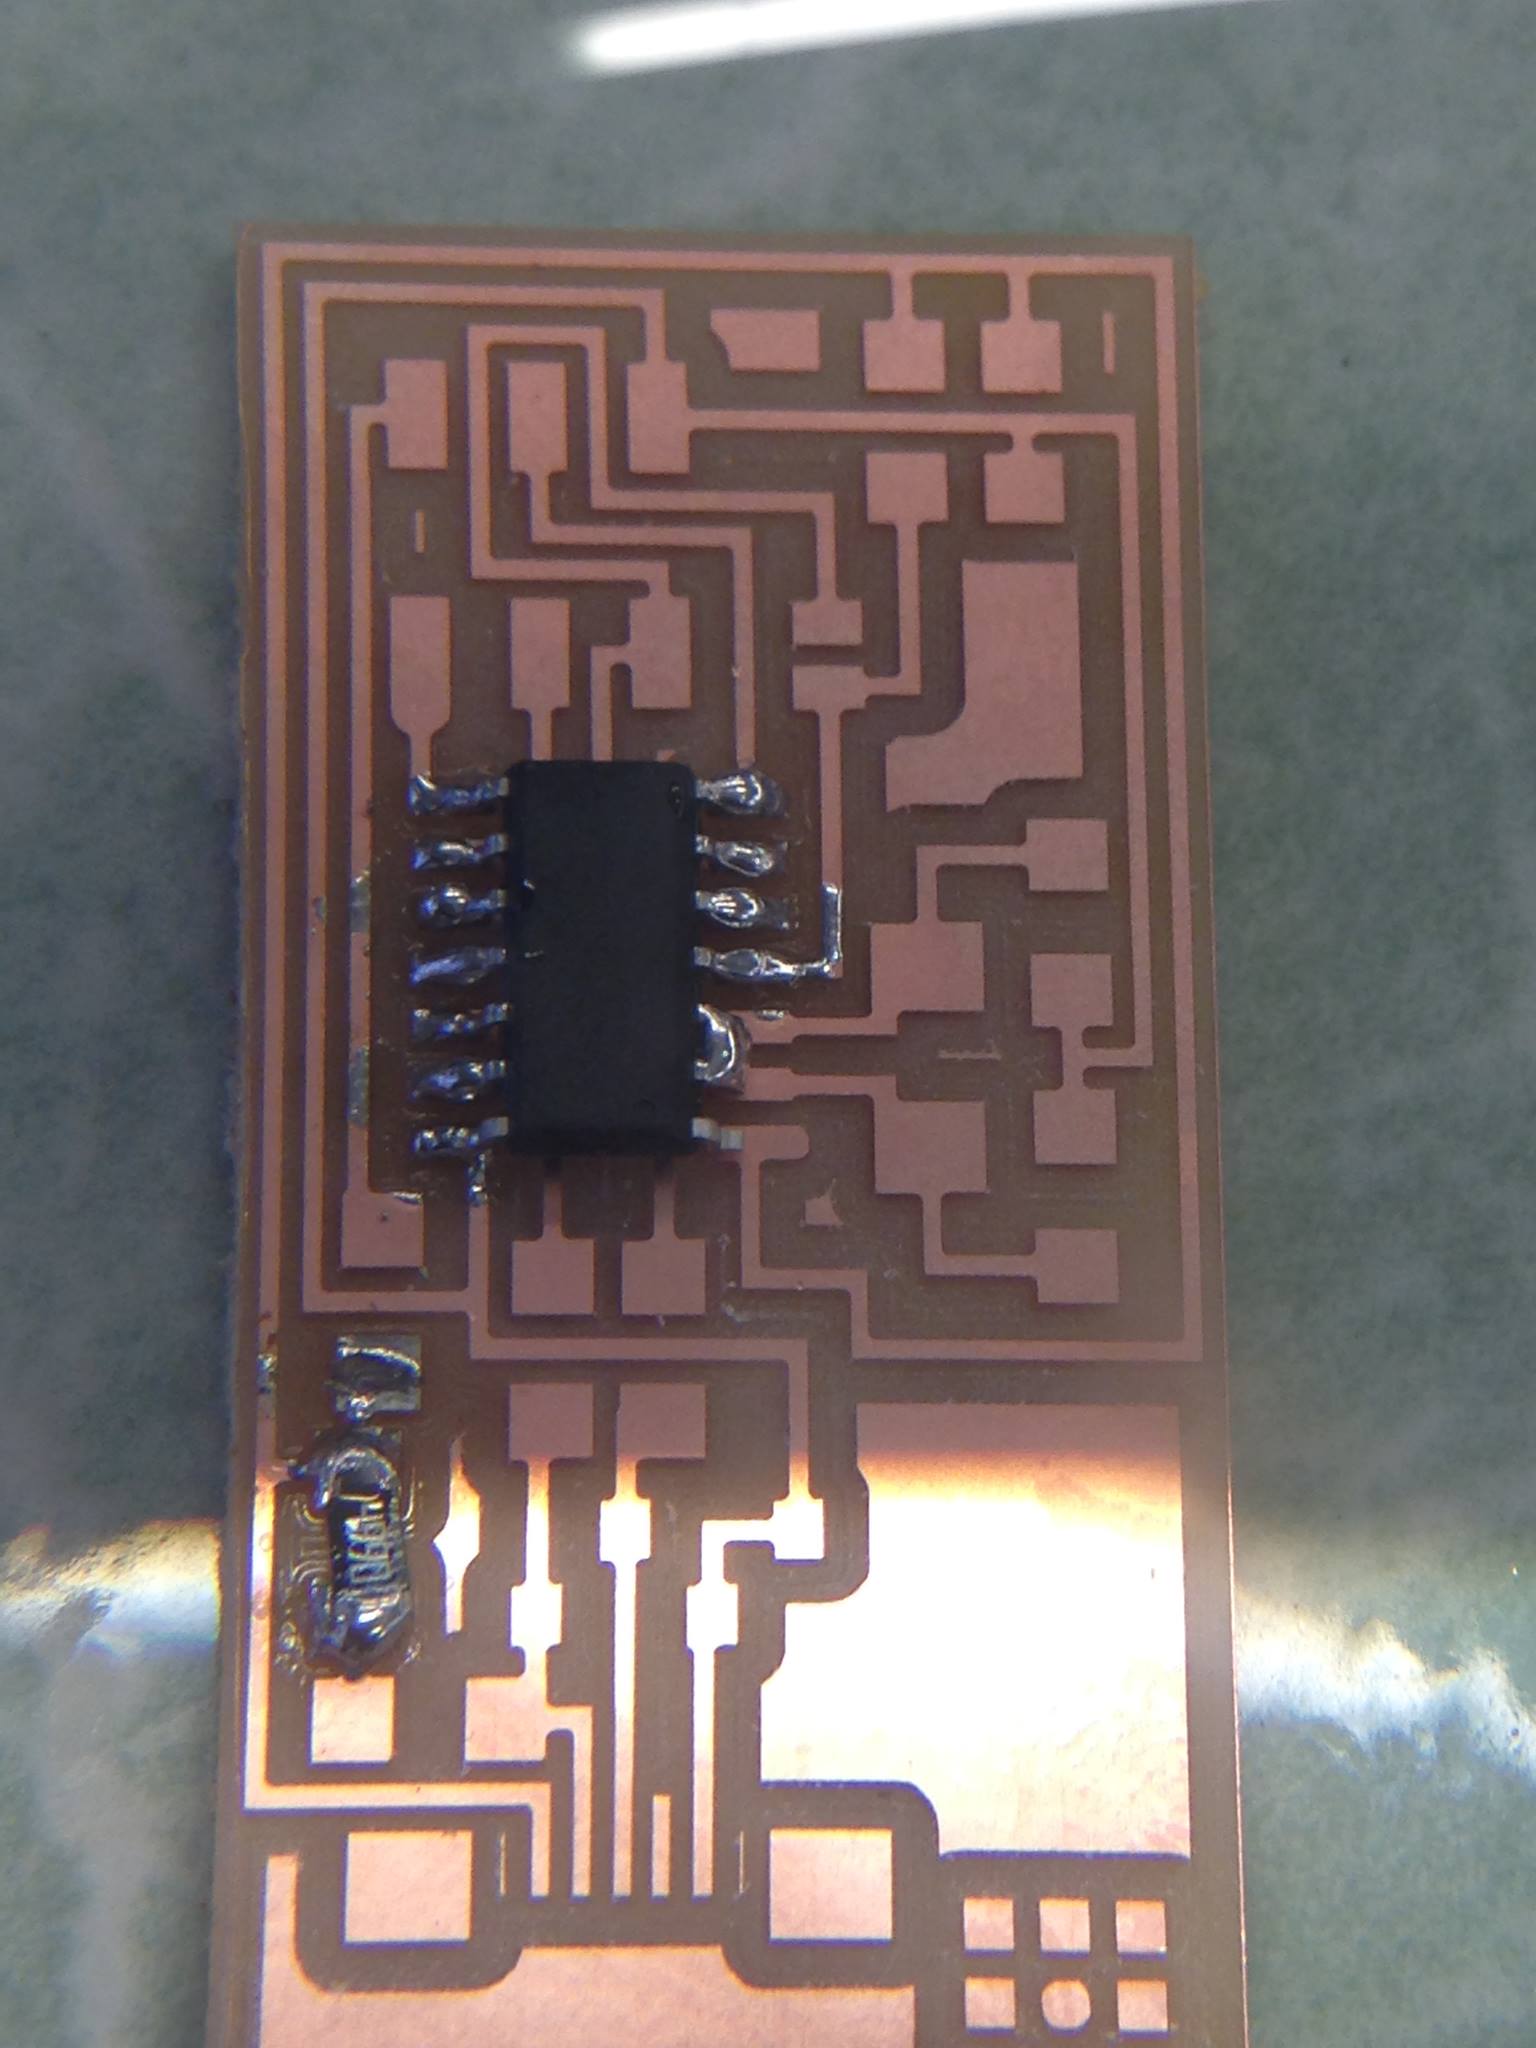
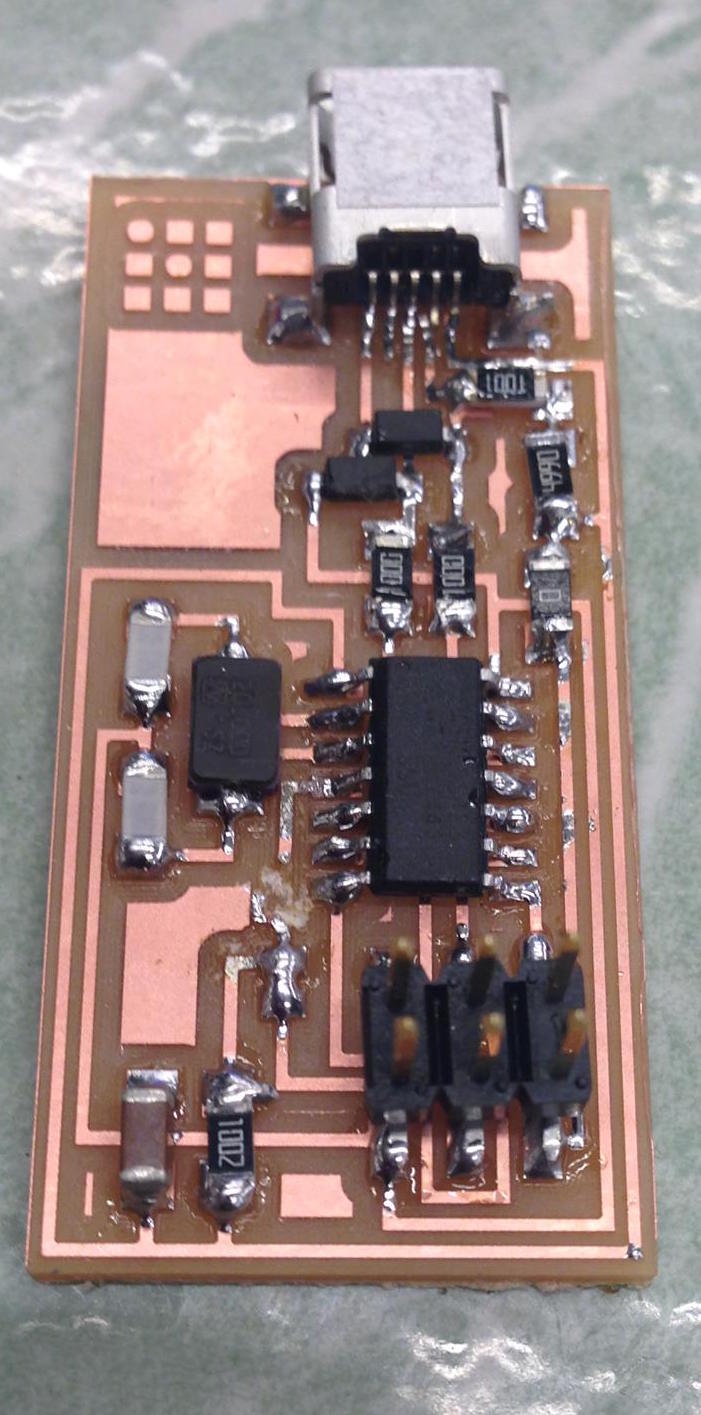
Challenges: The part I struggled with the most was soldering. My technique was to start with a blob of solder, use tweezers to pick up a component, place the component on the now hardened blob and re-melt the solder blob to secure the component. It took me awhile to figure out that I needed to be heating both the component and the solder blob rather than the blob alone in order to adequately adjust the component. Even after figuring this part out, my poor eye-sight and struggle with the magnifying glasses available made it difficult to not over-solder small parts. Exhibit A: component IC1 with solder in places that it should not be.
Finally, after ~2 hours of careful soldering, I finished the board.
After a few issues recognizing the device on my laptop, I was able to program the programmer by downloading the necessary firmware on a windows computer in the lab and testing the functionality on my Mac.