Chika Makes Things 2016
Week 5: Electronics Design
Goal:Redraw the echo hello-world board, redesign your own pcb in a software of your choice by adding a button and LED (with current-limiting resistor), and make it.
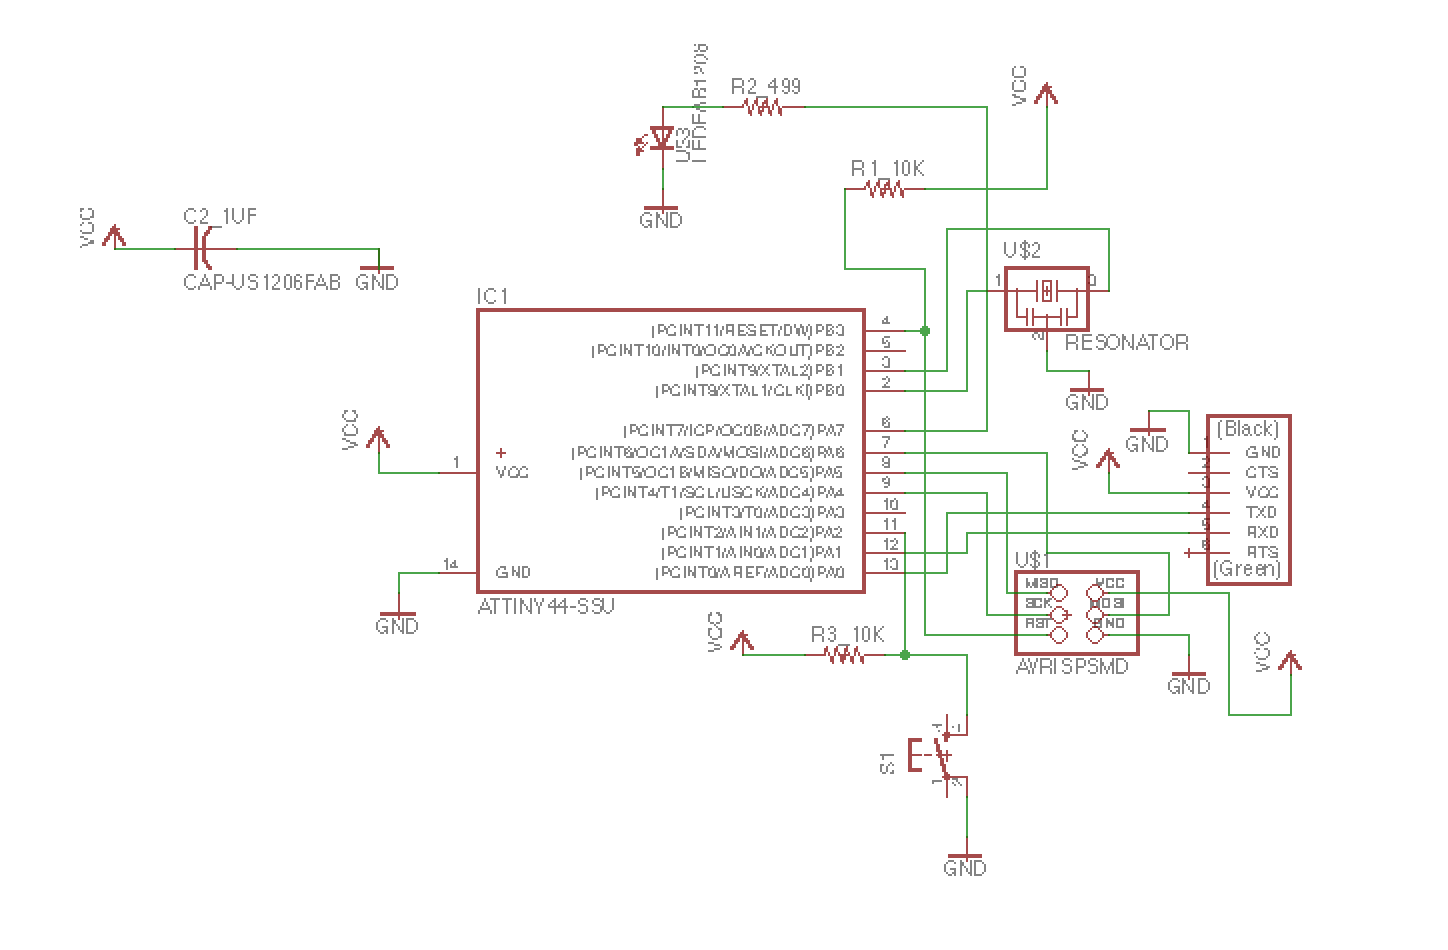
Process: I decided to draw my pcb design using EAGLE software. I found this
sparkfun tutorial most useful in wrapping my head around how to get started. I imported fab.lr, a library containing all of the necessary componenets for the board, dragged the components onto the schematic window, drew nets between them, and used EAGLE's built in function to generate my board.
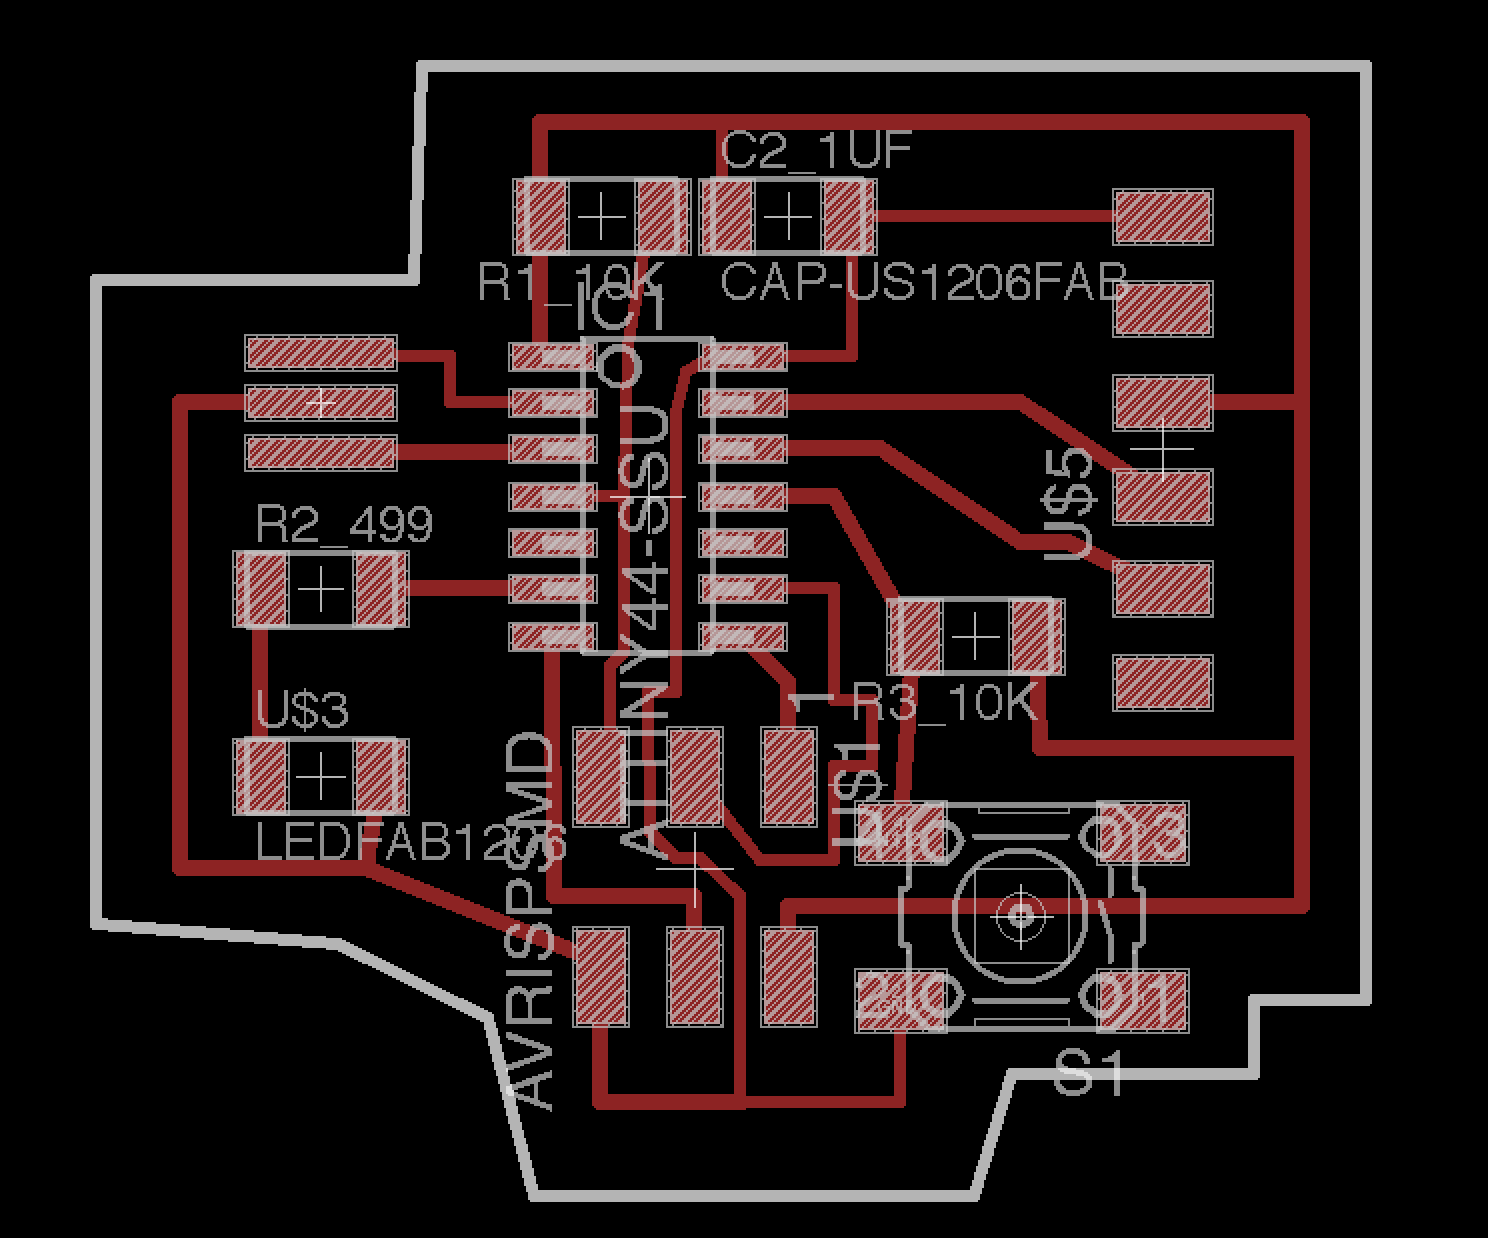
The next step was to route the board which entailed making sure that none of the connections, shown in the image below in red, crossed each other unless the components were connected. This took about 4 hours to figure out. Something that contributed to the difficulty of sorting connections were mistakes I made in the schematic design. You have to be careful that the nets you make in EAGLE are truly attached to components rather than simply drawn over them. I tested this out by using the 'move' tool to pull at nets and observe whether they pulled away from or stayed with the component.
When I finished the puzzle of routing the board, I exported it as a 600 dpi image.
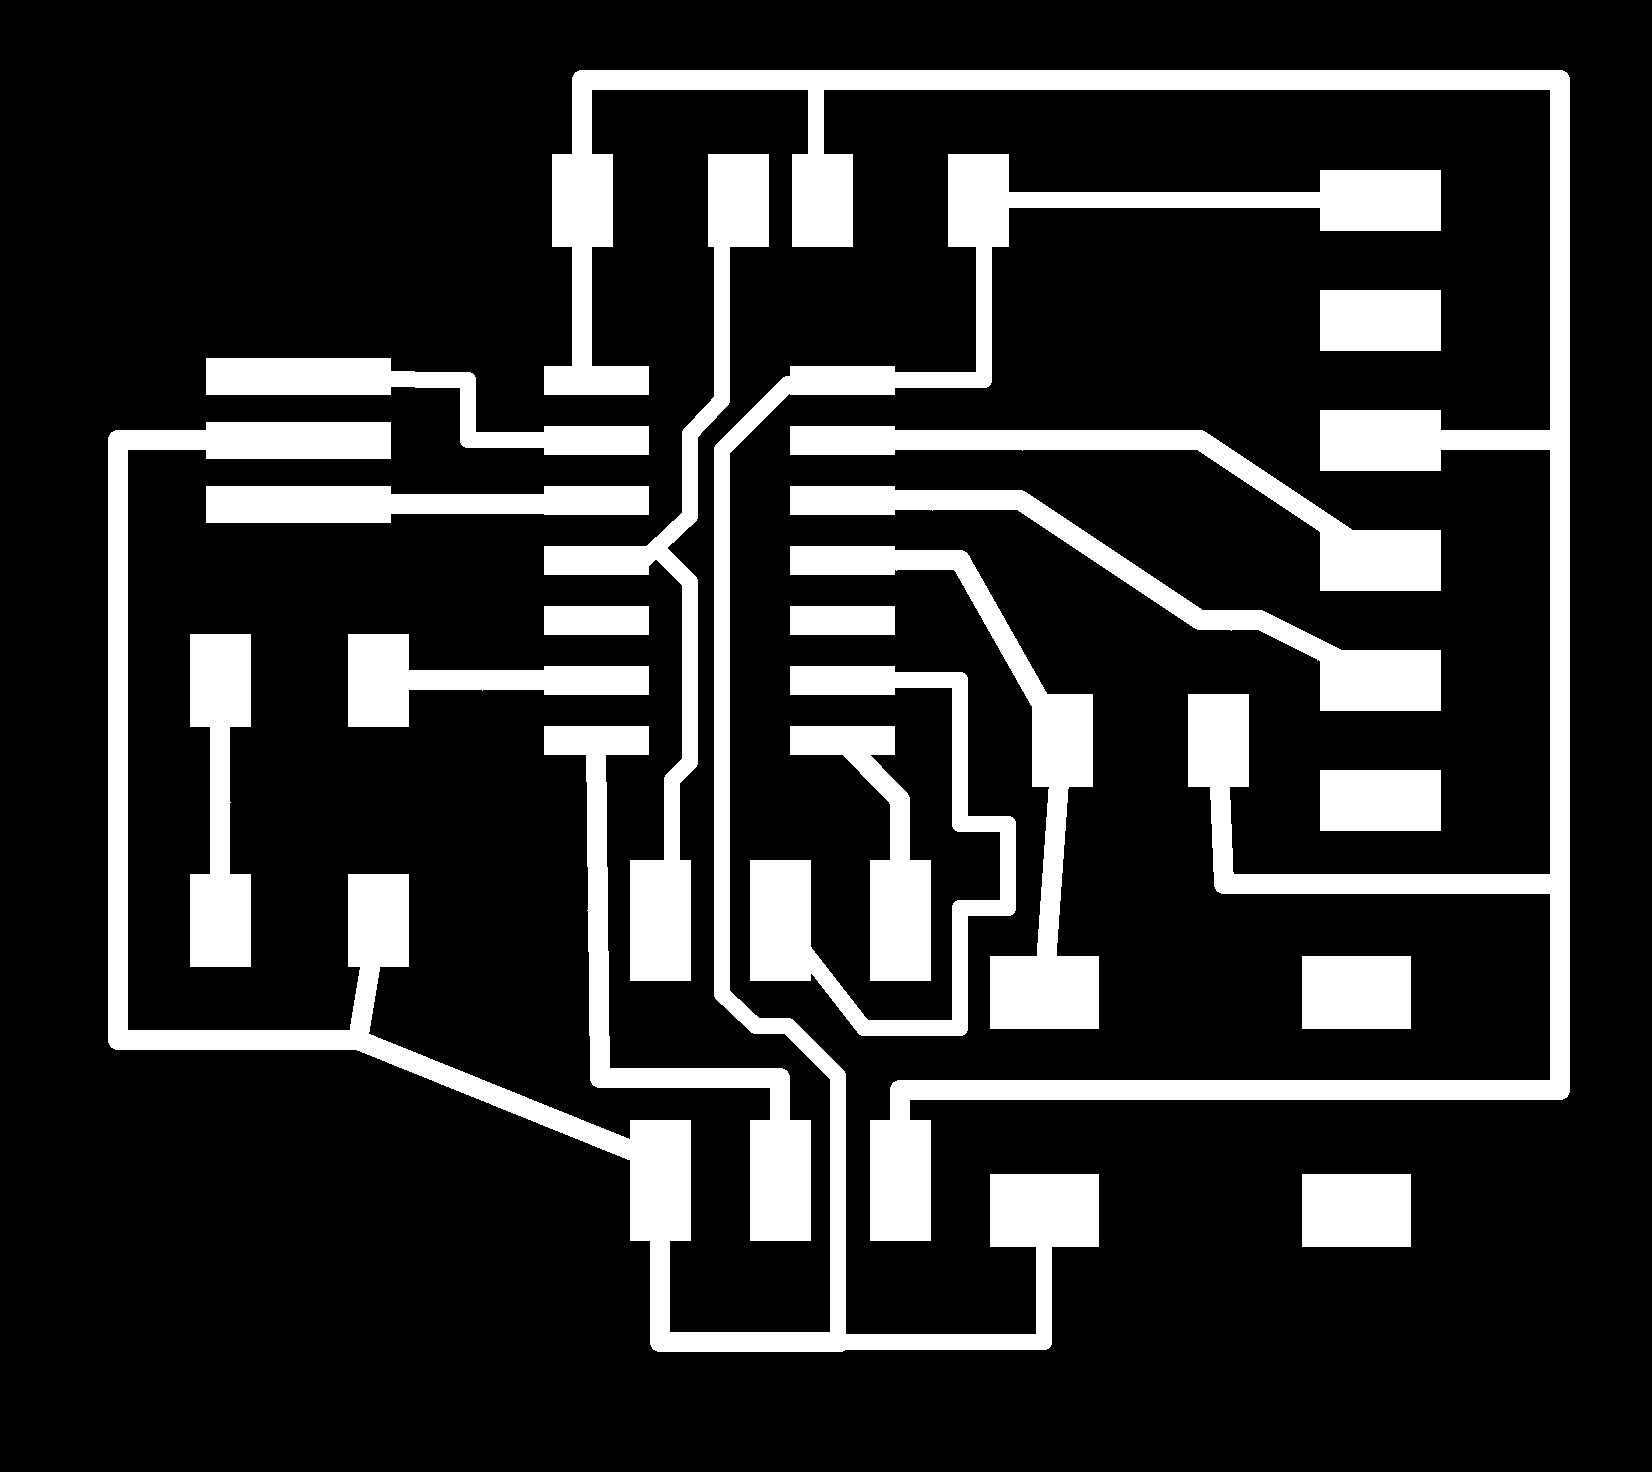
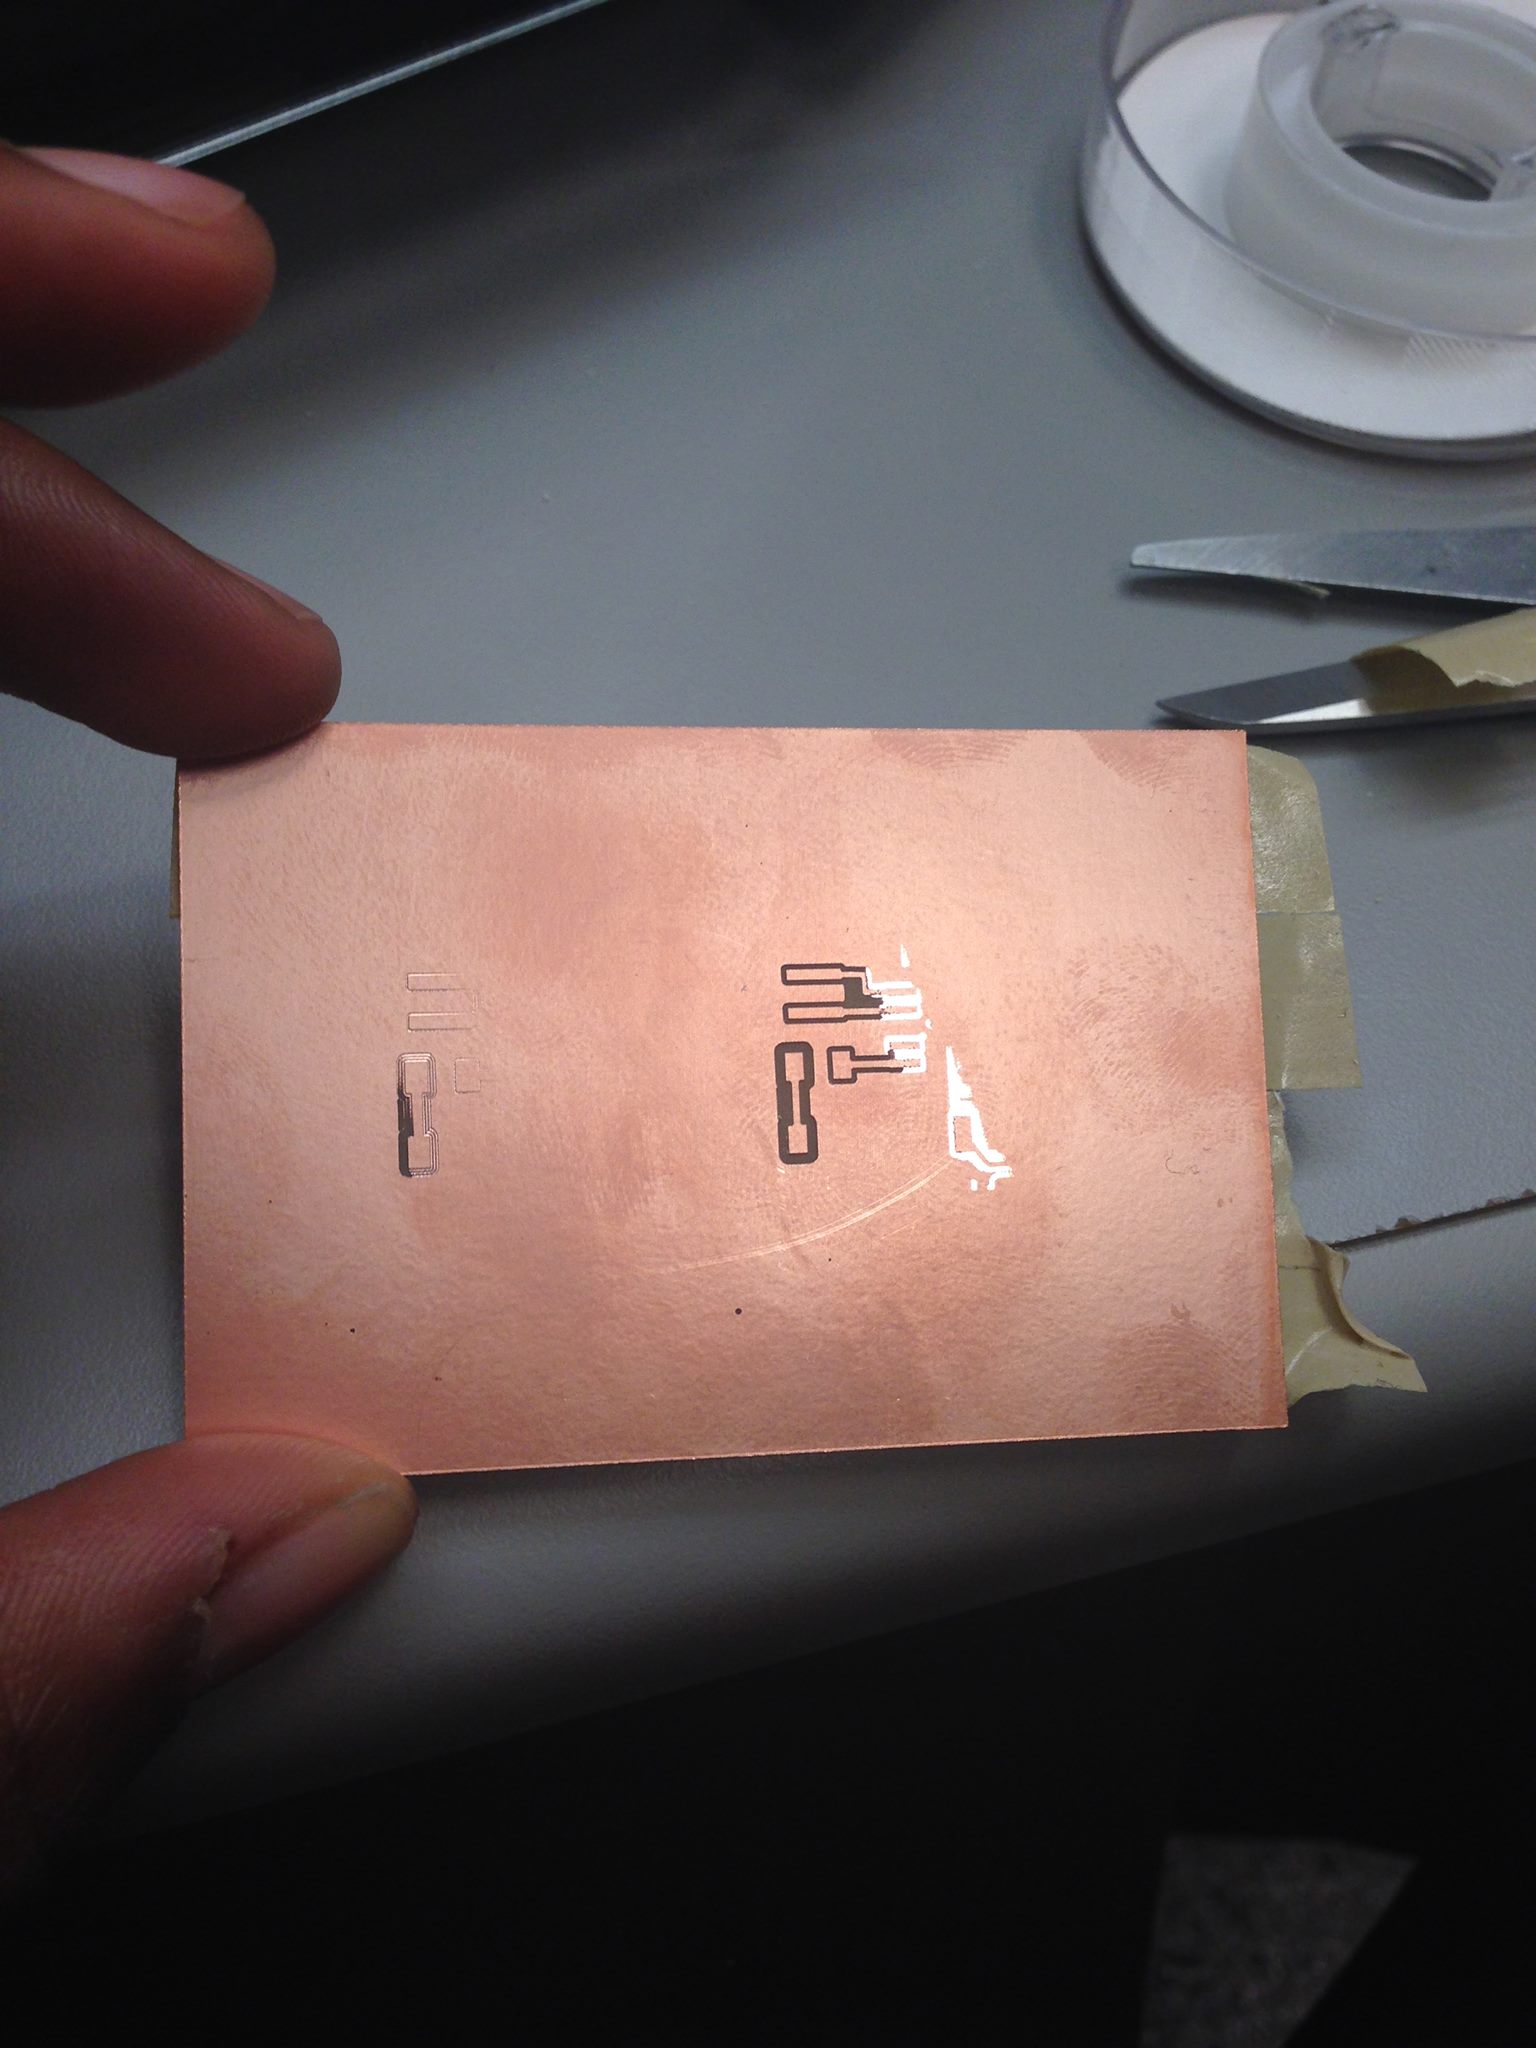
It was important to note this number when it came to adjusting the CNC mill settings. I learned that students using retina screens needed to multiply the dpi by 2 before proceeding. My first attempt at milling failed because I taped the board in a way that caused it to be hanging off of the sacrificial layer underneath it. The milling started out okay but as the bit moved to the unsupported area of the board it stopped making substantial cuts.
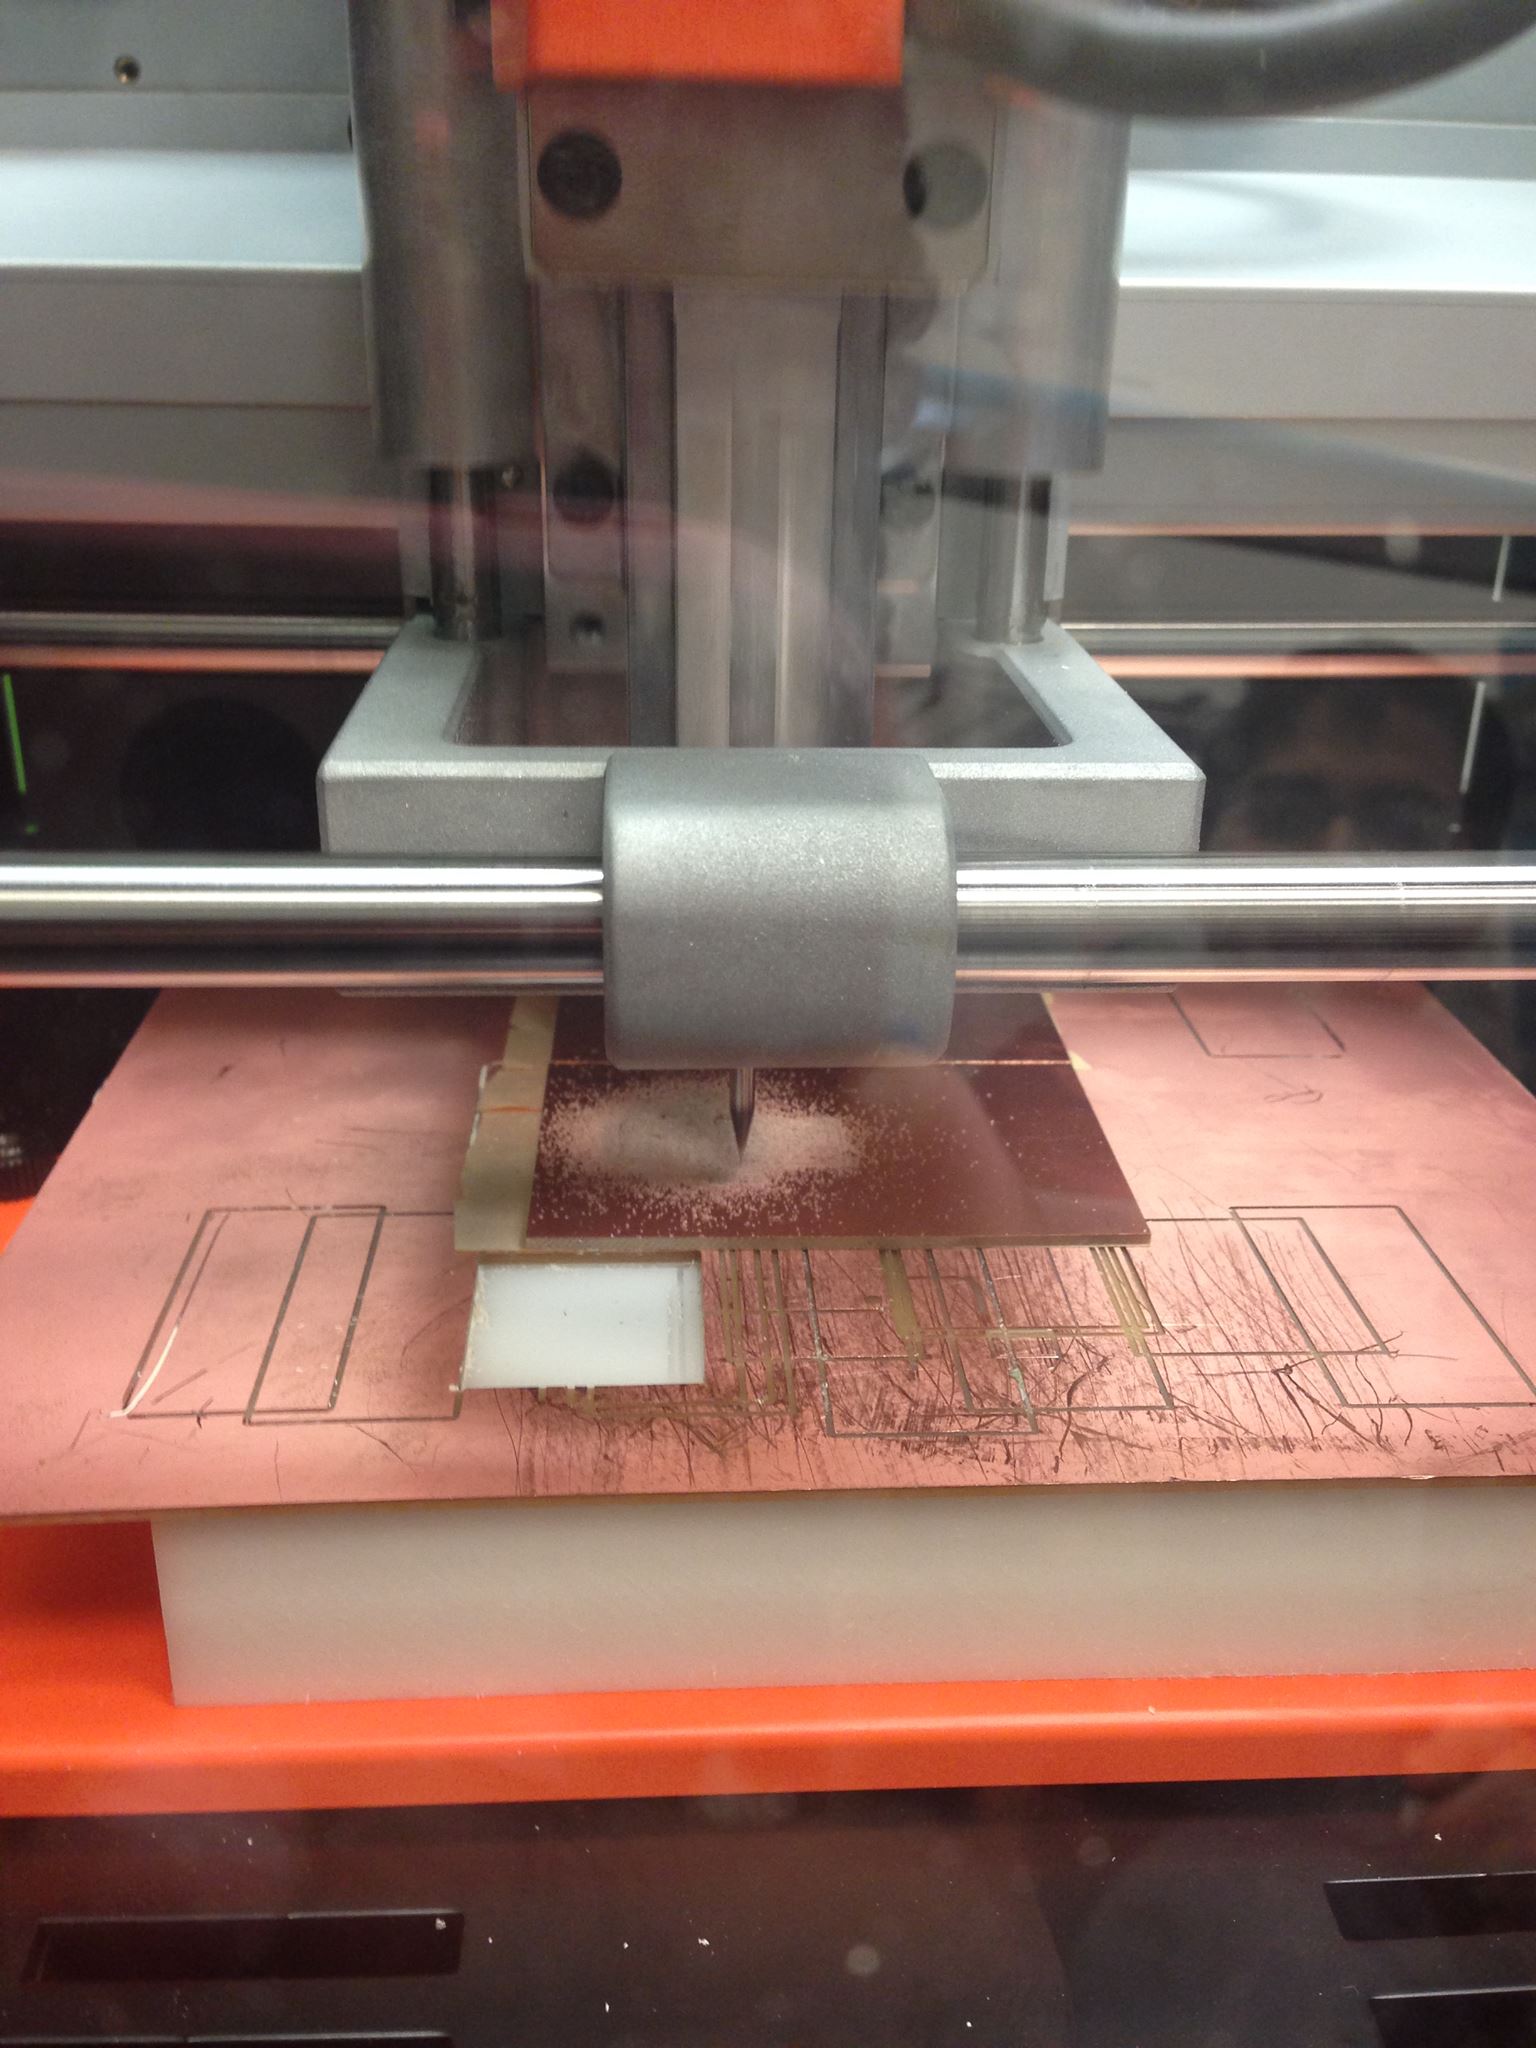
I replaced the board and rearranged it in the center of the available milling area. Additionally, I checked the bit to make sure it was sufficiently tight in the machine and sufficiently low to make contact with the board.
This worked!
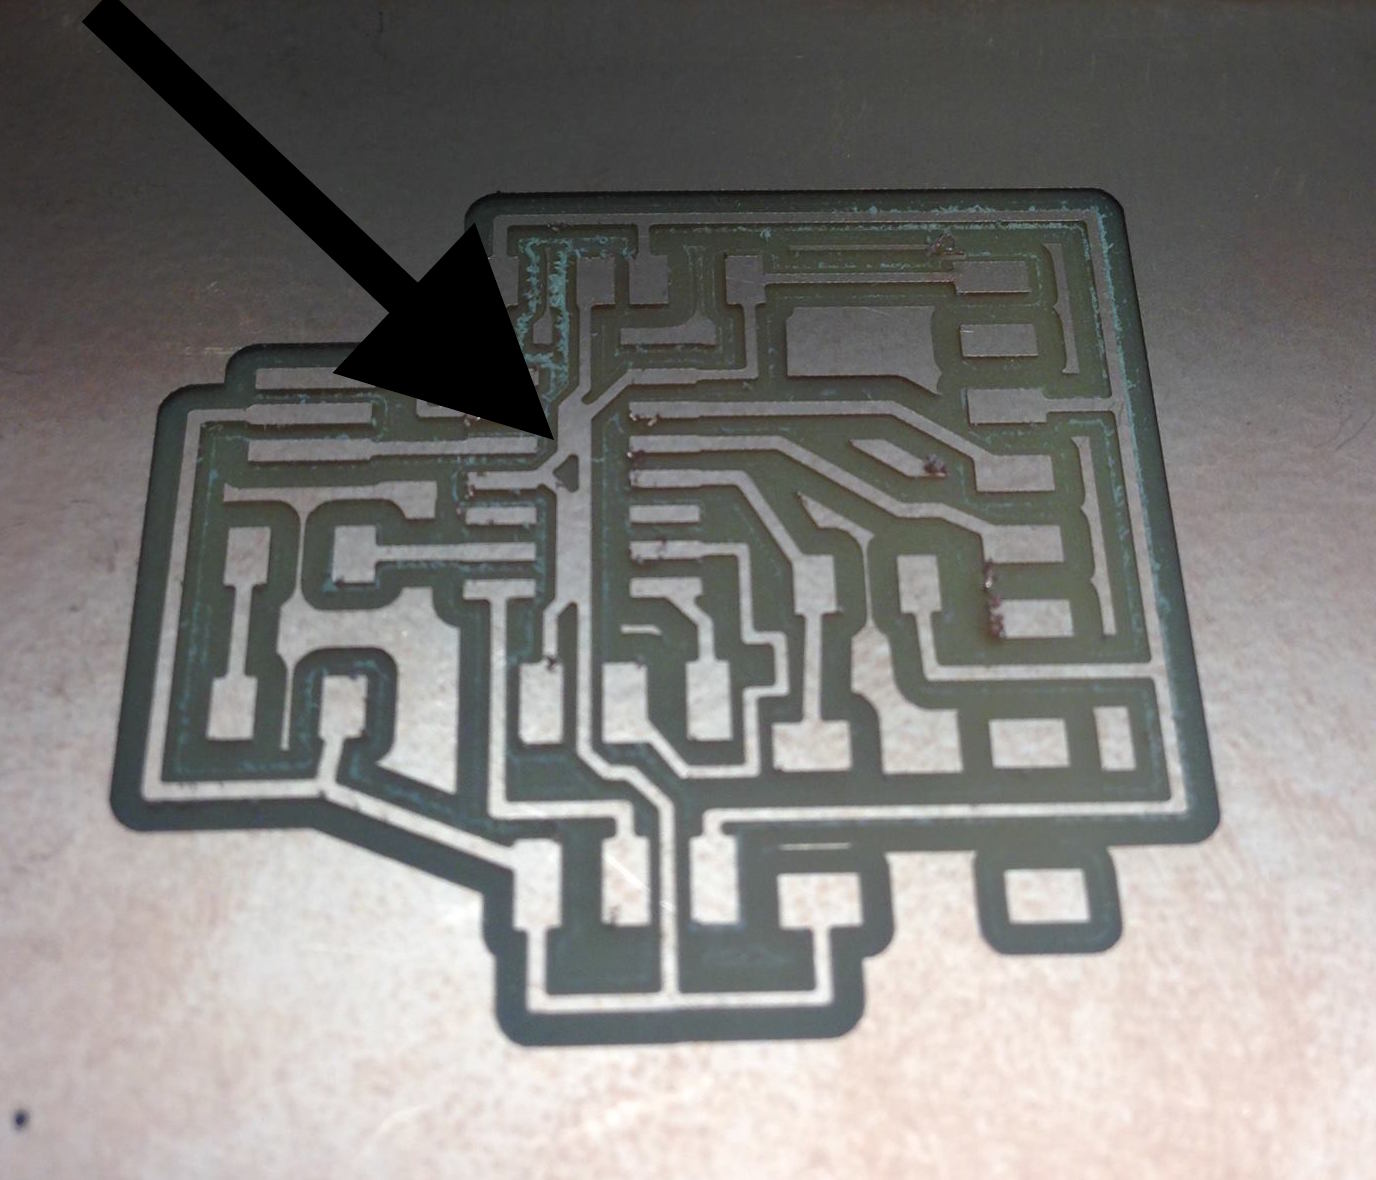
Notice that there are two traces that fused together on the board. I fixed this by using a x-acto knife to manually separate them.
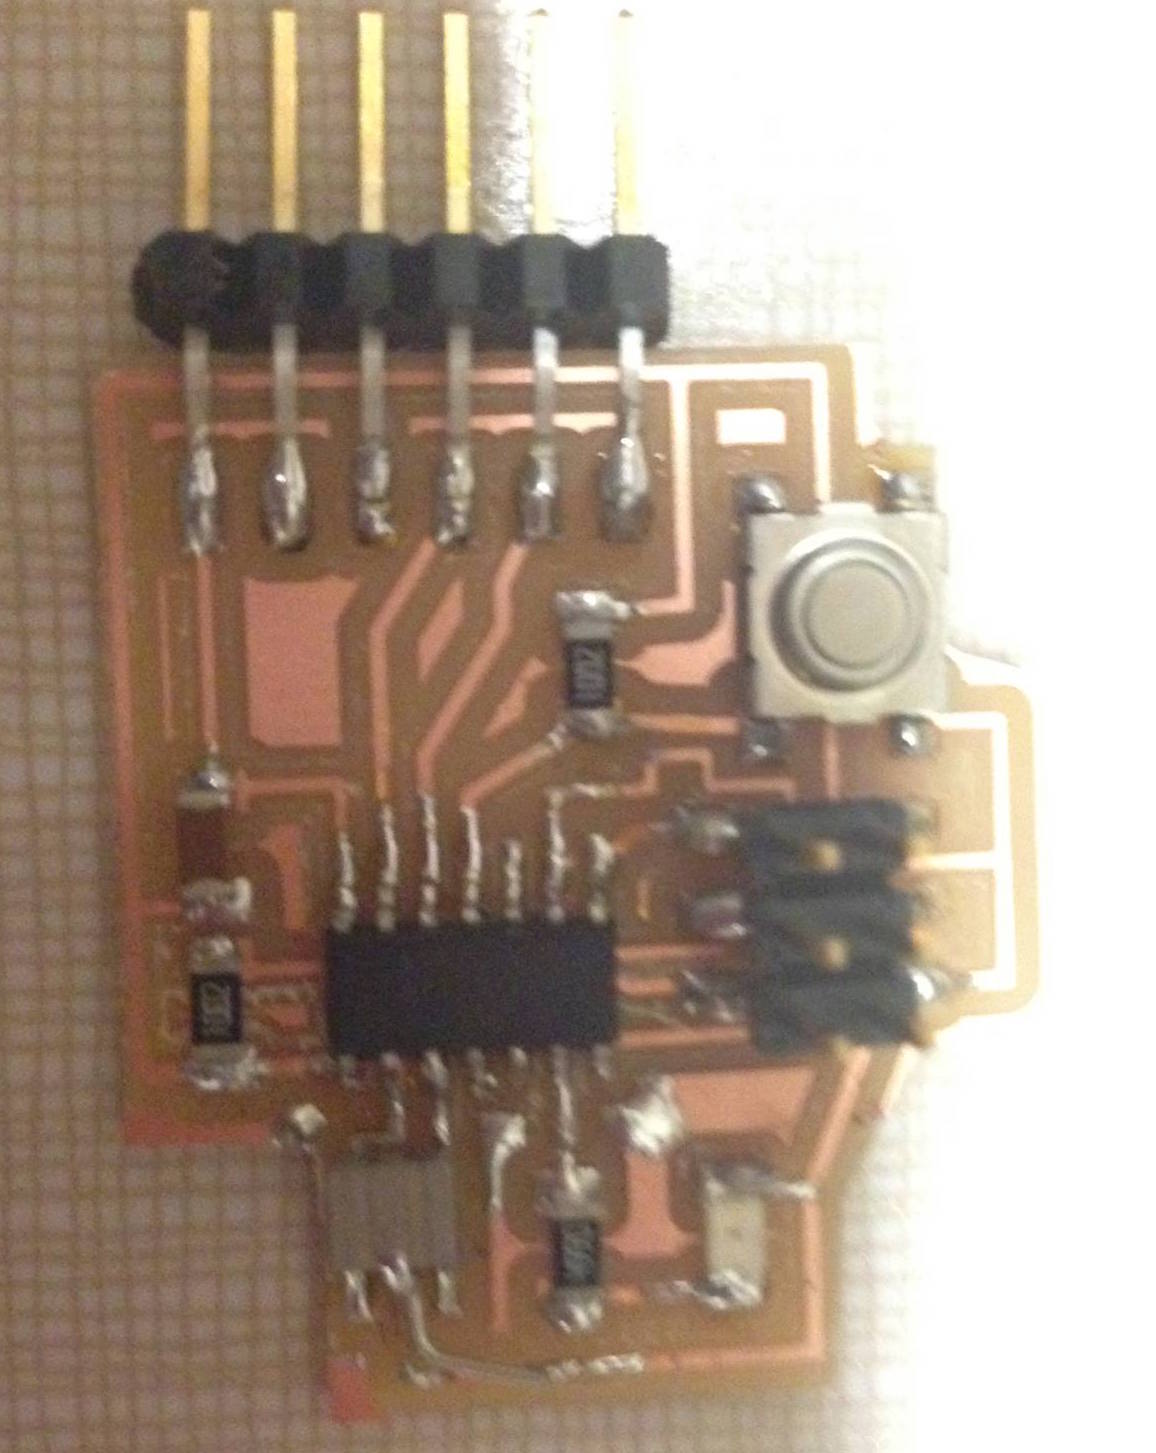
Here is the final result after stuffing the board with components:
