week 05 // computer-controlled machining
For this week's assignment, we had to create make something big. We were given a 4' x 8' OSB board to use as our main material and utilized a CNC router.
05.01 // the cnc router
We used a very large CNC router for our assignemnt, that could fit the 4' x 8' OSB board comfortably. It a Shopbot machine and used V-Carve Pro software. This was something I was already familiar with, having used a smaller, desktop CNC router from Shopbot, so this set-up was fairly straight-forward for me.
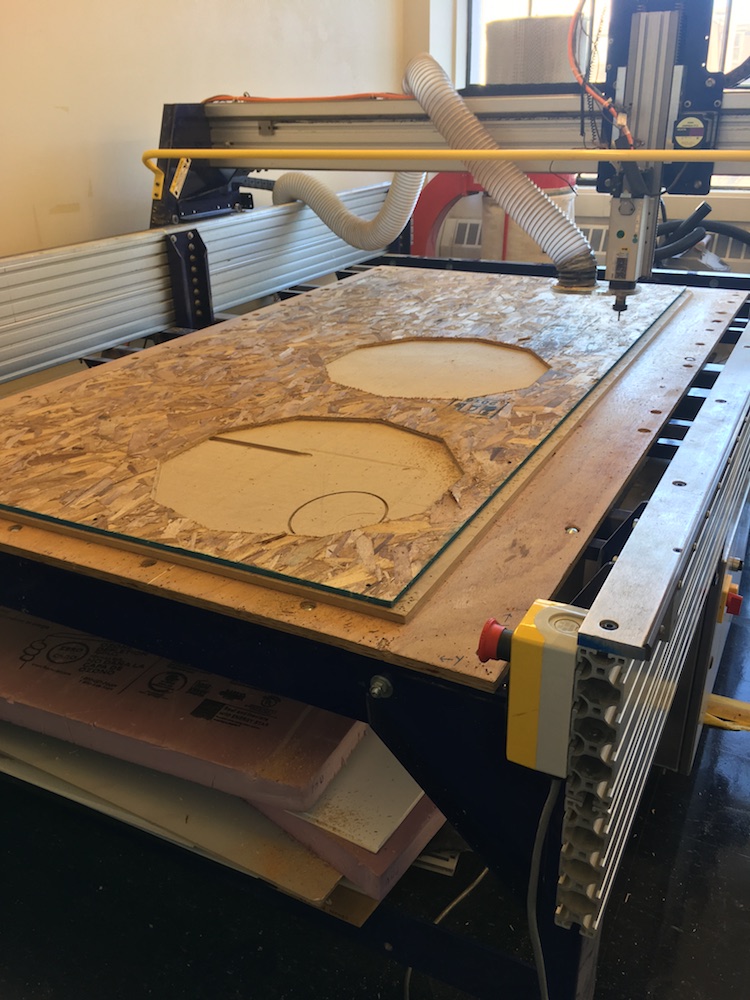
// CNC router used for this week's assignment //
Additionally, we were given a very handy speeds and feeds chart to help us in setting up the machine to cut our parts.
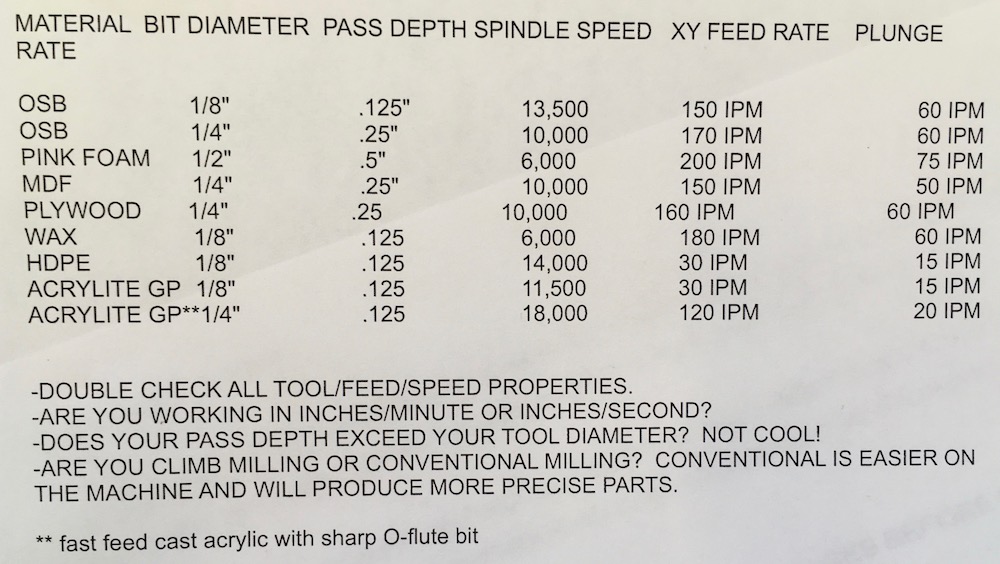
// speeds and feeds chart //
05.02 // designing
For this week's assignment, I decided to create an ottoman for my Ikea Poang chair at home. I based the dimensions of my design off of an existing Poang ottoman, to start. I also decided that I wanted to use some type of press-fit connections for the wood parts to fit together nicely without needed to add any wood glue. For these joints, I looked up wood joints and decided to use through finger tenons. A great reference for some joints is here!
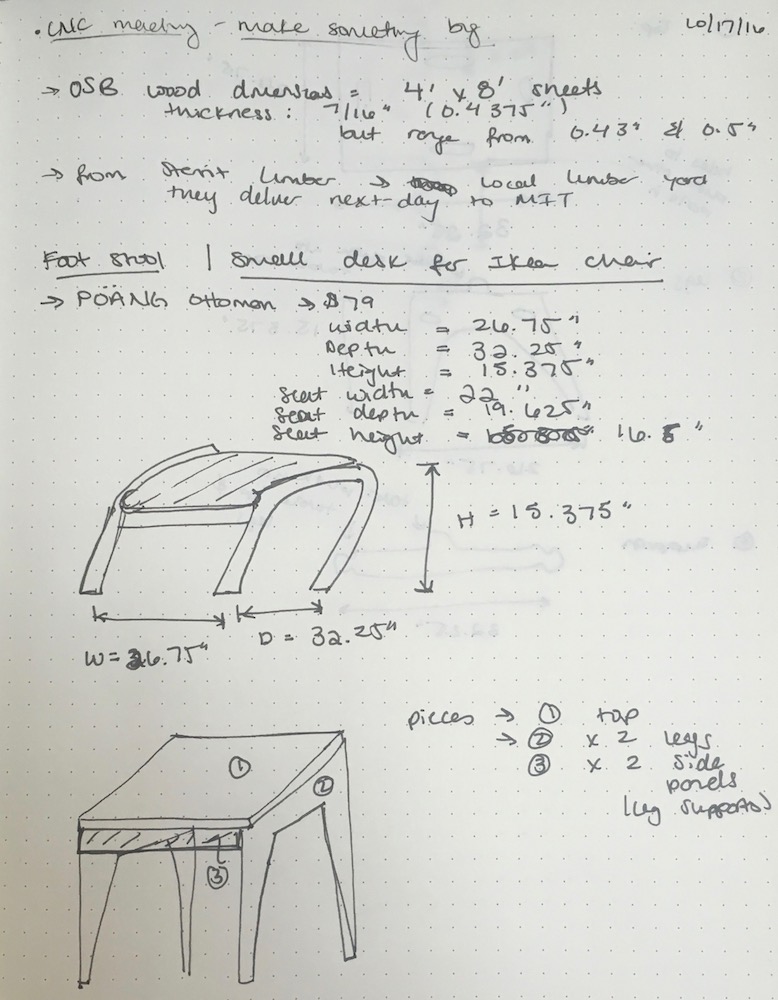
// initial ideas and dimensions for ottoman // |
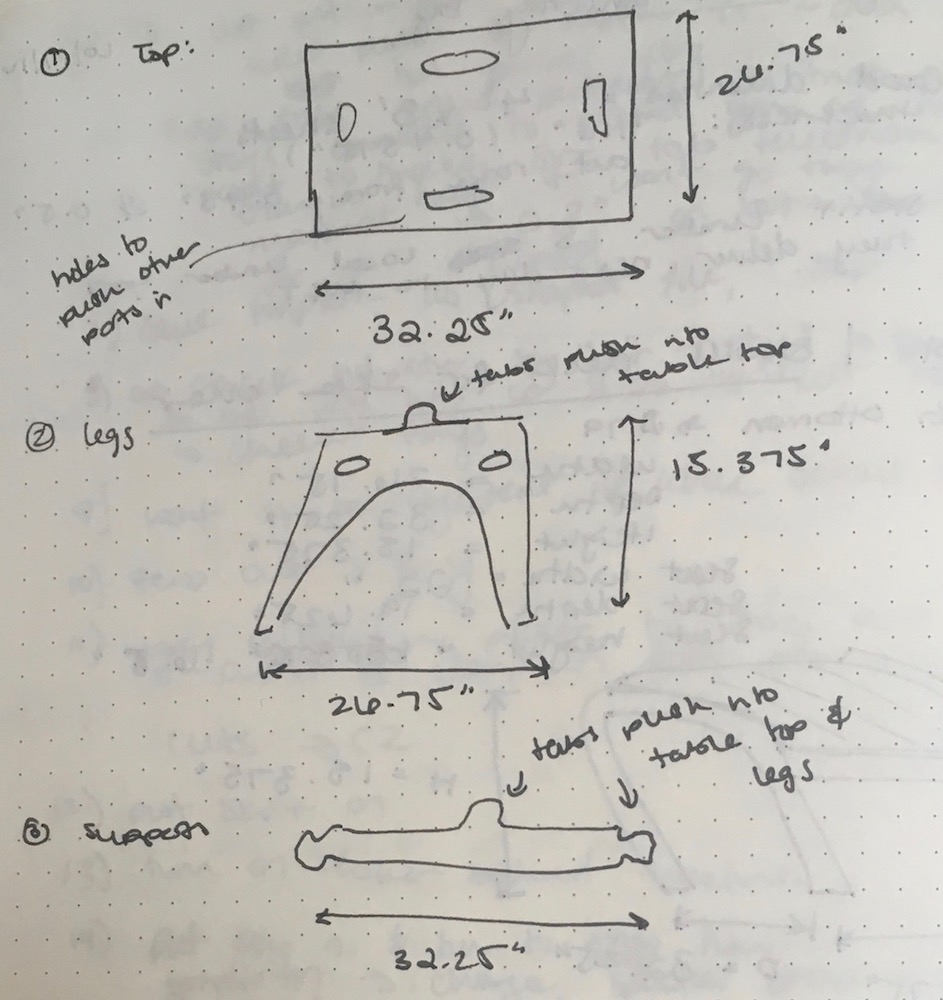
// sketches of different parts for ottoman // |
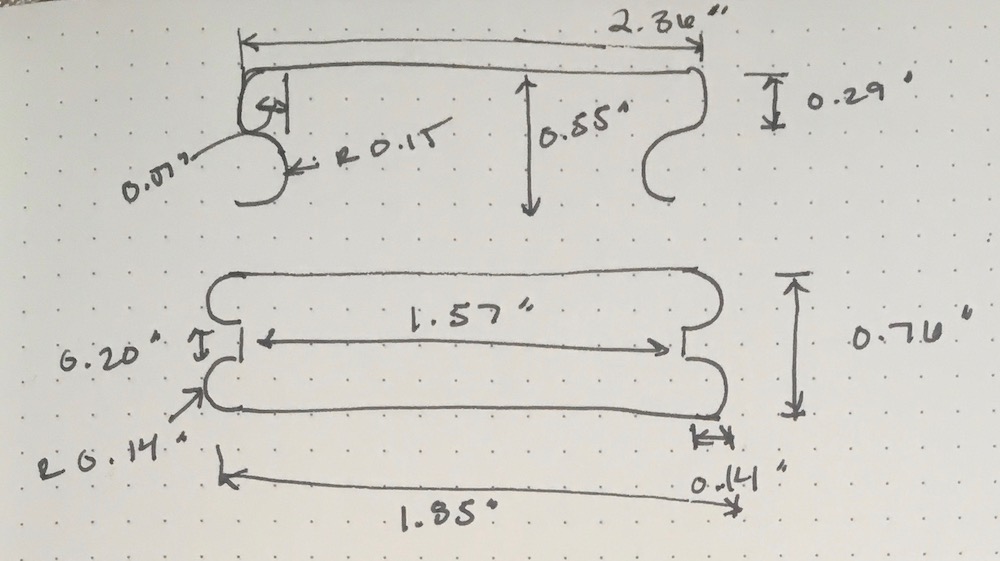
// thoughts on connections between parts // |
Once I had my initial designs in hand, I used SolidWorks to model my ottoman. I was able to make the ottoman out of 3 simple pieces: a top, a long side, and a short side. The short side included the legs of the ottoman and the short sides were meant to be extra support.
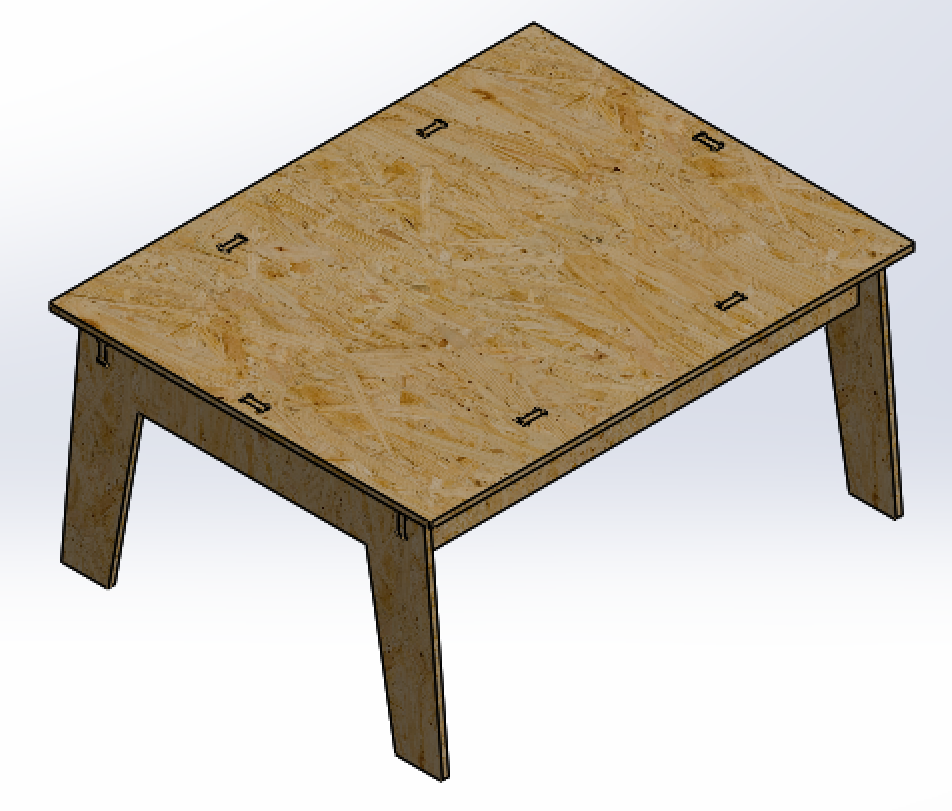
// final three dimensional model of ottoman //
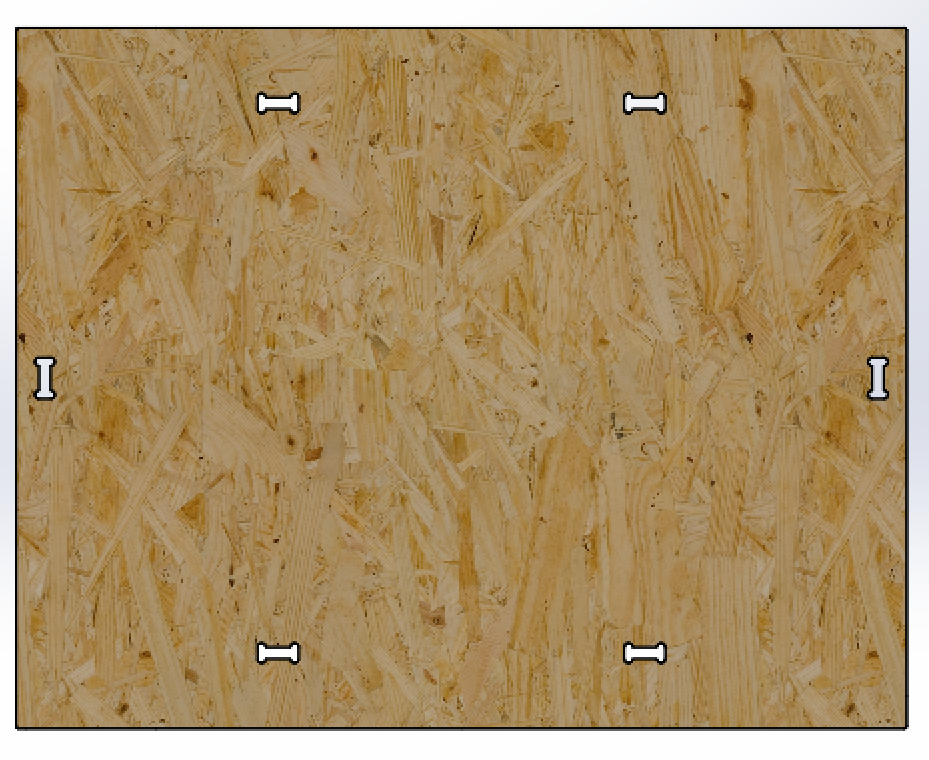
// top of ottoman // |

// ottoman side support // |
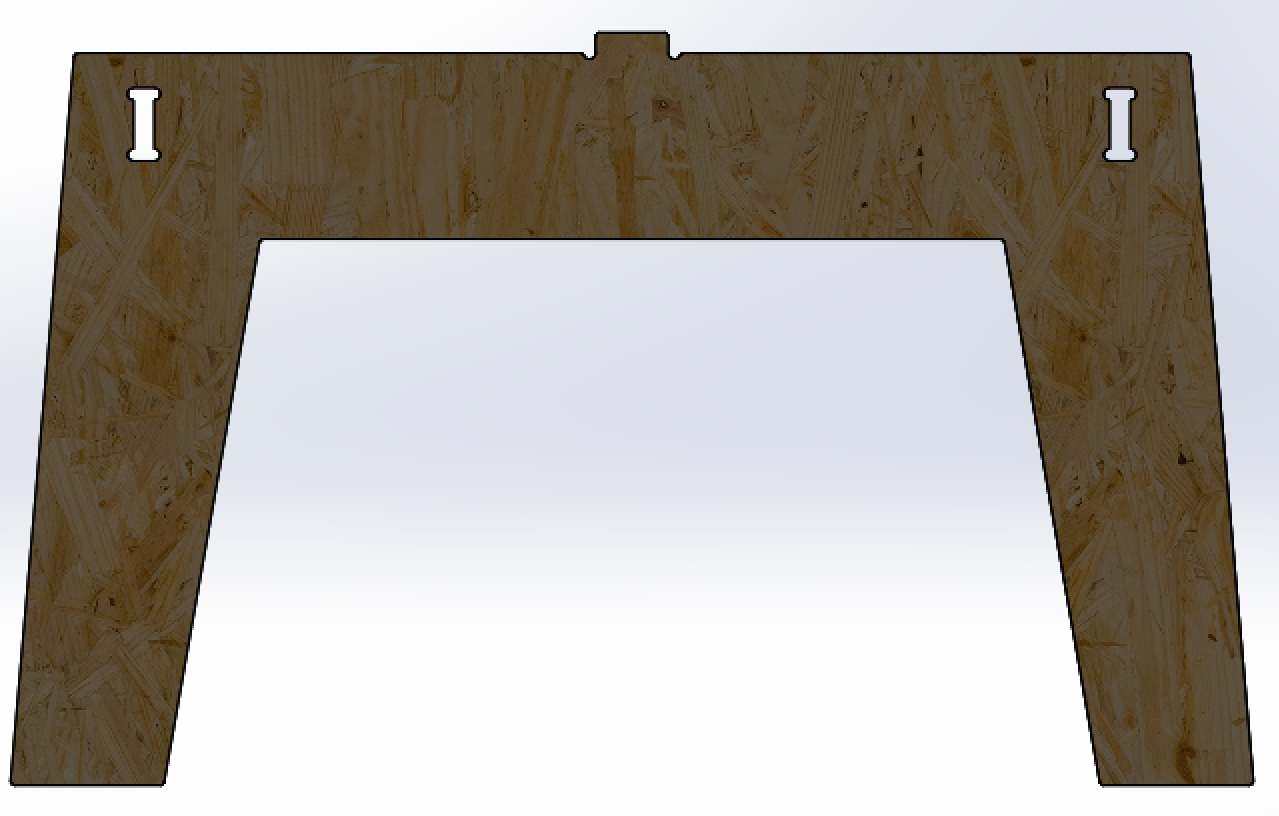
// ottoman legs // |
Once my model was complete, I imported into Illustrator in order to lay them out for the CNC router. Additionally, I took this opportunity to add some text to be engraved onto the sides of the ottoman. :)

// layout ready to send to CNC router! //
05.03 // machining
With my layout ready to go, I imported it into V-Carve Pro and worked through the steps to getting it ready to cut. First, I used pocket cutting to engrave the letters for all of the pieces. Then I used a profile cut to cut out all the parts.
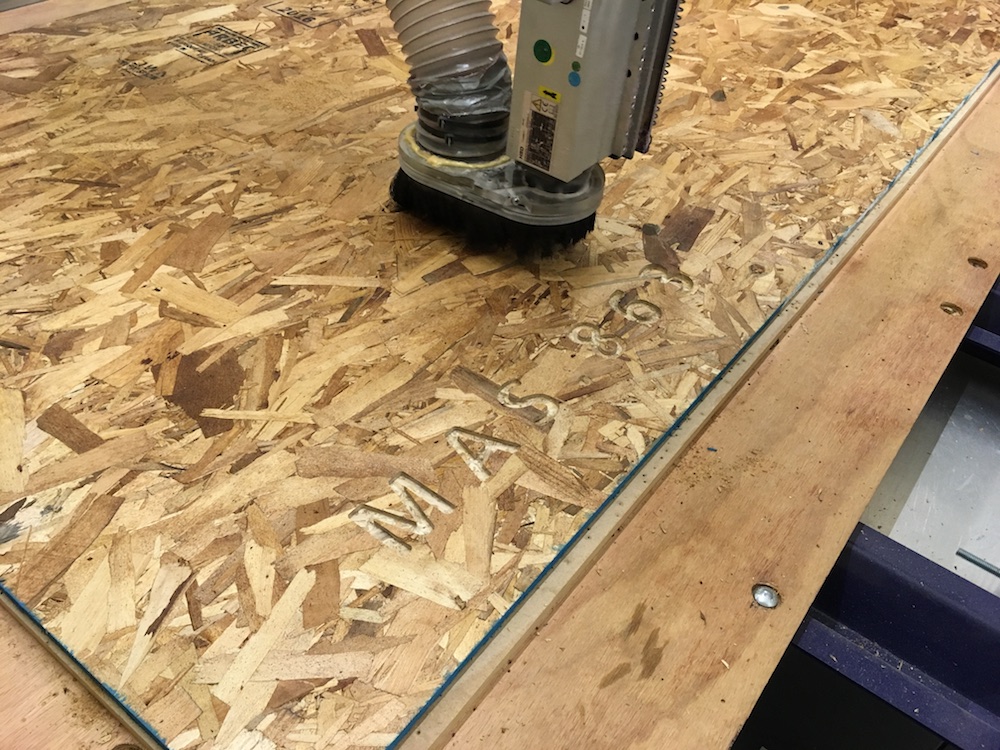
// pocket cutting out the letters // |

// profile cutting out the pieces // |
With all my parts made, it was time to assemble! Assembly took less than 3 minutes and the tenon joints worked really, really well!
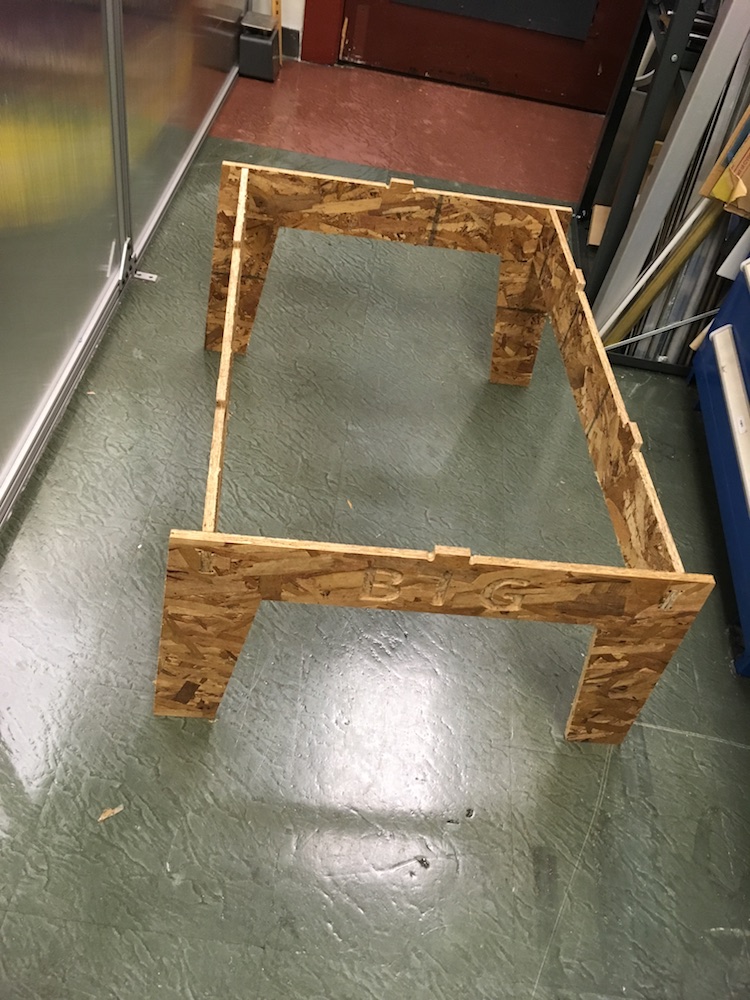
// assembling the parts // |
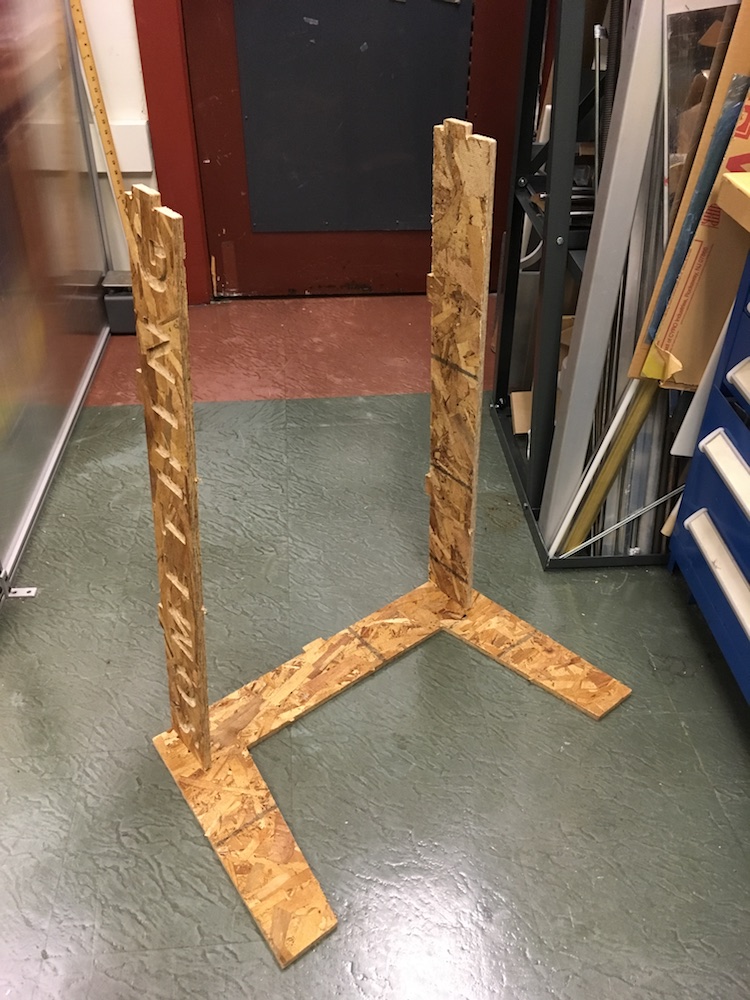
// some more assembling // |
// final part on! // |
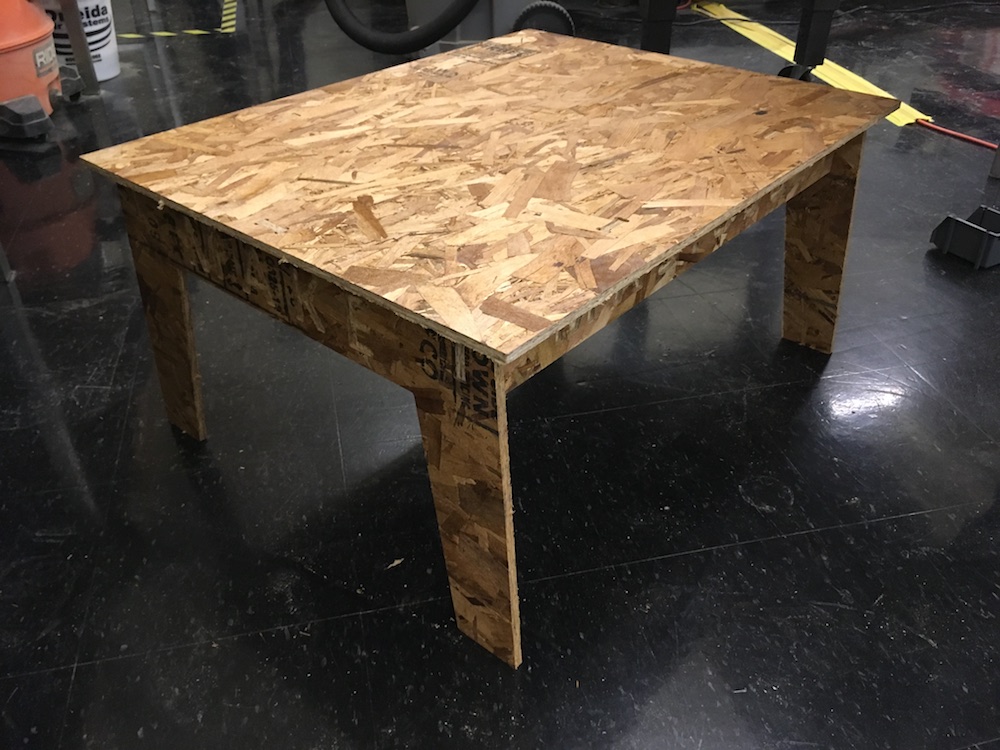
With my ottoman assembled, it was time to put it to the test. I just had to sit, relax, and put my feet up :)

// finally done! now time to relax :) //
Here's a few closeups of the different sides of the ottoman. It turned out to be a bit larger than anticipated, so instead of using it as an ottoman, I am currently using it as an extra shelf on a table in my lab. And it's holding up well!
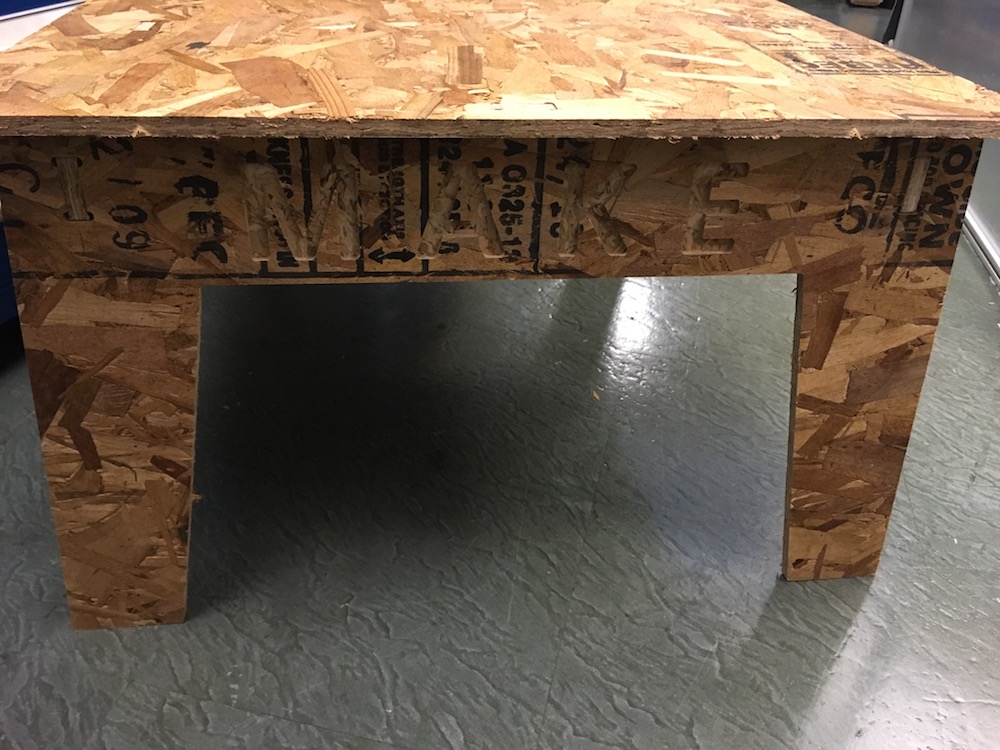
// close up of the "make" side // |
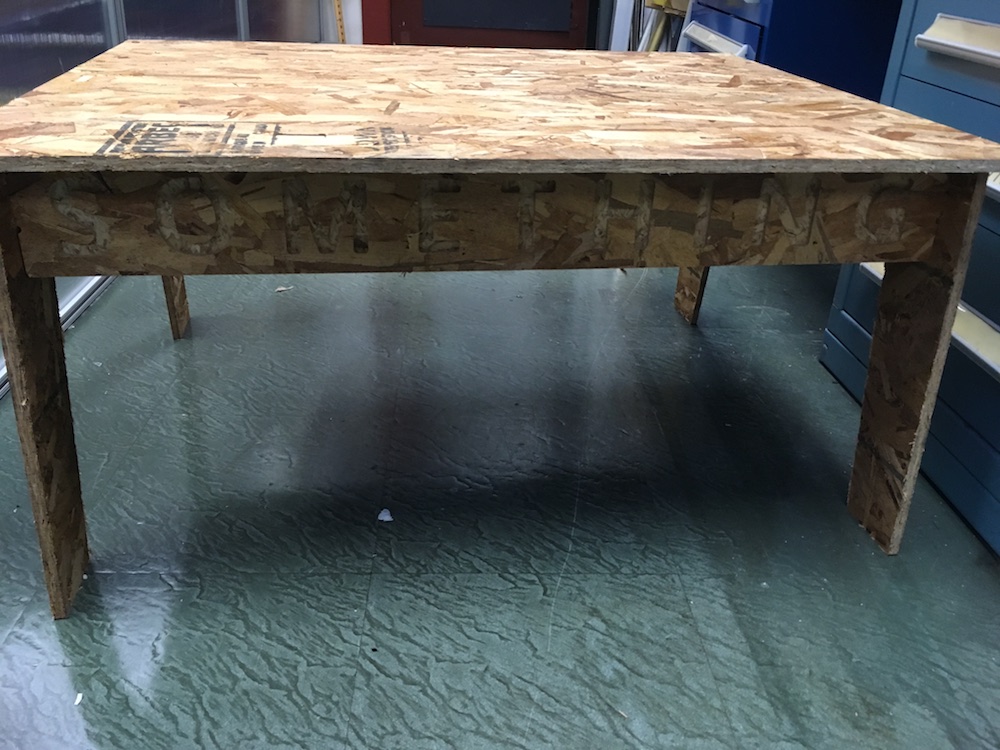
// close up of the "something" side // |
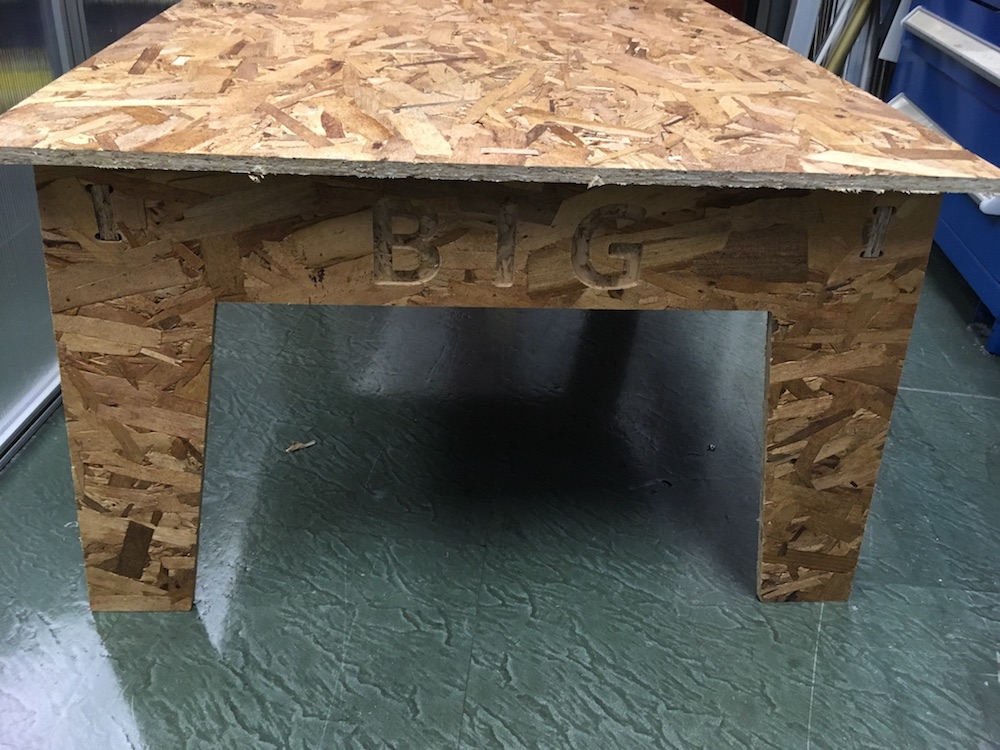
// close up of the "big" side // |