For this week, the assignment was to read the MSDS safety sheet for our Epoxy (Super Sap One), create a 3d mold and then make a composite on the mold. I struggled a lot to come up with an idea for what to make, but I eventually decided to make the caterpillar logo for Camp Kesem, a camp for kids of cancer patients that I used to run at MIT. Here’s what the original logo looks like:

We had been given a great training of how to do composites by Sam Calisch, one of the TAs for the class. Here’s a video of the training, which covers a lot of the main things to worry about when / process of creating a composite.
Reading the data sheet
The data sheet for Super Sap One is available online on the manufacturer website. In the Downloads section, there is the reference sheet and the safety sheet. The reference sheet is useful to know the proportions to mix in, which is 100:44 Part A to Part B by volume. Although normally Epoxy comes with pumps that measure the right volumes to mix with, we didn’t have that Epoxy and thus had to measure out our volumes.
From the data sheet, you can see that it is REALLY important to be very safe with the Epoxy. We must wear gloves at all times, and make sure to keep changing them as we need to grab new materials. Along with that, the mixed Epoxy results in an exothermic reaction and thus can actually melt the plastic cups that we were using to mix. You don’t want to overmake the Epoxy because the cup allows the epoxy to generate heat together and has to be fully cured before we can throw it away.
Designing the model
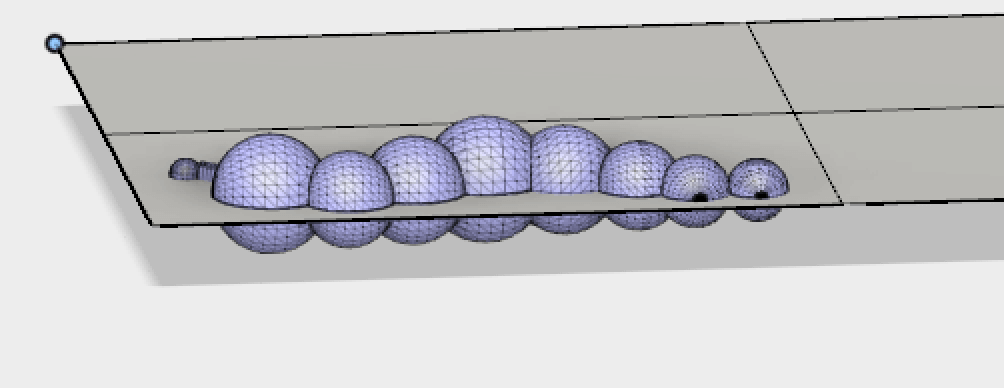
To design the model, I tried to learn a new 3D Modelling software and downloaded Rhino. Rhino wasn’t nearly as intuitive as Fusion 360, though it did have some nice features which allowed me to trace an image. I used this tutorial to help myself through the process of learning Rhino. After some help with a friend and some struggling, I was able to make a model that looked good.
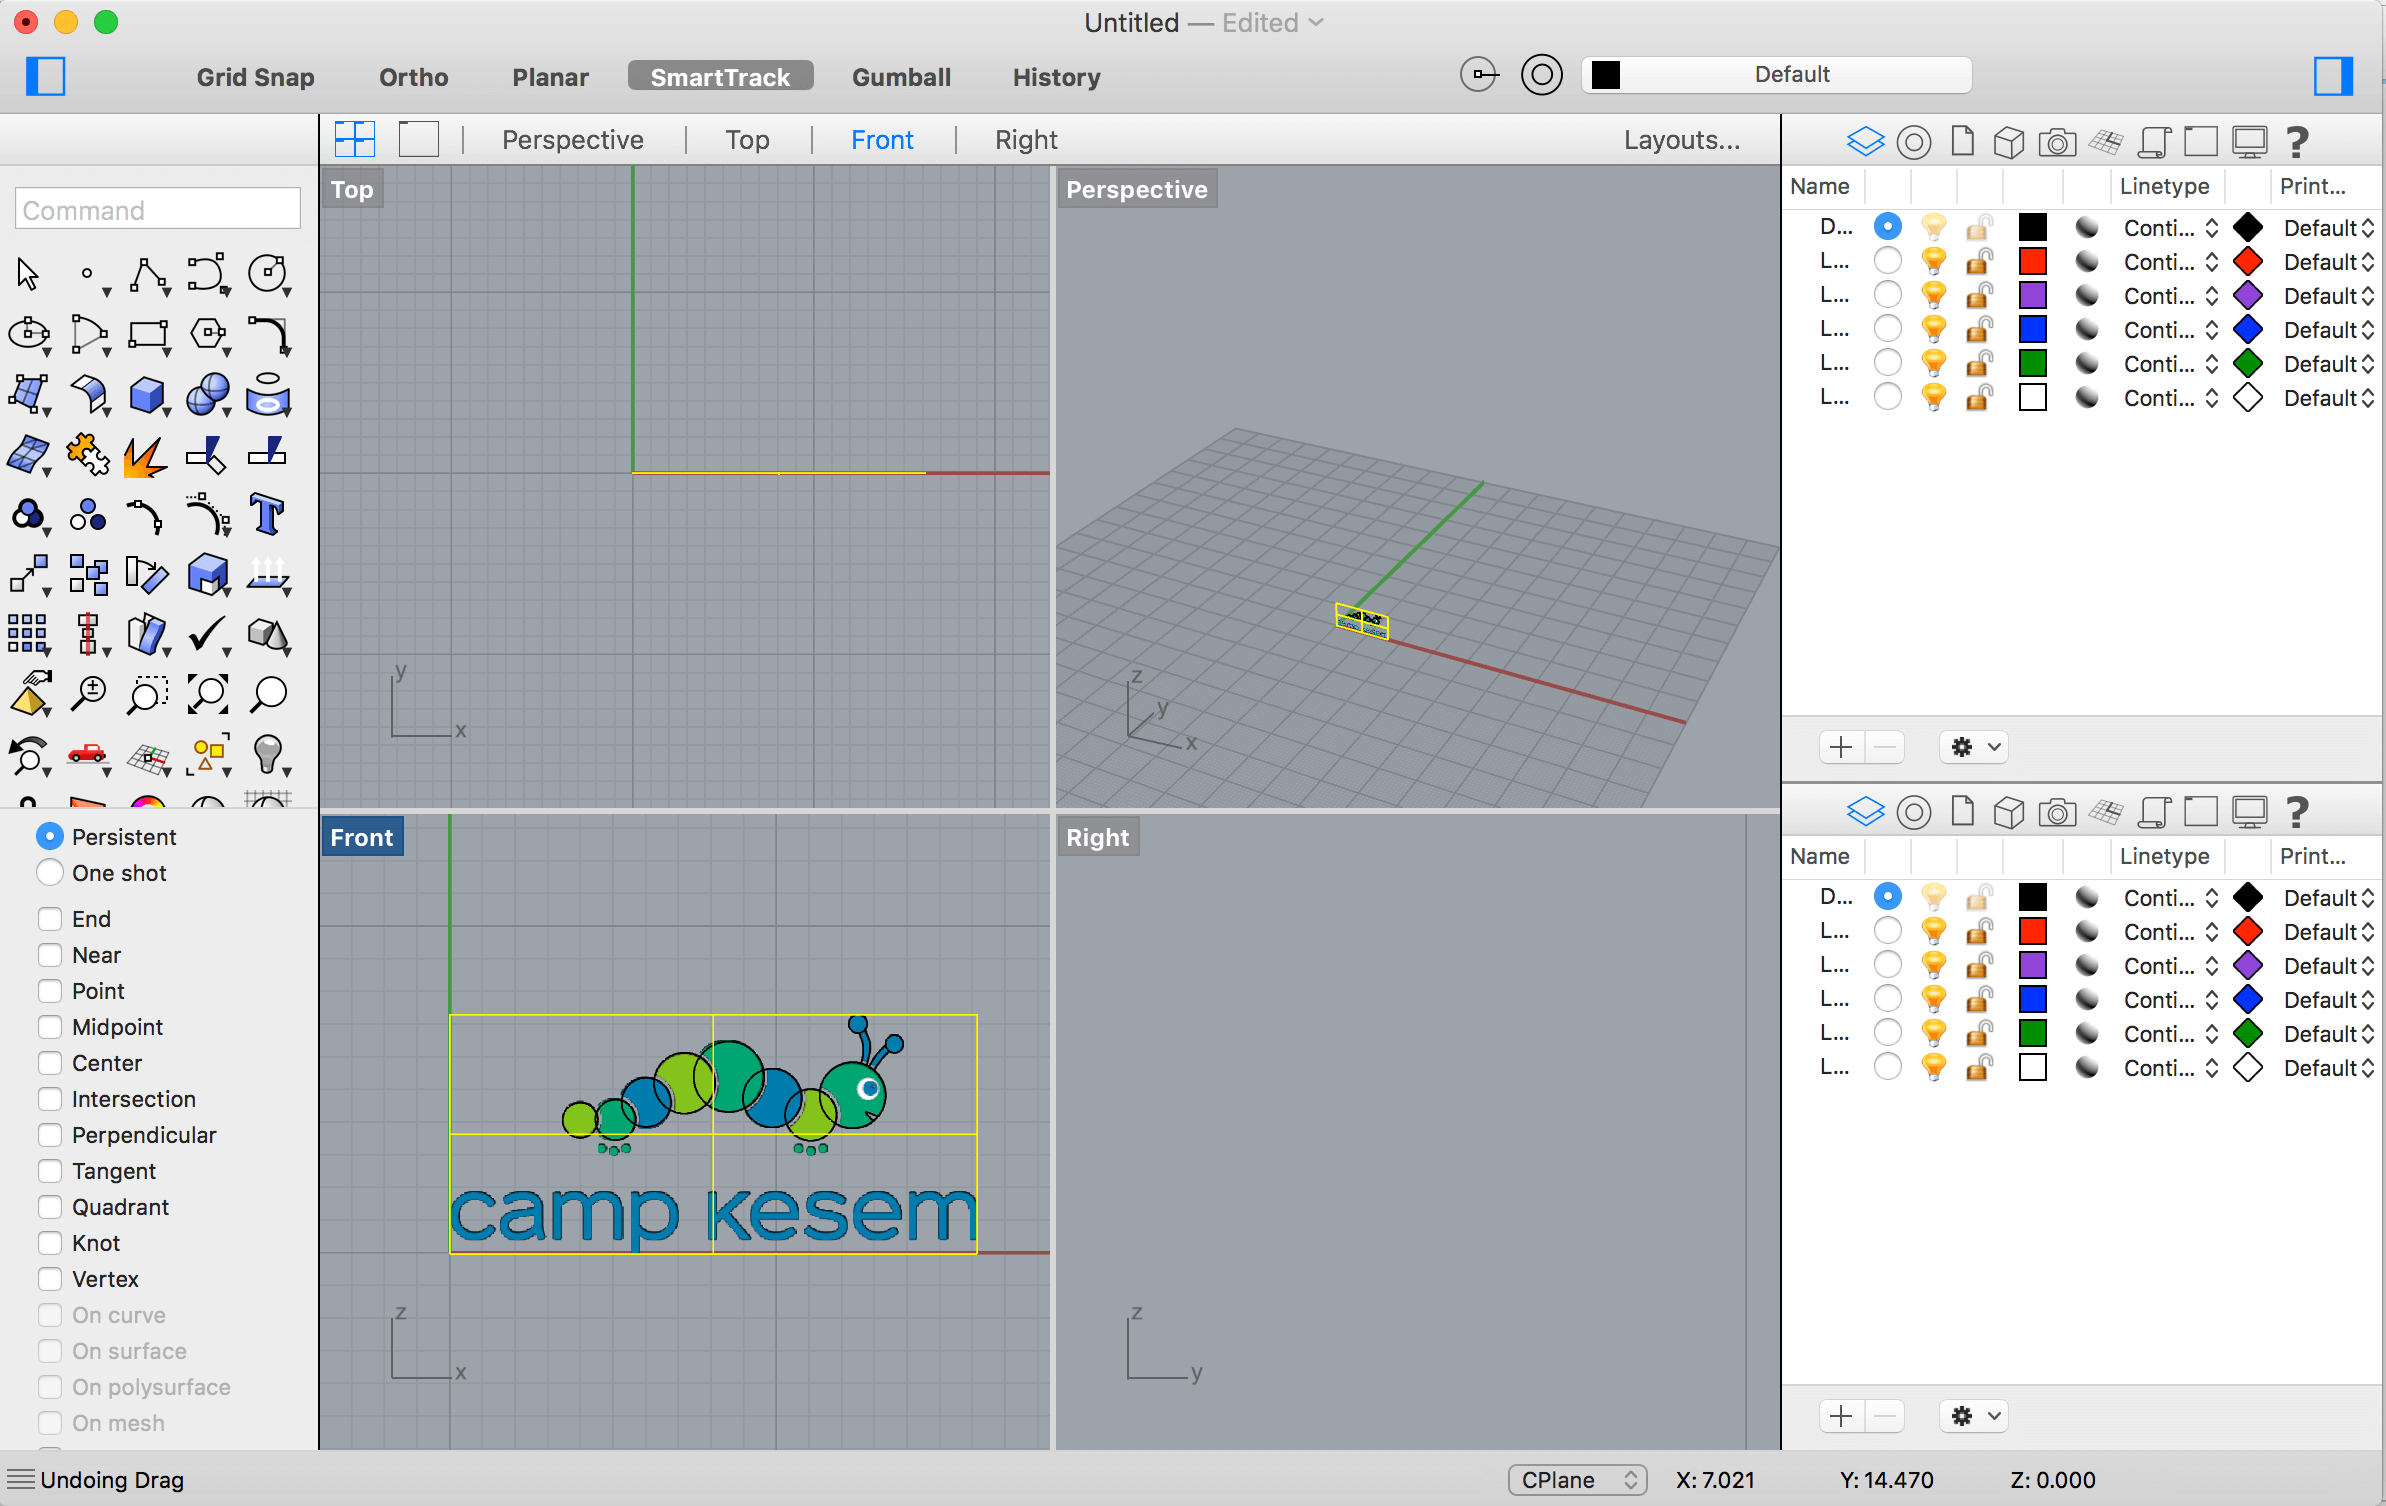
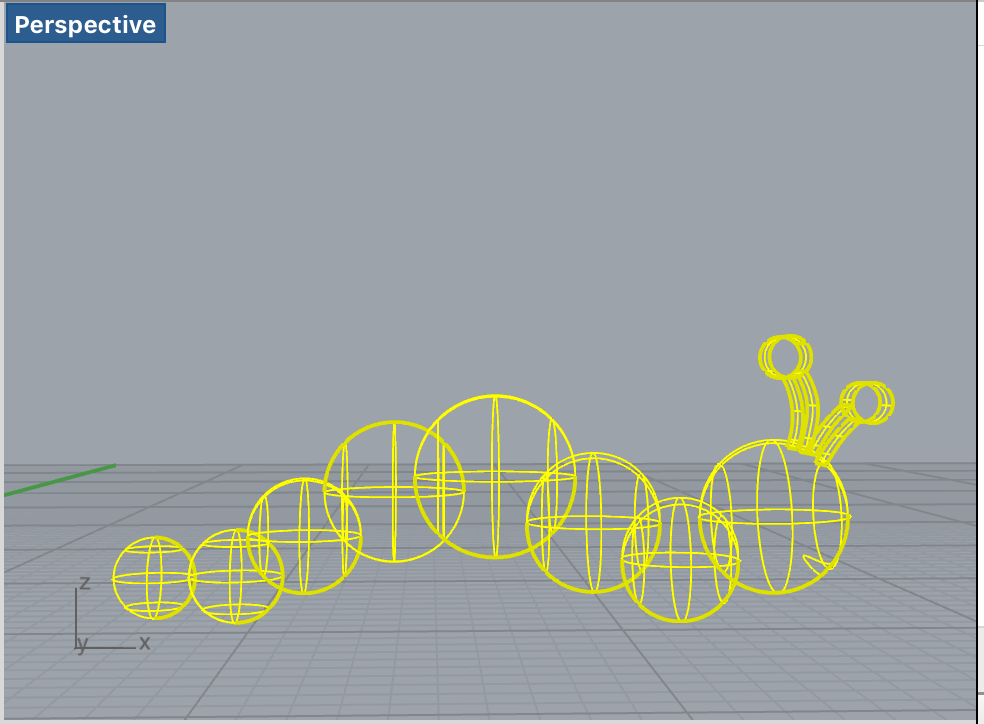
Some notes about Rhino, once you create curves, there are a few ways to make 3d models from the curves. You can either revolve them, which will then create a 3d model. However, if you want to extrude and hand draw lines together, you may need to join any curves using the “Join” command to close up any open curves. After that, one can extrude that curve to create the 3d design. Next, you run the “CreateSolid” command that will create everything into solids and then we can run a “BooleanUnion” to combine them altogether. Once I had done that, I was pretty happy with the the design for now.
After making the design, I wanted to cut it in half along the center plane so that I could mill it out of the foam and have my mold. This proved to be MUCH more difficult than it should have in Rhino, but it was really simple in Autodesk Maya using the Multi-Cut Tool (tutorial).
Here are some shots of the progress at this point:

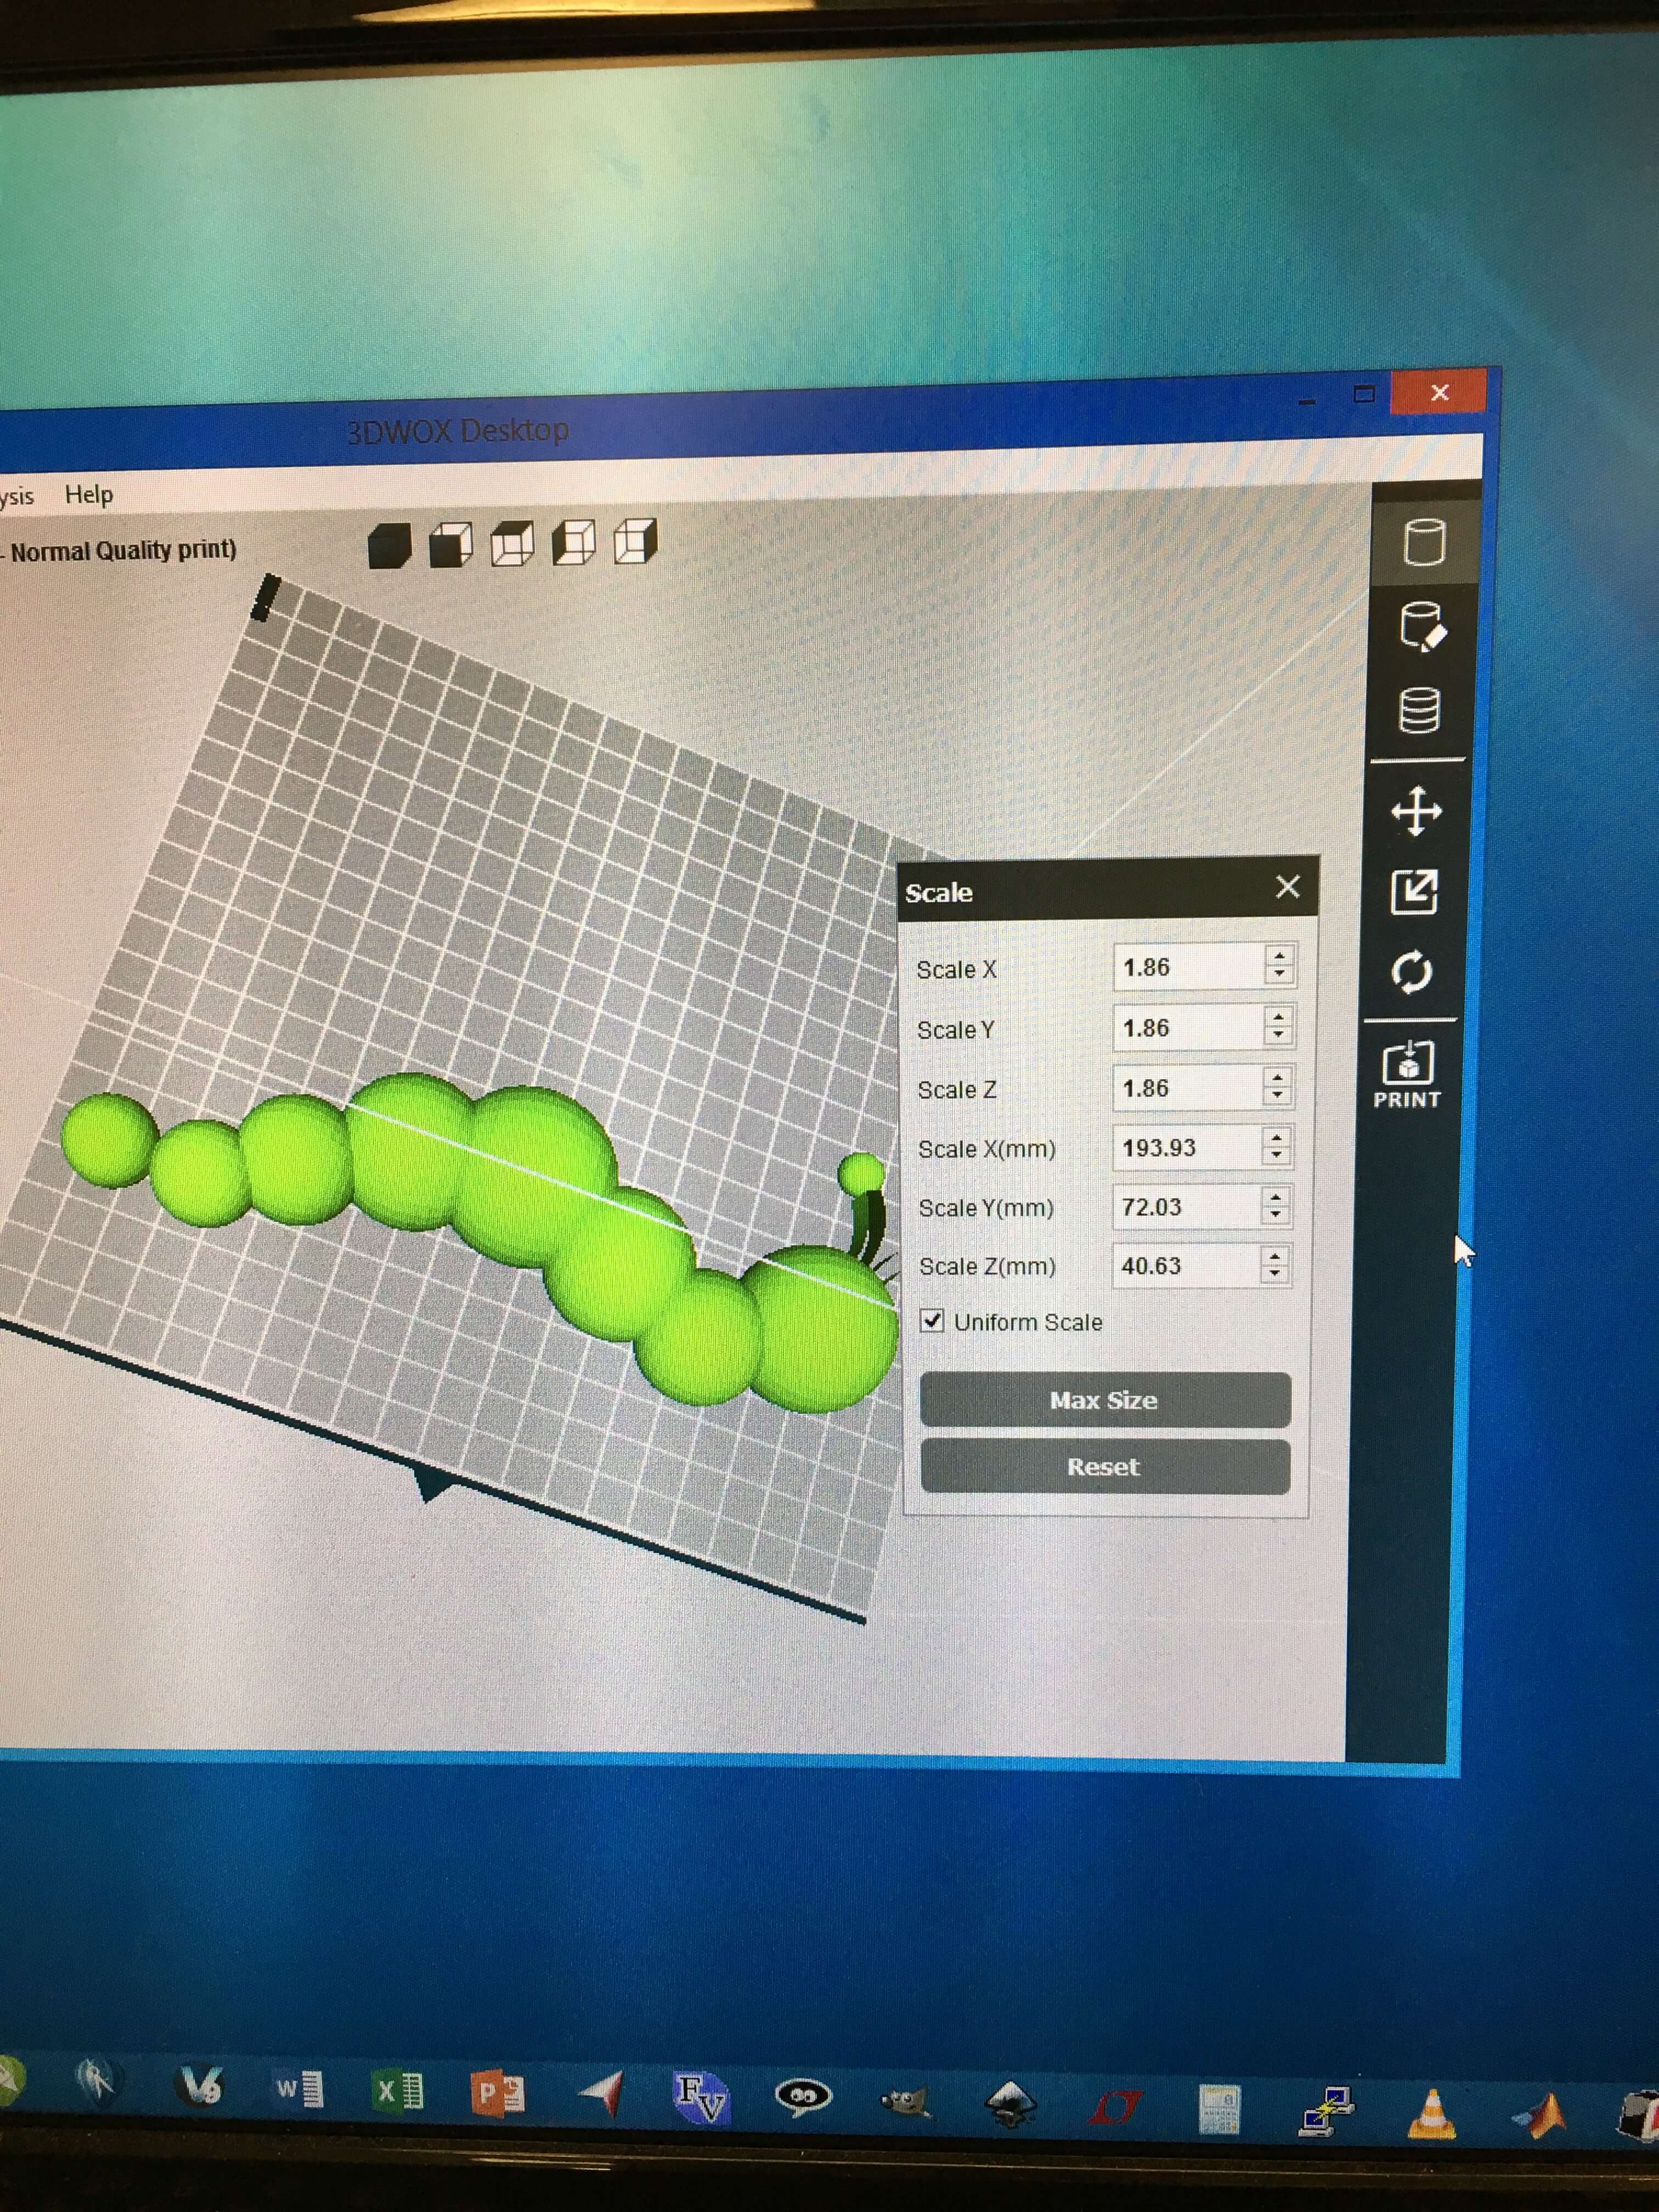
At this point, I was ready to cut my mold out of the foam. I went into the EECS section a bit late and so the ShopBot was already going to be used for the rest of the evening. I knew this was going to limit my size but I decided to go and 3d Print the mold so I could have something ready to work with. I tried 3D printing on two different machines, the Stratsys printer and the Sindoh 3D Wox.
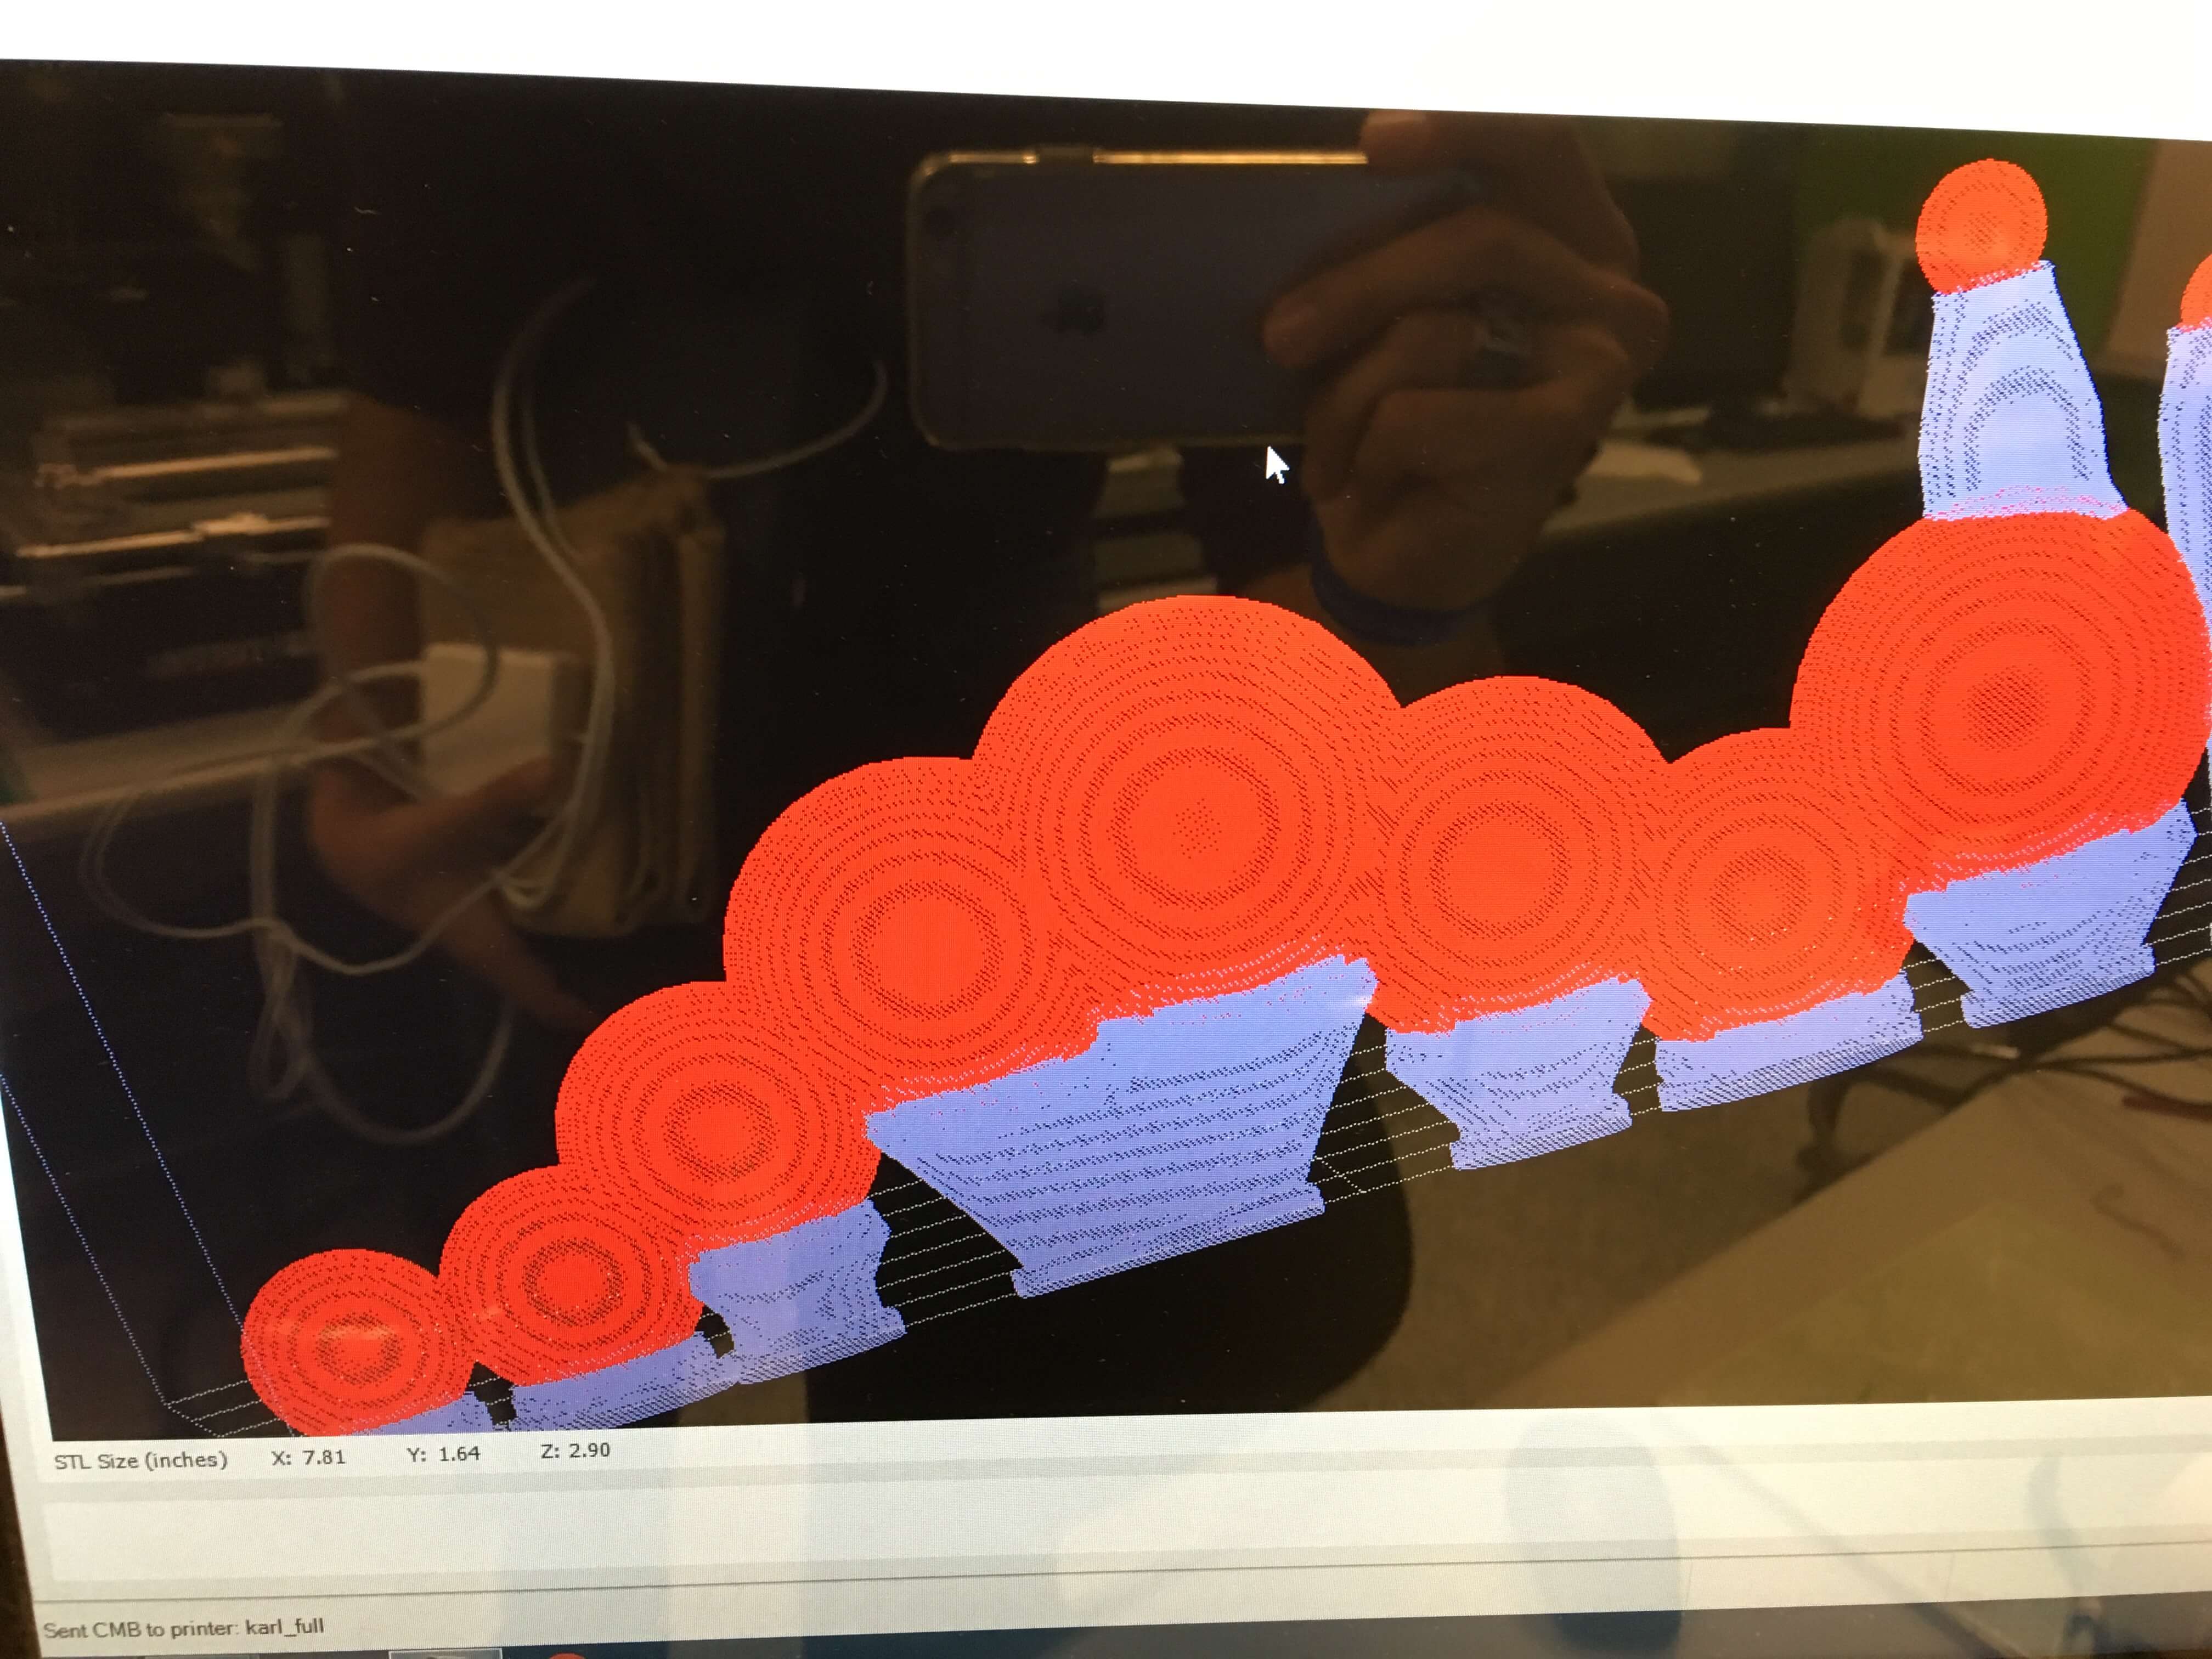
3D Printed Model
Here’s what the designs look like imported into the 3D Wox and the Stratsys printer software:
And then after the prints finished (a few hours), I had two separate models.
Stratasys 3d model:
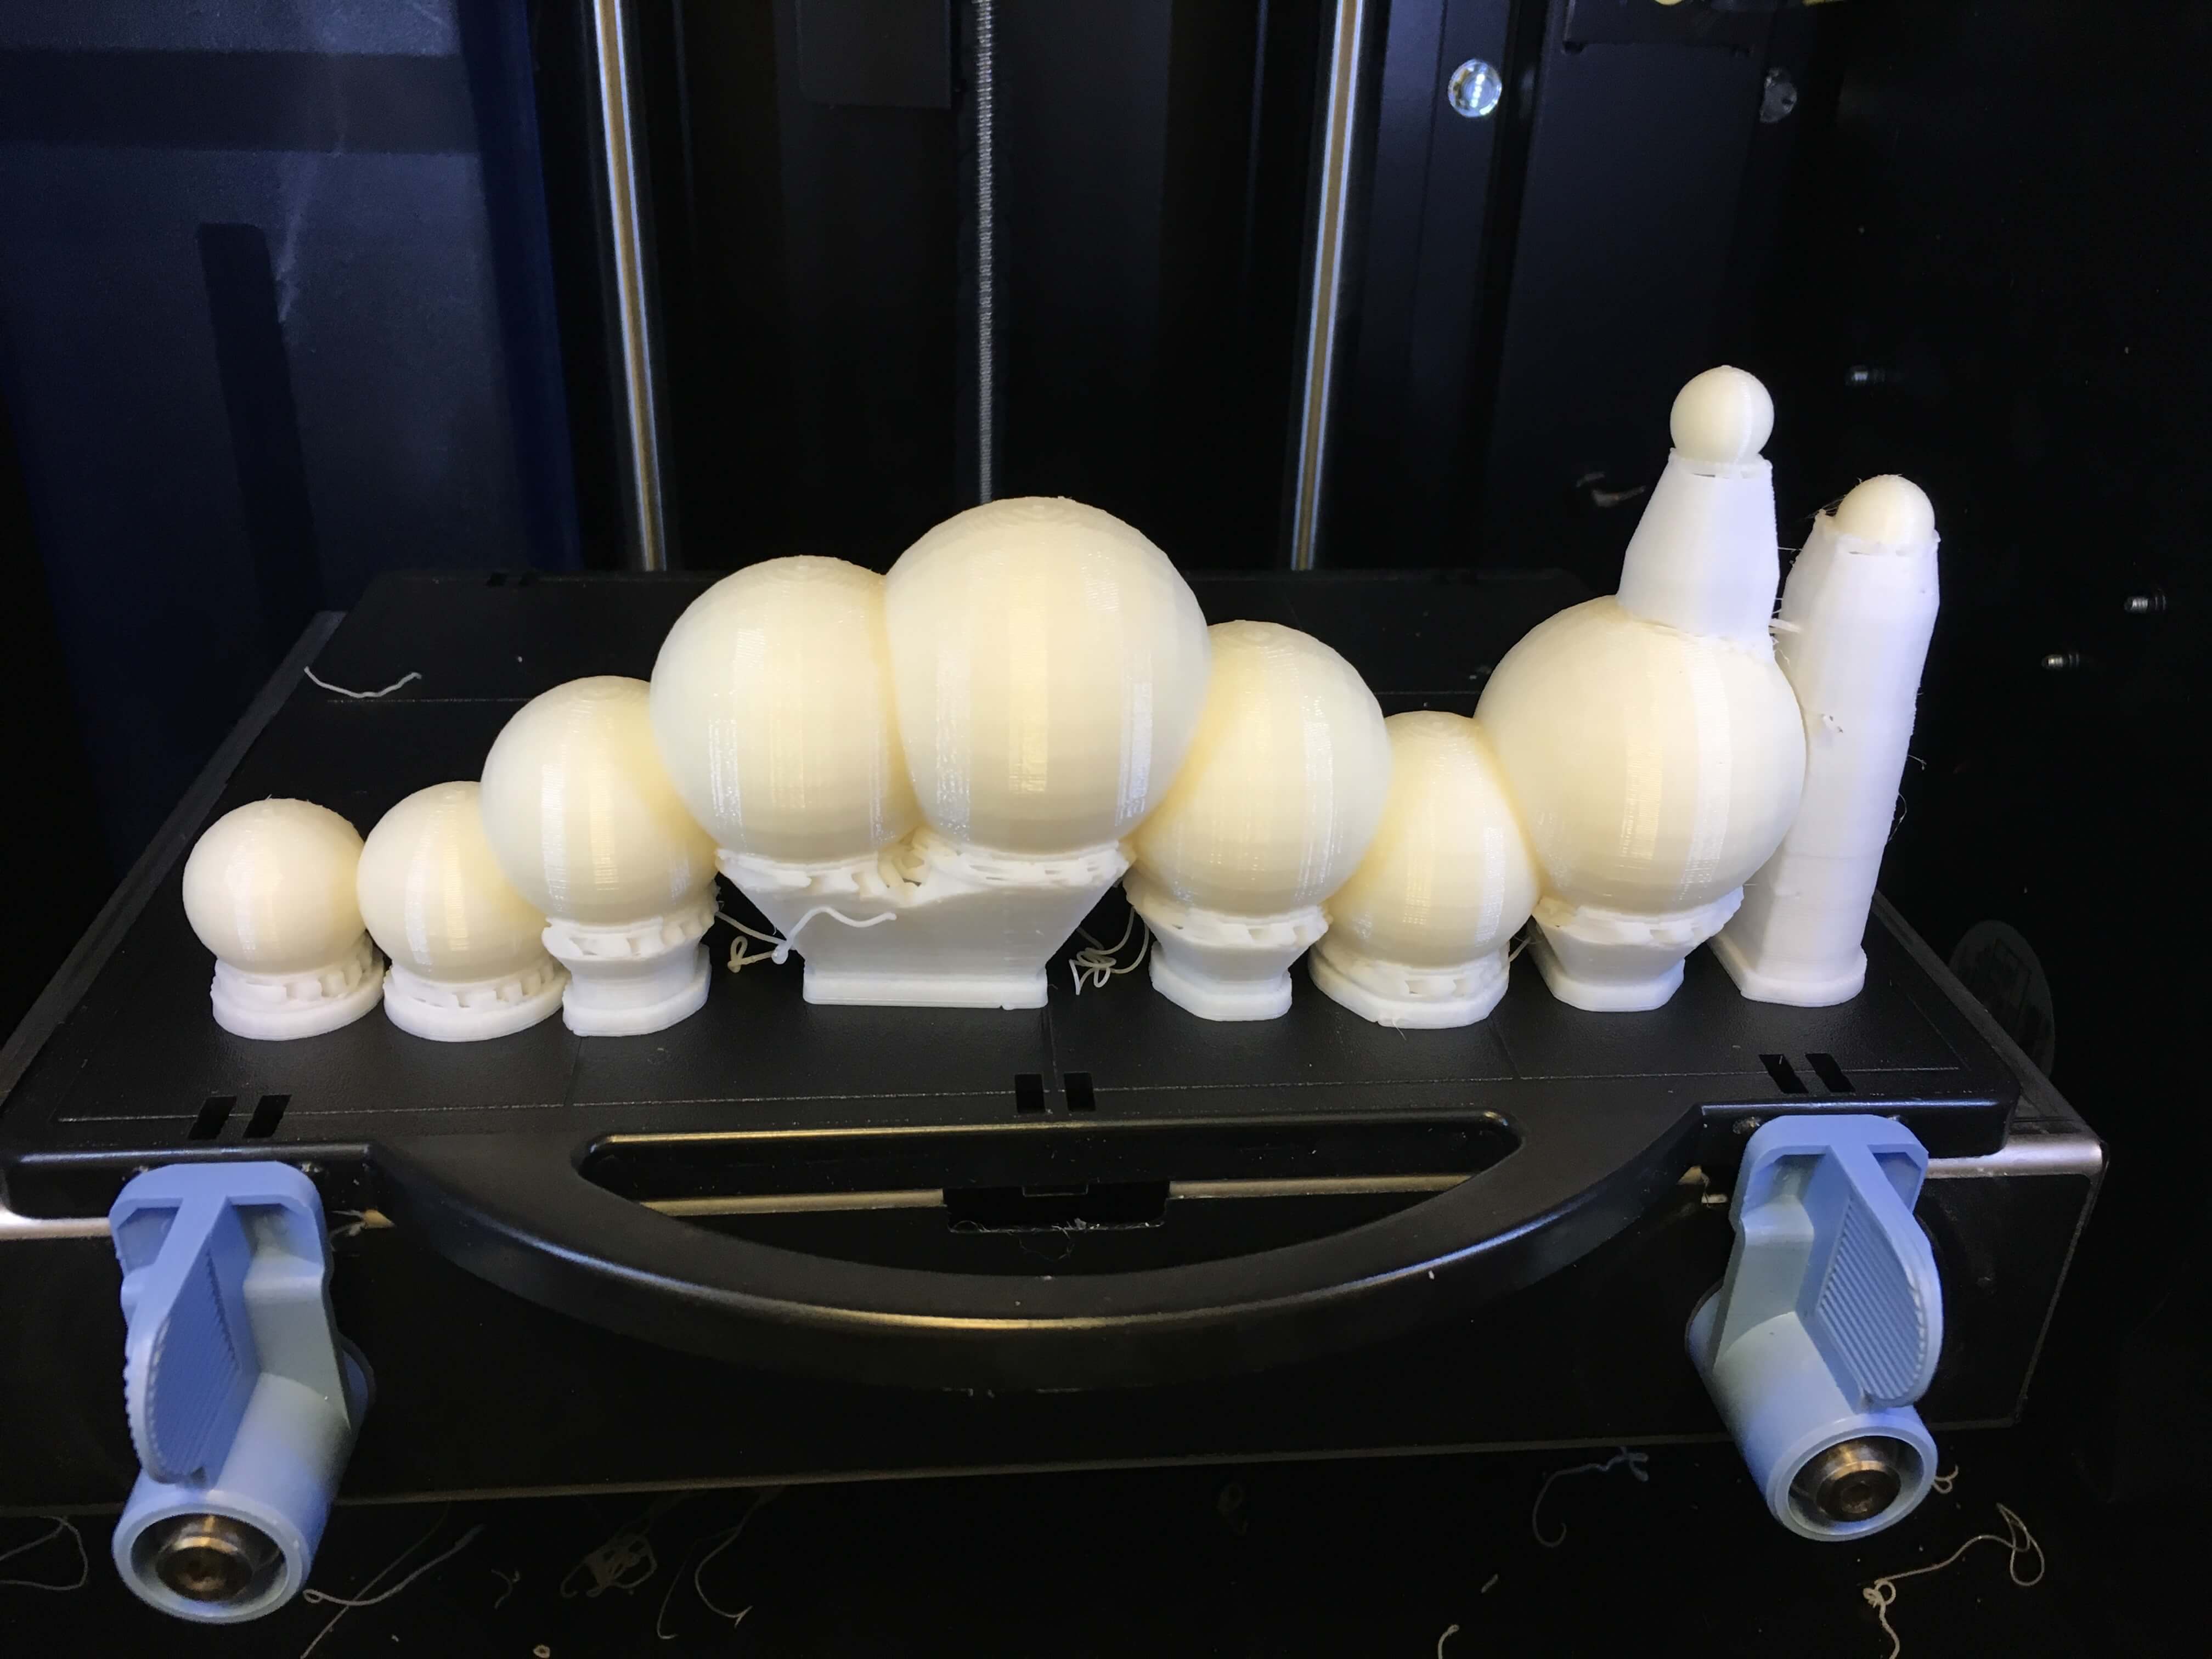
3D Wox output:
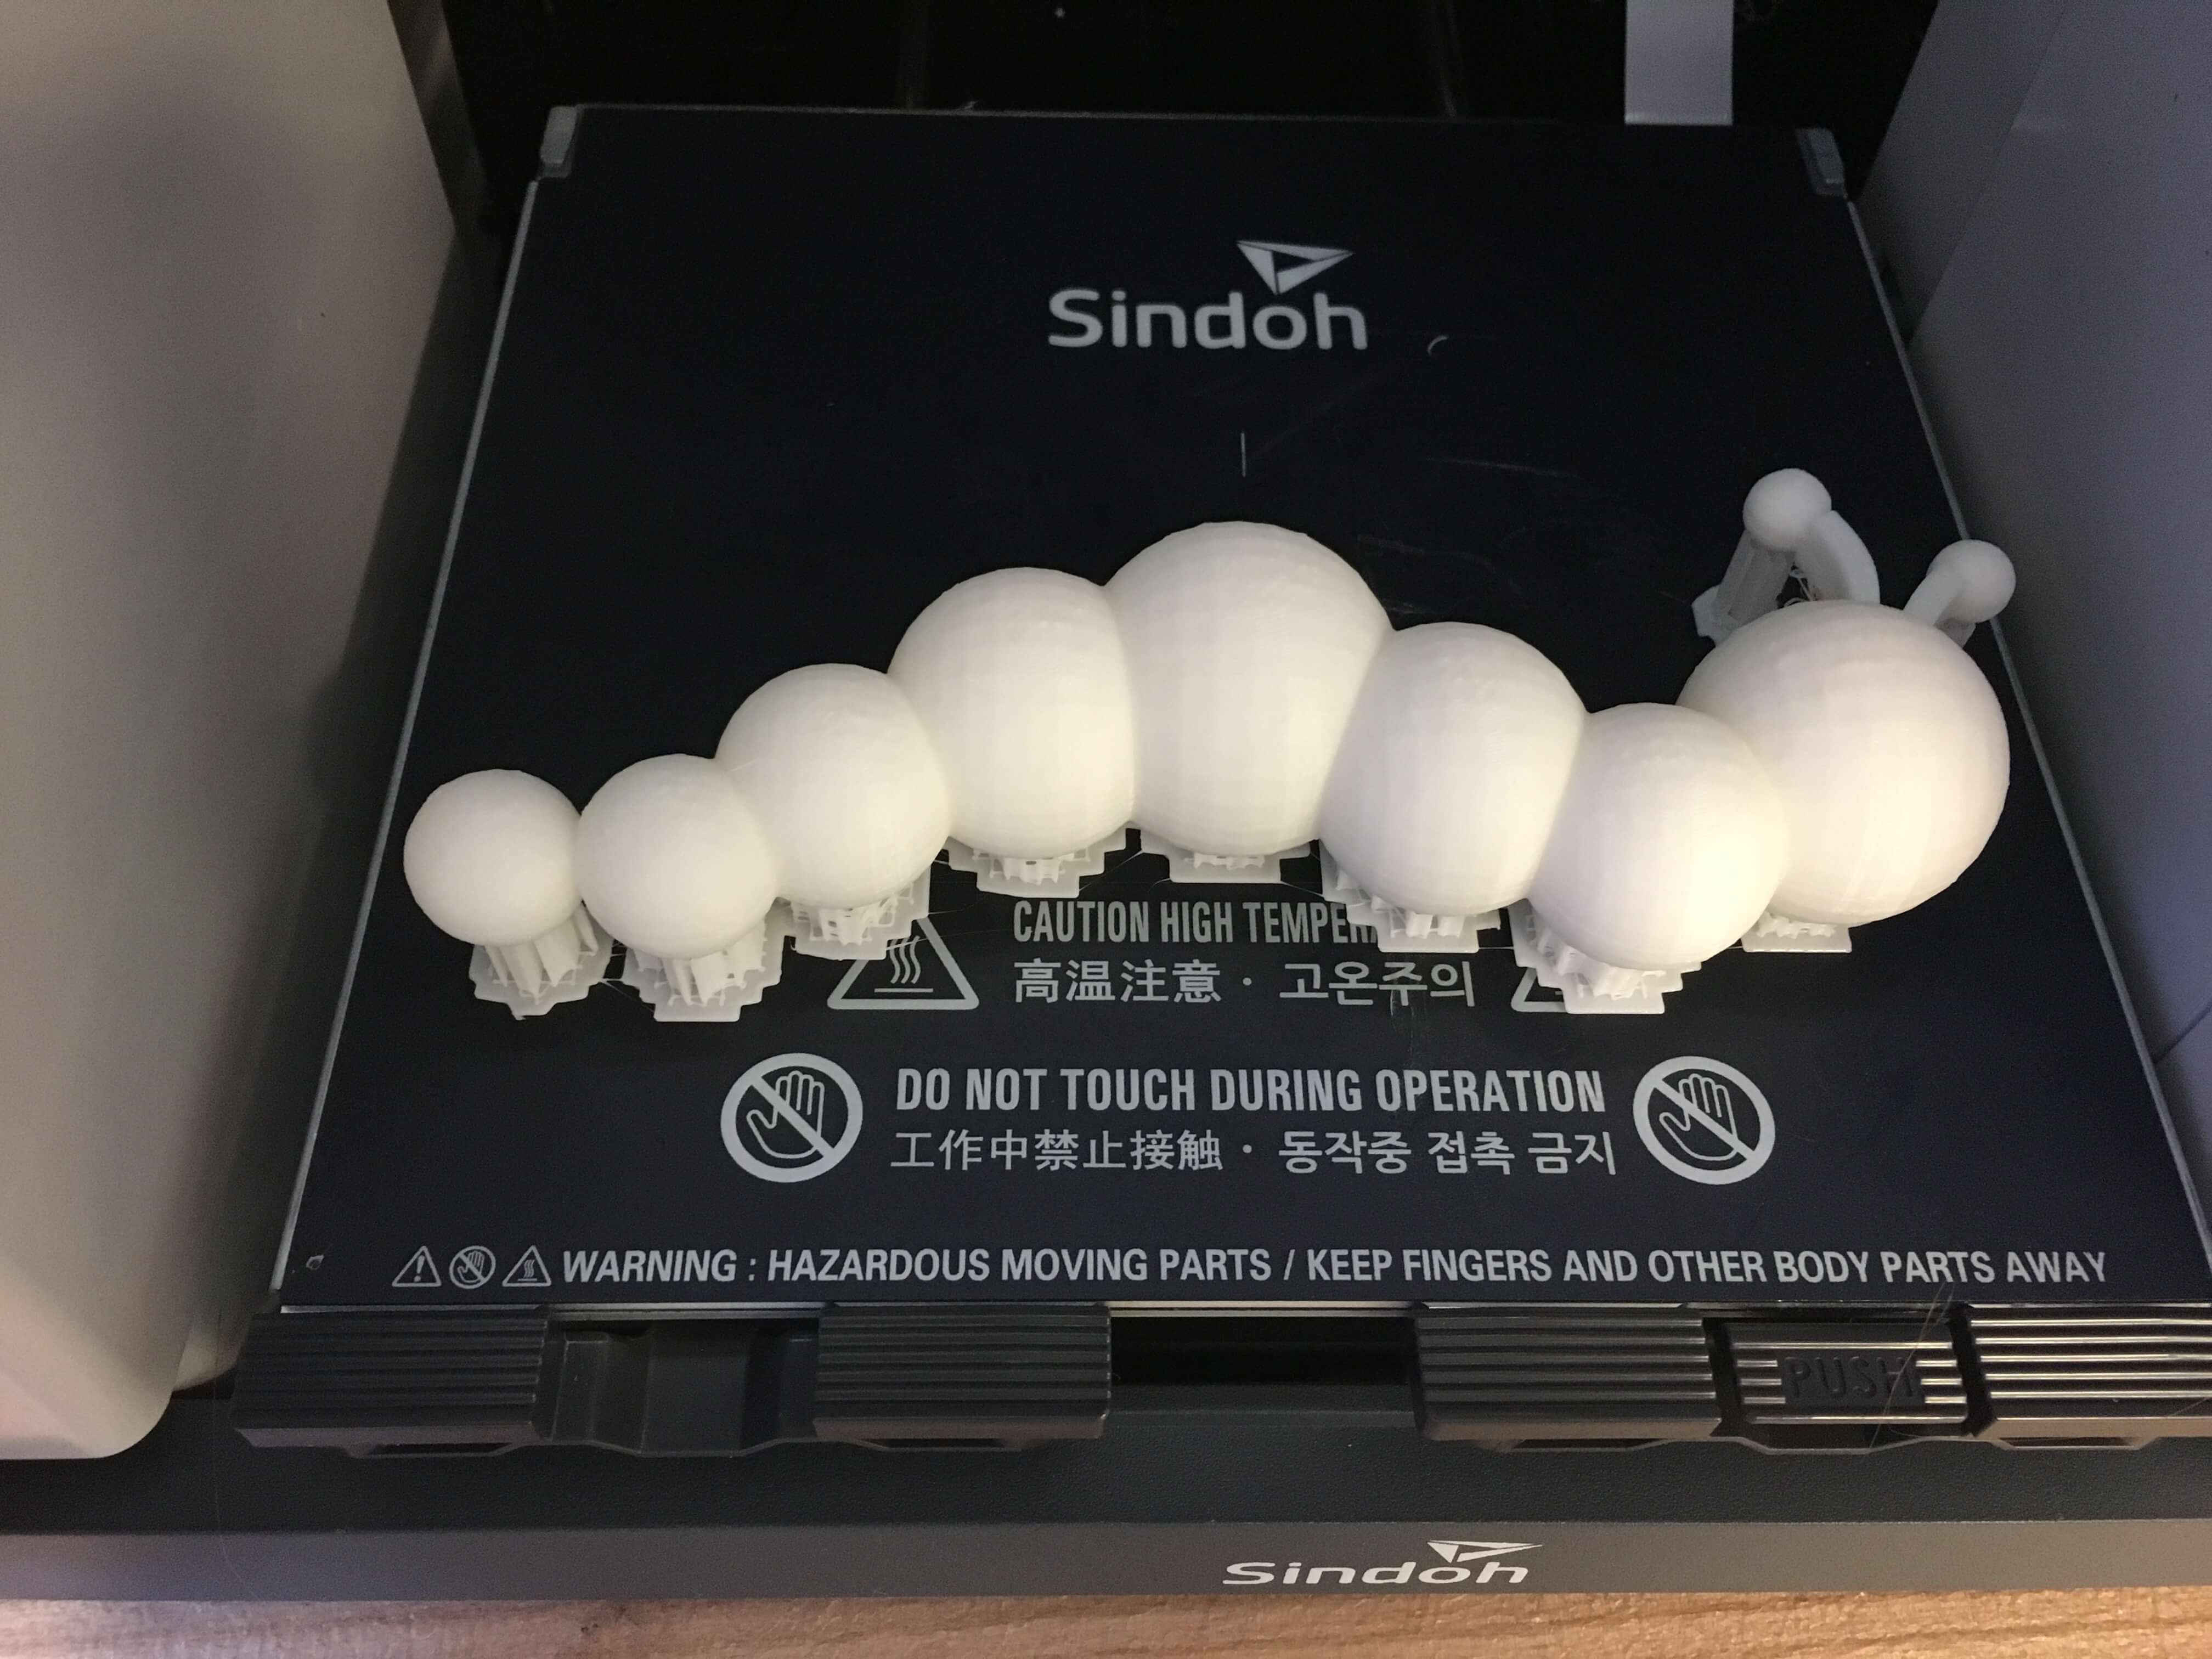
Here are the models side by side:
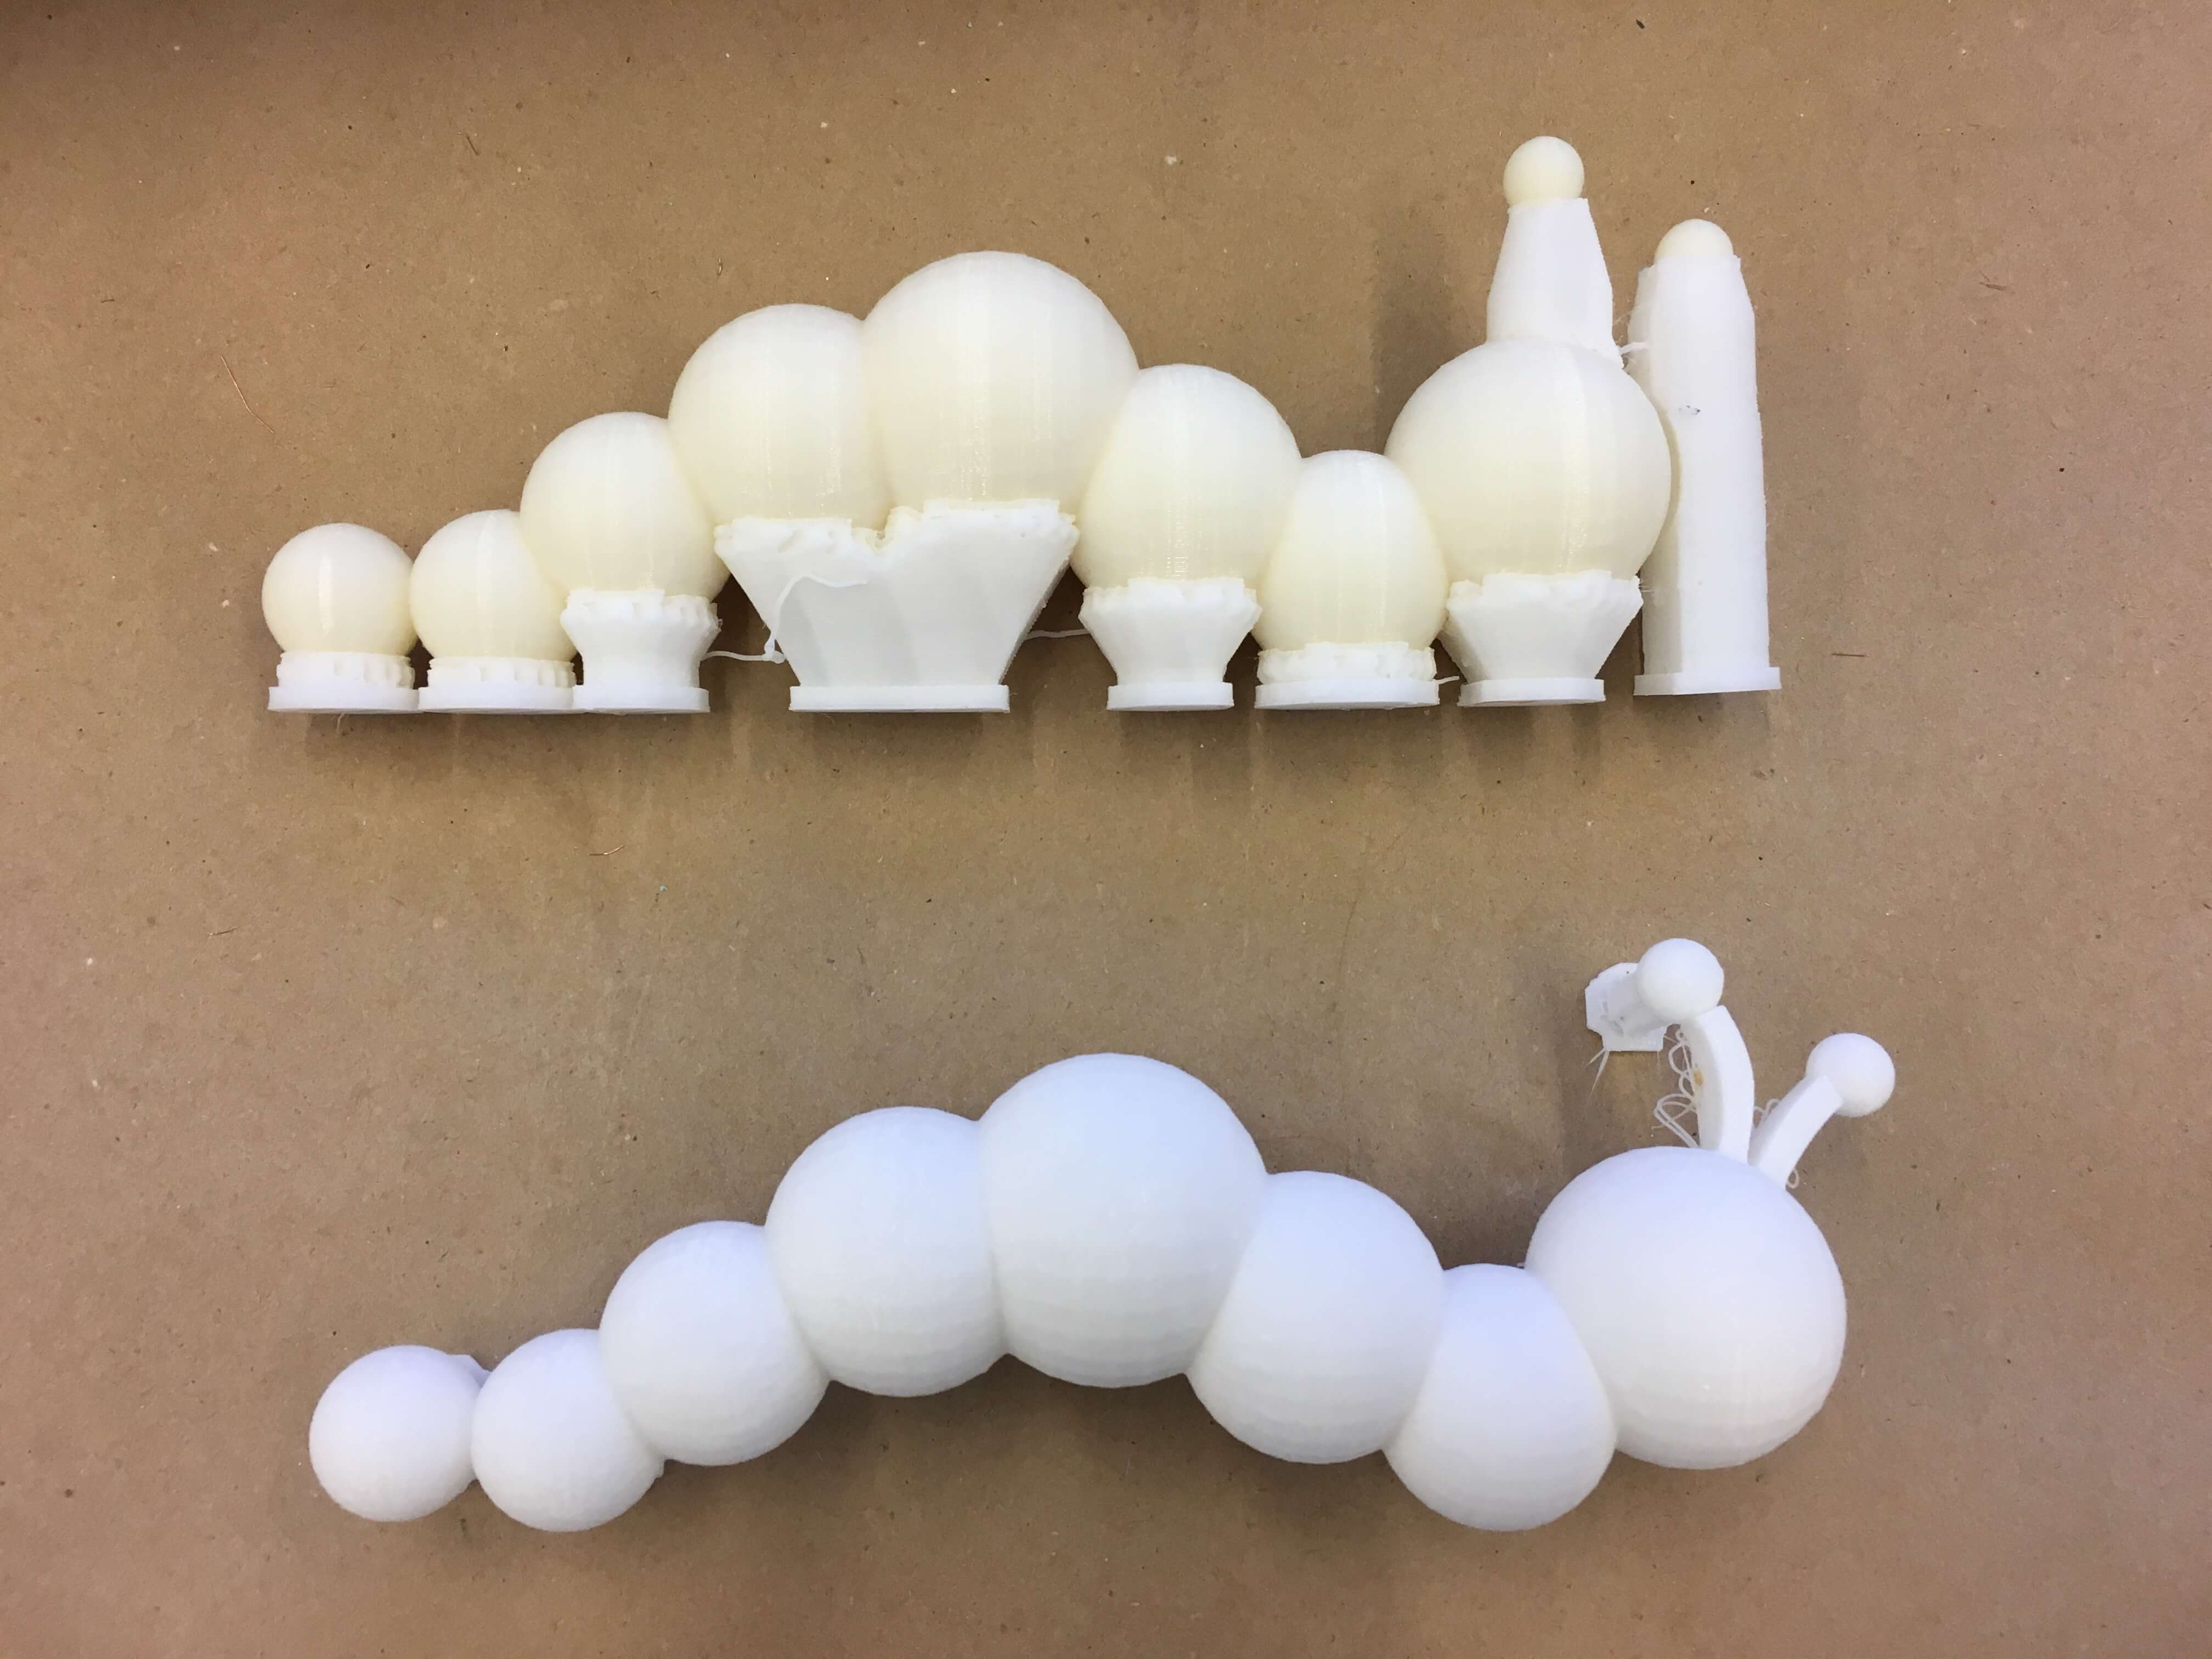
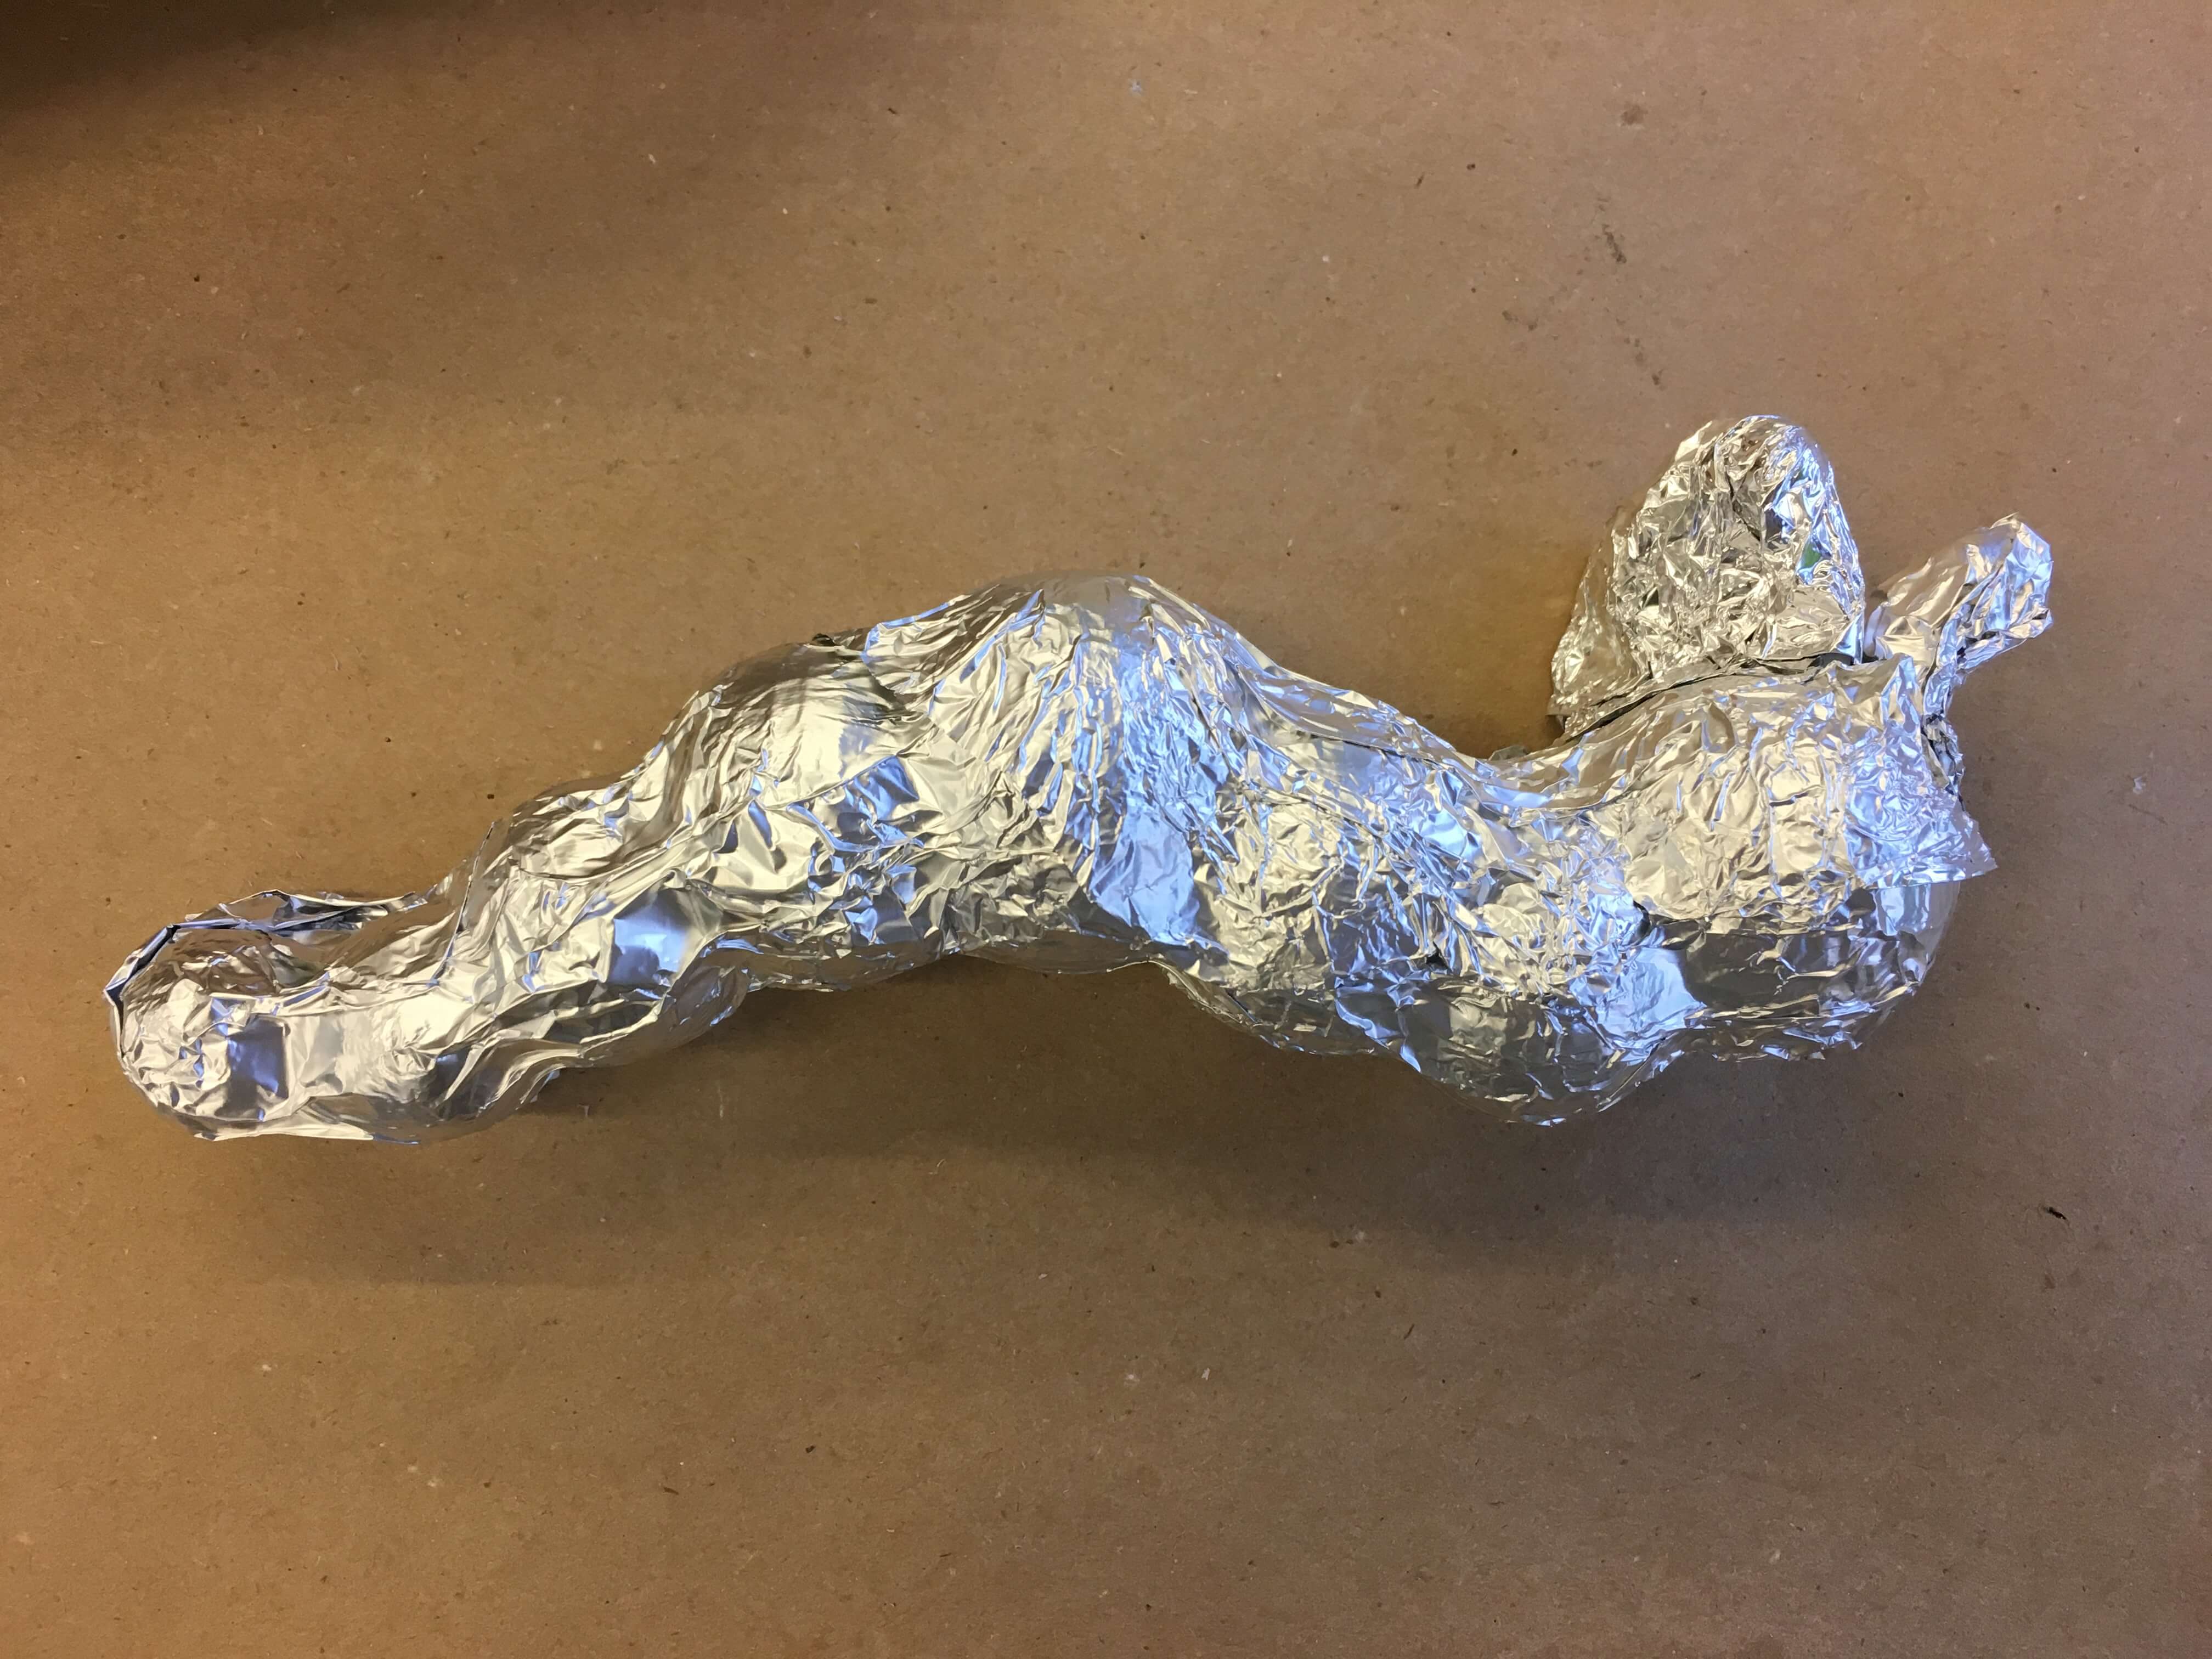
As you can see, the 3D Wox seemed to create the model that looked most similar to the design, while the Stratasys had a smoother output, as expected. I decided to use the 3D Wox model and wrapped it in foil - preparing it for the next stage of laying down the composite!
Laying the composite
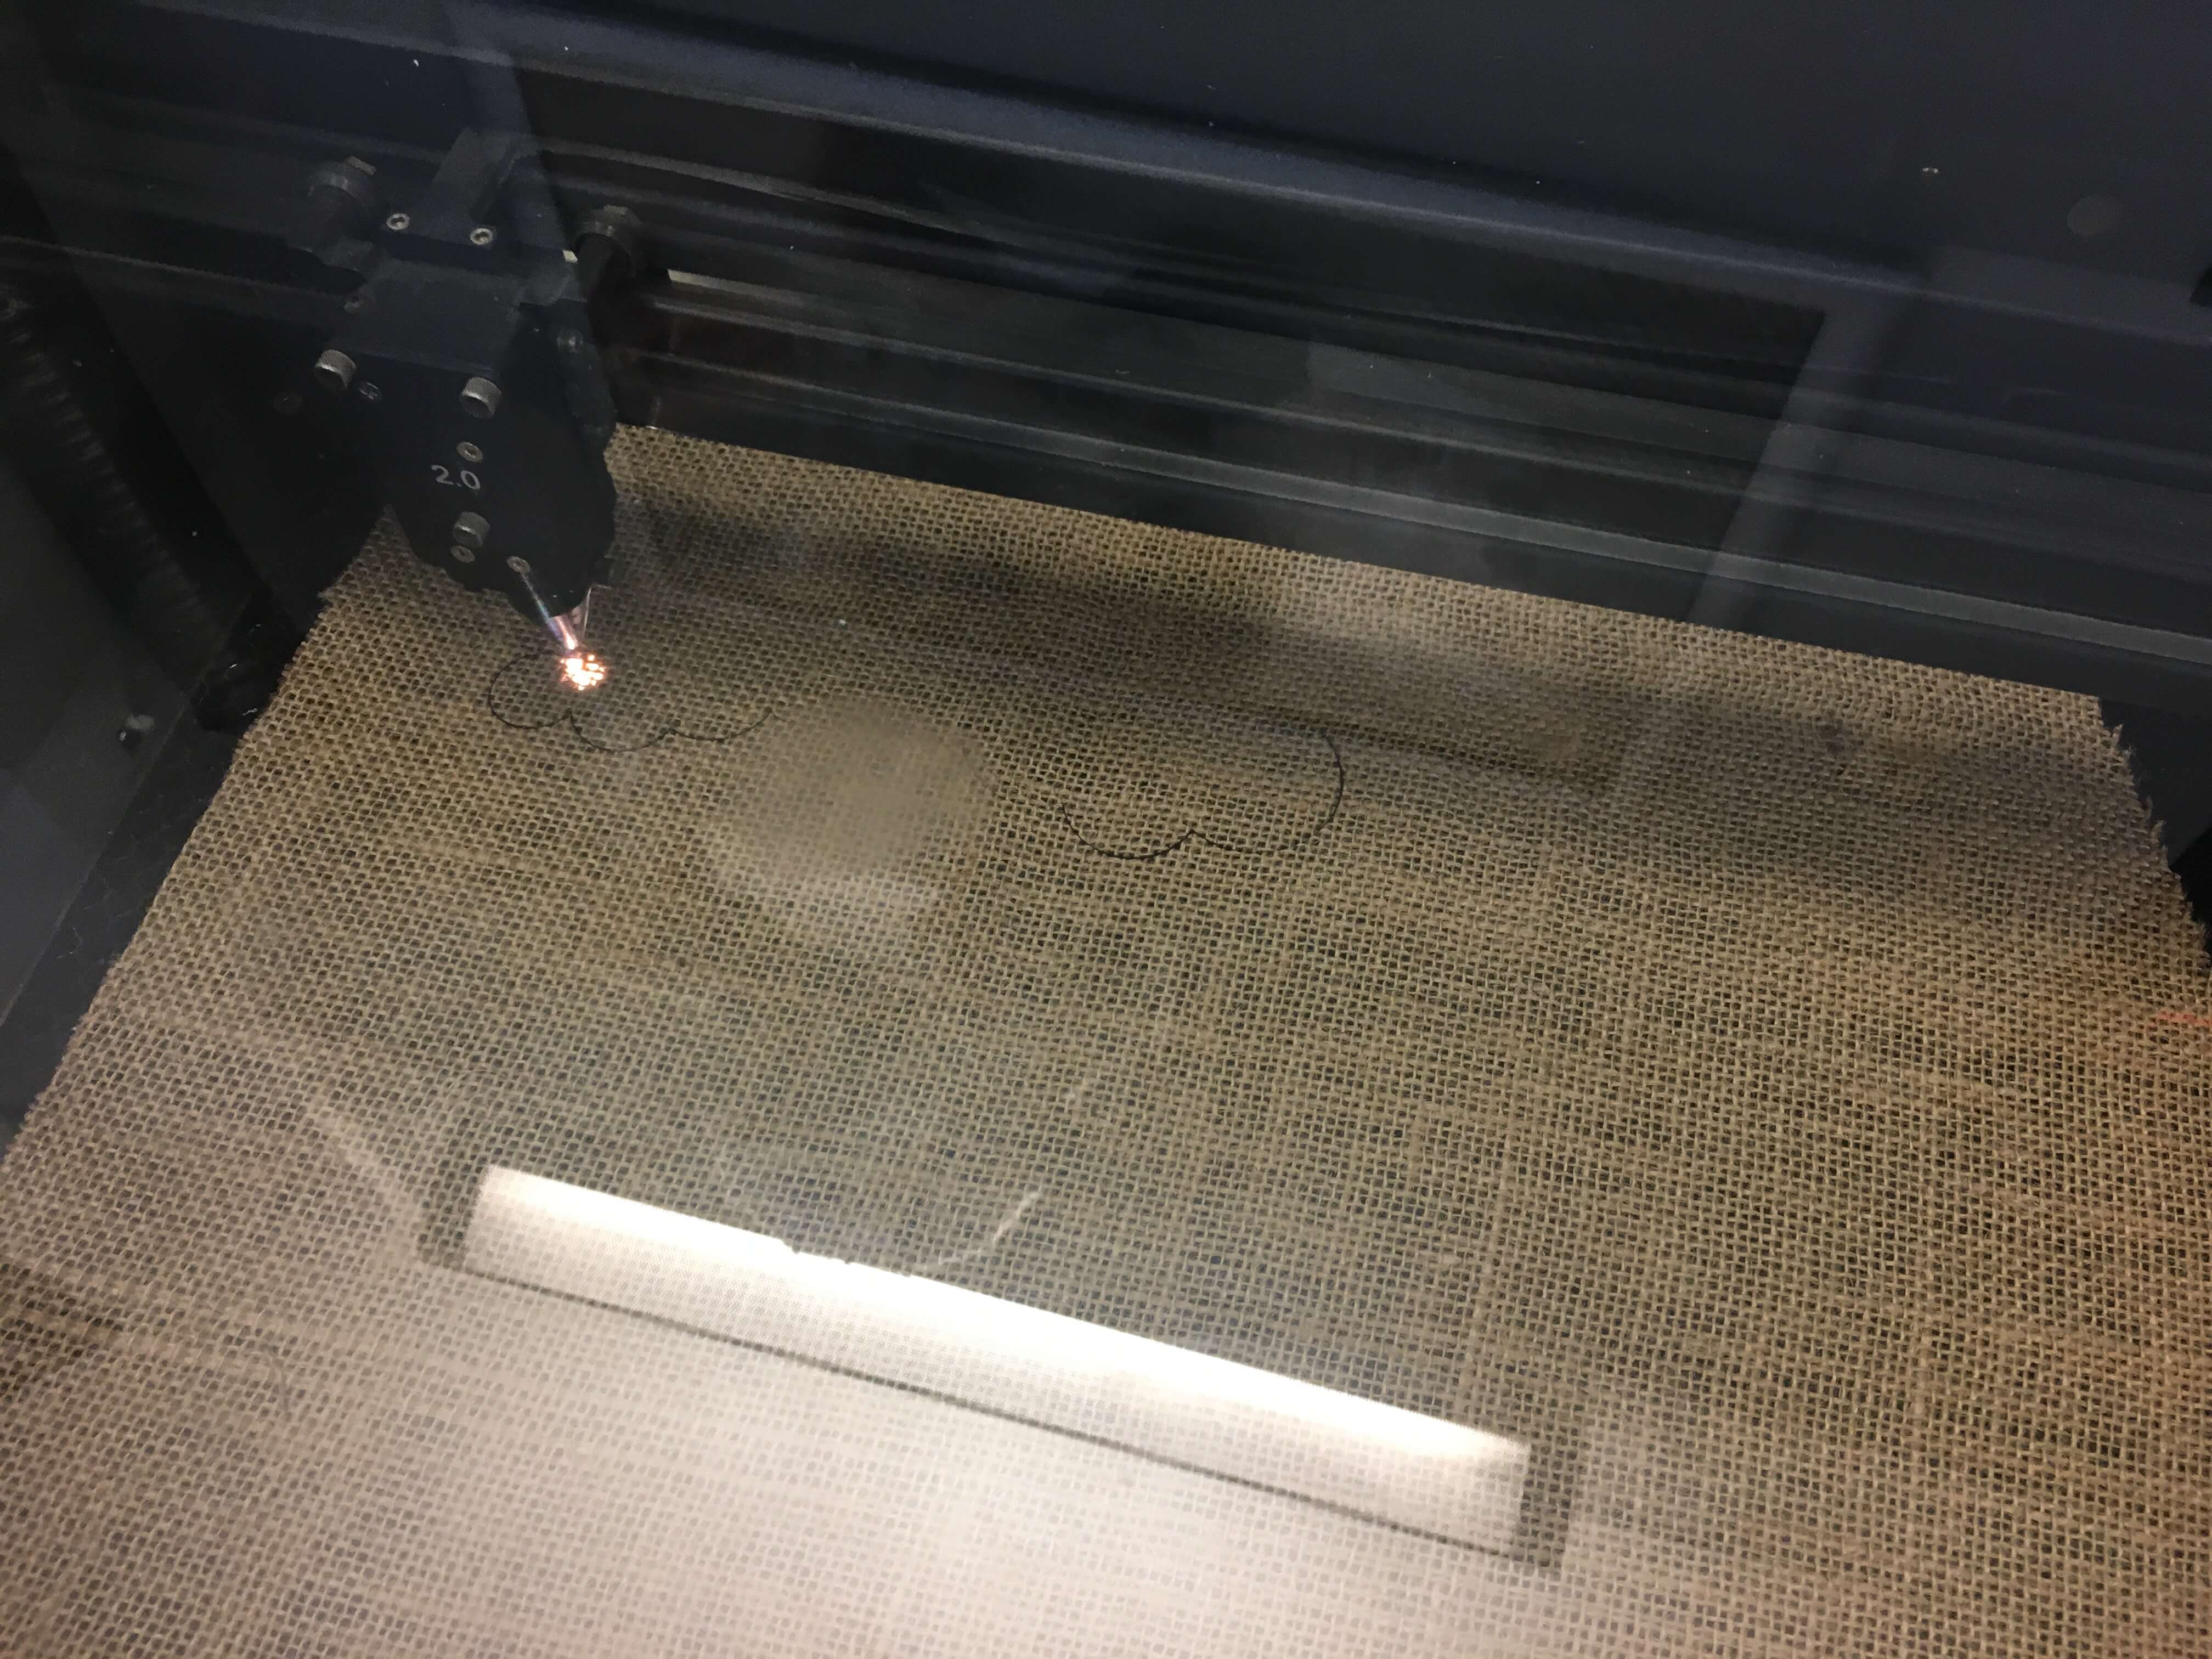
To layout the composite, we had to start by designing the flat burlap sack model and then laser cut it. I tried to unwrap the model I had made in Rhino, however, I ran into a lot of issues with this. If I had realized this earlier, I might’ve chosen something a lot easier to make. Rhino needs the surface to not be as curved as my spheres were, as it’s impossible to unwrap the sphere into a texture that will cover the complete sphere. Once I realized this, it was very late and so I decided to just go ahead and cut out the cross section of my model and use rubber bands to hold it down.
I created the outline and then imported that into CorelDraw to get ready for the laser cutter. Below is the laser cutter in progress.
I decided I wanted to have 3 layers so I cut out 3 pieces of the burlap:

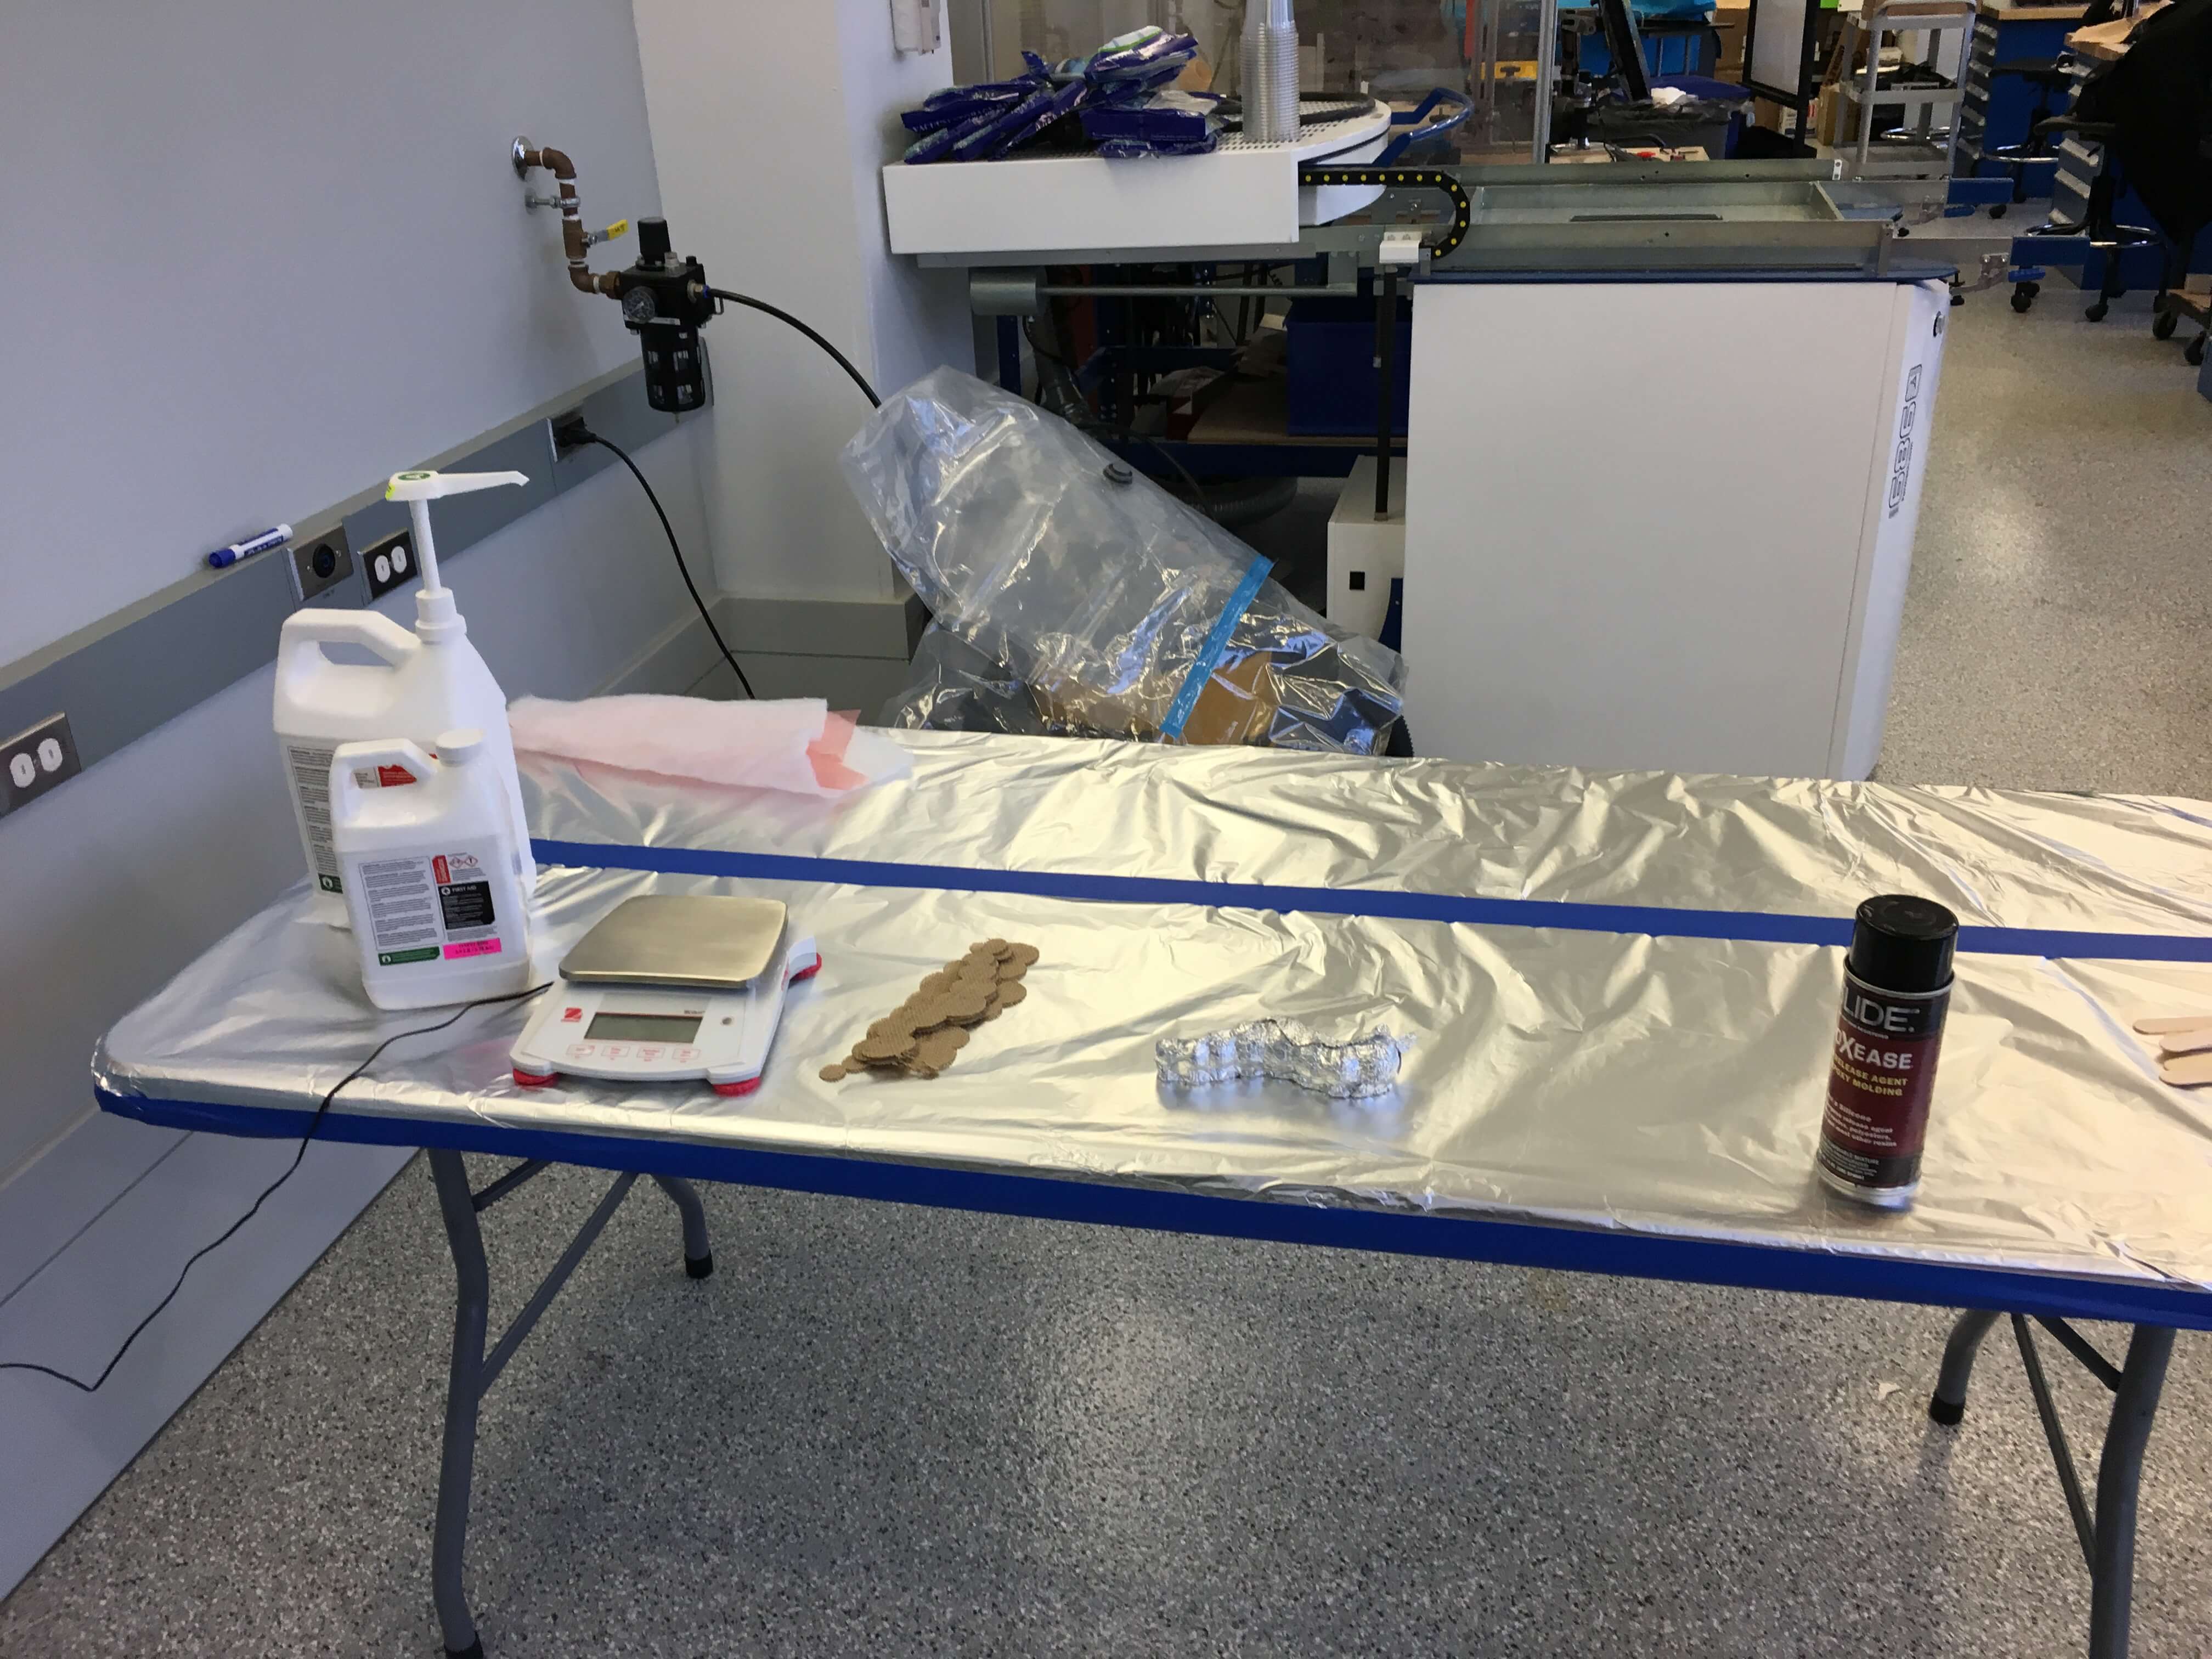
Next, we needed to prepare our work area with all of our supplies. As I noted above, the Epoxy resin can easily get everywhere and thus it’s beneficial to have a bunch of supplies already on your work table. As you’ll see below, we pulled all the supplies and set them out on various parts of the table:
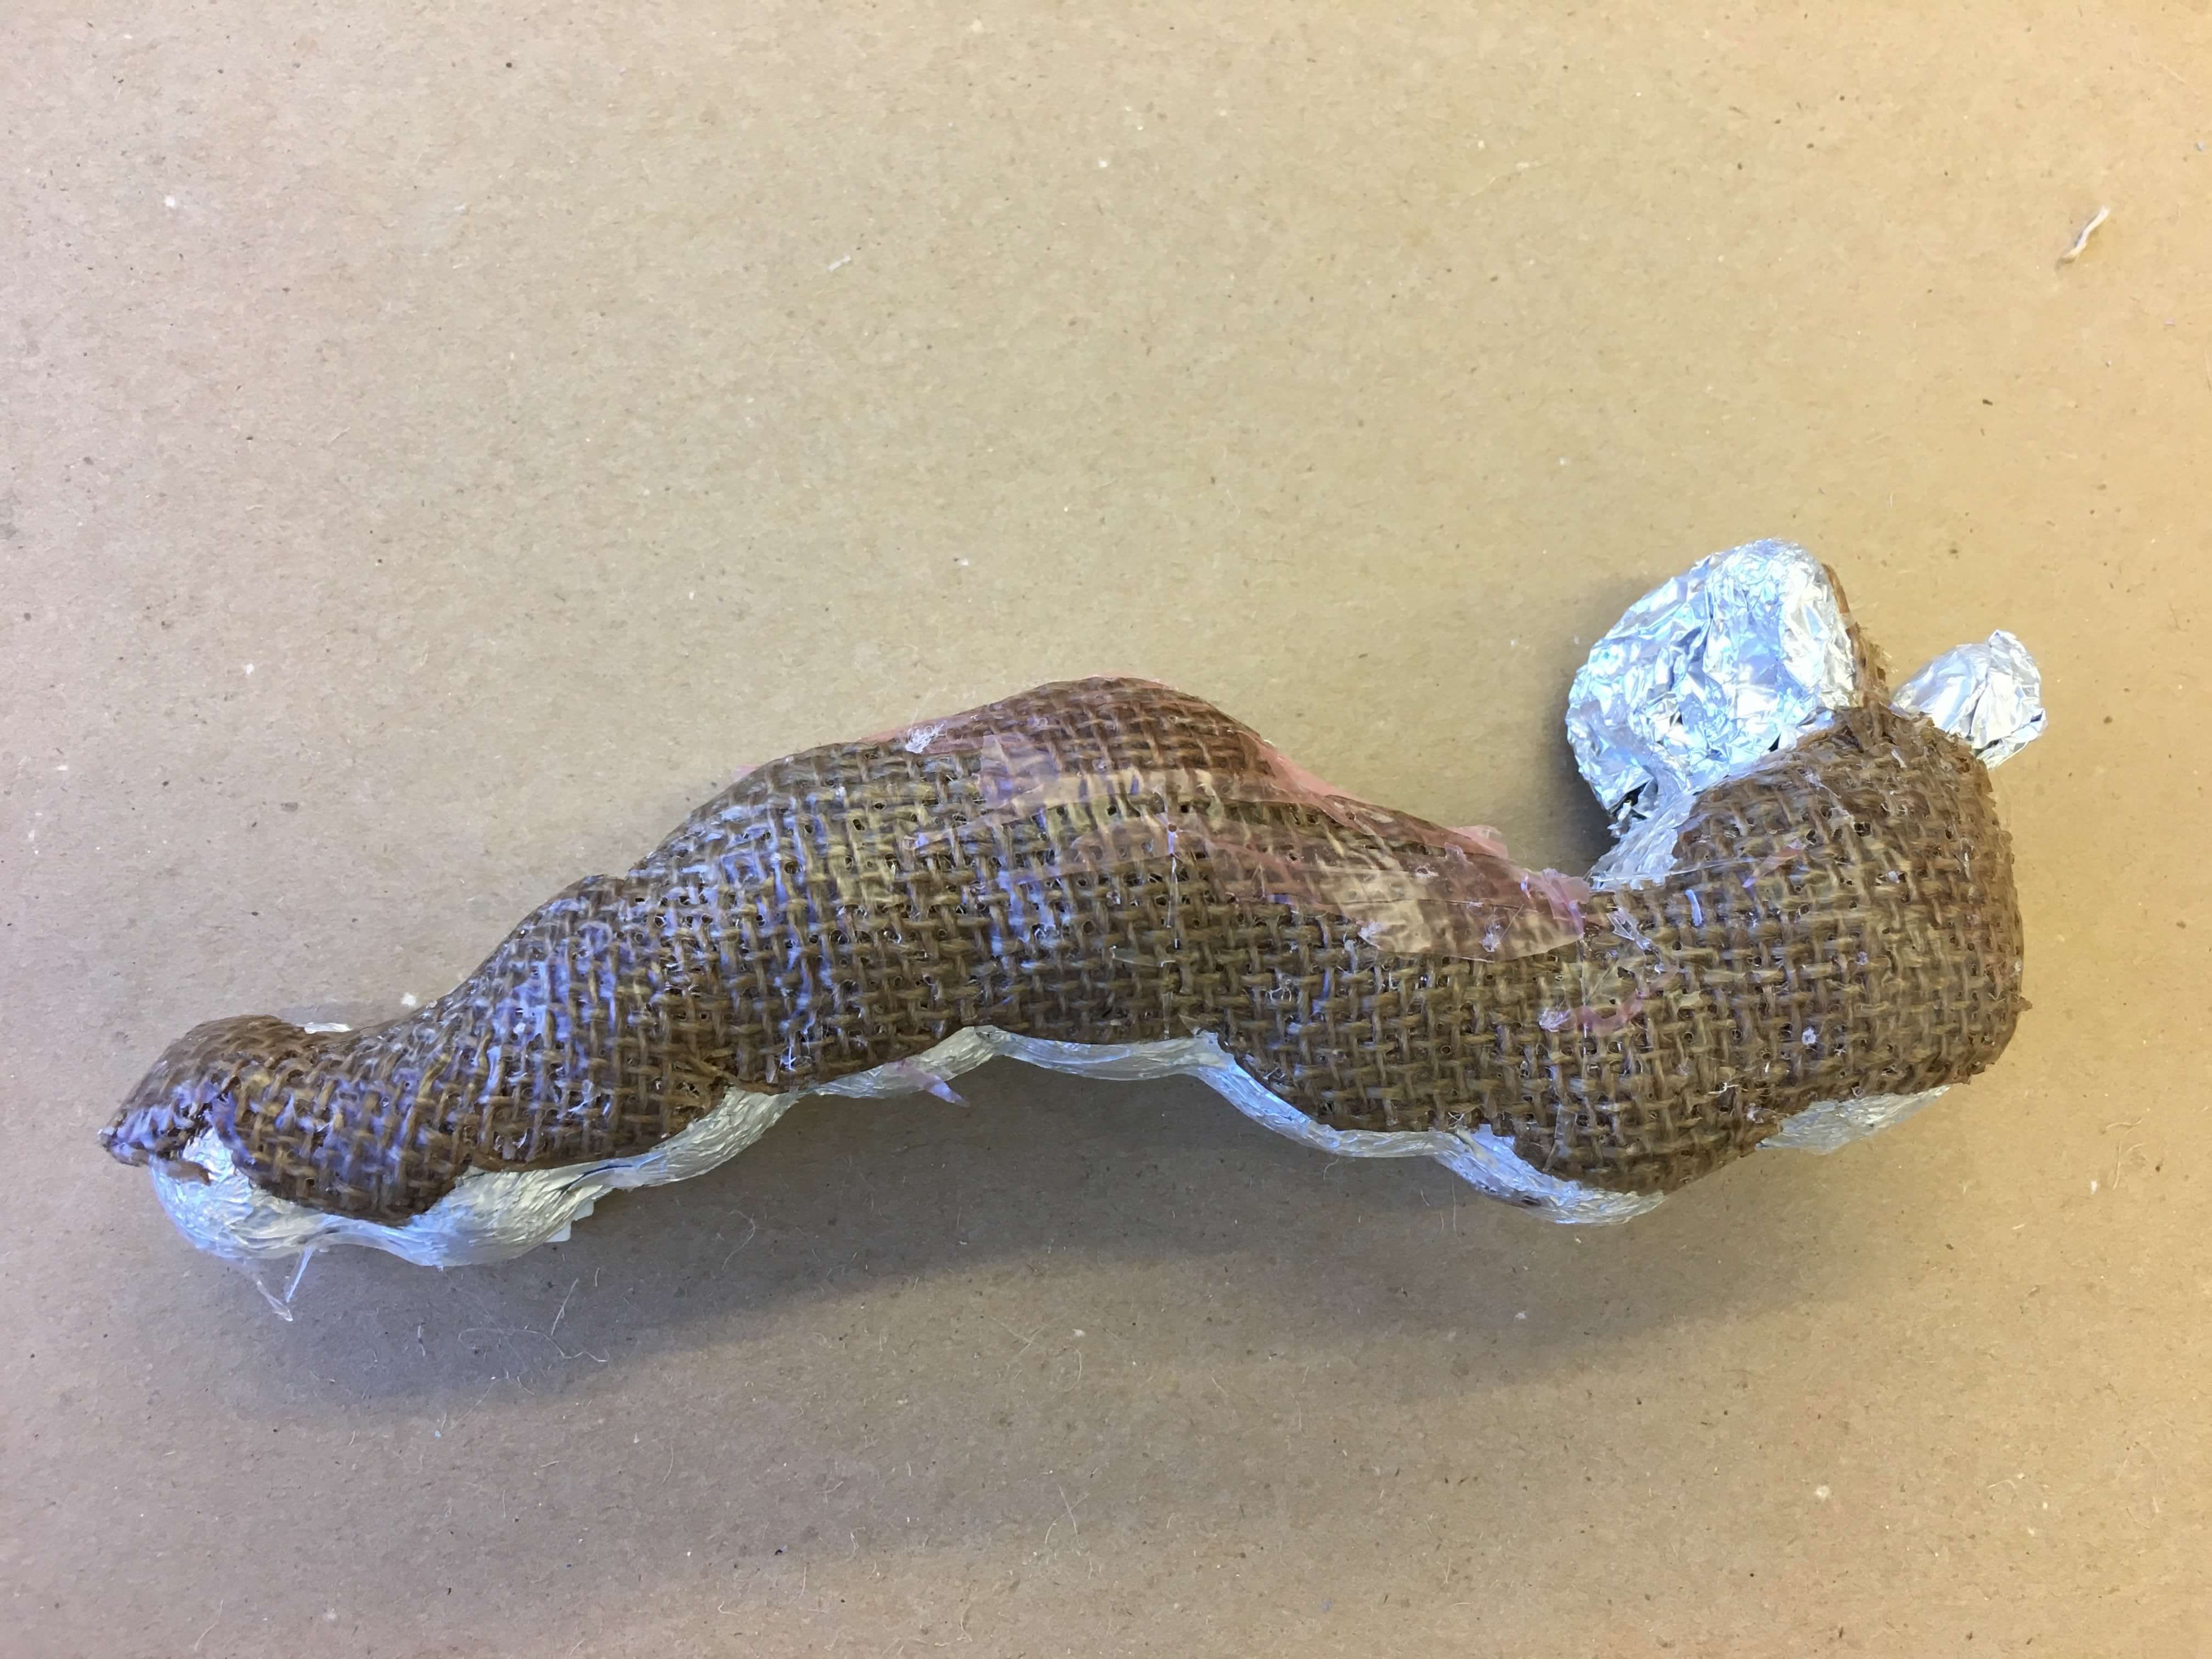
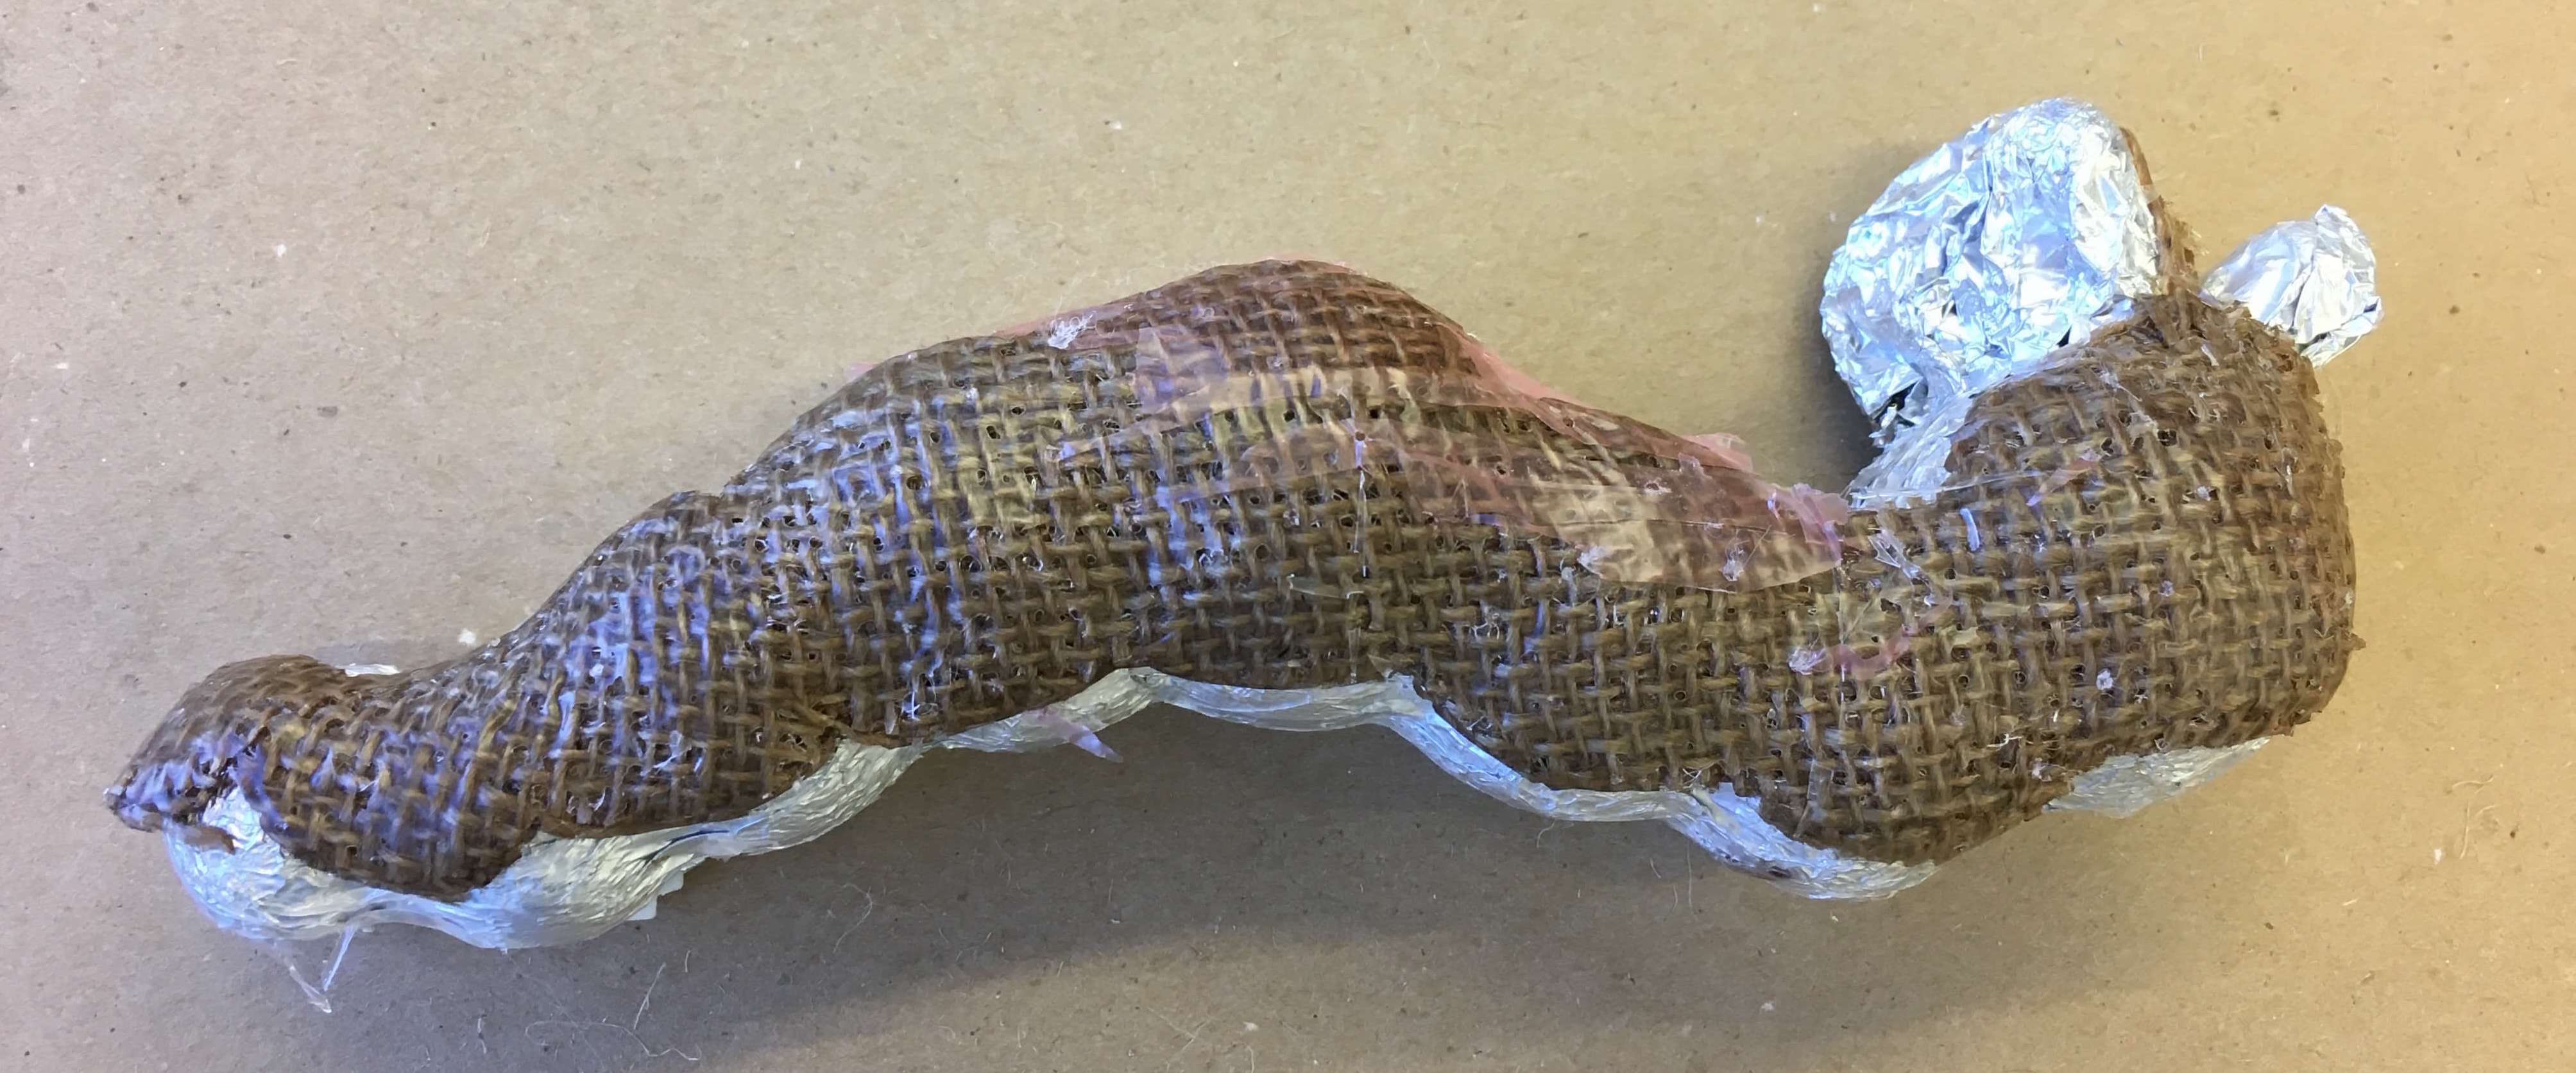
Now since this process is so difficult, I wasn’t able to take any photos as my hands were dirty. However, the final product came out pretty nice. The antenna of teh caterpillar hadn’t cut out right in the burlap and thus disappeared in the final product as well. However, even with 3 plys, the burlap was extremely strong and stiff.