Week 4
Circuit Design
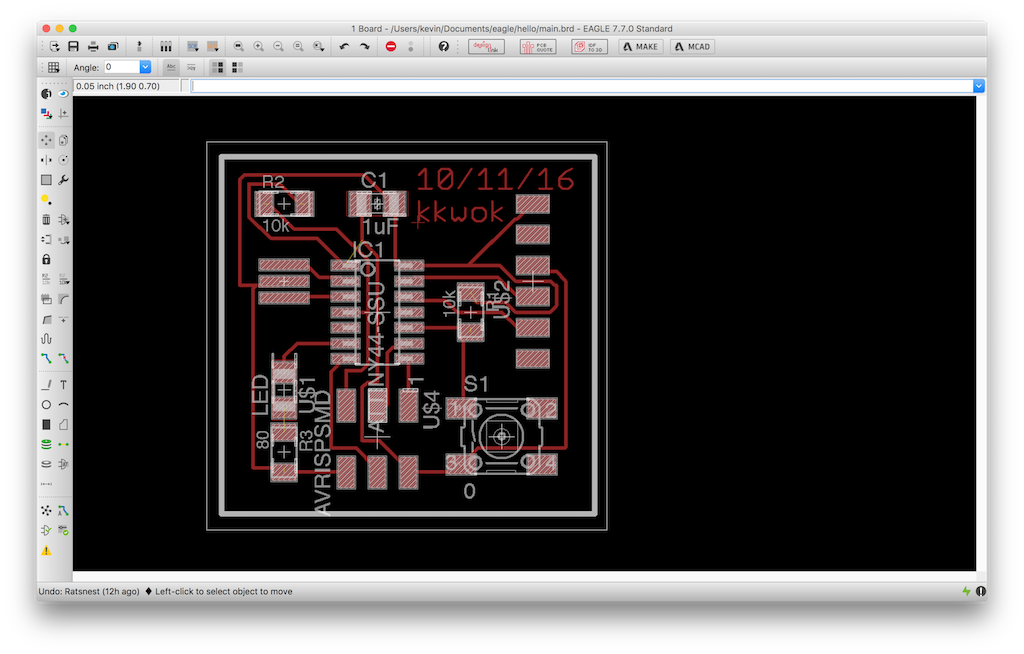
This week I decided to use Eagle, because I had a little (absolutely teensy) bit of experience using it for 6.115 about two years ago.
The default library is quite large, so the first thing I did was to install the fab.lbr stuff and disable all the other built-in libraries except for supply1.lbr which has the symbols for GND and Vcc.
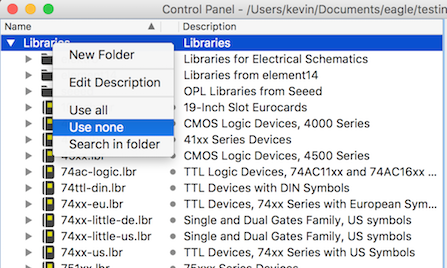
I turned off everything and then enabled the libraries that I wanted by clicking the little gray dot between the name and description.
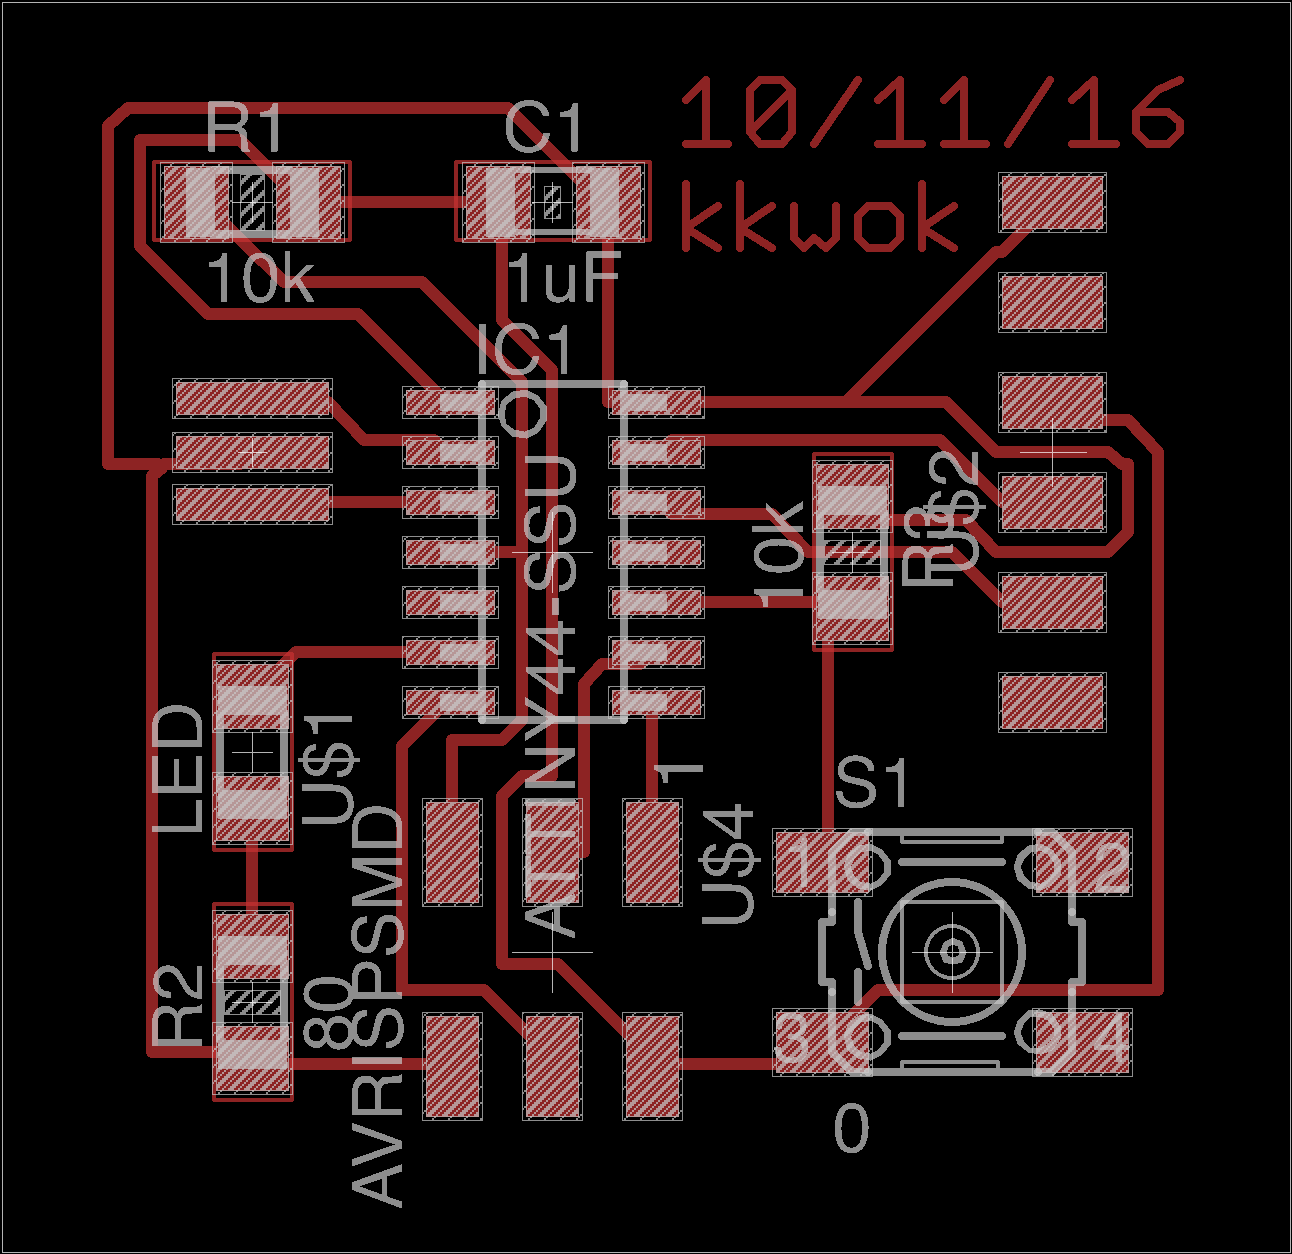
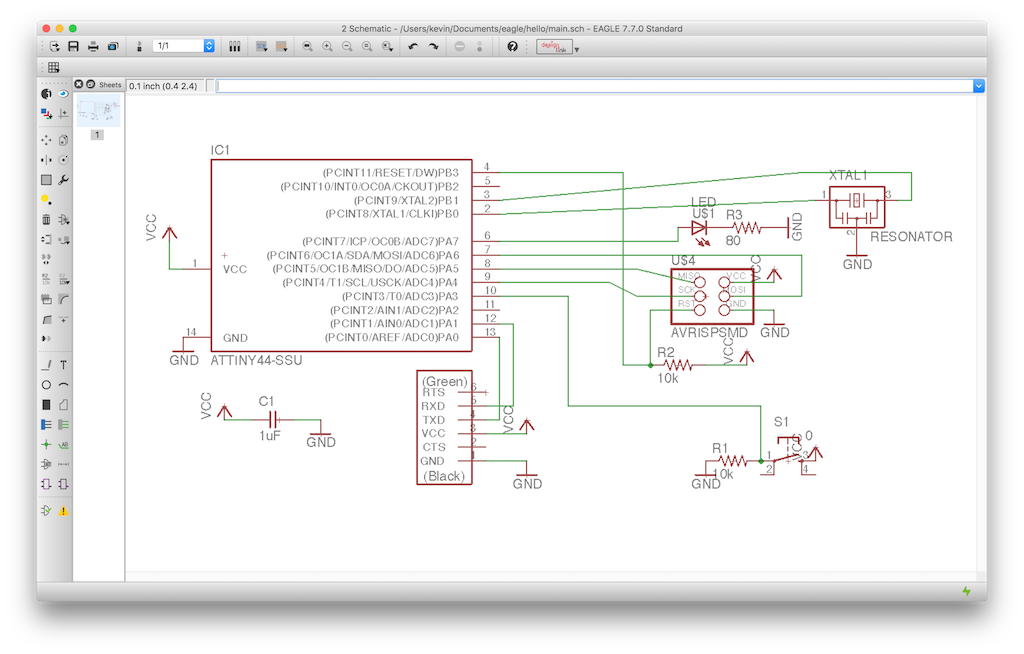
After that I just put together the components by clicking on the little “Add” icon.
I switched over to the board view, and dragged the packages into what looked like a reasonable place. Then I used the Auto-Route
There’s an issue for recent versions (7.7.0) of Eagle for OS X on Retina devices where it exports things at twice the DPI without reporting it properly in the EXIF data. The fix is pretty simple, just double the DPI value from the “read png” block in the Fab modules interface. Check that the physical dimensions make sense as a sanity-check.
I learned this the hard way, and ended up wasting a couple copper boards where it seemed like my circuit didn’t fit. In part because there’s only a very narrow set of versions of Eagle which suffer from the problem (Anish did an experiment and it seemed dimensionally correct so I didn’t think to check mine).
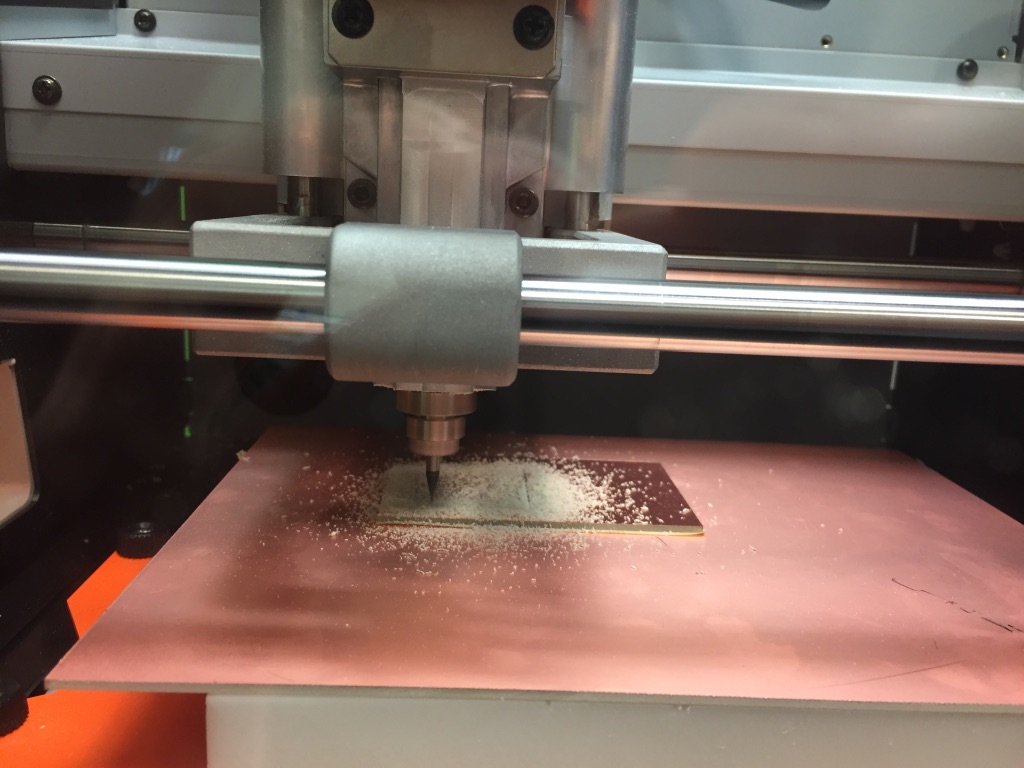
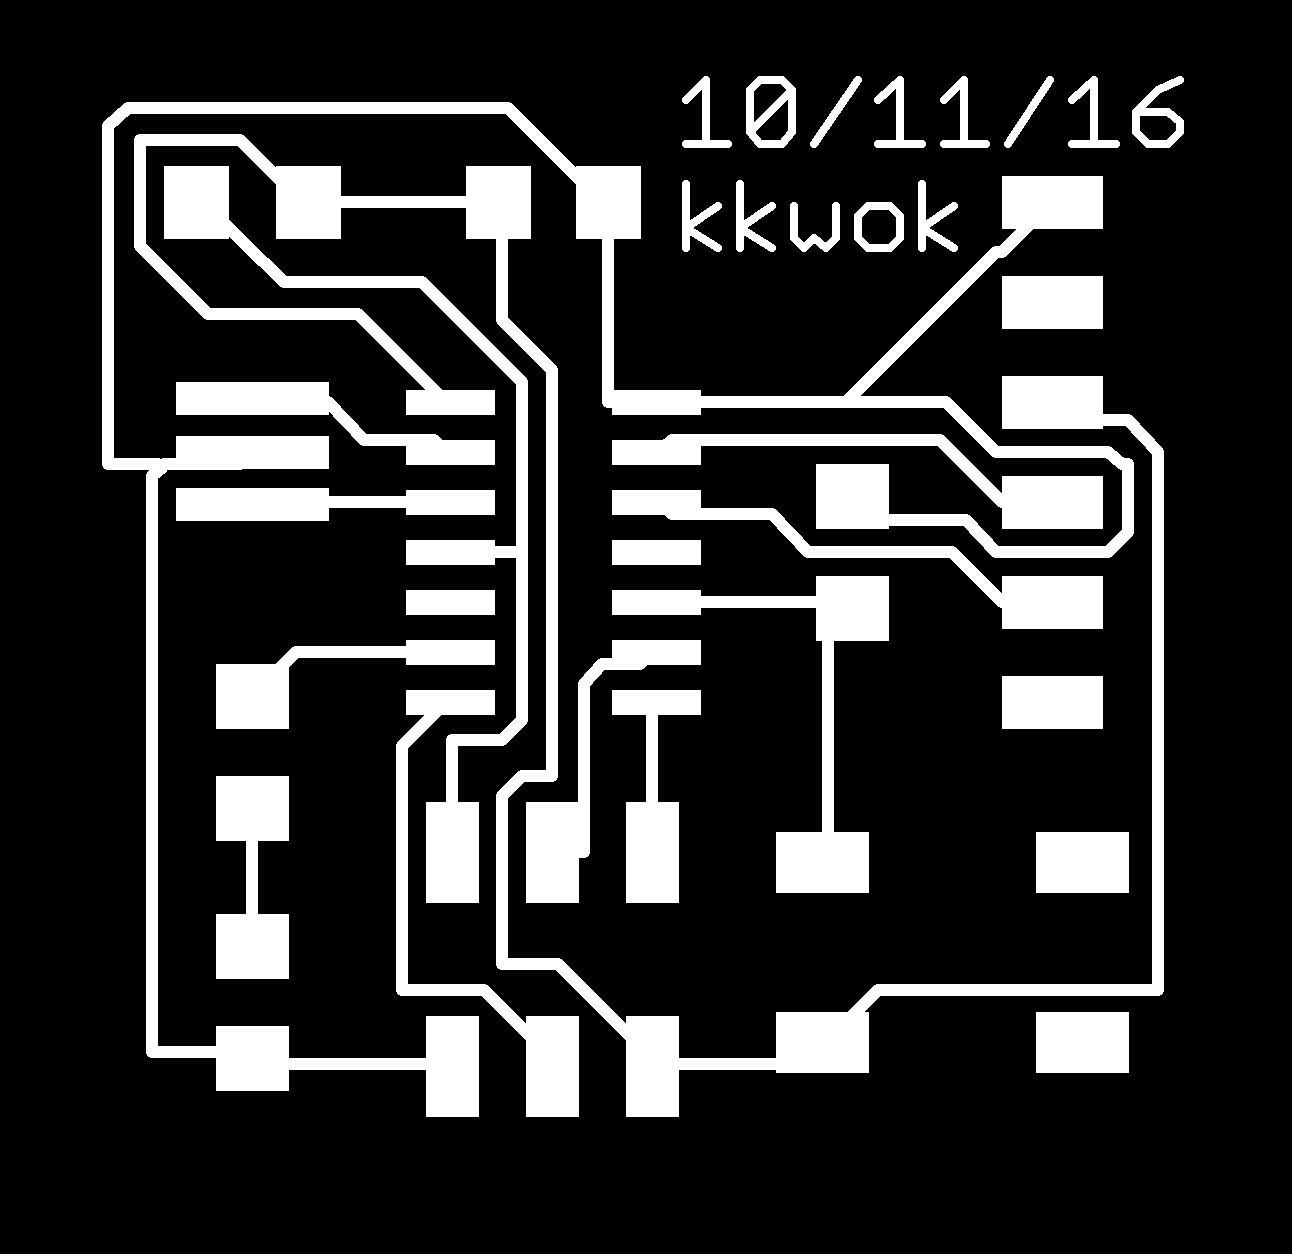
My outline was a hairline white stroke where I wanted the mill to cut, which is apparently the wrong format. It ended up cutting twice, making a little frame and coming really close to consuming all the traces. In the end it seemed like it was okay.
Instead of a hairline where you want to cut, you want a solid white box around the area you would like to preserve.
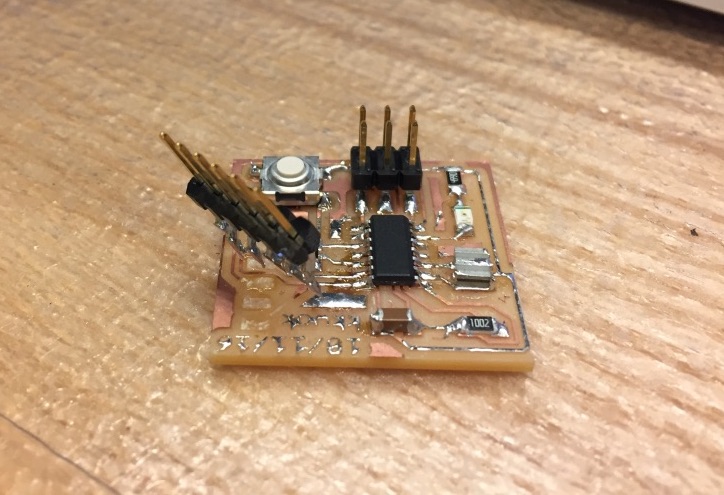
Here’s a picture of a semi-populated version of the board (it lived a life rather brutish, nasty— but mostly cut short), which was the last photo I had taken of it before the accident.

While trying to program this board, I accidentally ripped off the FTDI headers and the accompanying traces.
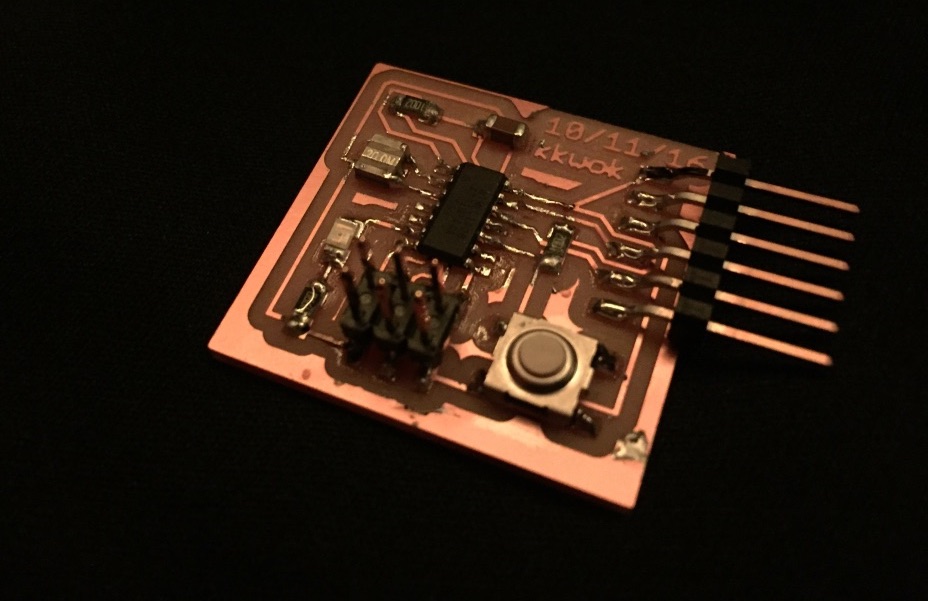
Rather than trying to salvage the board (which wasn’t quite working right anyway), I made a new one. So here’s a photo of the shiny Mark II:
For reference, here’s a picture of a big white box, in case you didn’t know what to expect: