3D printing turned out to be the least work-intensive fabrication method that we've done so far, though it was the most time-consuming.
In order to test the tolerances of the printer (we were using the 3DWox made by Sindoh), our 3D-printing tutorial group decided to print a cat inside of a partially closed box. The top flaps of the box opened outward at different angles in order to test the maximum overhang angle that the printer could successfully print, and the cat was included in order to show an object that could not be made by subtractive processes.

In order to 3D print a model, these were the steps that I took:
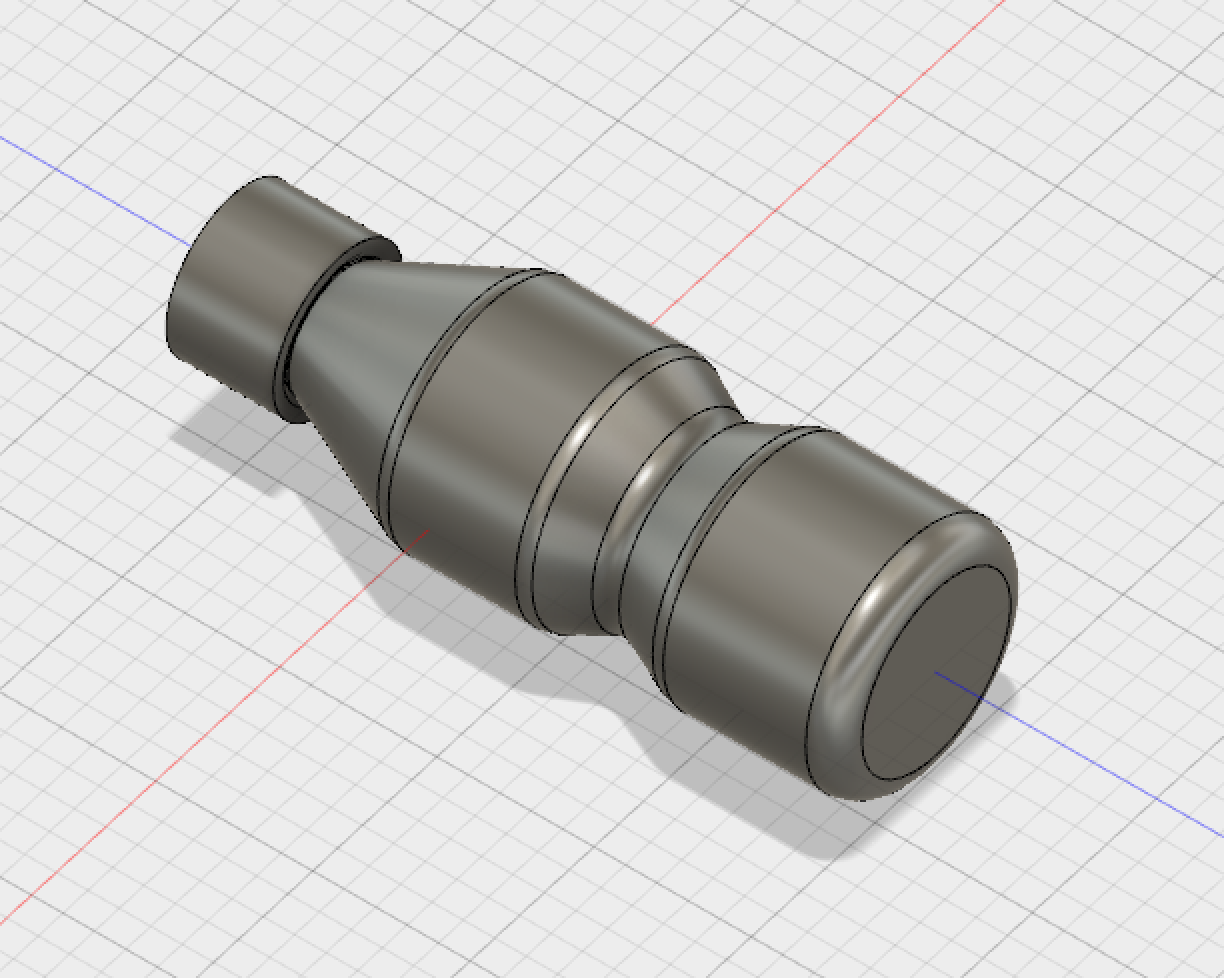
- Draw a 3D model using Fusion360
- Export each body separately to STL format
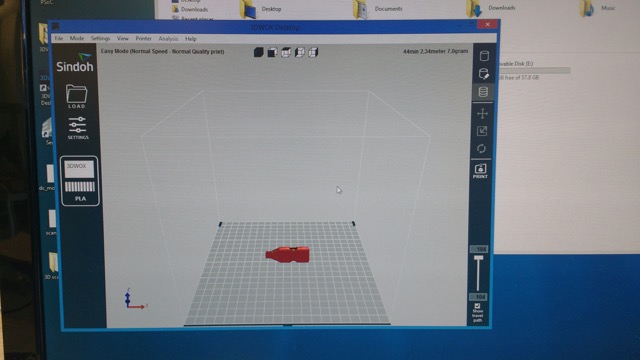
- Transfer the STL file to a computer with the 3D printer driver installed
- Scale the model appropriately, and calculate layers in order to detect overhangs and to estimate the time it would take to print
- Level the printing bed
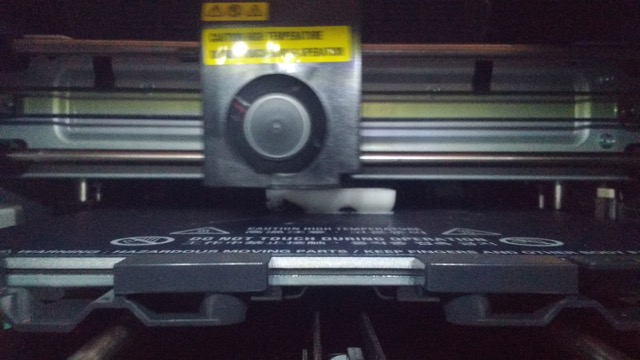
- Print the model
- Scrape the model from the printing bed using a chisel
- Remove the mesh bottom which prevents the model from being damaged while scraping it off (3DWox prints this automatically)
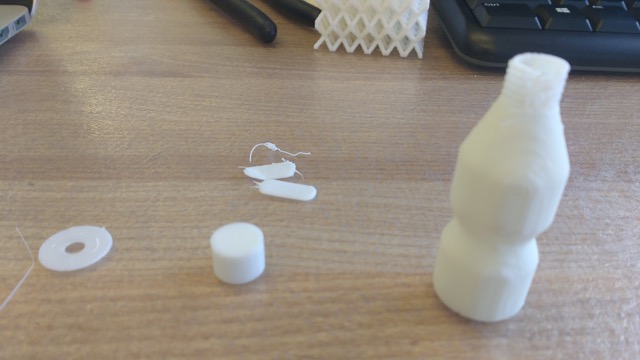
For my first 3D print, I decided to make a miniature bottle, complete with screw-on cap. This is another example of an item that cannot be made using subtractive processes - it would be difficult to carve out the interior of the bottle. The following paragraphs discuss some of the lessons that I learned.
First, 3D printing takes a very long time. My bottle, which is about 2 cm in diameter and 6 cm tall, took 45 min to print. My original model, which had was twice as big in each dimension, would have taken almost 3 hours to make.
Secondly, some of the overhang warnings seemed strange to me. I received a warning when printing the cap with the flat side on the bottom, but not a warning when attempting to print the cap with the flat side on the top. I ended up trying both orientations, and there didn't seem to be a difference in quality. In addition, printing the bottle standing up generated warnings, whereas printing the bottle on its side did not. My guess for why this happened is that the walls of the bottle were thick enough that when it was laid on its side, the walls could support adding material for the sloping sections.
Lastly, doing this project exposed me to the difficulties associated with getting separately printed components to fit together snugly. It took me three attempts to print a cap which could screw on to my bottle: my first cap was too small, the next too big. For future reference, though Fusion360 says that threads on outer surfaces increase diameter and threads on inner surfaces decrease diameter, it's always good to include some tolerance in your design (but not too much).