For this week, I decided to make a propeller mold, which will hopefully eventually become part of my proposed final project (which is a quadcopter). The first step to doing this was to design the propellers using Fusion 360. This was an extremely helpful video: https://www.youtube.com/watch?v=WFvZh8SDOog. The hardest part was creating the curved blades. To do this, I first made two coils which served as the outer and inner guides for the blade, then used the loft command in the patch command set to create a curved surface.
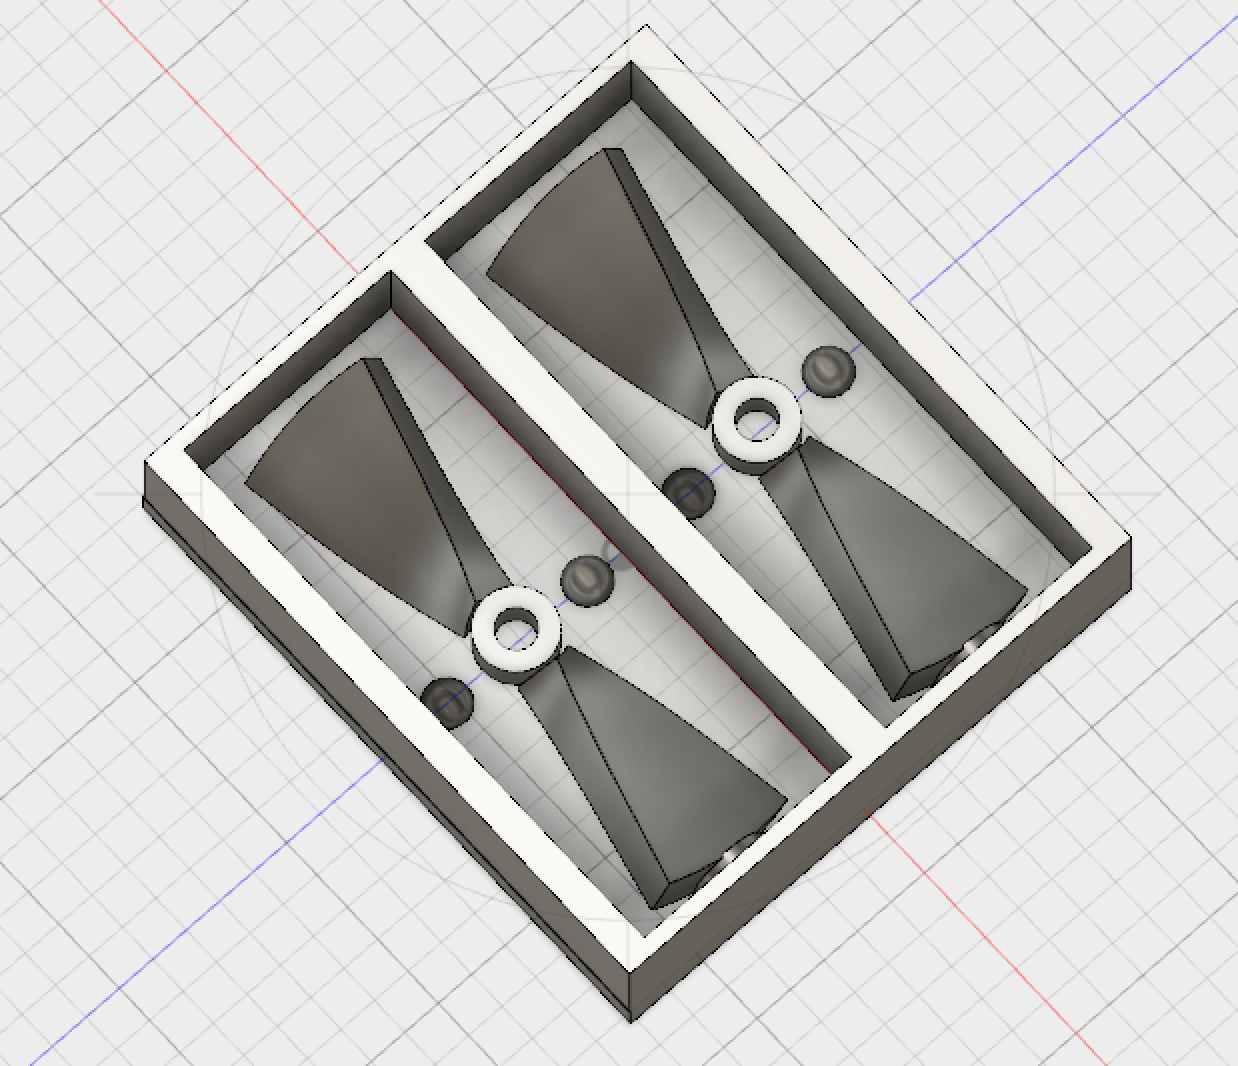
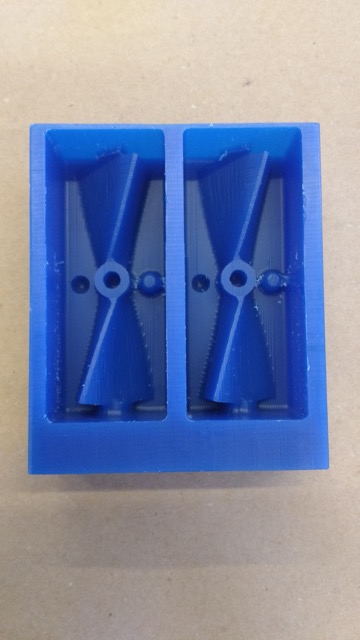
After creating the model of what the propeller would look like after being molded, I had to make a few modifications to make the mold for the propeller mold. First, I used the Split Body command to cut the propeller in half (one for each half of the mold). Then, I made the sides of the mold. I created a channel to pour the molding material, and also created bumps so that both sides of the mold would fit together with no extra degrees of freedom.
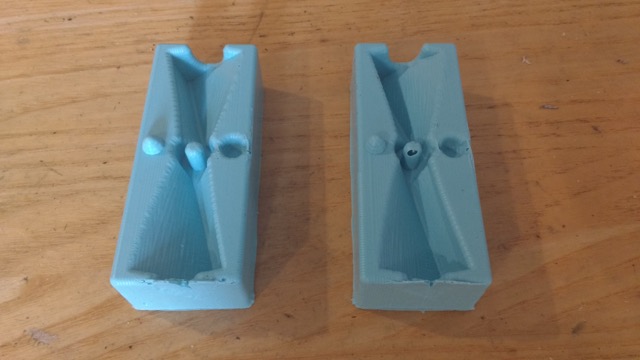
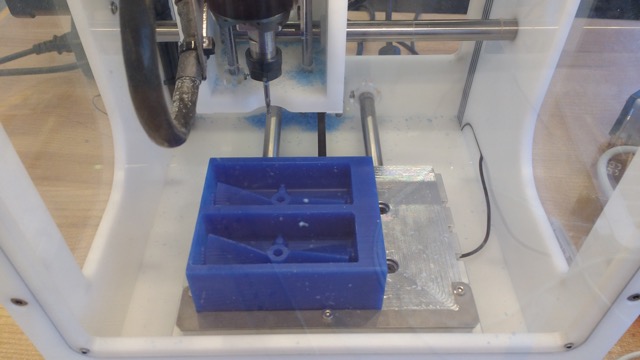
I then saved the positive as an stl file and used http://fabmodules.org/ to convert to the .nc format that the OtherMill takes in as input. Before actually milling the wax, I had to cut the blocks in half using a bandsaw, and then used the Bridgeport mill to shave the thickness of the wax. In addition, I had to calibrate the machine. I did one pass for the rough cut and one pass for the finished cut: the rough cut took about 1.5 hours and the finished cut took 1 hour. After milling, I had to use a box cutter to manually shave some wax from the mold, since I didn't leave enough space between my propeller and the surrounding box.
The next step in the process was to make the mold out of Oomoo. Before starting this, I had to gather my materials, which included the two Oomoo containers, a scale, a pair of cups, and a pair of stirring sticks. I covered the scale with paper towels to prevent the Oomoo from making a mess. To figure out how much Oomoo I had to pour, I filled my mold with water and used the amount of water to mark the cups. I made sure to stire the Oomoo well, both before pouring it and while mixing the two components. I also made sure that there were no air bubbles in the mold (particularly in the hub hole).