Week 1: Computer-Aided Cutting
The Jewelry Tree
Sept 21, 2016
Assignment
This week's assignment was to learn how to use a laser-cutter and design and build a press-fit construction kit.
Tools used this week: Laser-cutter, InkScape, CorellDraw, Antimony
Background
A laser-cutter is a precise tool for cutting material based on a CAD design. There are three main settings that we can modify on a laser for different cuts and materials. These three settings are:
- Speed: How fast the laser moves on the material. Typically a lower speed is better for finer edges.
- Power: As it is clear from its name, power sets the intensity of the laser beam. Too much power could cause a fire.
- PPI (Pulses Per Inch): PPI is the number of laser pulses per linear inch of travel. PPI is important for vector cuts where the laser needs to adjust its speed based on the number of nodes in the design.
Other concepts that we learned this week are:
- Kerf: The laser burns a portions of the material as it cuts through. This is known as the kerf and is one of the thigns to account for in the CAD design.
- Rastering vs. cutting: Rastering uses a low-enough power and a high-enough speed to create half-tone images without cutting through the material.
- Joints: In class, we learned about different types of joints and how you can improve them. One of the assignments this week was to compare different joint designs.
- Parametric design: A powerful technology used for desgin with constraints. Paramteric design is especially useful for design the press-fit contruction kit, where you have to design many parts whose dimensions depend on each other. Antimony is one of the design tools that allows paramteric design.
Playing with joints and laser settings
For the group assignment, we designed multiple squares with slots and varied 1. the slot size 2. joint type 3. laser power and speed to what is the best joint design and try different laser settings.

We first measured the cardboard thickness to be 0.173" and the kerf of the laser to be 5 mil (0.1"). Then using CorelDRAW, we desigend several small square pieces and varried their slot size from 0.137" to 0.177" in increments of 0.050". We noticed that when slots are simple squares, it's difficult to attach two joints together, especially when friction is higher. Therefore, we added a 45 degree right triangle at the slots to make the joints move rather smoothly. We also found that the 0.177" caused barely enough friction for the joints to be hold together, and we decided to go with 0.137".
The Jewelry Tree
For my press-fit construction kit, I was thinkin of making something like a sculpture out of press-fit pieces. But since I have too many decorative things and storing them in a dorm room can become a nightmare, I decided to make something that was both useful and decorative. Looking around my room, I noticed that all my earings were out of sight in boxes, making me forget some of them existed. So I decided to make a tree stand for my earings; something both artsy and useful!
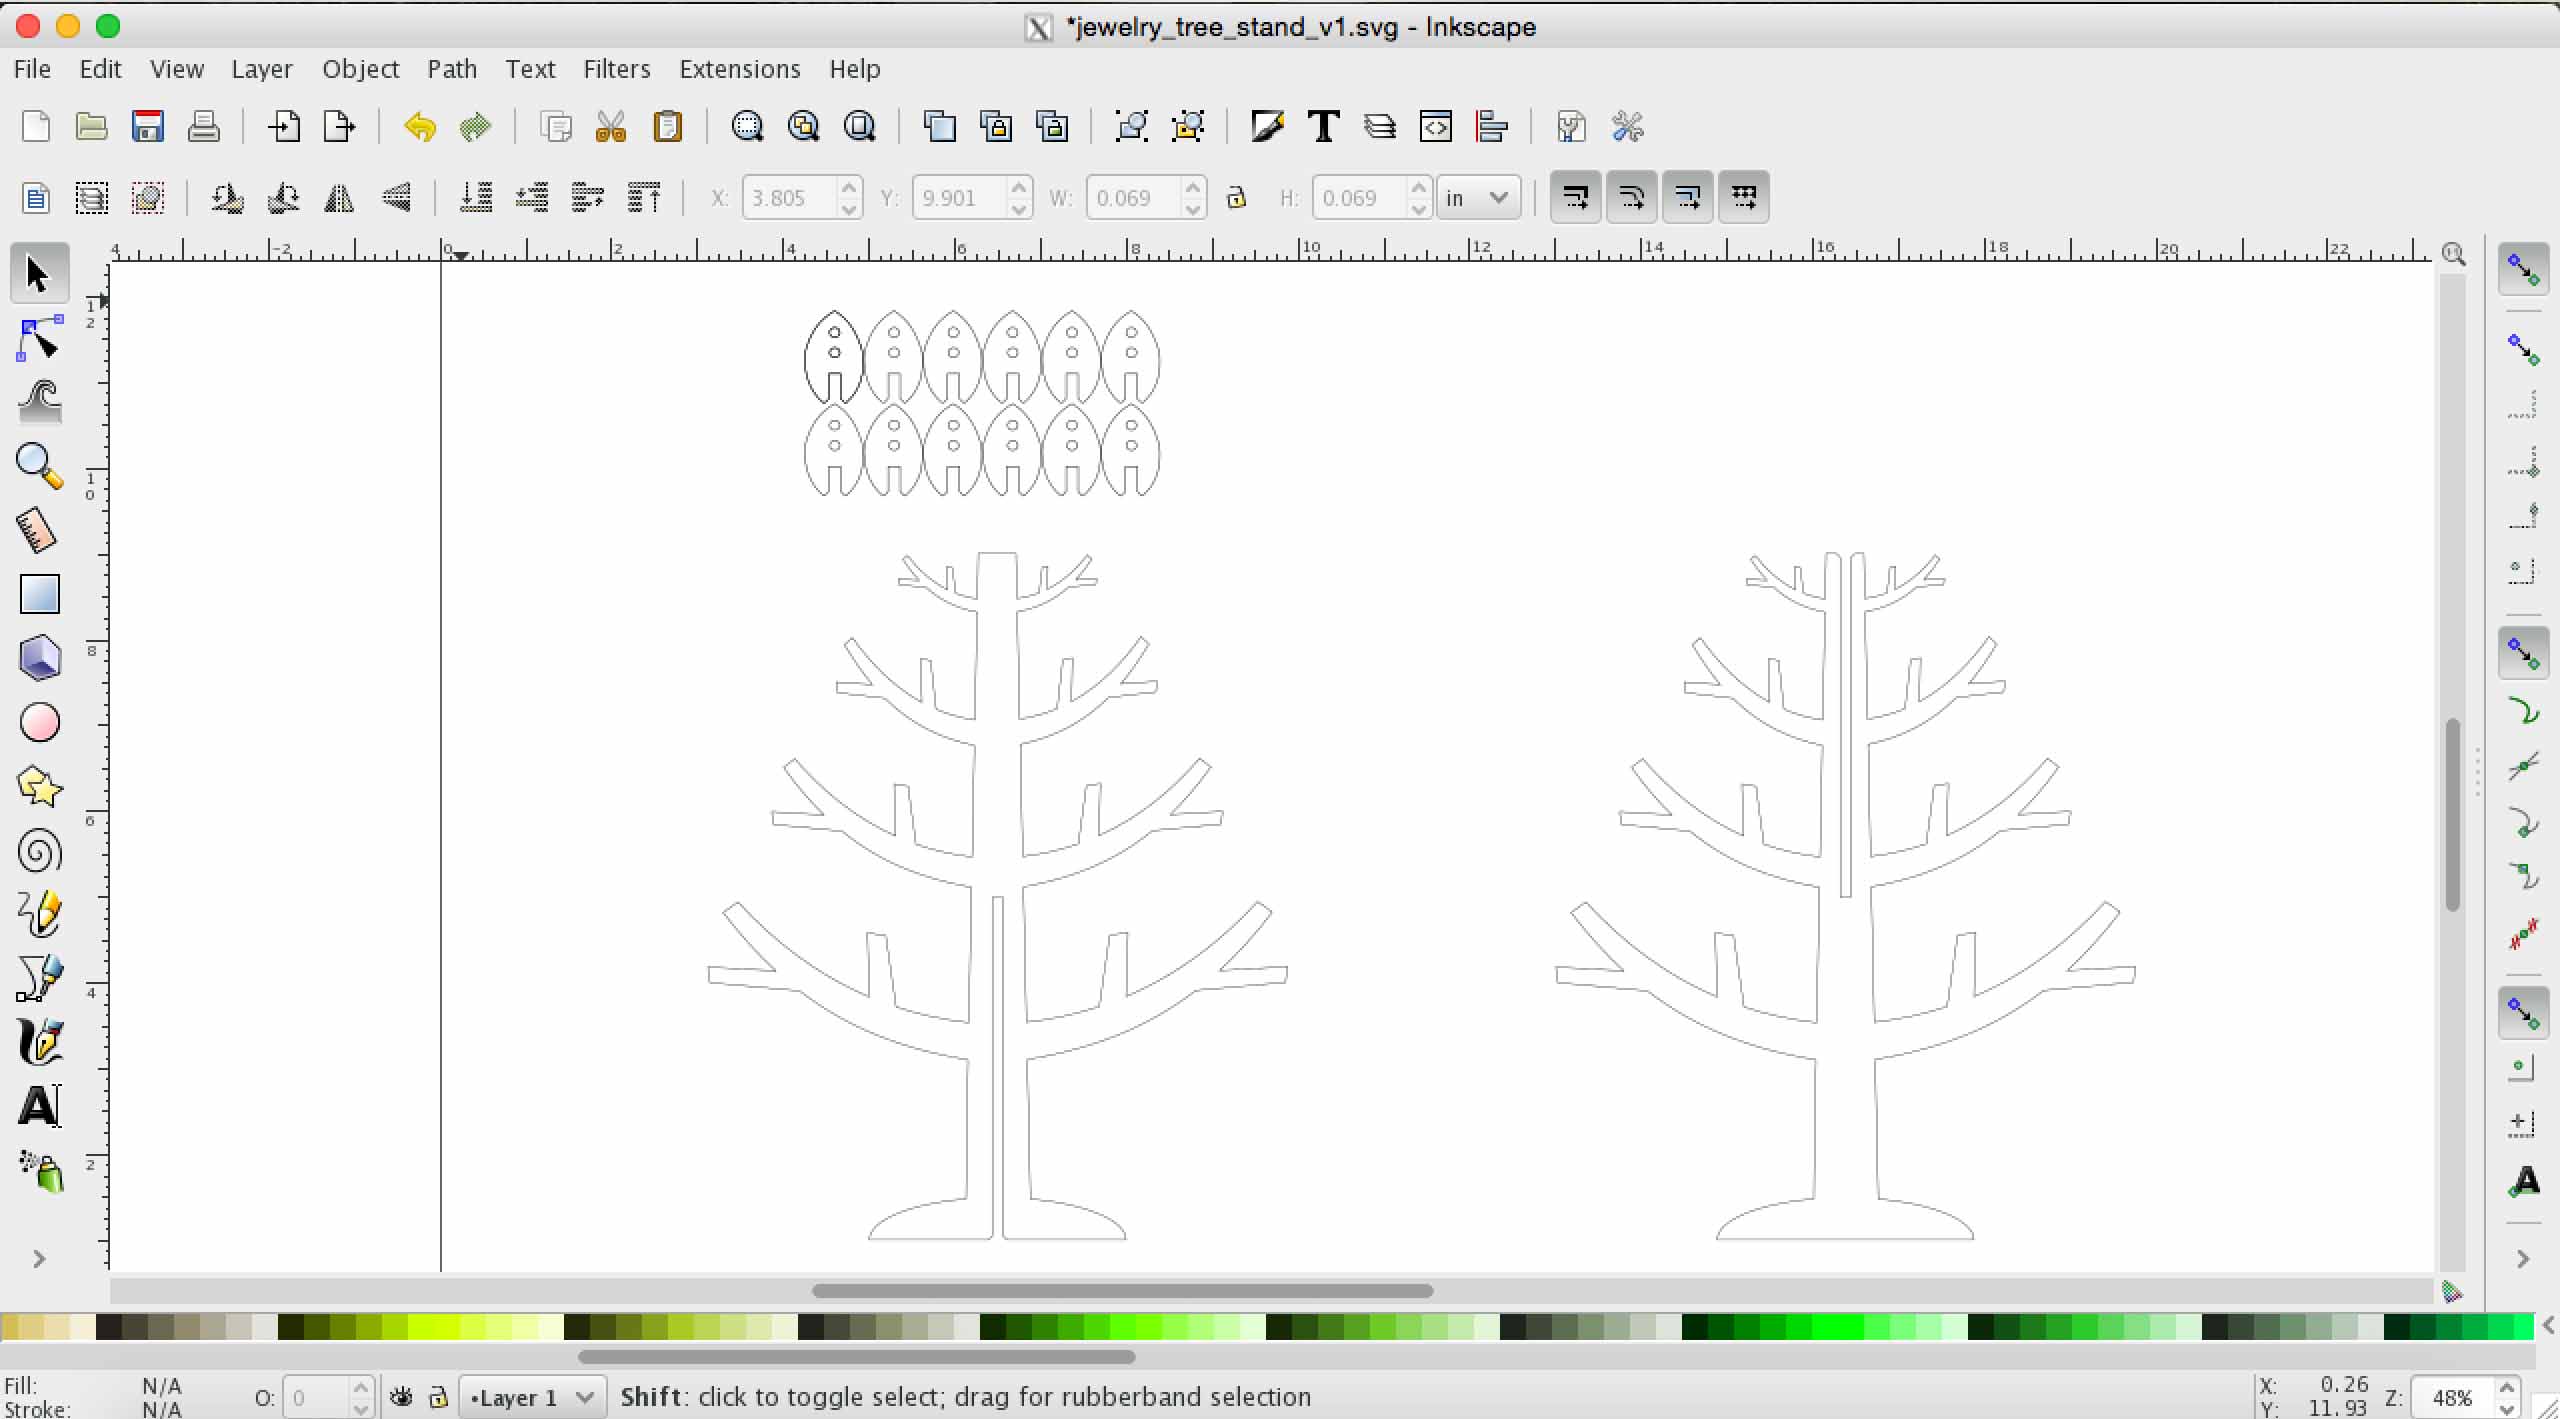
I used Inkscape for my drawing since it allows vector design and cloning, which is very useful when making many similar parts. It took me a while to learn how to use path features and cloning to make complex shapes out of basic ones without messing up dimnesions and other things. However, the learing curve was steep as I got much faster towards the end.
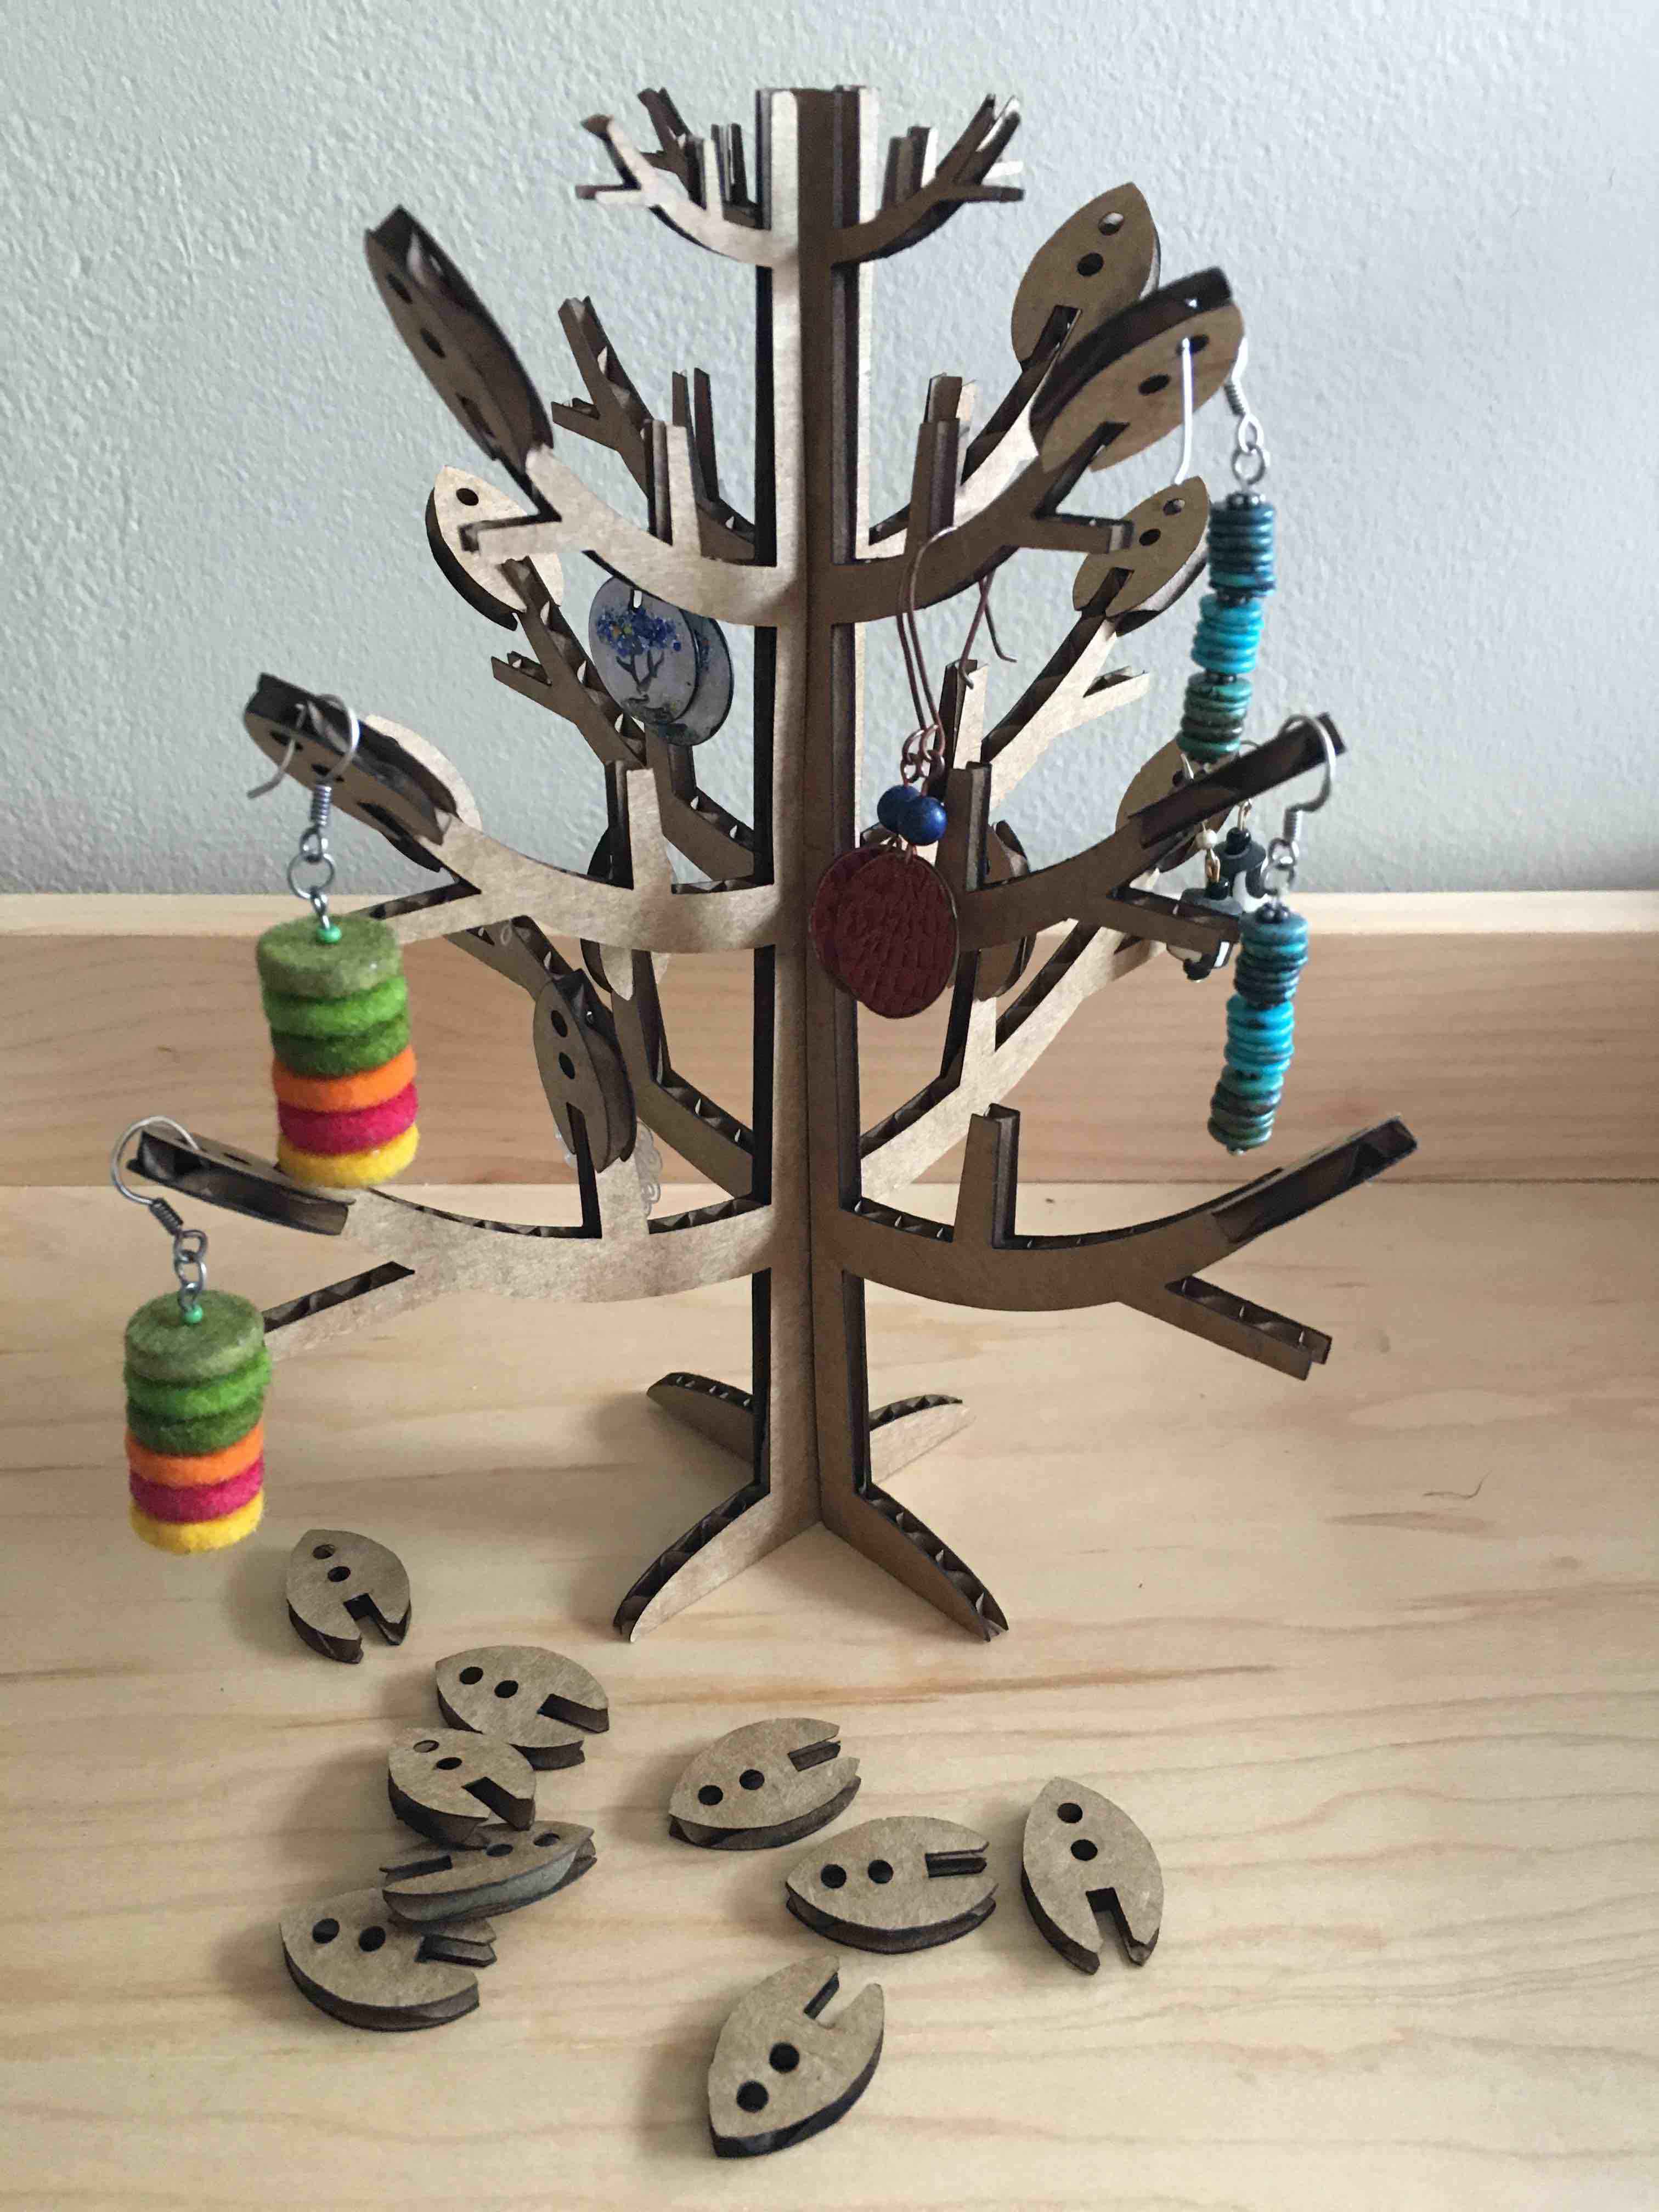
For laser cutting the pieces, this time it was much easier to find the optimal settings. I set the cutting power at 100% and the speed at 7%. The raster settings did not matter since I didn't use rastering in my design. I did see some flames as the laser was cutting, but they were too small and short-lived to cause any danger. Here is my final product!

There are a few features of my design that I would like to improve in future. First, when I was designing the top branch of my tree, I made it smaller by scaling the template branch. In practice, the leaves don't fit the top branch since the width of the branch was too small compared to the joint size. Second, if I put more jewelry than what you see in the bottom image, the tree falls on one side! Next time, I would make the tree a bit taller and the the stands a bit larger to hold the weight better.
Anyways, I'm inspired to sell these on Etsy now!
Vynil cutting
Vynil cutter is also a computer-controlled machine with a sharp blade that can cut shapes out of vynil (and other thin material). Vynil cutters are used for making laptop stickers and flexible circuit boards. We used the fab modules for printing.
I wanted to print a nice symmetrical pattern for my laptop.
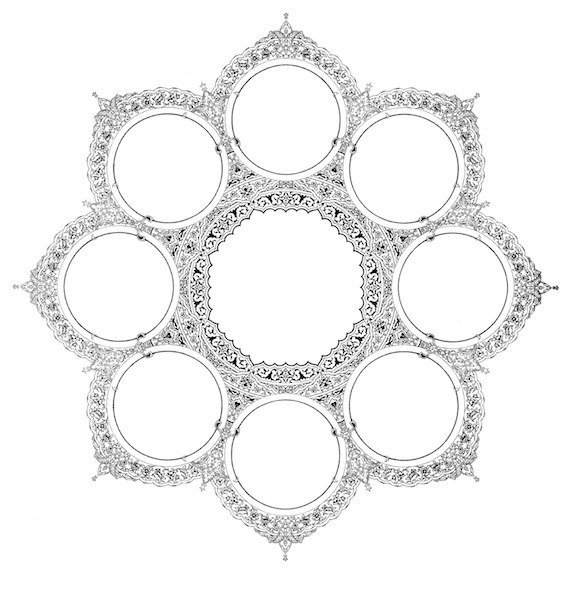
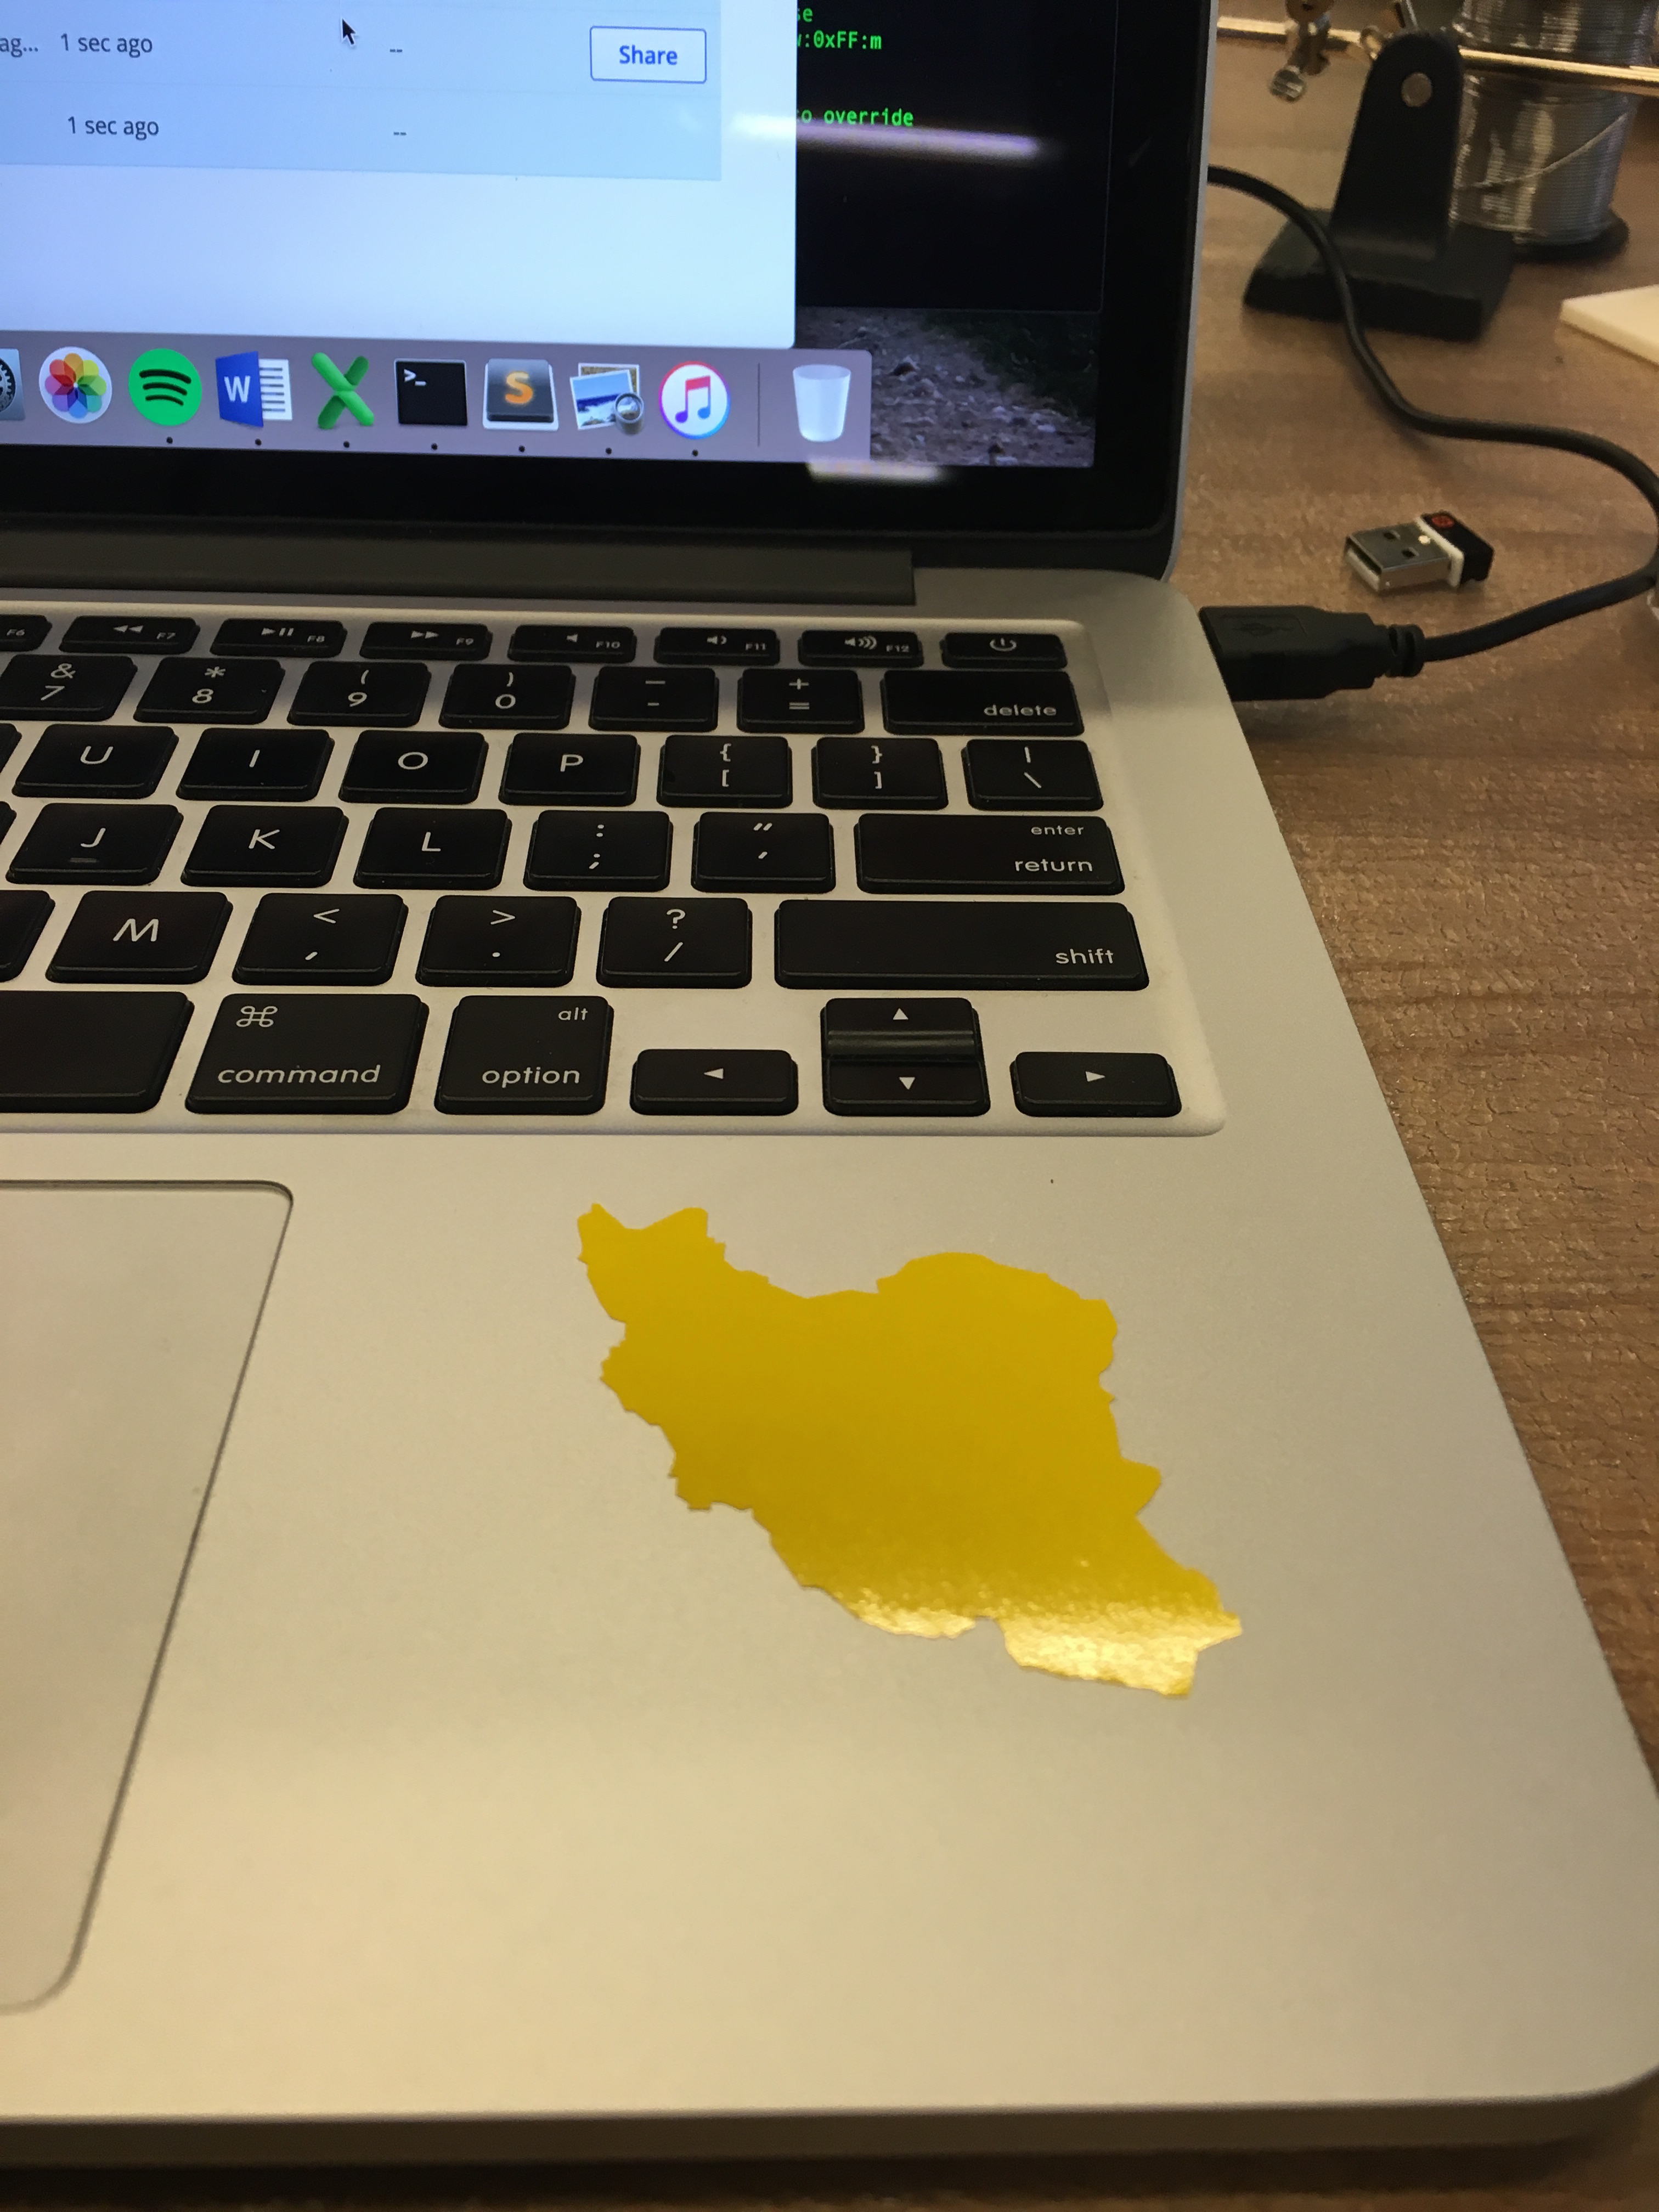
It turned out to be a mess! The pattern had way a lot of small white pieces inside and it couldn't cut it all in one piece.
So I picked a simpler shape. I'm from Iran, and I thought it would be cool to print Iran's map. This one came out well.