Week 9: Composites
Making a Snowsled (or something like that!)
Nov 16, 2016
This week, I made something that is supposed to be a snowsled out of composite material. Material used were burlap as fiber and SuperSap One Epoxy as matrix. I made a one-sided mold and vaccum bagged the composite.
 |
 |
Assignment
Read the material safety data sheet (MSDS) and technical data sheet (TDS) for the resins used. Design and fabricate a 3D mold and produce a fiber composite part in it.
Main tools used this week: Rhino, Vectric Cut3D, CNC router.
How to Make Composites
What are composites? A composite is a material made from a matrix and a reiinforcment material that when combined, can handle tension and compression at the same time.
Fiber: is a reinforcment material. This week, we use burlap, which is a natural fiber.
Matrix: is the material that that supports reinforcement materials by maintaing their relative positions. We are using epoxy, which is a common resin.
Workflow
- Make a mold. You can either machine it out of foam or use an object as a mold.
- Cut pieces of fiber. Use a laser cutter for cleaner layout. It's better to make your pieces a littler larger than the mold. Leave tabs on edges for folding.
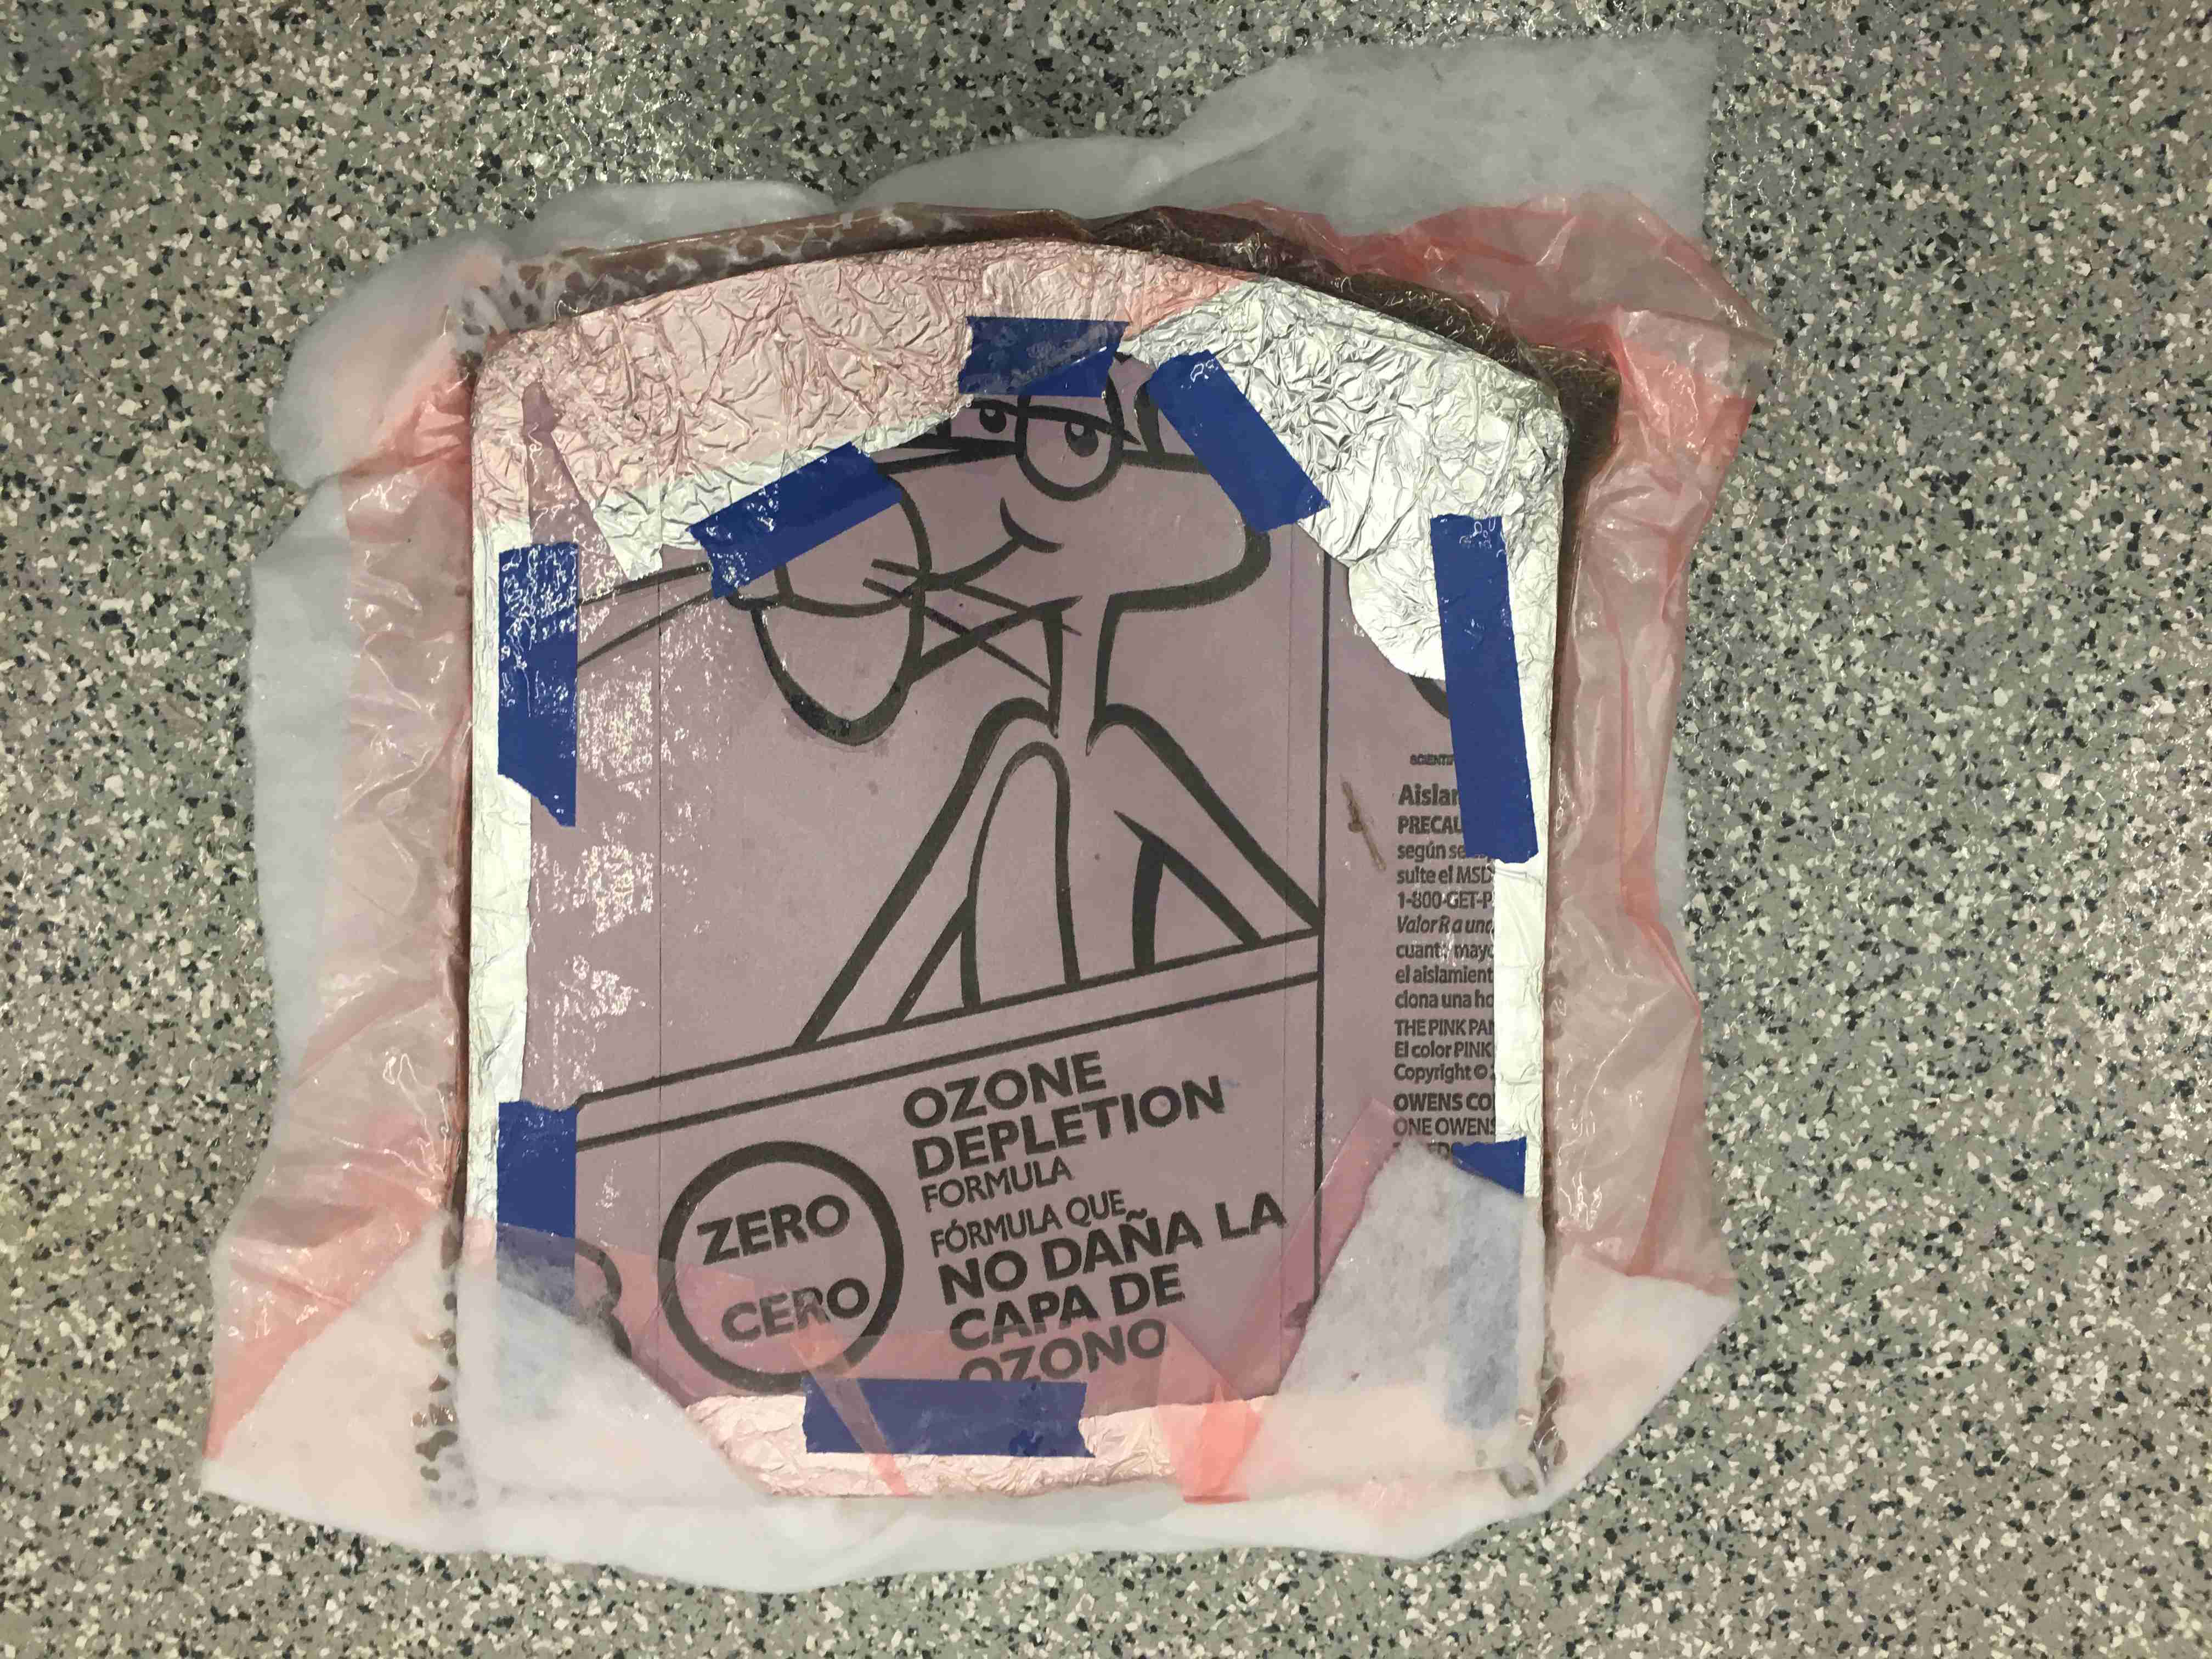
- Prepare your workspace. Cover the table with aluminum. Keep half of the space clean for weighing and mixing epoxy and the other half for pouring epoxy on fiber. Wear gloves and glasses, and make sure there is good ventilation. Make sure you have everything handy.
- Cover the mold with aluminum foil and spray release agent on it. This would avoid epoxy from sticking to the aluminum. Tip: Make sure you have good ventilation when spraying.
- Mix part A and part B of epoxy in small amounts, just about what you need. Epoxy mixing is an exothermic reaction and can melt the cup if it's in large amounts.
- Lay flat a sheet of burlap and spread epoxy on it. Cover your mold with as many plies as you want. 3, 4, or 5 plies is standard.
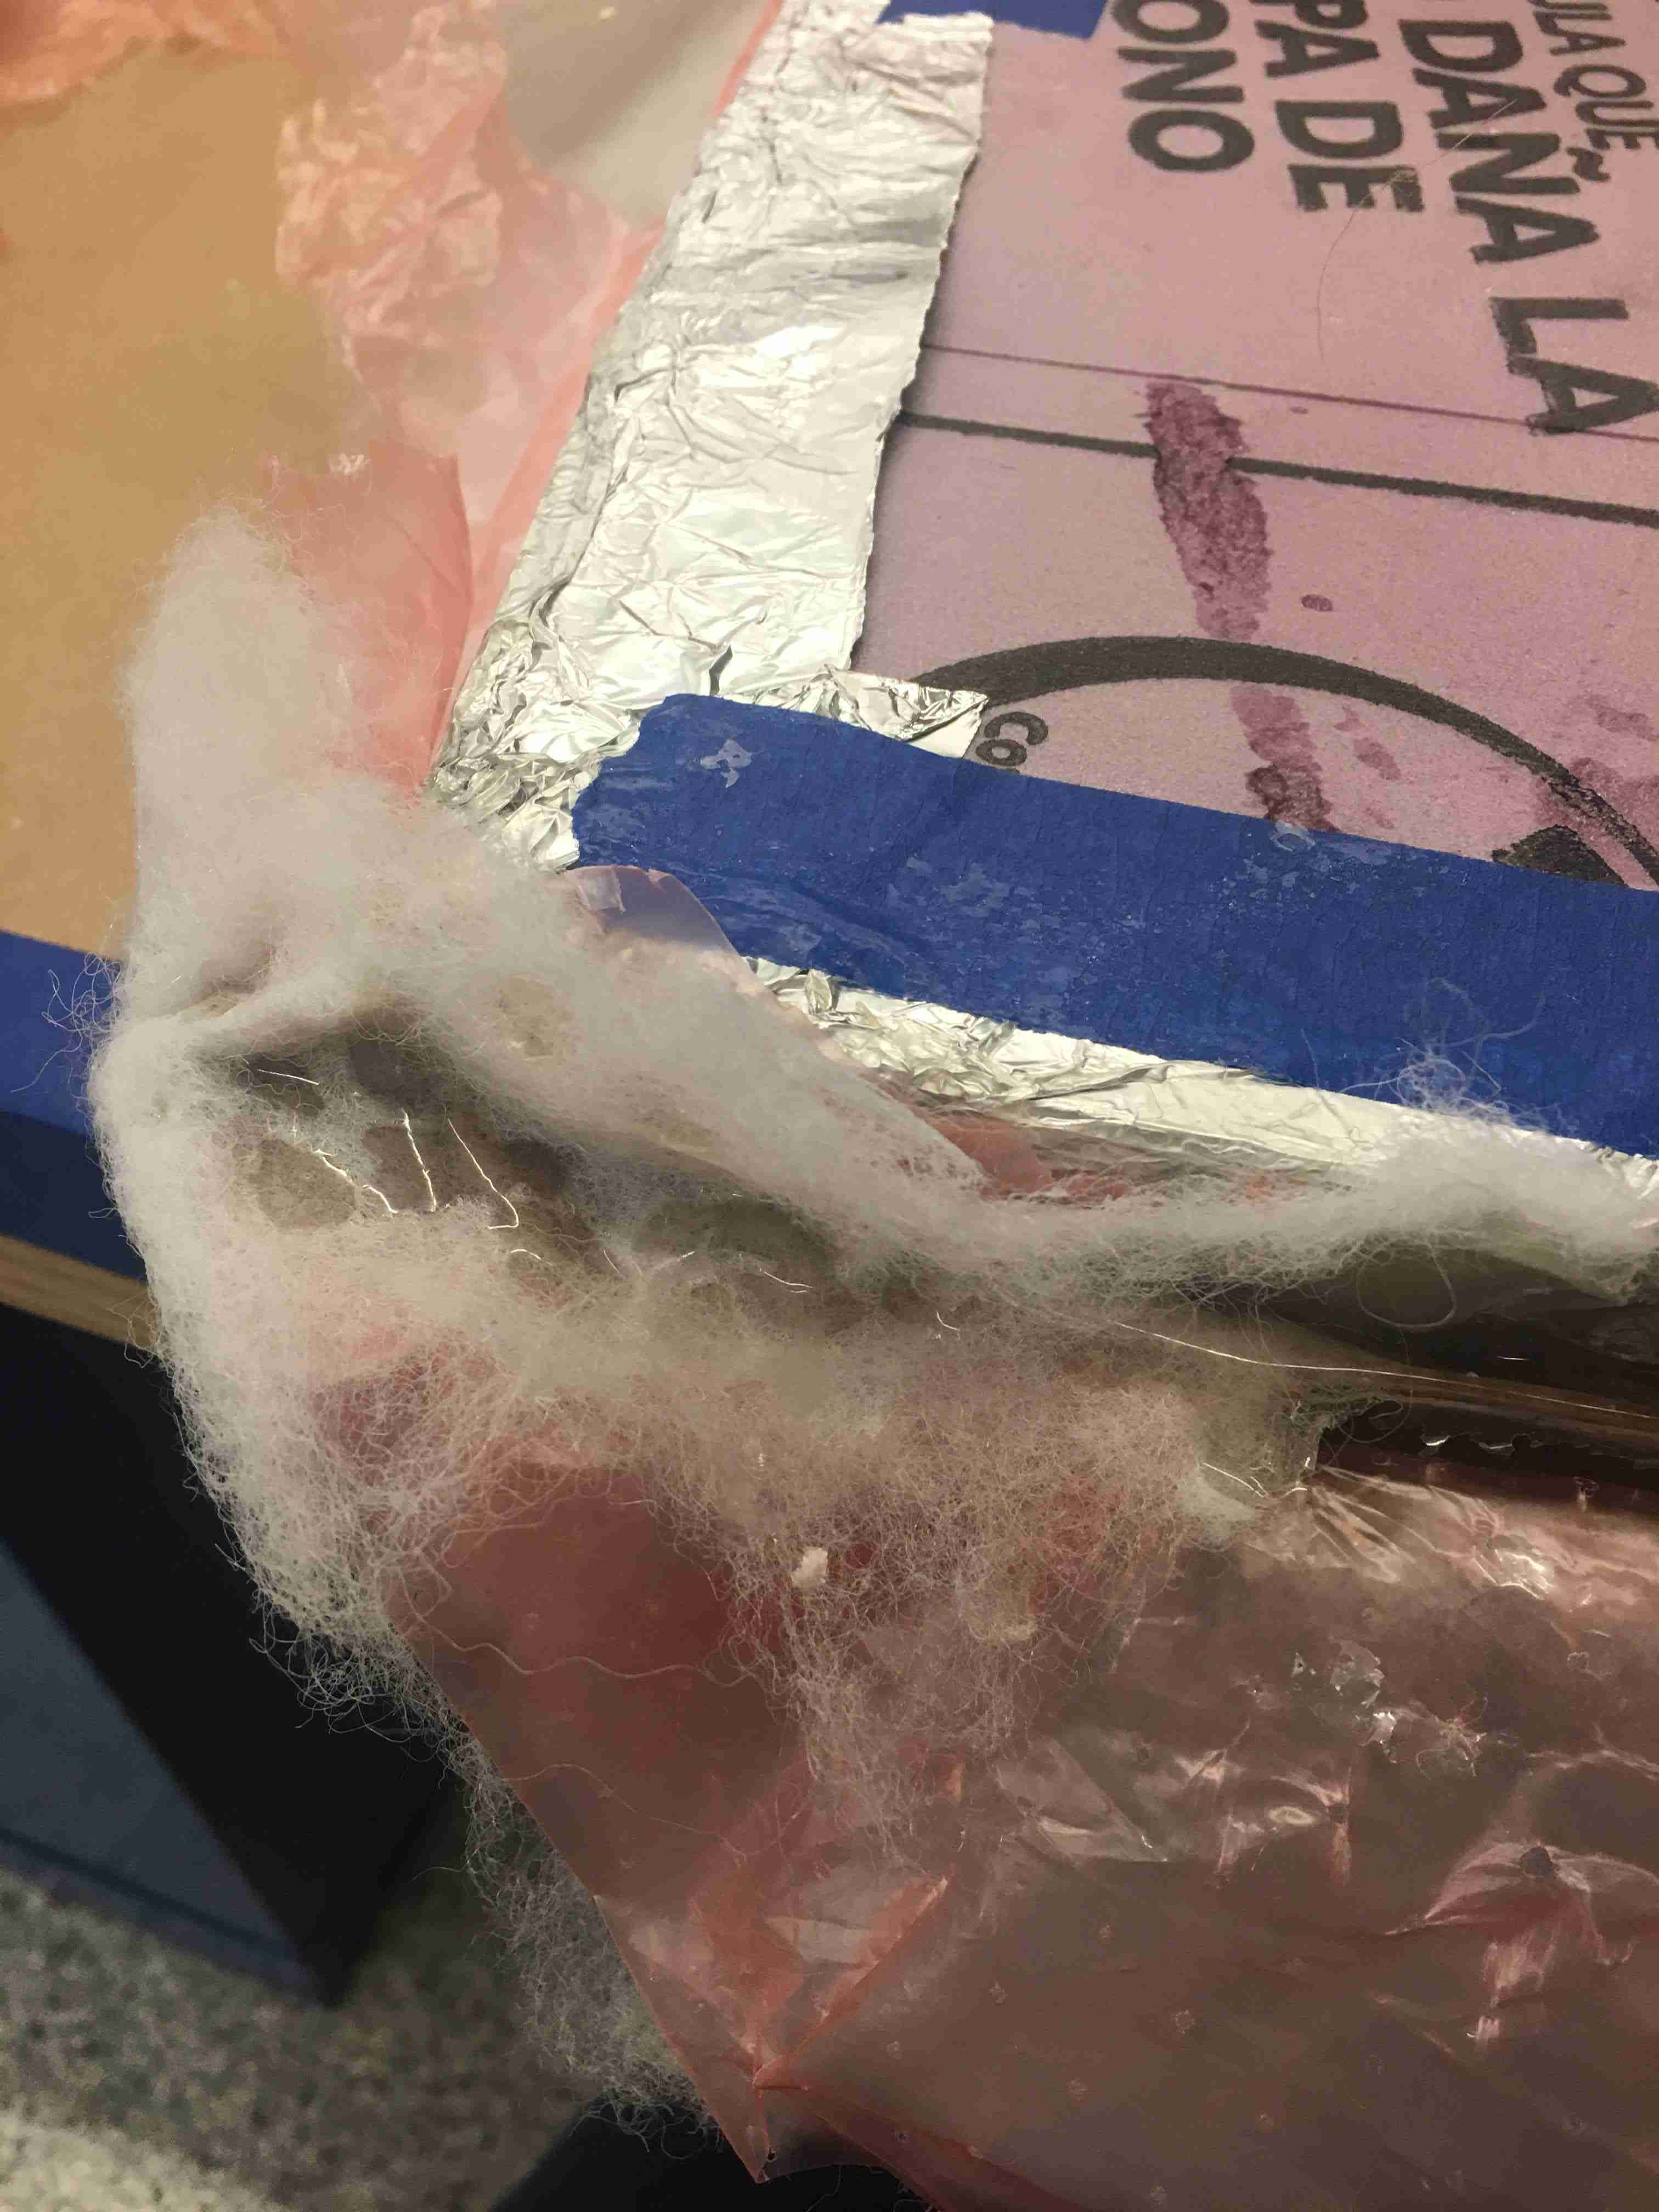
- Cover the object with a bleeder and a breather. Breather is a cloth that allows excess resin through and prevents the bag from touching resin. Bleeder is a thick cotton like cloth that absorbs excess resin.
- Put your composite material in a vaccum bag and vaccum all the air out. Wait until epoxy is cured.
- Post processing: You can cut excess hard pieces with a bandsaw and clean upi the surface with sand paper.
Making (something like) a snowsled
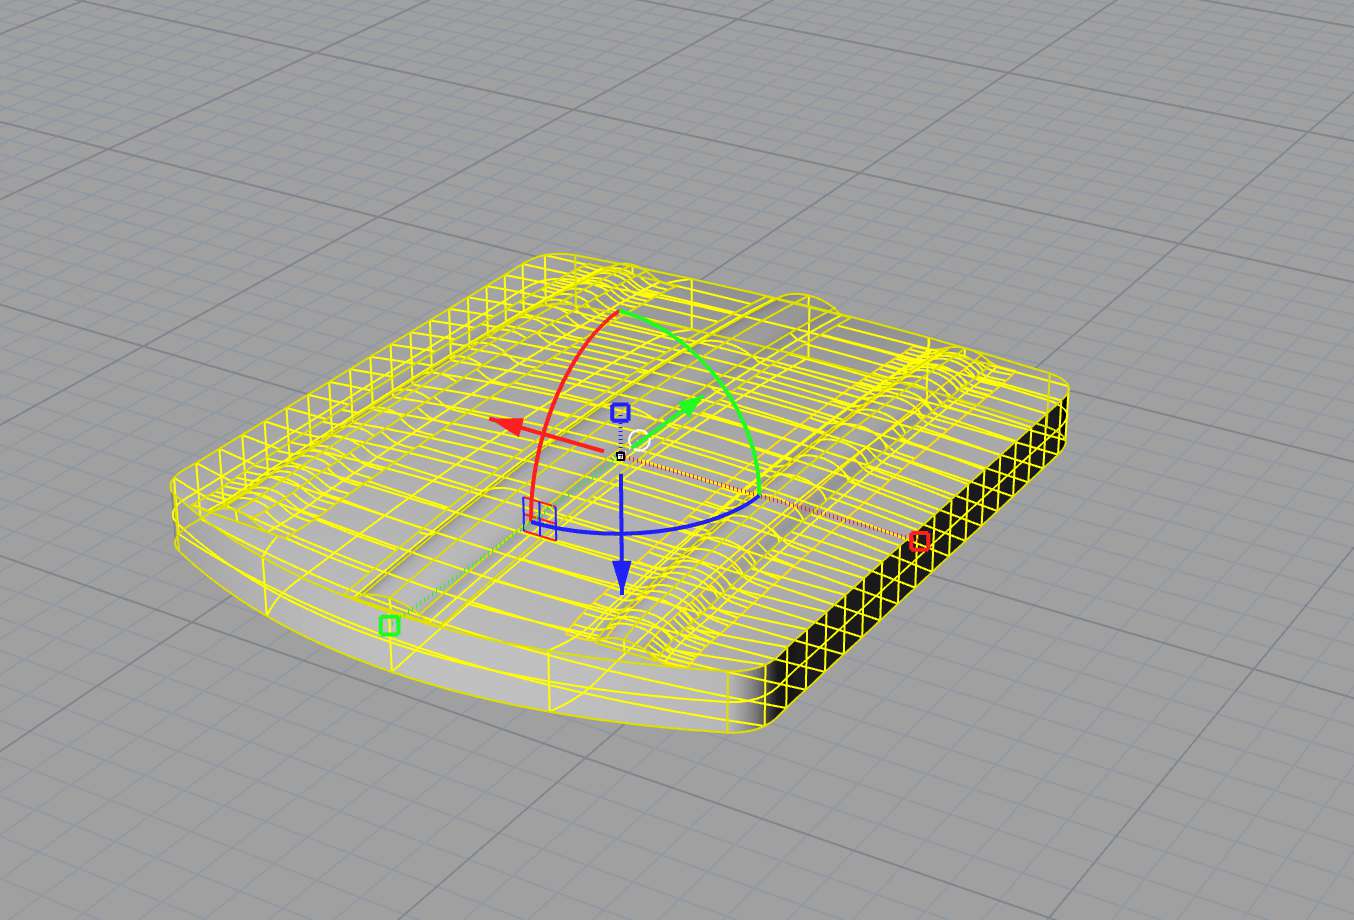
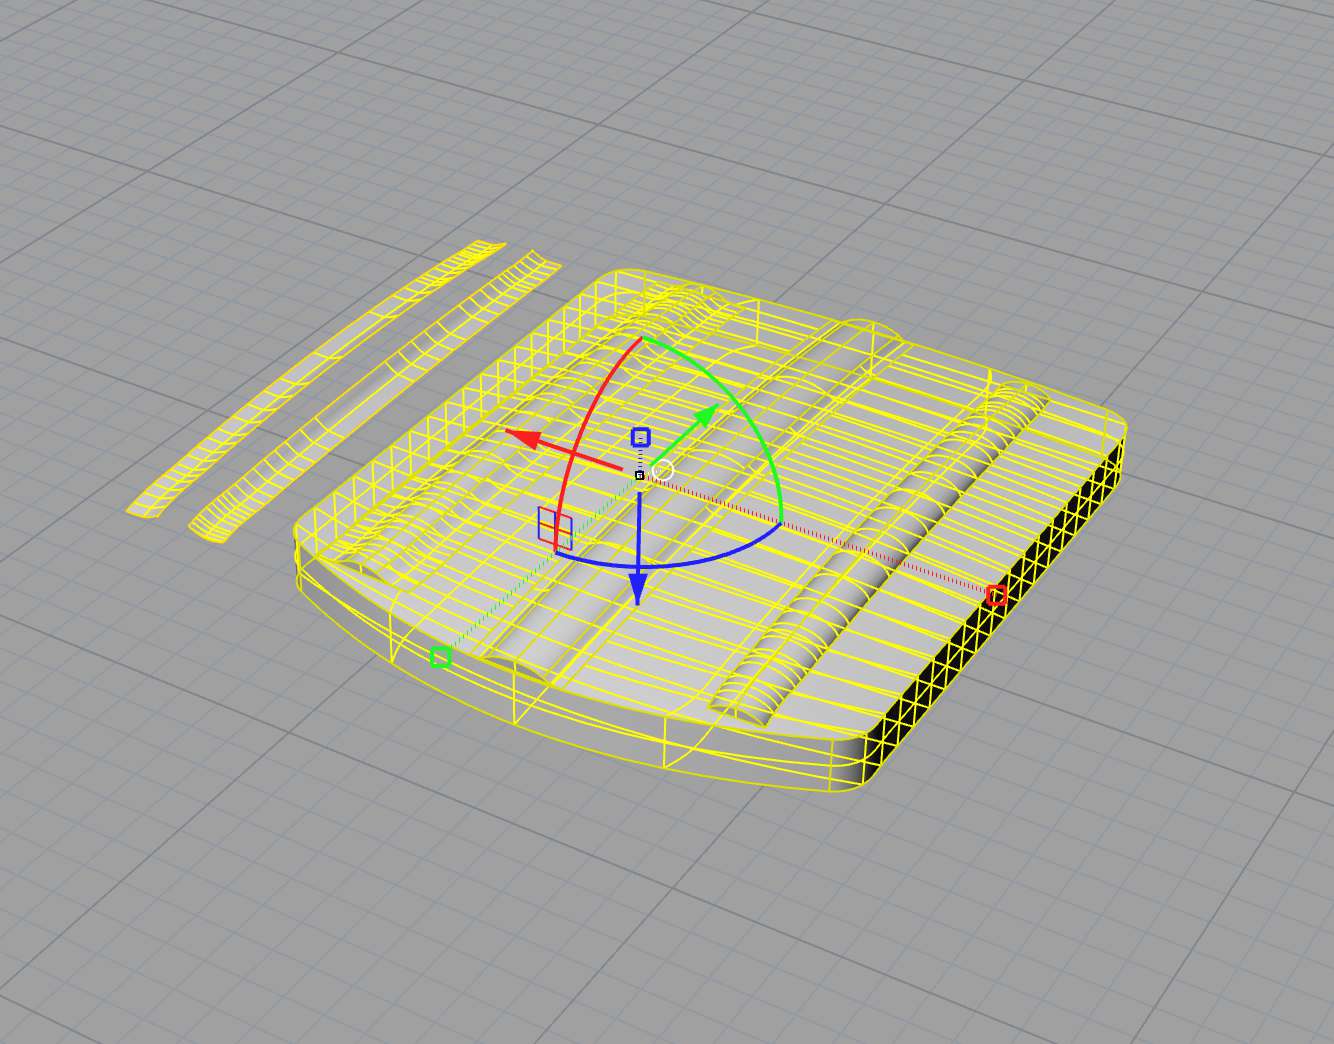
This week I wanted to learn Rhino, a good option for making curvy surfaces. I watched a couple of tutorials online. Its main difference with other softwares is the ability to draw and edit in 3D. It also doesn't enforce the strict hierarchical design that Fusion 360 or Solidworks do. It took me a while to learn how to modify surfaces though and I ended up with an unjoined model.
 |
 |
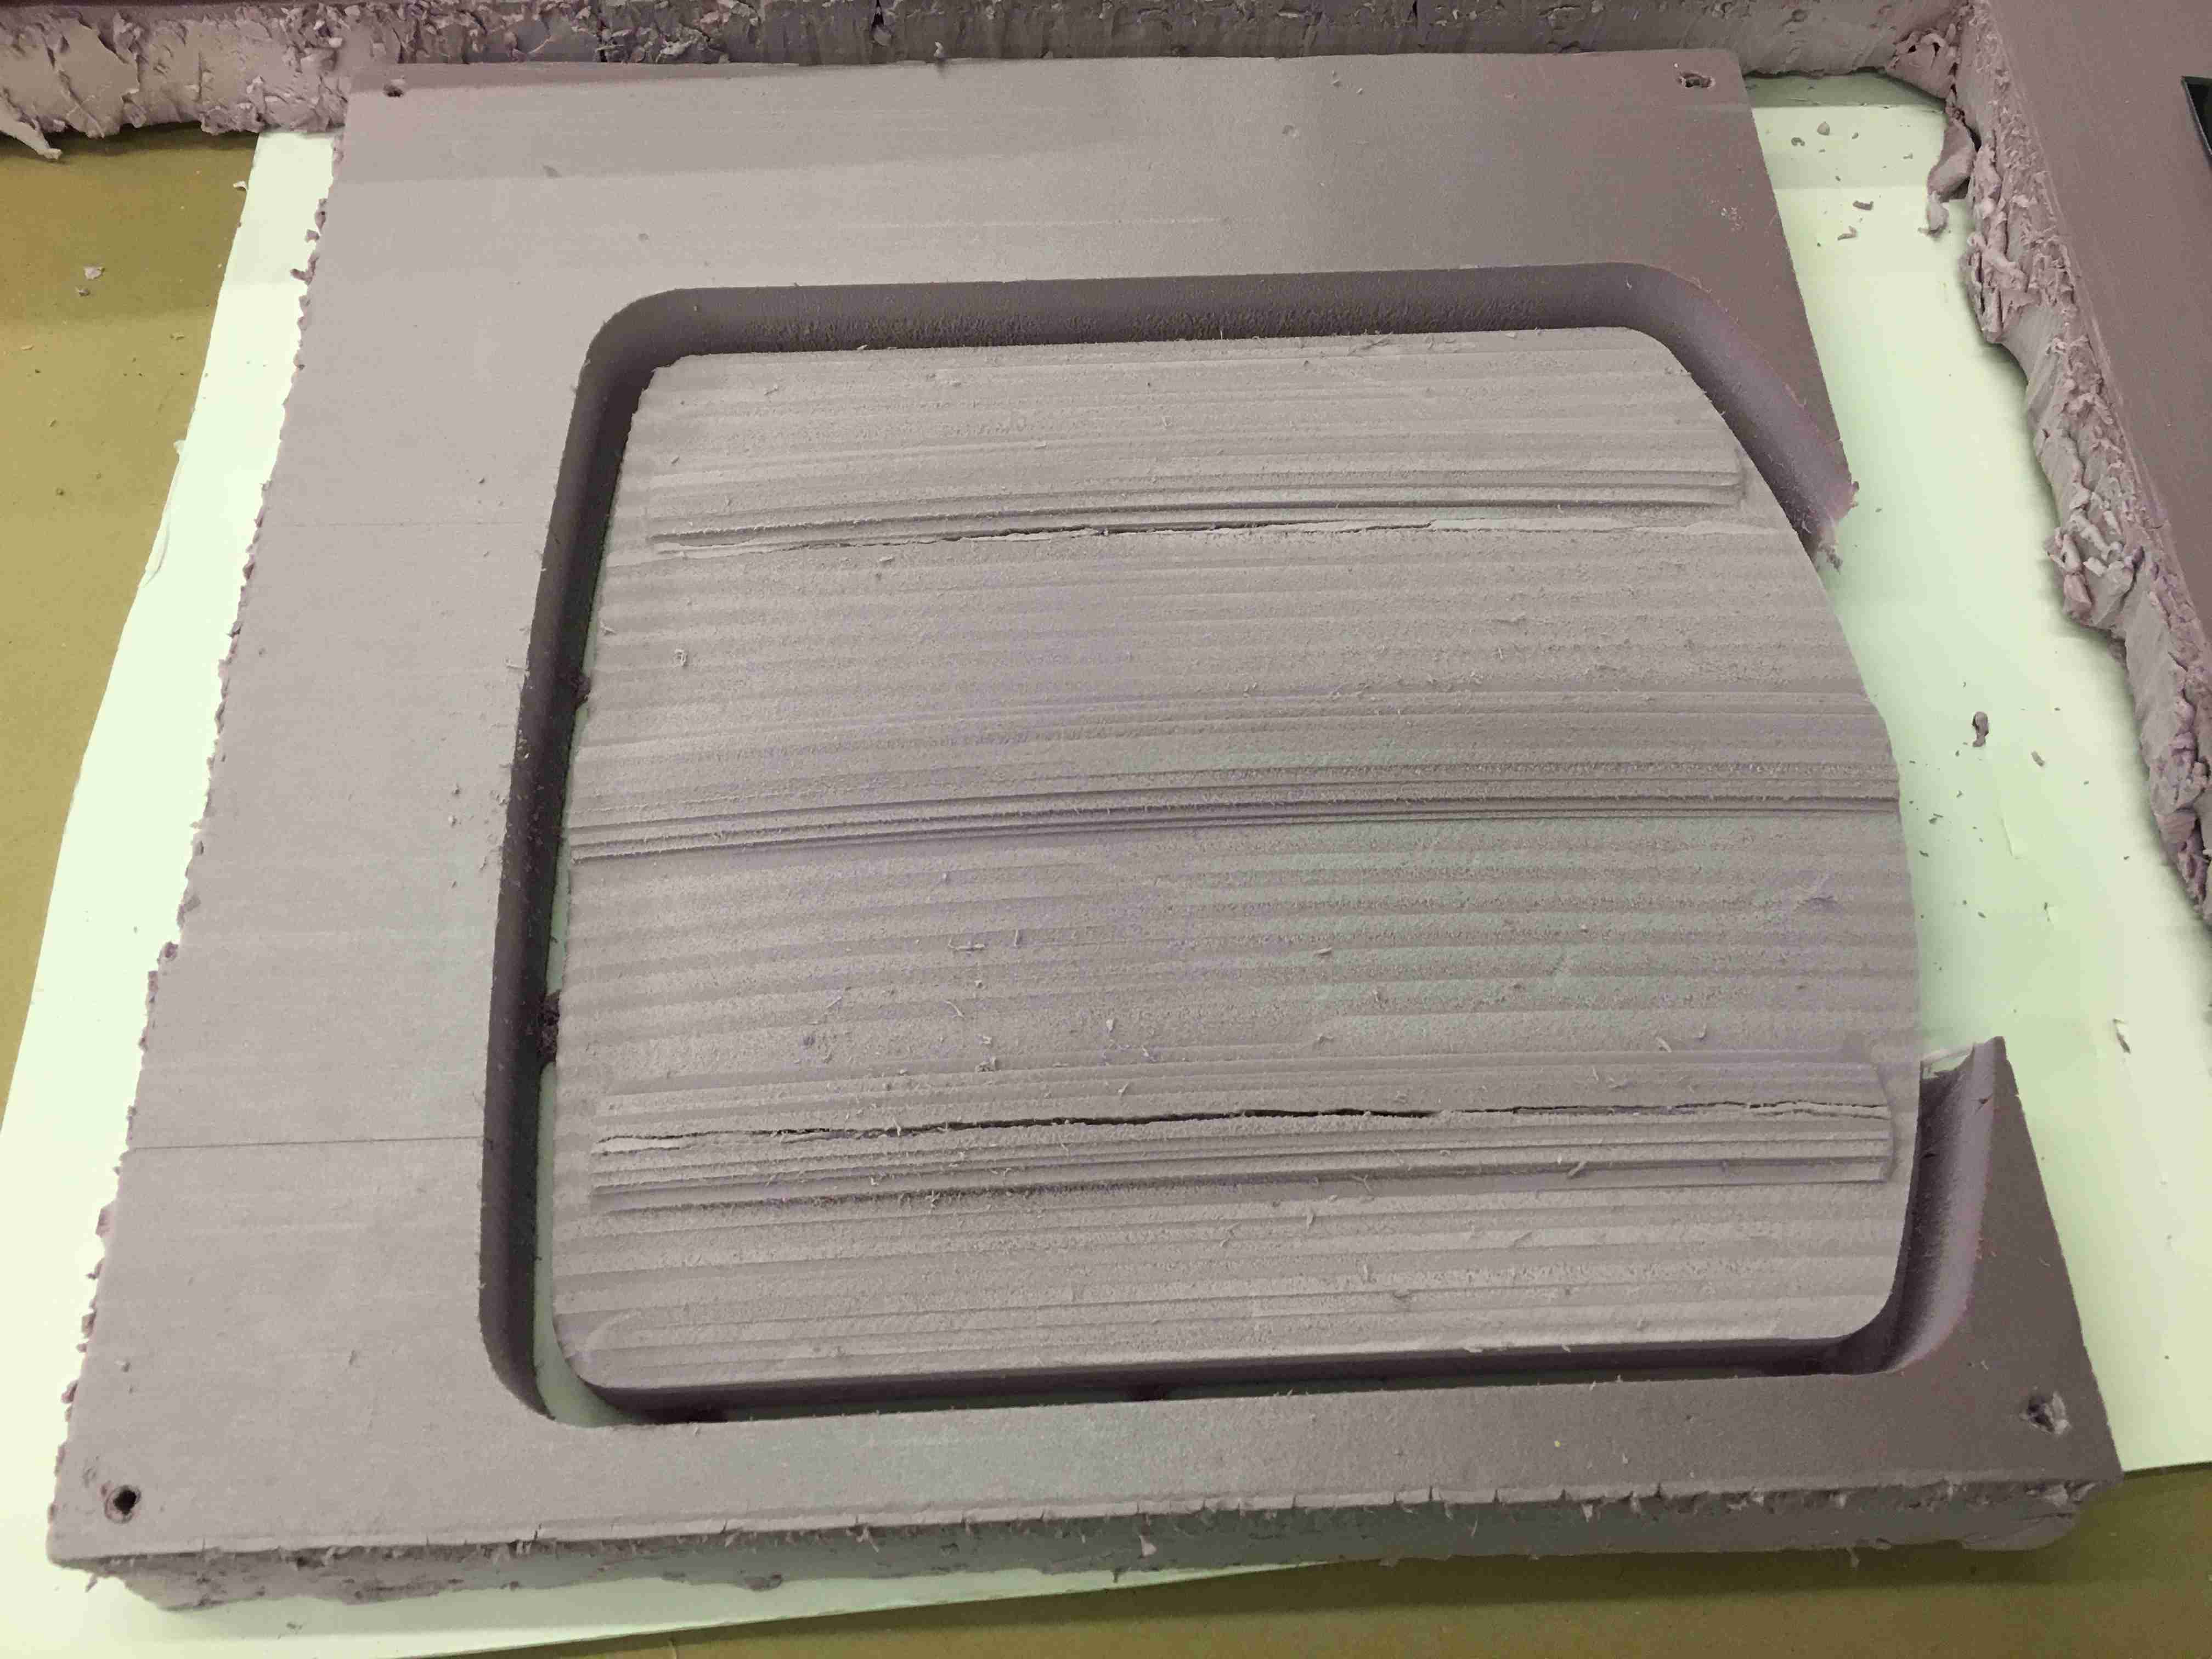
The toolpath was created in Vectric Cut3D. I milled the mold out of a 20x20x2 foam with a 0.5 inch end mill. Gavin told me to set FRO to less than 70%, because the machine can't run commands any faster. FRO is the speed at which gcode commands are sent to the machine - unsure what it stands for.
Once milling started, I realized the machine was milling too far on one side of the foam, but luckily it only the outer fringe didn't get milled. The foam also cracked on a few parts, which didn't really matter for the purpose of making composites.
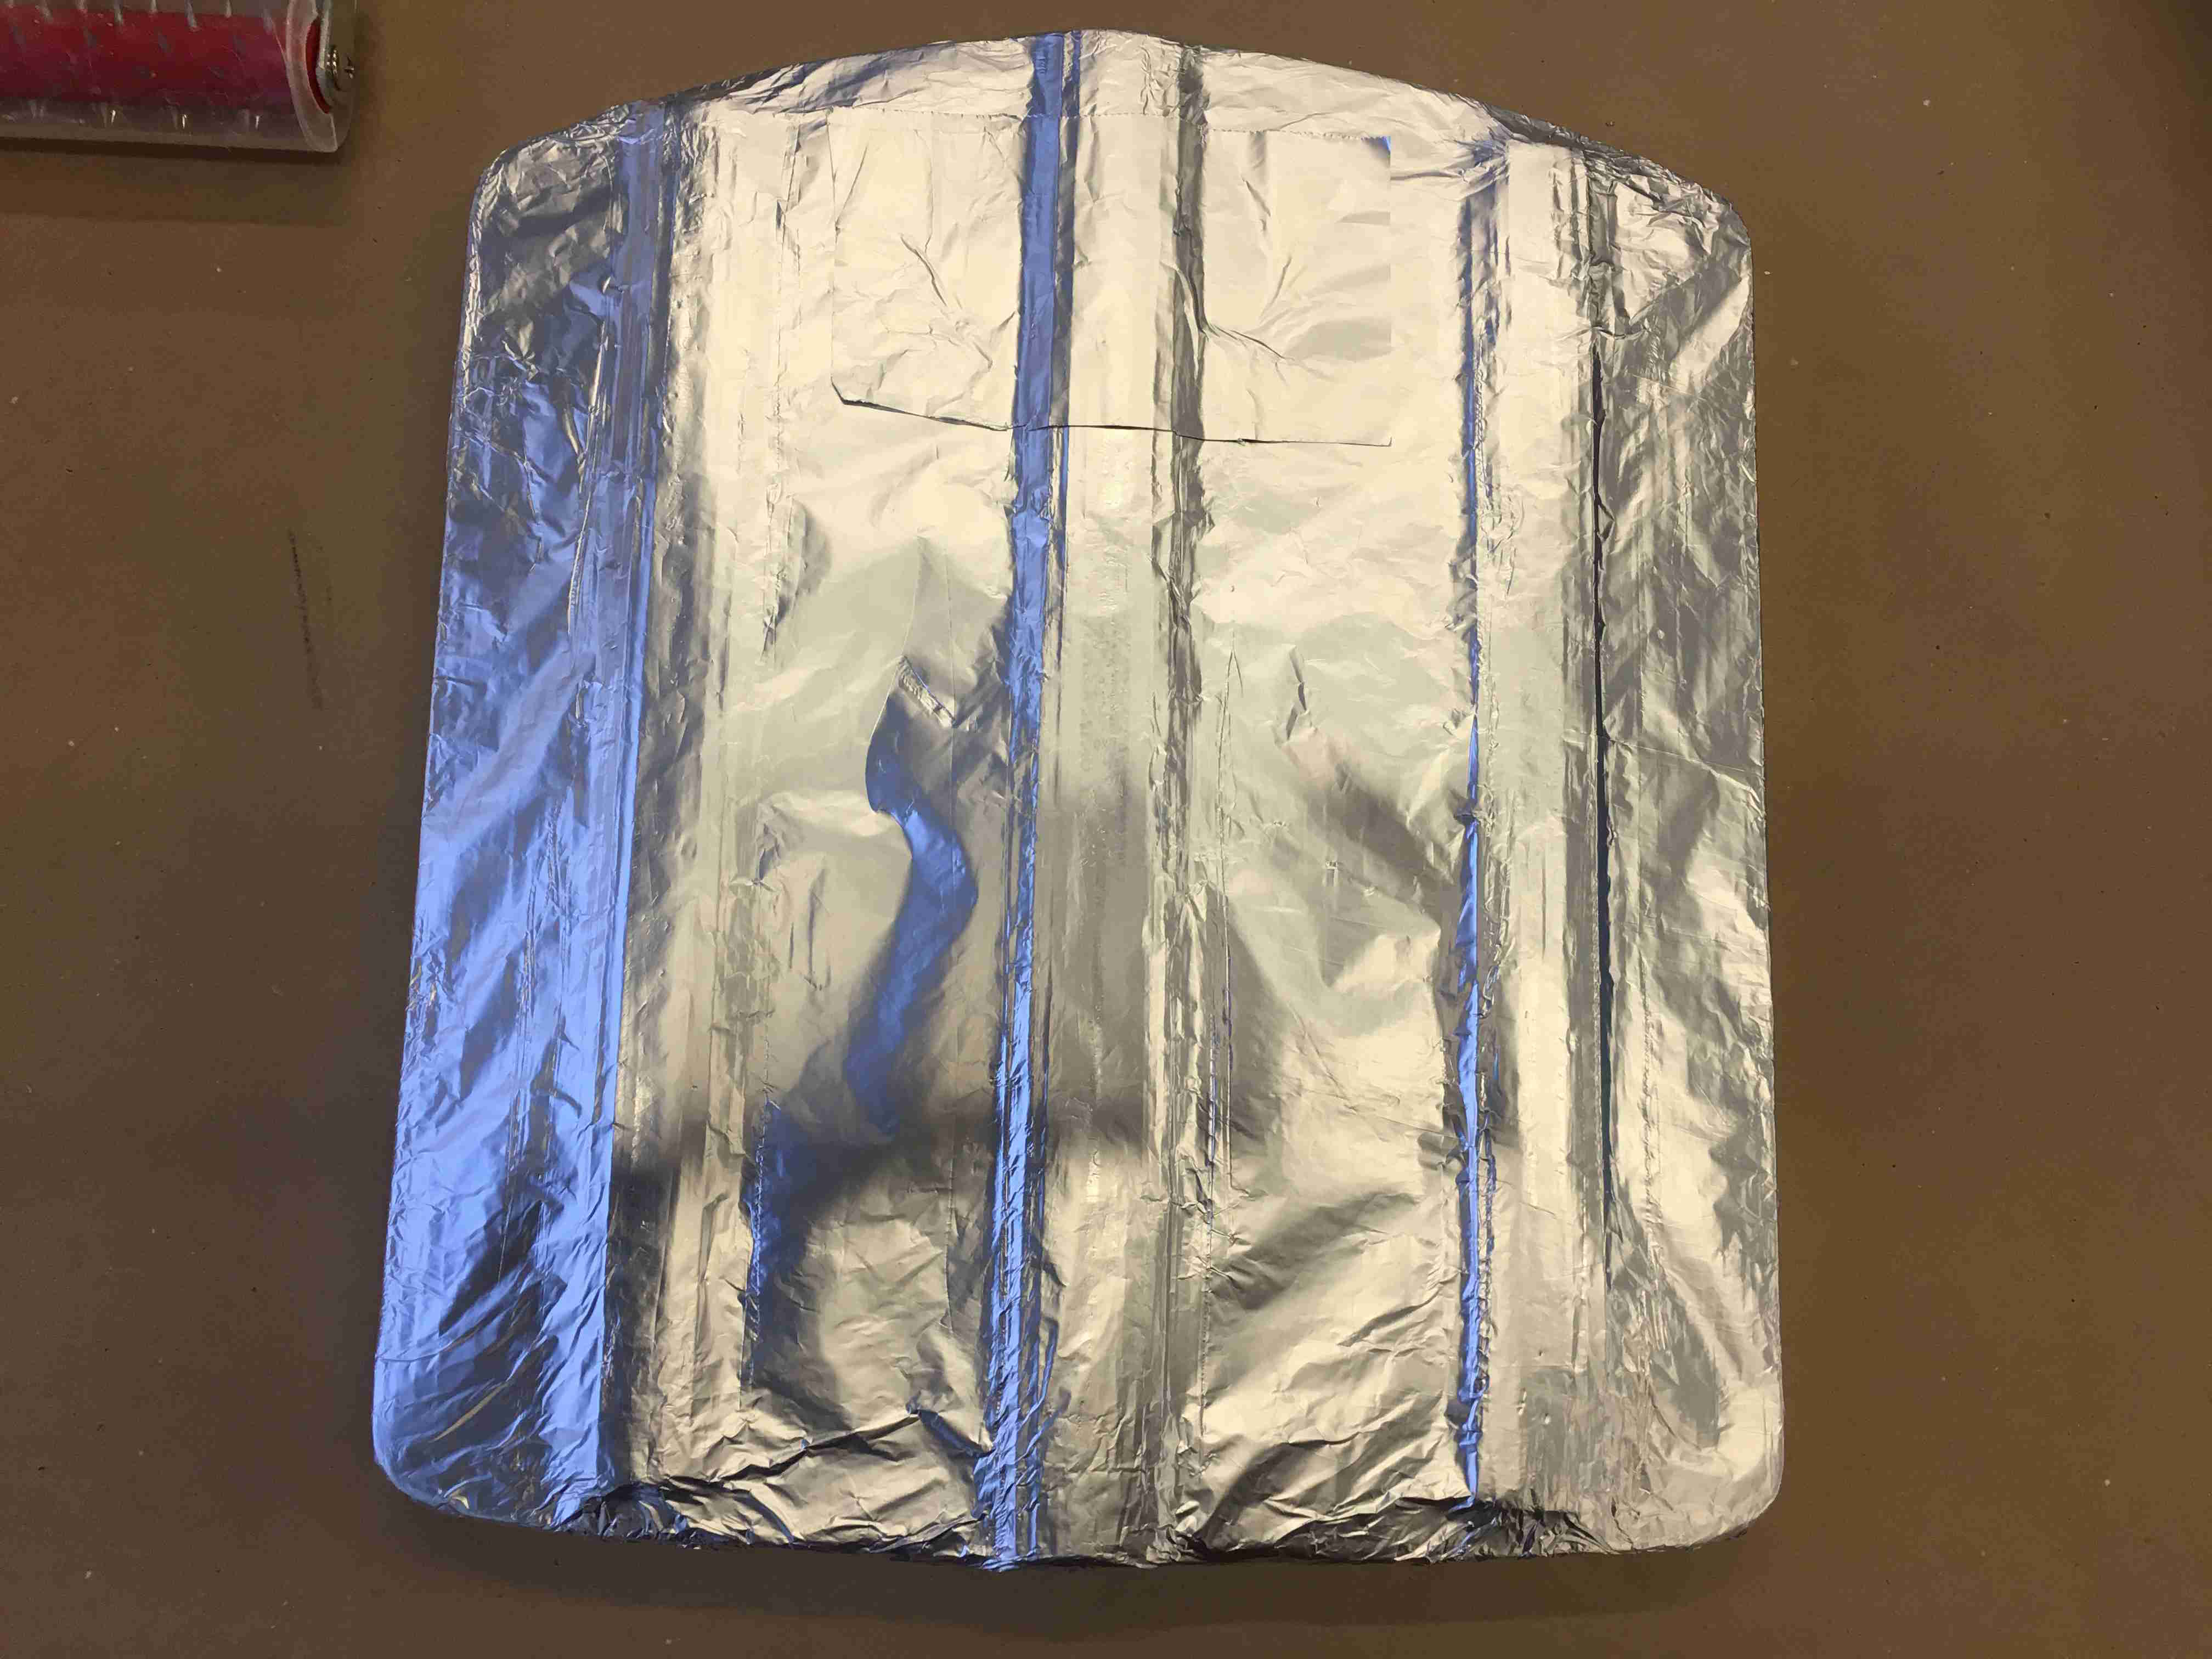
Covered the mold with aluminum foil. Based on advice from one of the classmates, I sprayed it twice with epoxy release agent.
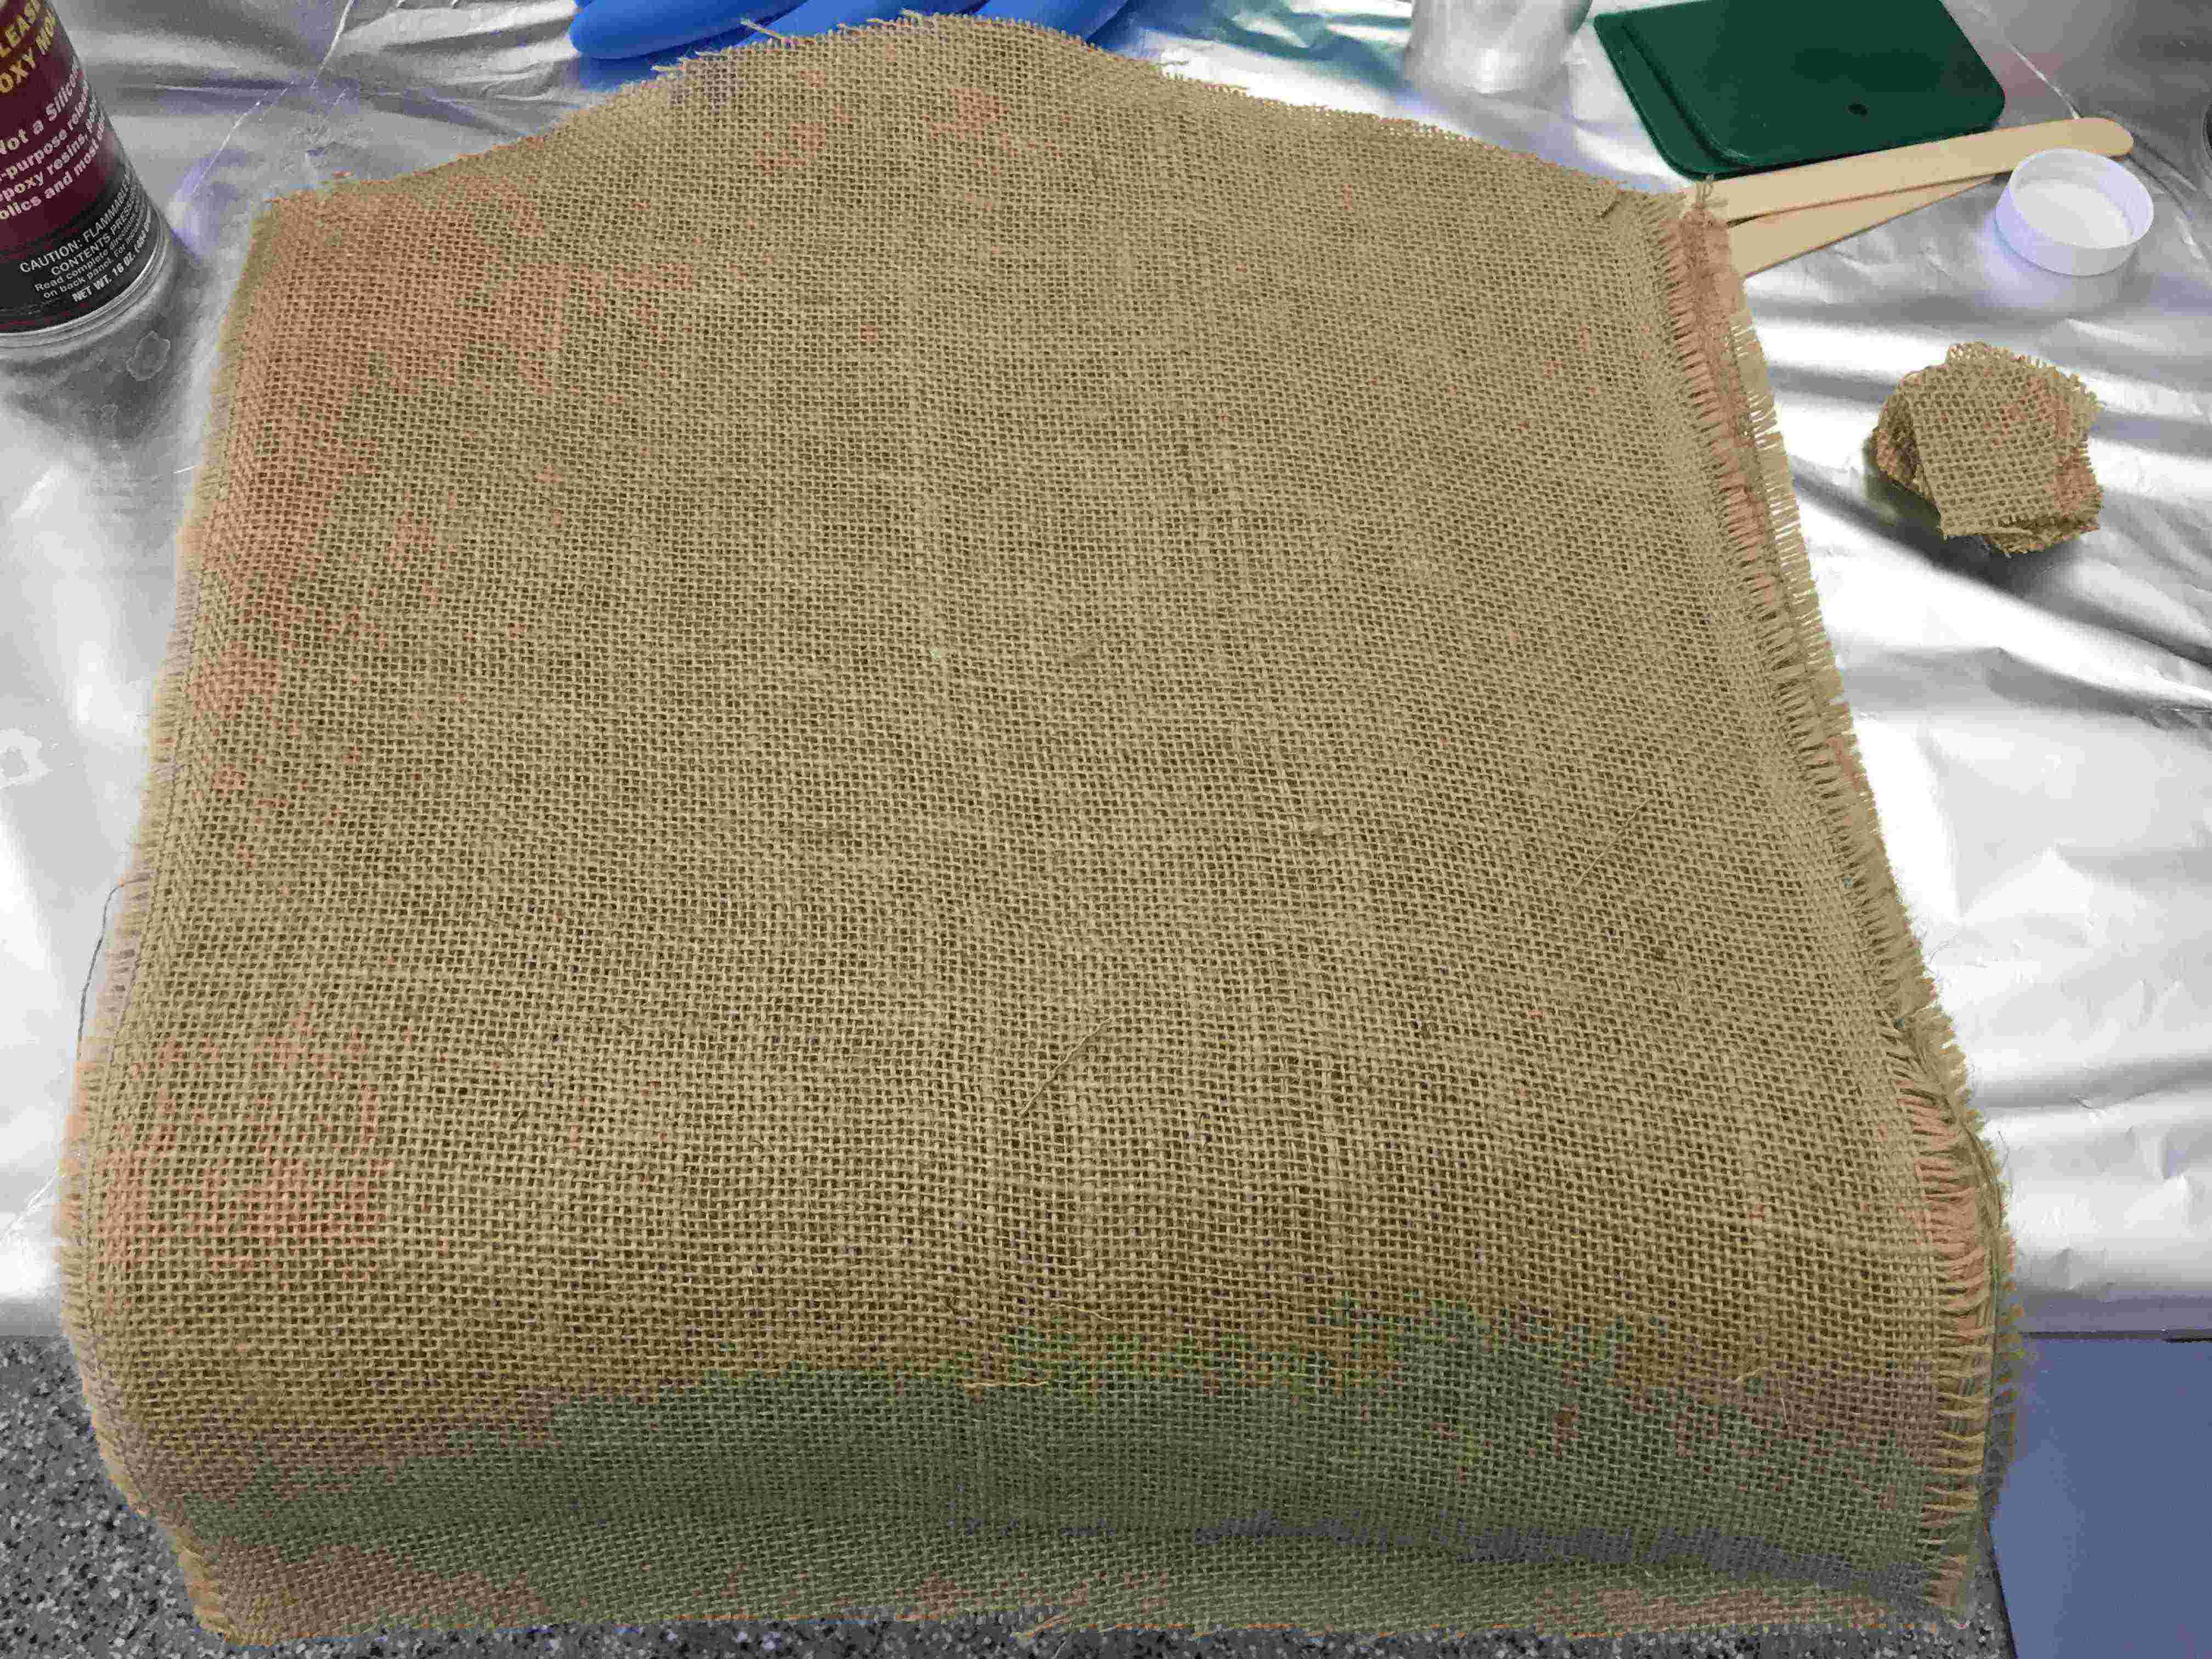
Cut 4 large pieces of burlap and let them take the shape of the mold. Burlap absorbs epoxy very quickly. I needed a lot of epoxy!
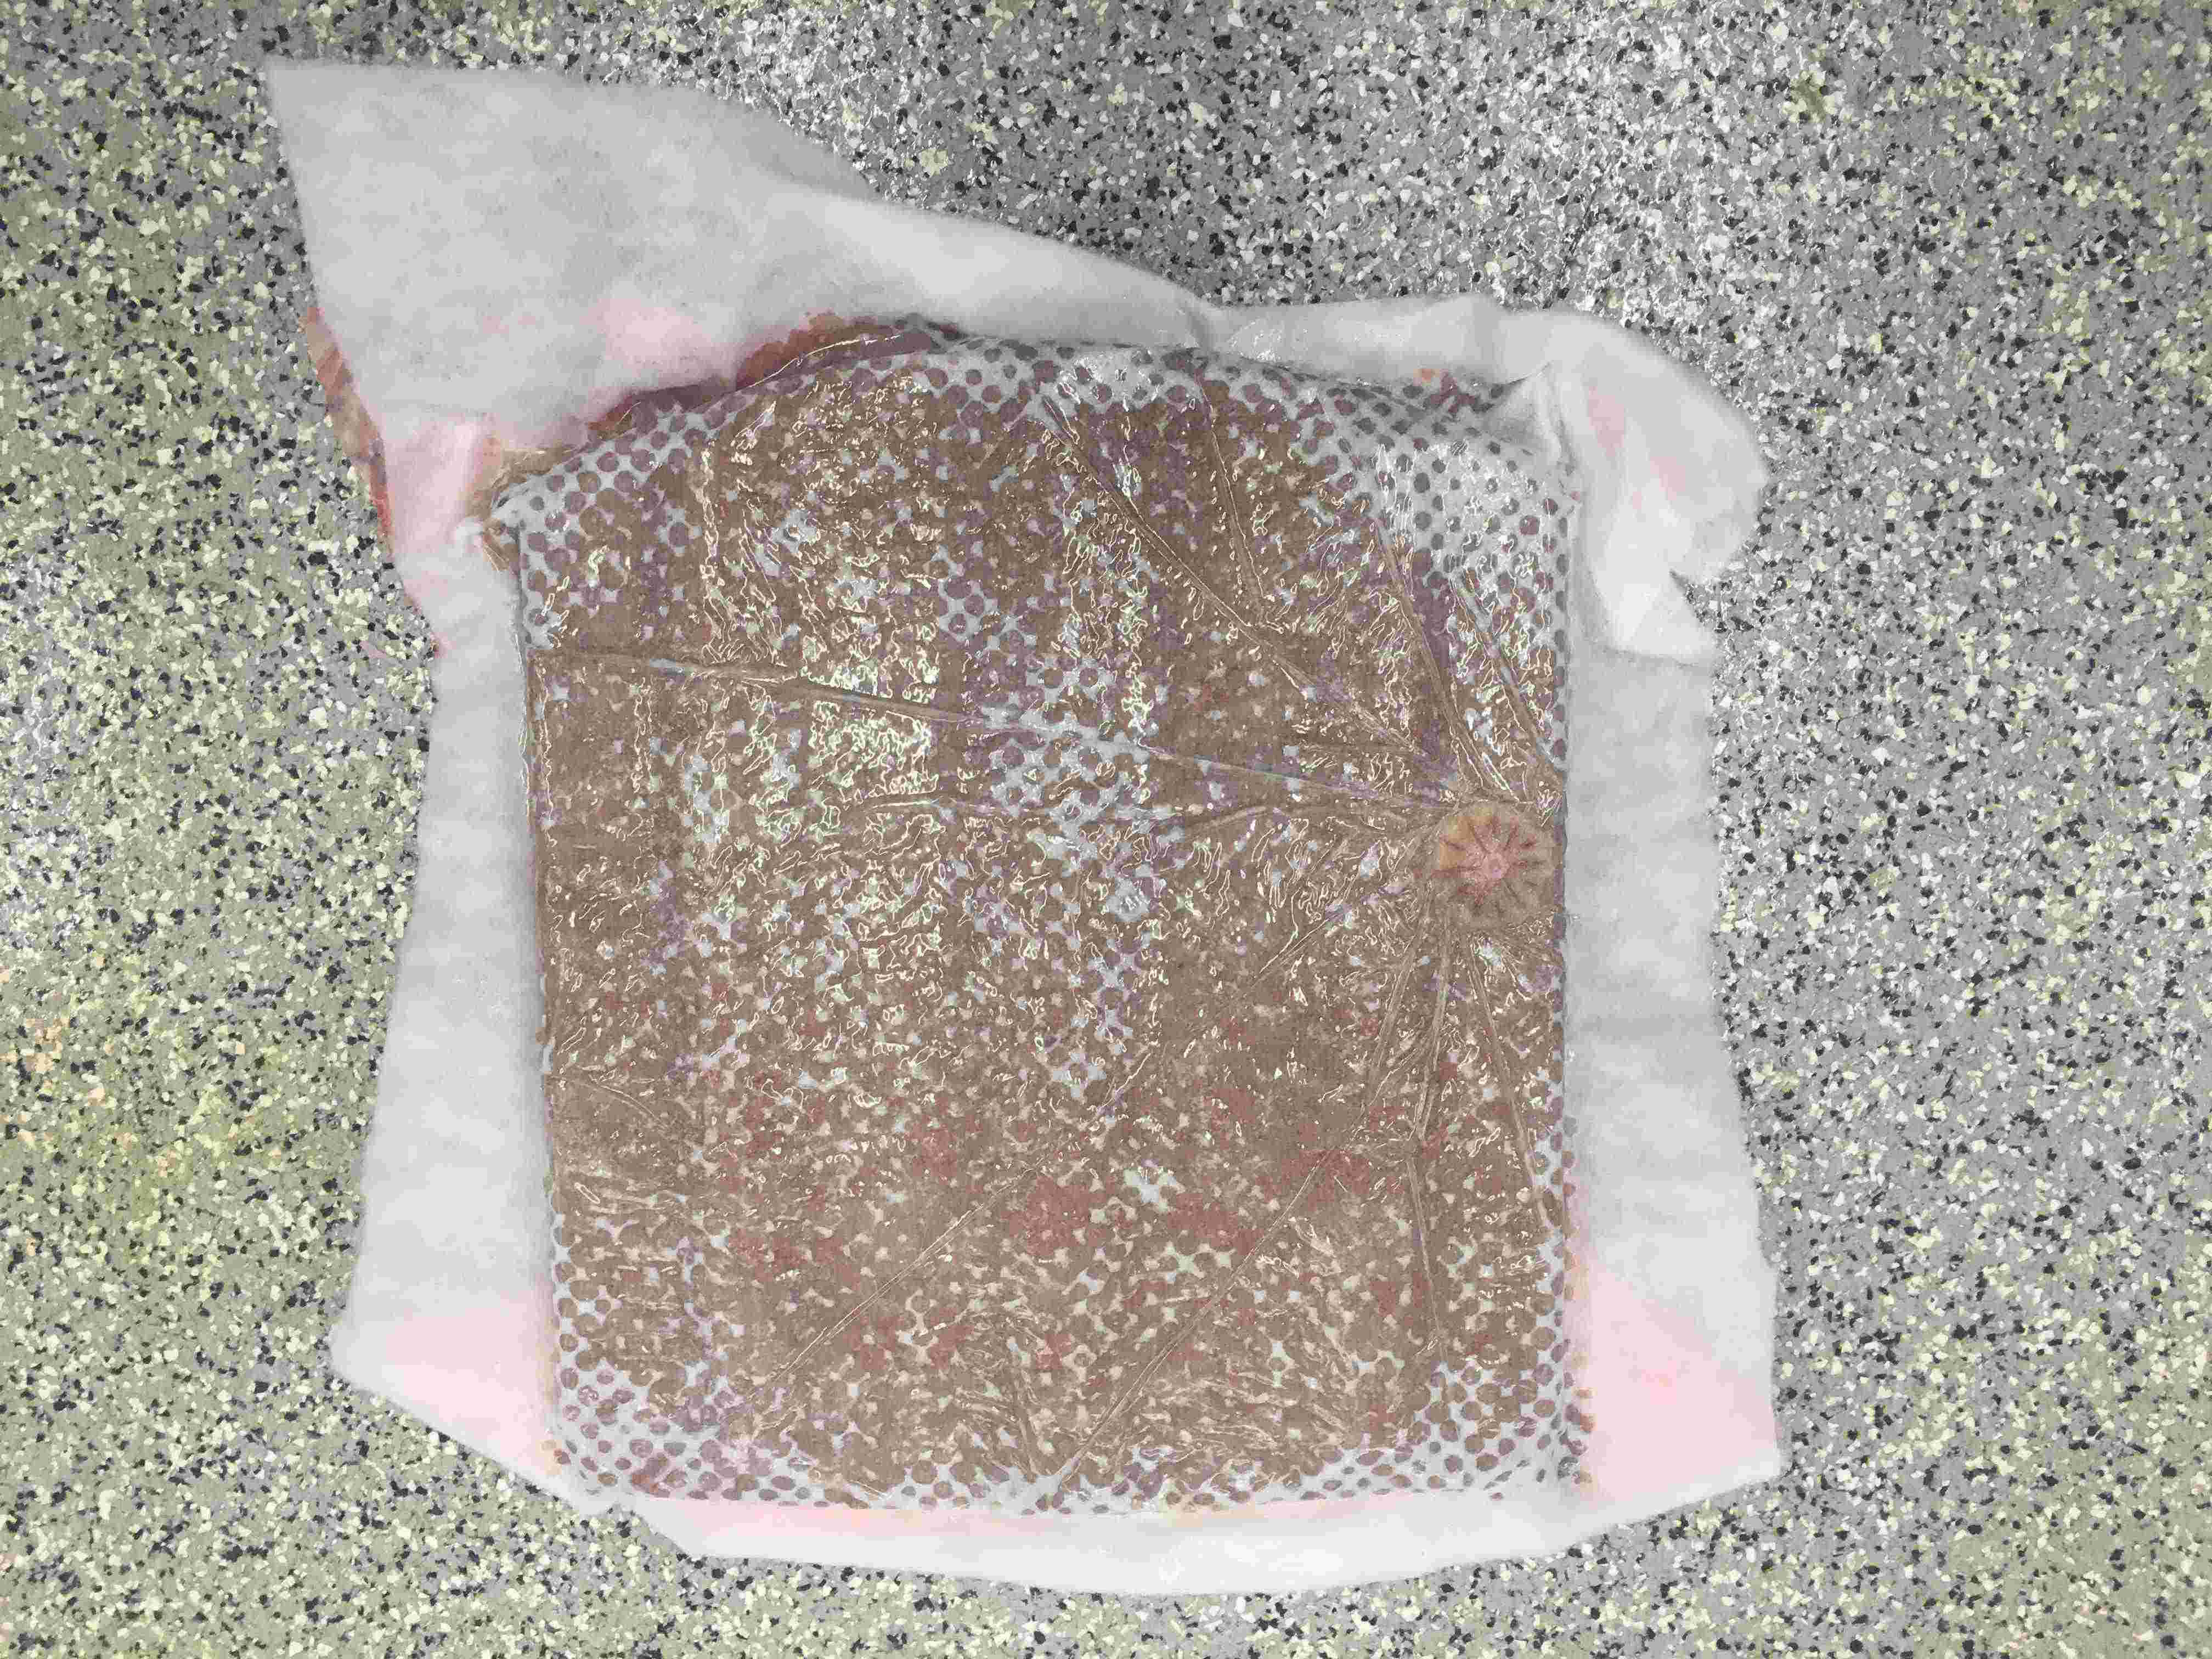
Covered the mold with breather and bleeeder and put in a vaccum bag.
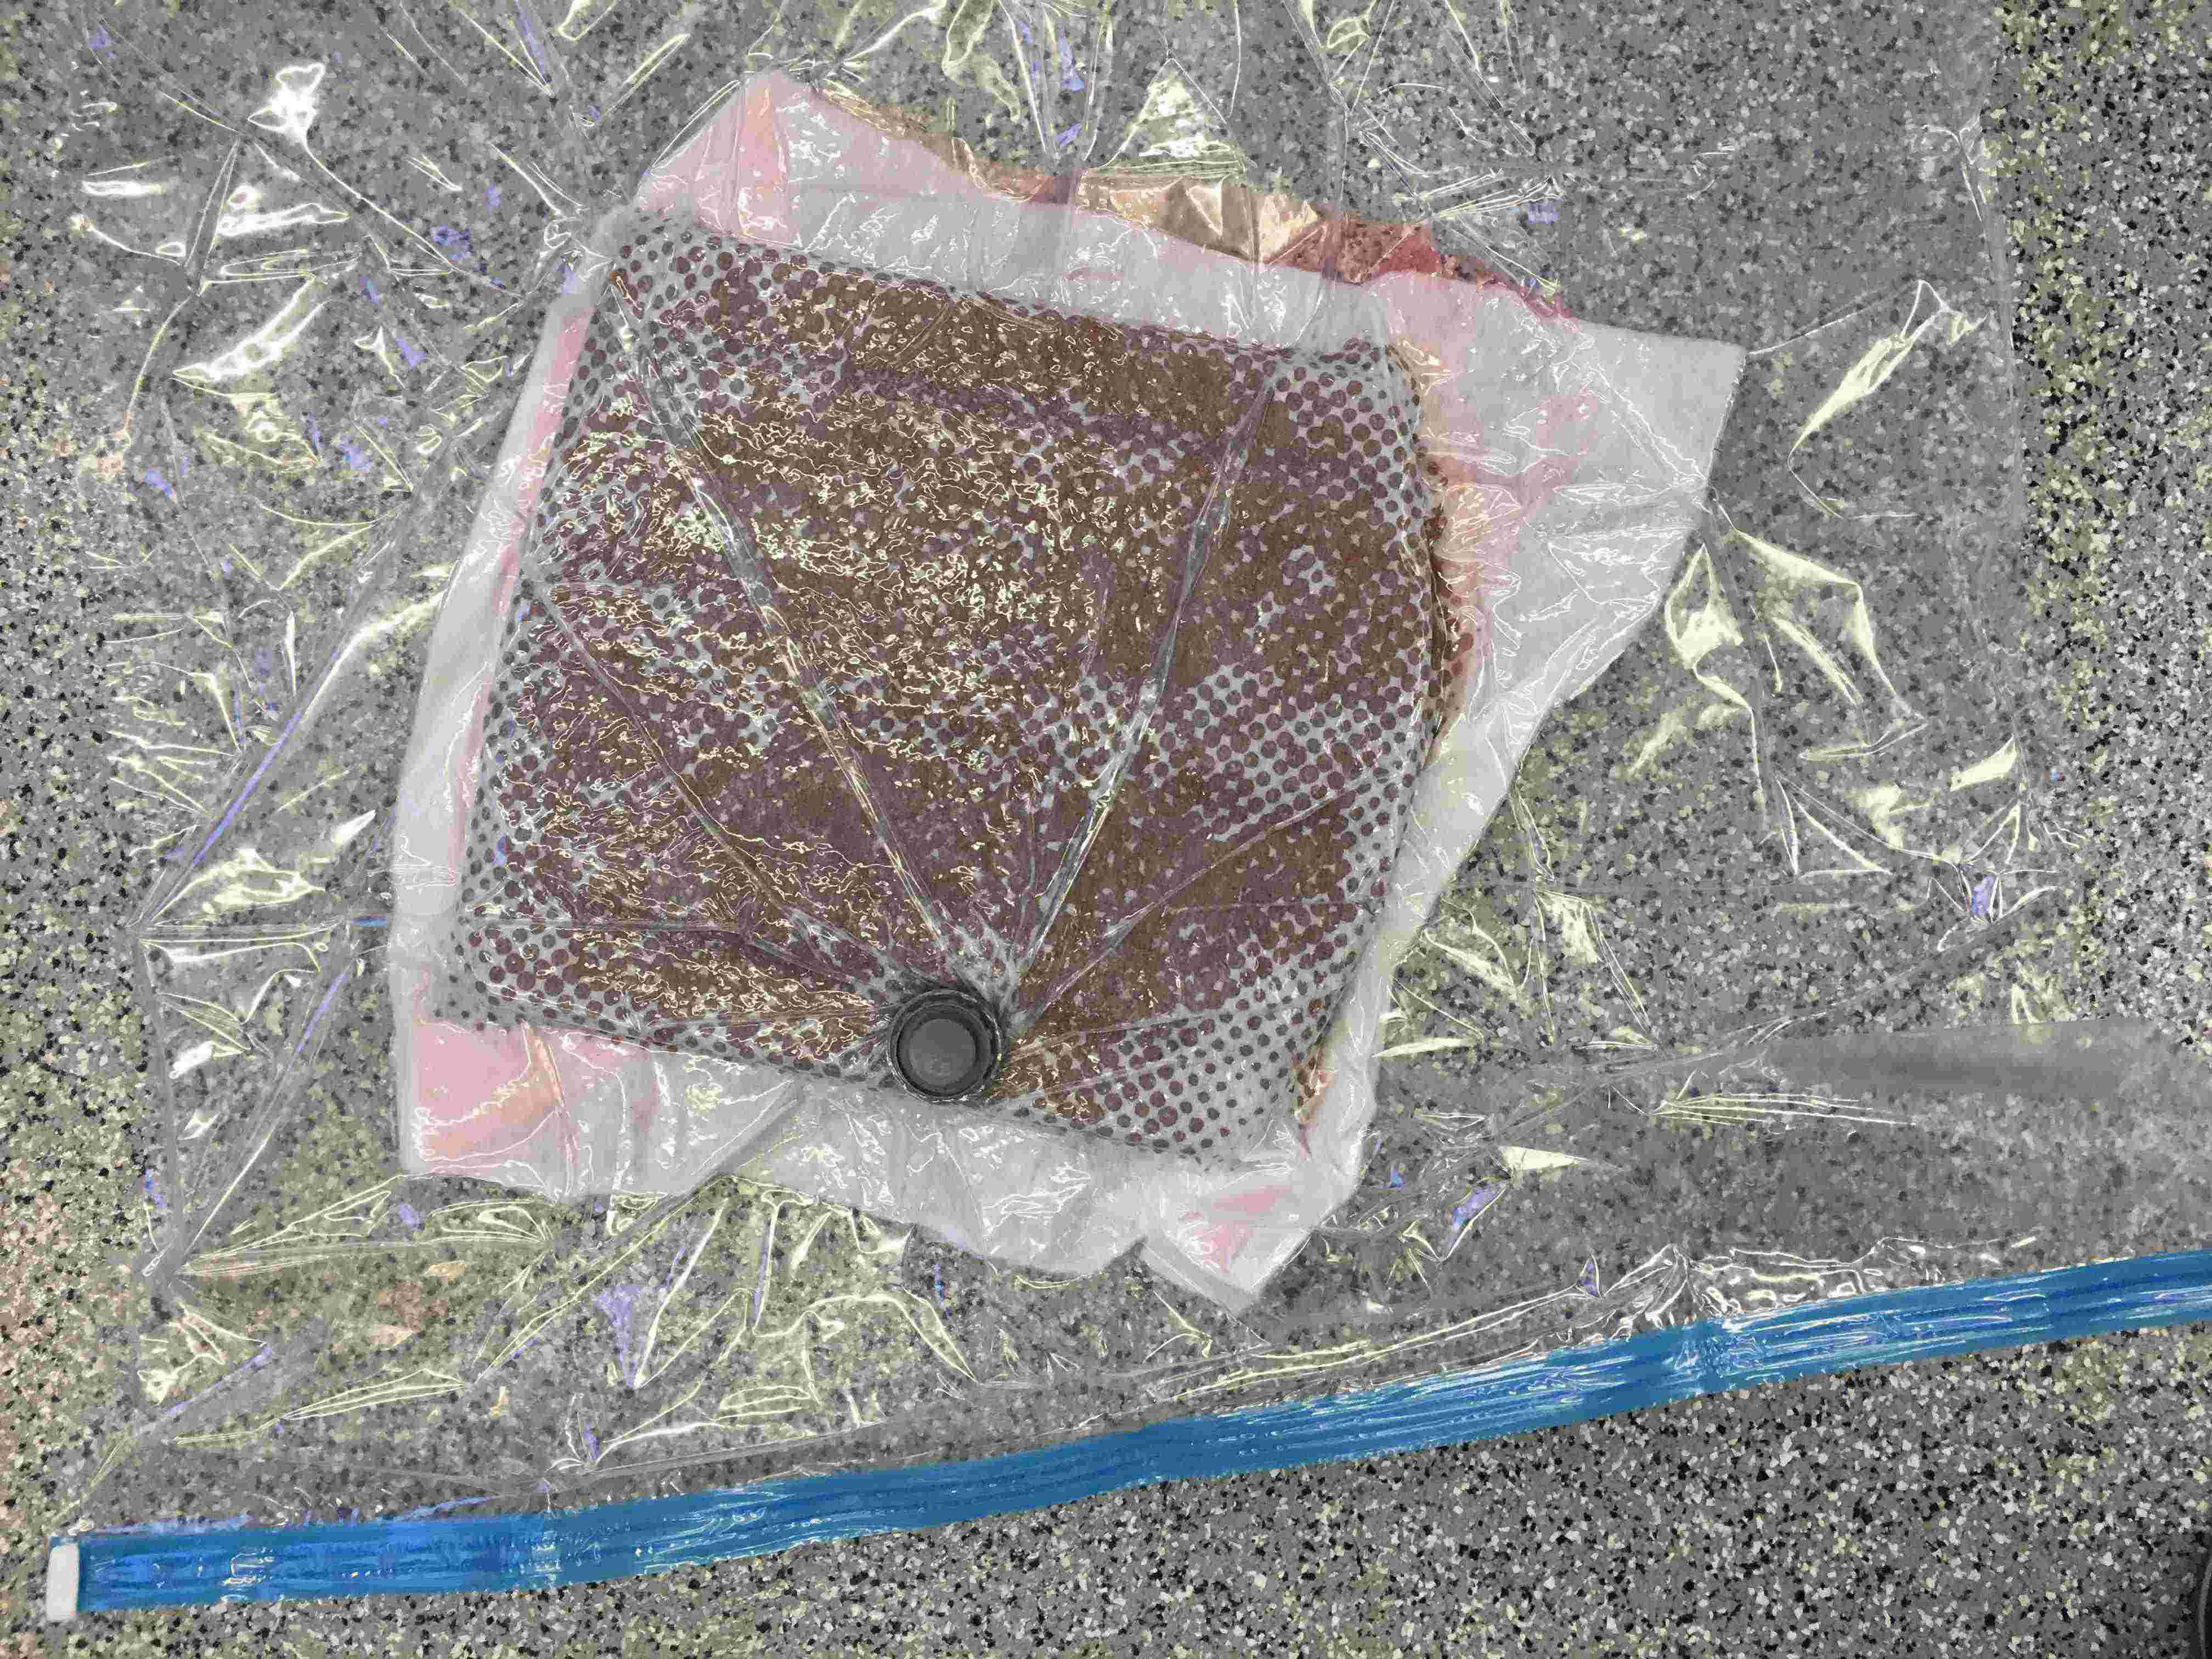
After about 5 hours, epoxy is cured.
 |
 |
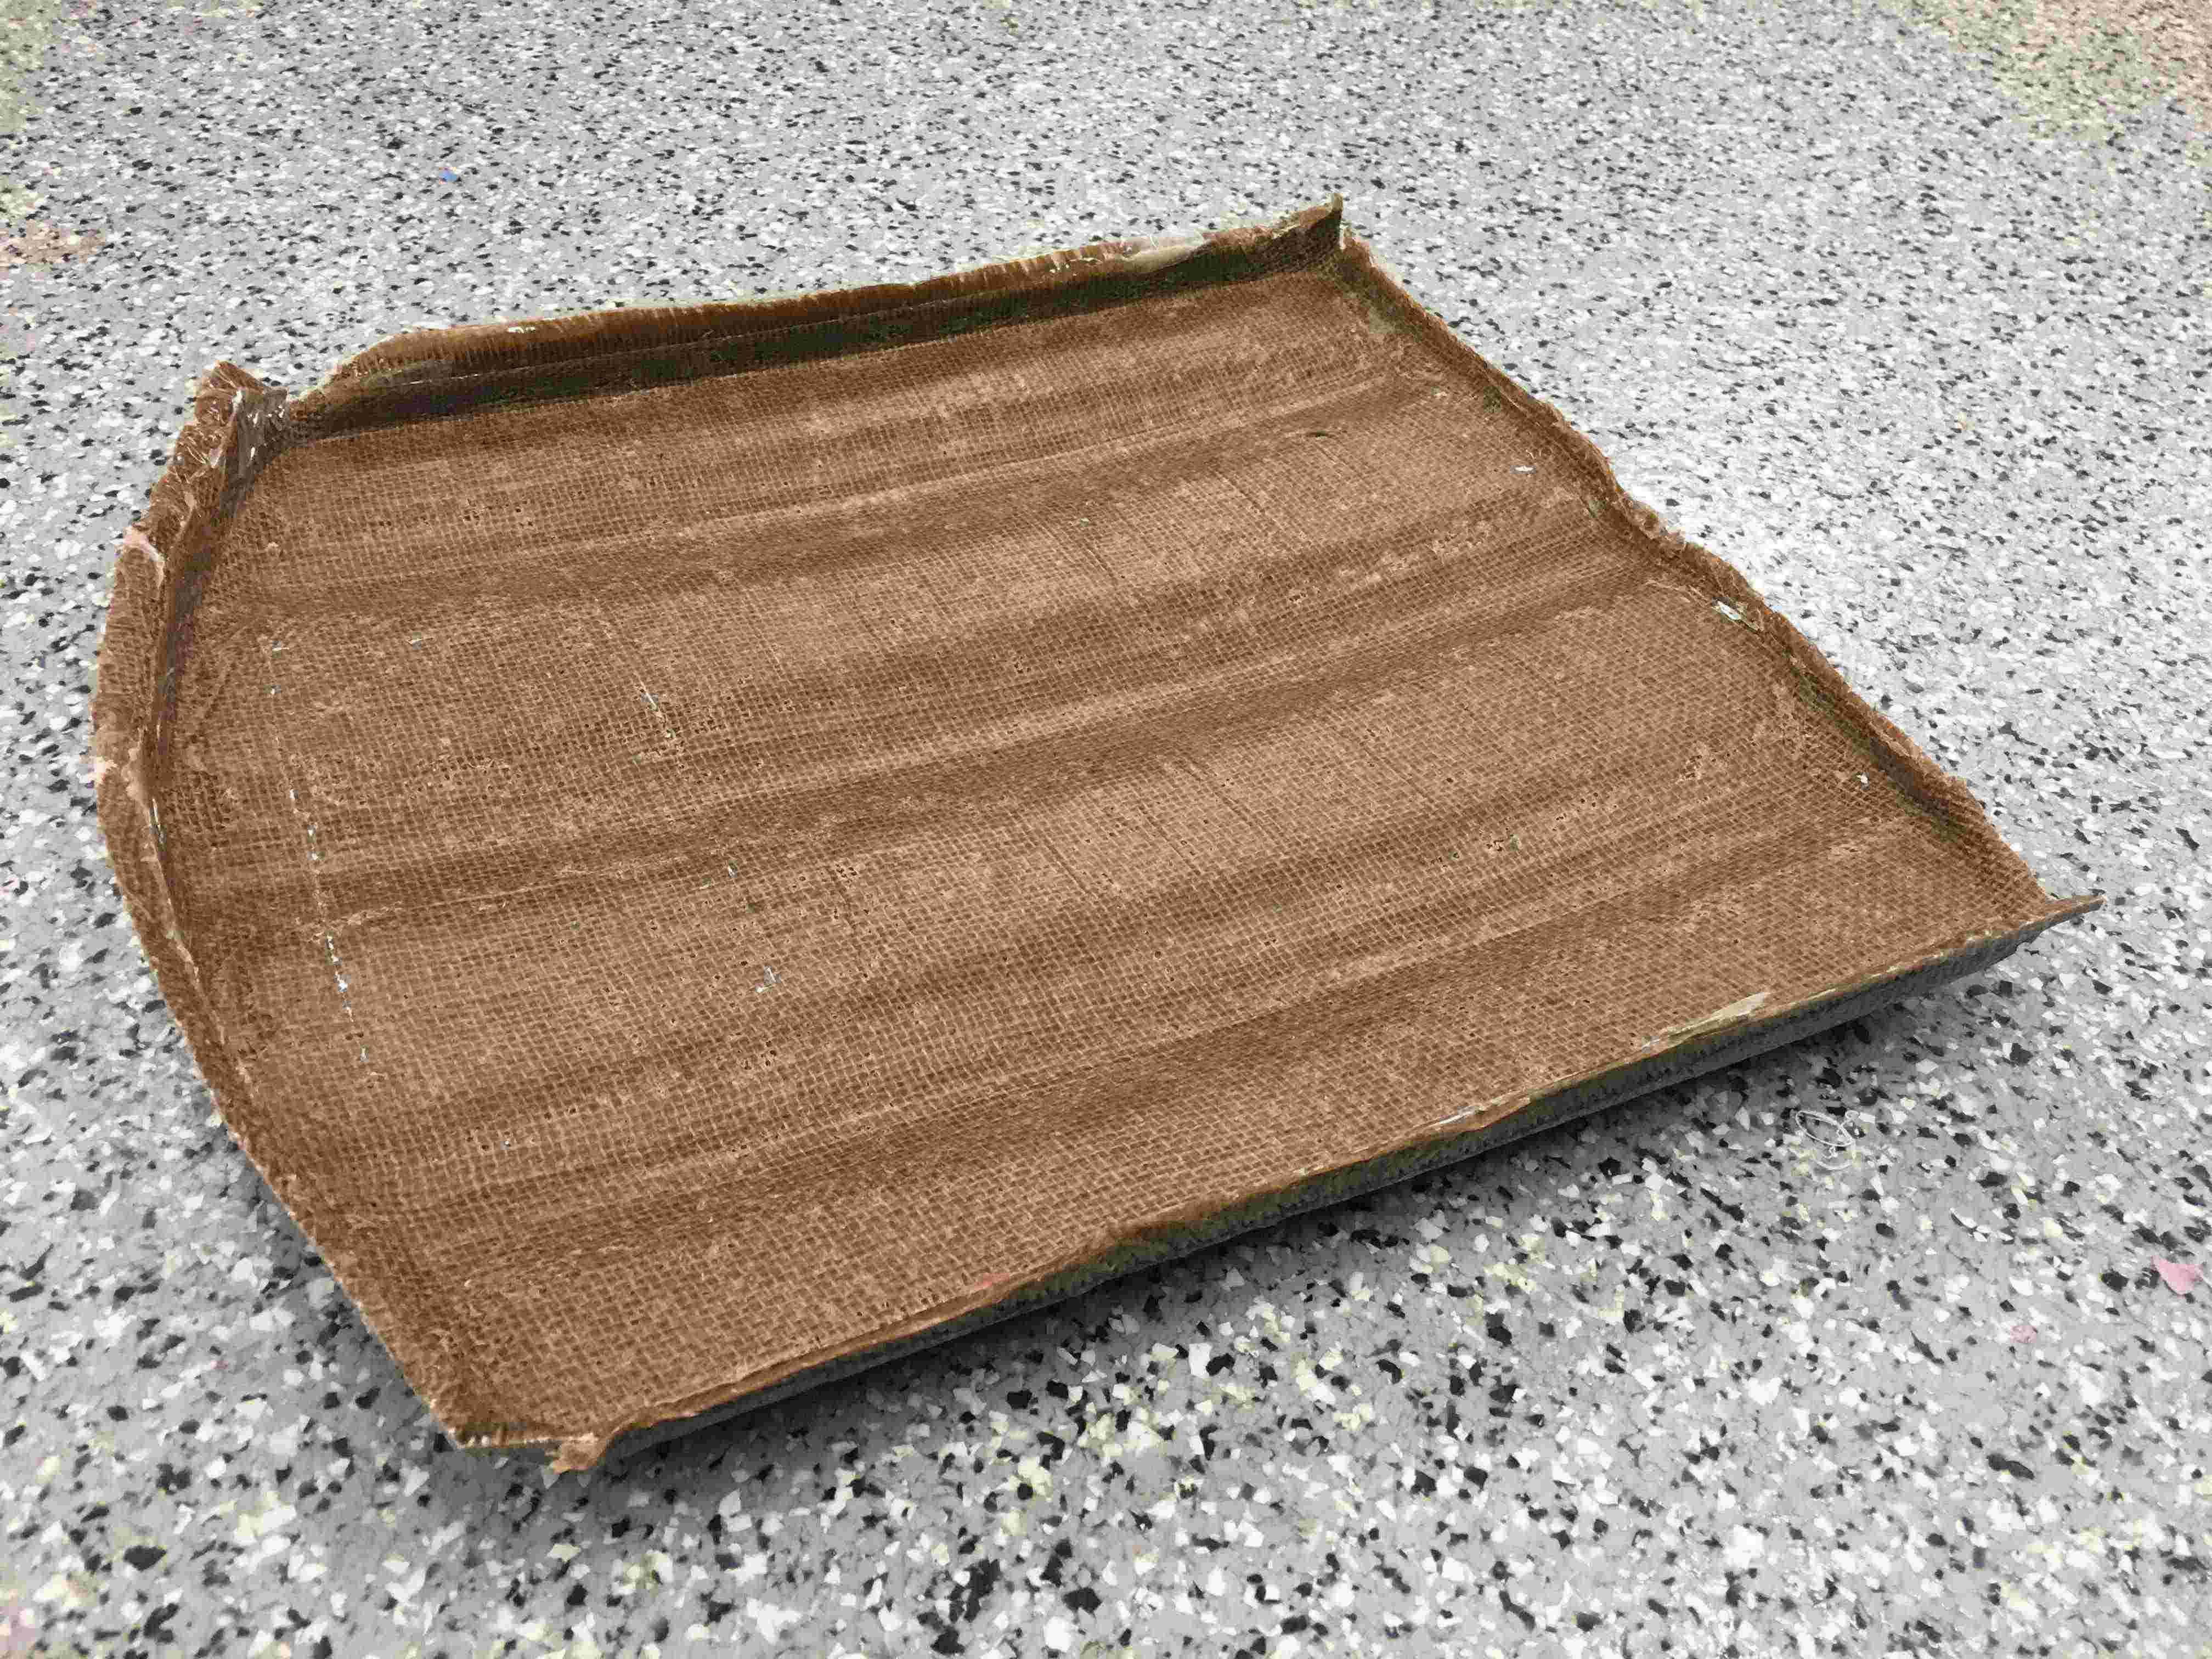
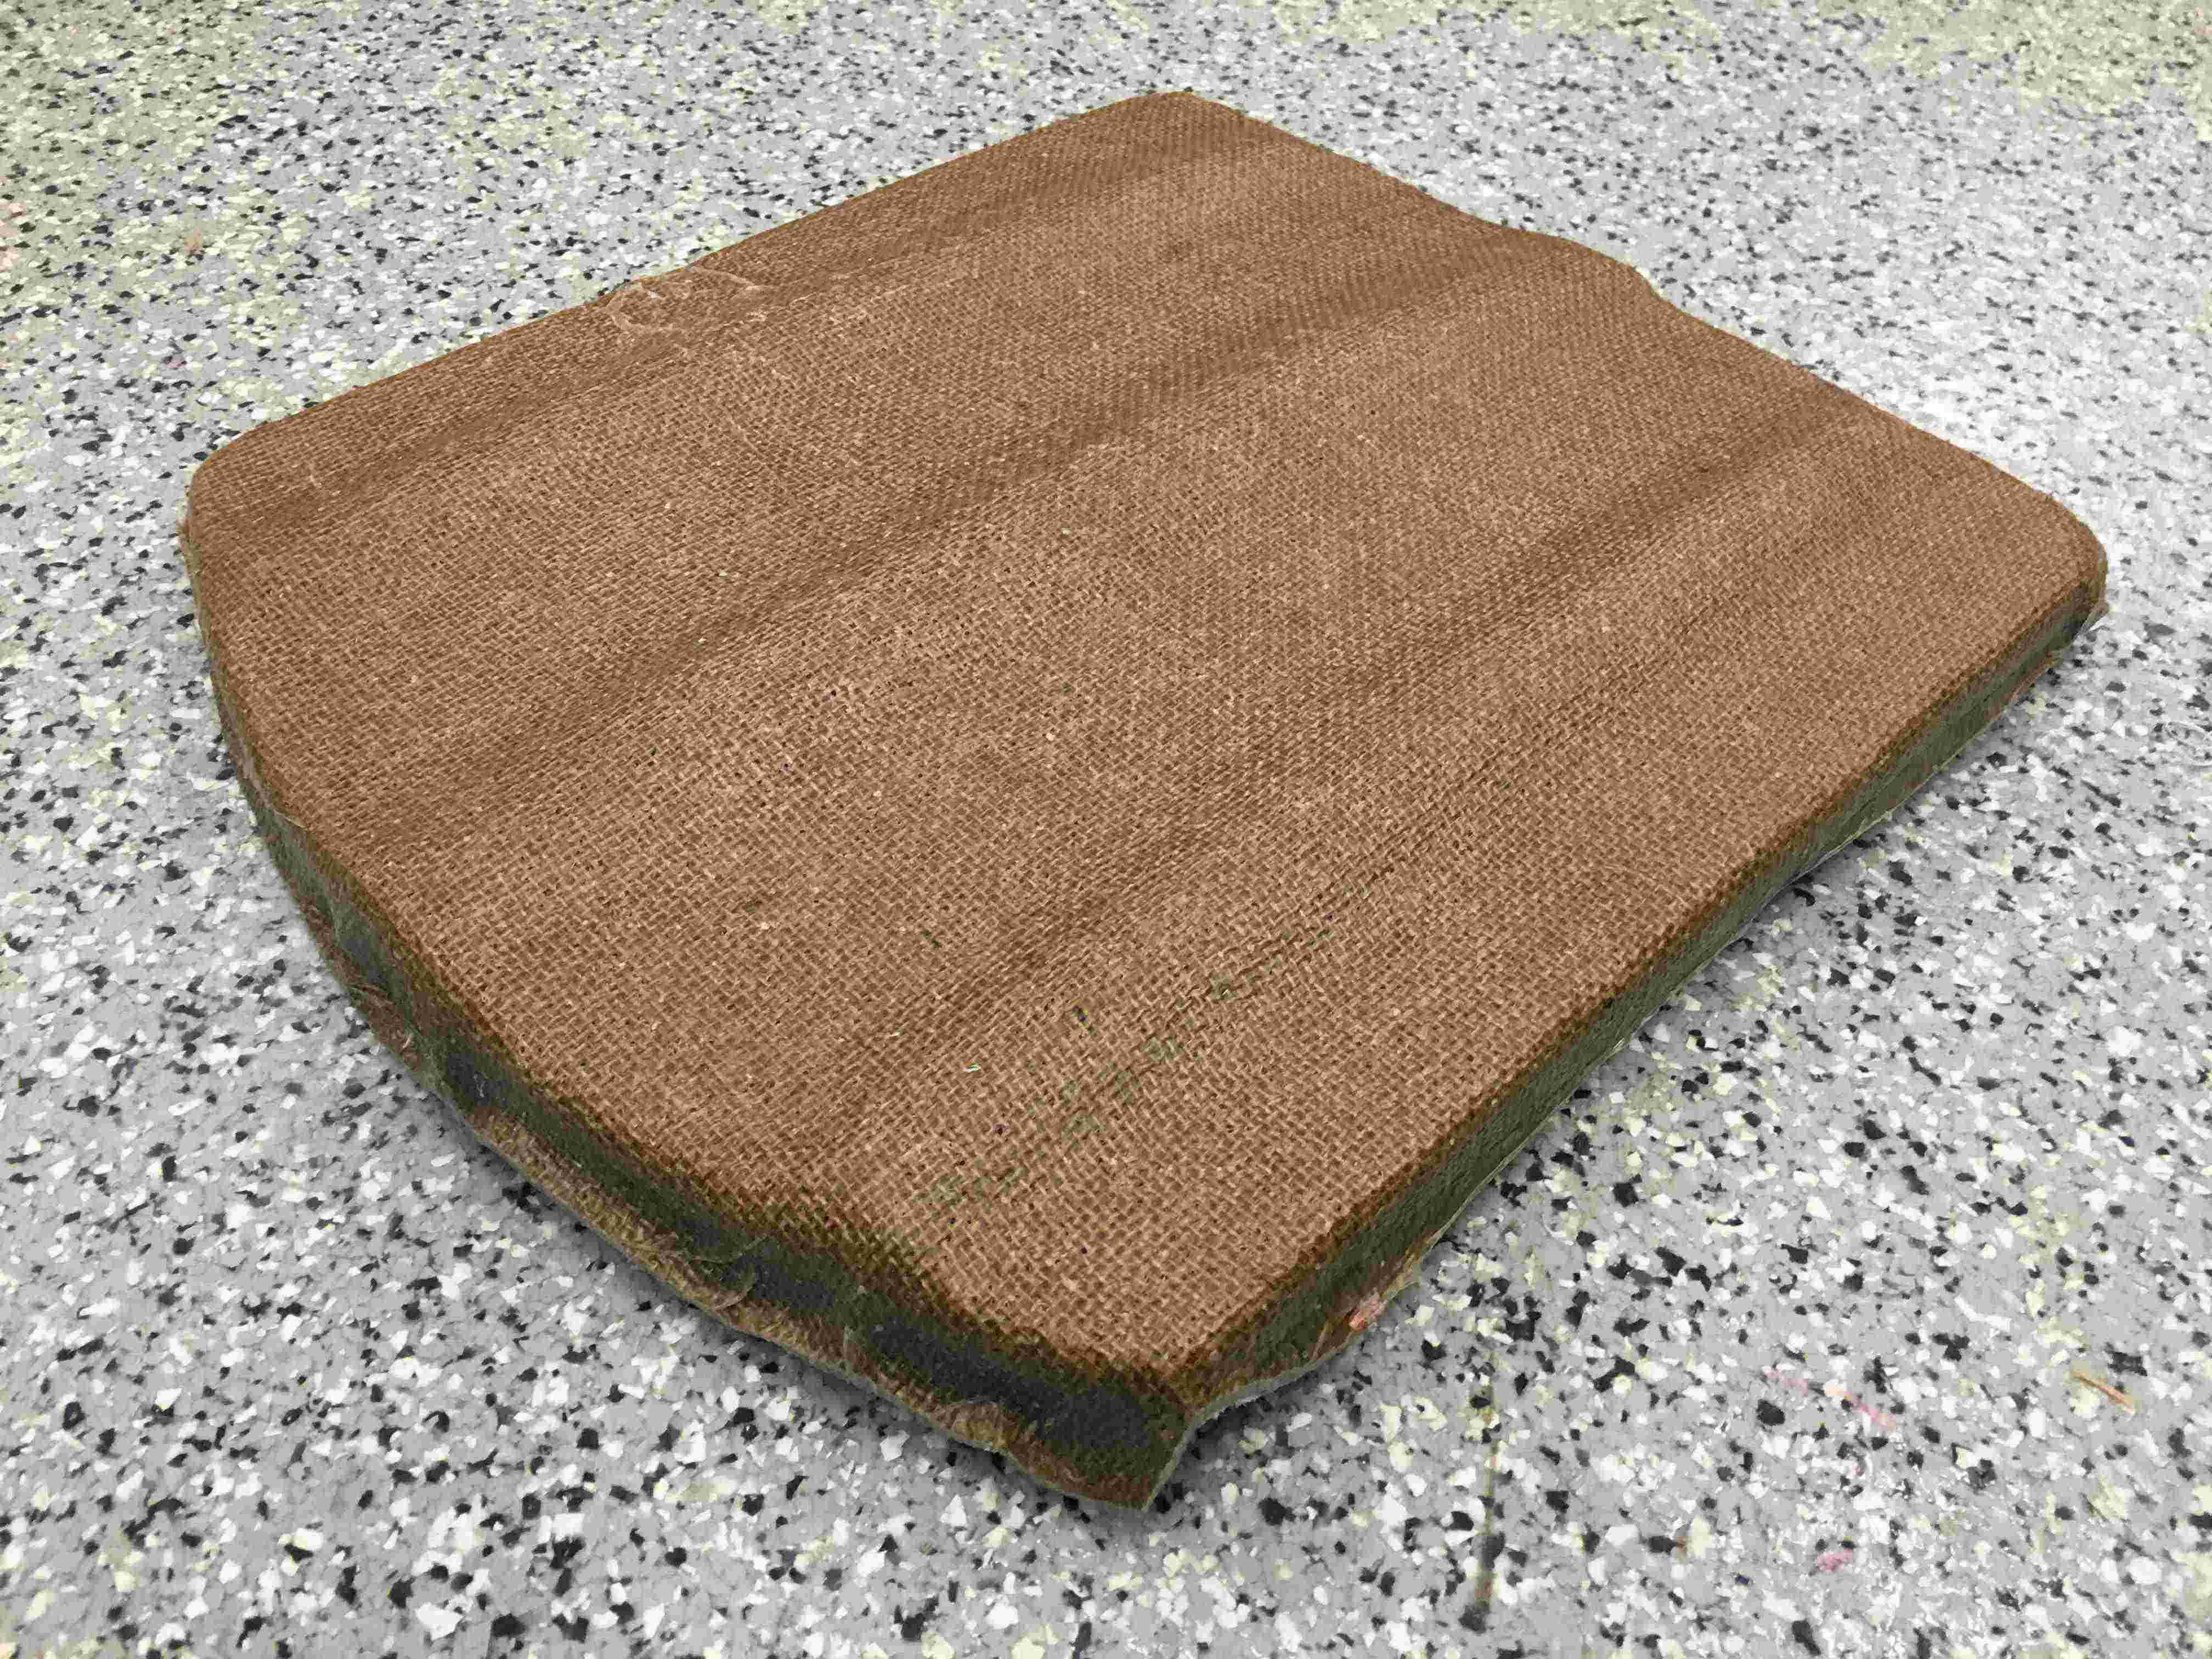
Most difficult step is to separate the breather and bleeder sheets from the composite, and also to separate foam mold from the composite. They were all melded together in the corners. It was a real physical battle!
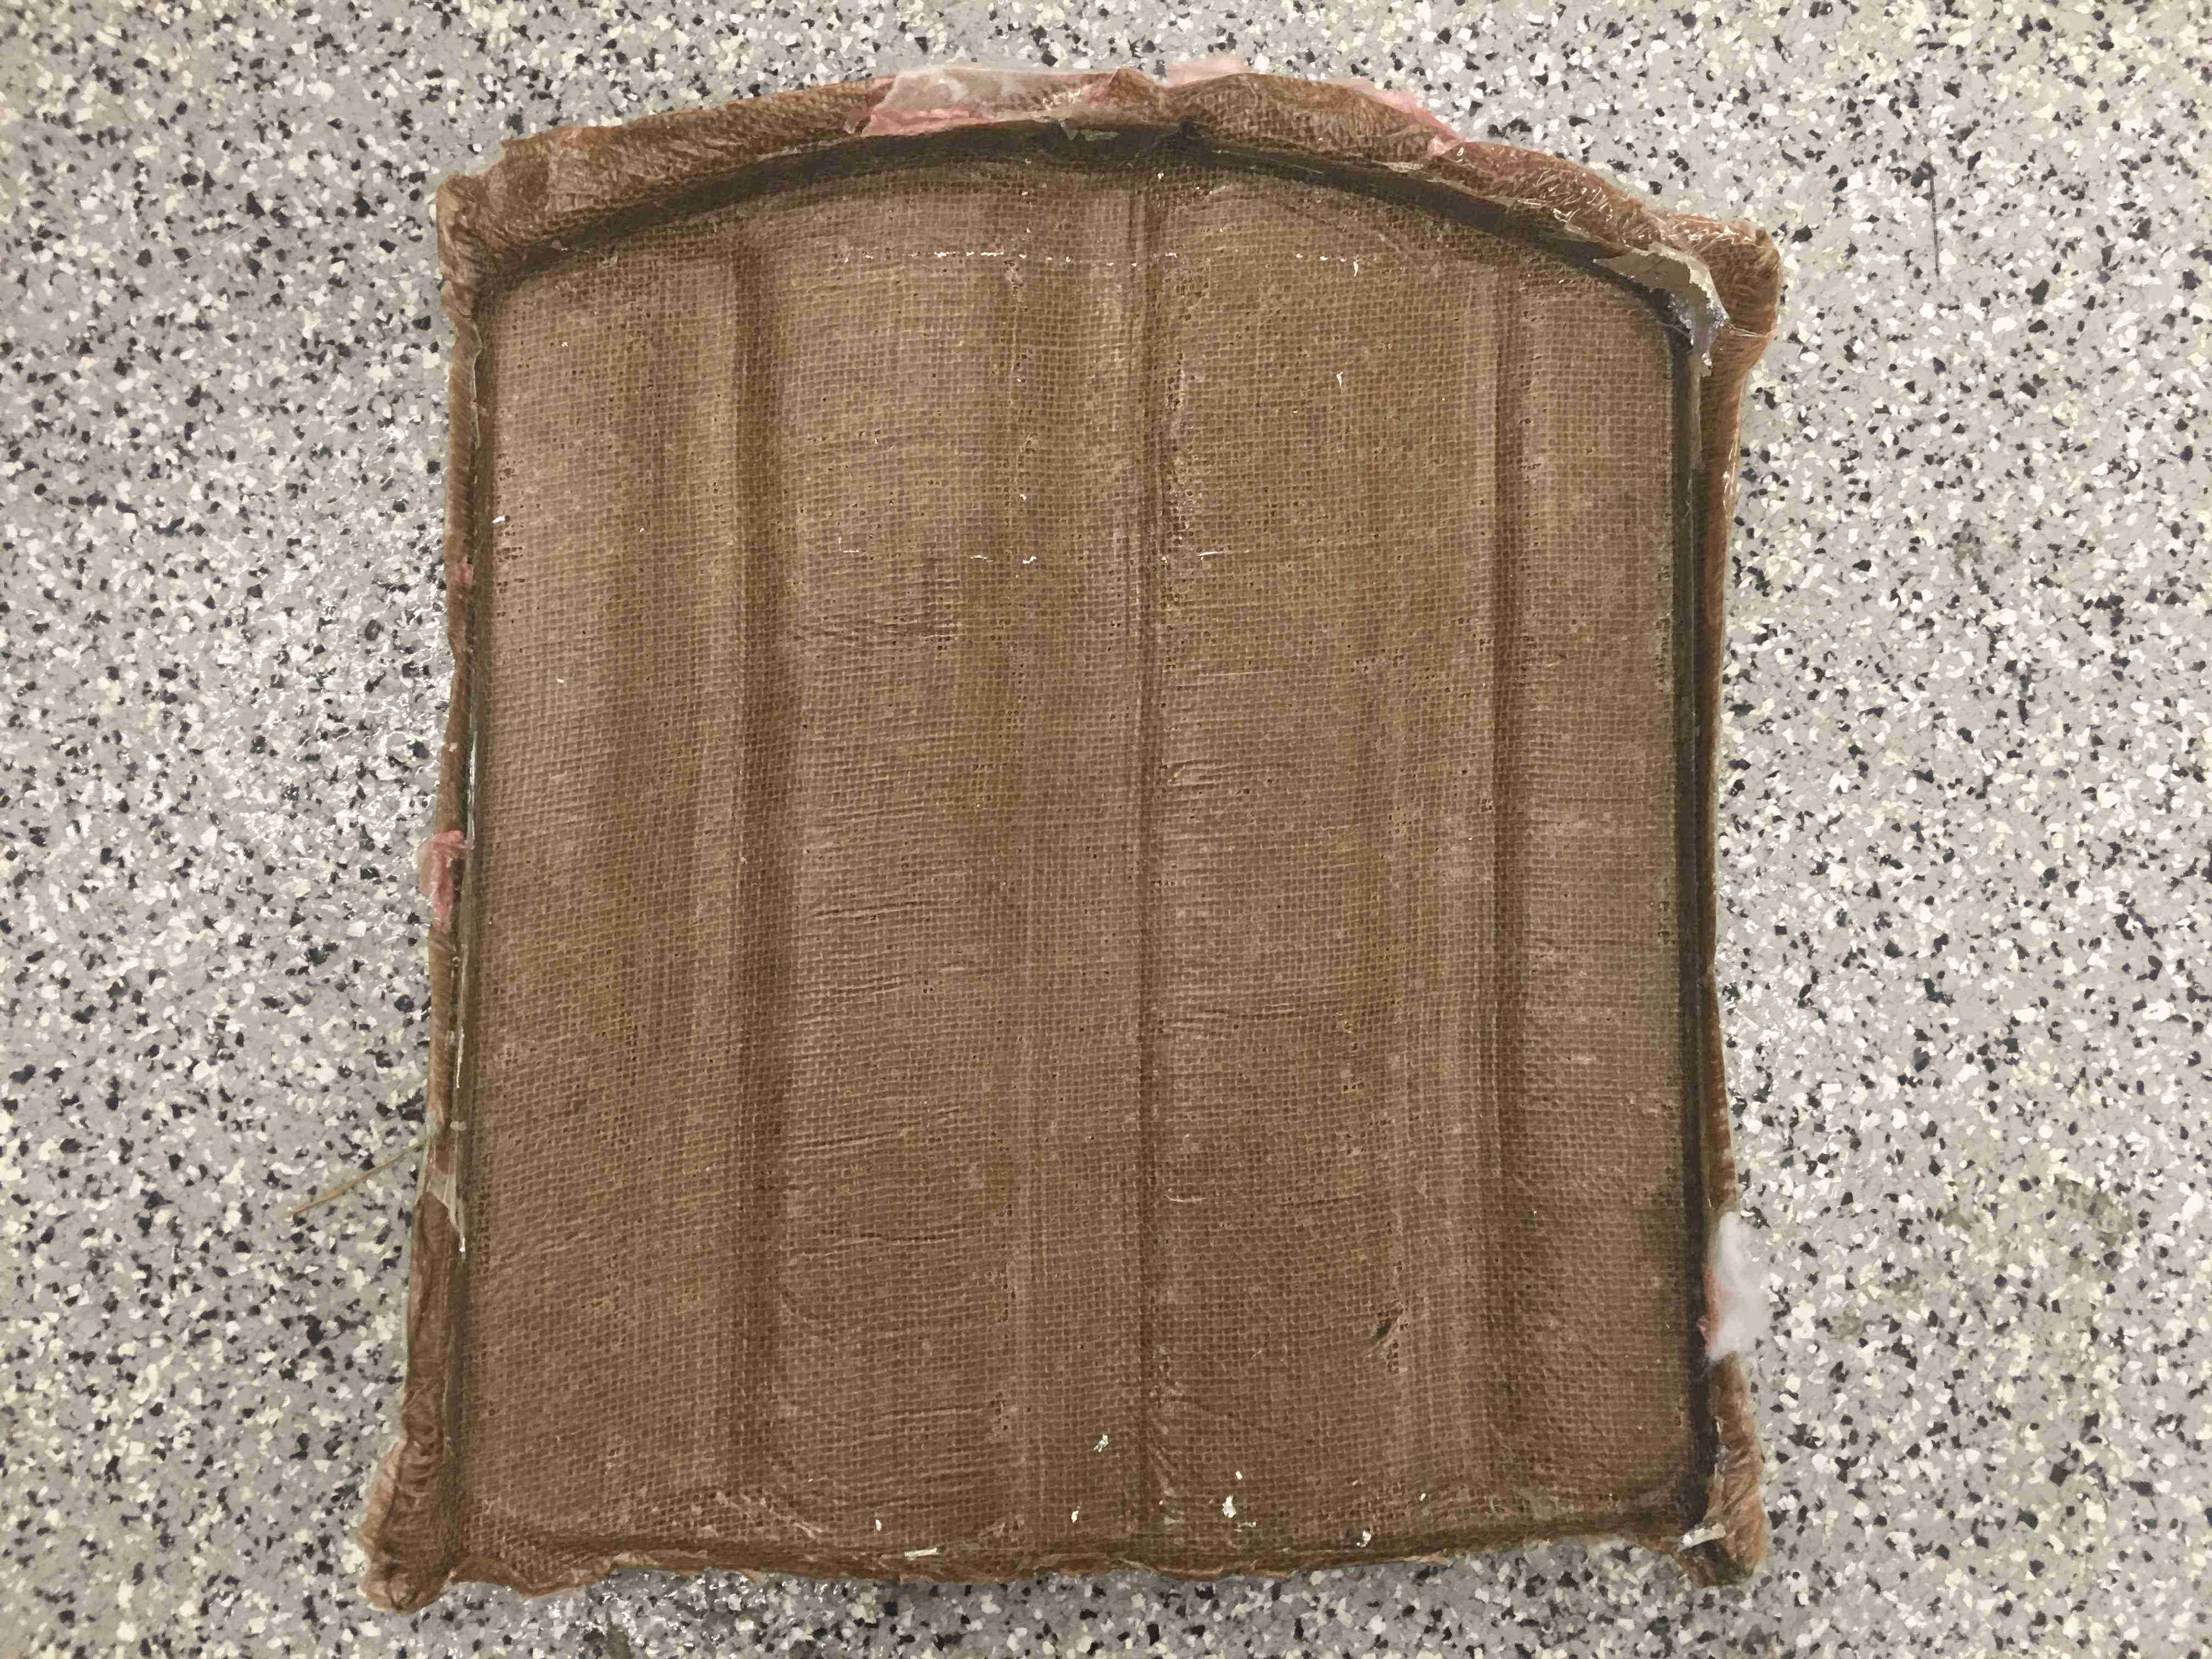
Cleaned up the sides with a bandsaw and used a sandpaper to smooth sharp edges. The surface finish was pretty good, although smoother on the side that touched aluminum. I learnt that the composite does take the general form of the mold but it doesn't have a lot of resolution. Especially because burlap threads are relatively large, composite doesn't capture small features of the mold.
Safetly lesson learnt: Be careful with dirty gloves! Some epoxy got on my hand as I was changing gloves. I washed it off with ispropanol and rubbed my hand under soap and hot water for a good 10 minutes. Luckily, my skin didn't get irritated, but I did learn my lesson...