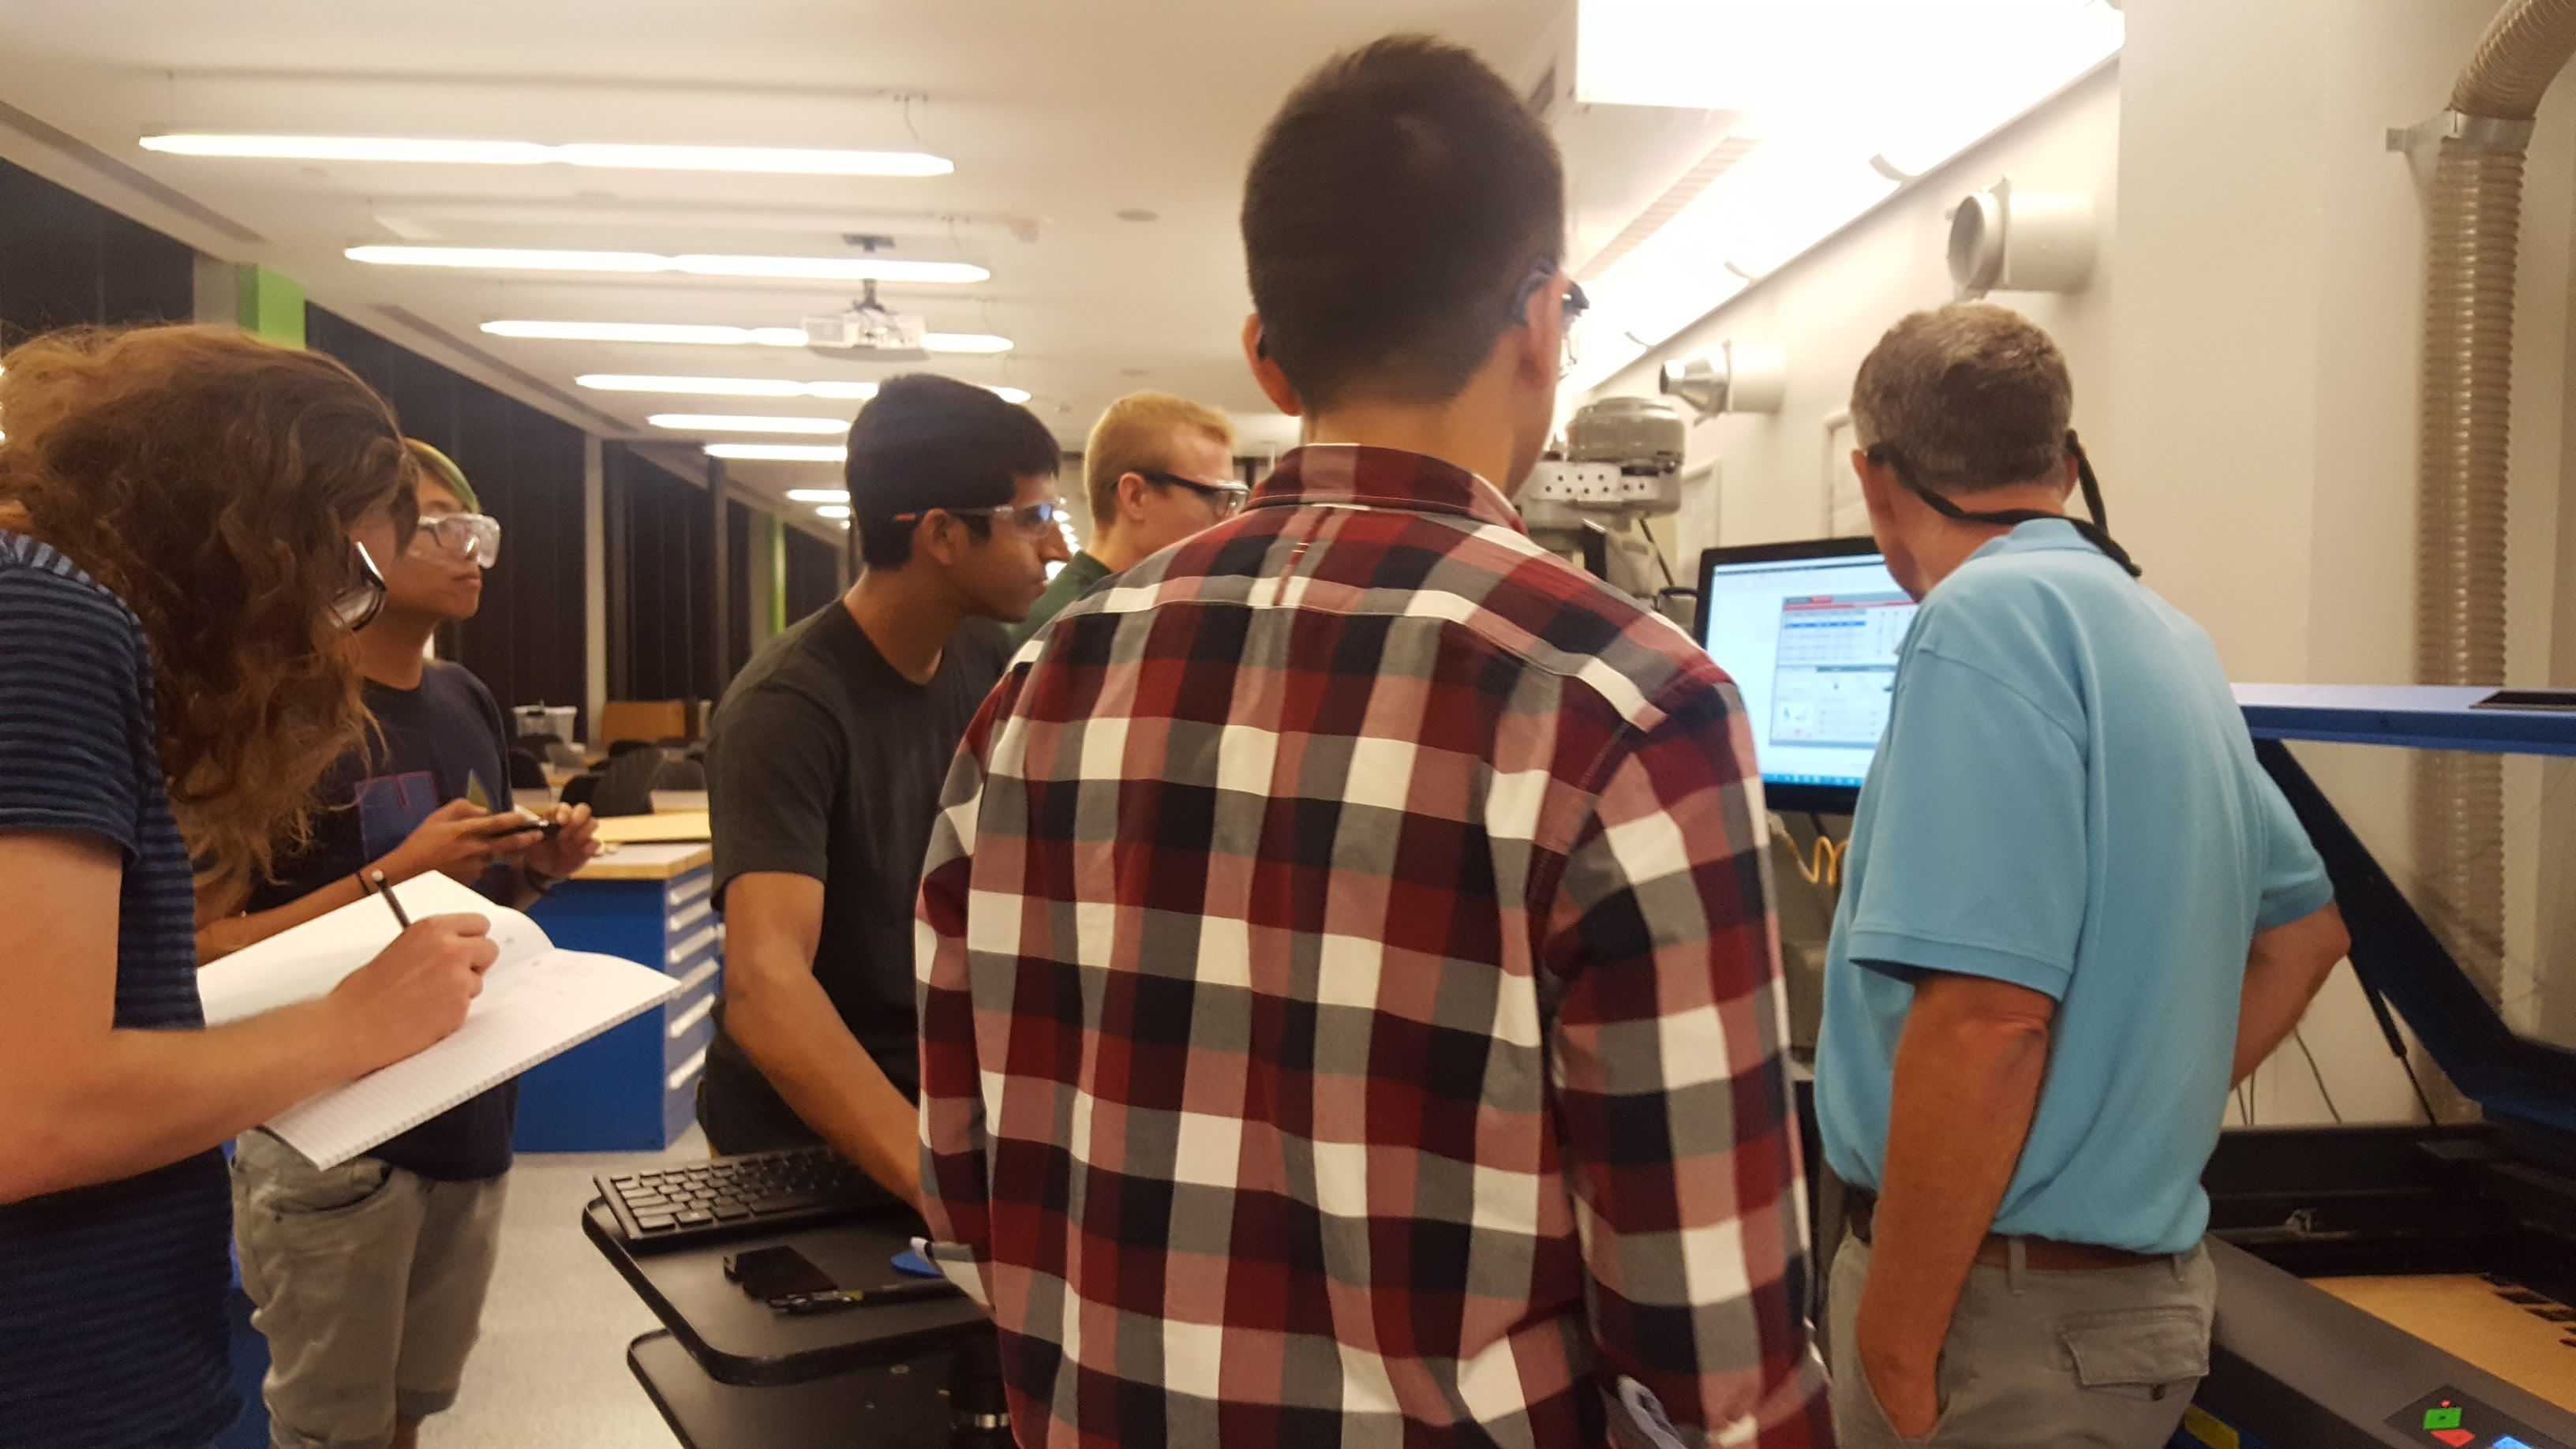
The first thing we worked on was a group assignment to get familiar with the laser cutter. Here are a few quick notes for future use when using the laser cutter -
- check that the blast gates are open for filtering out the air
- turn on machine from the printer software and press the on switch under the machine for the compressor
- focus the laser by placing material in, pick up that white thing on left side and reposition until grove sets in right
- print through corel draw, open printer software too
- change printer settings (soft wood, thickness for something like cardboard, for example)
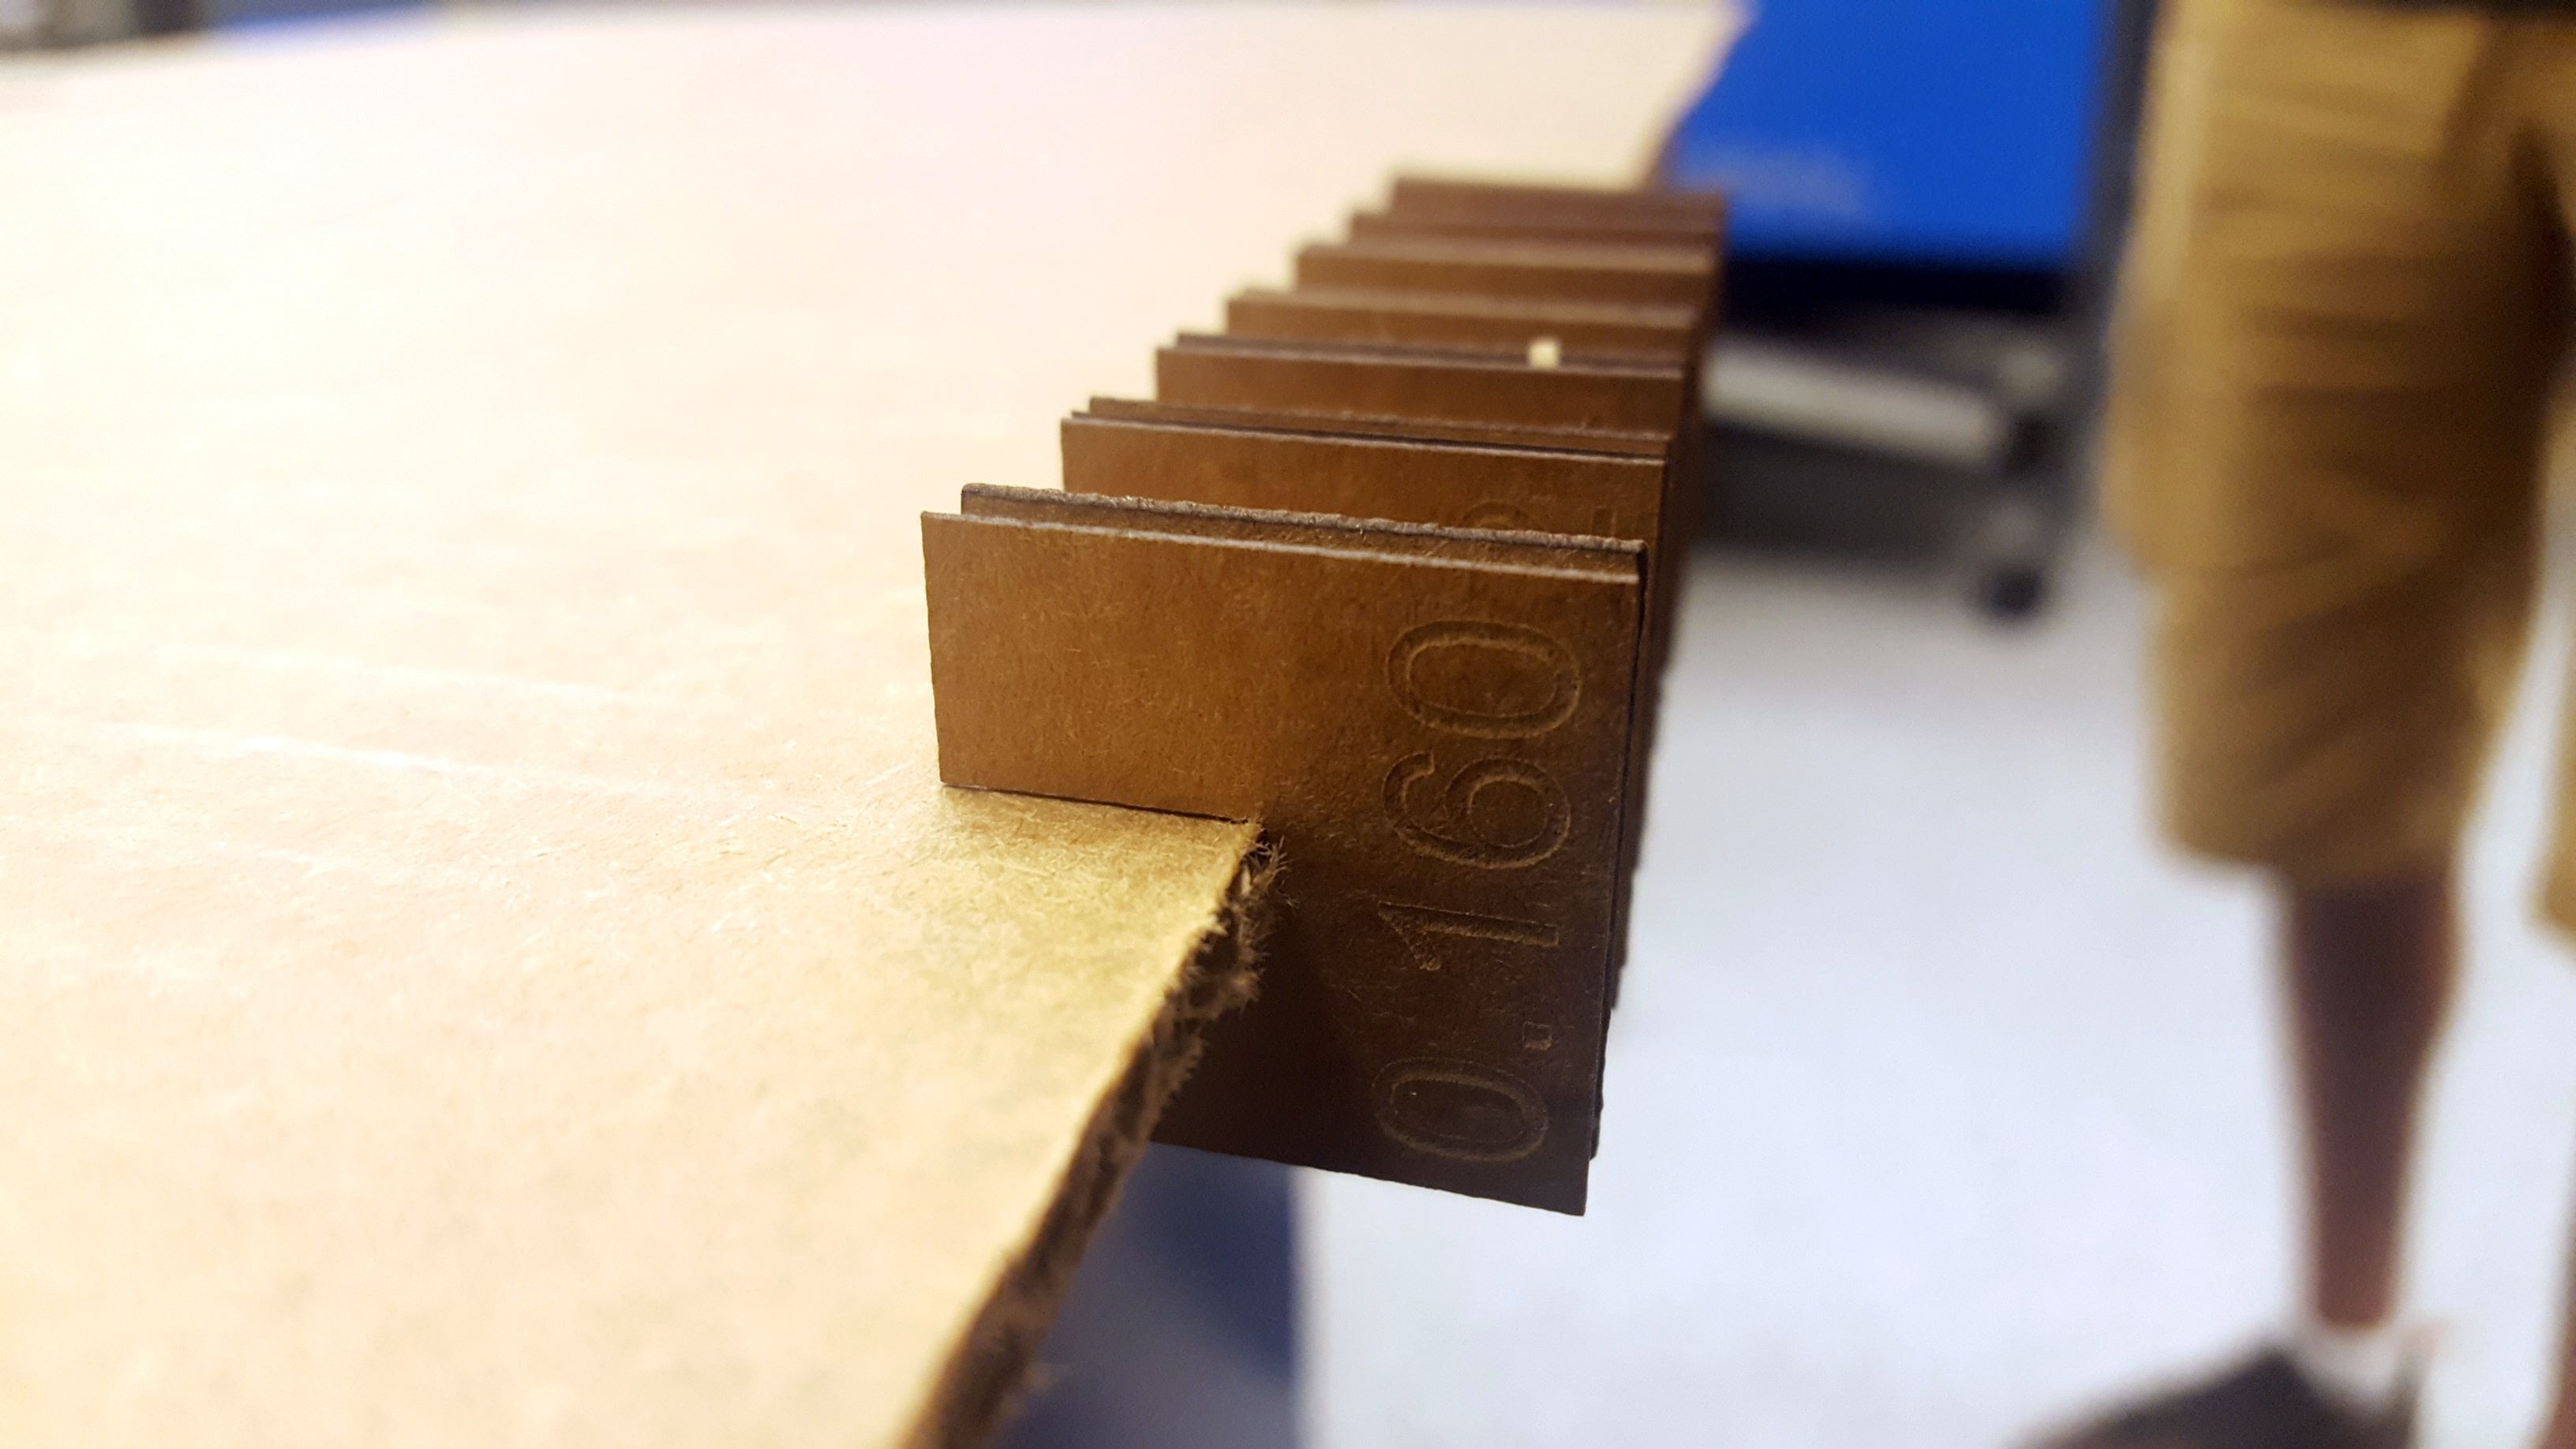
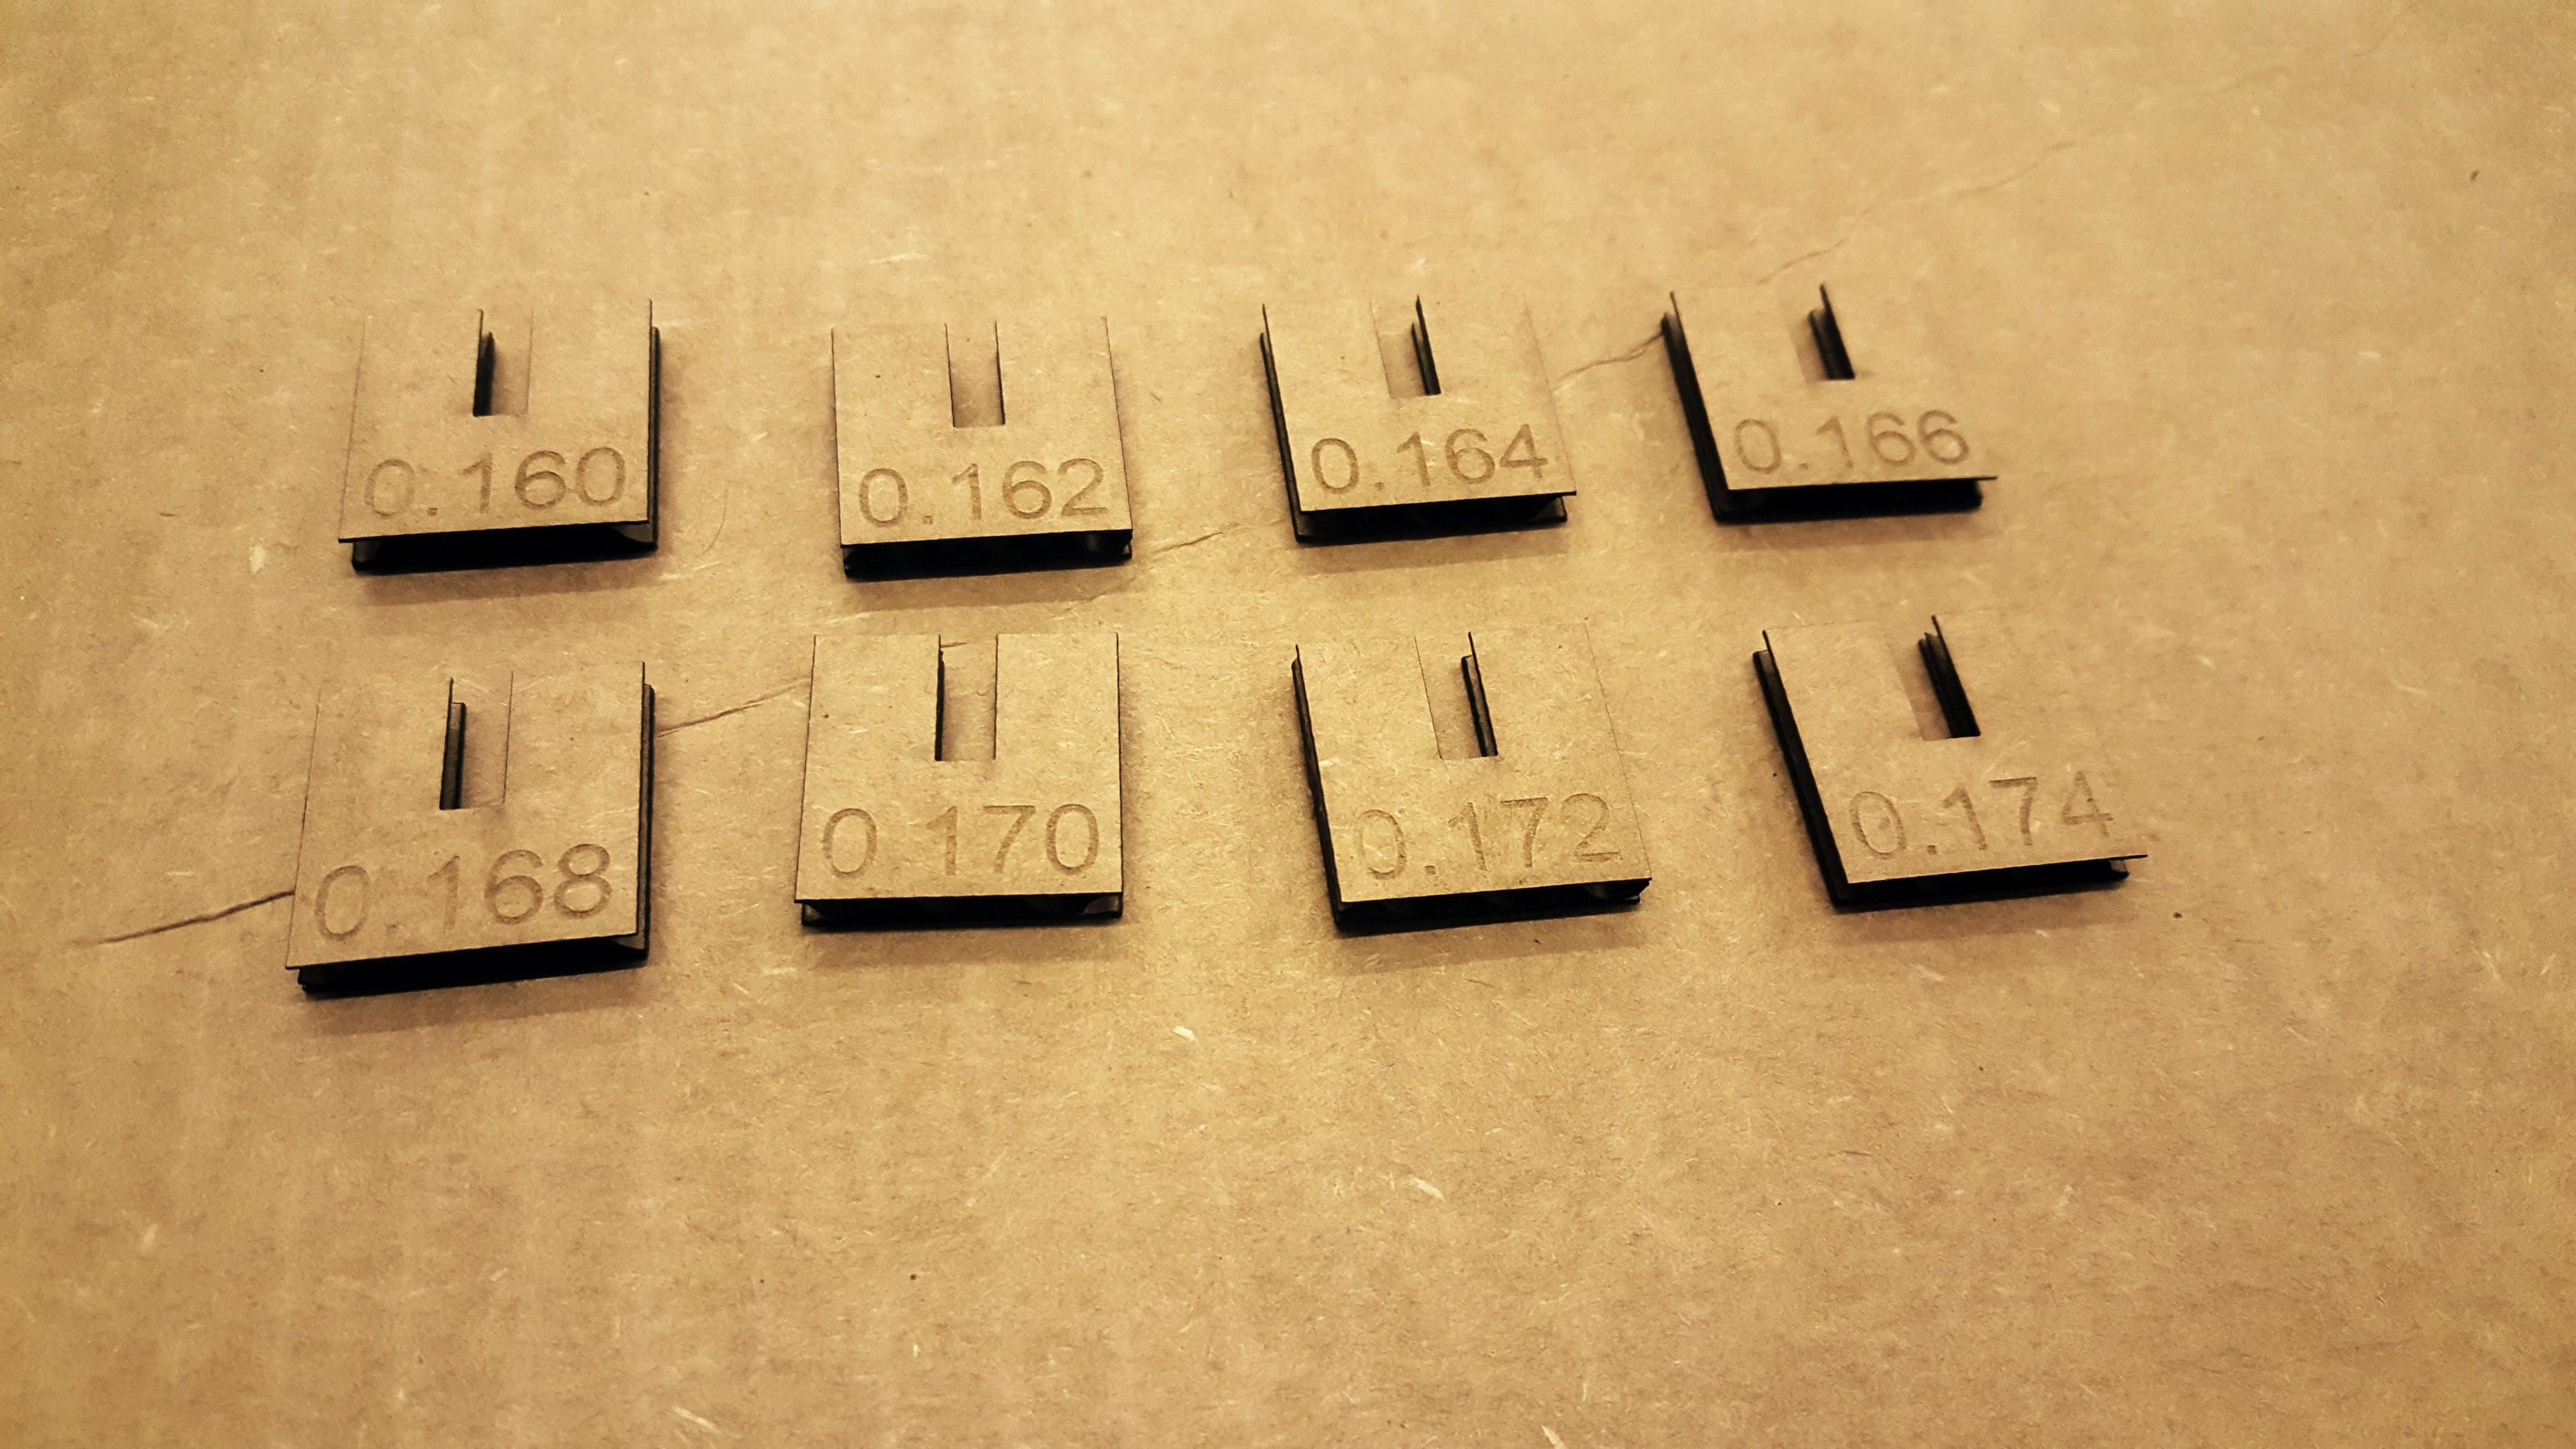
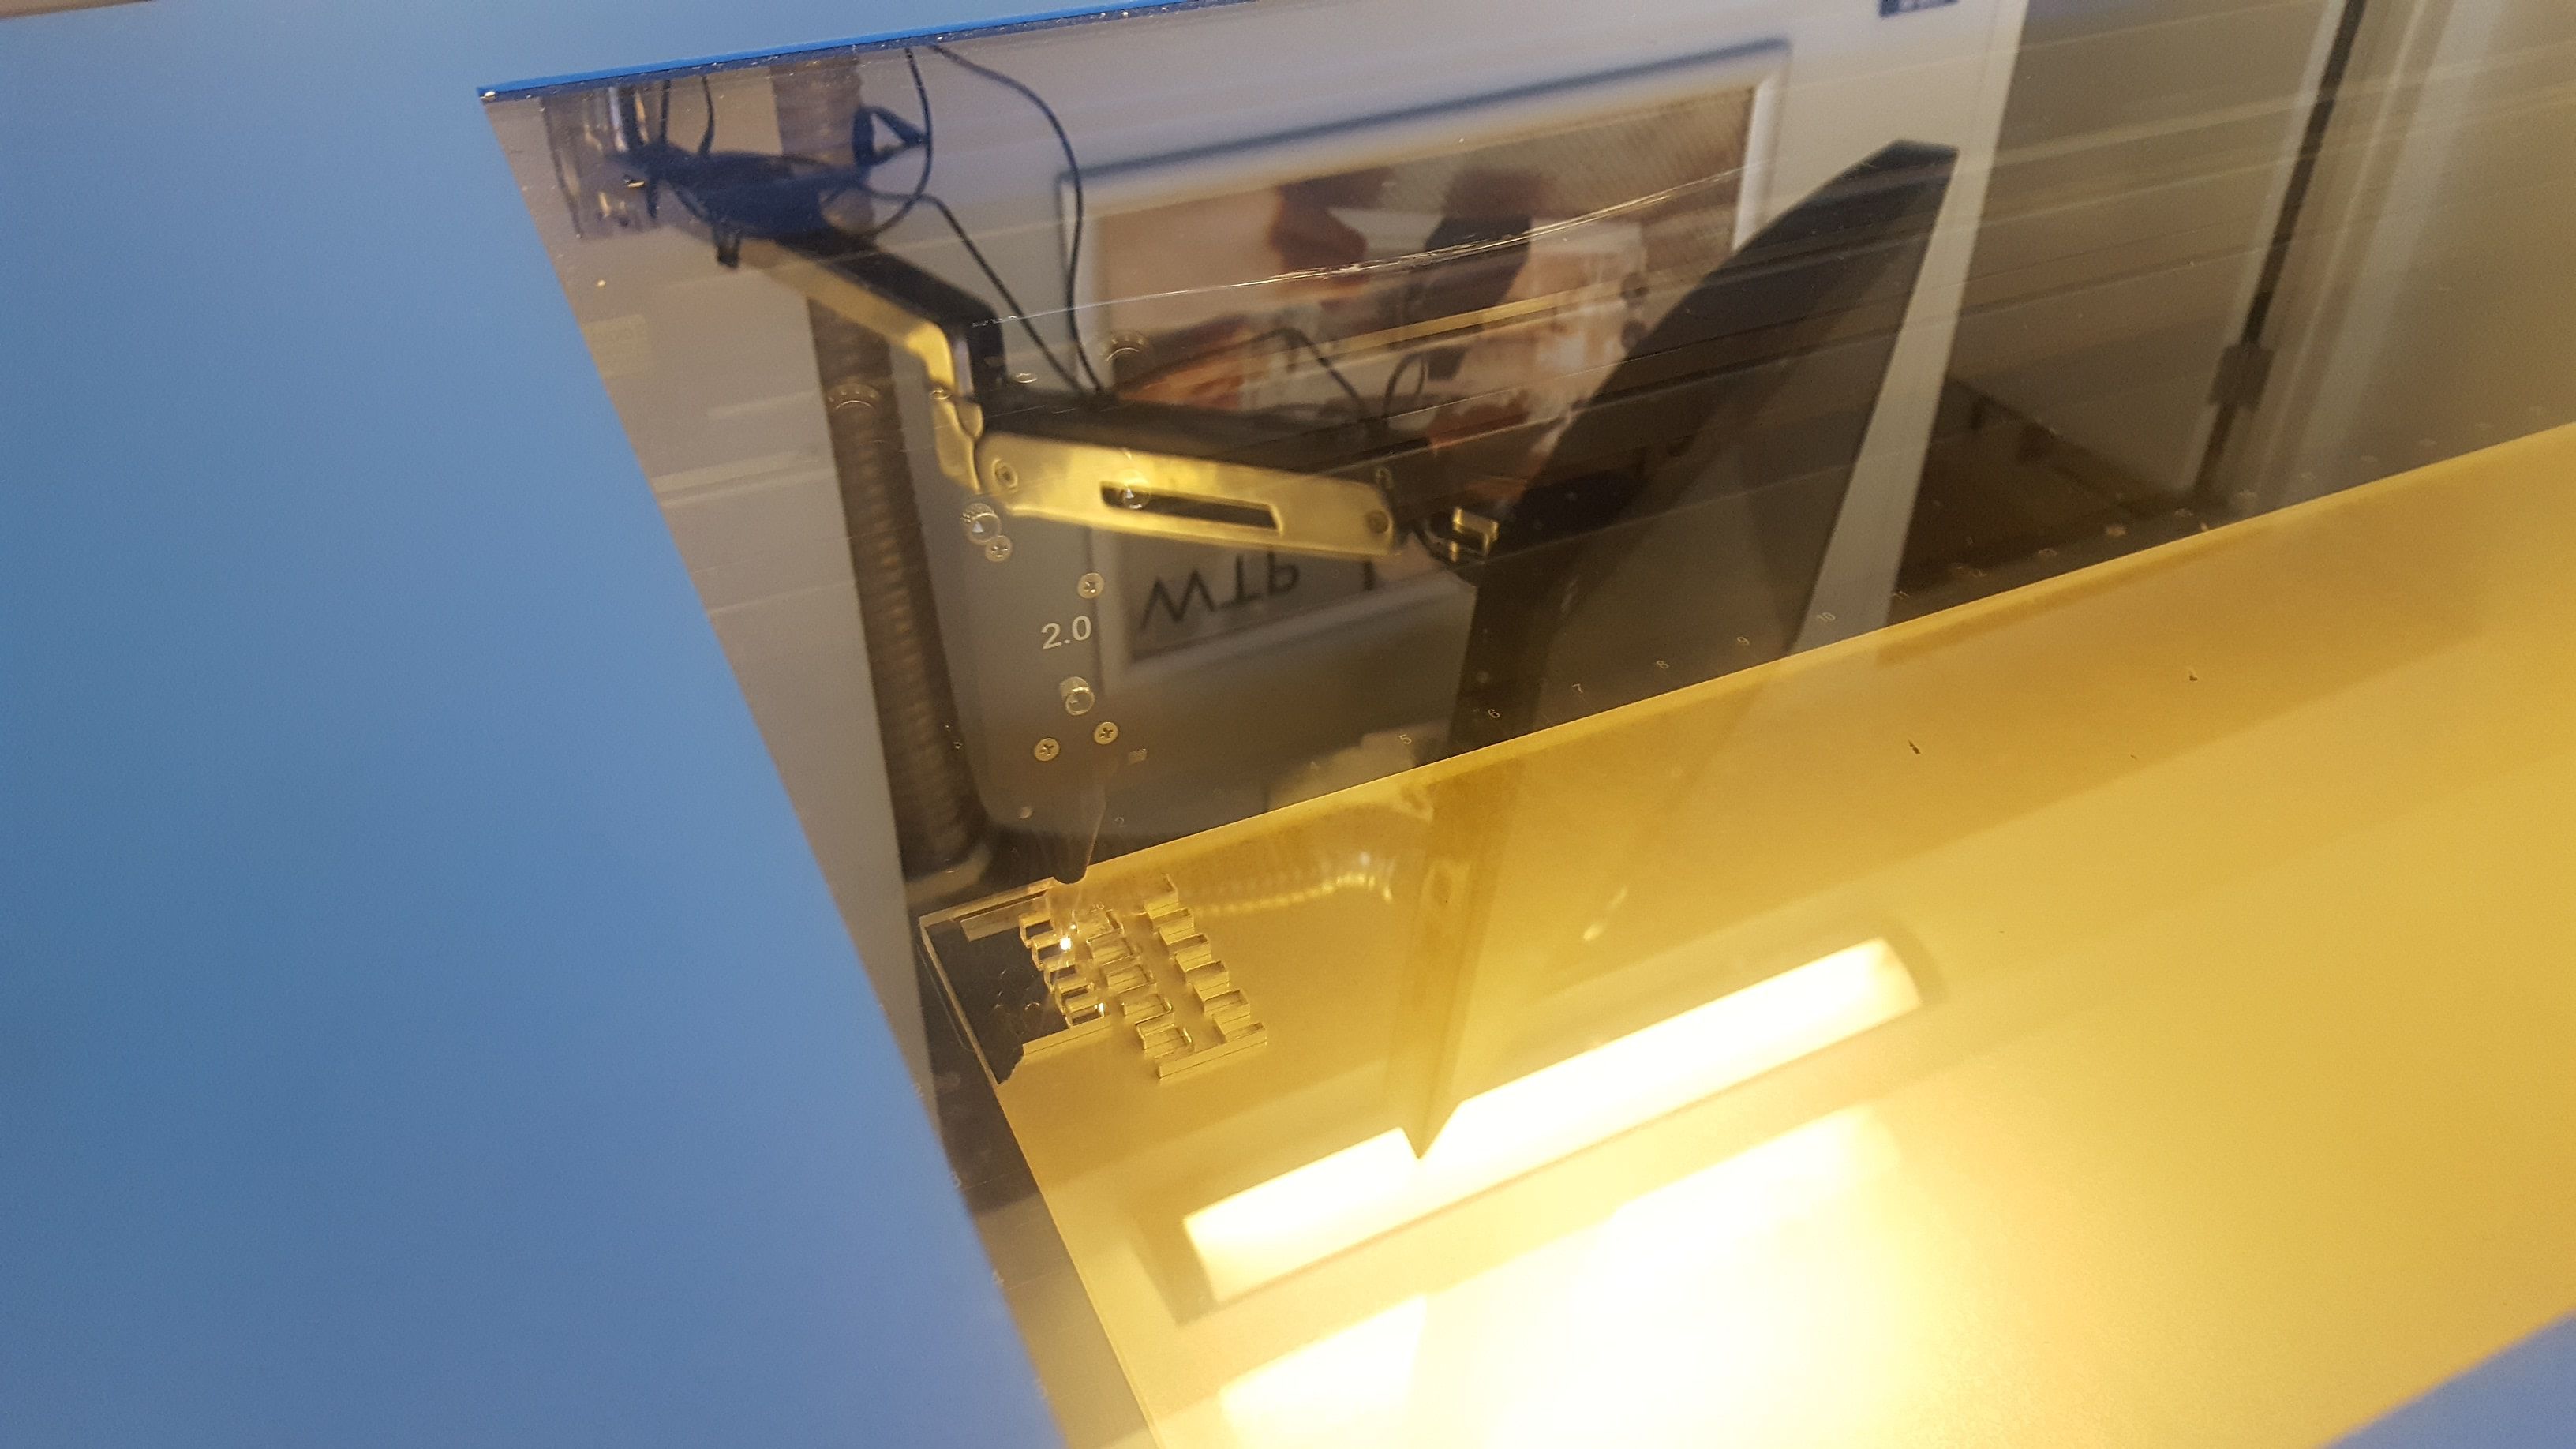
We worked on finding the kerf, and thickness of the cardboard we're working with. Here are a few pictures from testing and the final results!
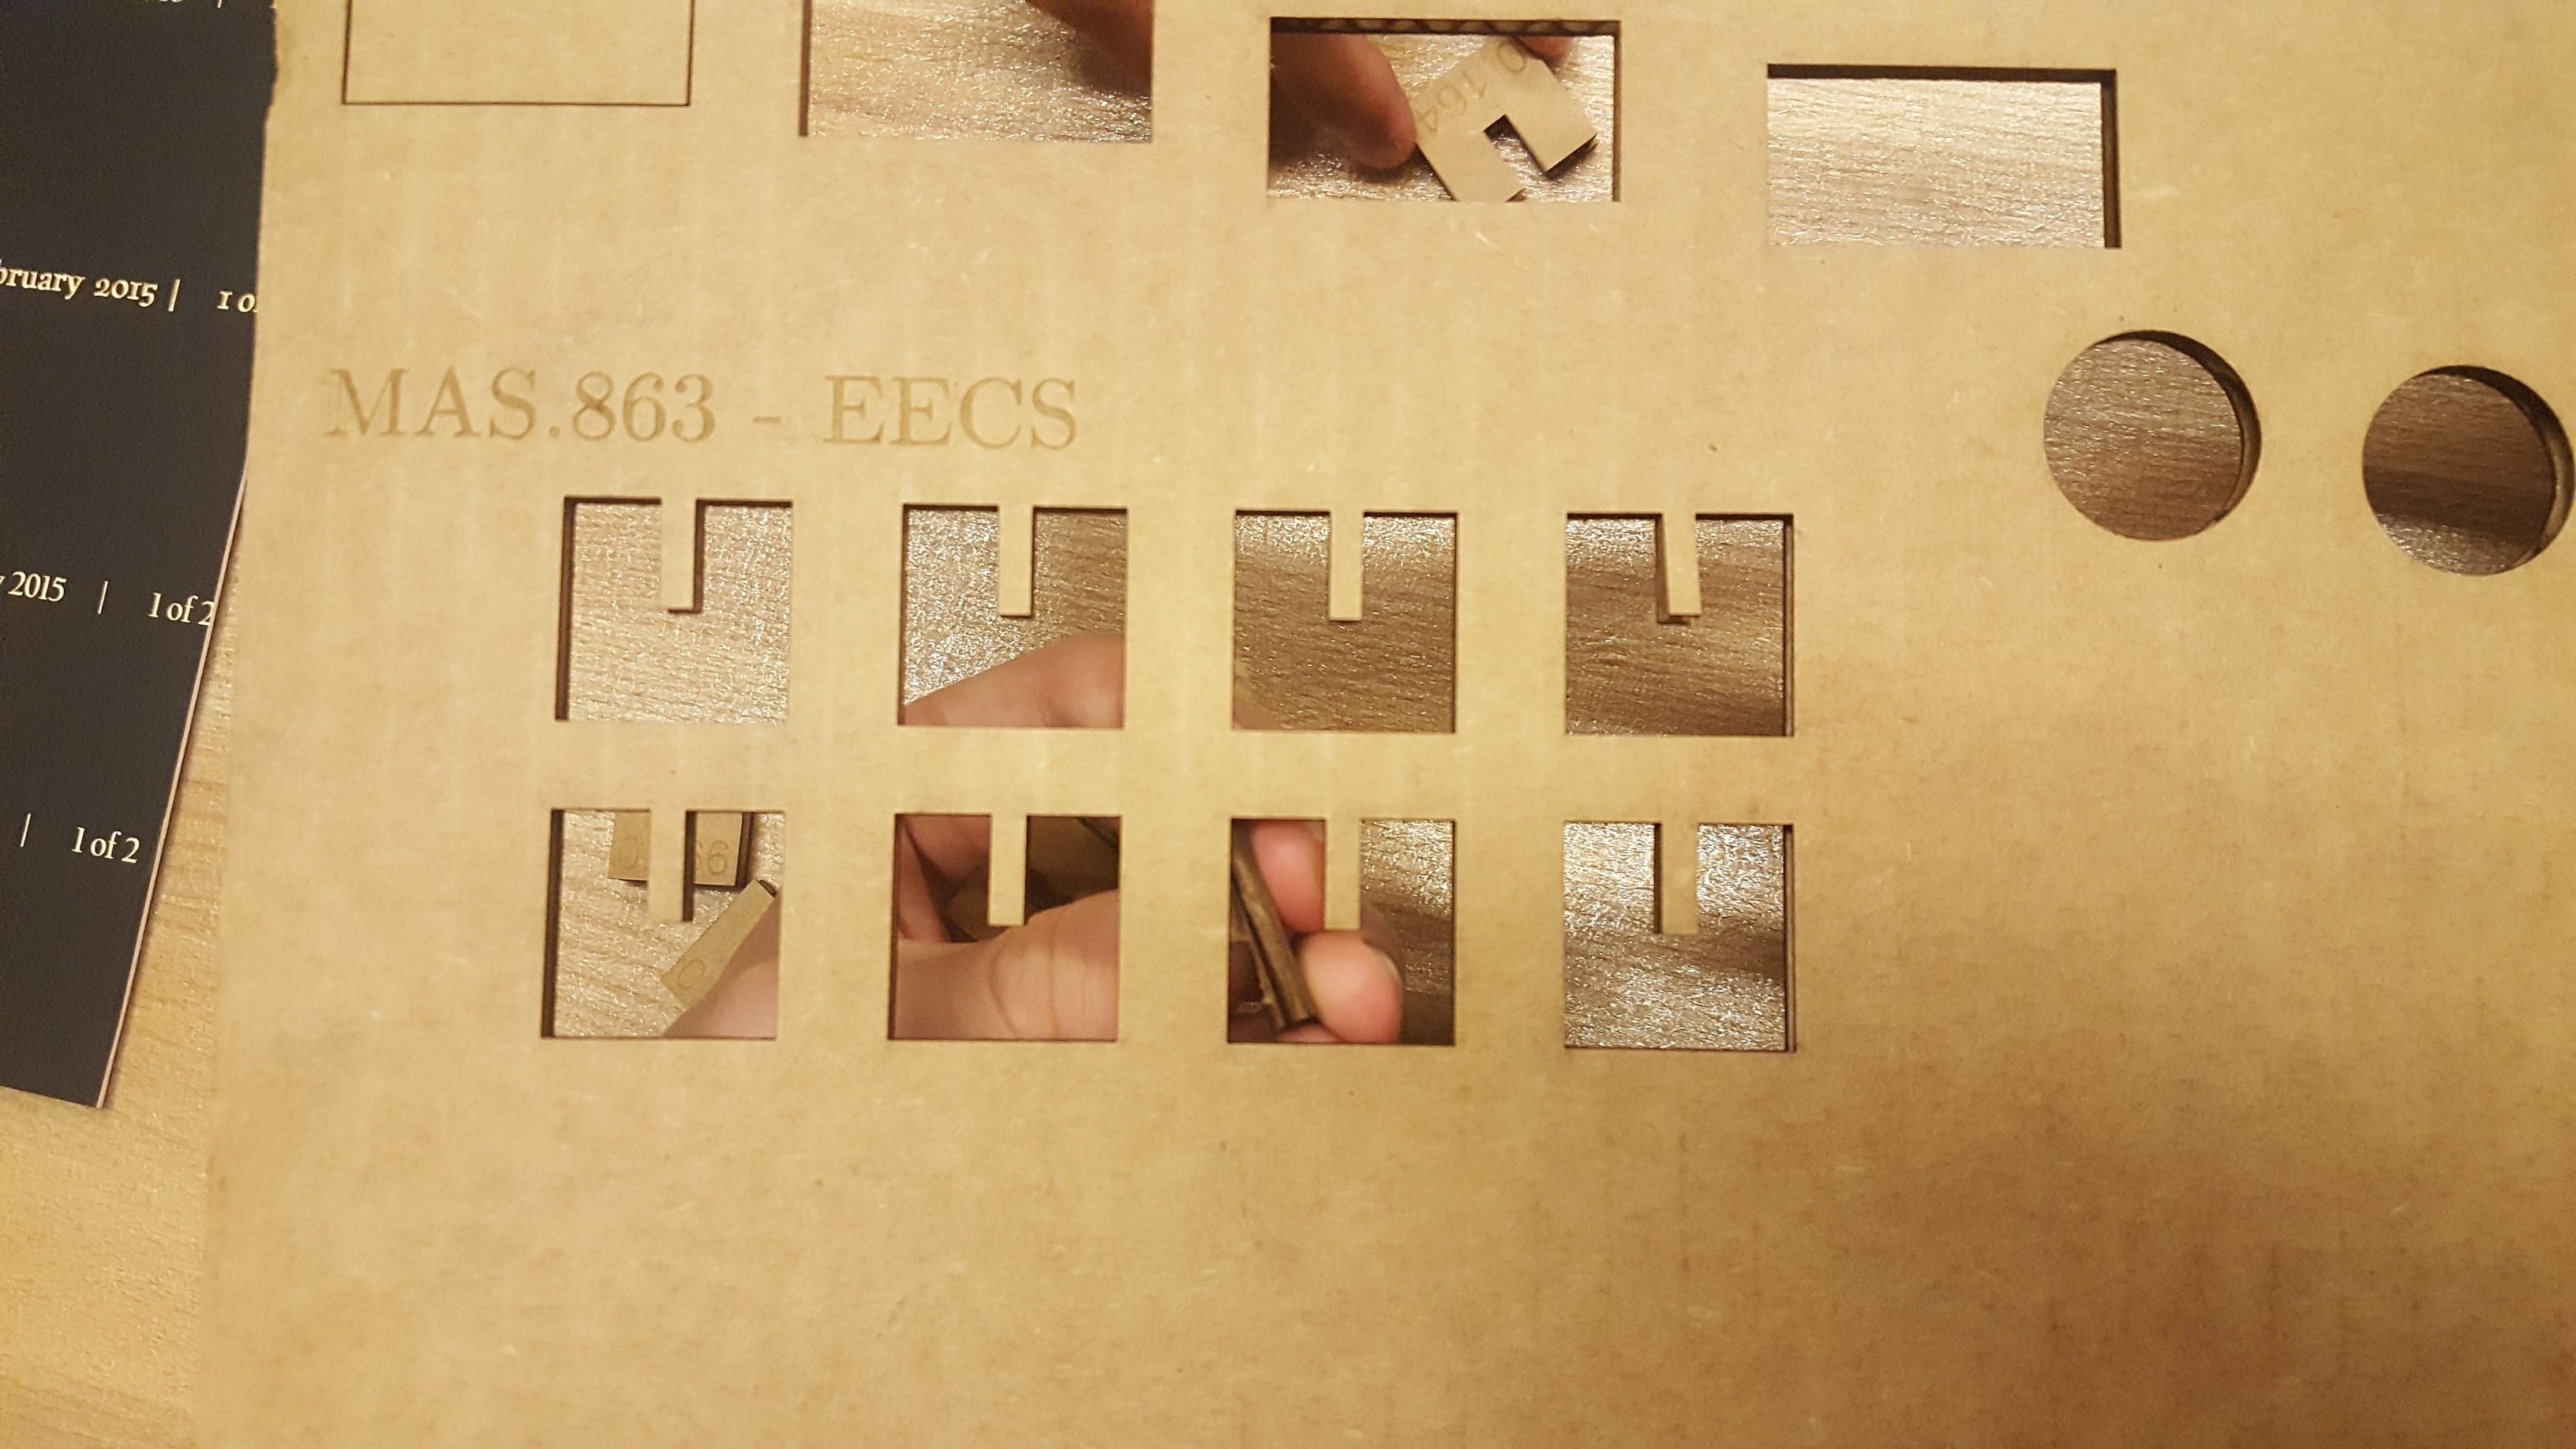
We started by designing a few slotted pieces with varying slot thicknesses. Then we went through printer set up and positioned our design on the canvas.
After cutting - you can see a test of engraving rastered text and cutting pieces.
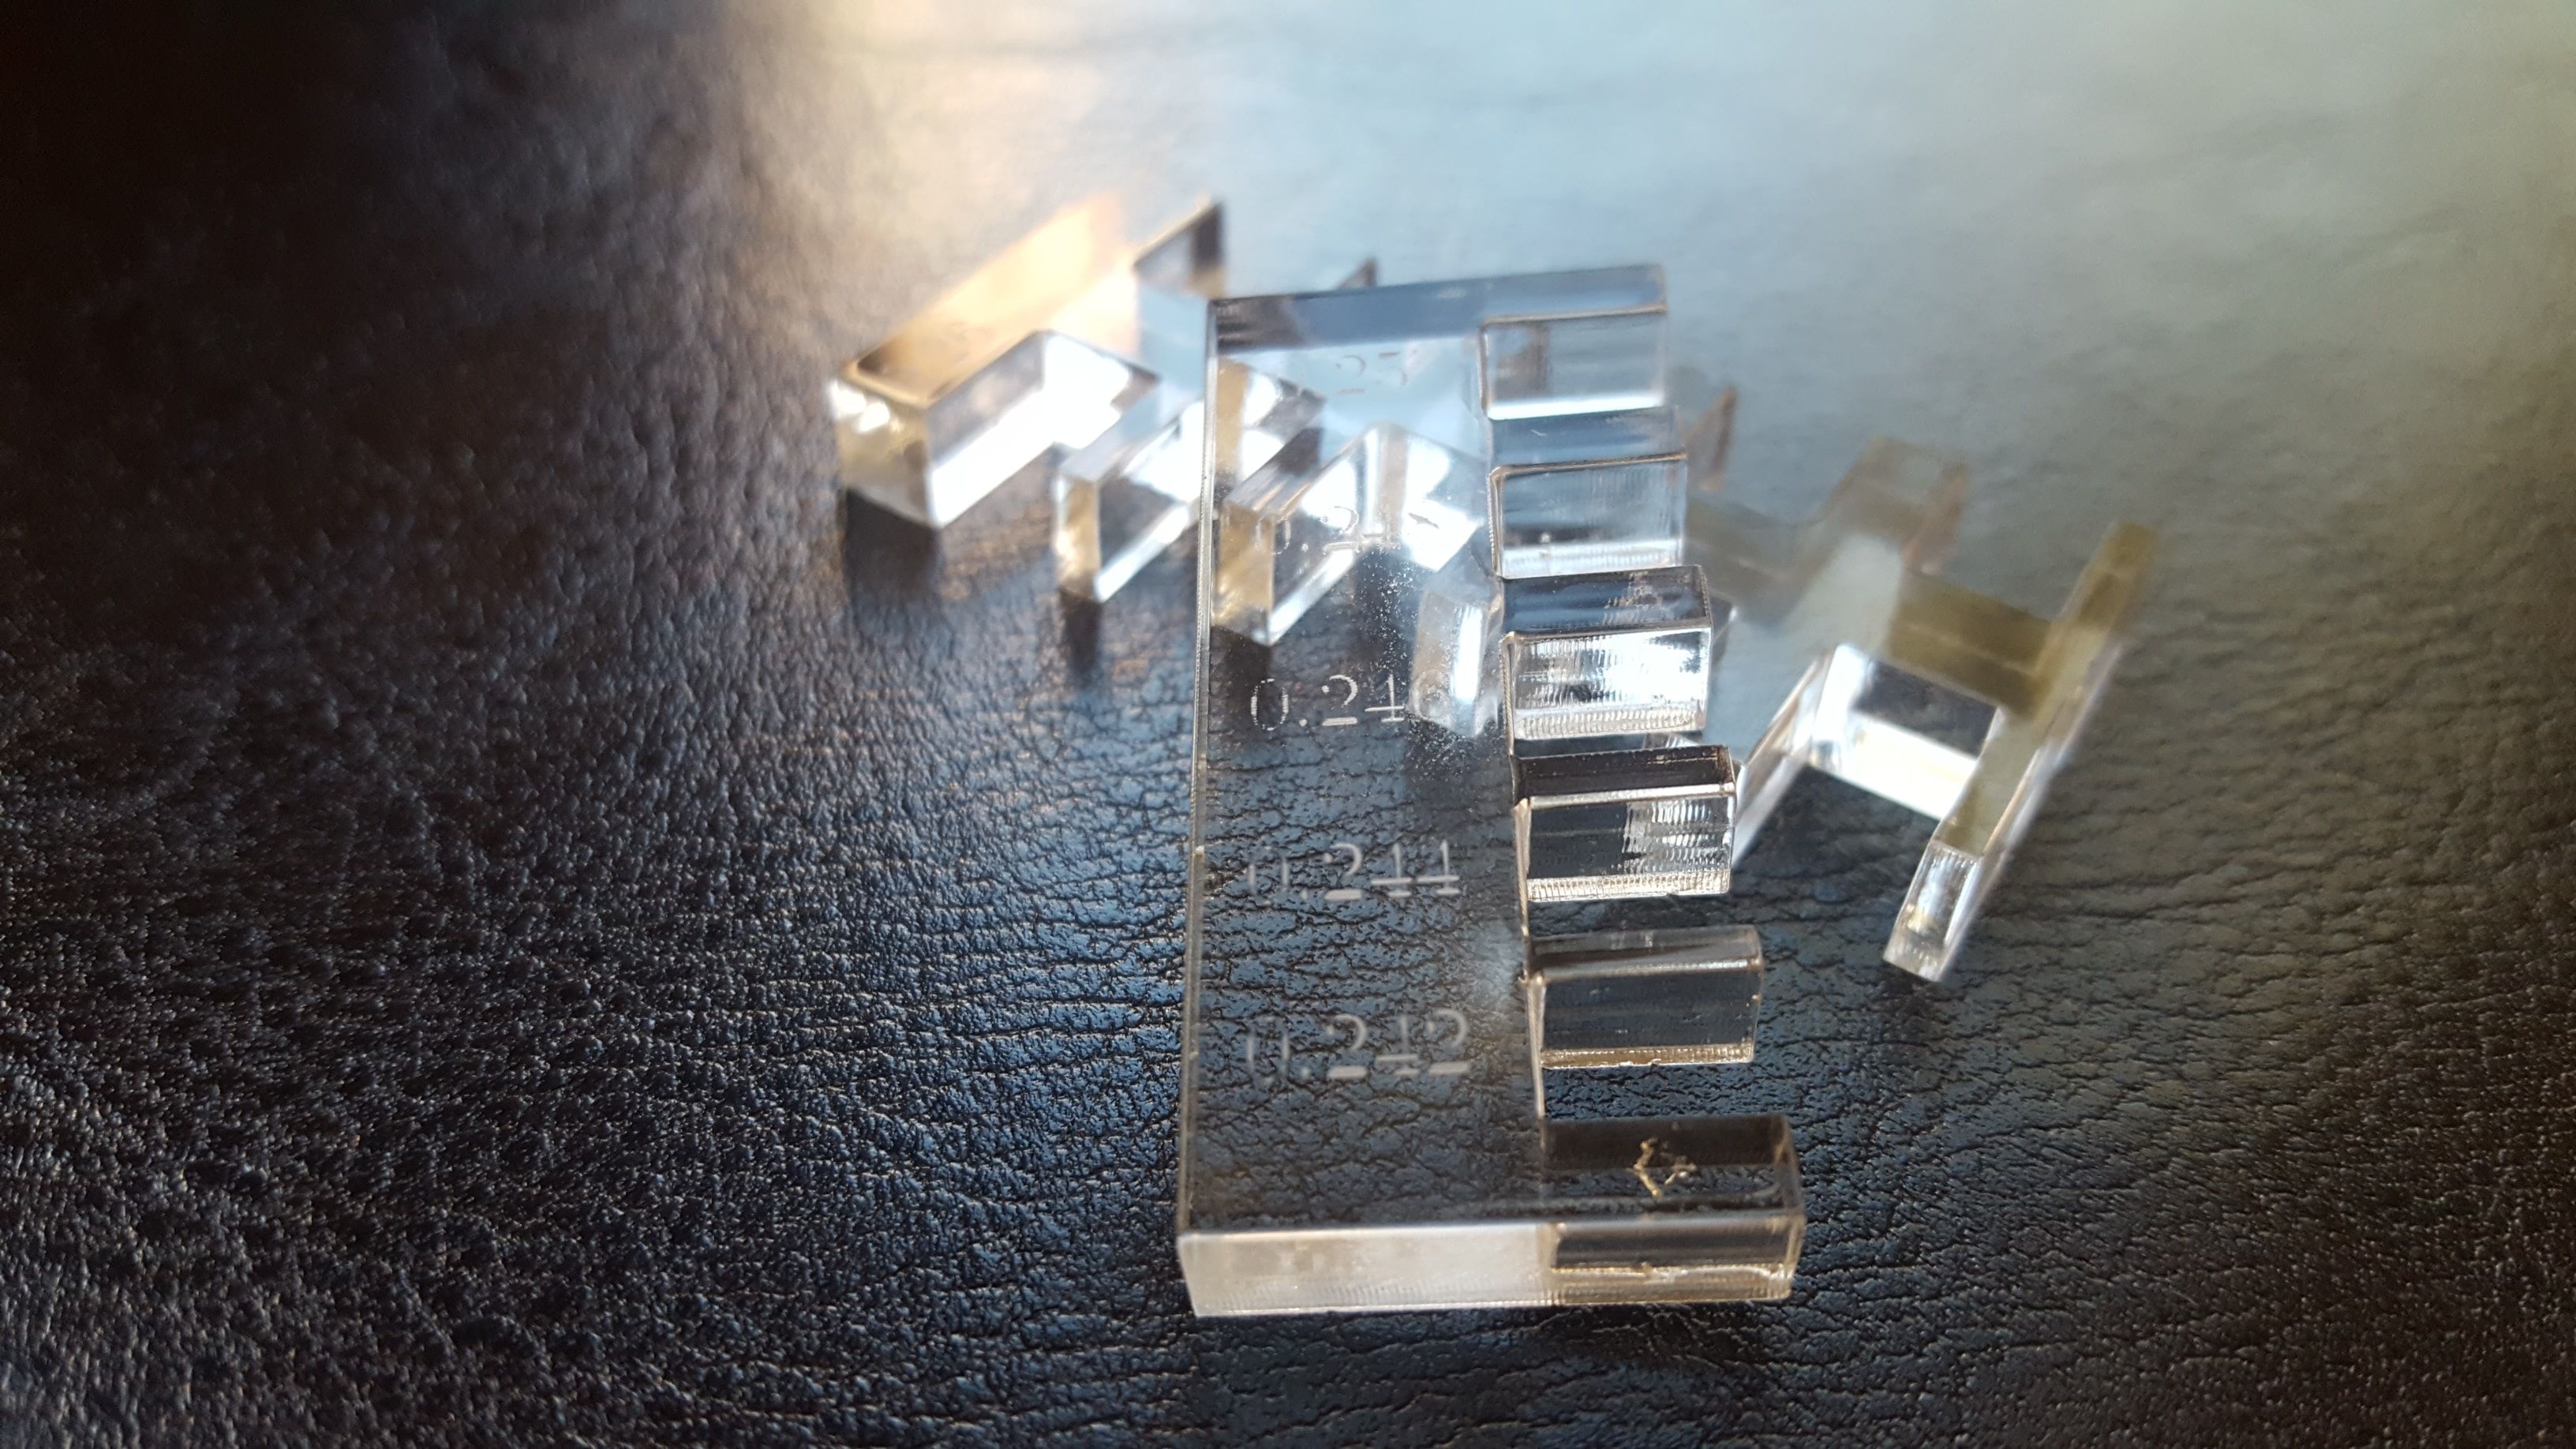
I decided to back in to work on a personal project - a nightstand made of acrylic for this really awkward gap in my room. Here's some test pieces I made for kerf testing with acrylic.
I decided to back in to work on a personal project - a nightstand made of acrylic for this really awkward gap in my room. Here's some test pieces I made for kerf testing with acrylic.