Assignment 4
electronics design (modified hello world board)
This week we worked on getting familiar with Eagle and designing our own boards for future projects in the class. The assignment was to create a modified version of the Hello World board, with an LED and a switch/button. I found that referring to tutorials made available by other students, the SparkFun tutorials and previous years' insights was extremely helpful. Here's a quick overview of steps I used to work in Eagle:
- Load your relevant libraries (fab.lbr) and create a new library for your project with the parts you need
- Create a new schematic, and go back to that directory panel. Here, you can expand the relevant library, right click on a part, and copy it to your schematic. In the schematic view, you can drop the part on the screen.
- Wire parts together using NET (don't use wire) and make sure they actually are connected because they might appear that way but may not actually be.
- Switch to board view and position parts/rotate them so that routing is most convenient. I tried using the autorouter with not amazing results, until I manipulated the board enough for it to connect the way I wanted. This definitely required some manual work.
- Check with the design rules and electronics check to confirm that your PCB is millable!
Here are some pictures of my failures and successes this week!
**protip**
The design check passed but the mill still fused my traces together in some cases - check the printer software's route calculations to see how the mill will react to your design before printing it.

Here is what my schematic looked like after dropping the parts that I wanted before adding any wires.
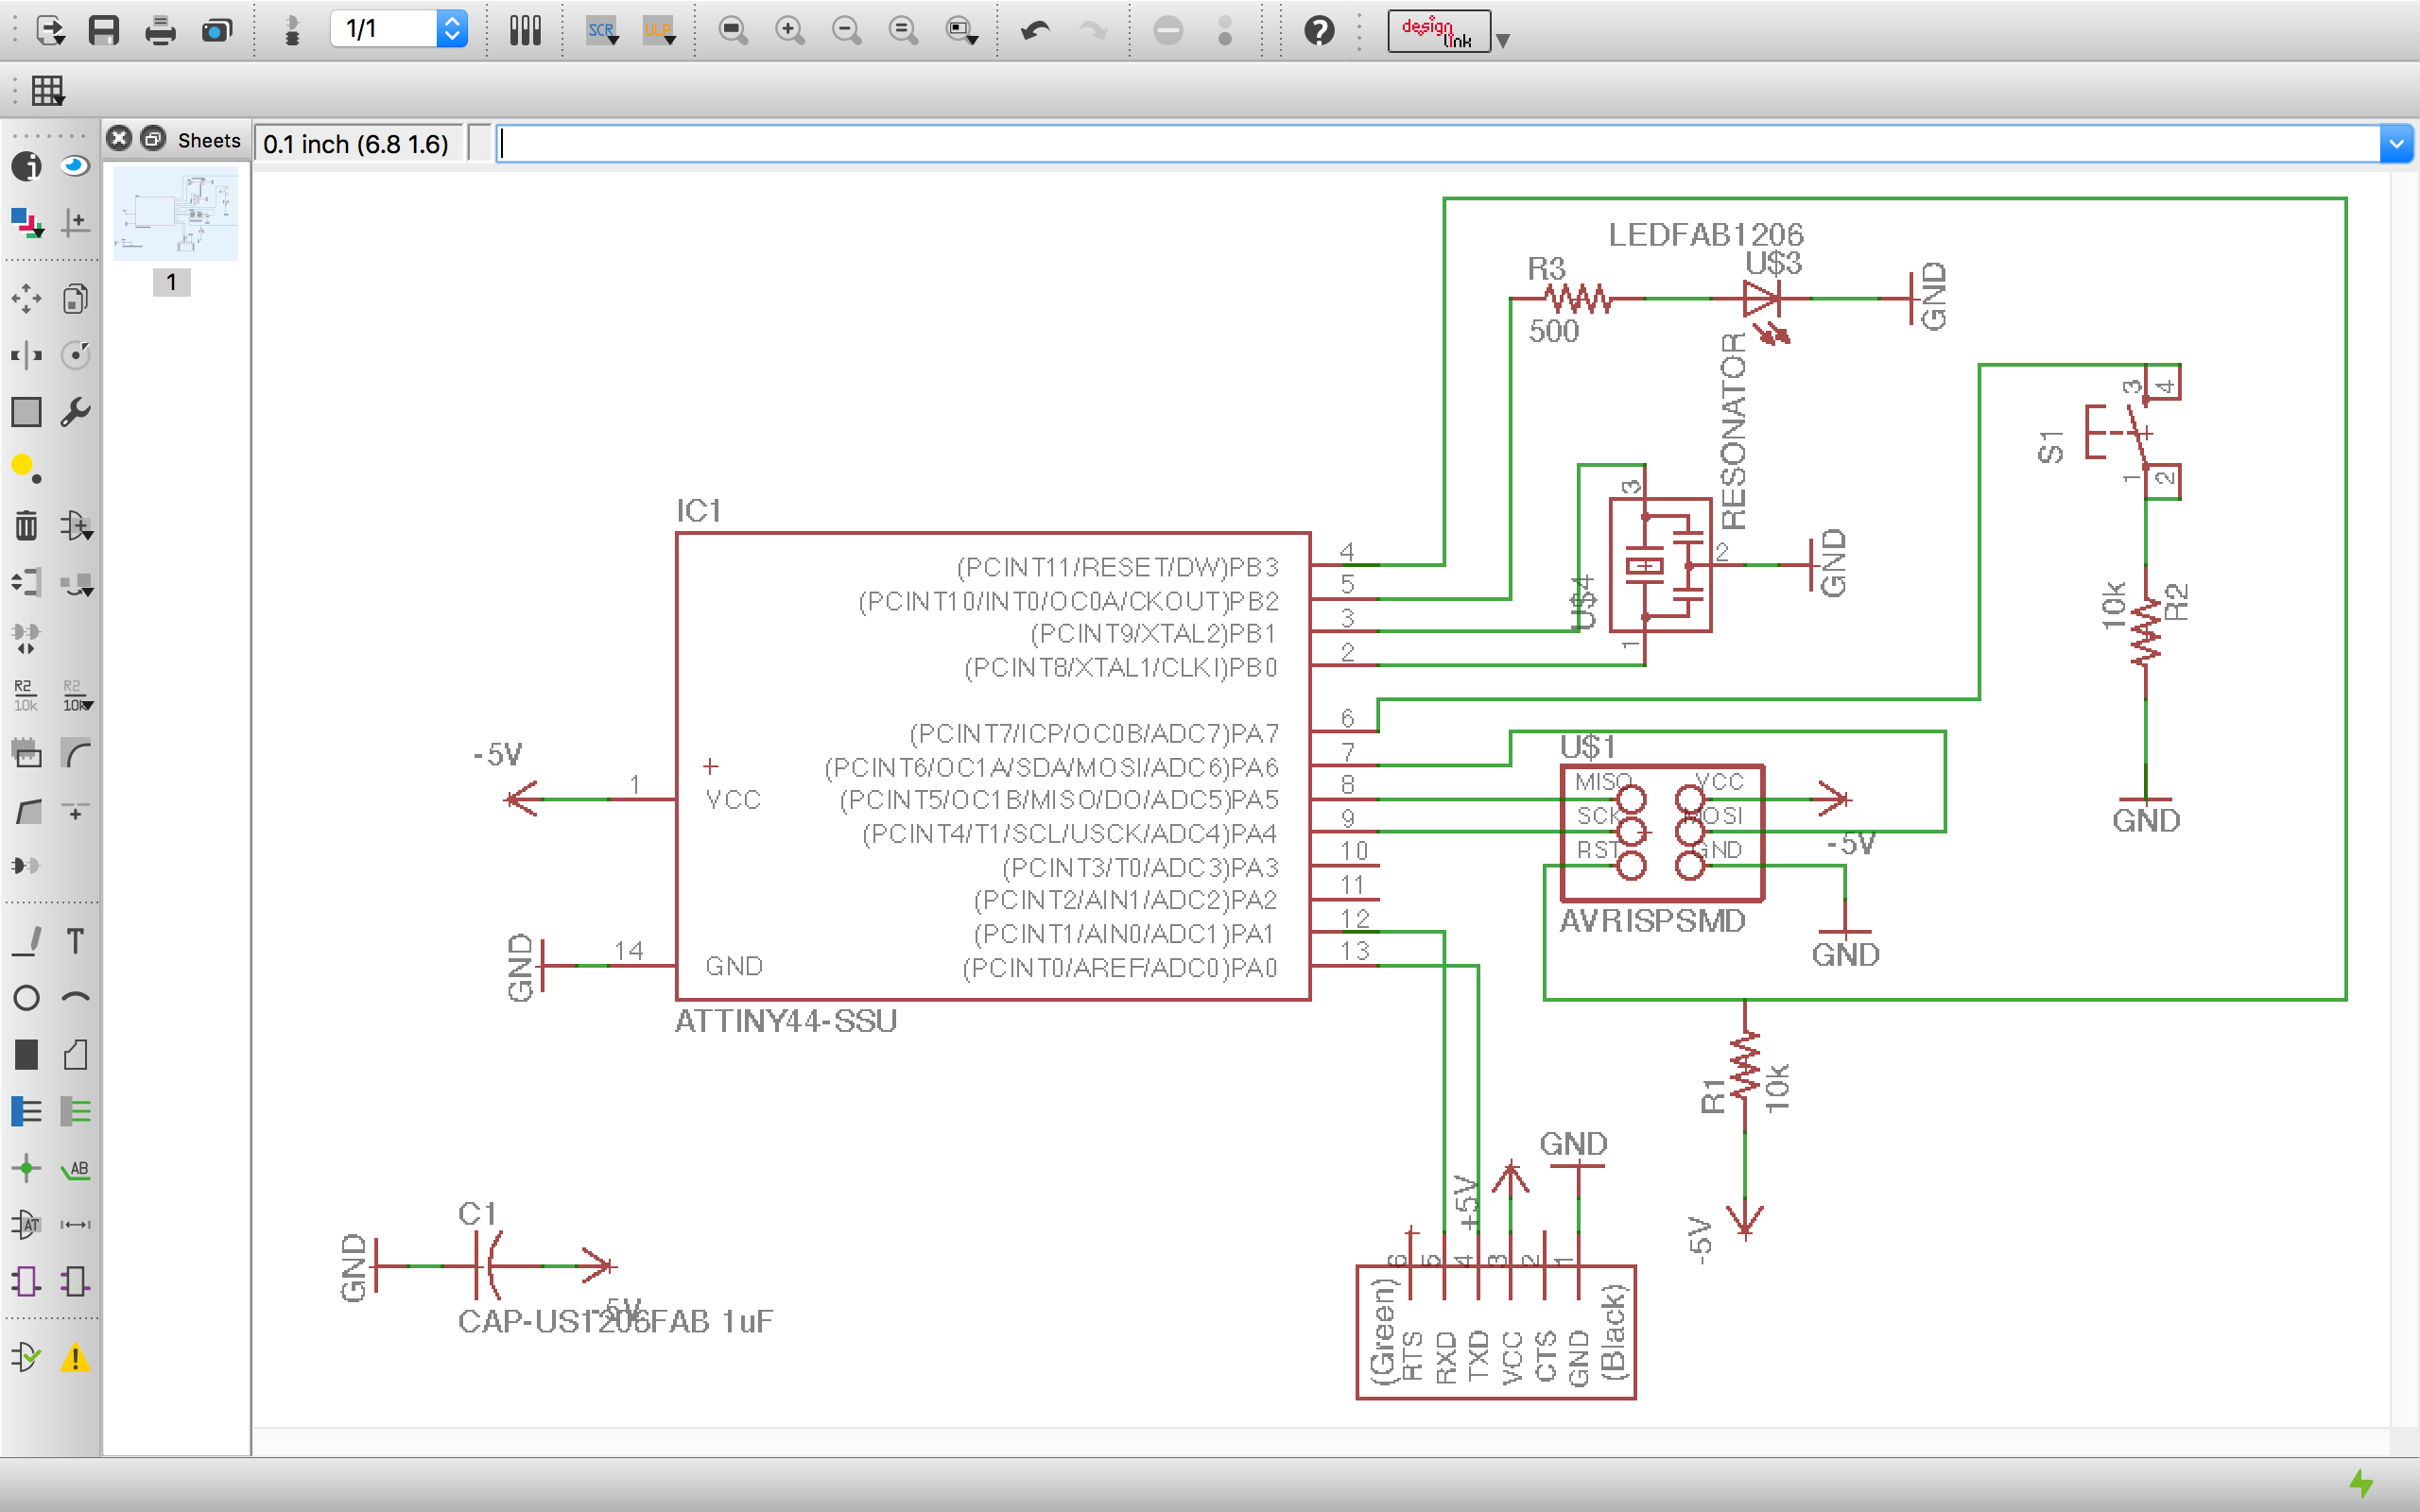
Me beginning to wire the components together - I didnt realize that the wiring didnt matter too much because the positioning would all be lost in conversion to PCB, but laying it out this way did provide some visual organization (though labelling wires and not physically drawing their connections would have been neater and easier to adjust)
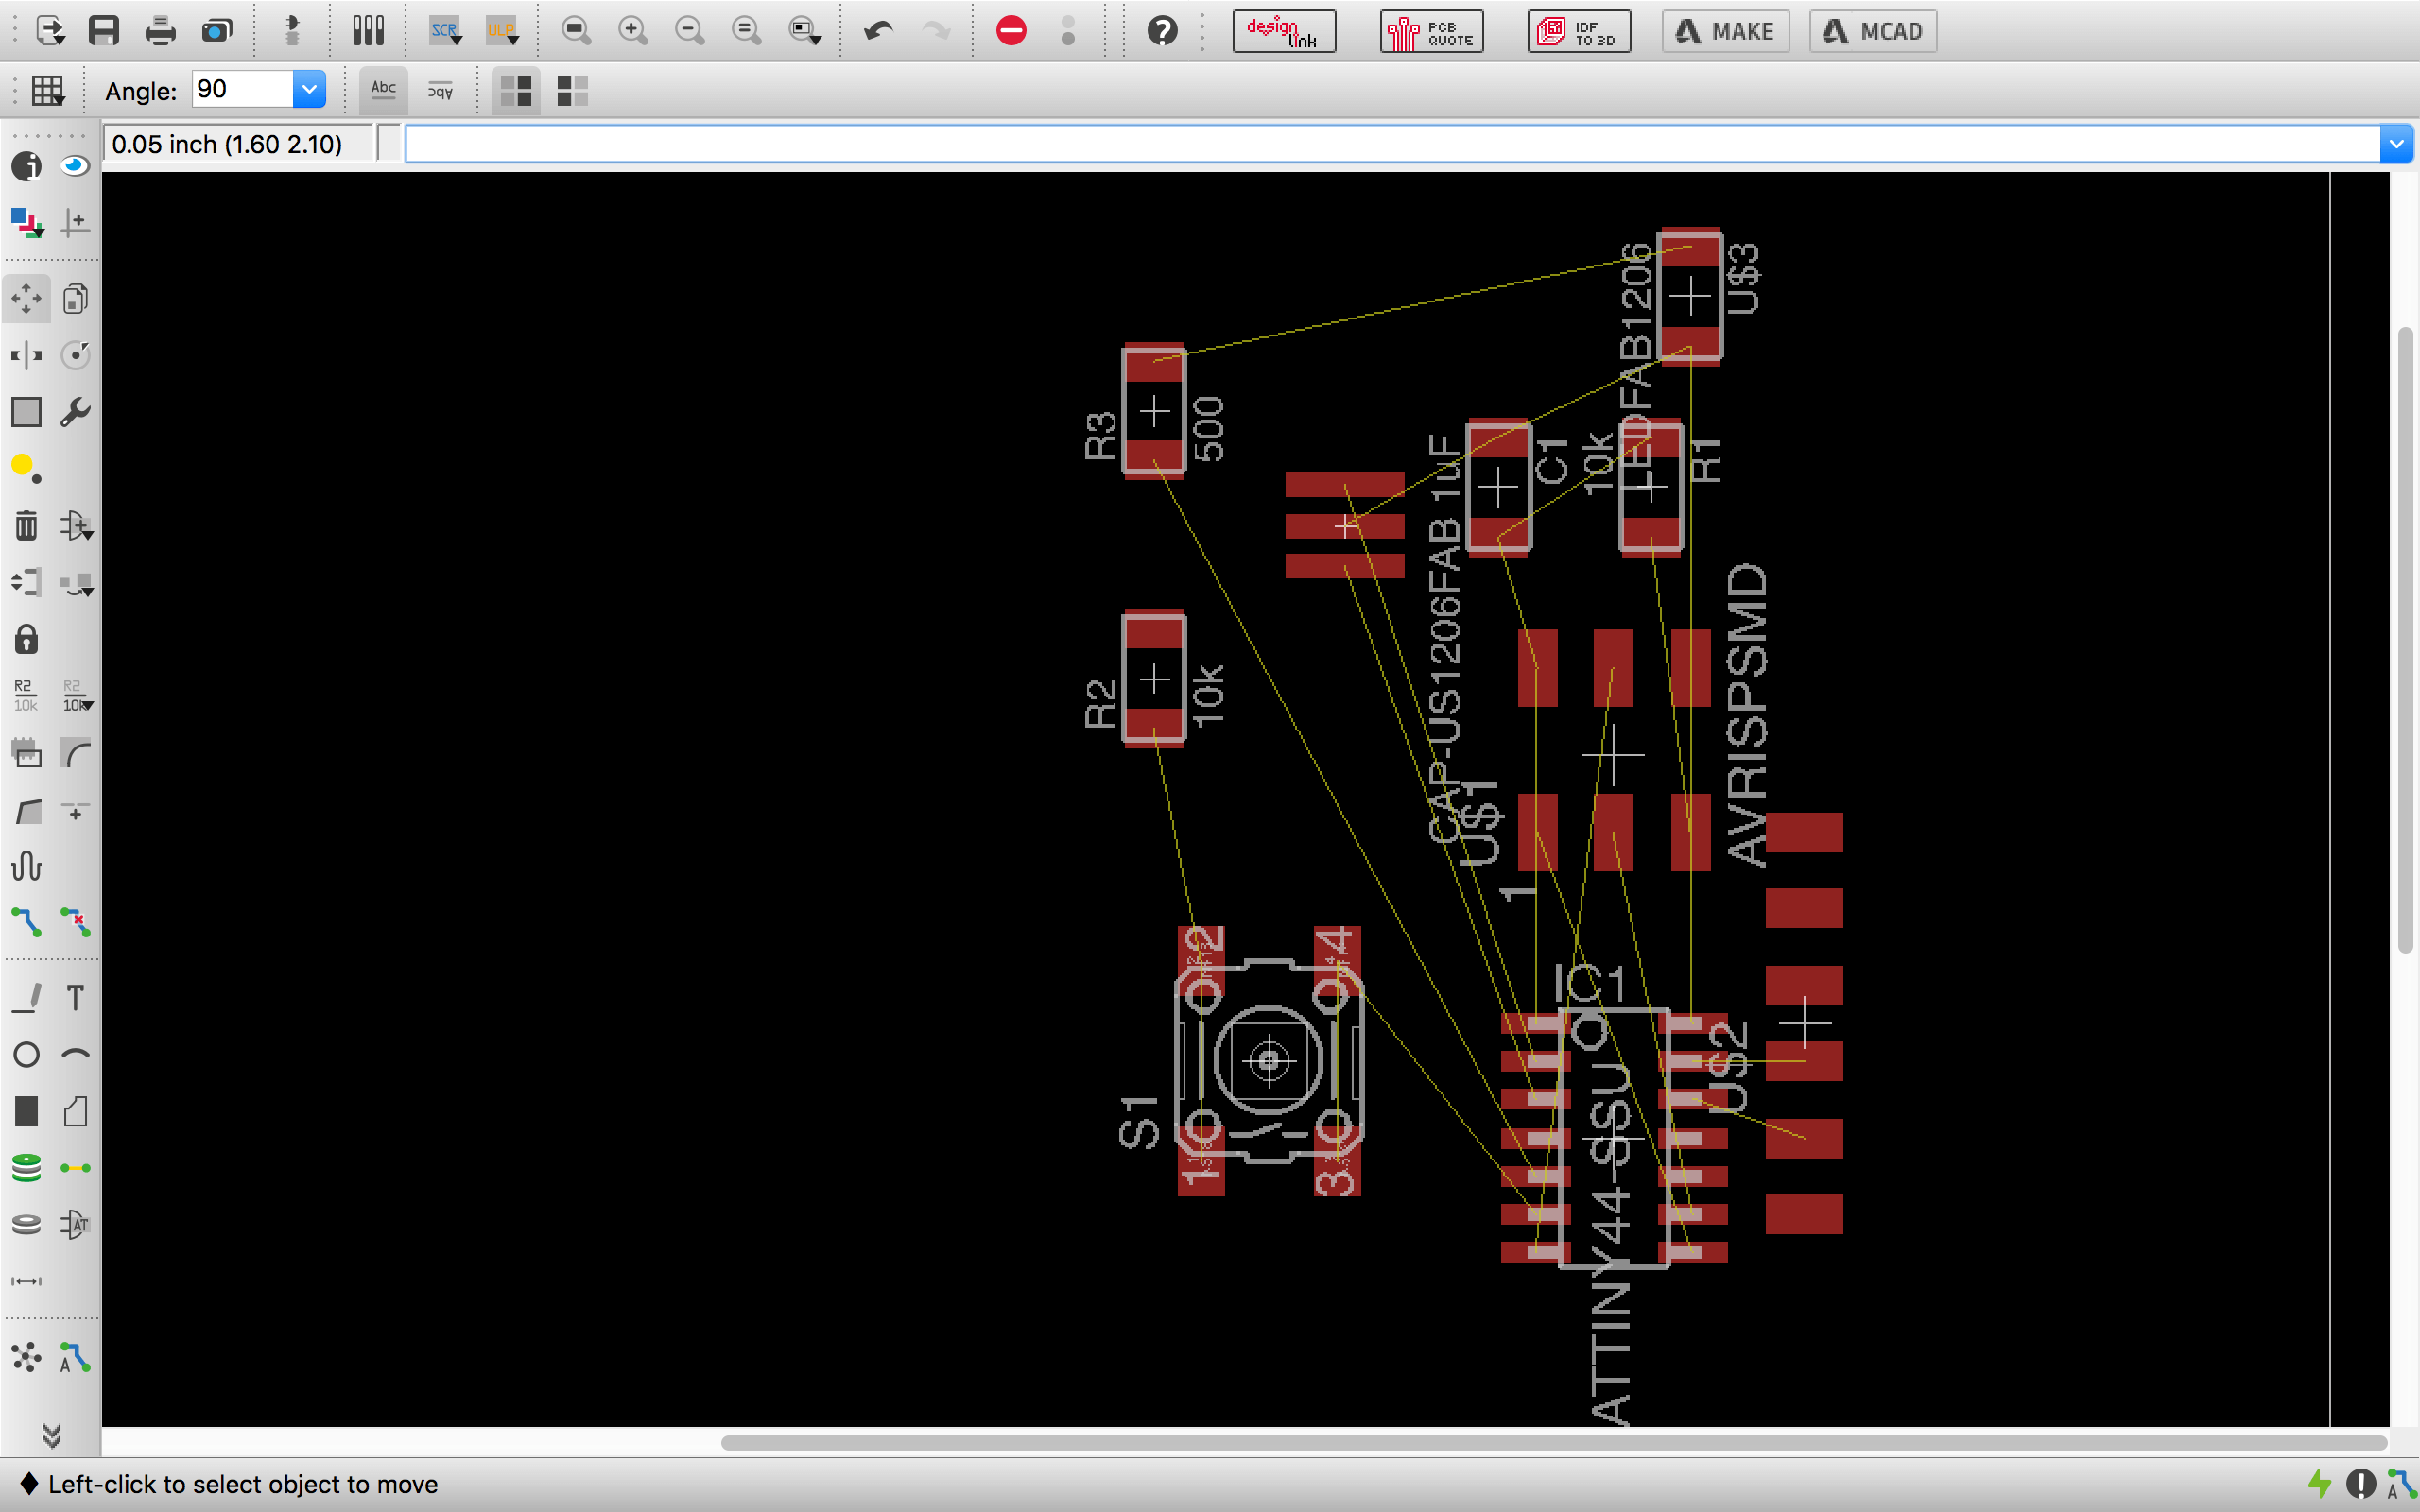
I switched to board view and all of a sudden, everything was a huge jumbled mess of tangled wires. I dragged the parts around and was at the very least, glad to see that the right connections were made and that the wires I drew in the schematic were preserved here.
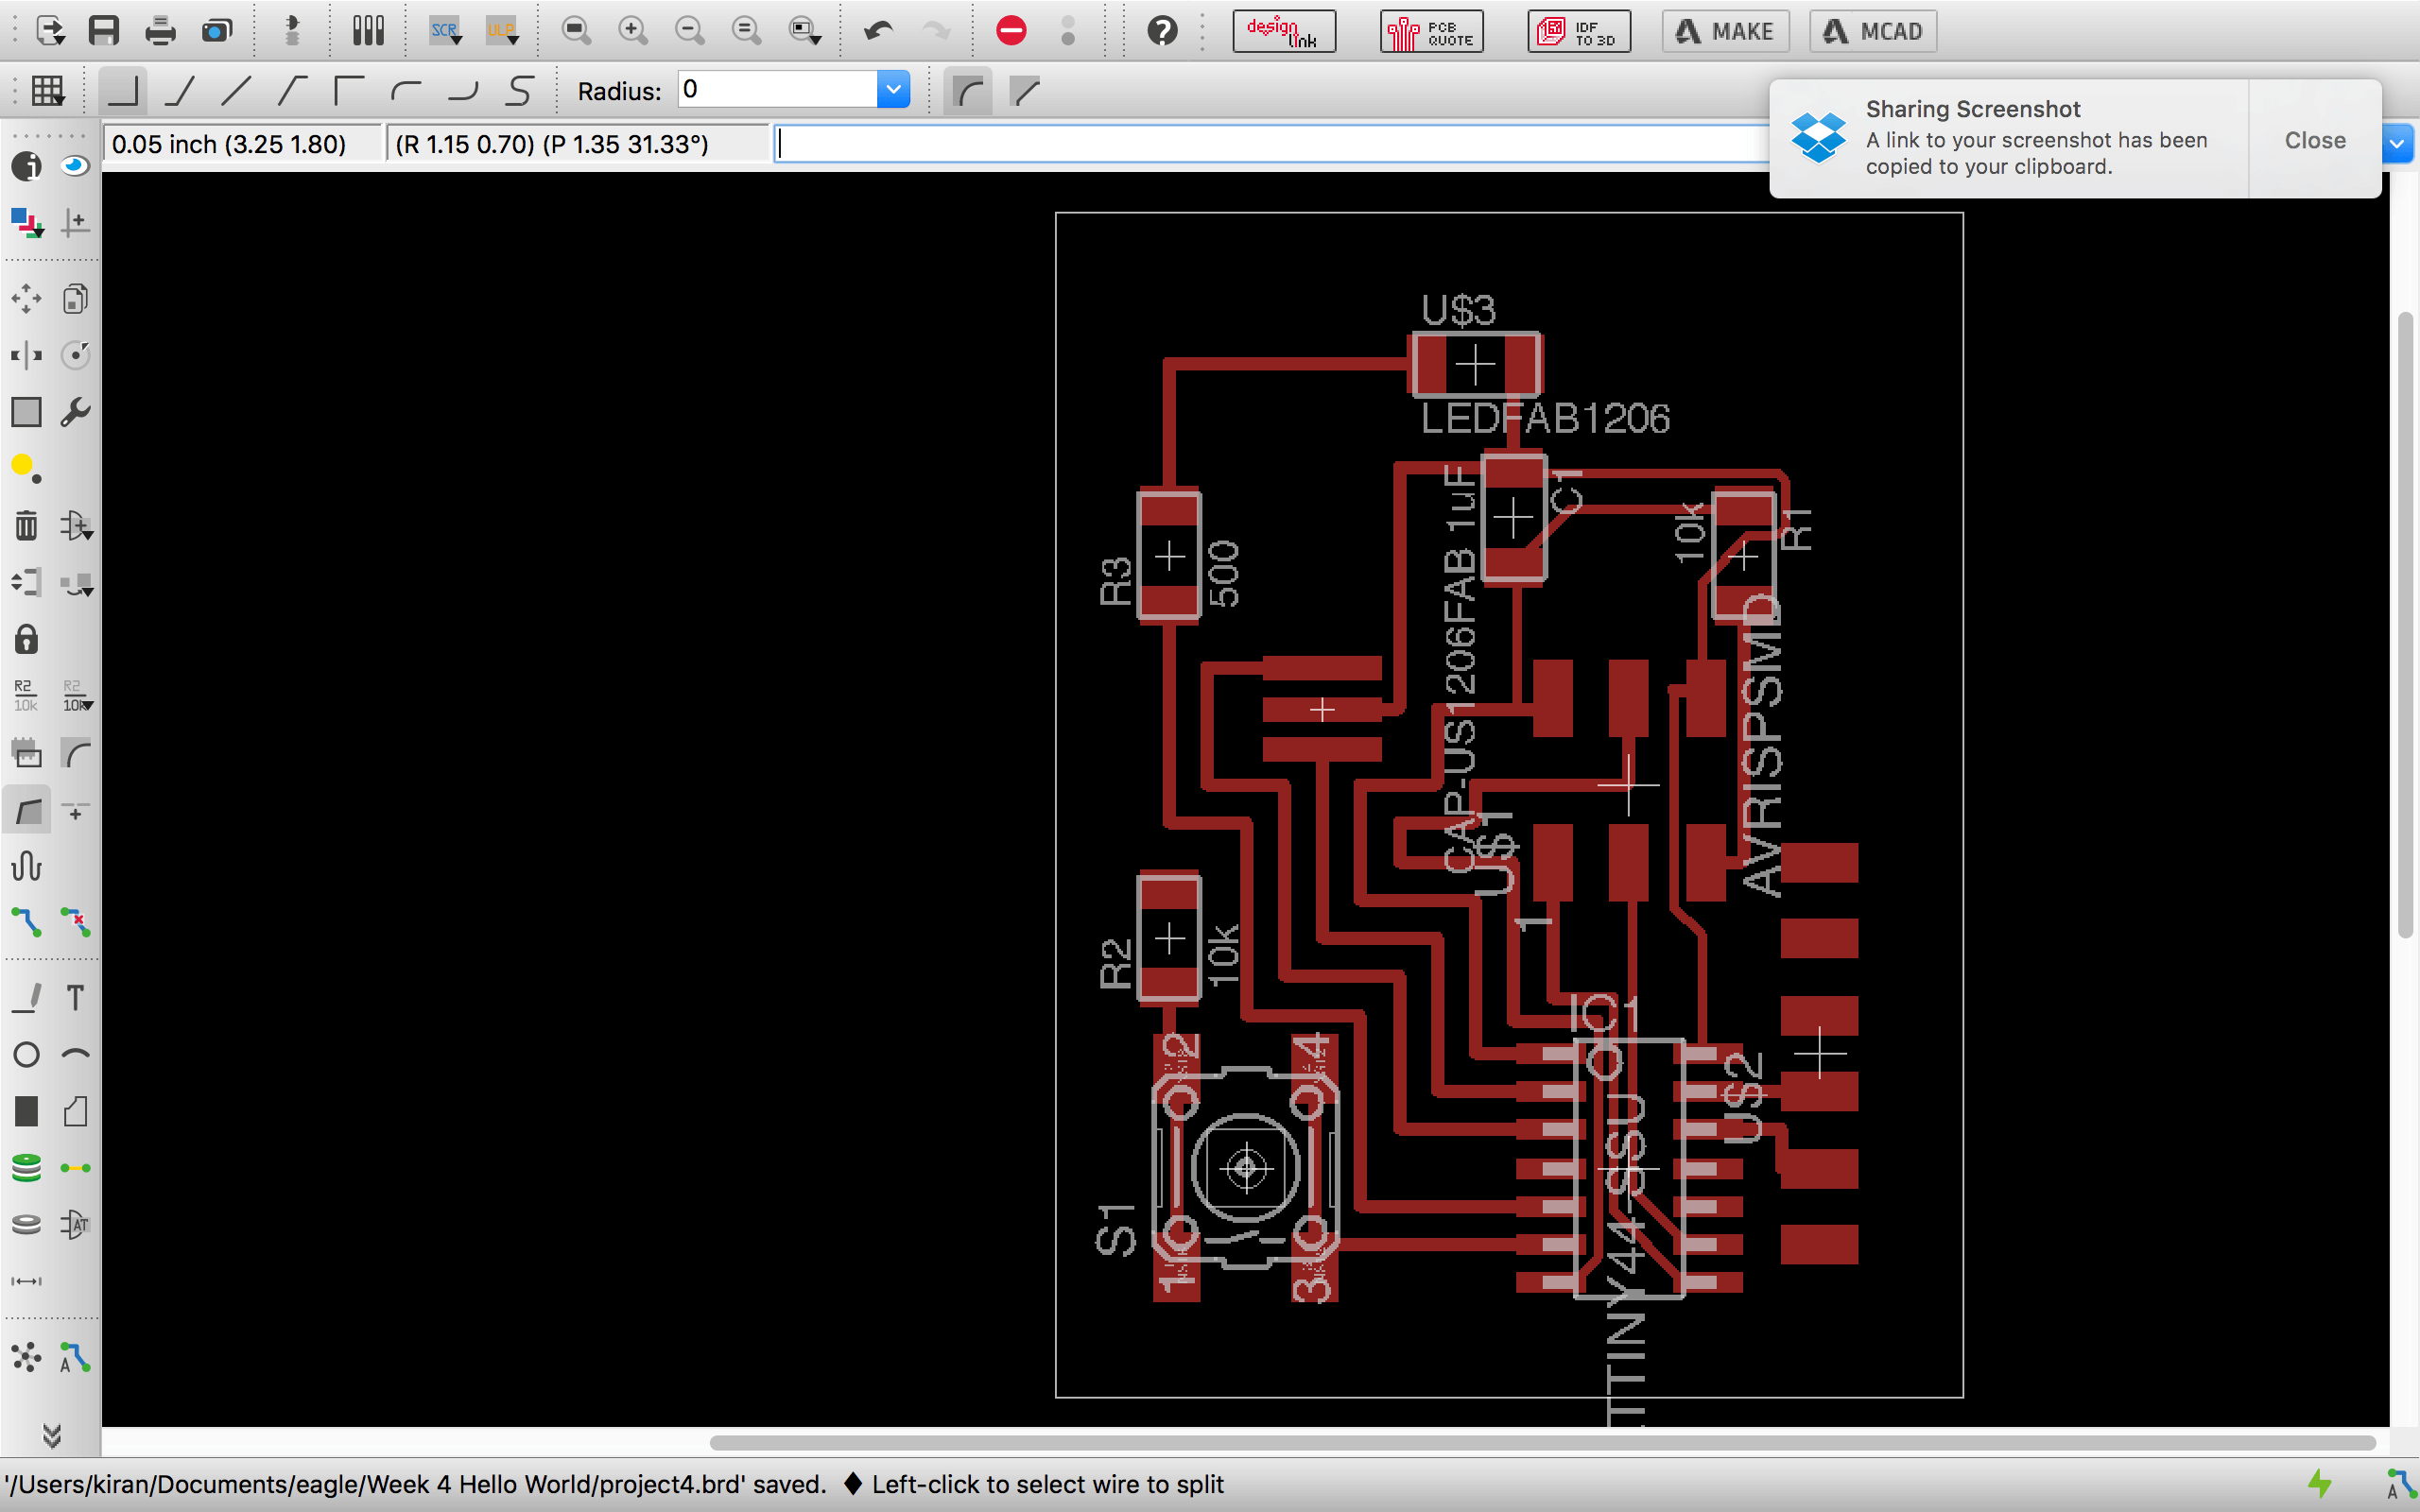
carried away sigh - realistically, this is not a great design because it has a lot of hard angles.
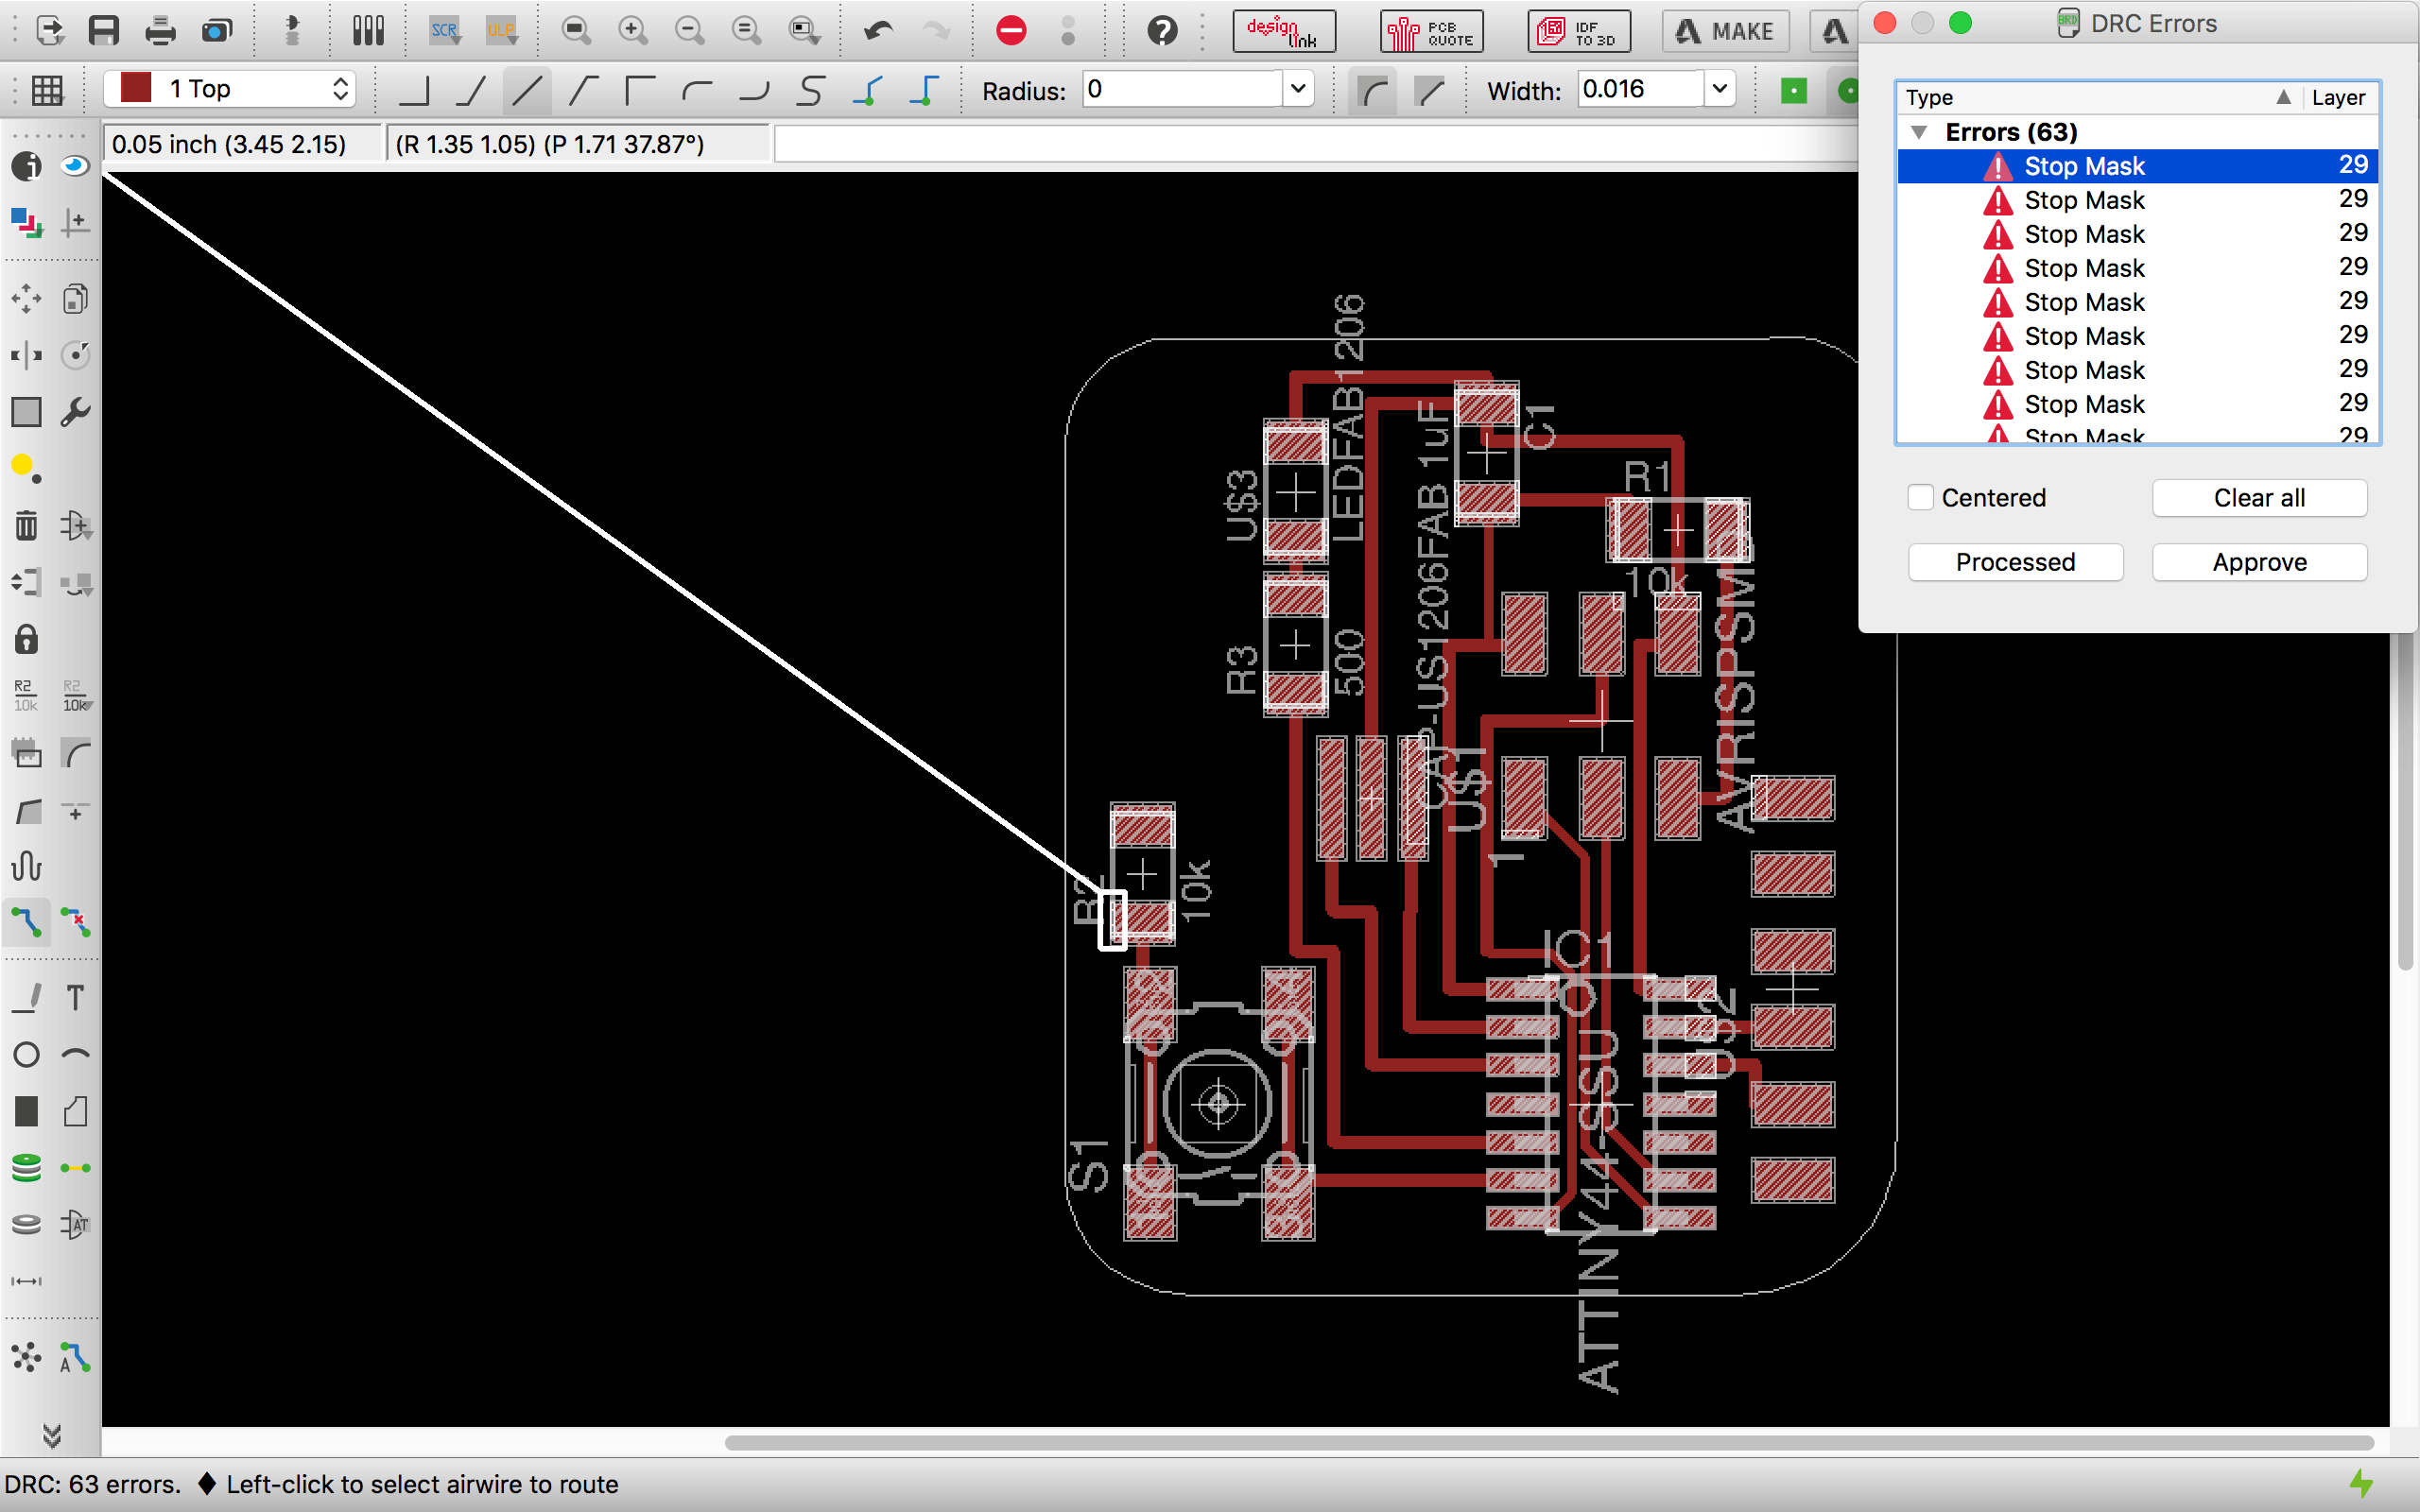
I finally finished created a better design and went in to check the design rules - got a ton of this Stop Mask error on Layer 29 which I conveniently decided to ignore.
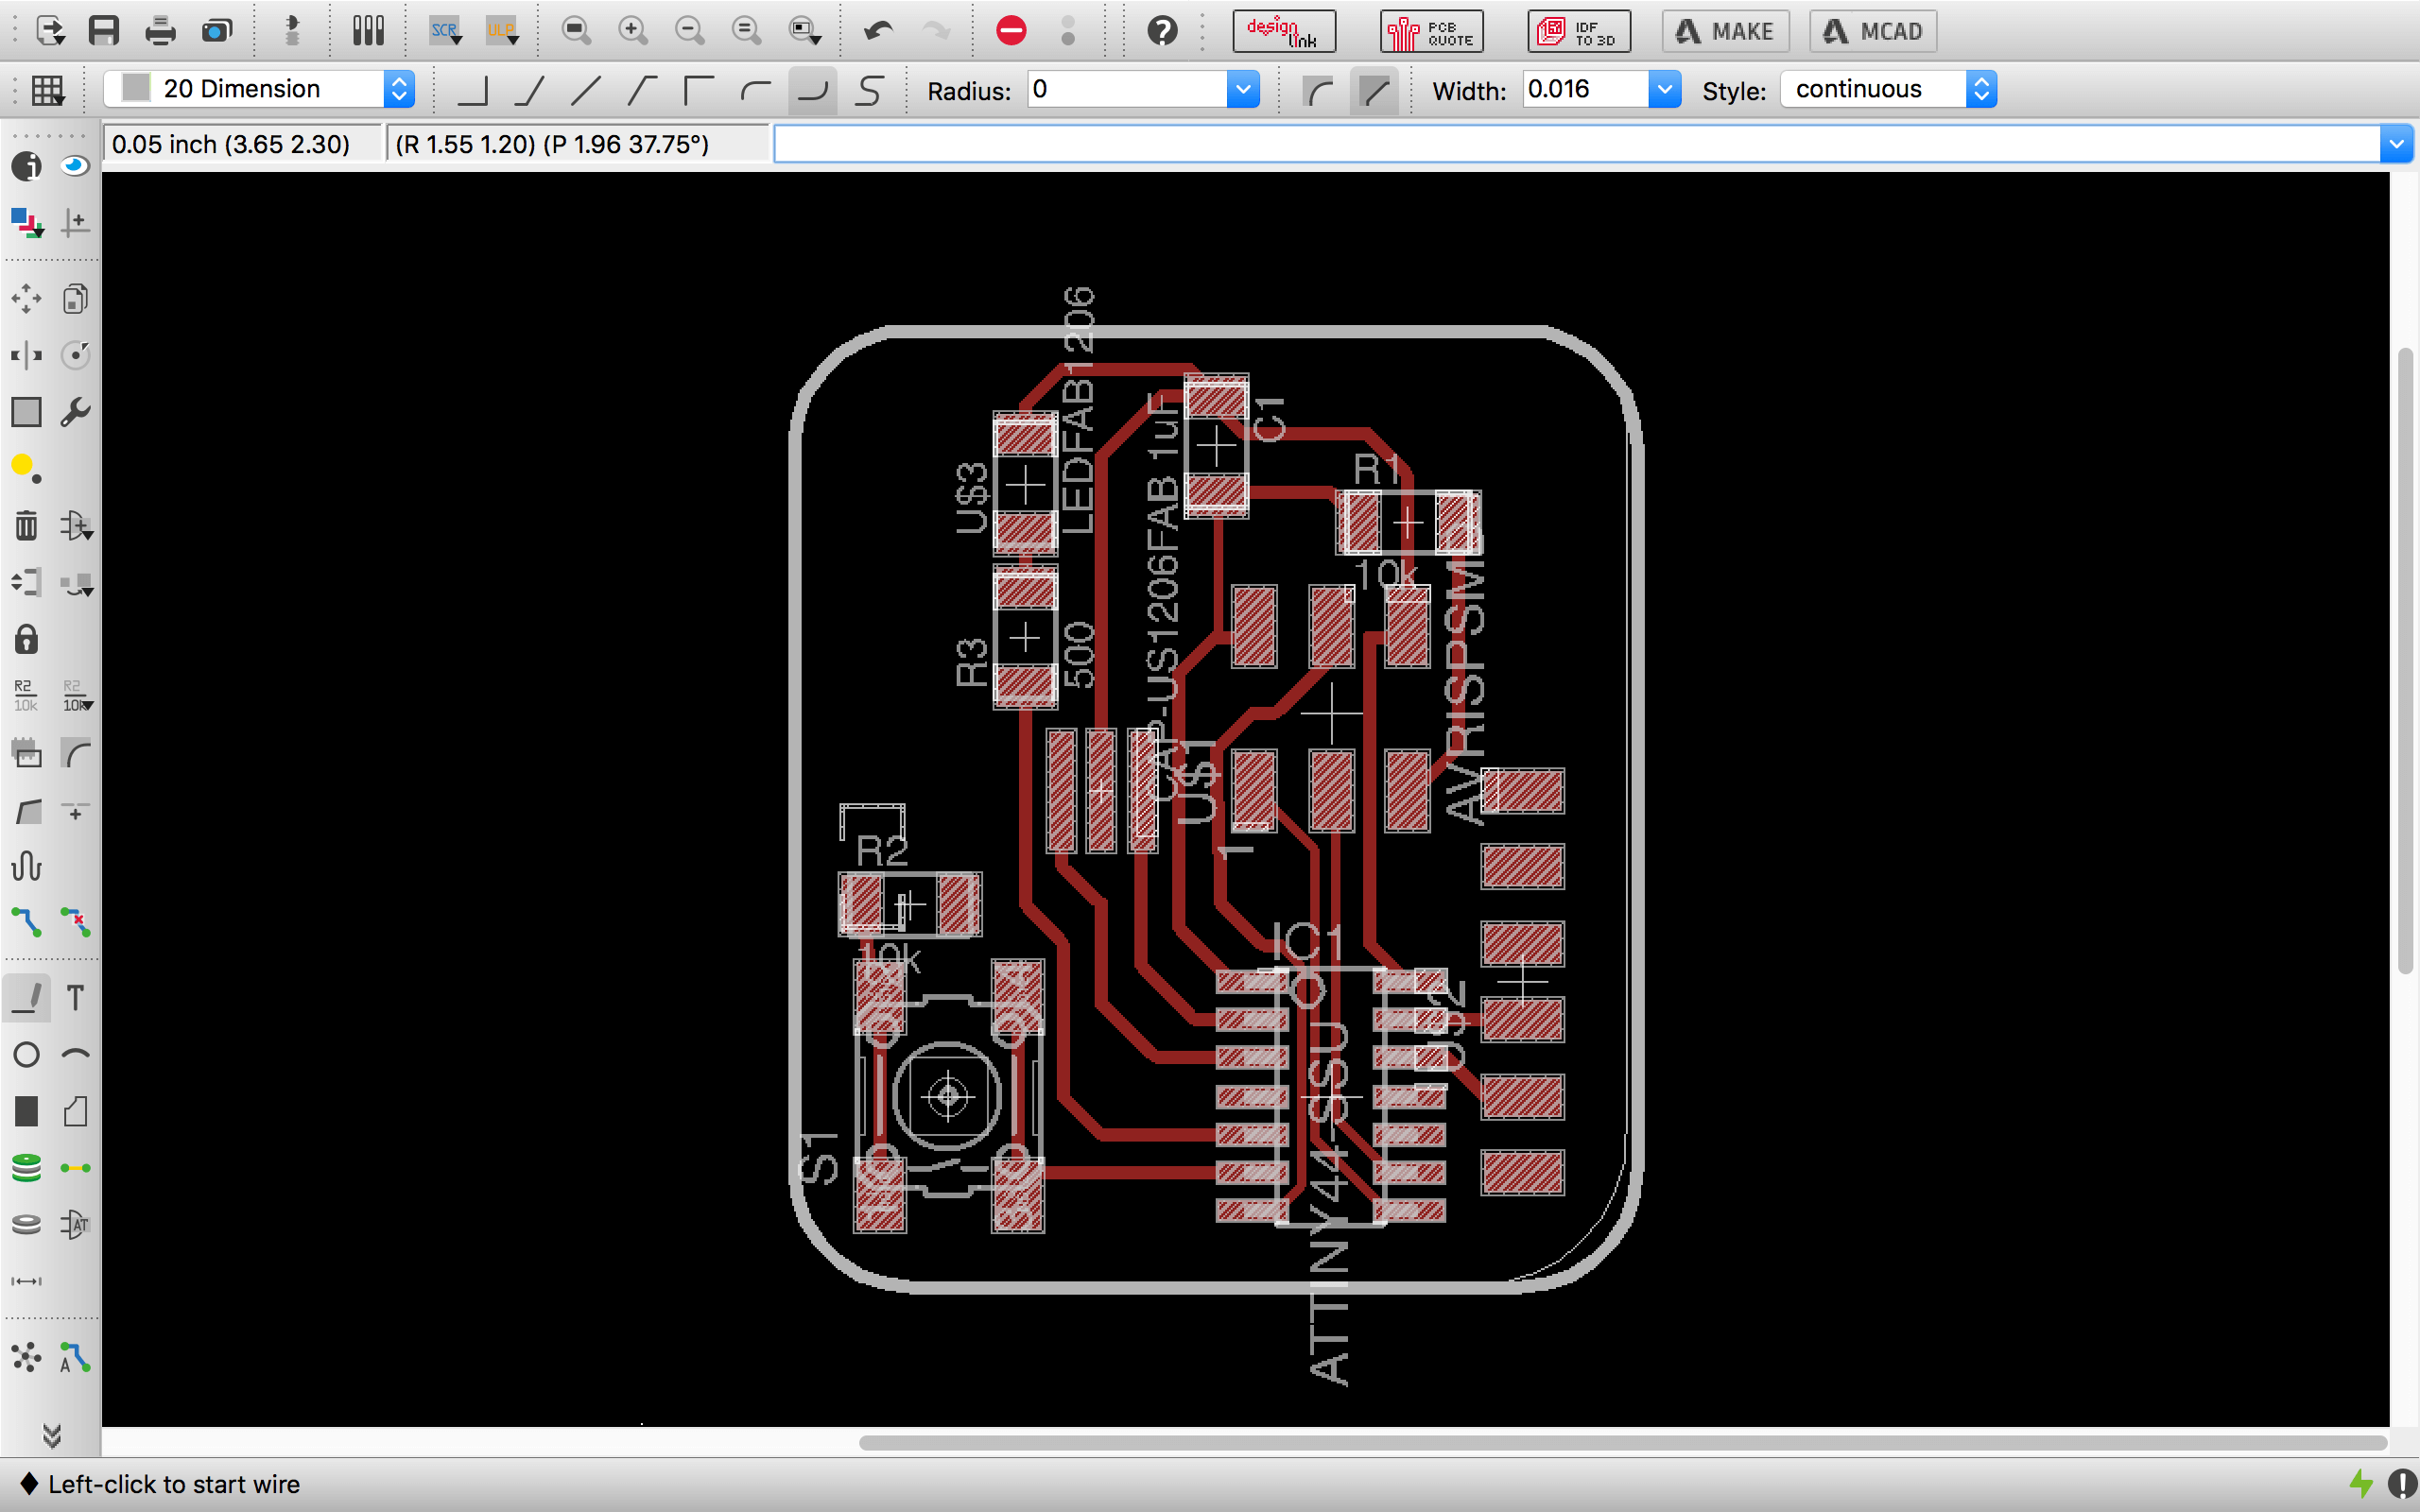
Time to export! Using commands was useful (particularly, display none top to show only the traces and display none dimension which showed the outline of the board)
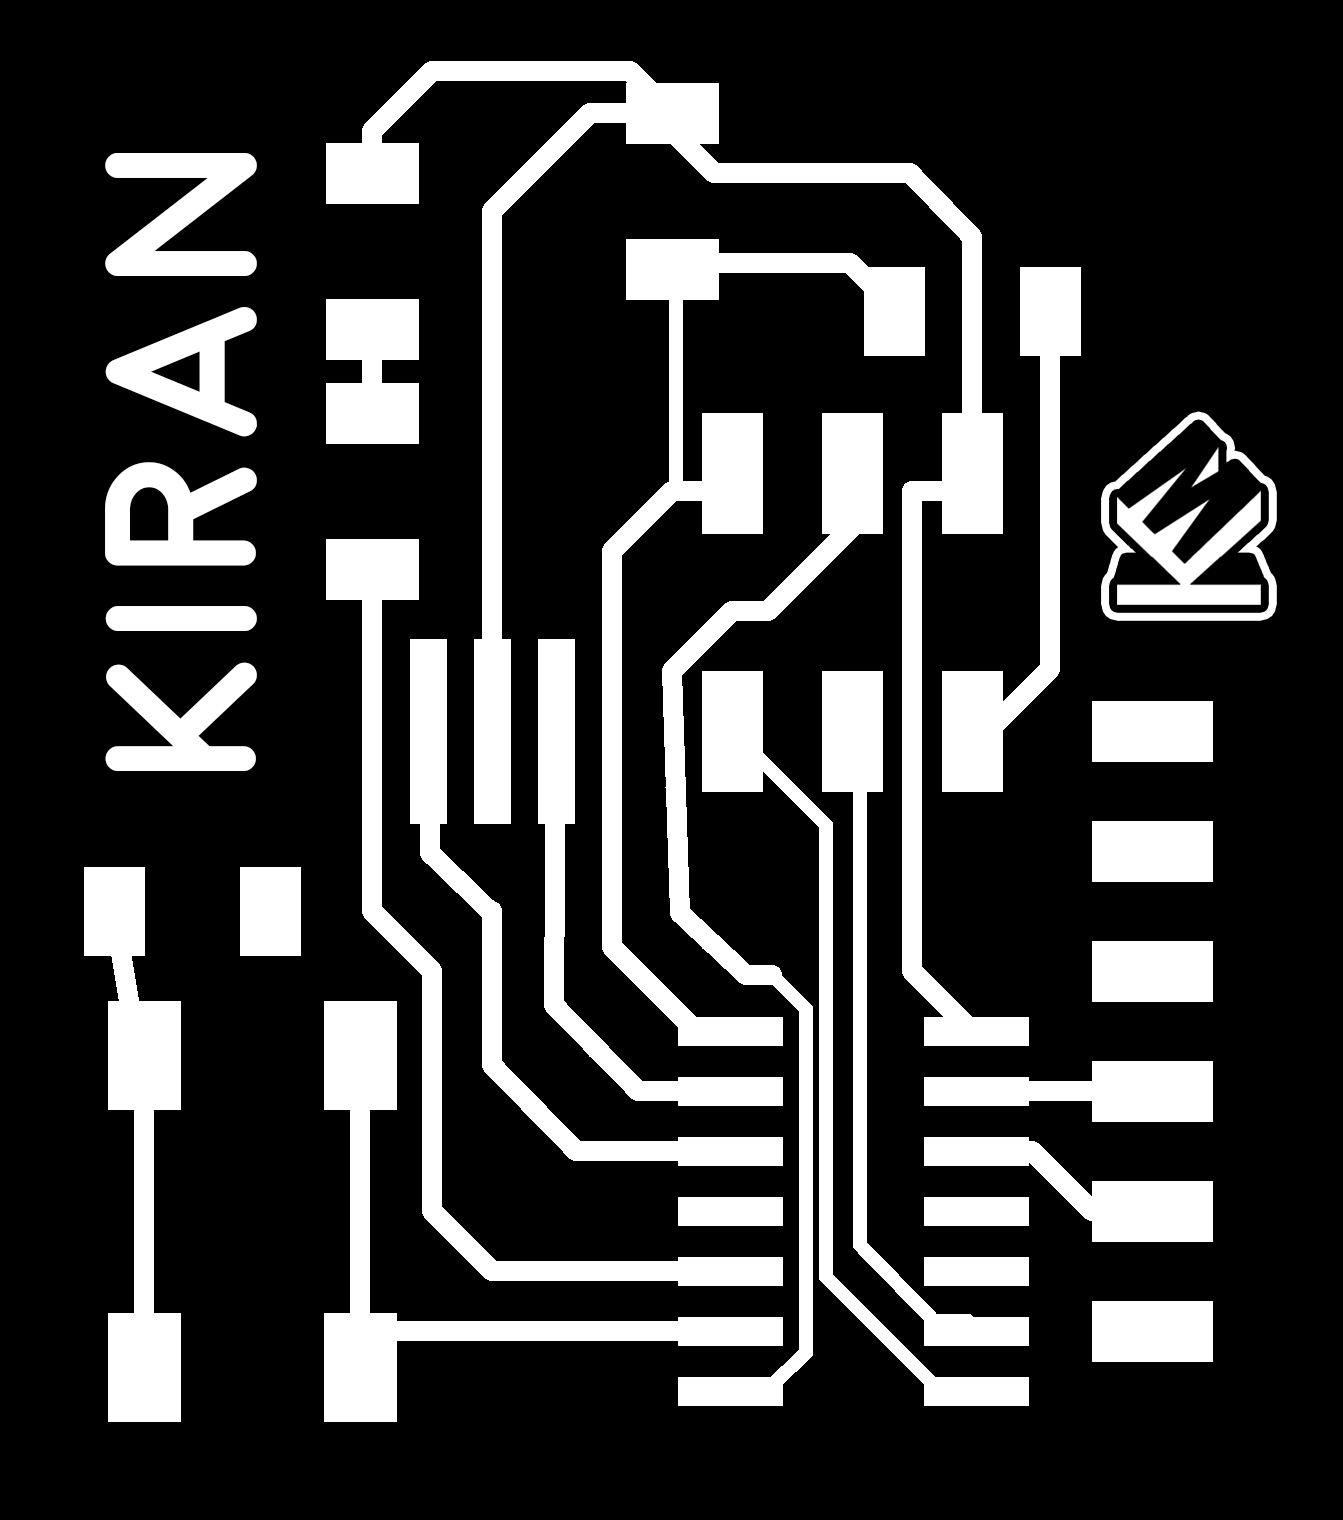
Here's my final design!

Time to begin milling - nothing new here. Check out my past assignments on milling to read about those specifics.

If you look closely at the routes the mill is calculated to take, you'll see that some of the wires I had became fused together. I decided to continue finishing the job anyways.

I also realized that the bottom of the outline never cut through - it must have been too close to the edge (no black outline around my pattern) to recognize a cut. This wasn't too big of a deal, since I was able to use a different tool to cut the board. If you look closley, you can see that some of the traces fused together here.

On the left is the pcb without any alterations post-printing. The middle and right images are the result of some careful Exacto-blade cleaning. Still need to stuff the beauteous PCB.
I'll be checking with a multimeter just to make sure that my exactlo blade incisions actually severed electrical connections where they were unwanted.
Overall, I learned how to use Eagle this week which is getting easier but still extremely unintuitive. I didn't enjoy this assignment too much, mostly because a lot of work went into producing something that isn't guaranteed to work and required some post processing on my end that I hadn't planned for. I did learn a lot and get more comfortable with the CNC mill though, so I am glad for that.


