Assignment 6
embedded programming
This week we worked on embedded progamming (Read: making our previous Electronics Design assignment actually do something!). Since I ran into some trouble over the last assignment to fab my board, I redesigned part of it and milled it again. What had happened was the traces fused because they were too close together. This week, after the redesign, I checked how the toolpath looked before milling to confirm that it would print okay.
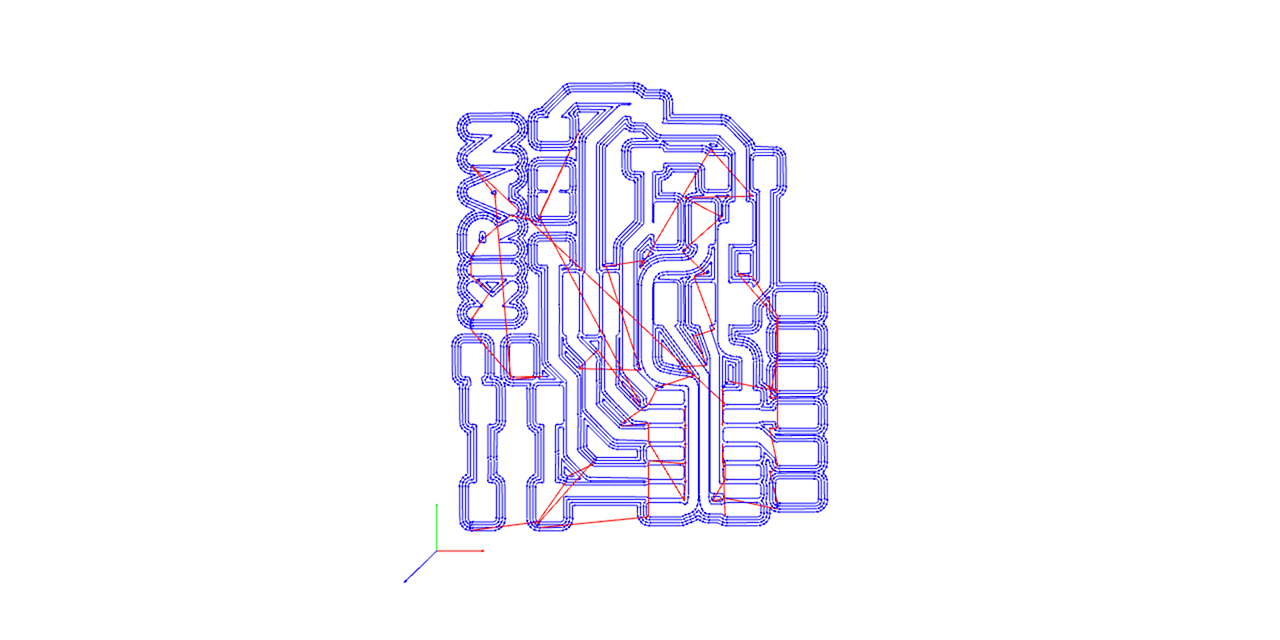
Here you can see that the toolpath looked great and nothings fusing together - okay to print!
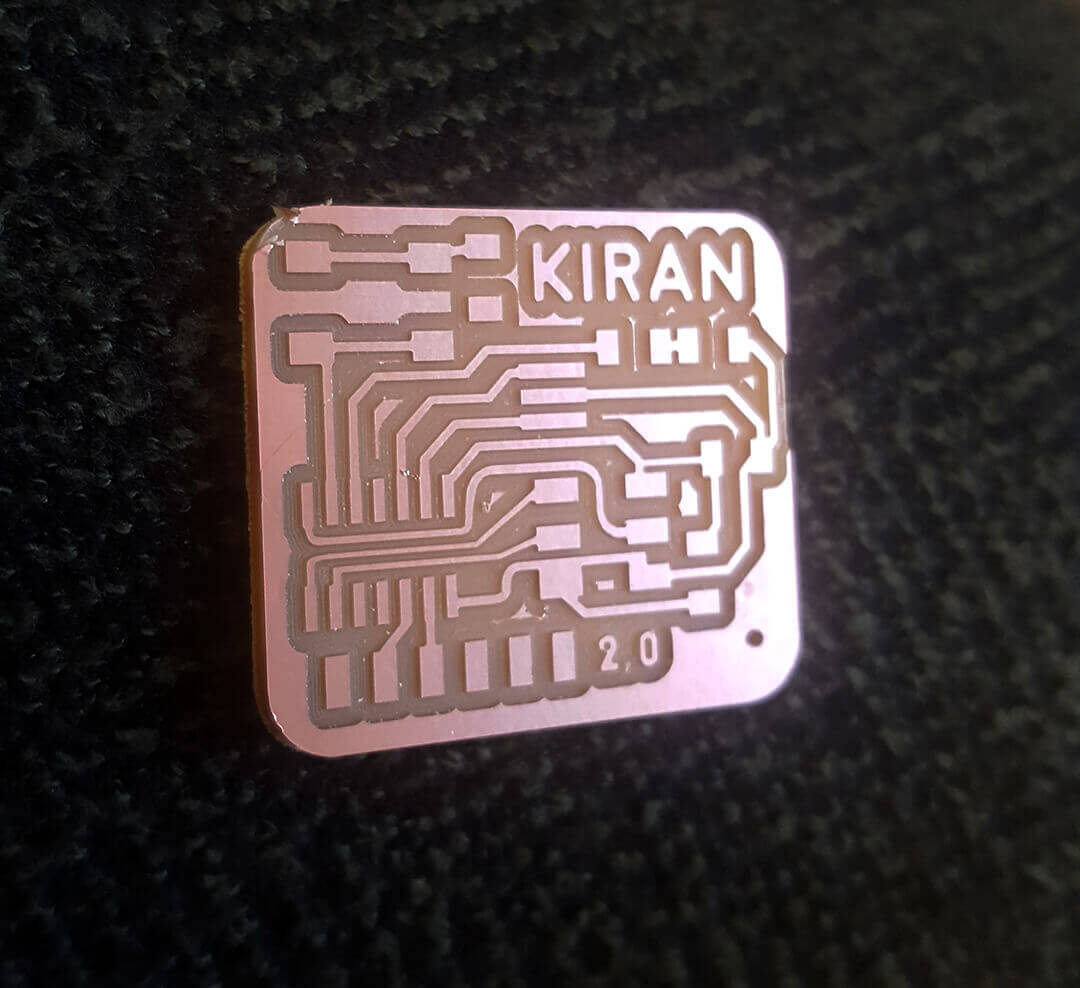
Here's the board after milling. Now I was ready to stuff it based on my schematic in Eagle.
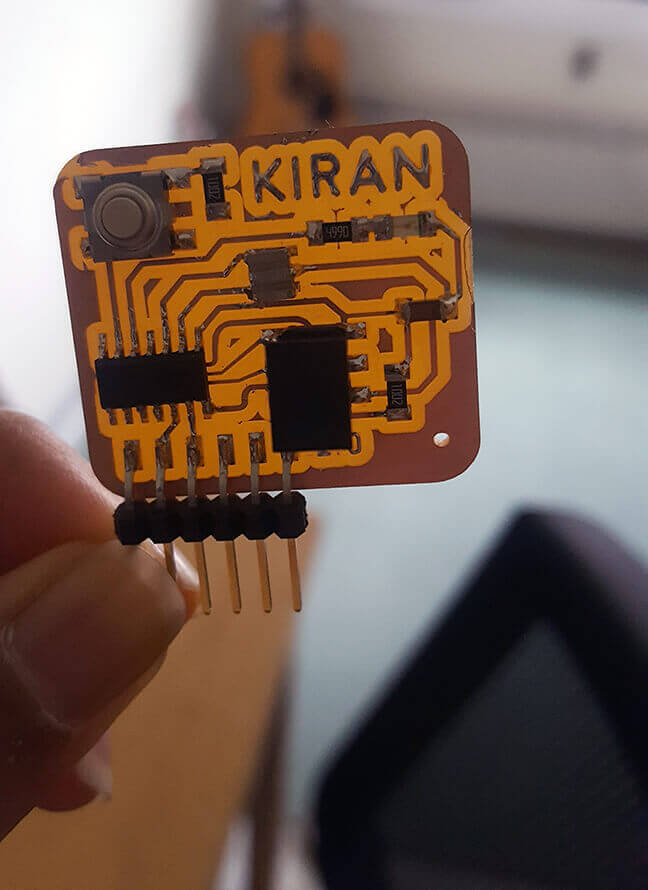
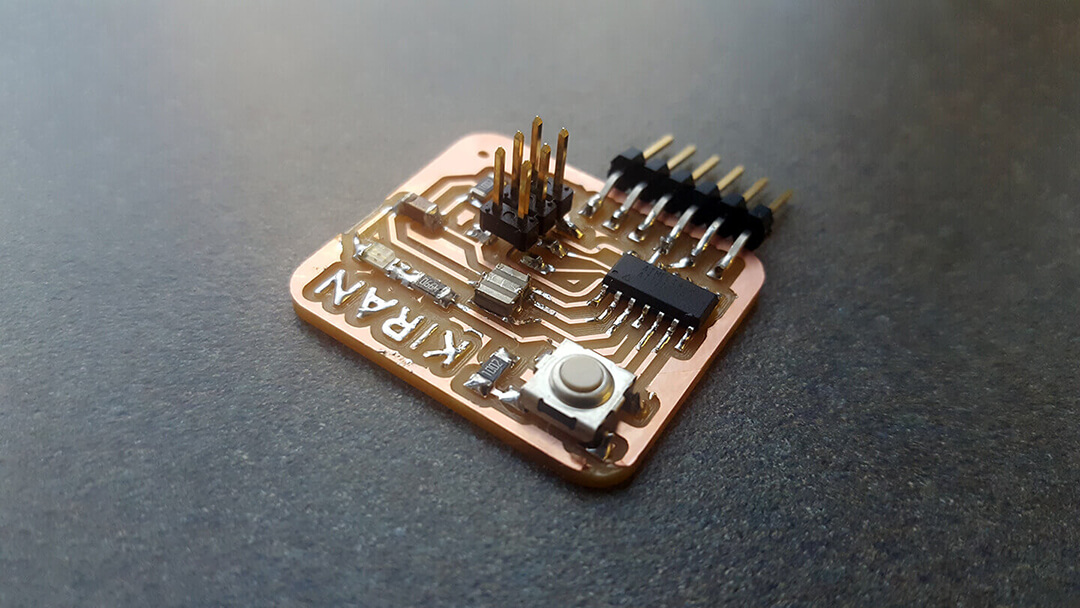
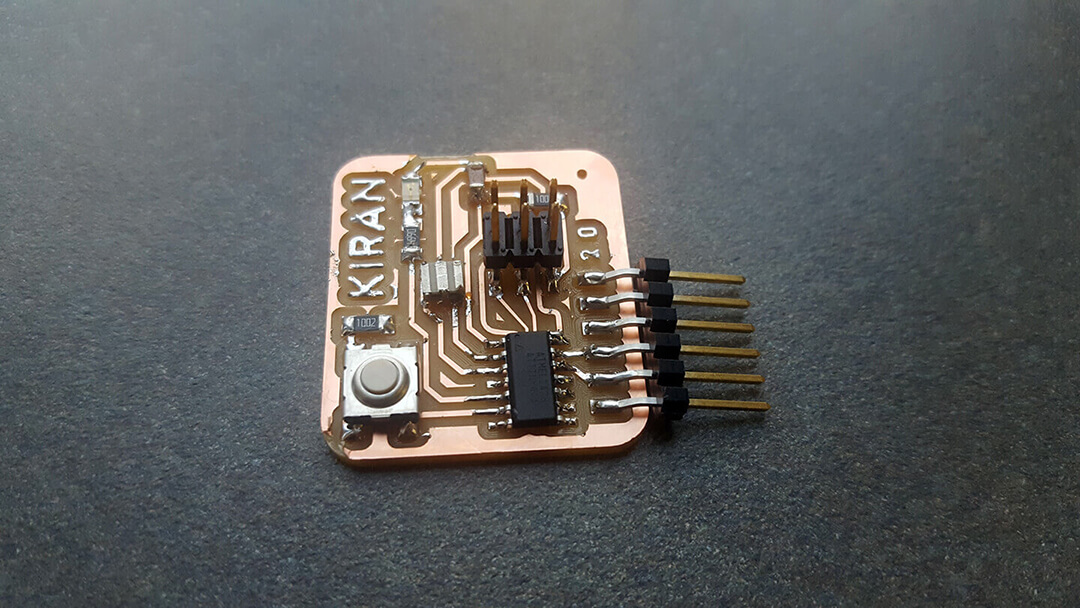
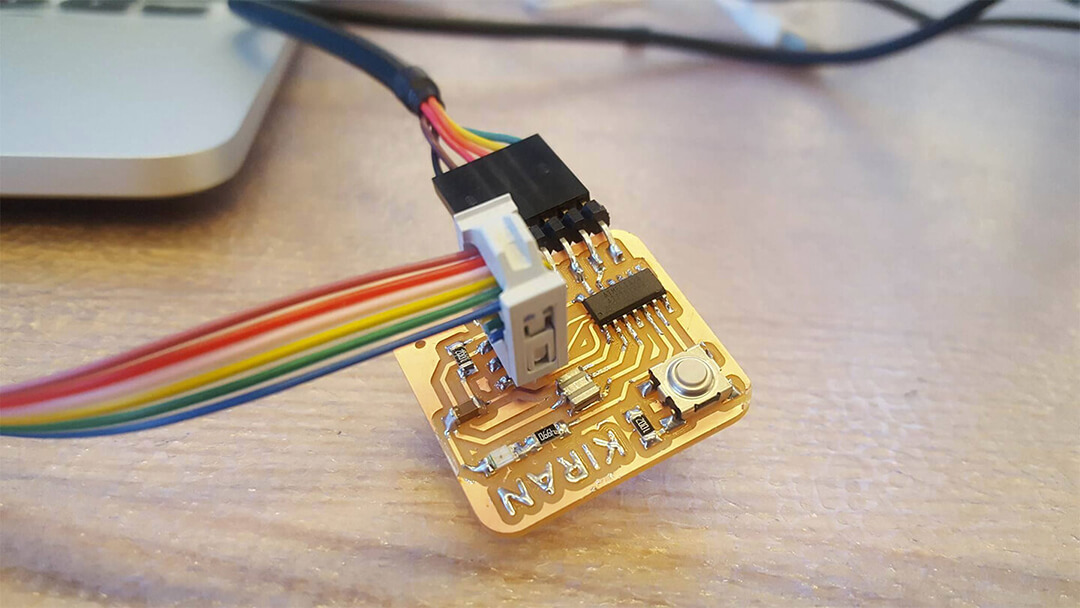
Here are some beauty shots of the board after stuffing, and before attempting to program it. So far, everything was pretty self explanatory after the experience from previous weeks. Its amazing how much better I got at soldering - it seemed so hard in previous weeks and suddenly became very easy.
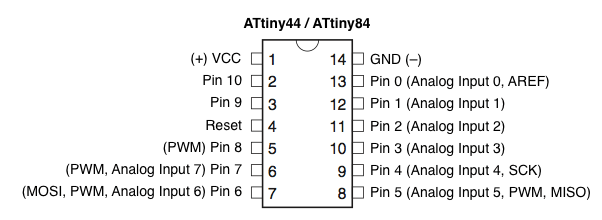
Here's an image of what the ports look like to the ATTiny44 - important to consider when programming our boards because the pin locations map to other components that we want to control within our code.

I decided to use the Arduino software platform to interface with my board when deploying programs. For set up, I needed to import the ATTiny44 and adjust some board and programmer settings in the software so that everything matched up. This was pretty easy and the tutorial
linked here was a great background guide.
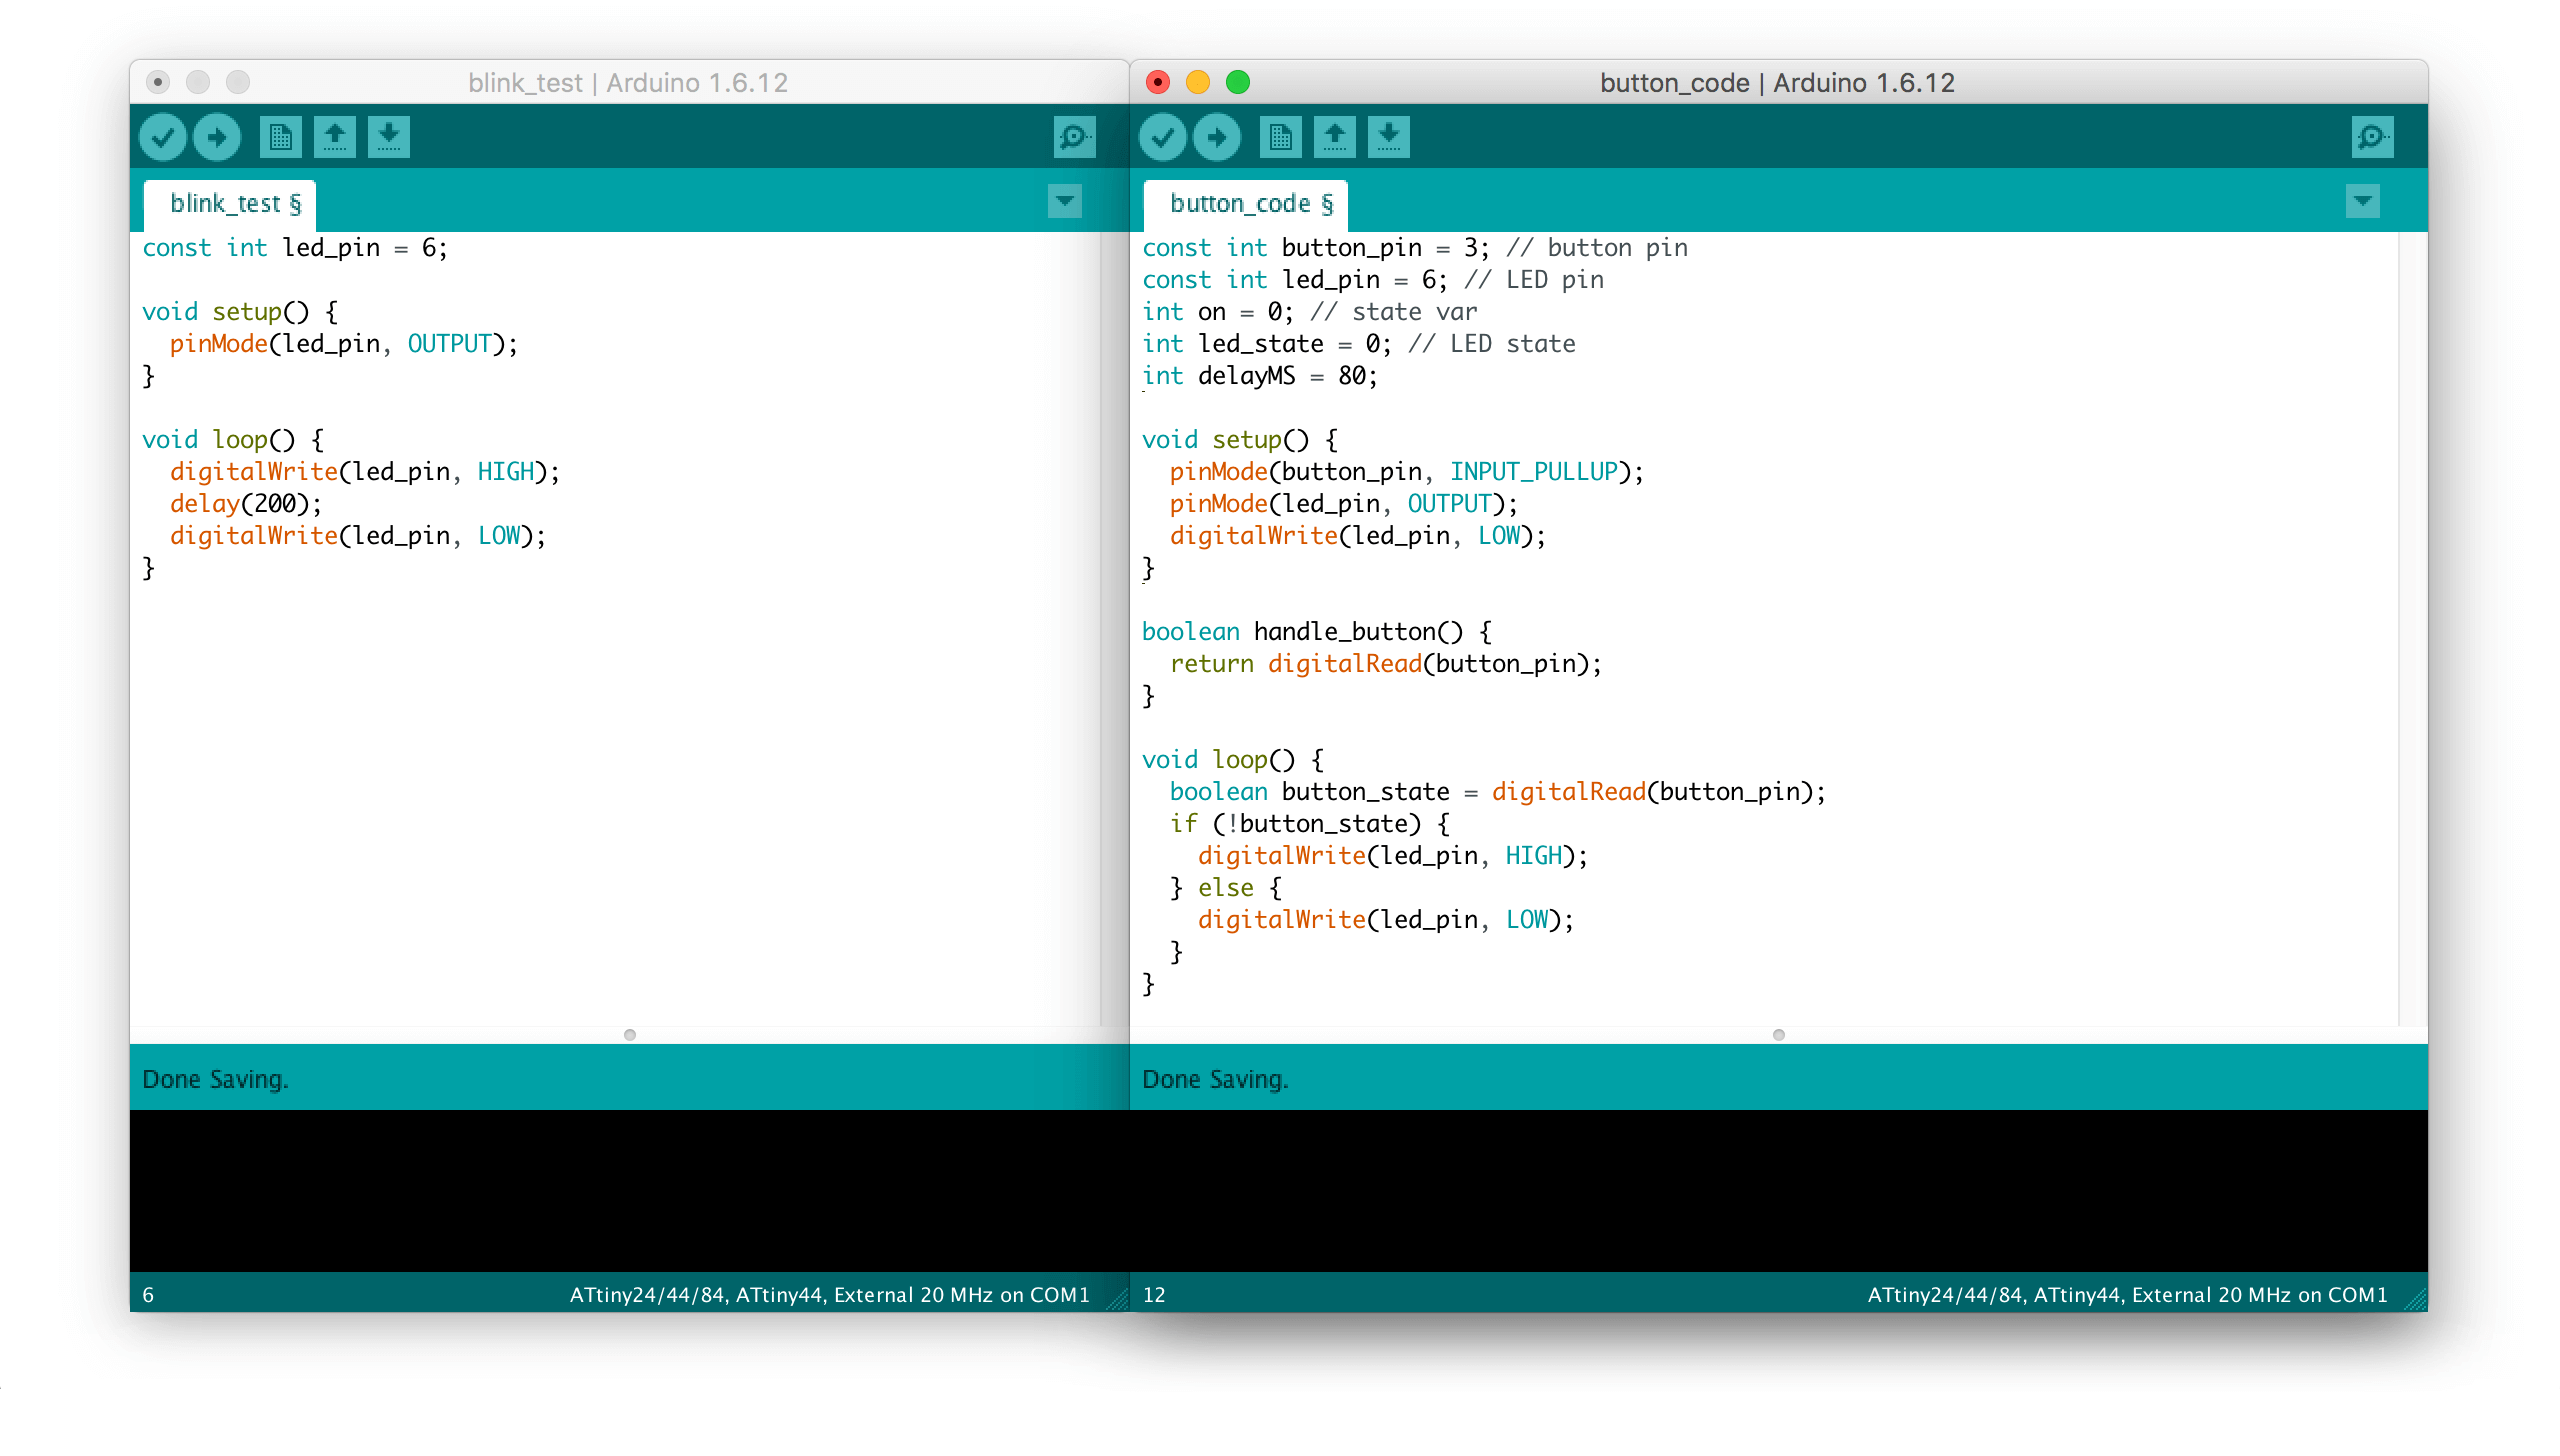
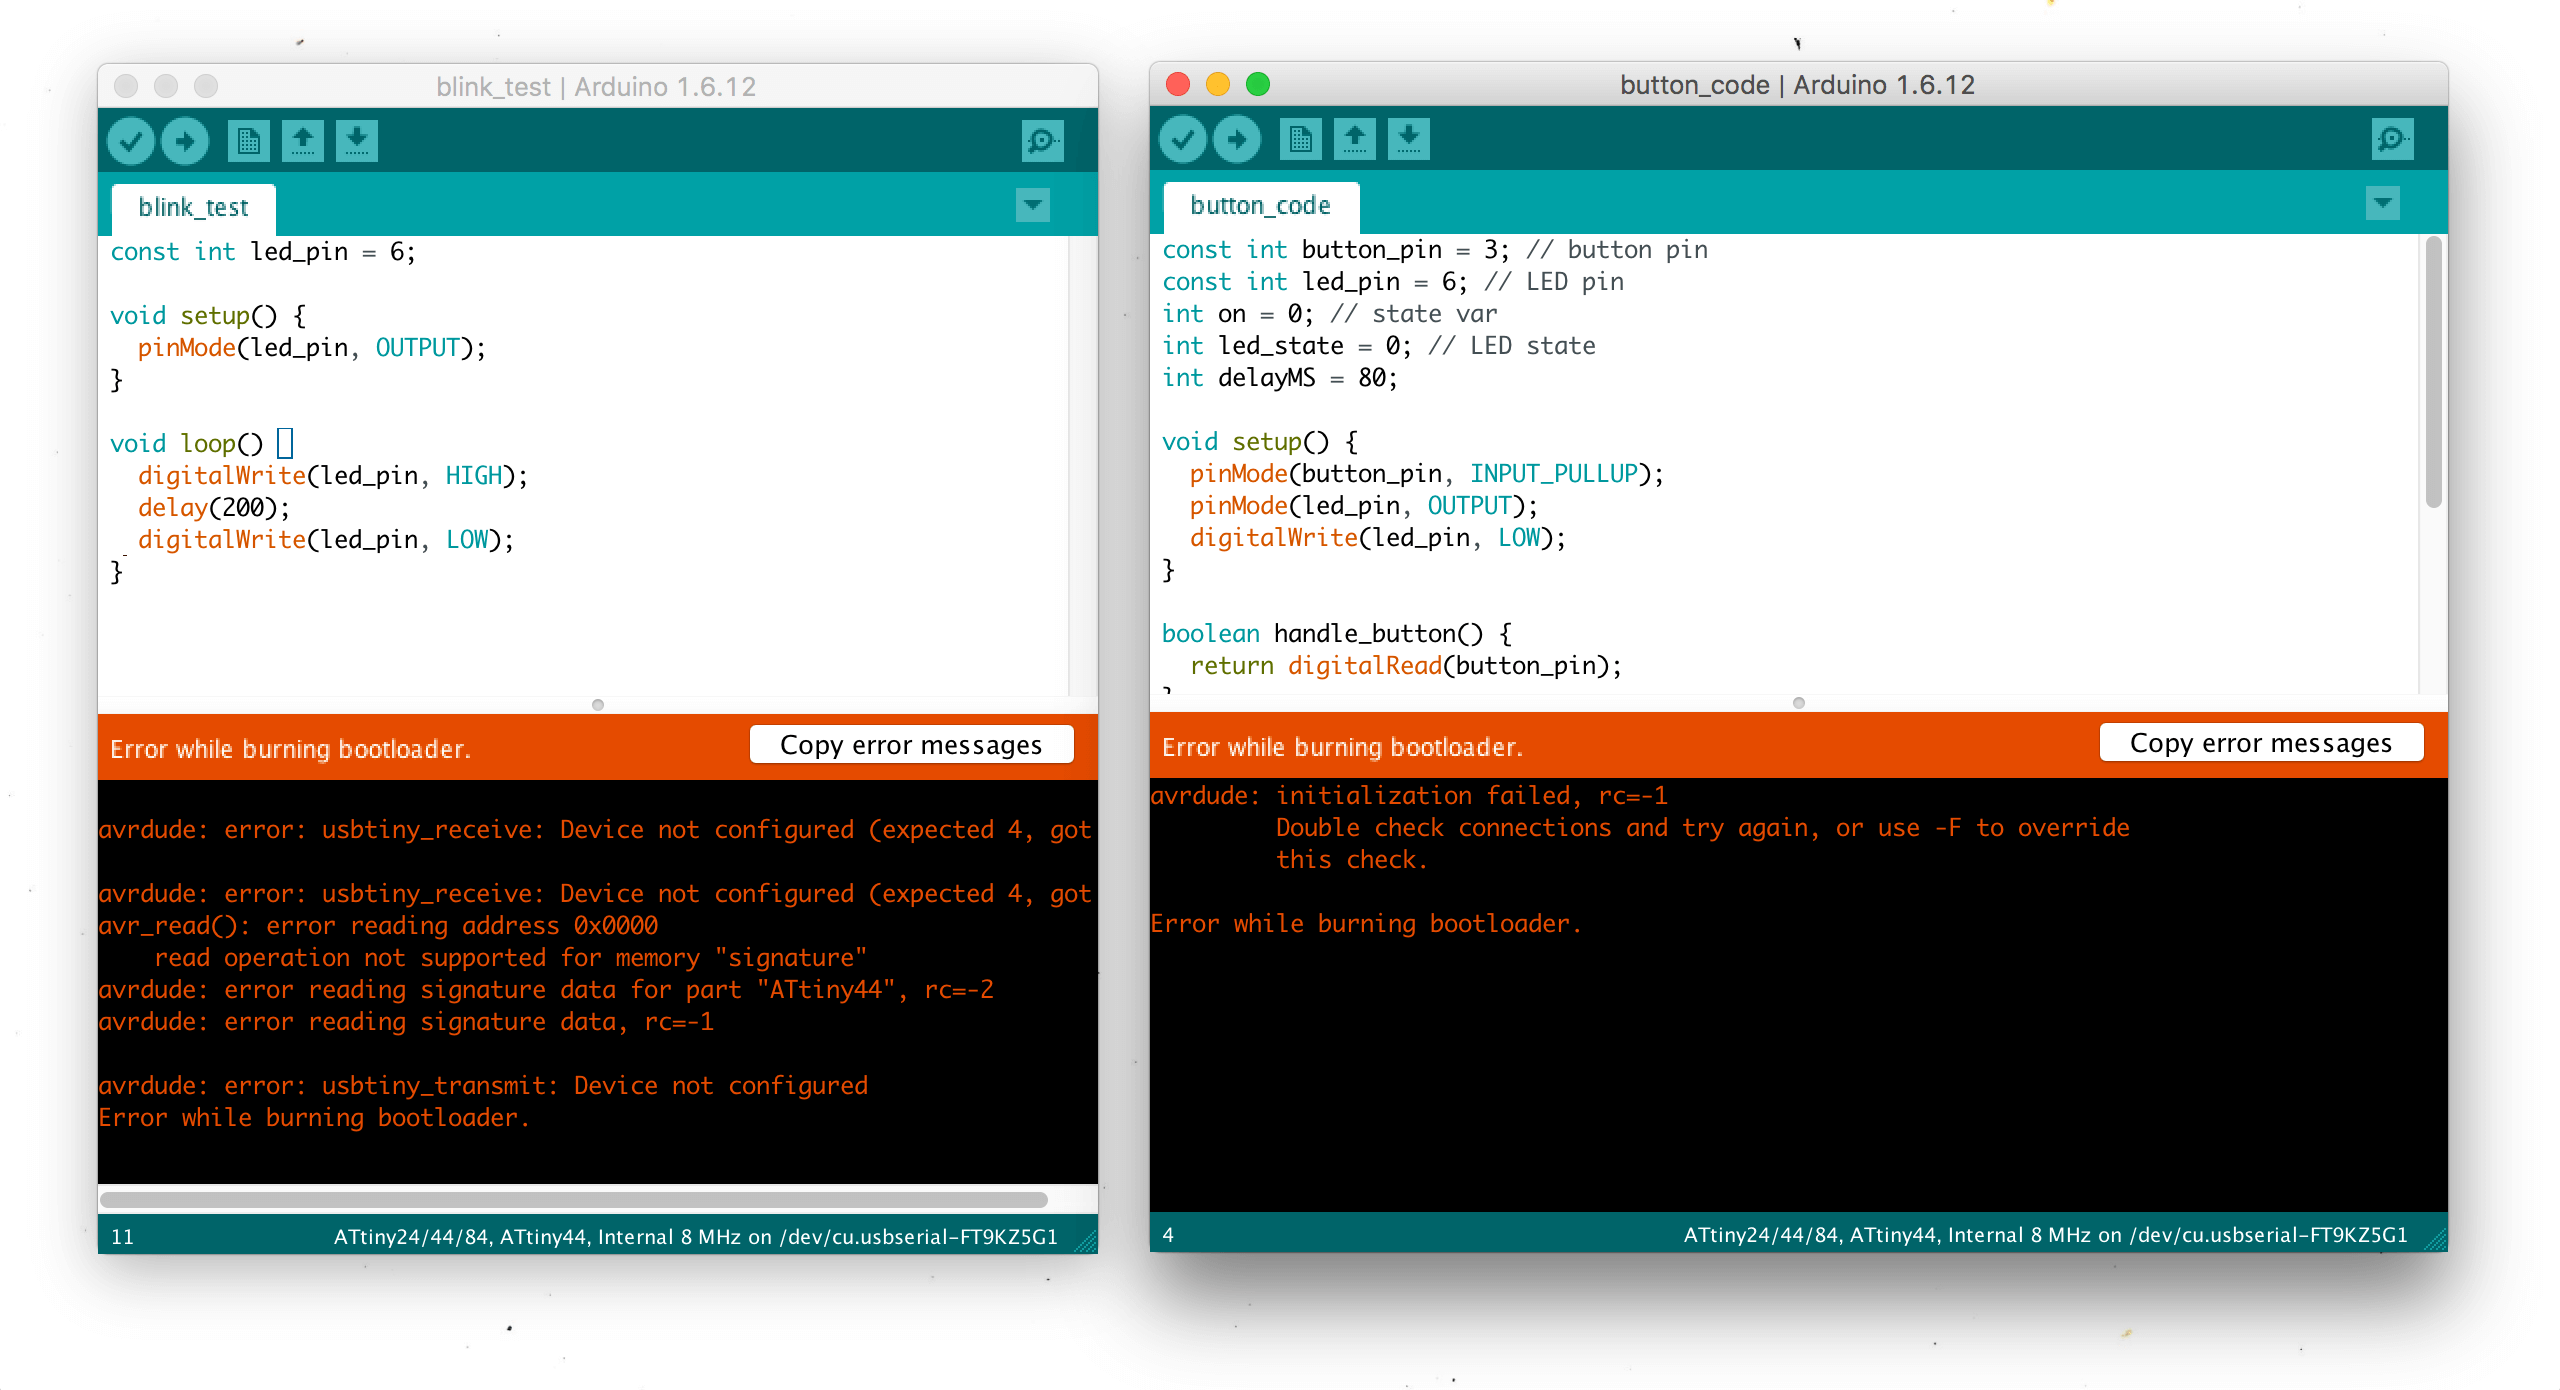
Here's a look at the code I tried running on my board. The one of the left simply blinks the LED and the program on the right uses the button for state so that you can turn the LED on and off. I matched up the ports on the ATTiny to the components with my eagle design (visible on my previous assignment page).
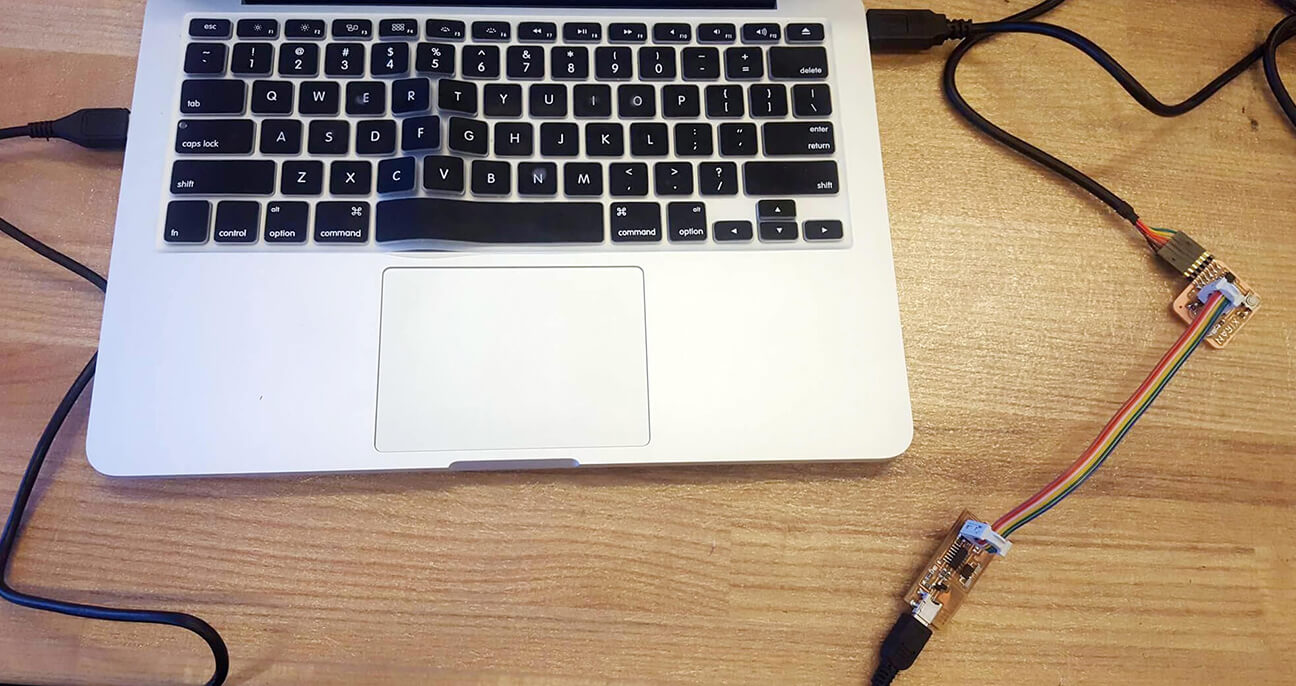
Here's the whole set up I used - I ran into some problems, as you'll see in the next few pictures when I tried burning the bootloader. In this arrangement, I had to rotate the ribbon cable as it was placed in the wrong direction. I also tried rotating the other cable to the 6-pin header.
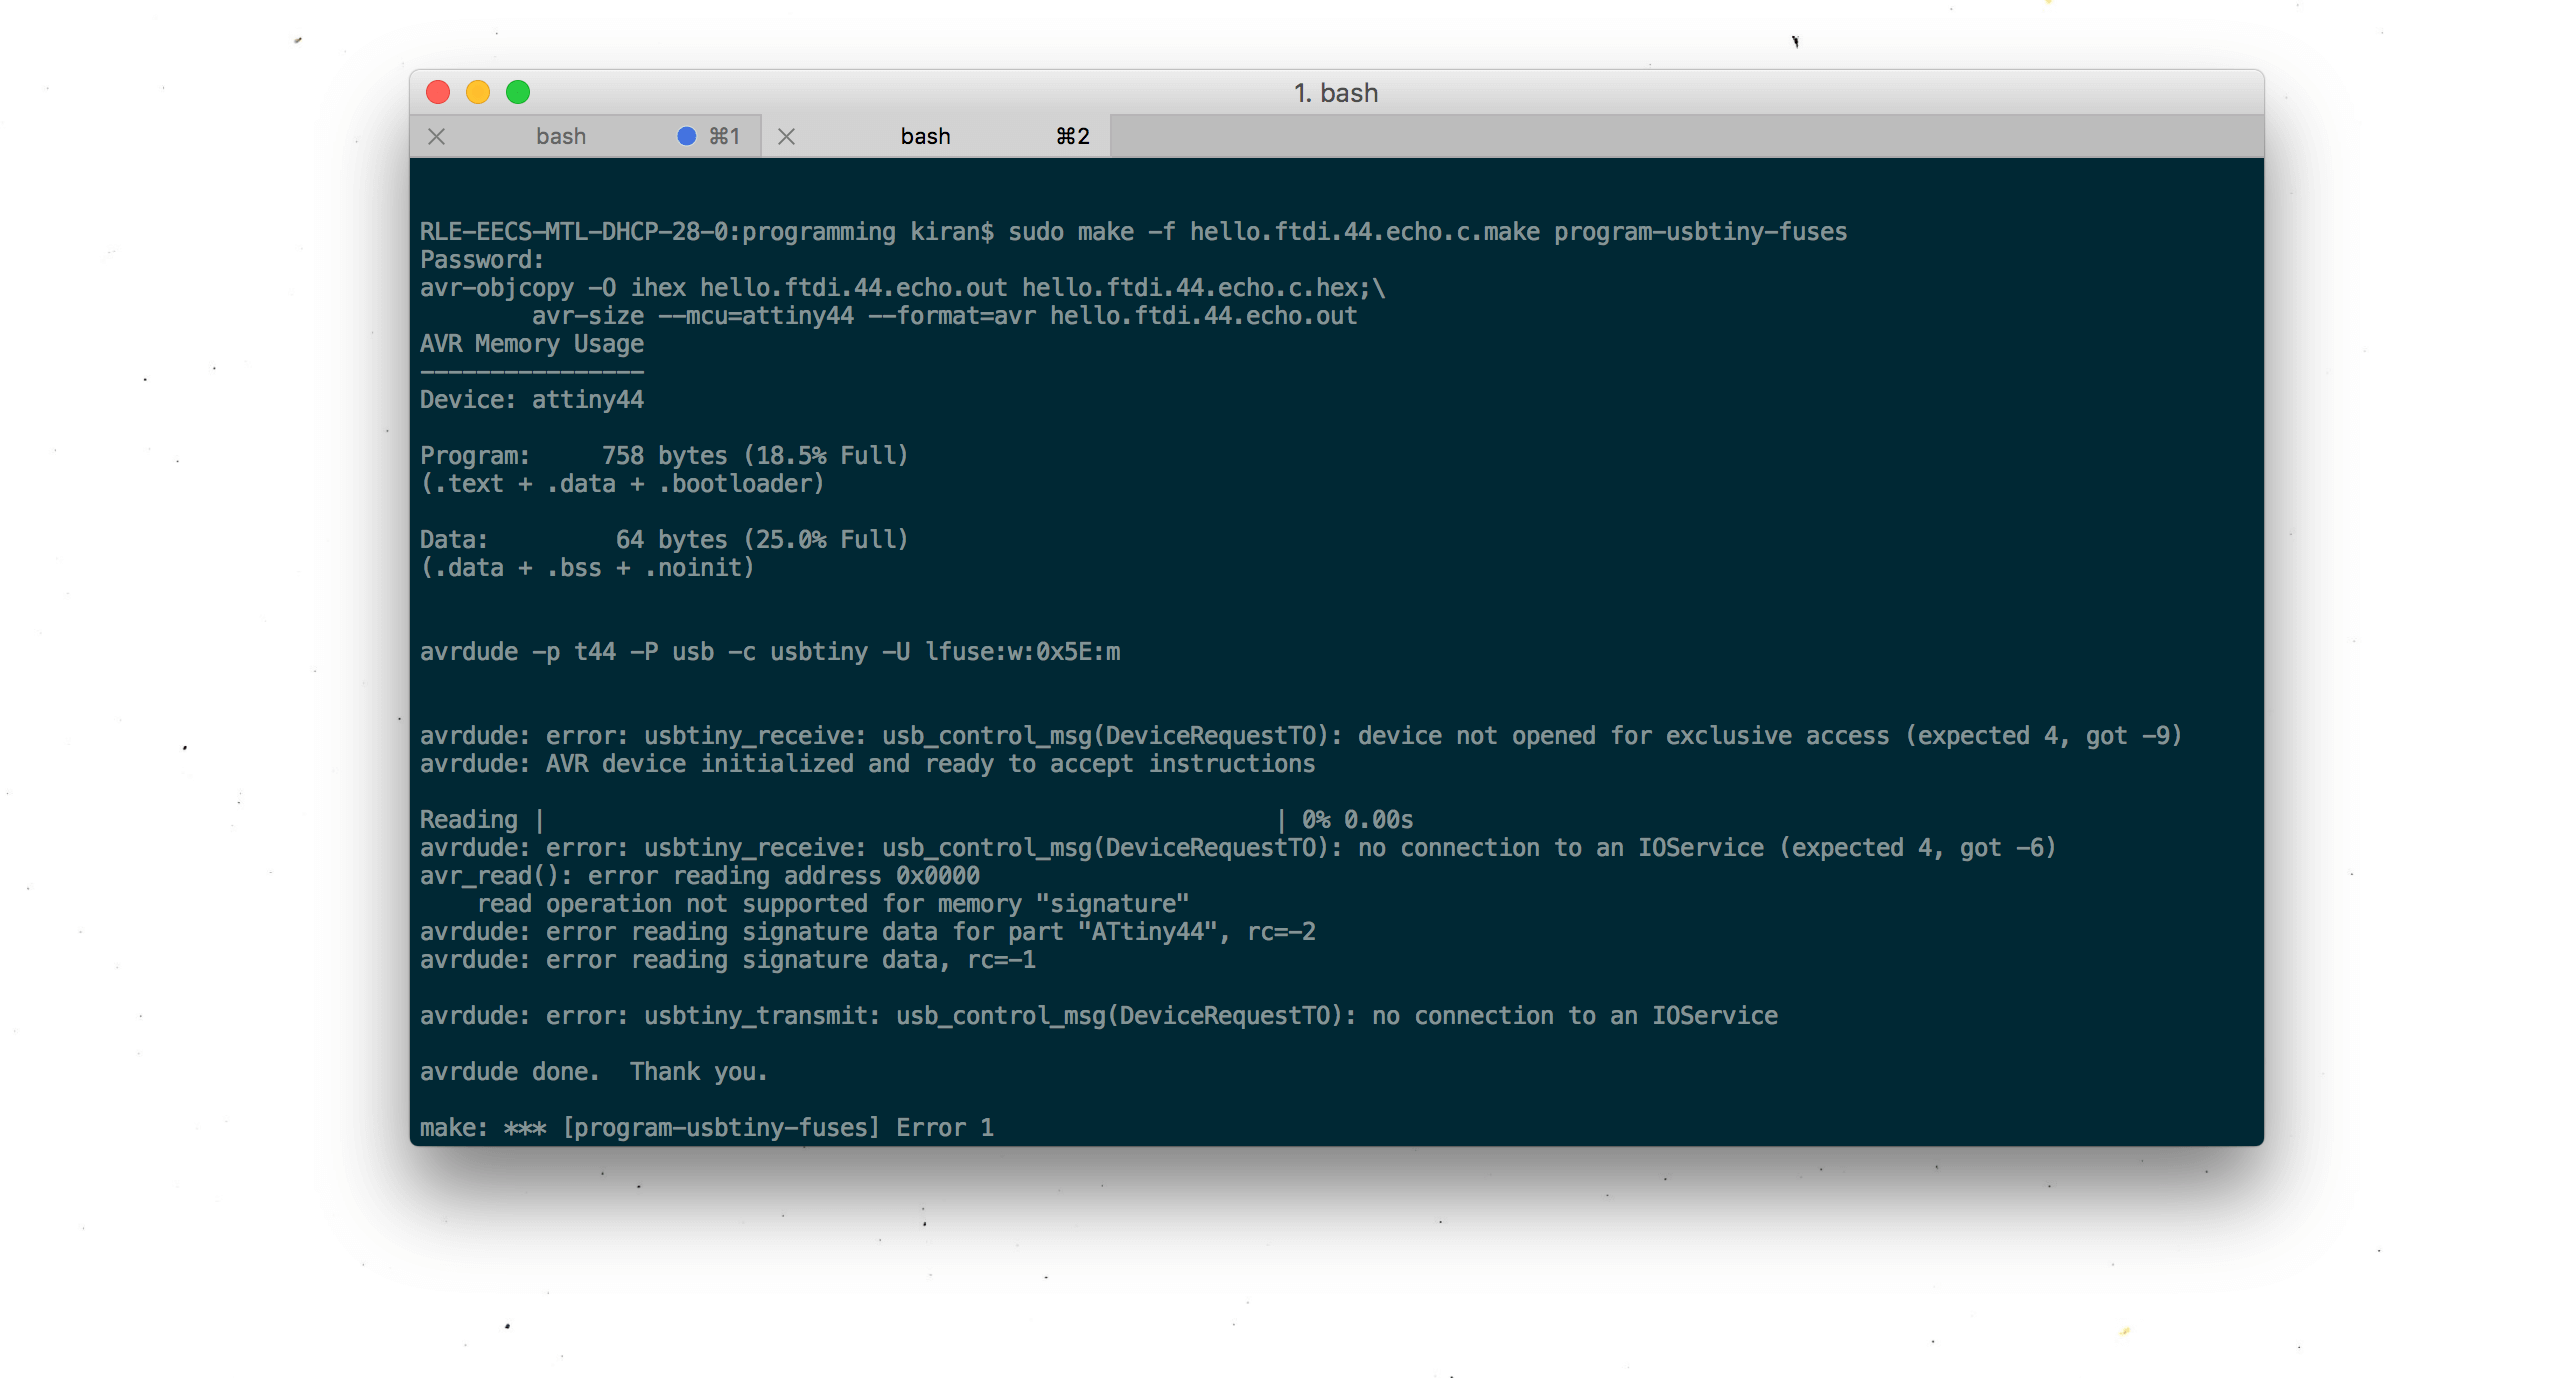
The final part was running the echo hello world software and porting that to the board. This was also pretty self explanatory - I needed to send a few commands to compile and deploy the program. Unfortunately, I found the same errors here (see error log below). I suspect trying the process on a different computer (non-Mac) would help as someone else who documented the same error was able to solve it by trying a different computer.
This week was pretty easy to follow! Setting up was fun and my past exposure to programming definitely took off the stress of the code-writing section of the assignment. However, I'm still dipping my feet into the hardware-side of things and am learning a lot! Hopefully I'll be able to debug this over the week - diving a little deeper into the circuit design might reveal a silly error like forgetting a connection to ground.
