Assignment 7
molding and casting
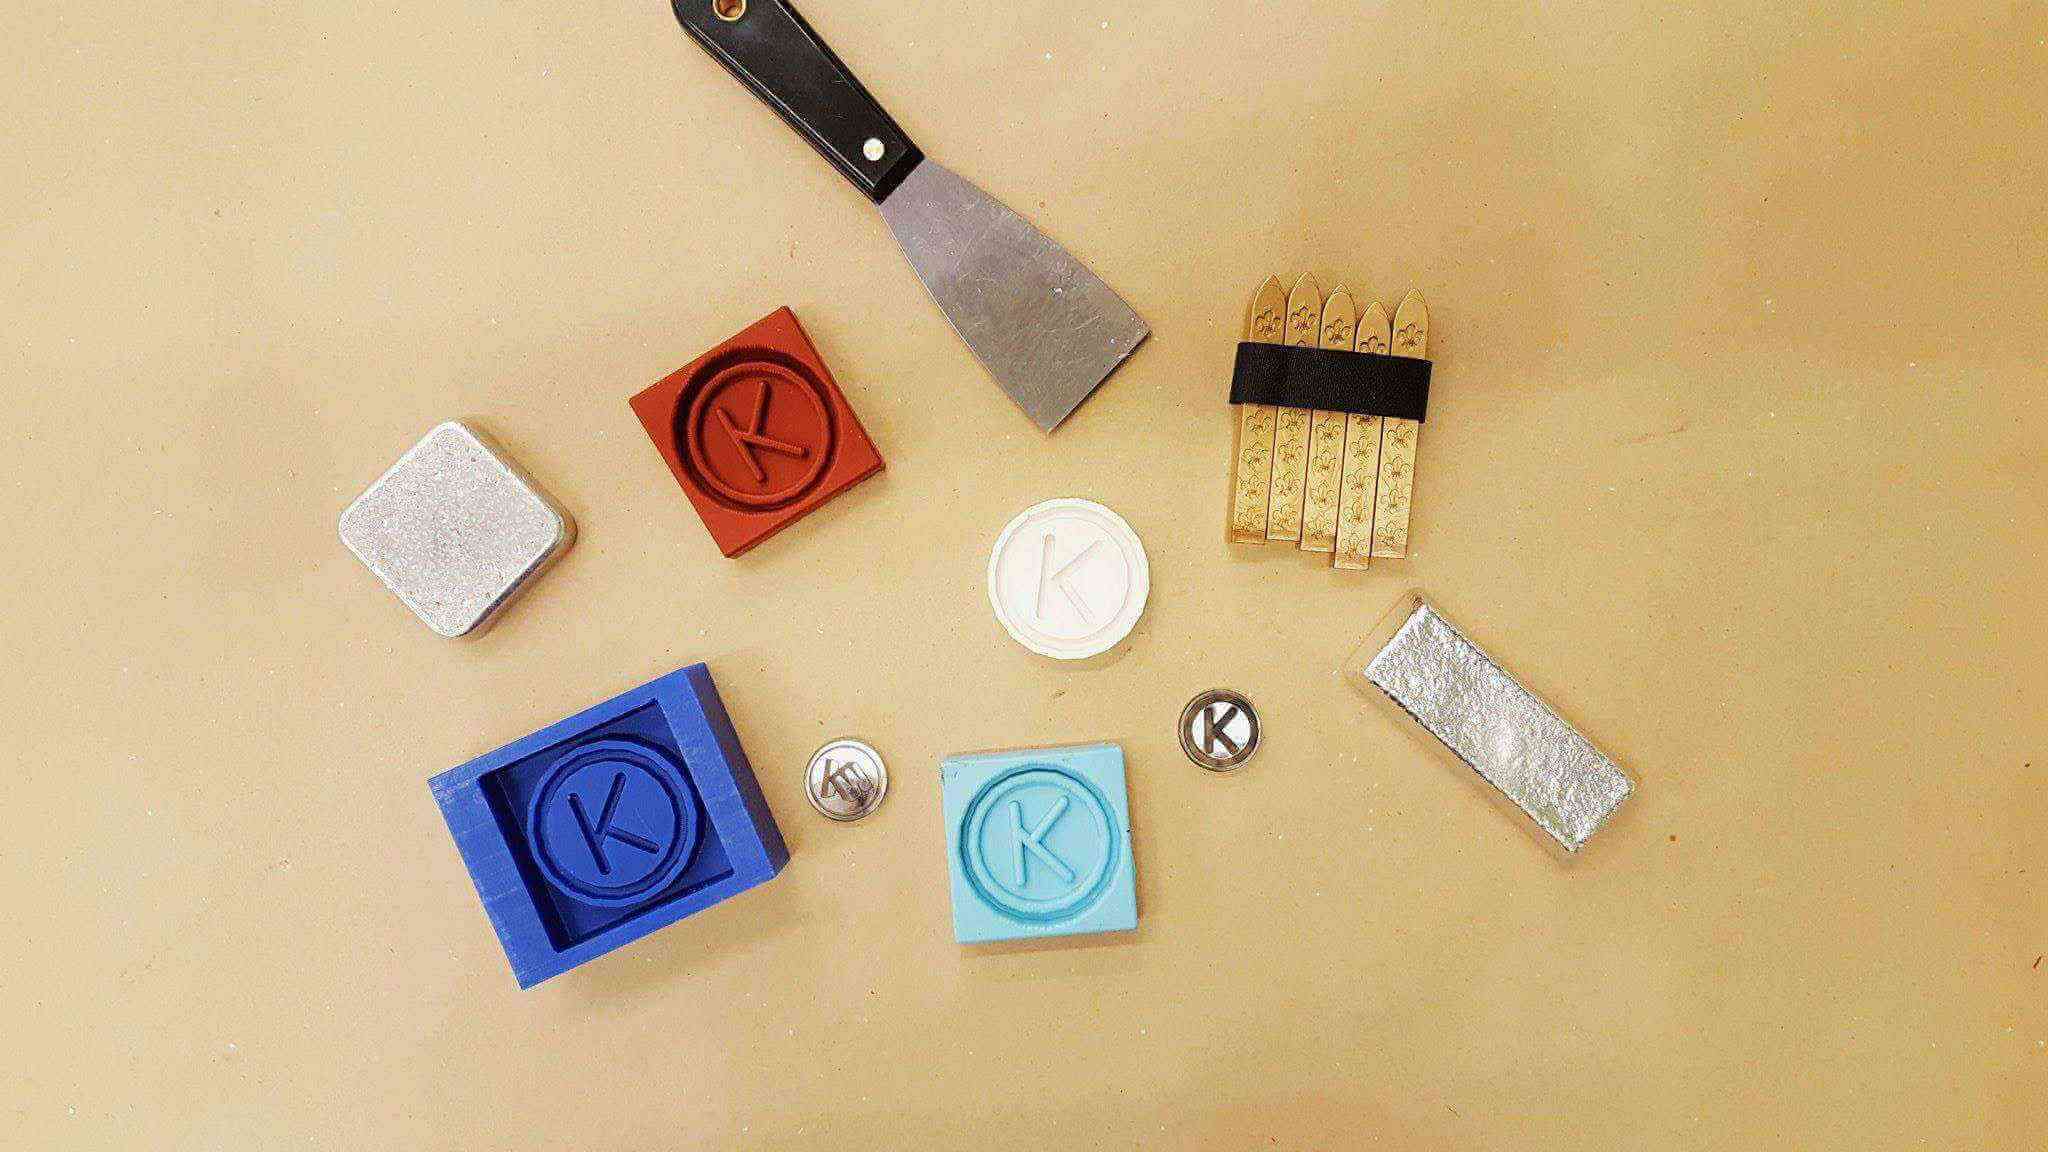
This week we went over molding and casting, basic fabrication tools you can use to set yourself up for rapid prototyping of objects that often will be repeatedly made. The process was to take a block of wax, machine it to be a container for your mold, create a mold, and then use that to cast other objects. I decided to make a wax seal stamp because it goes along with the whole meta theme of making something out of wax that will shape things that eventually in the pipeline be used to shape wax (so full circle - coincidentally, my seal is in the shape of a circle. waoooow) I'll guide you through my process.
I wanted to originally create a stamp out of my personal logo and thought about the bit's width and power which convinced me to move away from the thin lines. I was scared of wax flying everywhere if there were thin details that were not very supported.

On to design 2! Here's a much more simplified design that goes along with my theme this semester. The red circle shows the bit size - its important to check that your design is feasible to even mill if you're going to use the CNC mill (I used the OtherMill) or else you'll face problems with the toolpath not reflecting the features in your design.
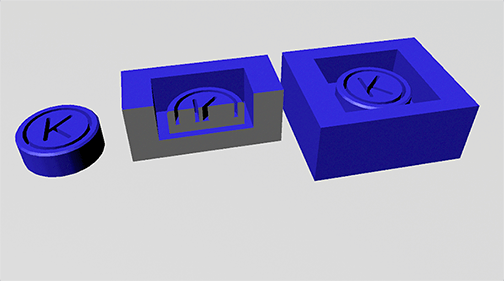
I used Maya this week to model my object and the process was really simple! It has this feature where you can import an .ai file and extrude it, so I was easily able to transfer my 2D design into my 3D model. I noticed that when I sliced my model, the stamp wasn't actually touching the base - this was problematic and also really simple to resolve. Another gotcha I noticed was that Maya's default units were in cm - this never bothered me before but now that my design needed to be ported into real world machining software and not turn into something artistic, it was worth changing the setting rather than dealing with scaling later.
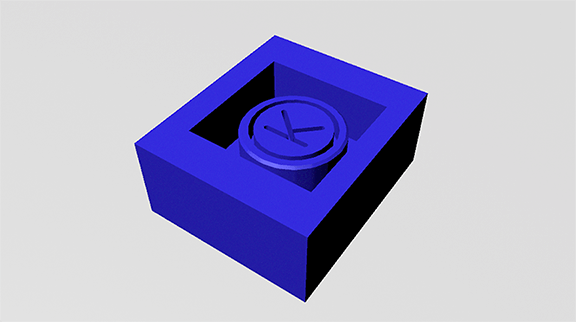
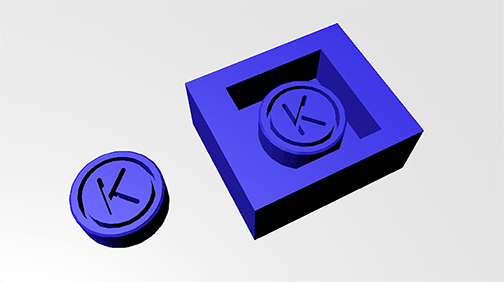
Here are some beauty shots of my model *ooh la la*
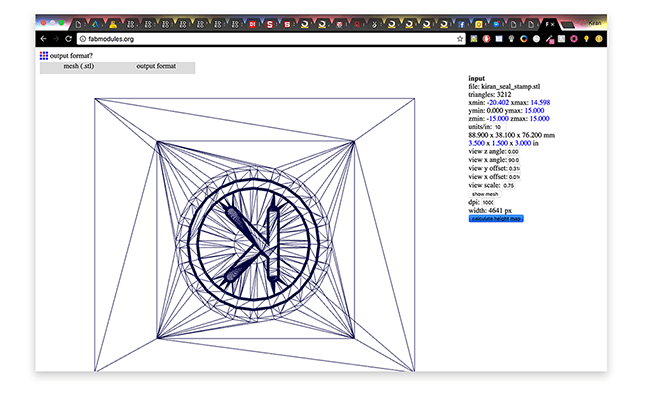
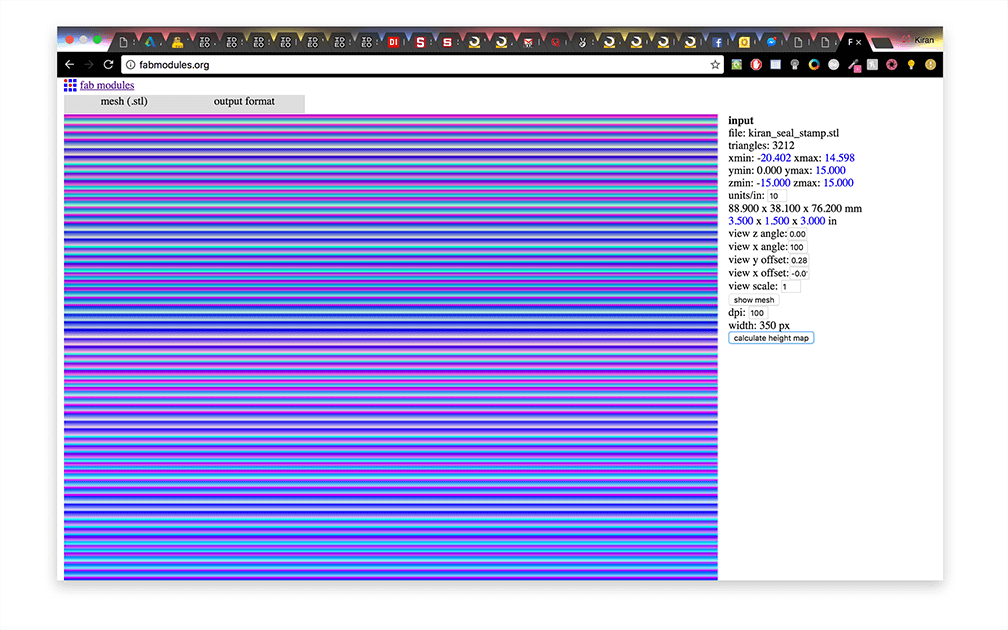

It was time to use
fabmodules.org. I imported my mesh into the software and reset the scale so that it was sized correctly (for me it was a factor of 10). I also needed to reduce the resolution so that the computational overhead would be smaller. I saw some errors because my model was rotated in the right direction on import. It was hard to find out what was wrong because I thought it was something salient in my mesh but ended up being an easy fix when I figured out what was wrong.
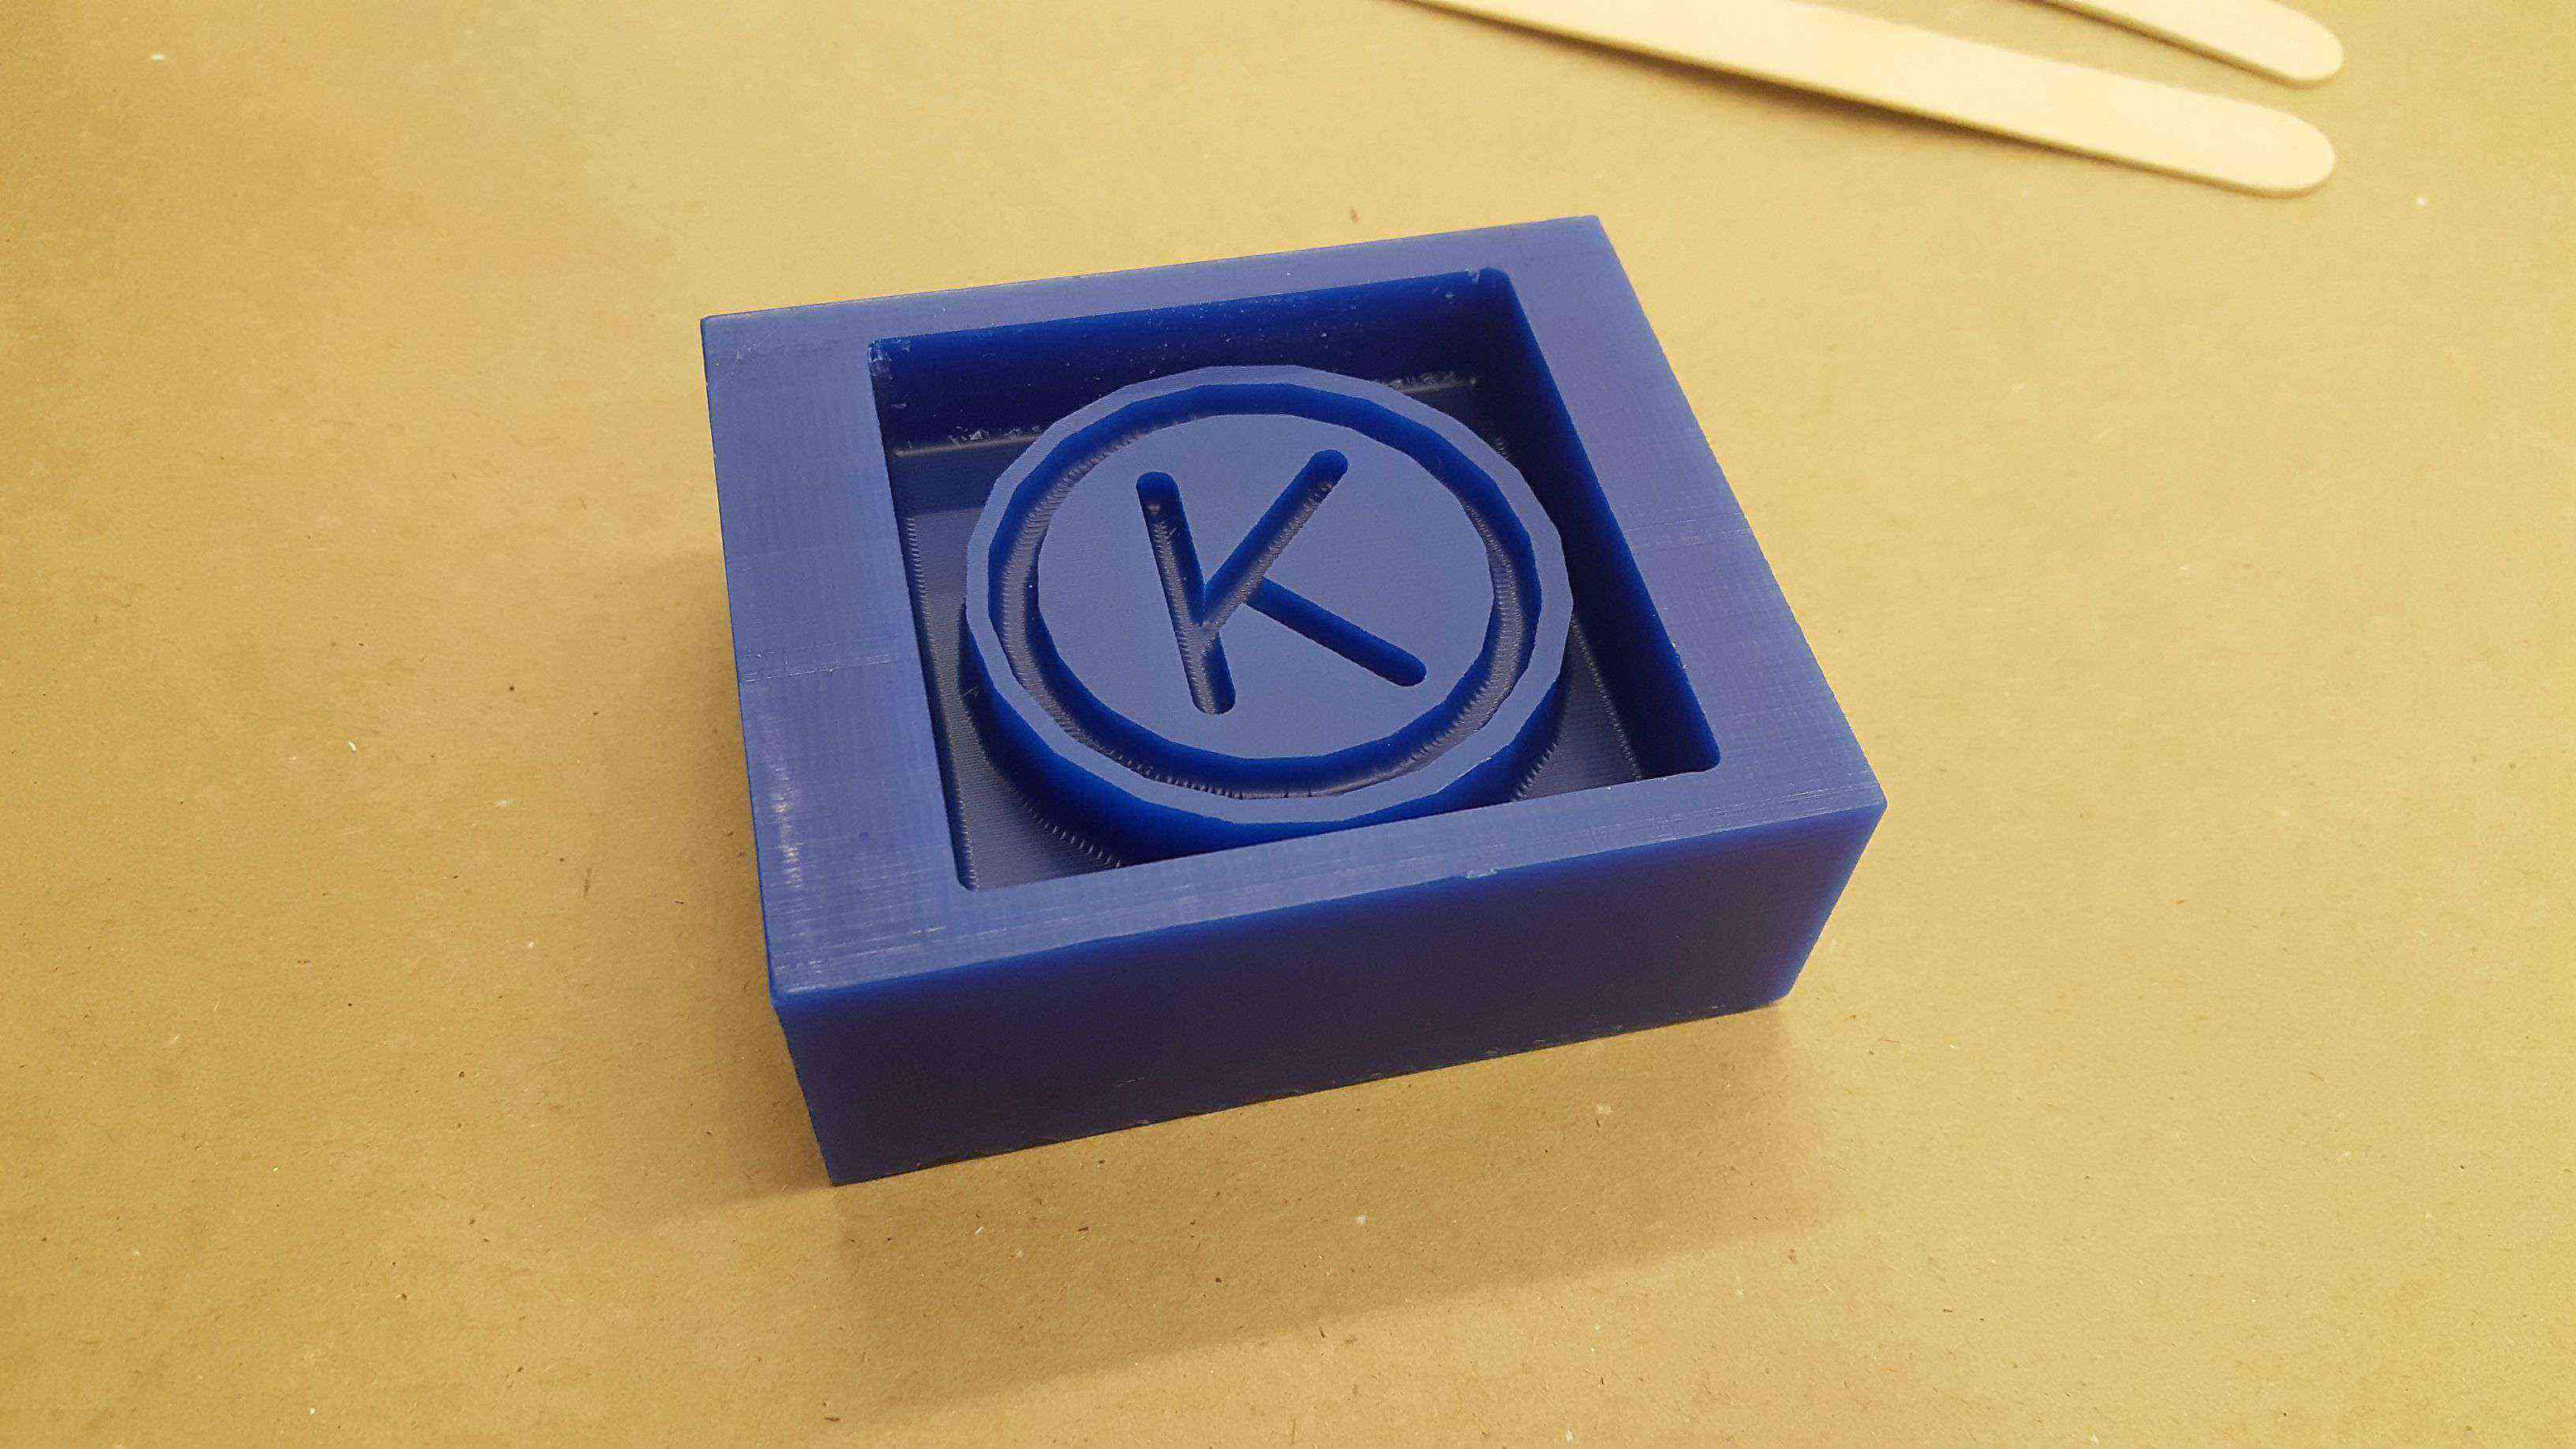
Finally got to milling! I was fortunate enough to be the second person in my section to mill (and not the first) - Maha had figured out the correct settings for the Otherlab machine because it had presets only for foam cutting but not for wax. It was pretty easy to figure out from here - just save the toolpaths from fabmodules and load them into the Otherlab software as .nc files.
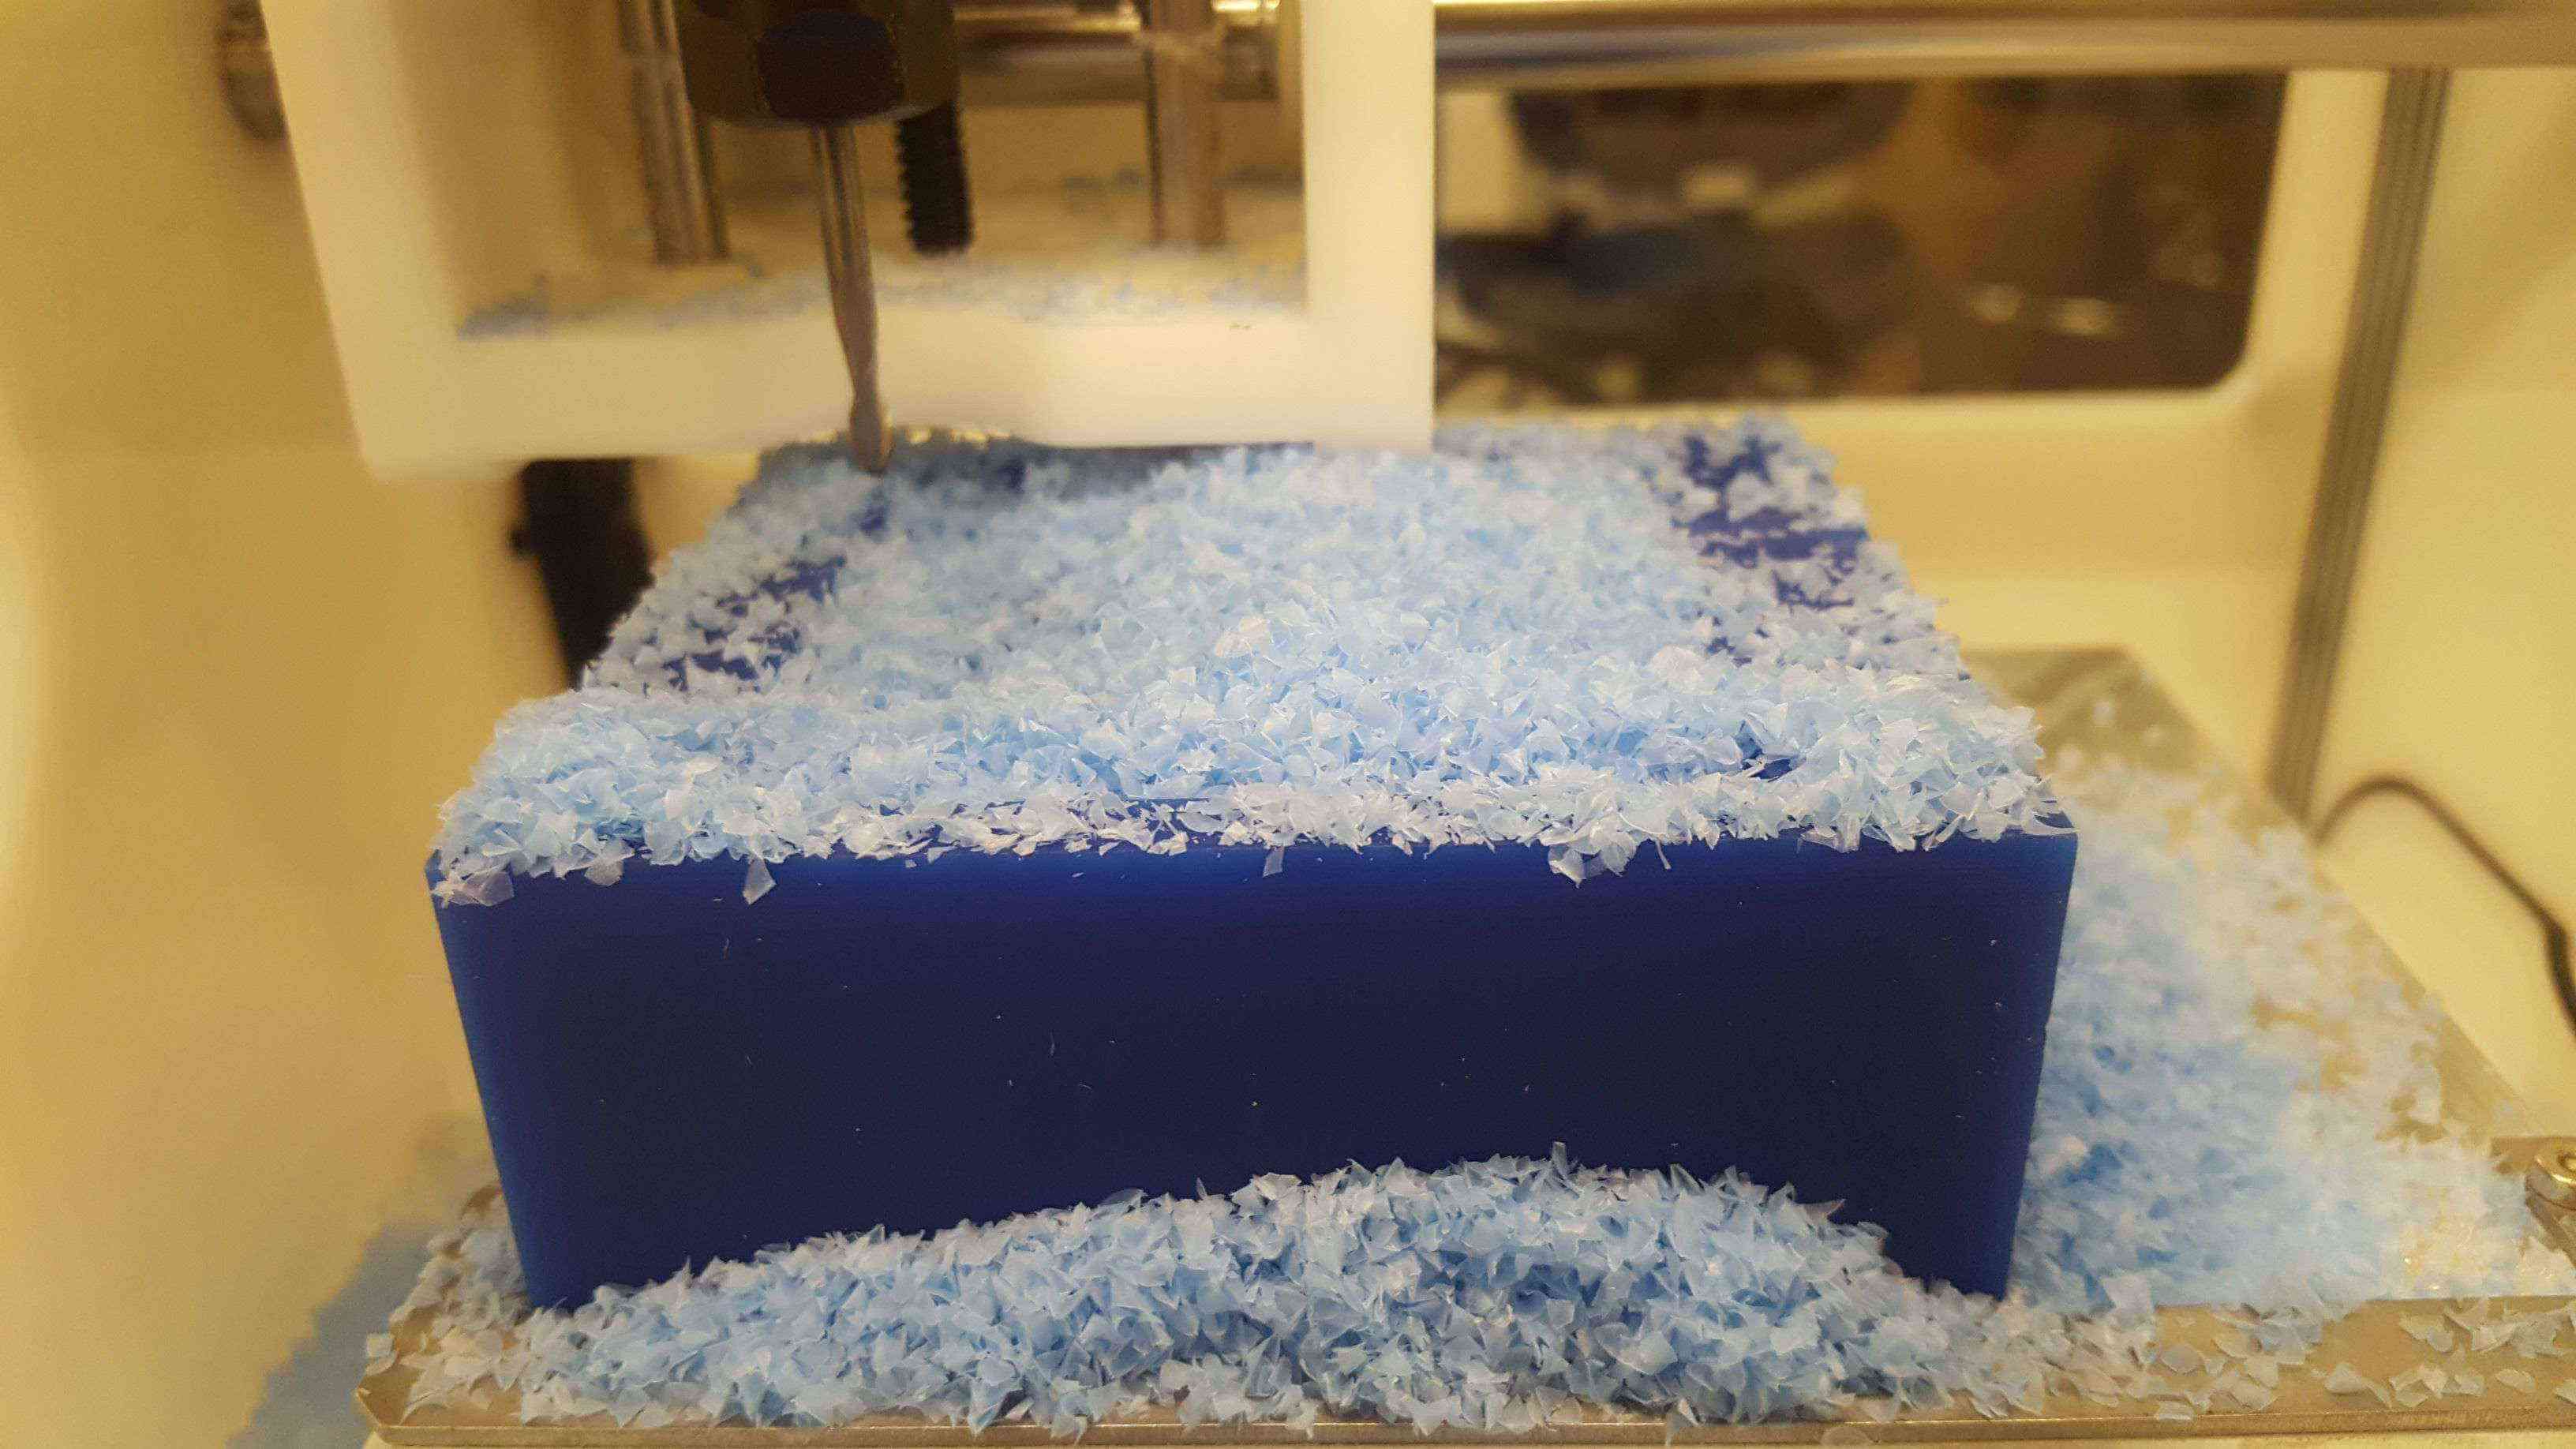
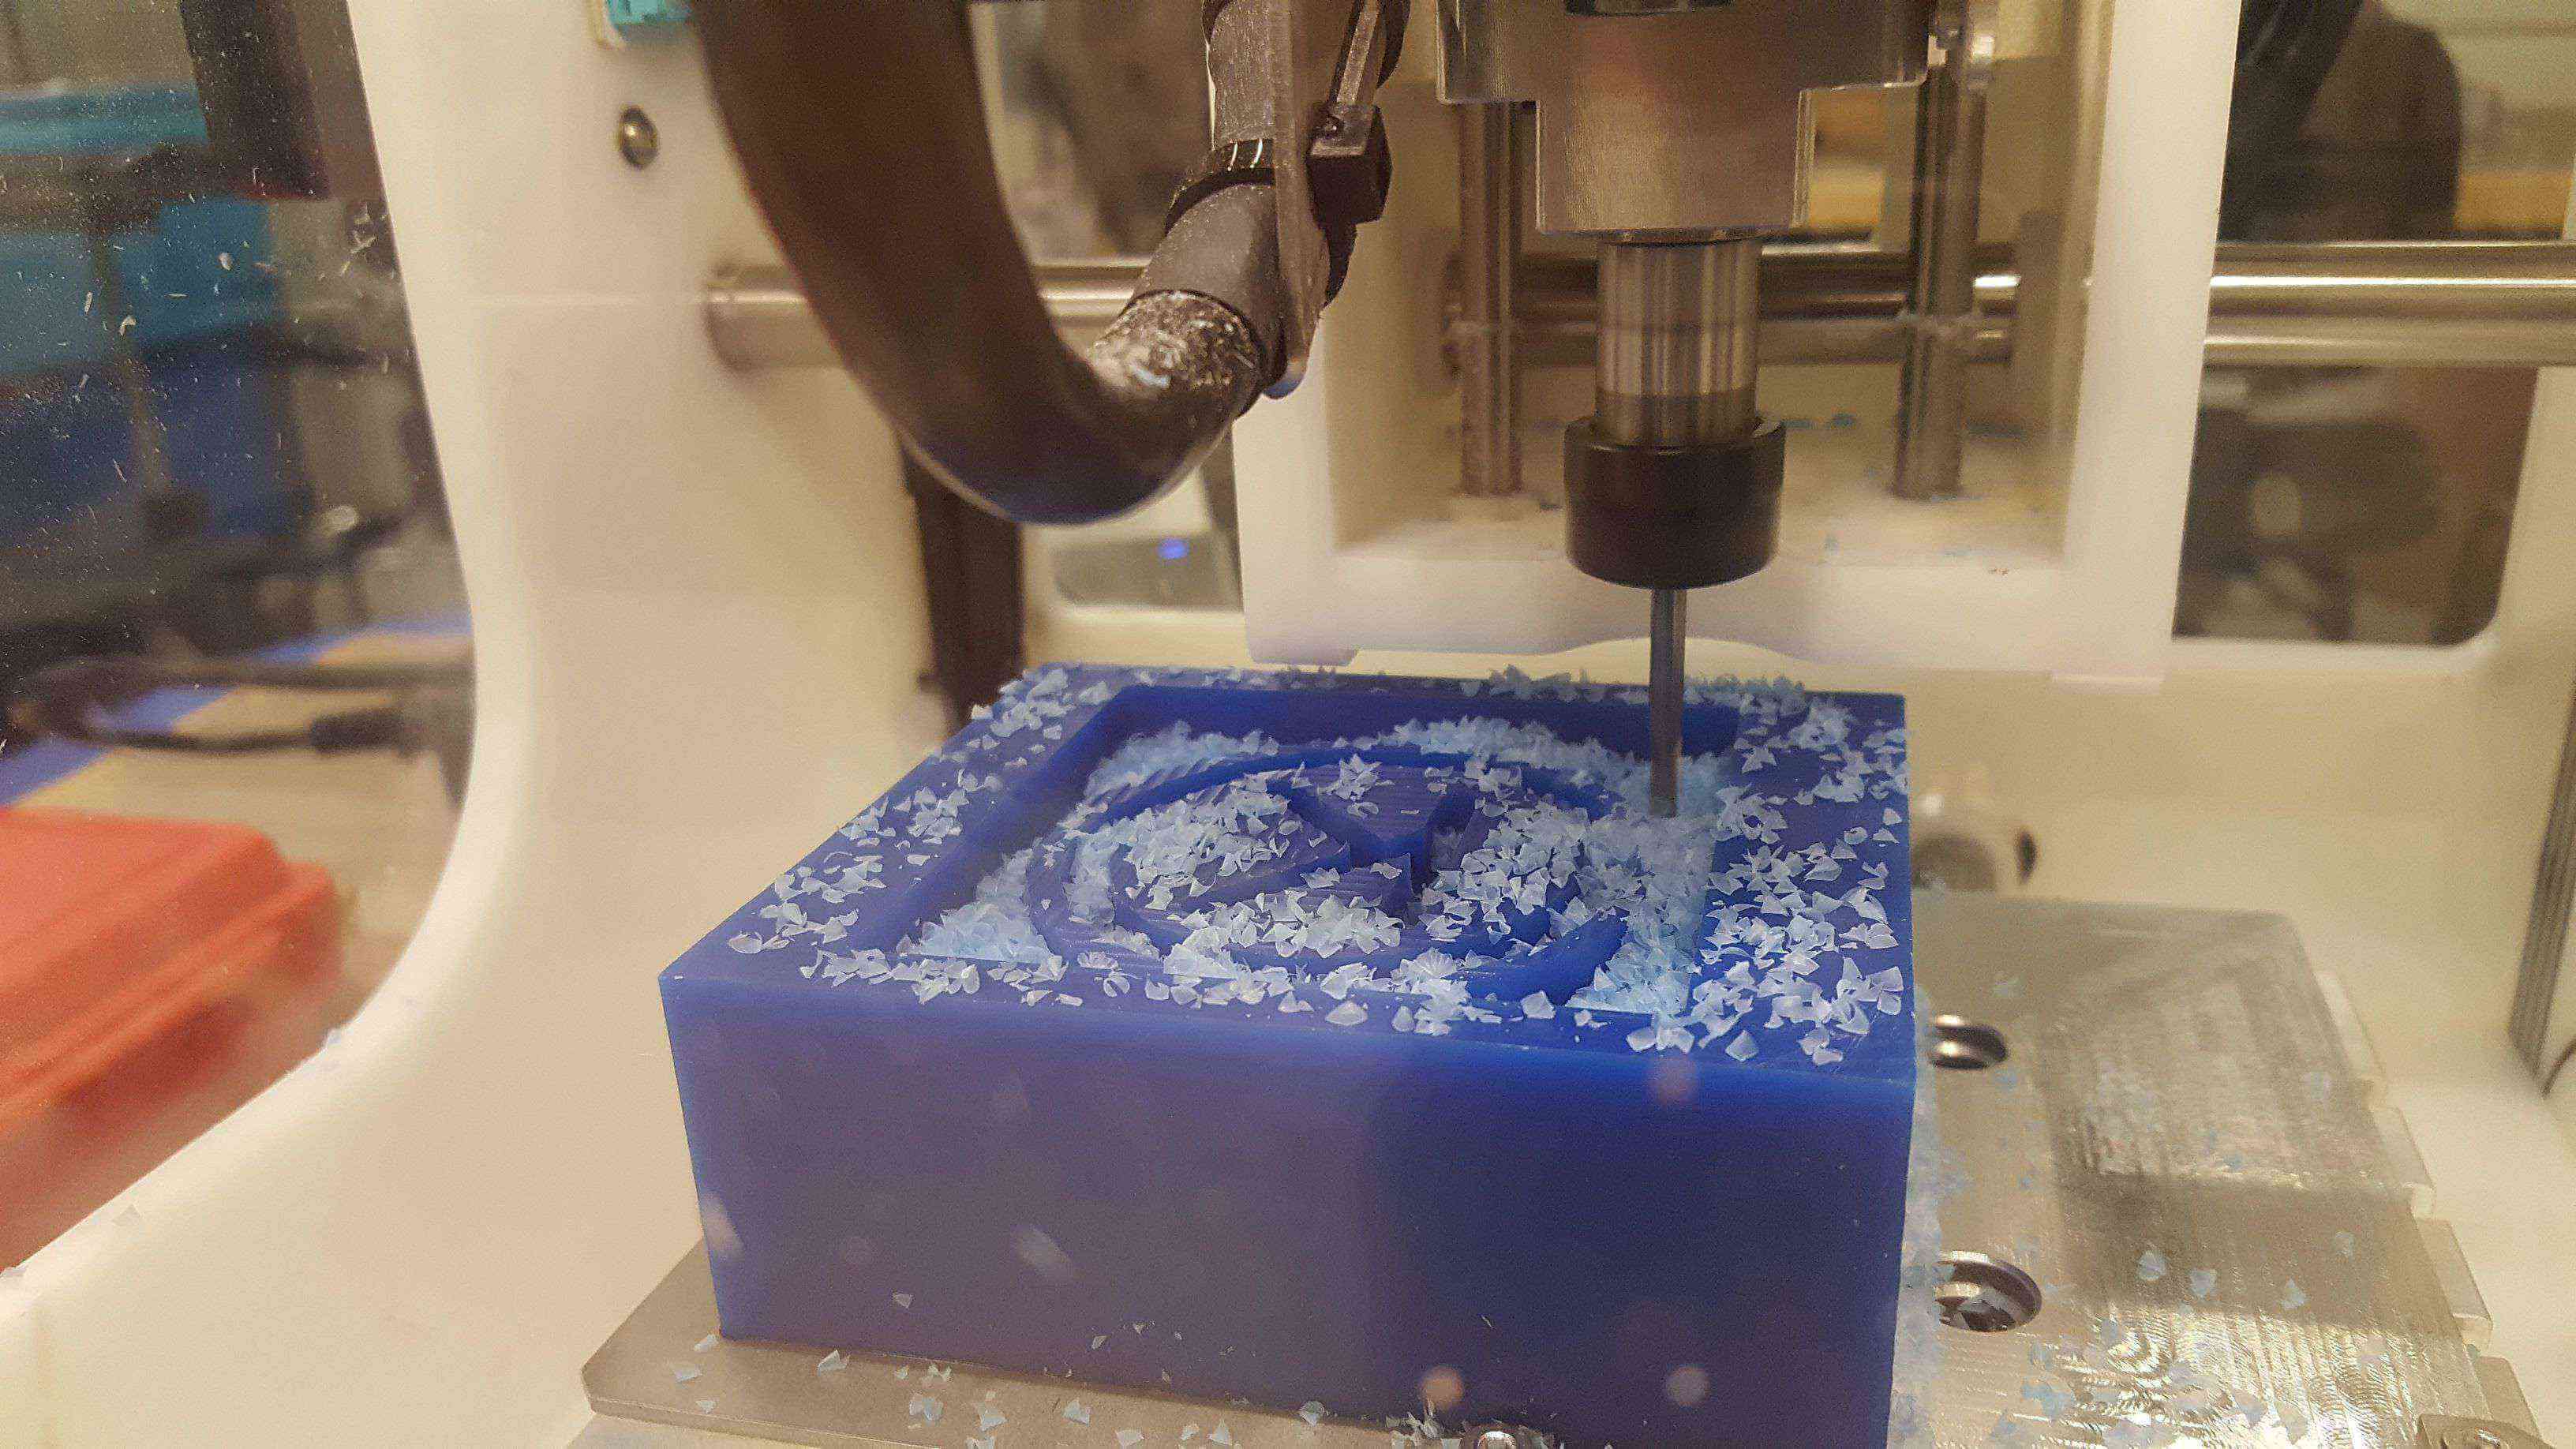
Remember to vacuum the dust in the middle when it looks like its collecting a lot.
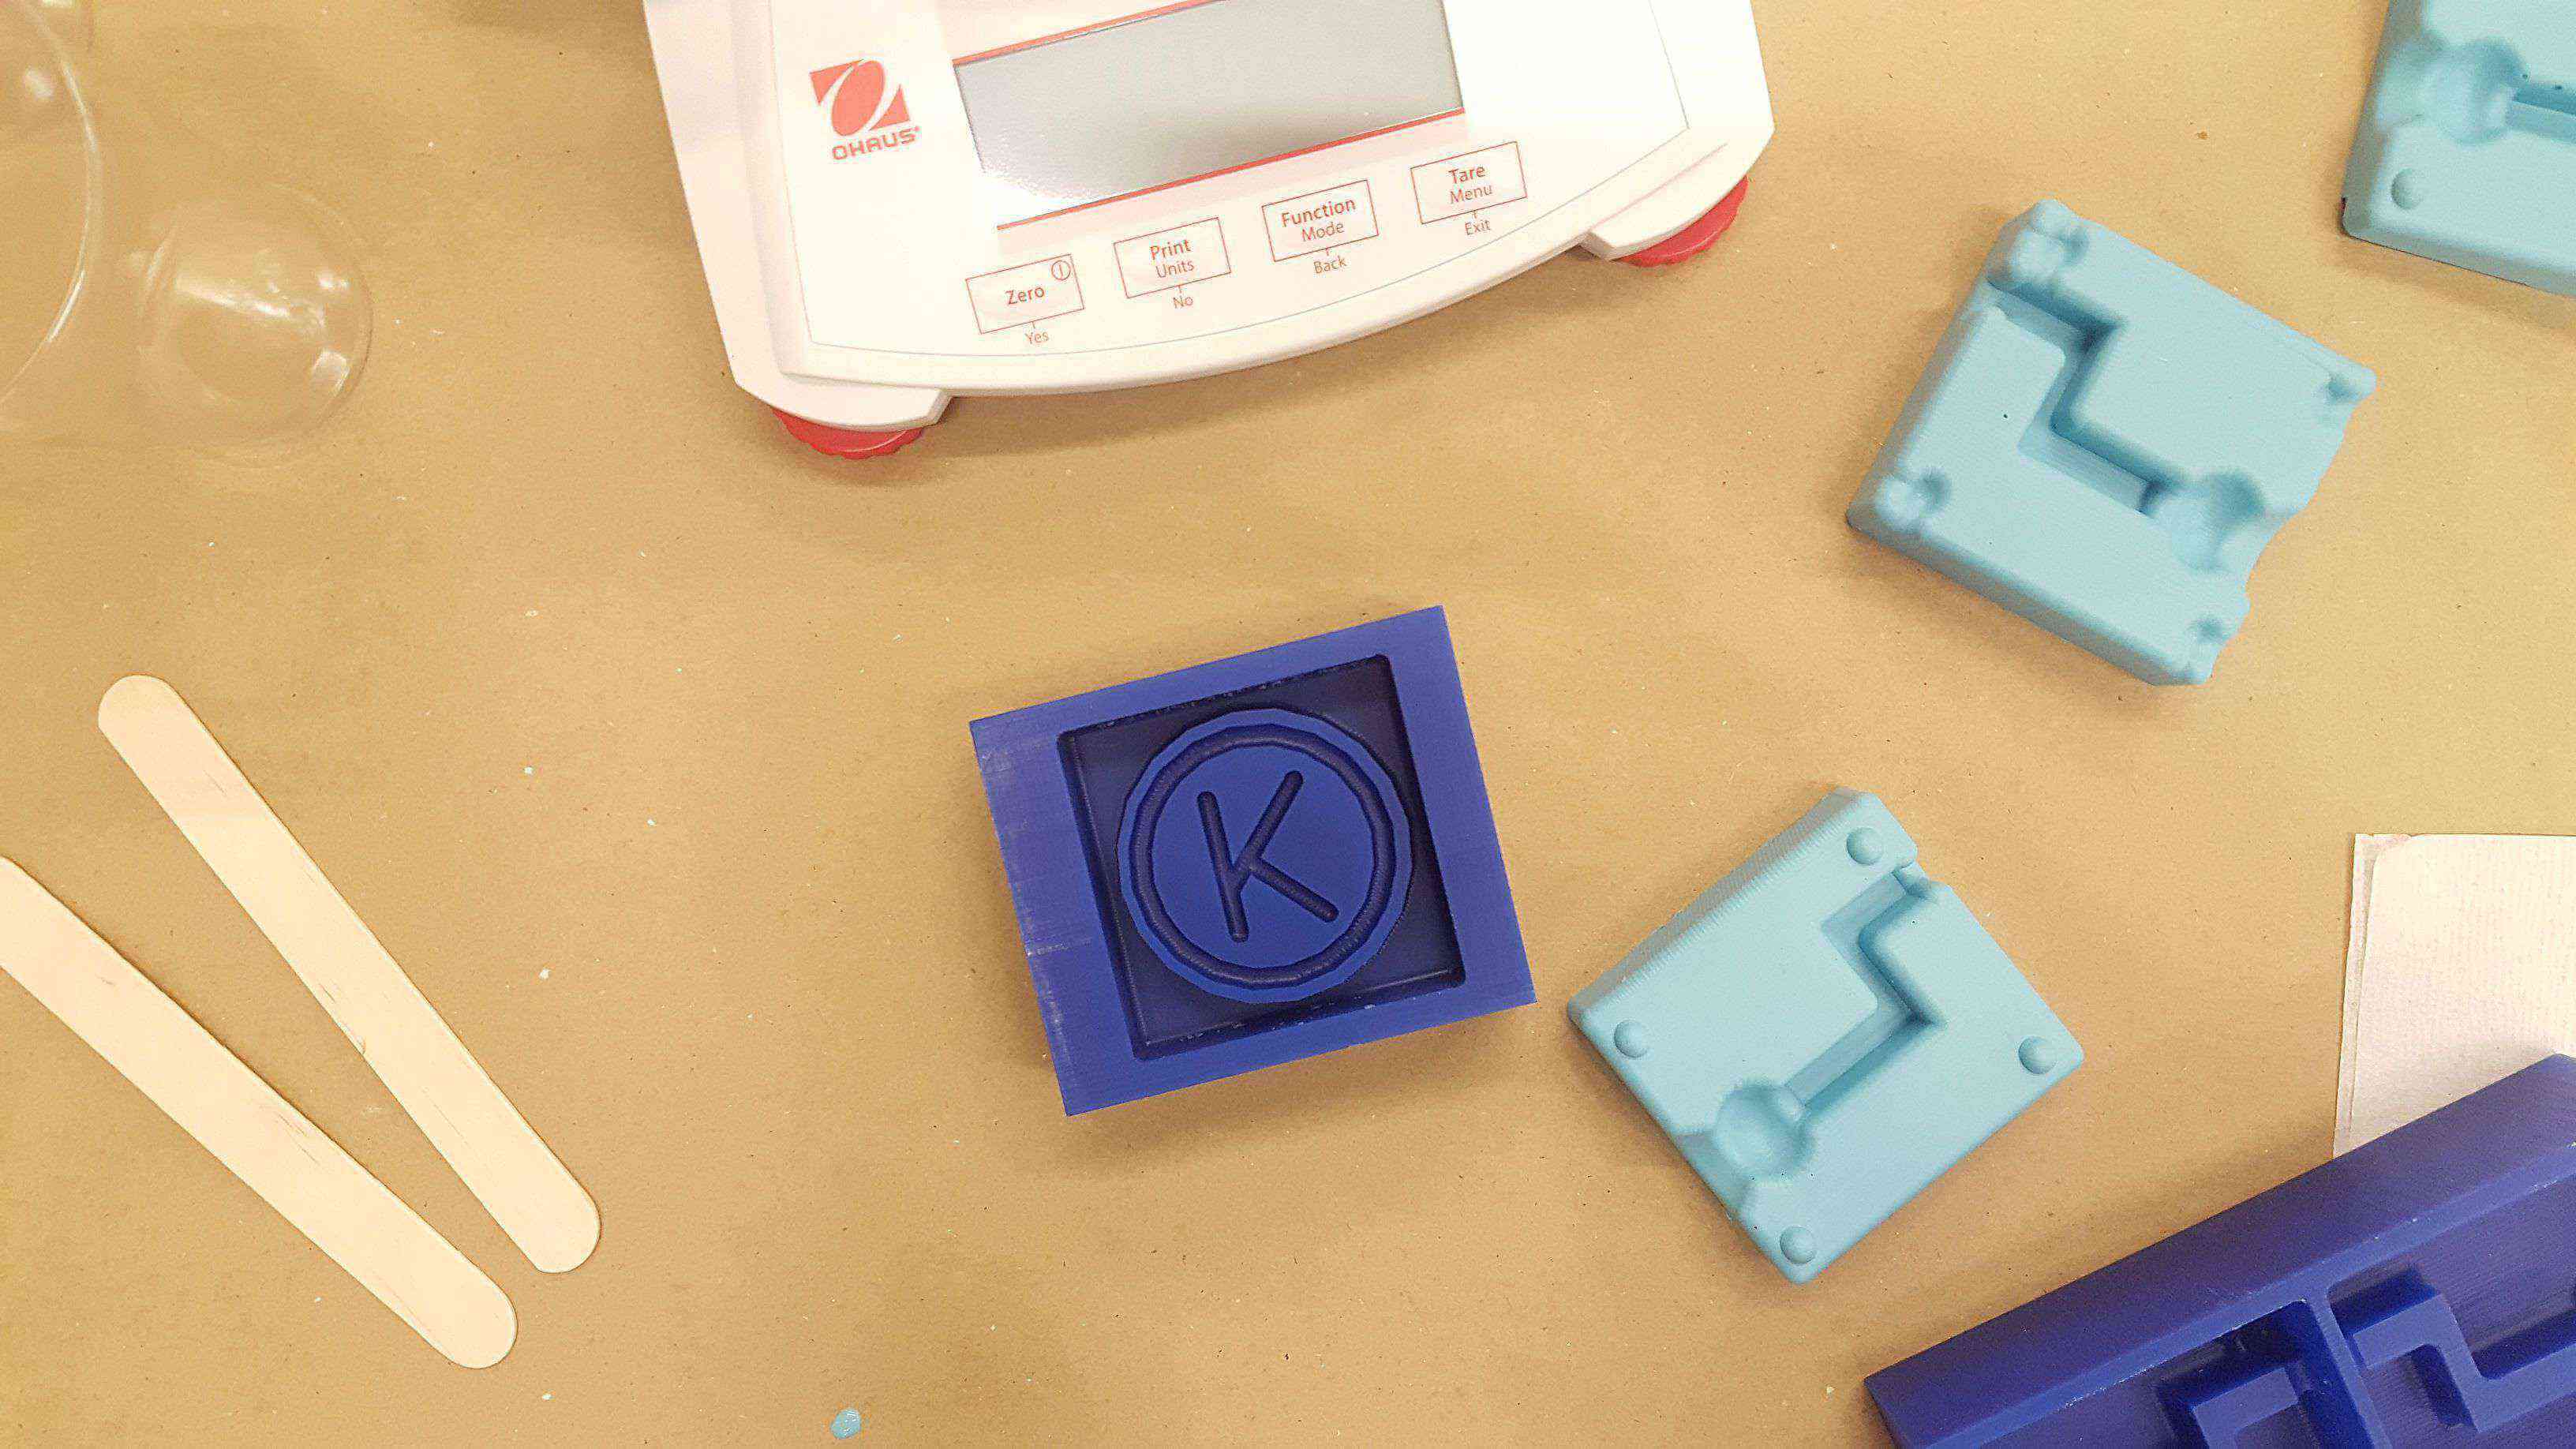
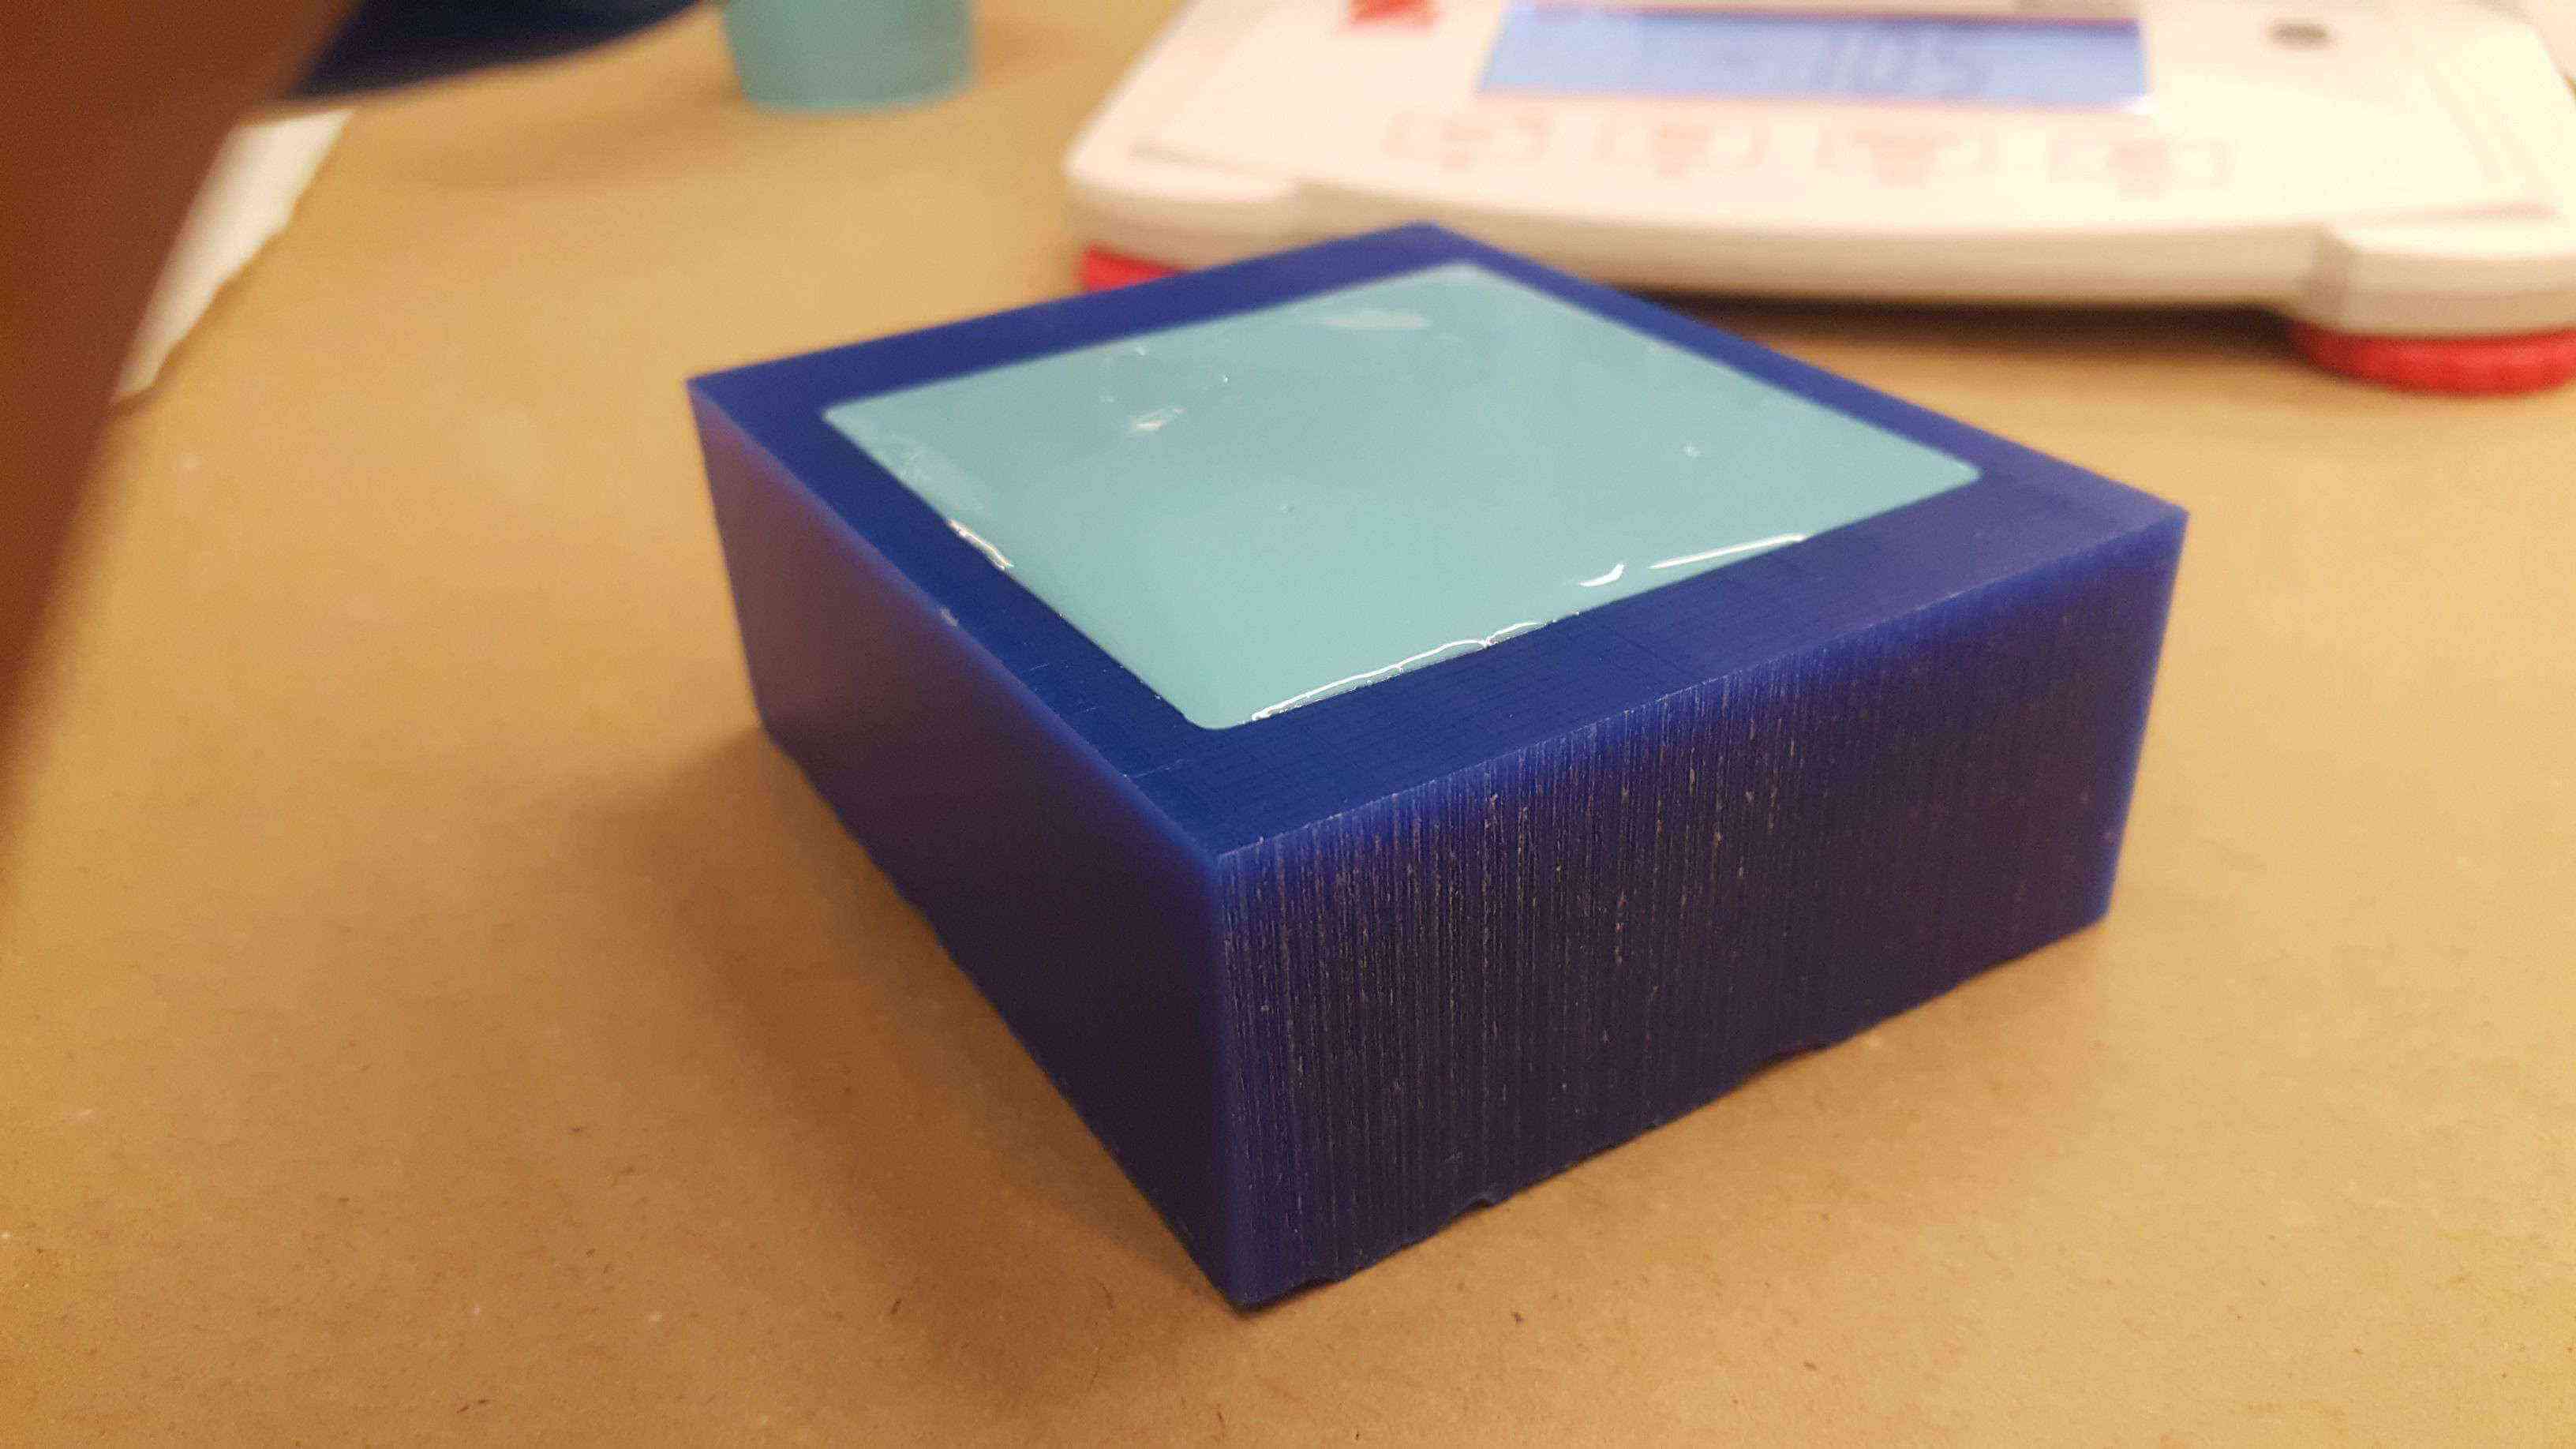
Woot woot! Done milling. Now it was time to set up the Oomoo and pour it. Remember to mix horizontally so you don't introduce air into the mixture, set the cup aside for a minute for bubbles to rise, and pour slowly when filling your mold so all the nooks and crevices are filled. I tapped my mold gently against the table to release any air bubbles at the bottom as well and saw a lot of bubbles rise up.
Unfortunately, I had a ton of bubbles in my mold after taking it out, so I decided to redo it and painted the surfaces of my mold before filling it.
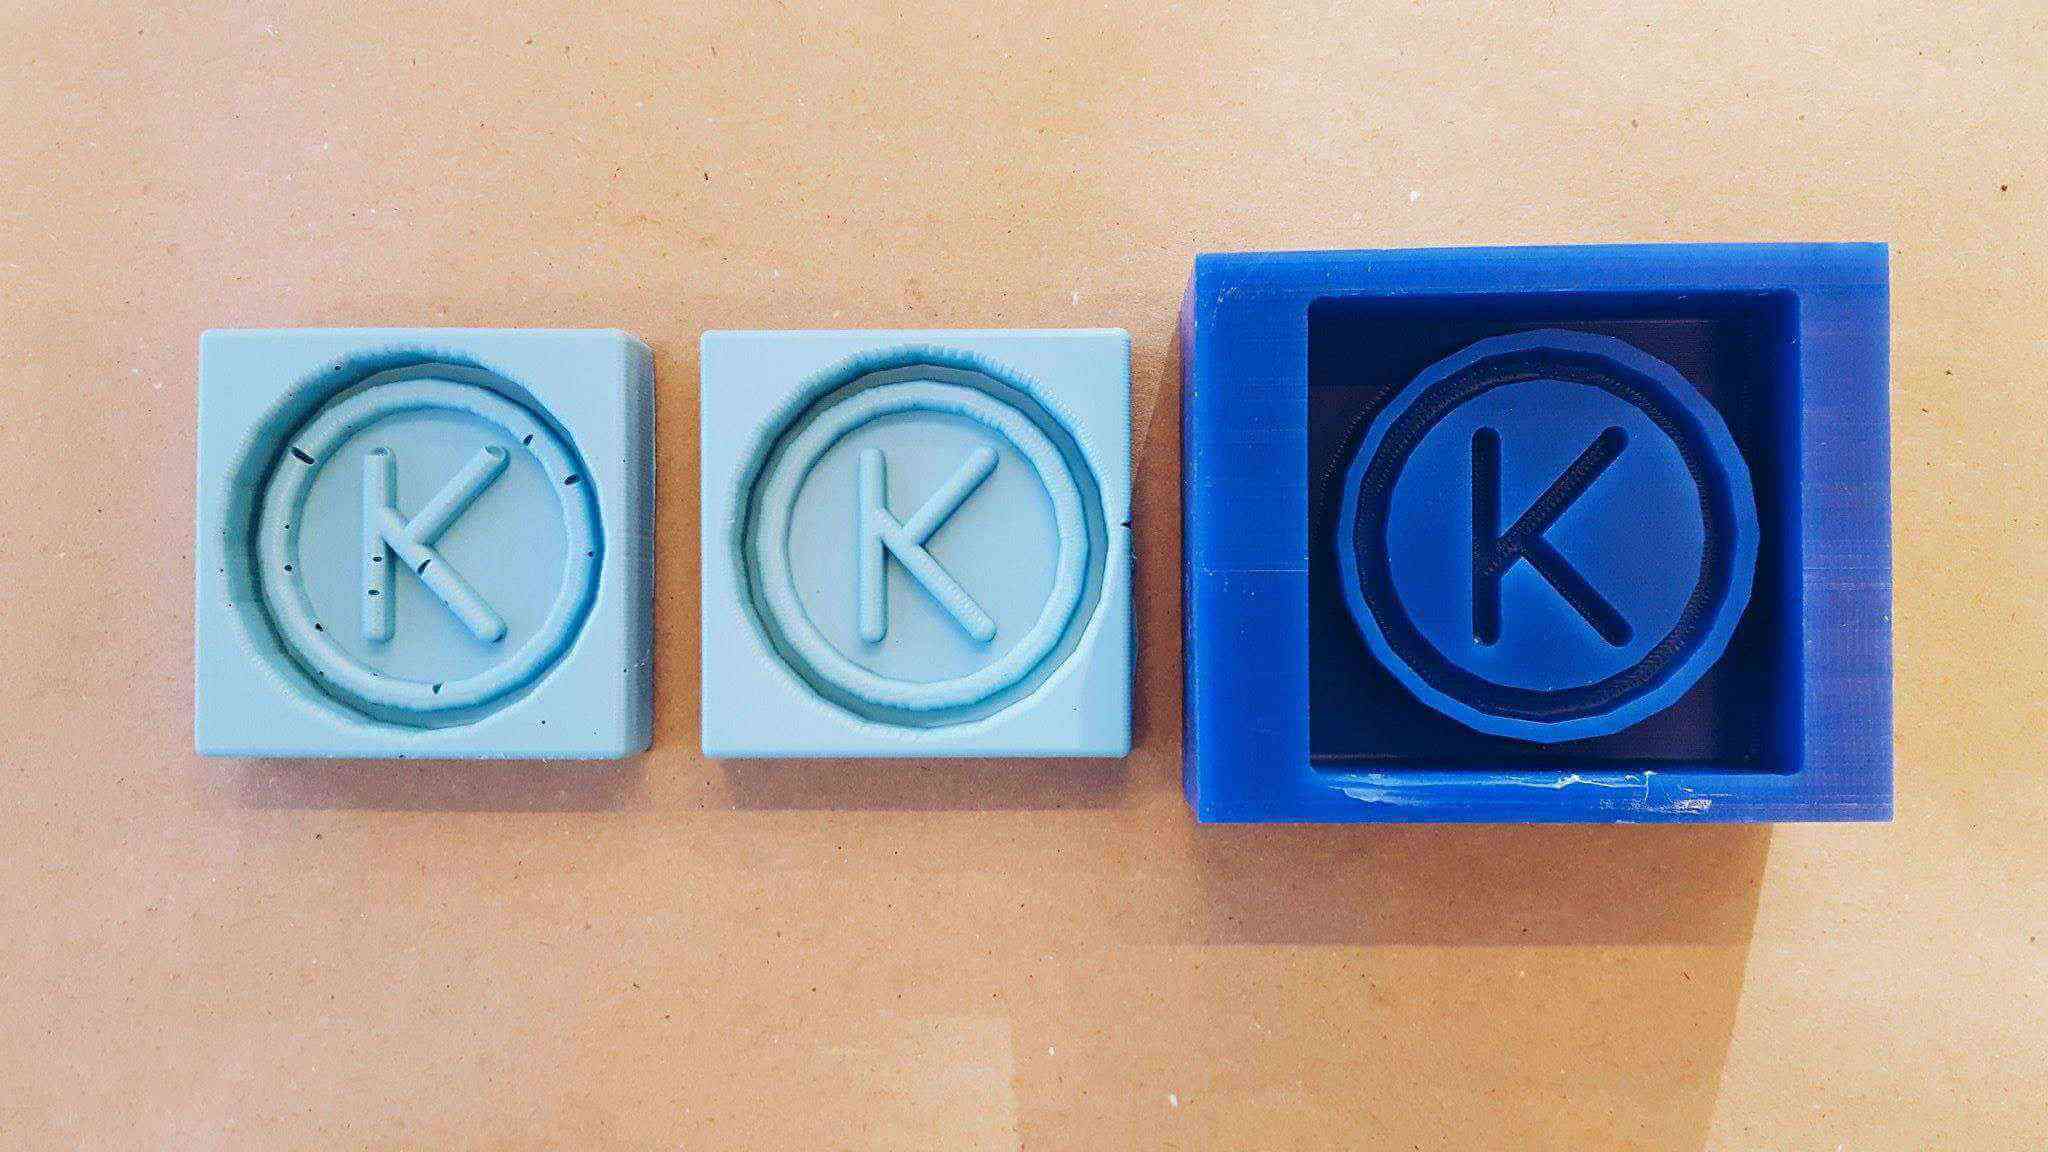
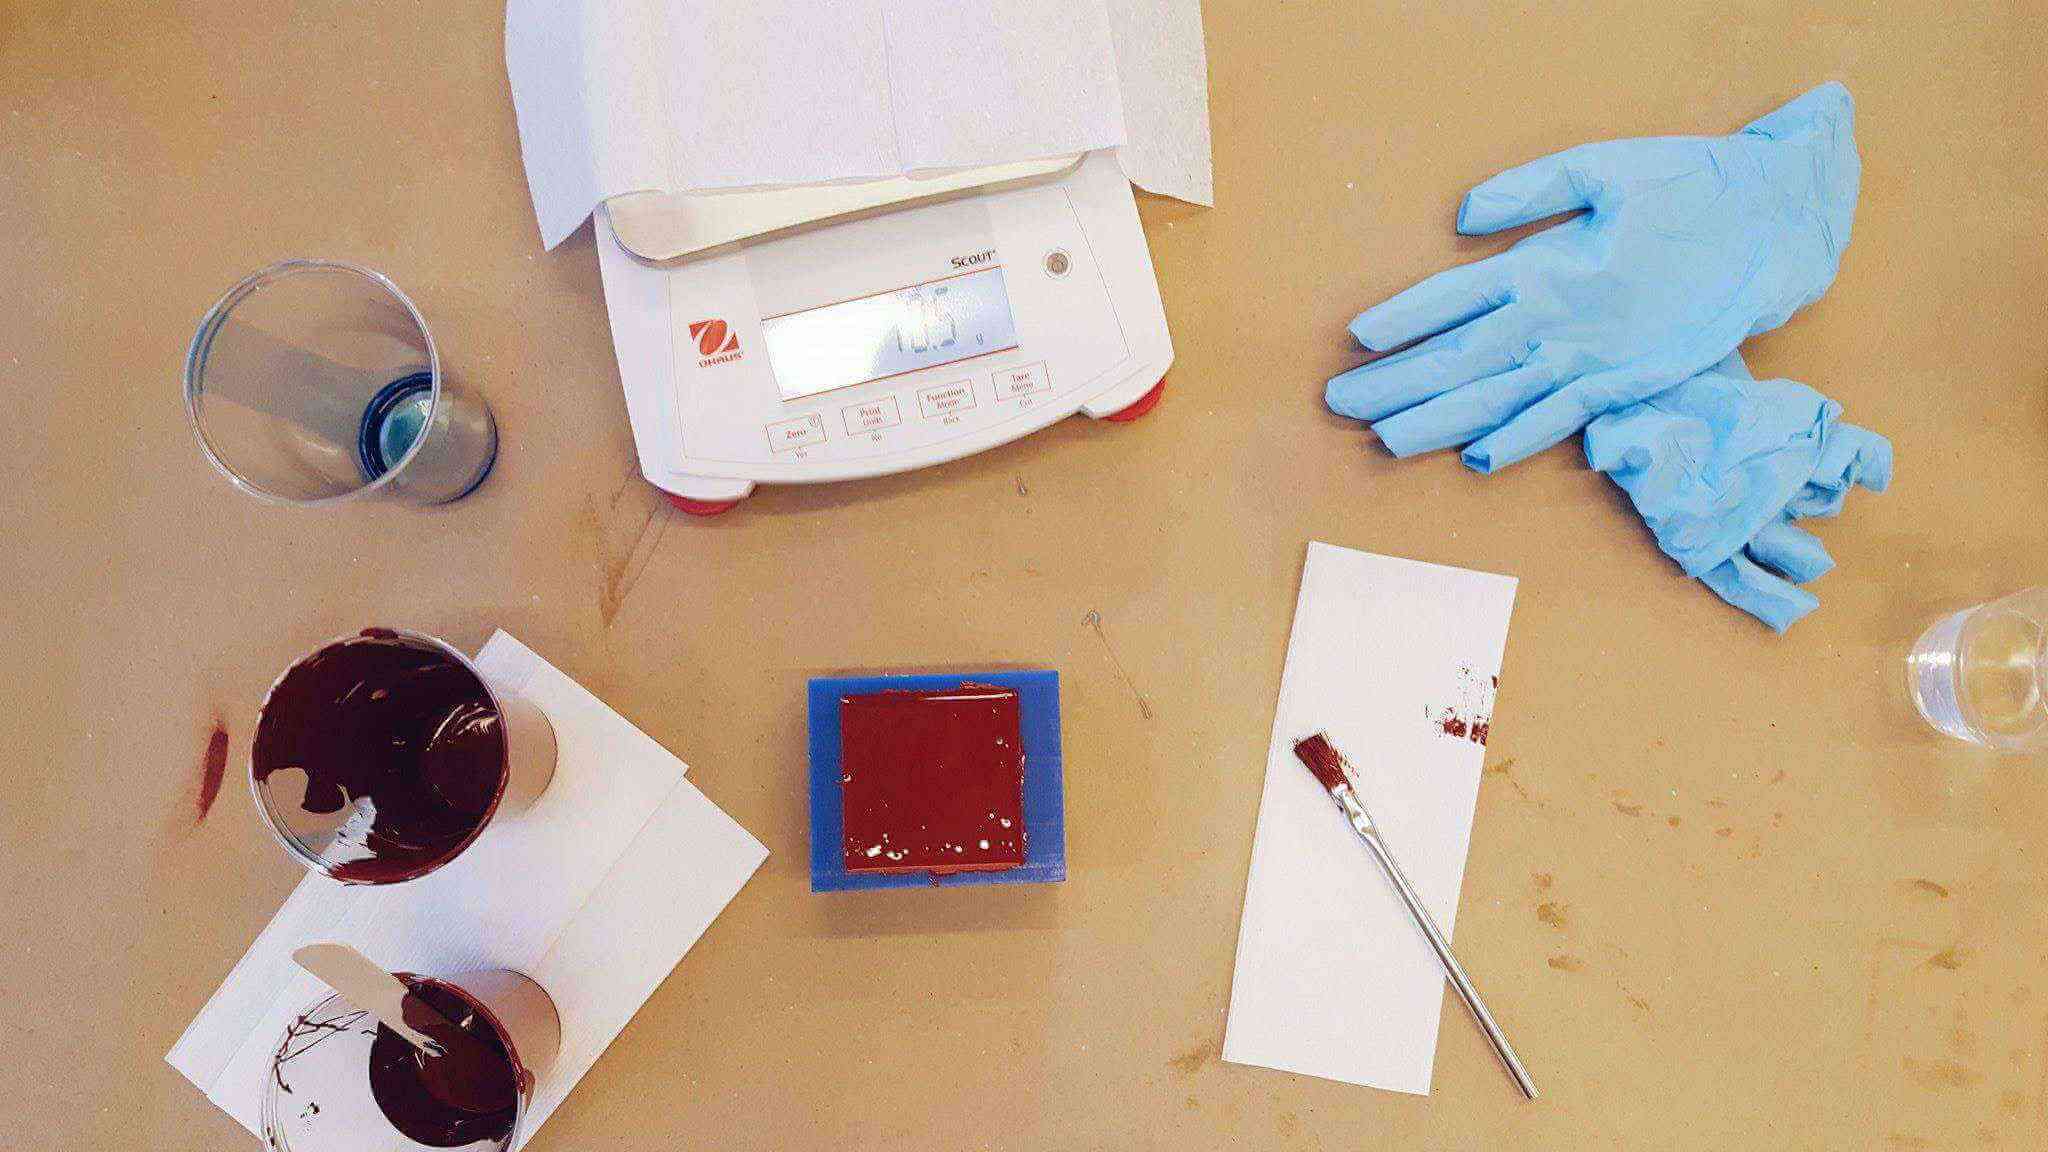
I used hydrostone for my mold, and found that regardless of which part of the process I was working on, brushing the first layer in and pouring a thin layer of the agent first before pouring the rest guaranteed no bubbles in the surface of the result.