Machining and Sautering the PCB
I began by following the instructions on Rob's website, and loaded the image of the board I wanted to fabricate
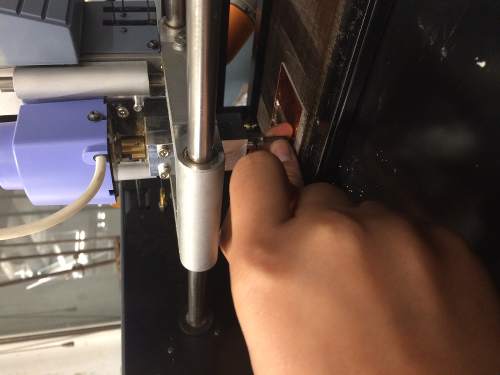
Adjusting the 1/64 endmill
- Hold down copper board with double stick tape.
- Underlay is under the board to avoid cutting the bed of the mill (sacrificial layer).
- Loosen the set screw, but hold onto it! No dropping when setting the orientation
- No need to tighten set screw as tight as you can.
- Remove burrs with a straight edge.
- Wash the board.
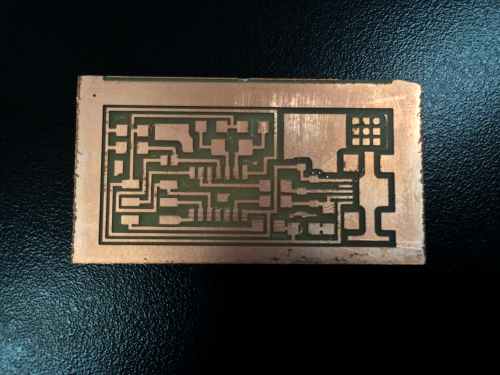
Cleaned up board after machining
Once I had a complete board, I cleaned it off with sandpaper and began setting up the tools I needed to sauter. I used Rob's suggestion to write down all the components needed on an index card. Then, I placed a piece of double stick tape down, and taped on any components I needed, so I didn't have to worry about losing tiny pieces as I sautered. This greatly improved my workflow as I had enough to think about when sautering!
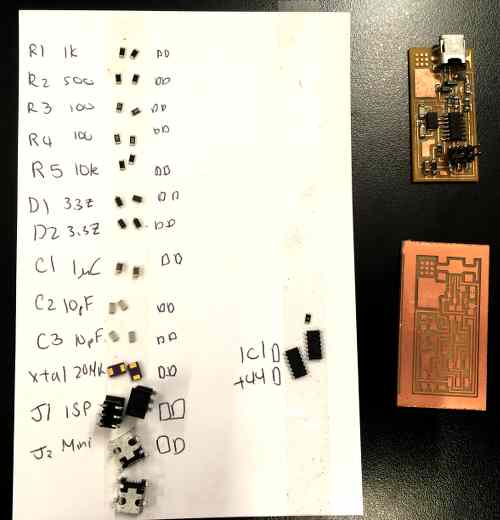
Setting up my workspace to begin soldering
I have never sautered before, so I was definitely surprised at how quickly the process goes once you get into a groove. The only real trouble I had was with the tiny legs of the USB port and the microchip. I sautered a huge glob of sauter and learned to use the braid to remove excess sauter. Since I didn't get the timing right at first, I kept sautering the braid to the board, so that took a few tries before I got the rhythm down.
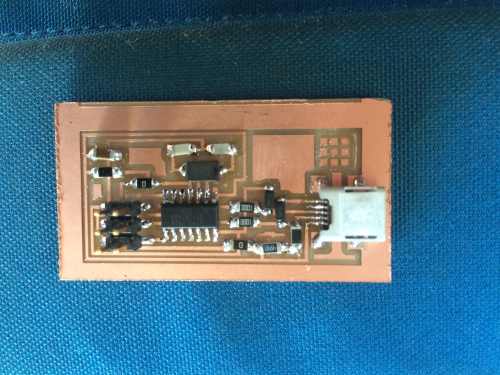
Finished PCB with all components sautered on
If I had more time, I would improve the shape of the X so that student work could be tacked onto each piece easily, or I would build the entire divider out of sturdier material so that it can last multiple uses.
- Clean tip of sautering iron.
- Underlay is under the board to avoid cutting the bed of the mill (sacrificial layer).
- Cover sauter tip with a bit of sauter (SHOULD BE SMOOTH AND SHINY).
- Heat BOTH lead and copper where they join.
- Put down a little blob of sauter and then wait for lead and trace to heat up.
- Gently probe at sauter, when it starts to flow up.
- Wait one second for it to flow.
- If gnarly, try it again, and use new sauter to make old sauter flow.
- To stuff, start from the middle of the board to the outside of the board.
- Then, start with low parts to high parts.
- For small parts, put a little sauter to just take down one side.
- Then, using the tweezers, hold the electronic component in place.
- Melt the sauter to hold it in place.
- Sauter other joints properly.
- Finally return and resauter the first joint.
- Check all joints under a microscope to be sure it was done correctly.
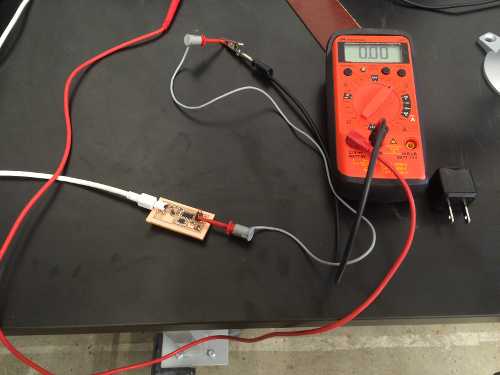
There was nothing wrong with the voltage and the board and the microchip did not grow hot, but I need to do much more testing this week to figure out exactly why it didn't load the program.