The Design Process
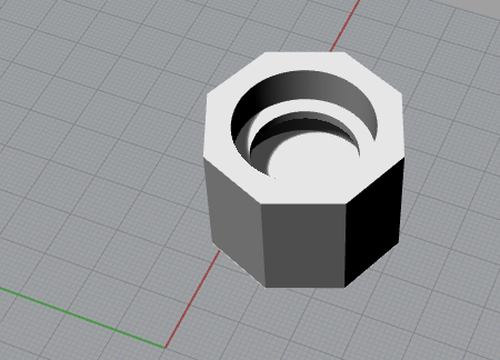
Creating the Rhino sketch took about 2.5 hours, and largely went smoothly. It consists of an octogon with a circular hole for the quarters and a slot for the computer cable. But, I know this design can be made by subtraction, so I went back to the drawing

My initial Rhino design
The printing process went pretty smoothly. I tested the print on the Makerbot printer with red filament. I did my initial print with a low, quick-speed setting, so the final was largely hollow and printed in 20 minutes. Now that I knew my design worked, But, I know this design can be made by subtraction, so I went back to the drawing board to see if I could come up with a new design.
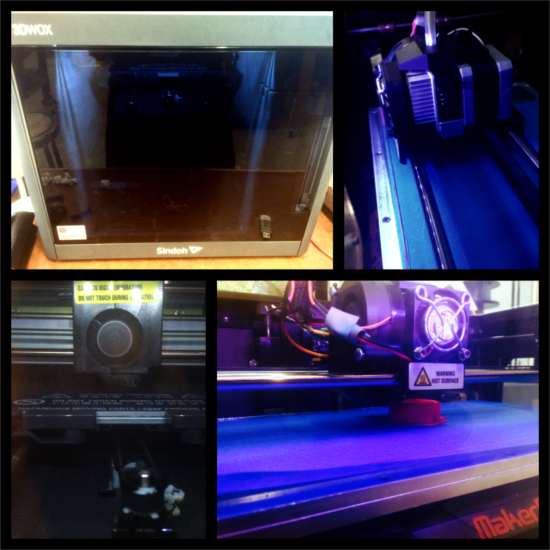
The 3D printers hard at work
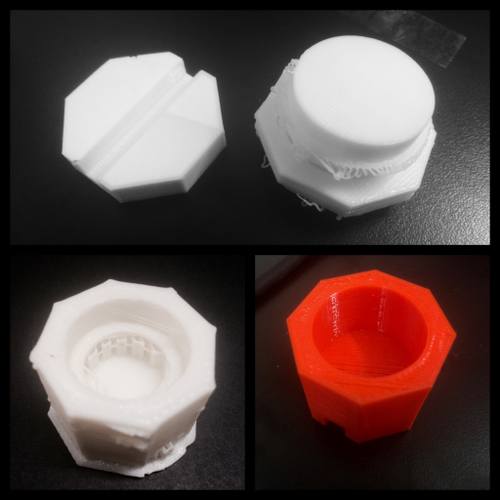
A few of the prototypes I made
For the second version, I made an added shelf midway down the quarter chamber, so that I could add a weight to hold down the cable stop, and the quarters could sit on top. However, I could not figure out in Rhino how to make a slot for the weight in time! So, I tried to print it anyway but the 3DWox software could not read my design, and printed something very strange. It looked a bit like the inverse of what I wanted printed. I went back to using Makerbot, and all sounded well until the filament got caught and snapped. (That moment when your print is ALMOST done, and then you need to start over?) In my next version, it did print correctly, but due to the awkward angle, I could not weed out any of the supporting filament, and it eventually snapped. In the end, I got two prints that I'm happy with. I have a long weekend coming up, and I really want to push my Rhino skills, so that I can make something a bit more complicated!
Rhino sketch with a shelf
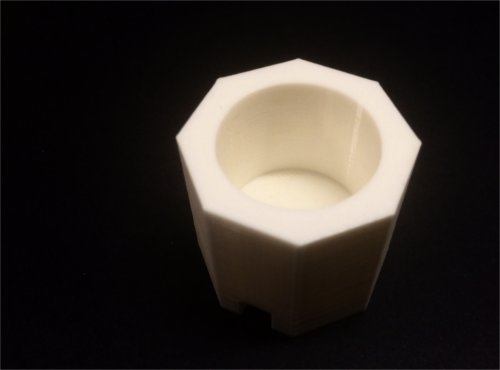
Final print that now sits on my desk!
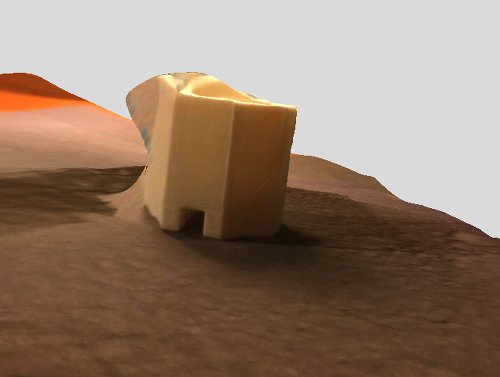
As for 3D scanning, I experimented with Autodesk's 123D Catch. The app itself seemed to have some problems loading. Once I began processing the pictures, it would quit unexpectedly, freeze, or become unresponsive. Just for comparison, I decided to make a scanned version of the 3D object I just printed. I wouldn't exactly say I was "successful," as it turned out mostly to have a blobby mess stuck to its side, but it was fun messing with the app.