The Design Process
This is my second project on Fusion 360, so I wanted to use this opportunity to get more fluent with the software. The Reuleaux triangle is constructed from the intersection of three circles. Once I had a solid object, I used Shell to carve out the interior before realizing that I was not thinking like the ShopBot. Since the triangle has an overhang, there would be no way to cut it with a ShopBot. Back to the drawing board!

Solid object cut in half

Halves of the triangle shelled out
So, after some consultation with Rob and Glenn, I decided to cast the exterior shell separately from the interior piece. The silicone would be poured in between the two molds.
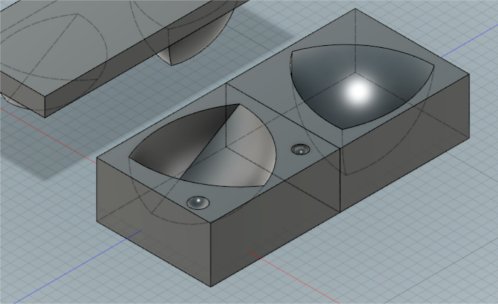
Final Model Part 1
Final Model Part 2
I ordered Mold Star 20T (~$31) from Amazon, a silicone rubber made by Smooth-On that is translucent. It comes in two parts, which you mix in equal proportion. It flowed fairly easily, and while stirring, I forgot to pay much attention to the bubbles formed. But, since this was meant to be a prototype, I figured I'd just wait and see what happened.
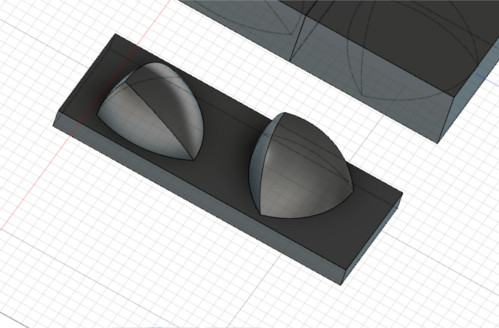
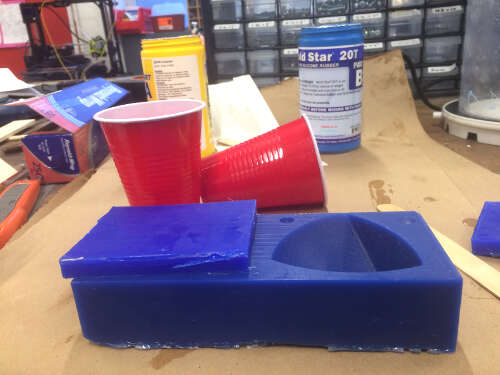
Convex mold with the ShopBot!
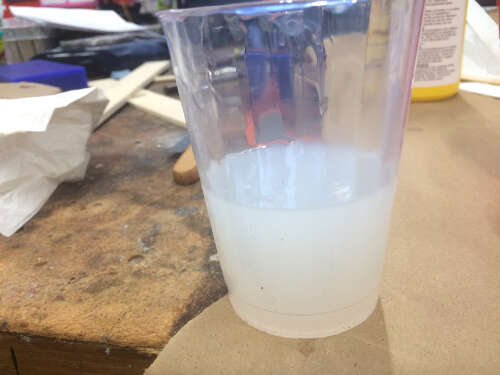
Mold Star 20T Mix, ready to go
I mixed the Mold Star 20T, and had about six minutes to pour. It wasn't too viscous, so it poured easily. I eyeballed the inner mold placement and waited for half an hour for the entire thing to cure.
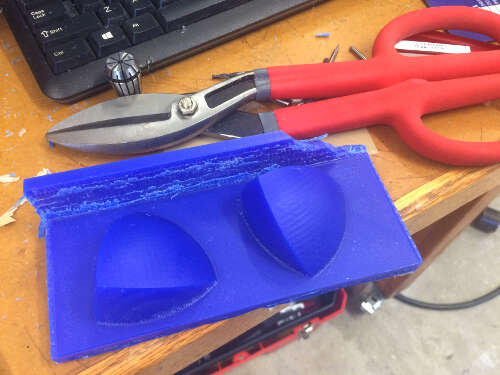
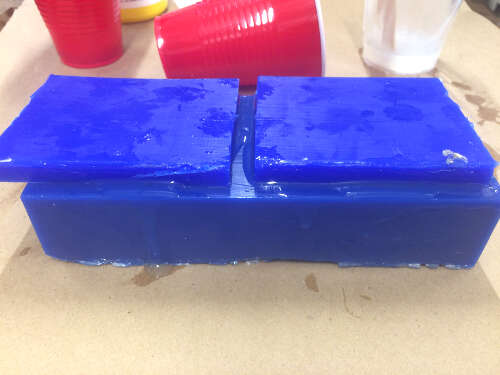
The set-up
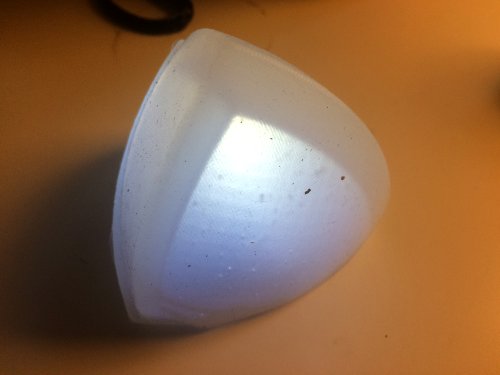
After 30 minutes, the object came out easily from the mold. I took a sharp pair of scissors and trimmed away the excess silicone. Since I didn't create perfectly nesting shapes, all six walls are of different thicknesses. For my final project, they will be uniform, but for the sake of the test, it is actually very helpful that they are different since I want to test the luminosity and structural integrity of the silicone at different thicknesses.
Just have to wait for 30 minutes!
I added a small LED just for fun! All in all, I think this was a successful week in terms of helping me envision my final project. The size and shape is ideal, but I will need to decide on the final thickness of each wall and some type of press fit piece to keep the two halves together.