
Week 2: Circuit Production
I was interested in using Andy's FabISP stick because I already have quite a few cables to carry around so avoiding another cable is a big plus, especially because most of my devices are now USB-C.
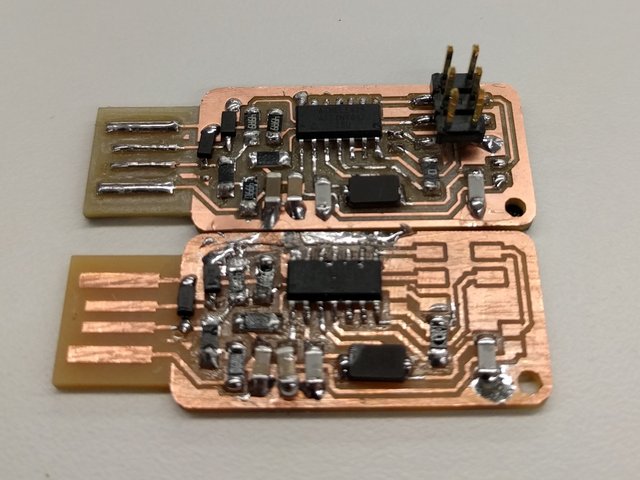 Successful(top) and unsuccessful(bottom) attempts at making the FabISP stick.
I starteded milling with the ShopBot while the Modela was in use. However, when I used the default settings, the cut speed was way too fast and led to poor cut quality and probably increased tool wear which should be avoided. Furthermore, the Andy's FabISP board had a trace spacing that was too narrow for FabModules to create a 1/64" toolpath. However, I didn't realize this until it was too late and soldering had begun.
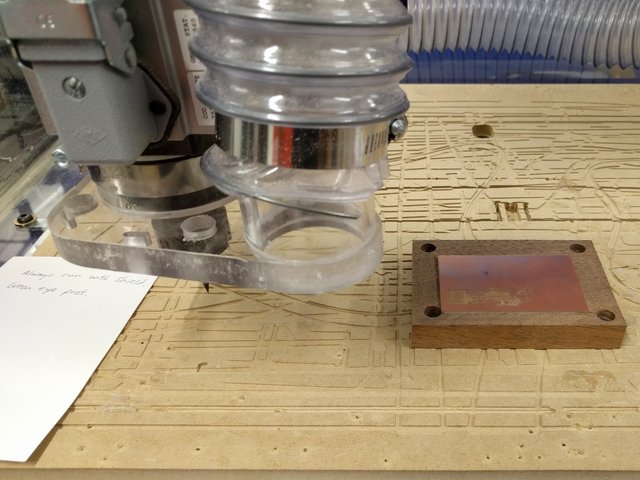 a) Using the shopbot's build area to mill a tiny PCB was somewhat ridiculous.
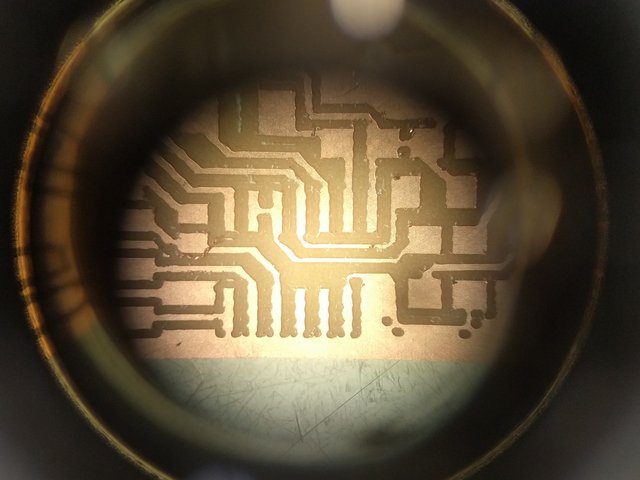 b) Milling at the default speed of 20 mm/s led to very rough traces and a pretty ugly board.
It also probably would break the bit faster than milling at a more normal speed.
b) Milling at the default speed of 20 mm/s led to very rough traces and a pretty ugly board.
It also probably would break the bit faster than milling at a more normal speed.
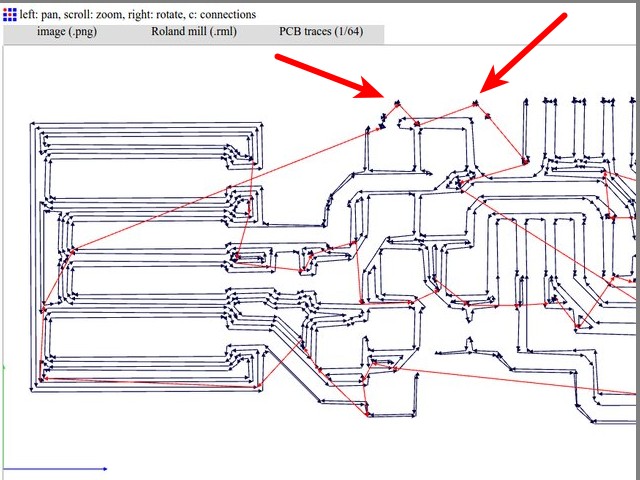 c) Red arrows pointing to the missed traces on Fab Modules which
I didn't notice before milling. Oops. Check the toolpath before milling!
c) Red arrows pointing to the missed traces on Fab Modules which
I didn't notice before milling. Oops. Check the toolpath before milling!
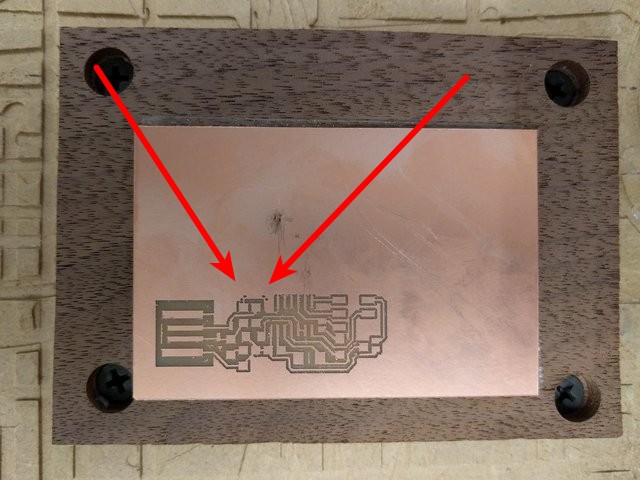 d) Missed traces on the first board which I didn't notice until after starting
soldering.
d) Missed traces on the first board which I didn't notice until after starting
soldering.
The second try was much more successful. I slowed the speed down to 5 mm/s and lied to fab modules specifying the 1/64" (0.39mm) tool diameter as 0.33mm. This allowed fab modules to route the more narrow trace.
After soldering all the parts on (including the jumpers) I tried to program the board. As noted by others, the FR1 board is less thick than the standard USB device thickness so solder was added for mechanical strength and increased thickness. However, this wasn't enough so I added five vinyl sheets from the vinyl cutter to the bottom and the board fit into the USB port nicely.
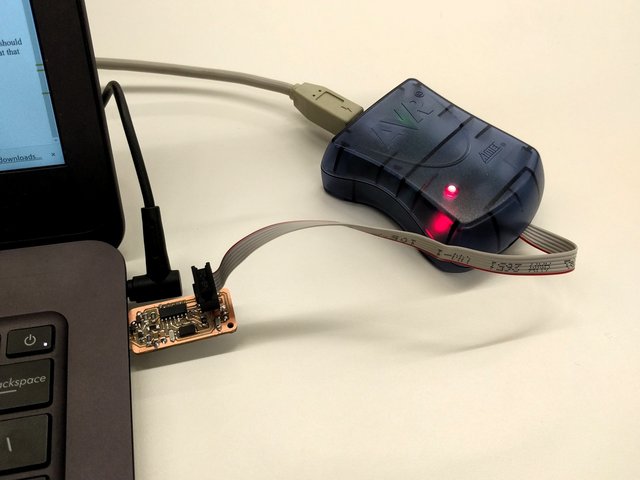 a) The FabISP stick being programmed on Ubuntu 16.04 using the AVR programmer.
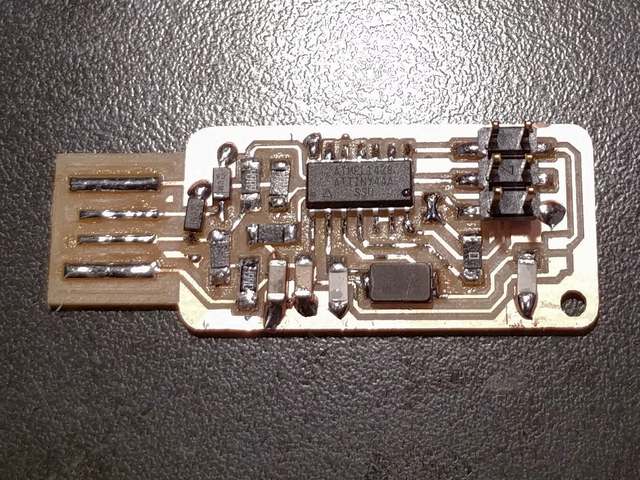 b) Final look at the sucessful board with the bridged jumpers.