Week Four: 3D Printing
I have a new nephew, and the family tradition is to do something with it.
Background
My brother Yannai collects Android figurines. For his wedding 3.5 years ago, my other brother Yoav and I made him and his wife two aluminum-milled custom-made Android devices, built on two milled puzzle pieces and connected with screws. The idea was that every new member of the family will add a piece to the puzzle. Little did I know I’ll one day learn how to properly do 3D modeling and printing.
I took the puzzle piece CAD from Yoav, and started modeling a whole new android on top of it.
Model
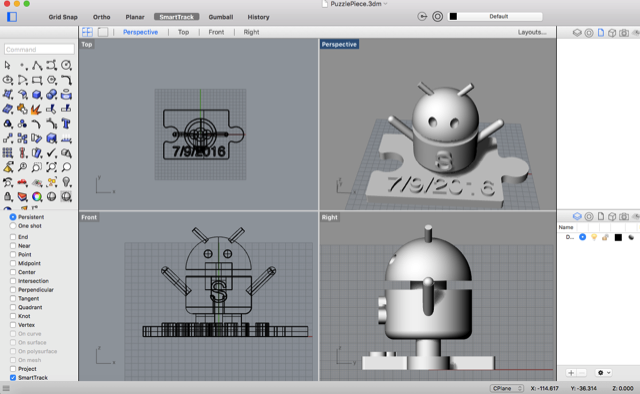
I once again used Rhino; Given that I had the pre-made puzzle piece to build on, I could not use Antimony because it does not have any import features (because of its unique graph-based design). The good thing is that most android figures can be decomposed to basic shapes: spheres, cones, cylinders, etc.
Here’s the source file, and here’s a Rhino screenshot:
Here’s a Modelo shot:
Android S by Yuval Gonczarowski Modelo »
Printers
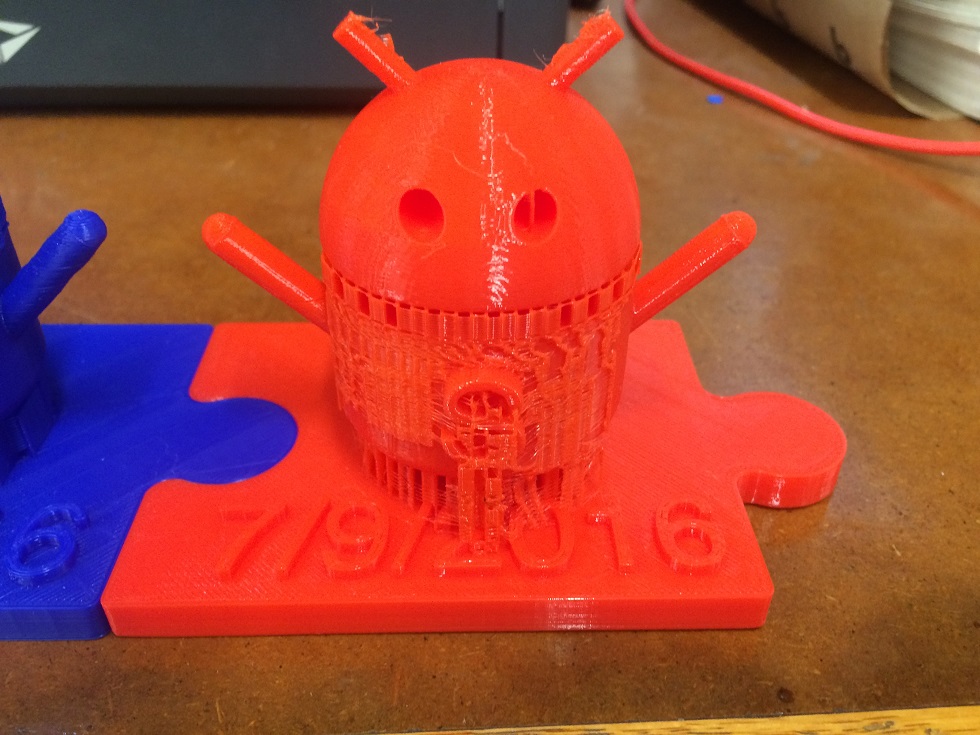
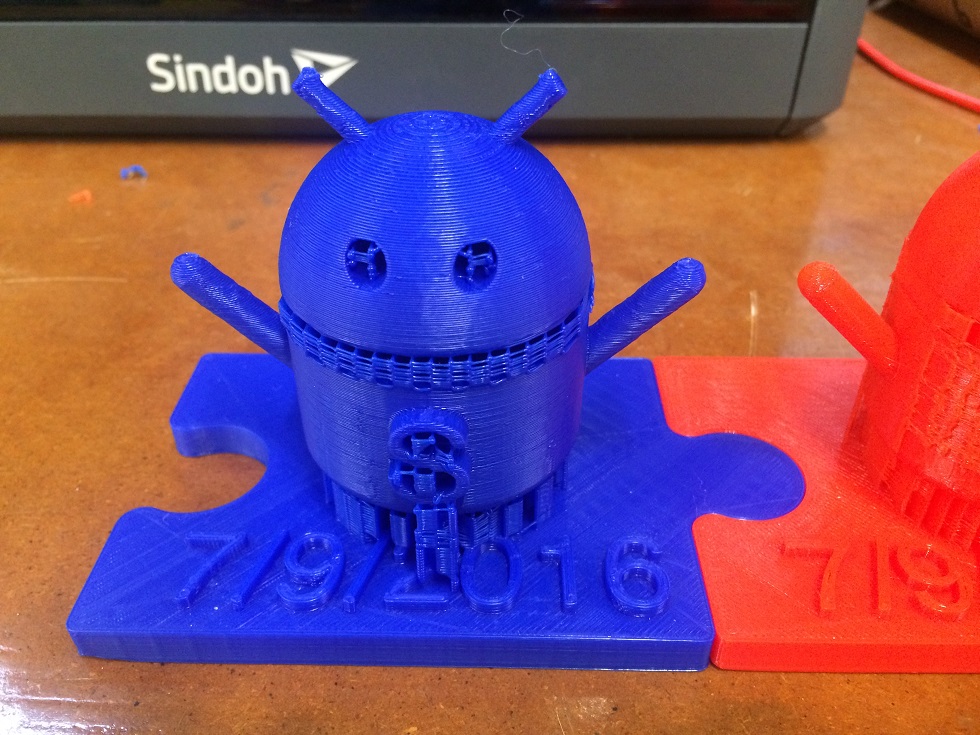
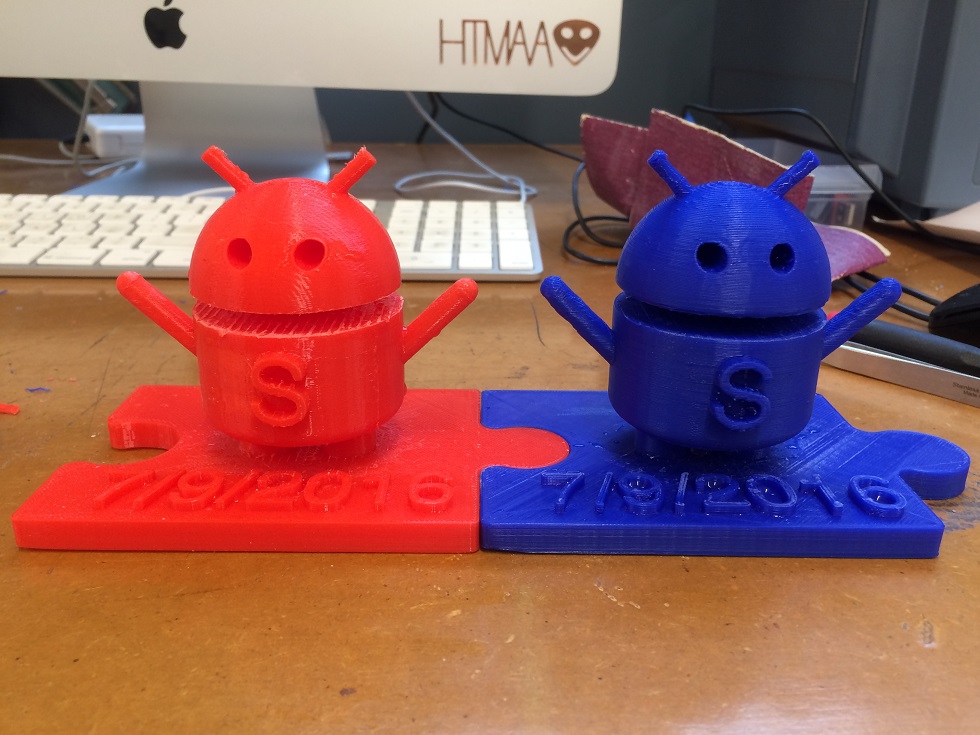
I printed the model on two printers: One by Ultimaker and one by MakerBot. Both are printers that use filaments to print the device. The red model you see below was printed on the Makerbot; the blue was printed on the Ultimaker.
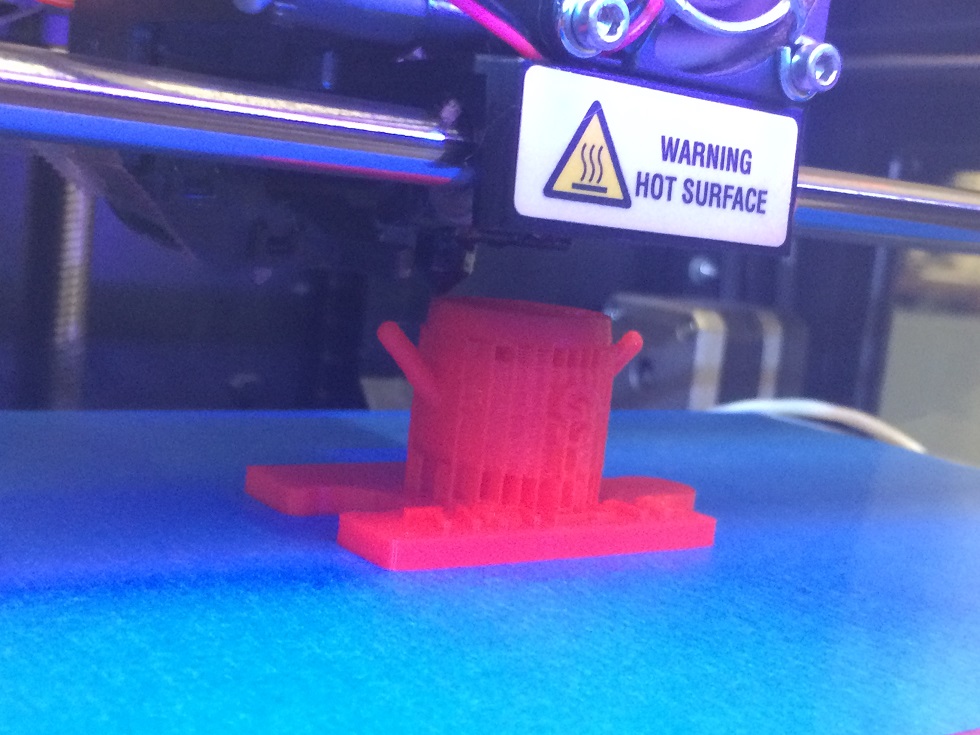
Here’s the MakerBot at work:
And here’s the Ultimaker at work:
Supports in the neck - a pain in the neck
3D printers have a hard time with models that have material that is not supported by gravity in its liquid nature. The legs, for example, are enough to support the Android body in Solid State, but are not enough to support the body in its liquid state. For this reason, the printing software adds supports - small columns of ink - to the final model. Those supports are then removed using tweezers or pliers after the product solidifies.
Interesting enough, the Makerbot added many more supports - throughout the entire body, whereas the Ultimaker settled only for supports around the leg and neck.
Printing time was about 5 hours; to make sure I’m on the right track and not spend a lot of time, I first printed a small prototype, 50% of the size, on the Makerbot. It looked great even though the legs and antennas broke really fast:
Here are the full-sized printed products with supports on:
- MakerBot:
- Ultimaker:
Final product
- After cleaning the supports, here’s the final product - the puzzles fit!

