Week Six: Make Something Big
Or, if the big ShopBot is always used by others - Make Something Medium!
Background
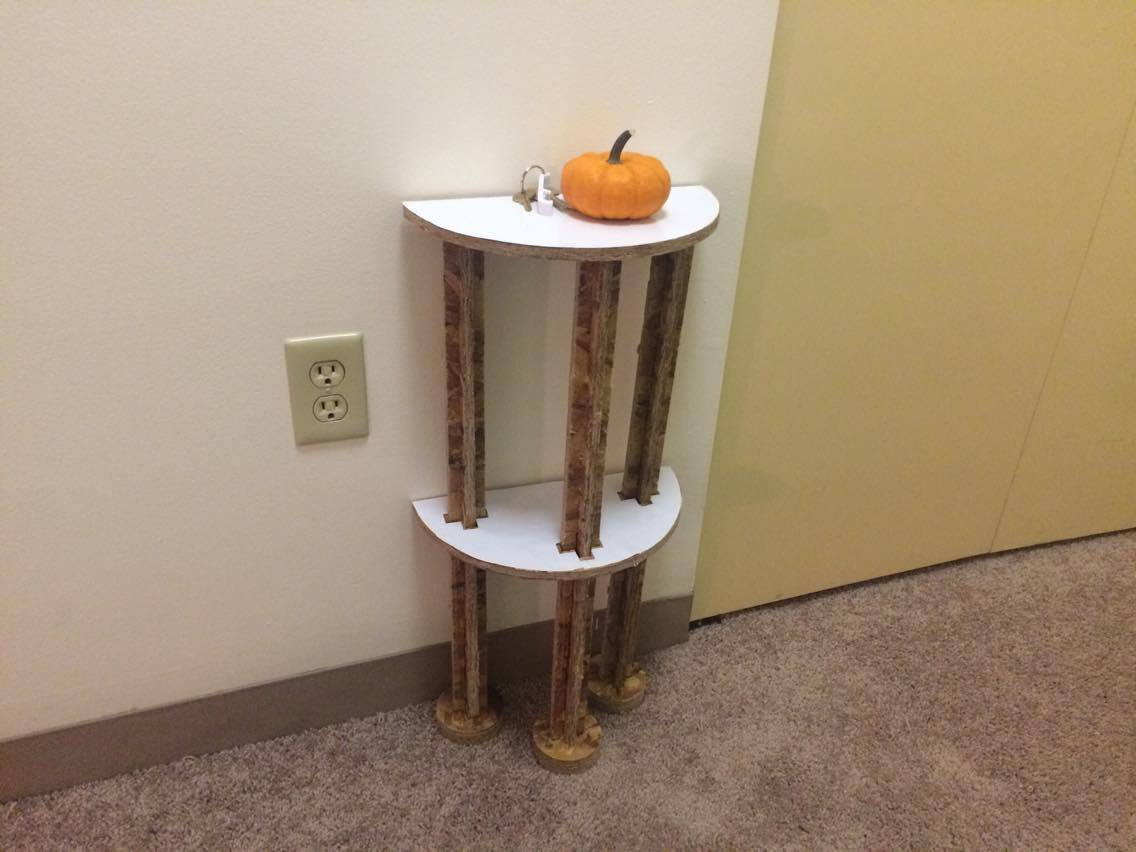
The assignment this week was to make something big. After contemplating what my “big” item would be, my wife said that she would love to have a small piece of furniture for her jewelry. So again - Gili saves the day!
The material that was available to us was 4’ x 4’ x 0.5”’” pieces of cheap wood that is basically made from scrapes of wood glued together. Most other students took a trip to Home Depot / Lowe’s to get more expensive stuff, but I stuck to what we had.
Design
A photo first:
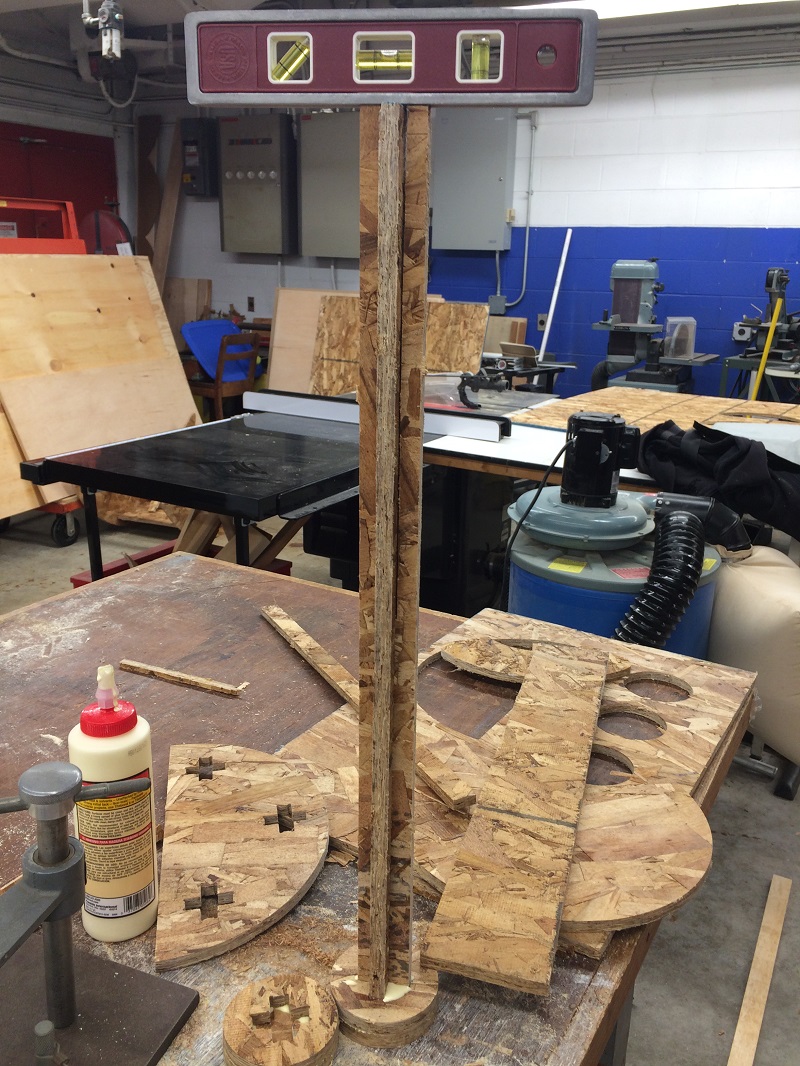
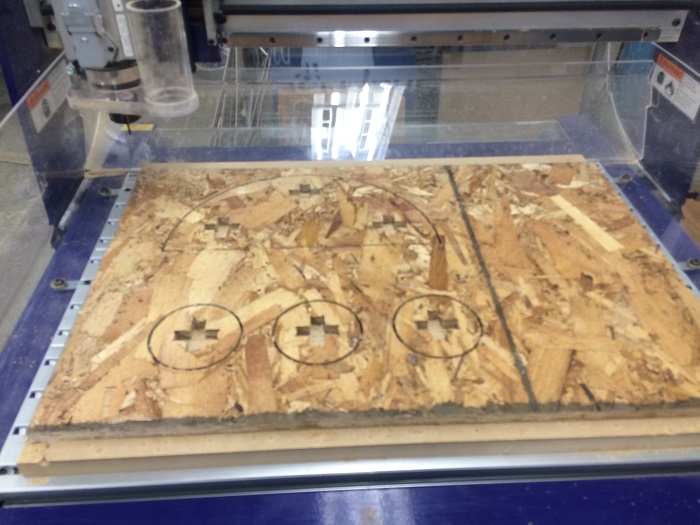
The first challenge was how to build the legs - the wood we got wasn’t as strong and breaks very easily. I’ve decided to used a press-fit mechanism to increase the area of each leg by creating “plus-shaped” legs. For three legs - I needed 6 pieces. Those would rest on 3 circles with the plus-shape milled out.
An important lessons to note for this part is size: The 0.5” depth of the wood is average My piece was a bit more narrow than that, and so I had to use some glue when putting the pieces together. Make sure to check with a caliber. What the depth actually is.
vCarve
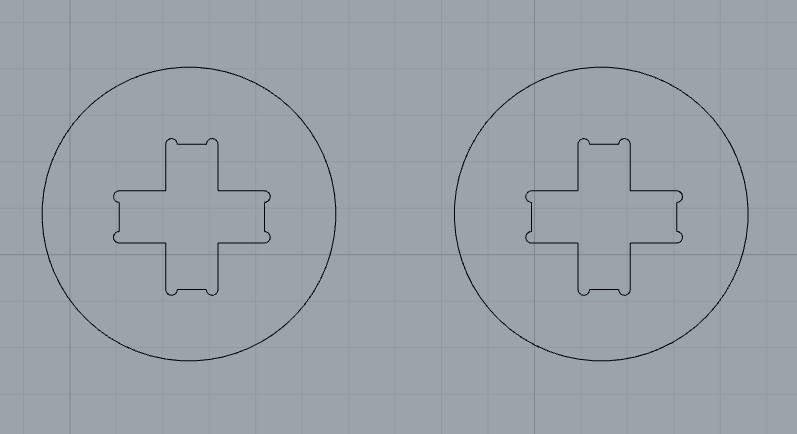
Before we start: Kerf, kerf, kerf! The vCarve software allows one to determine if we want the cut to be done on outside edges of closed loops, or inside edges. This creates a problem for some 90 degree angles, given the round nature of the 1/8” spindle. Note how by creating paths that account for this, we allow the machine to work properly (the “plus” legs were mileld from the inside, of course):
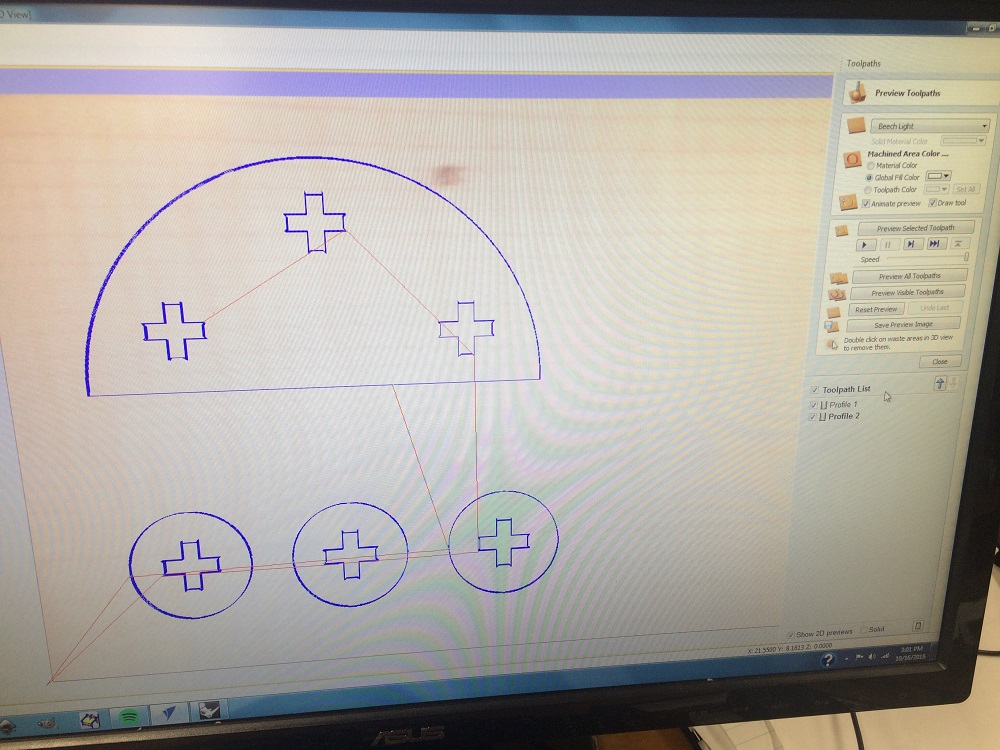
On vCarve, I set two paths: An inside mill for holes inside the design, and an outside mill for the shapes themselves. A few other things we can determine here (based on material and other considerations) are number of steps, speed, etc.
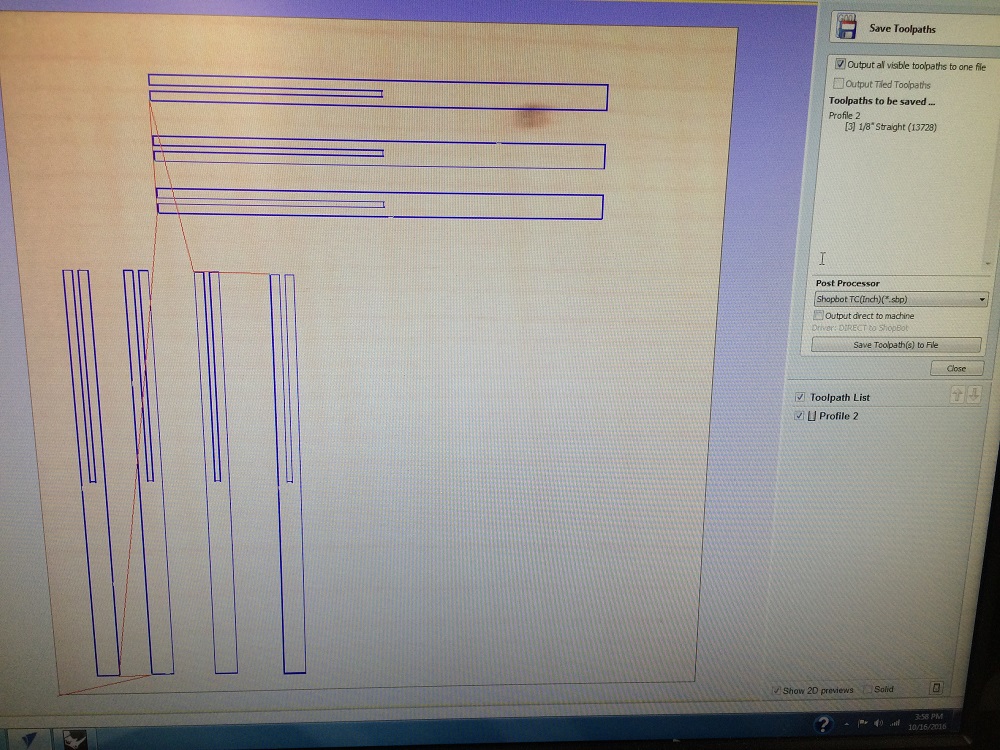
Here, for example, are the toolpath of the legs and the middle piece:
Preparation for cutting - some ShopBot dos and don’t dos
-
Have band-aids handy. CNC is risky! I made one big mistake, which was underestimating how sharp the edges around the spindle themselves are. While replacing the spindle on the machine I cut my thumb :(
-
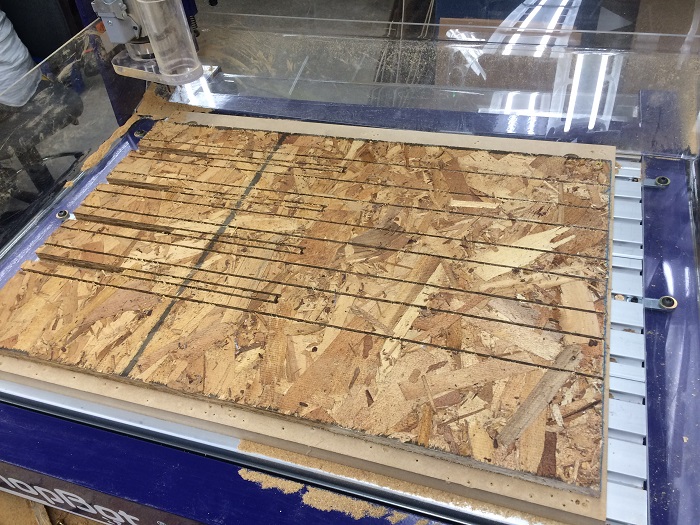
Stabilize the material: Using some screws, it’s very important to stabilize the piece on the shopbot:
- Zero axes: The X- and Y- axes are zeroed with the yellow “direction pad”. We use our God-given set of eyes to align the machine to the bottom-left corner of the material:
The Z axis is aligned in one of two ways:
-
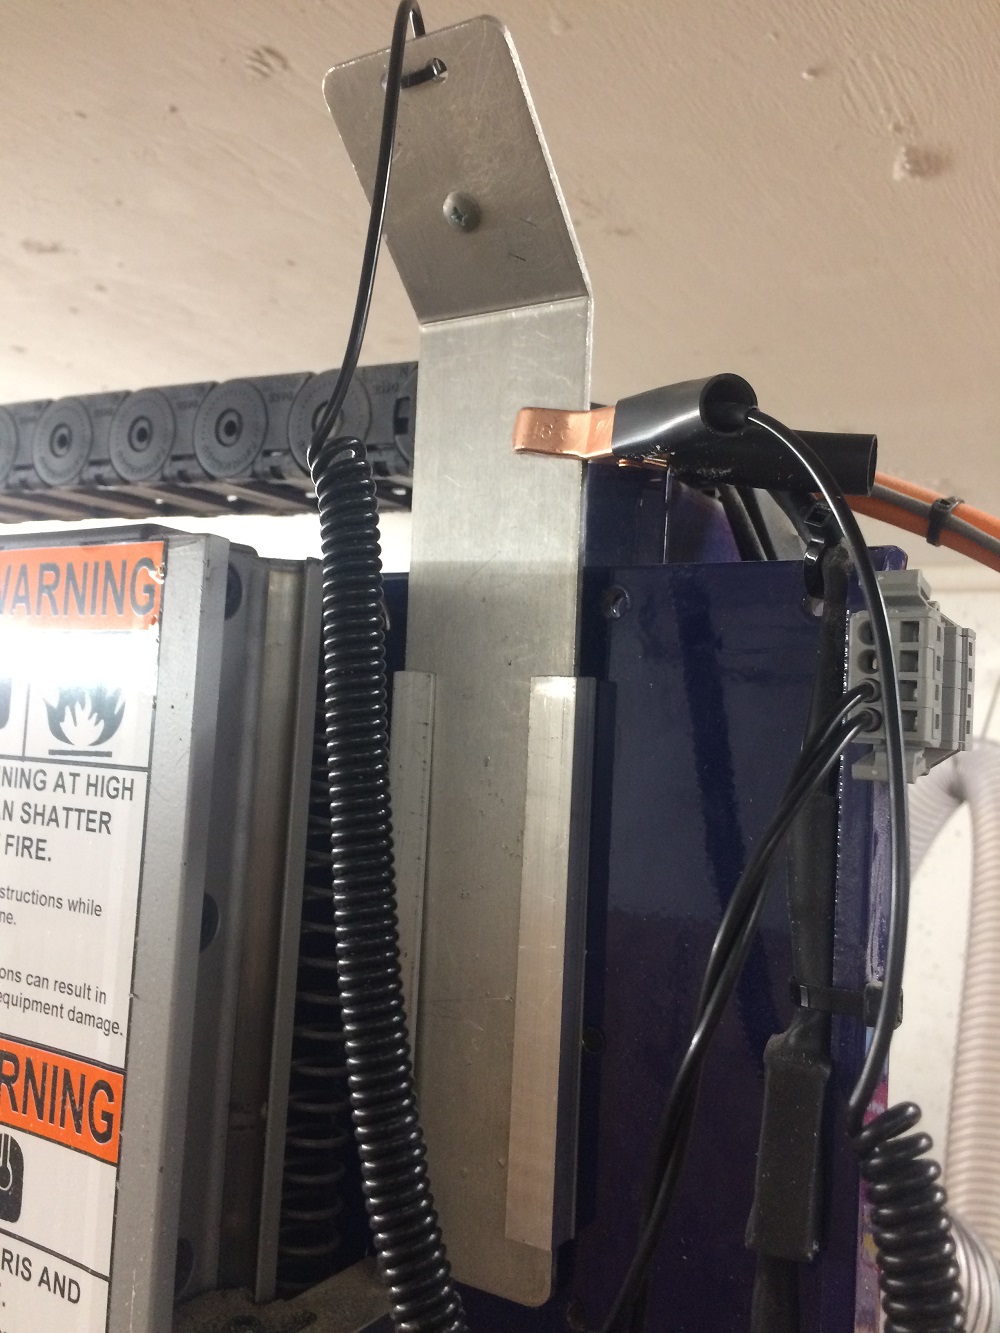
with a cool silver plate (picture below). We put it on the material (no pictures, sorry) and then the machine goes lower and lower as it waits for a closed electrical loop between the machine and the spindle.
-
With a thin piece of vinyl. We lower the z-axis by 0.005” every step, and wait until the vinyl piece can no longer be moved.
- Run machine - but check spindle is rotating! The motor that operates the spindle is completely separate from the motor that moves it around. “Luckily”, someone else in the class made that mistake before I did, and so I paid extra attention to it. Actually, when you start the cutting, a dialog box appears to ensure you pay attention to it:
Shopbot at work!
Here’s a video of the ShopBot at work:
Post-cutting
Here are photos of the piece with the legs, and the other parts (plate and bottom holders):
Assembly
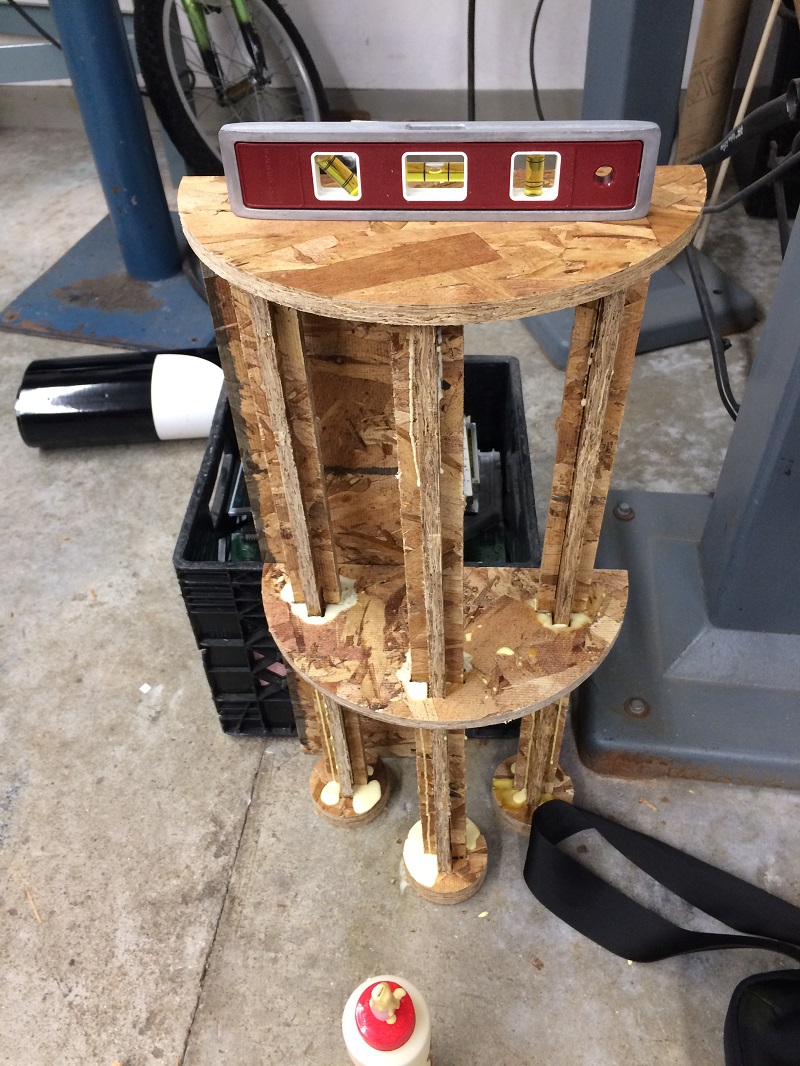
Special care was given to leveling the top; this could be quite tricky. The design with 3 legs ensures stability, but doesn’t ensure leveling. Here are some pictures of the gluing / assembly process:
24 hours and some dry glue later (the glue can be easily sanded off), here’s the result!
Vinyl cutter
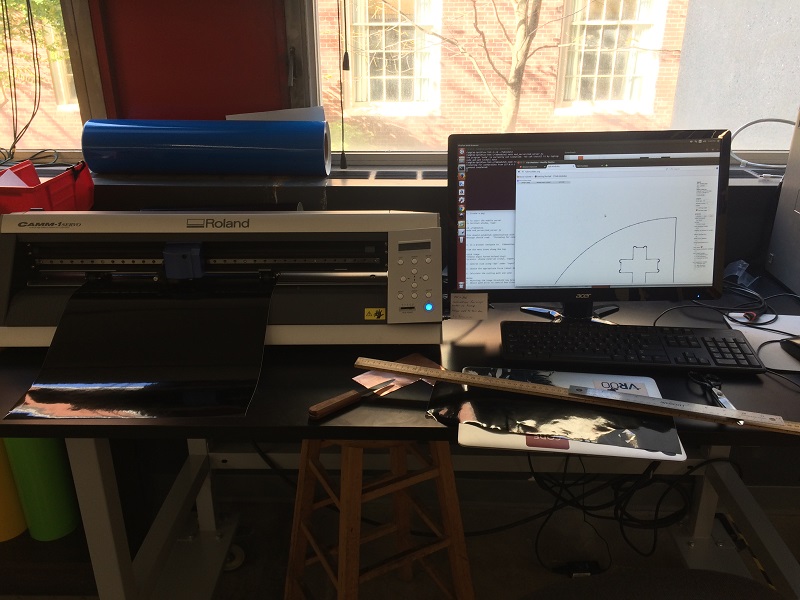
The bare wood was a bit too much, and since I already had the vector images made-to-size, I went upstairs to the vinyl cutter and cut a nice piece of white top for the table. The picture below is from one attempt I made with black vinyl before switching to white. At first, I also made a mistake here with a wrong dpi definition that printed a sticker that was too small.
Masterpiece
Here’s the result:


