Week Eight: Molding and Casting
Make your own Machu Picchu!
Background
Our assignment this week was to design a mold, machine it, and cast it.
Design
I really enjoyed my productive visit with my classmates at HBS to Peru. I decided to make small models of Machu Picchu for this week’s assignment.
Inspiration:
Terrain2stl
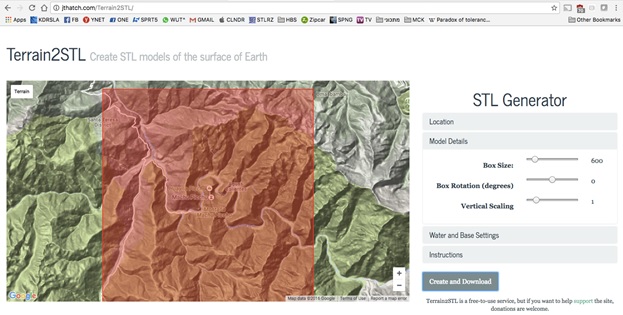
Terrain2STL is a really cool website that creates meshes from terrain. So I first went on the website, located Machu Picchu, and saved it as an STL file:
Rhino
The next step was importing my STL file to Rhino. Here I manipulated it a bit: Resized it, scaled the Z-axis to make it a bit more impressive (haha), but most importantly - ran the “ReduceMesh” command. Since the STL was made of over 90k polygons this made it cumbersome and problematic to continue. The ReduceMesh command (to about 50k polygons) made sure things run faster in the products ahead.
I also made a small box - the exact size of the wax piece (we’ll get to that later) to avoid having to resize my model later on.
Part 1 - Positive Wax Model
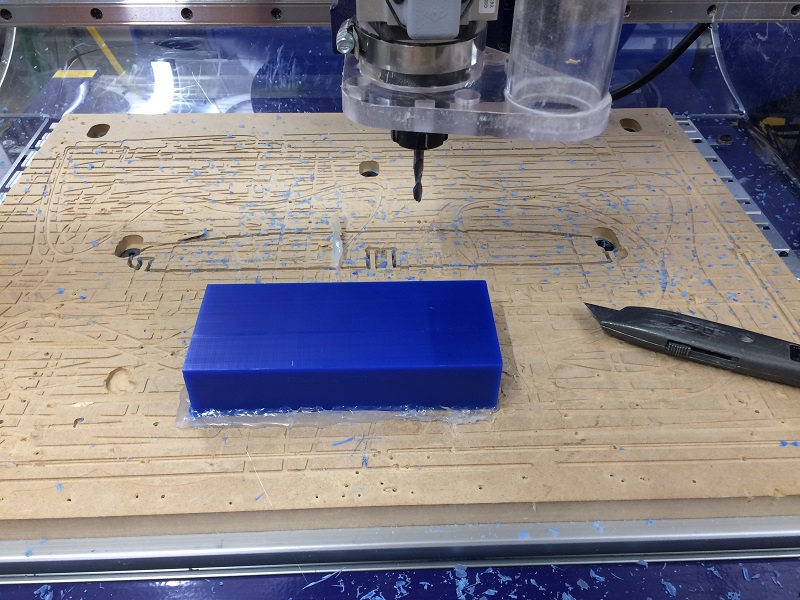
In this part we machine the final product inside our big wax brick:
As a first step, we import the 3d piece to PartWorks 3d:
And plan 3 distinct cut traces:
- Rough Cut:
This cut determines the general shape of the model. It is not as fine-detailed as the finishing cut, but removes the most wax. The separation between both cuts is imperative because we remove excess wax and leave room for manipulation of the spindle. I chose an 1/8th inch end mill.
- Finishing Cut:
This cut does the more delicate details of the terrain. I chose an 1/8th inch ball nose.
- Cut-out toolpath:
This cut leaves room outside the model for the mold to fit, so that when we cast the drystone it will not pour to the side (the pictures tell this better than what I can explain).
A movie is best here - after defining all the cuts, the nice simulation shows us what should happen in the ShopBot (this video doesn’t include the Cut-out toolpath):
The final product for this step is our first Positive, the wax model:
Part 2 - Negative Oomoo Mold
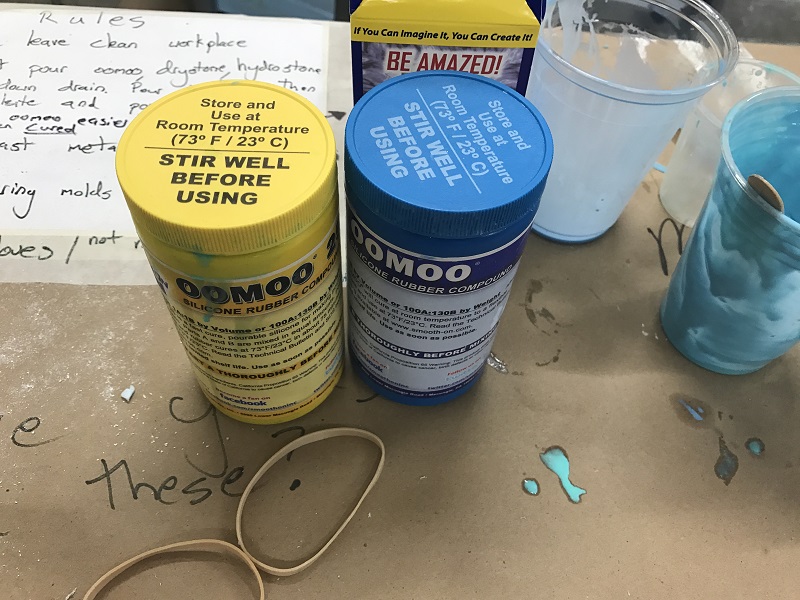
Oomoo is a really cool silicone-rubber-like product. It works like epoxy - there is a part A and a part B, and the chemical reaction will not happen unless they are mixed together in equal amounts. Unlike epoxy, however, the reaction takes about 24 hours.
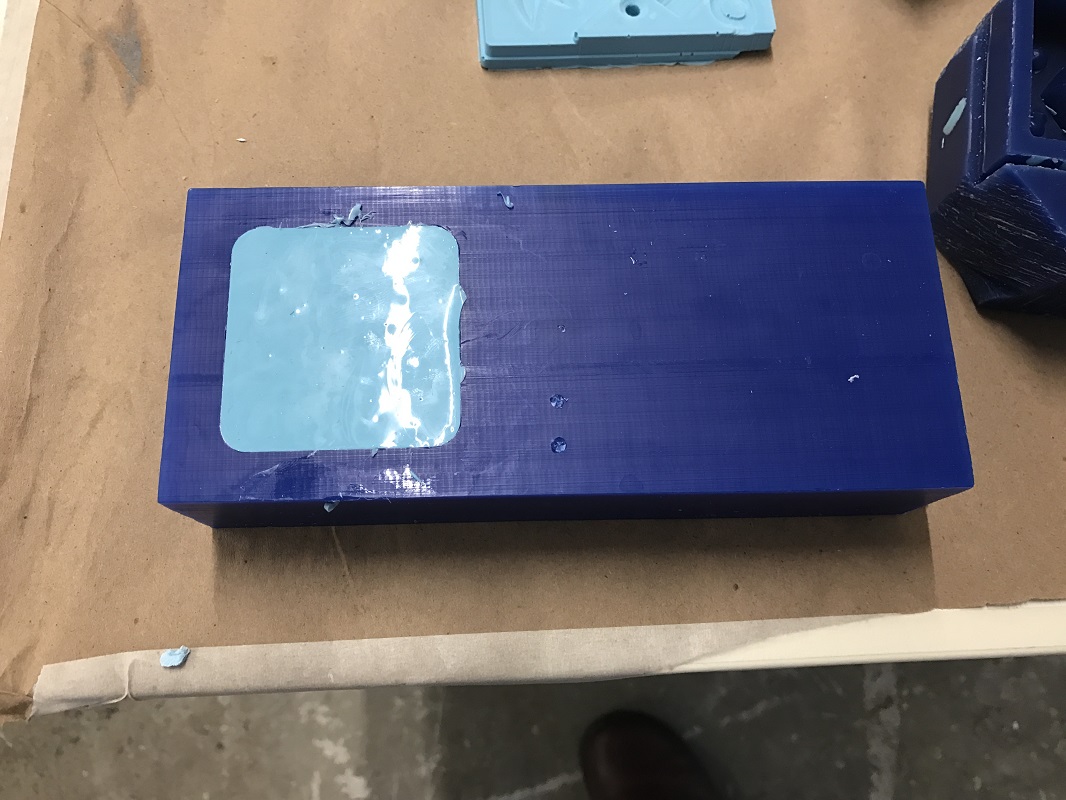
As a first step I put water inside the wax model to measure how much Oomoo I needed. ONE BIG MISTAKE I made here was not drying the model properly after doing so - a huge chunk of water was left on my model when I poured the Oomoo inside (we’ll see photos soon). Another thing one should pay attention to is not creating bubbles while pouring the Oomoo; this should be done slowly and with care.
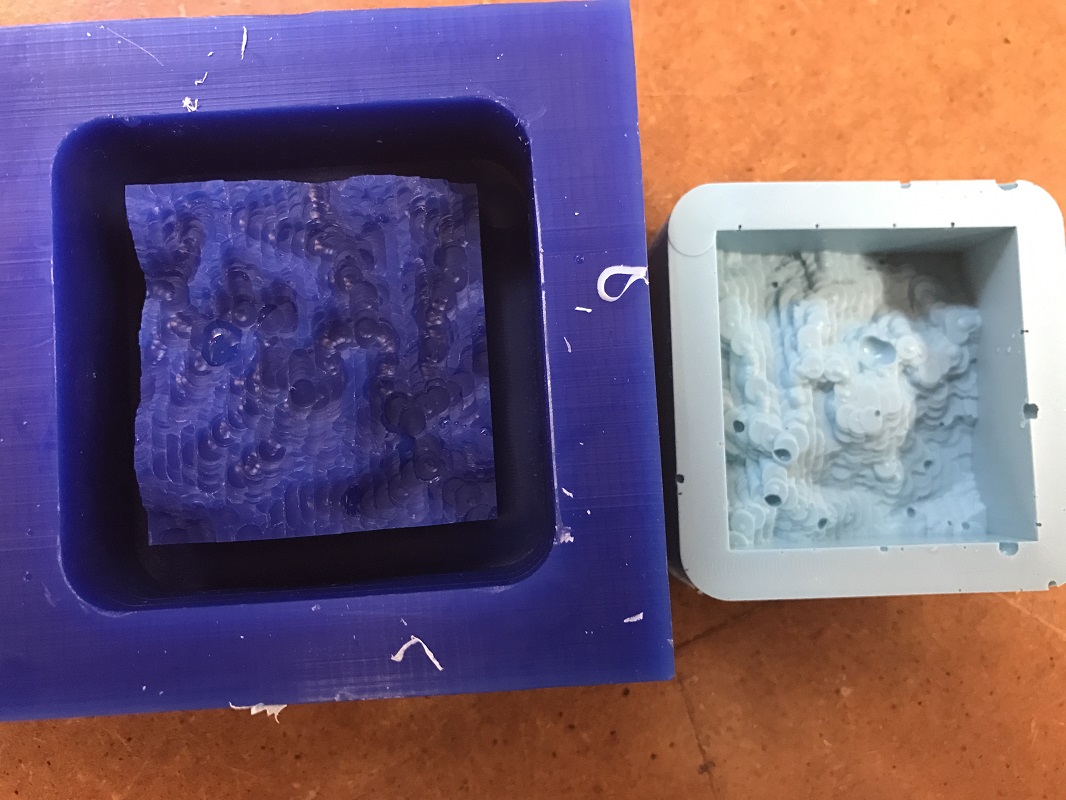
24 hours later, the Oomoo is now dry and can be removed from the wax positive. Look at the bubbles, and the big drop of water I found! FAIL.
We now have a mold! Look at the walls - that’s what the cut-out toolpath was good for.
Part 3 - Positives using drystone
Now that we have a mold, we use a mixture of water and drystone powder, and cast it inside the mold. After 30 minutes we can get a copy of our model, and do this as many times as we want!
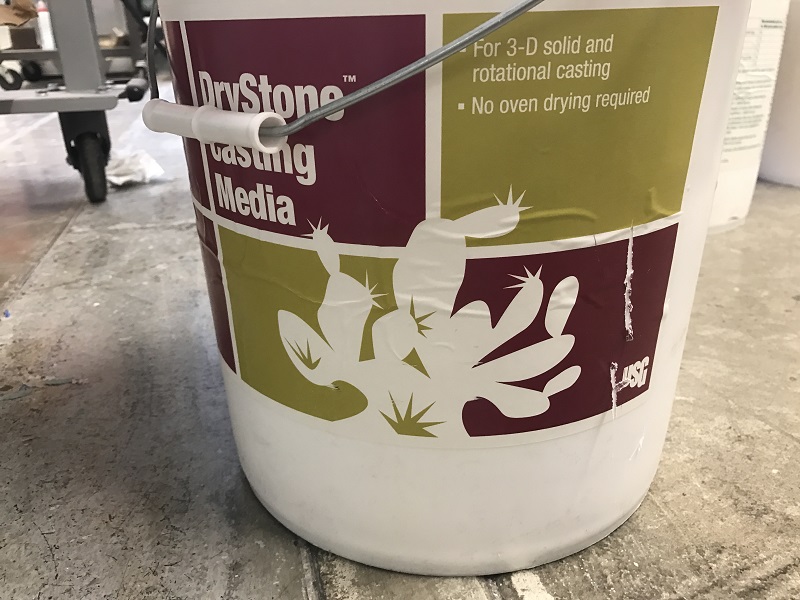
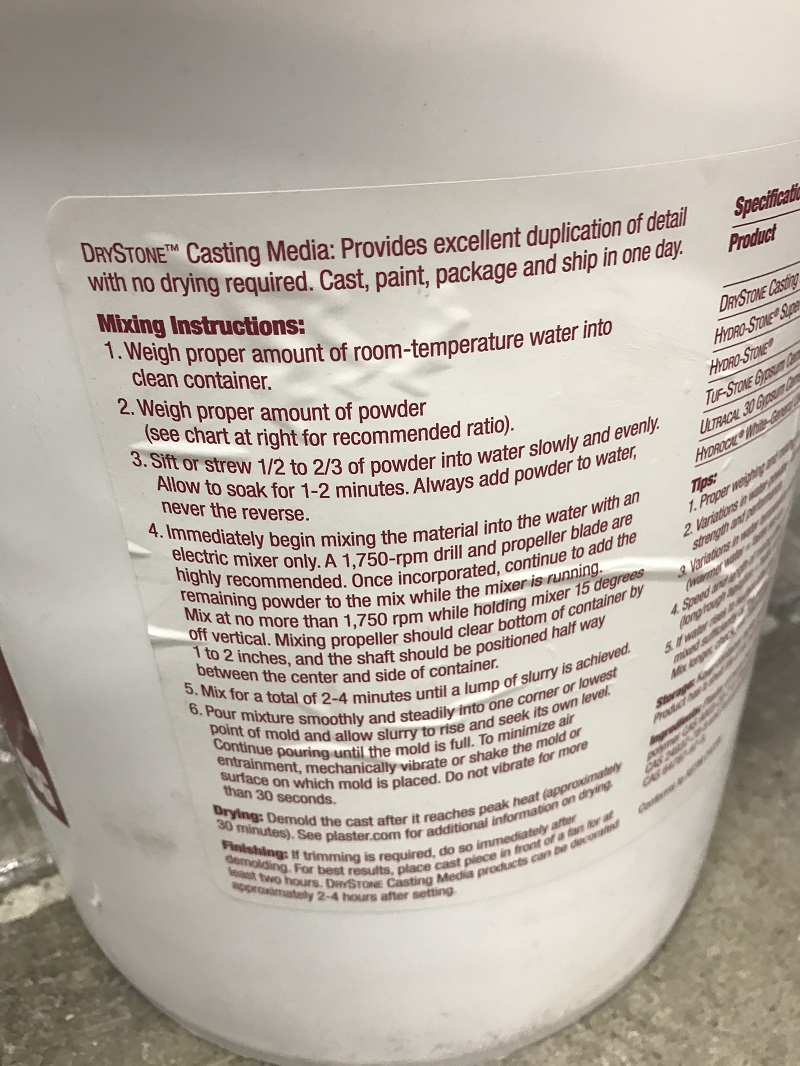
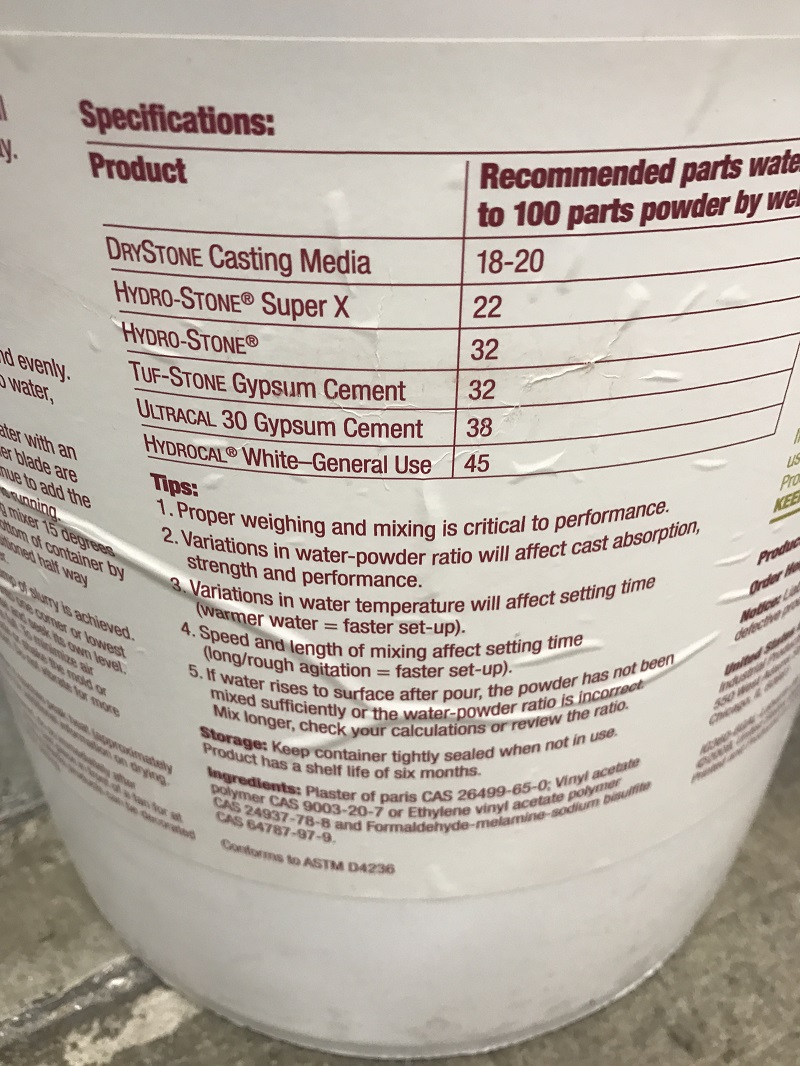
Here are some photos of the drystone material, alongside instructions (I mixed the material with my hands… was perfectly fine) and required water-powder ratios:
The key to make the perfect mixture is to weigh precisely the water-poweder ratio, as I did (I chose a 1:20 ratio):
(Prior to weighing, I zeroed the weight with an empty cup).
The texture of the mixture, when ready - for those of us who cook - should feel like pancake batter; gooey and not fully liquid, with no lumps. It was hard for me to get a “feeling” the first time, but after that it was easier. I added a bit of powder or a (tiny!) bit of water when necessary.
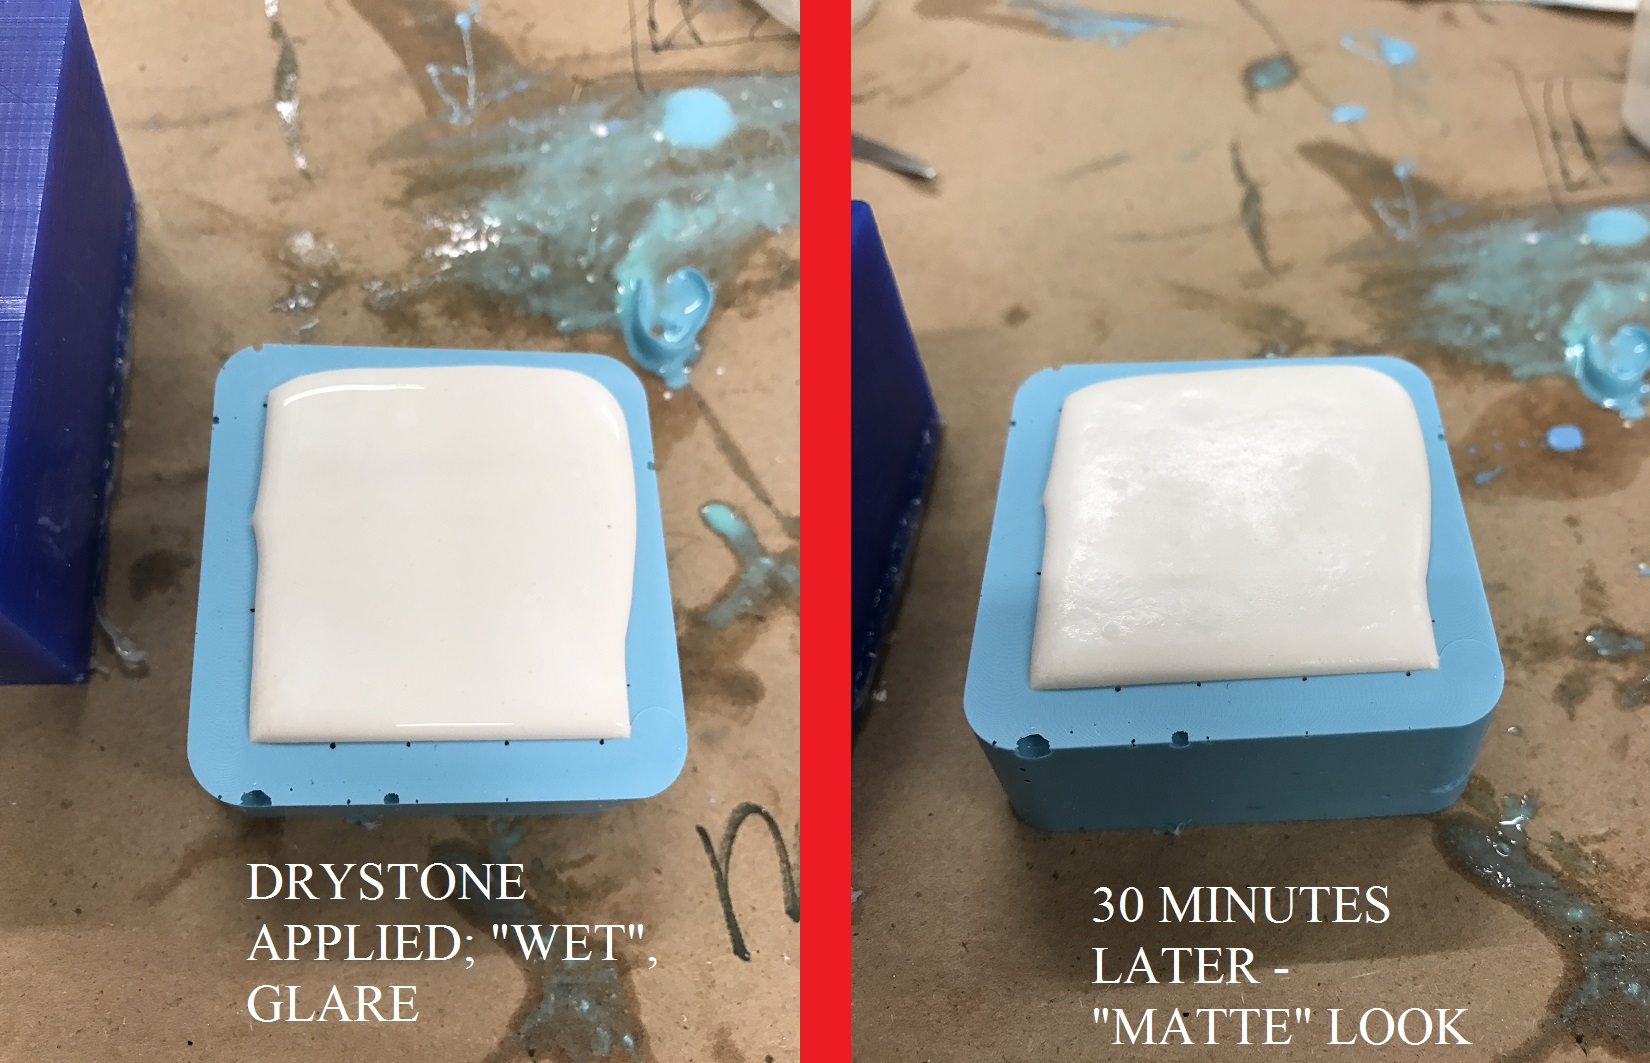
This process is very fast and takes about 30 minutes for the drystone to be strong enough to remove the mold. After about 1-2 hours, it is completely stiff. The best way for me to know when the drystone was dry enough, was to see when it loses its glare. Hopefully these two pictures show the difference:
Now we slowly remove the cast piece from the mold.
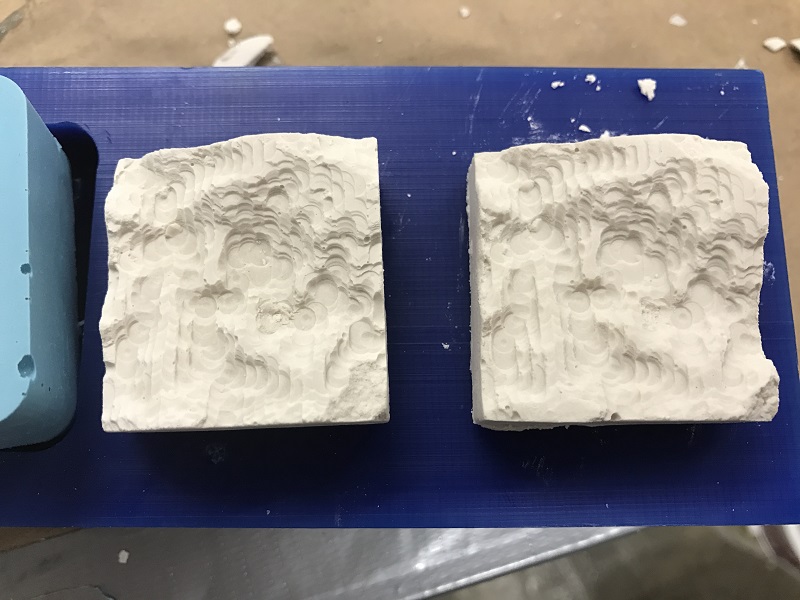
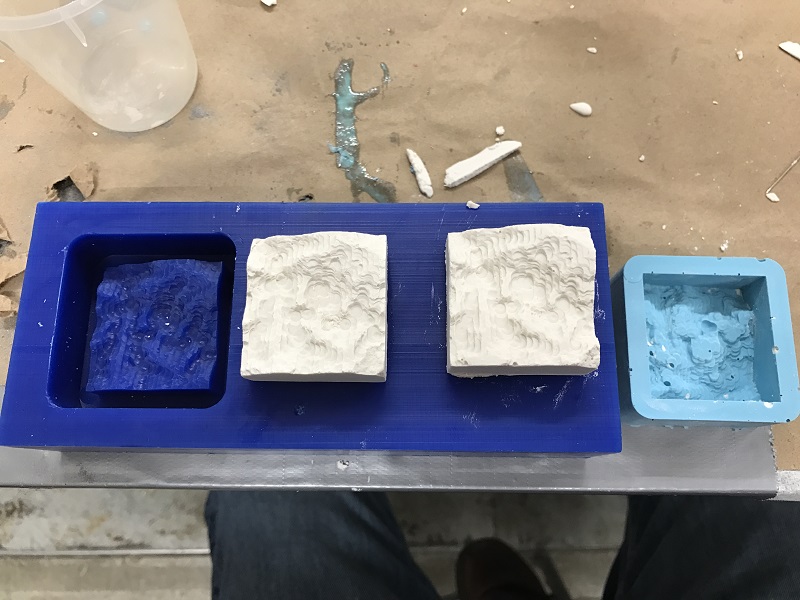
Final Product
I repeated the process twice. Here are some photos of the final product, and the product in all of its steps:


