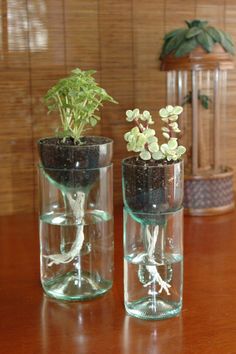
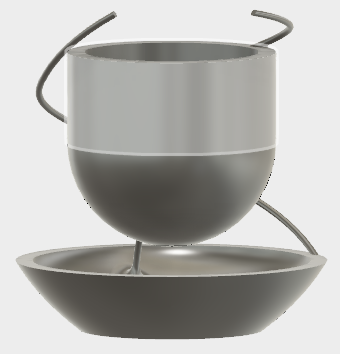
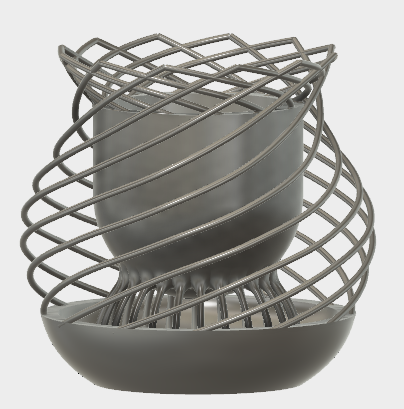
I recently found myself responsible for the growth and wellbeing of a basil plant and as per my forgetful nature the plant is not watered on a regular basis. As a result I am hoping to print a 'self-watering' vase. I began by perusing the internet for inspiration on the simple design of the vase - I decided to go with a basic structure of a base bowl to hold the water and an elevated vase for the plant, the water will be continually seeped up from the base bowl to the vase through cotton strings as shown on the right.
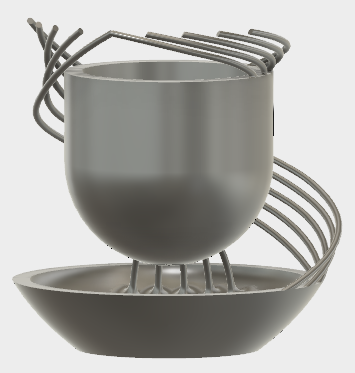
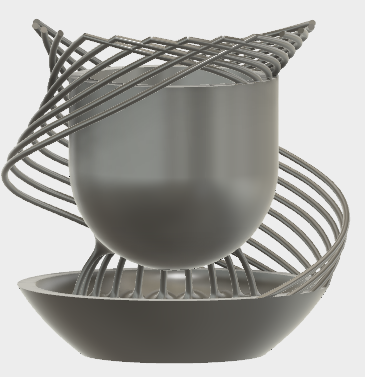
In order to make it only 3D printable - I have added an array of helical structure delineating the shape of the vase. After a bit of research online I found the 'loft tool' which has been wonderfully useful in making the helix. Once you have created several faces - the loft tool connects the faces in such a way that they become the cross section of the 'lofted' object.
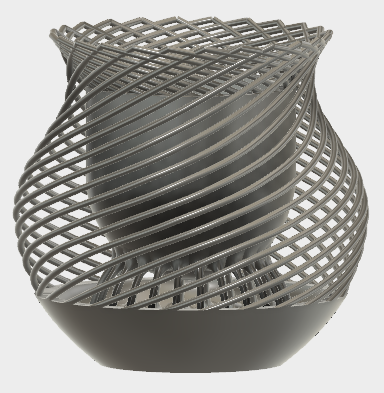
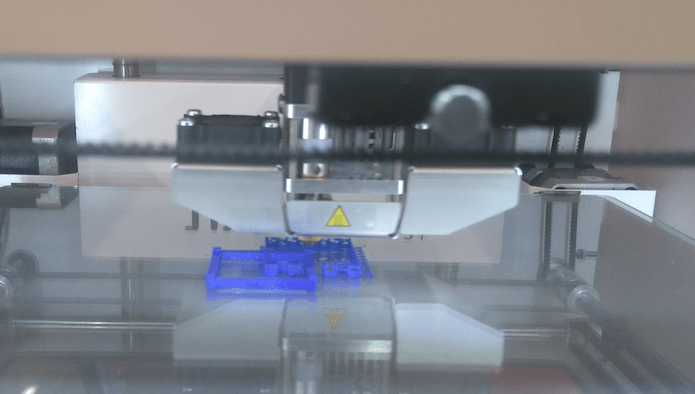
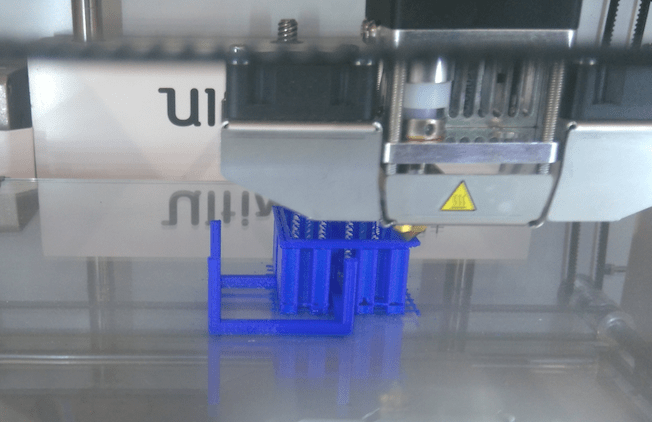
Print 1 Fail. My design overestimated the 3D printing capabilities. The size of the vase is too big to print in a reasonable span of time. If I scale down the print, the support structure is too dense to remove without destroying the vase. Here is a picture of my failed print with the Ultimaker.
I decreased the number of spirals - but print time is still too long. Back to the drawing board...
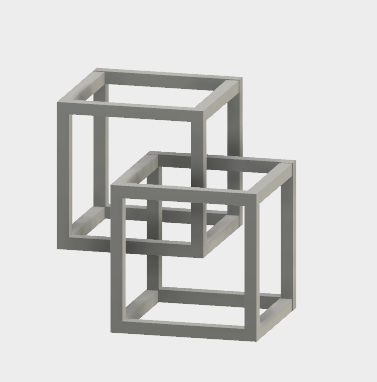
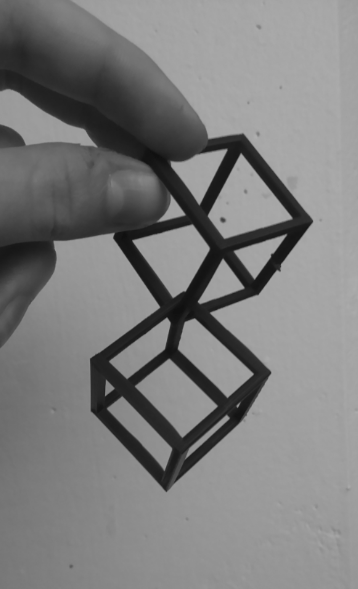
I am going to go simpler - I am going to make interlocked cubes. This time I am going to try the Ultimaker again. Note - make sure that the filament bobbin is not stuck.
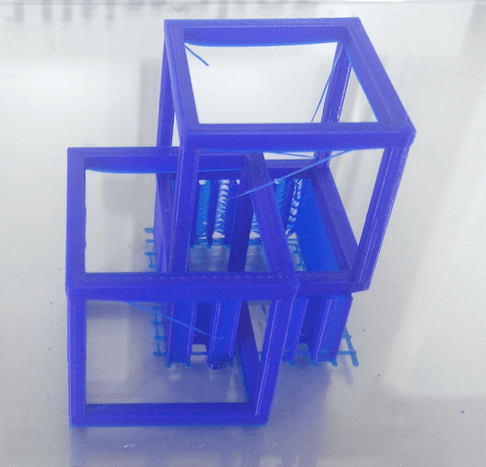
I forgot to add structural support - the print is successful, but the sections of the cube in midair droop a little.
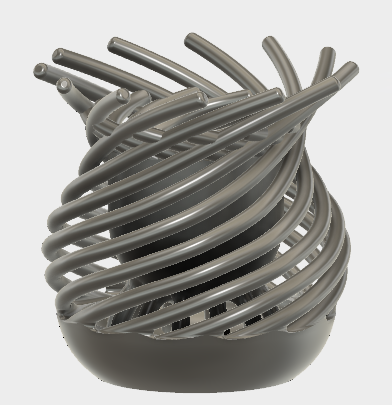
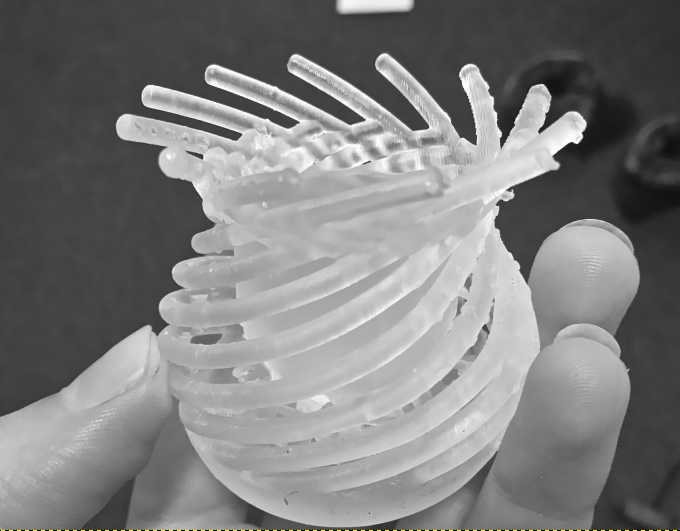
After a good night sleep I am rejuvinated enough to attempt the vase again. In the new design I have reduced the number of spirals and increased their diameter. I have decided to use the formlabs printer. Tips for using resin printer:
1) Take Care to chose an orientation that minimizes the cross-sectional area for each layer. The reason for this is that when each layer is cured it both 'sticks' to the layer that preceeded it as well as against the base tray that holds the resin, therefore if the layer has a large crossectional area its adhesion to the tray may be enough to pull it off the stage that is pulling it up. Usually default orientation works well.
2) The support structures will help with the structural integrity of the print, but they can also be quite difficult to remove - be mindful of this when designing and orienting object.