My room is in serious need of a table! I love to cook for friends - but usually we just congregate in the Junior Common Room to eat :( AND SO… I am going to try make a table – first using the OSB and then if it works I will get myself some furniture grade wood! Yeah
I have been pondering the idea of a self-supporting table. This means that the legs are interlocked in such a way to use the concept of torque to our advantage – the weight of the table keeps the legs interlocked so there no need for glue of screws.
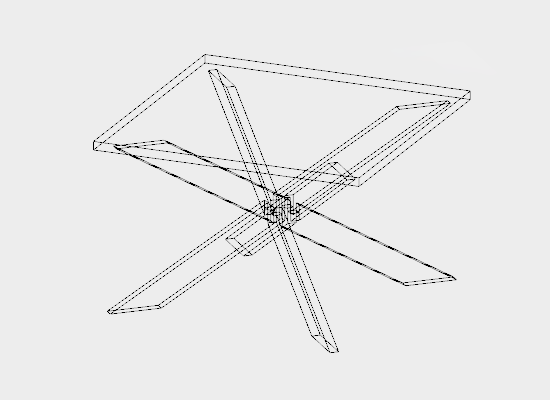
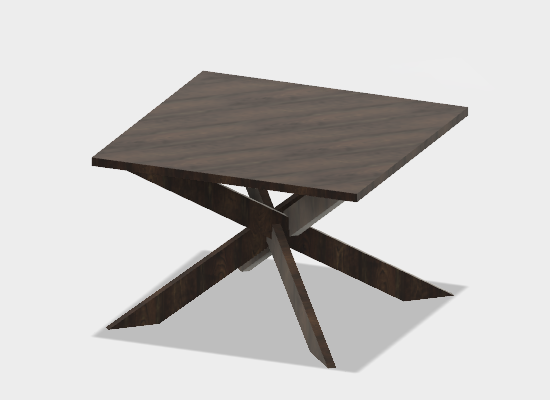
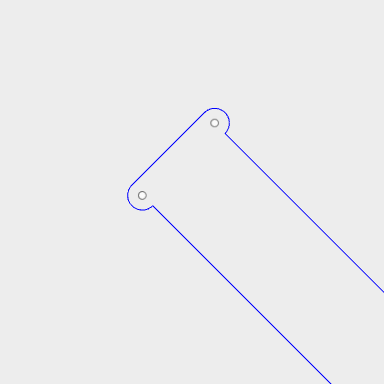
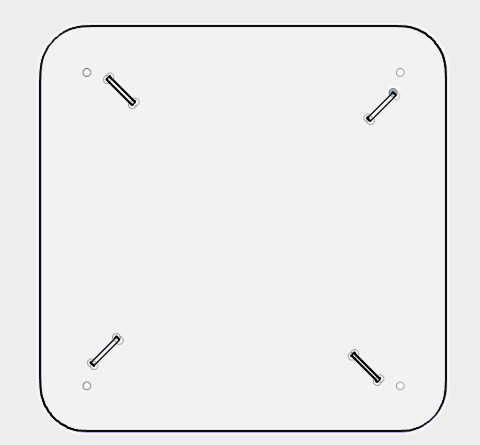
Here is the first draft of a model I have been working on.
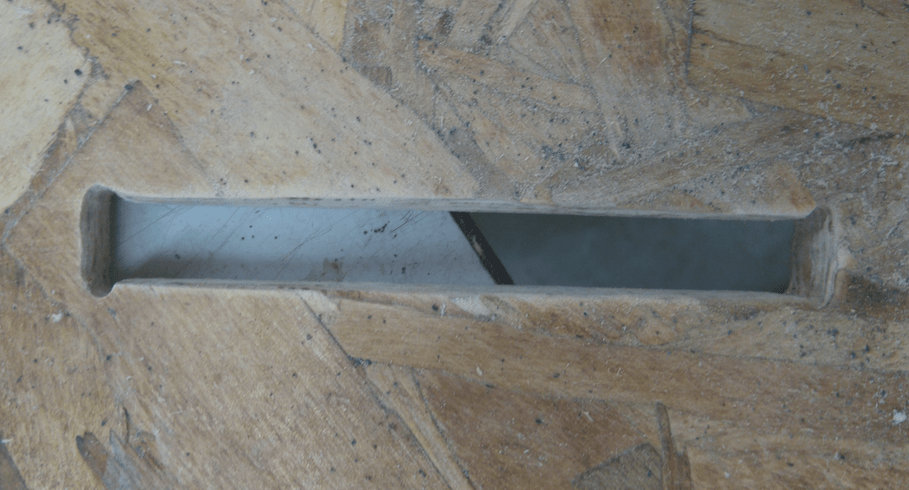
Things to bear in mind when creating the 2D cut path:
1) As the drill is circular in shape – I will not be able to cut fine corners unless I put in some notches in the corner as shown below.
2) Each part should have a clearance of at least the diameter of the drill bit from the next part.
If creating a press-fit model make sure you have measured the width of the wood – DO NOT take the given width as true – measure it!
Tips on creating 2D drill path in fusion360:
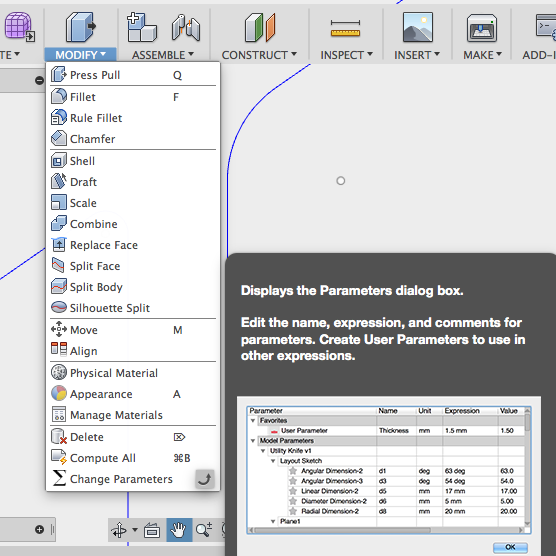
1) Use the Modify -> Change parameters option to add parameters onto a library – this will allow you to make to design parametric.
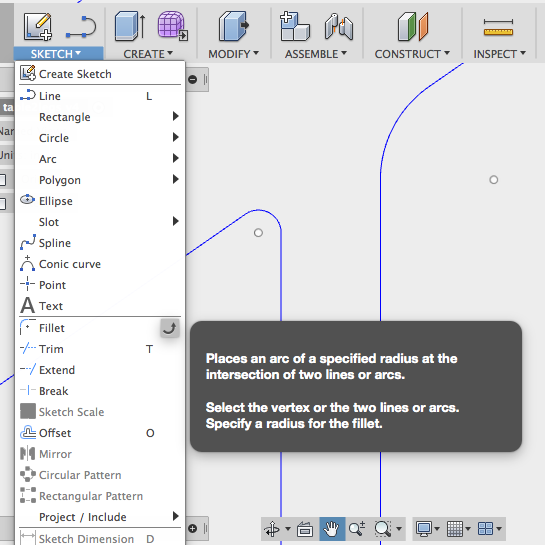
2) I found the fillet tool in the sketch tab extremely useful with making my press-fit slots rounded at the edge for a better fit.
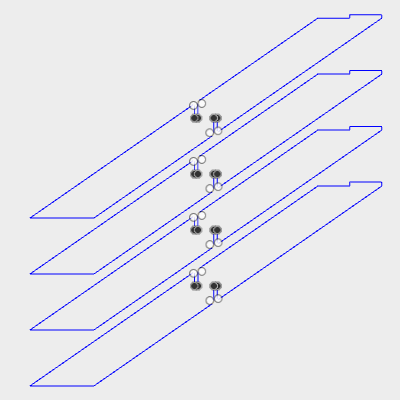
Here is the design for the table-legs and table-top.
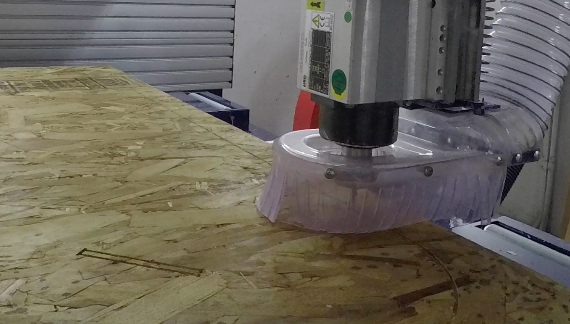
SHOPBOT TIME!!!
1) First screw on the board - place screws in places that do not obstruct drilling path

2) Zero the x and y using the control panel.
3) Do an Air Run - Zero the z above the surface of the board about 2 inches, CLOSE CONTROL PANEL, then run the cut with the spindle off - check that the cut is on the surface of the board and that the screws are not in drill path.

4) Once satisfied with the air run: Open the Spindle Control Window: It is on the tools drop down menu, zero the z with the zeroing plate - the program that zeroes z is found under cuts drop down menu. Start the cut.
Tabletop.
Tablelegs.

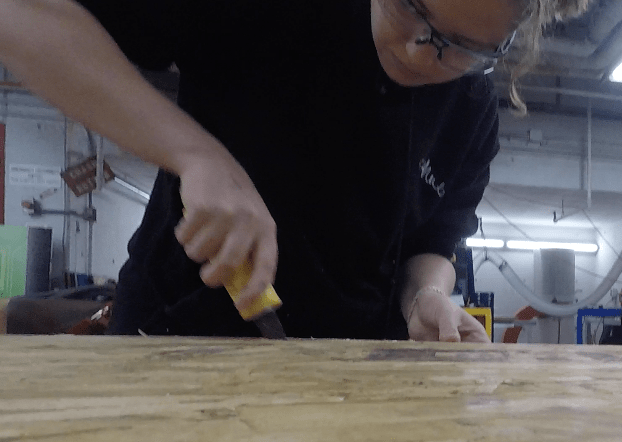
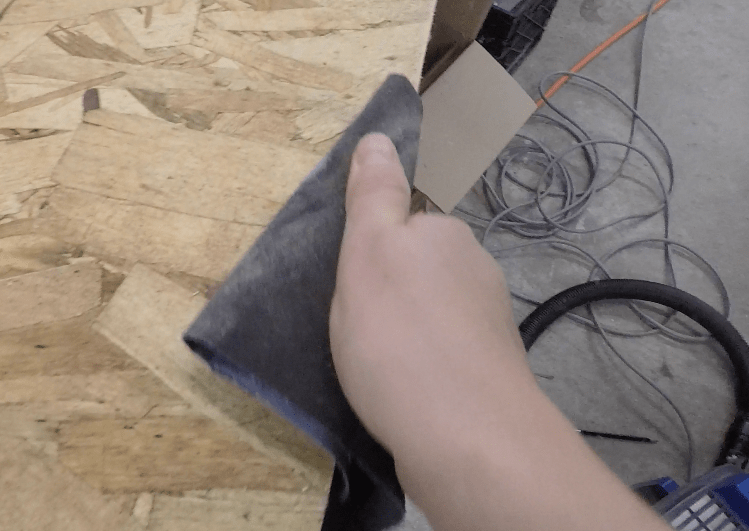
Soon after the cutting was done I realised that I had some fundamental mistakes in the design:
1)The slots were made exactly 7/16 of an inch wide which is slightly too narrow - Solution: sandpaper and lots of it.
2)The design as it is does not slot together completely without cutting away some material - the planks of wood are too wide for all four to fit together at once.
3) The cut was not deep enough to easily remove the wood pieces from the excess.
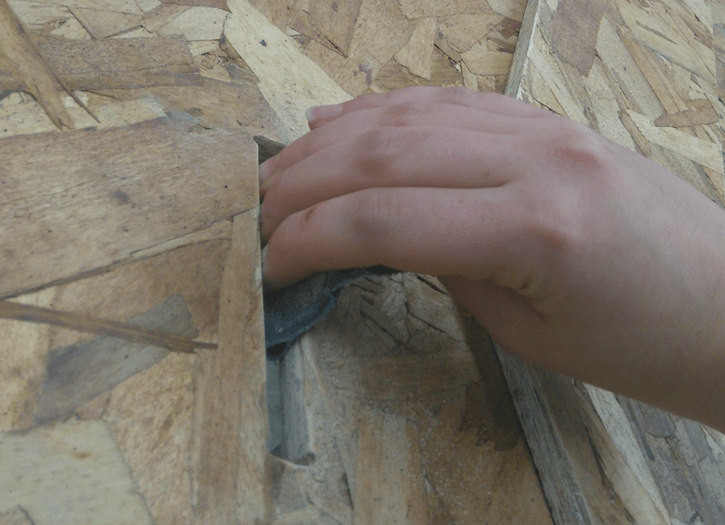
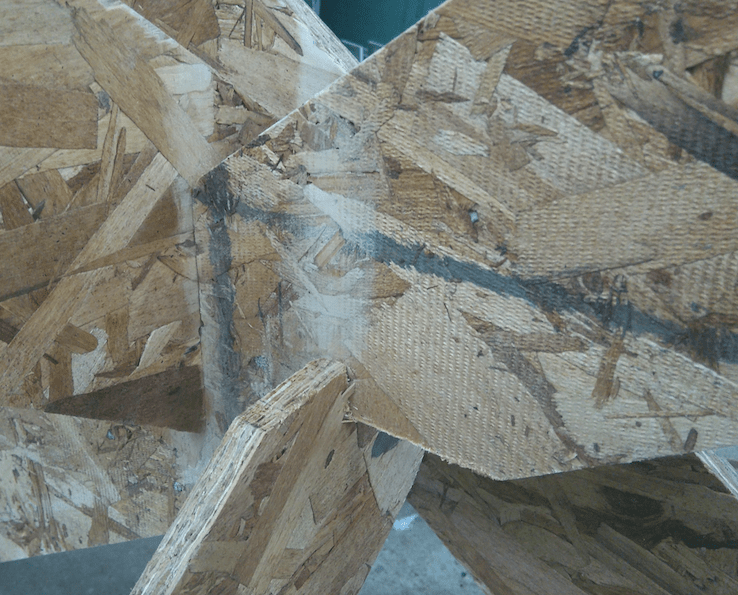
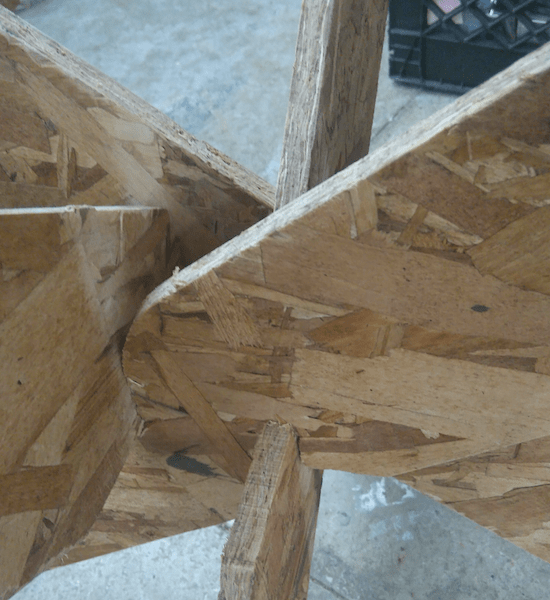
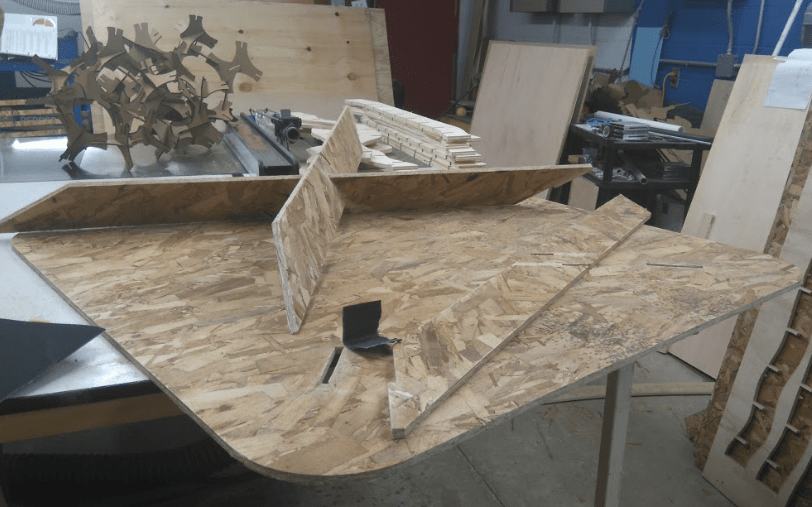
As I began to slot the pieces to gether it became quickly evident that I will need to cut away some of the corners by the slots so that I could get the last leg in place - Rob helped me out with the Band Saw - and after three itterations of cutting and fitting we finaly got it in place.
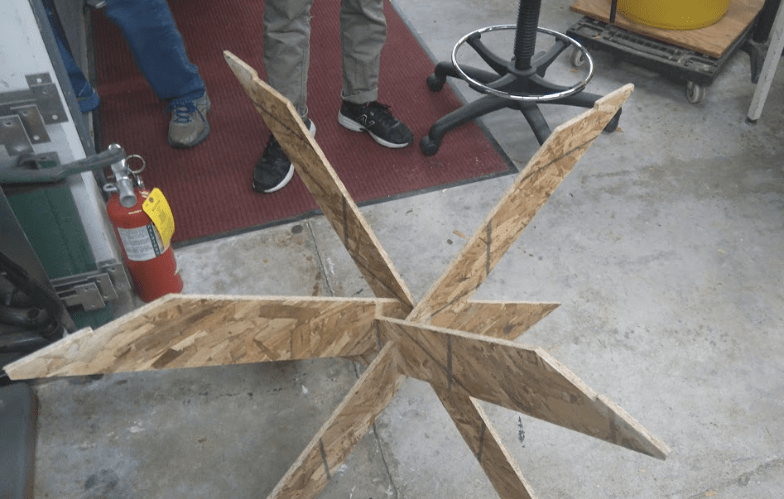
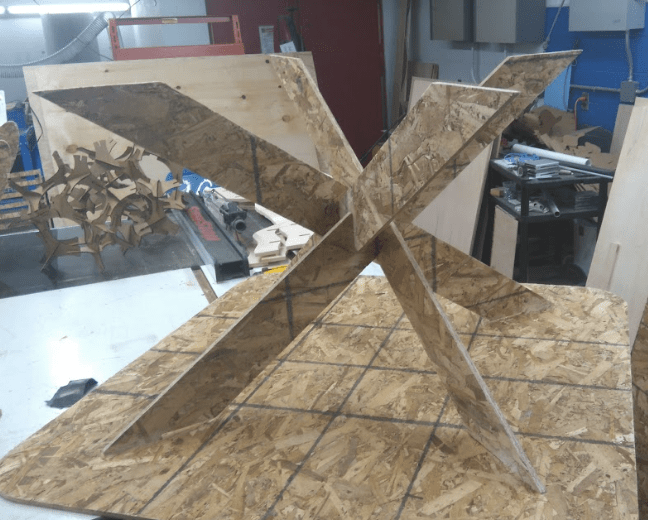
The interlock took a bit of a beating - but it is still standing strong!