During the training process for this week’s assignment I had an idea to mold and cast espresso cups – my mom and dad are avid coffee drinkers and love the occasional strong Italian espresso made in our original Italian stovetop Moka. After the training I mentioned my idea to one of the TFs and he gave me some great tips for molding and casting cups. So with my refueled inspiration, optimism and excitement for the new project I returned home and got straight to work!
My first stop for design inspiration was of course pinterest as well as google images – I came across some pretty intriguing ideas:
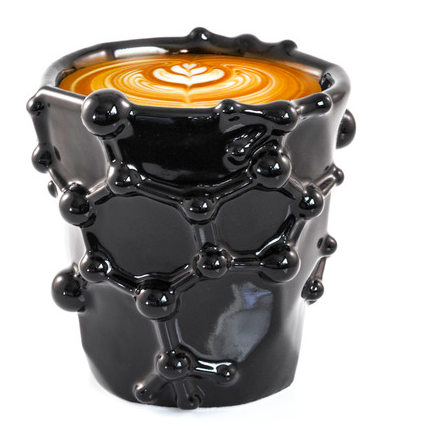
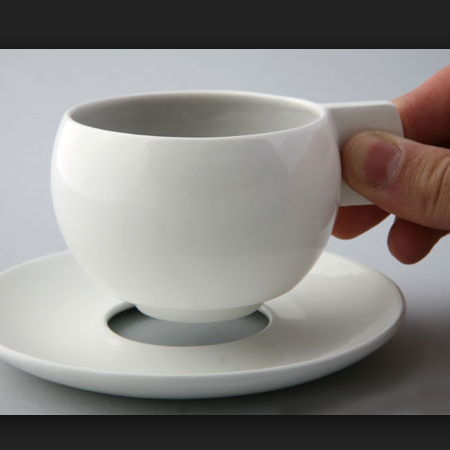
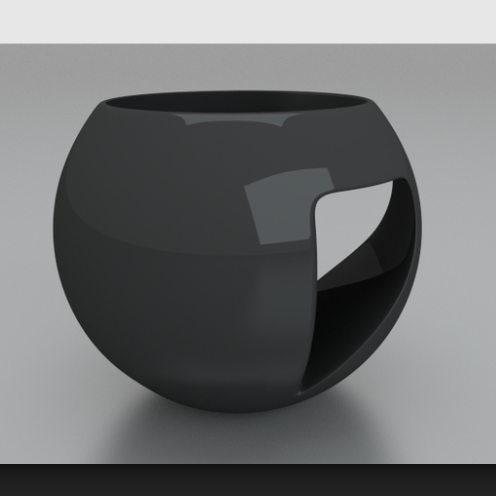
…I decided to go with the third option.
First stop – Fusion360. I began by making a 3D representation of the cup so that I could nail down the dimensions. According to the internet a typical espresso mug should hold 2oz of coffee – that translates to about 60 cubic Centre meters. I used dimensions that seemed correct for the volume needed and began to create the mug.
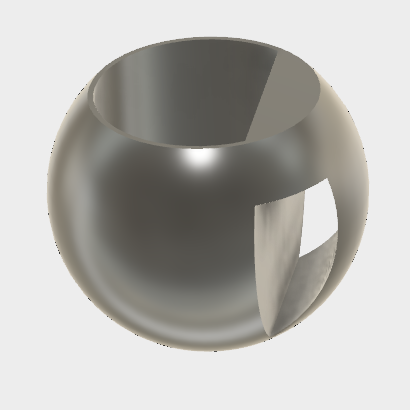
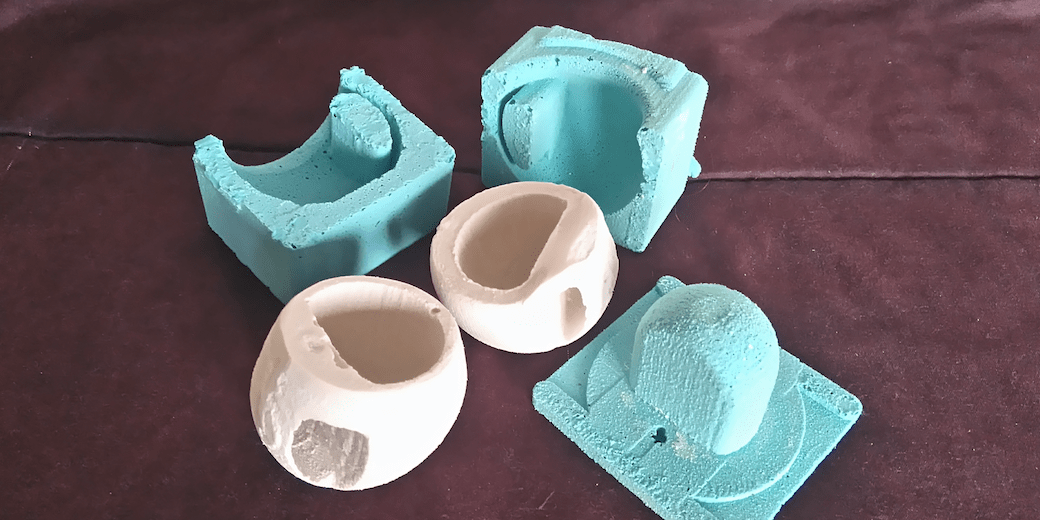
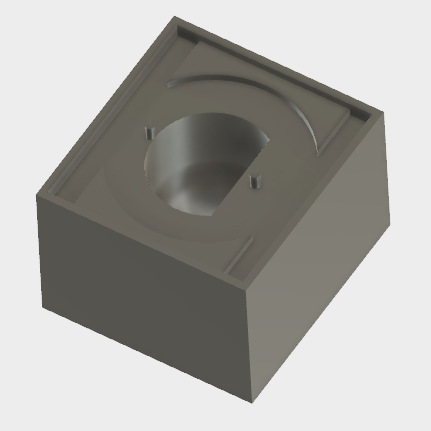
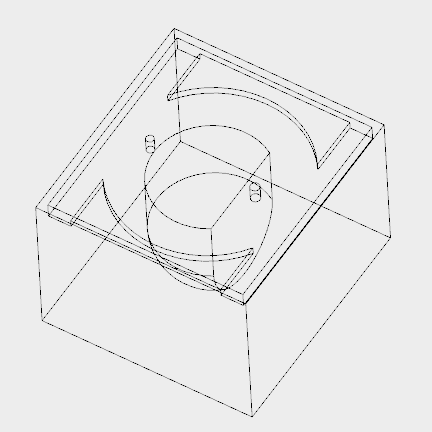
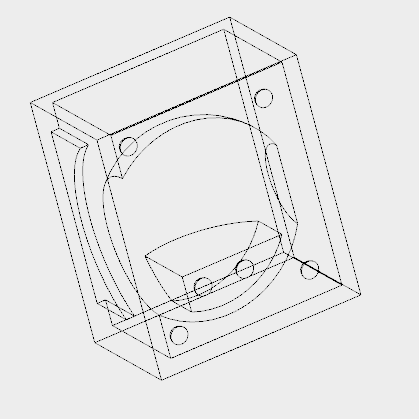
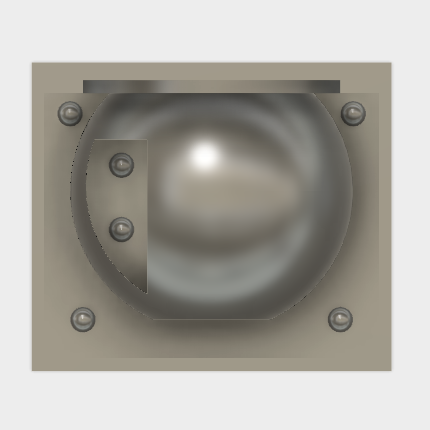
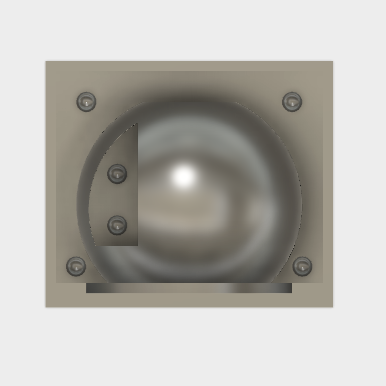
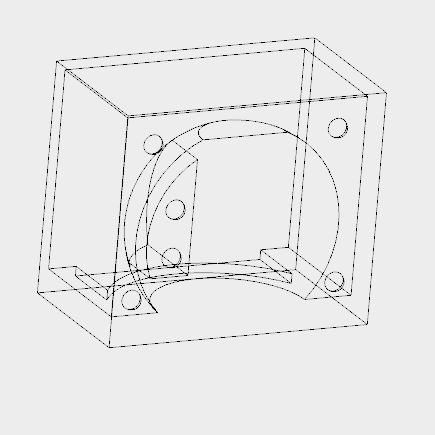
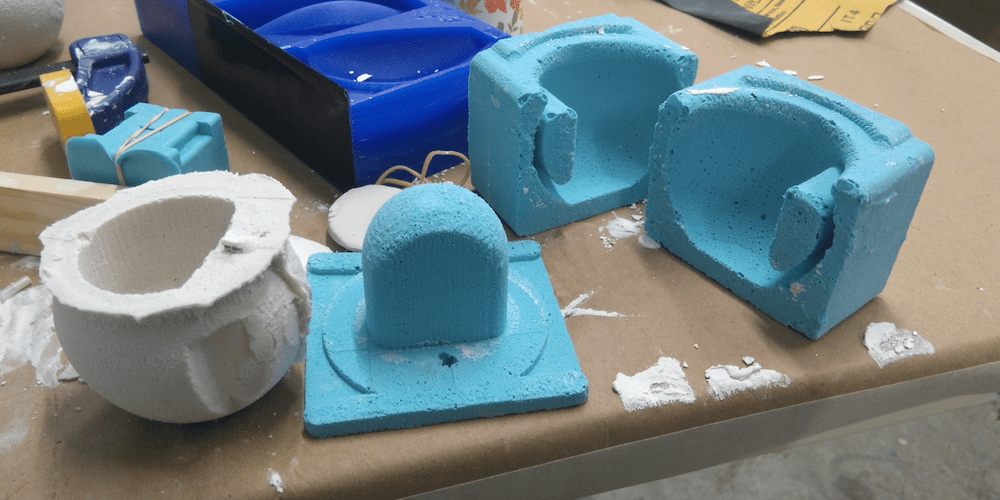
The design above served no other purpose except to give me an idea of dimensions for my 3-part mold. I decided to mill a molds out of foam in which I can cast other molds out of OOMOO in which I finally cast my mug. Here are the three mold designs:
Tips for 3D design in Fusion with a focus on creating molds:
1) Remember that the mill cannot mill undercuts – if your design has undercut features the mill will remove the overhanging features when trying to mill underneath – so to make sure you design has no undercuts view it from above – you should be able to see all sides of you mold – if there are any features hidden by others then that will cause problems.
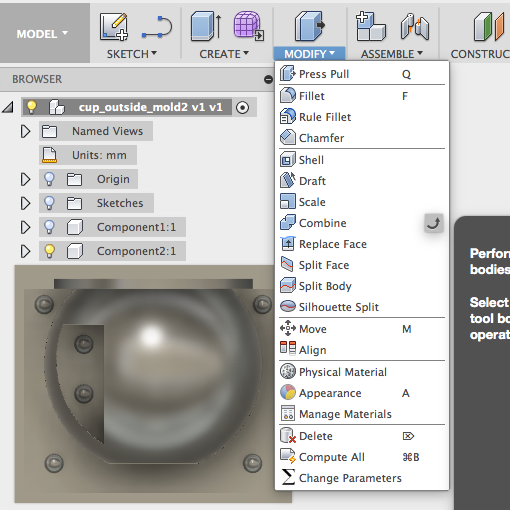
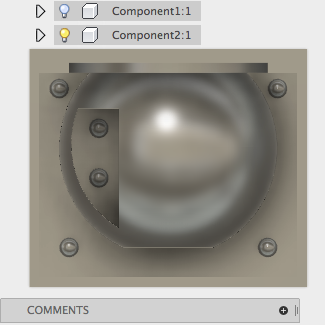
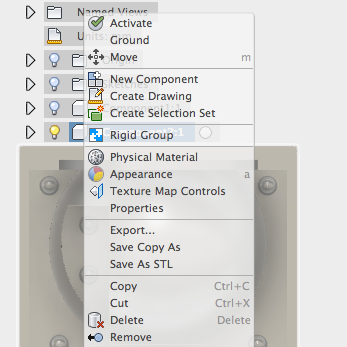
2) Exporting design to STL: make sure that all components of your design have been combined into one component – you can check this by hiding that component and if your whole design disappears then you have successfully combined your design. Then you can save as STL by right clicking on the merged component and clicking save as STL.
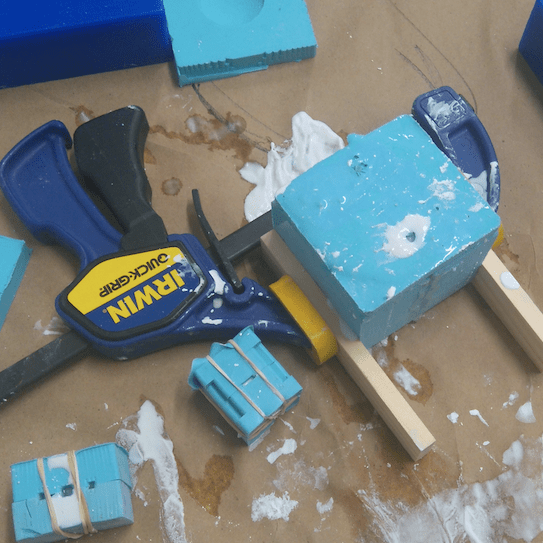
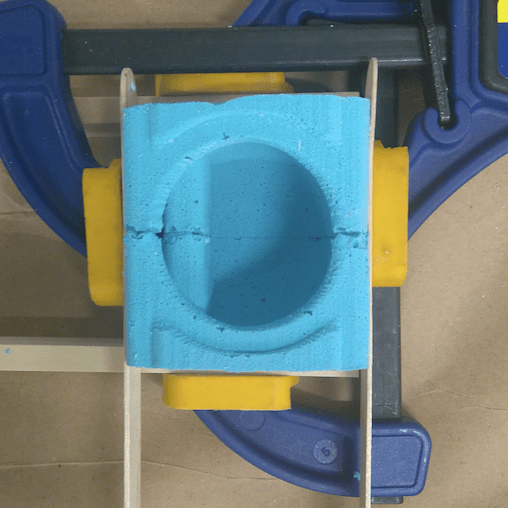
As the molds for my design are 14 x 15 x 10 cm each I am going to mill the molds out of foam instead of machinable wax. The foam slabs are 2 inches thick and so I will need to glue two together. The final dimensions of the foam slab used are 35 x 35 x 10.16 cm. Now for the milling….
I loaded my files into VCarvePro and proceeded through the steps of creating a file for the shopbot milling path. I initially decided to use the ½ inch mill because my design was about 10cm deep – but on my first cut the mill bit was not deep enough to comfortably reach the deepest cut. Ok plan B. Scale down the design by 50%! Luckly this can be done in the first step of the VCarvePro. Make sure that XYZ ratio is locked by checking the box and then decrease one of the dimensions of the design and all of the dimensions should decrease respectively. I swapped out the mill bit for a ¼ inch which comfortable gave me 5.5cm of milling depth. I restated the milling process: Here are some snapshots of the cuts –
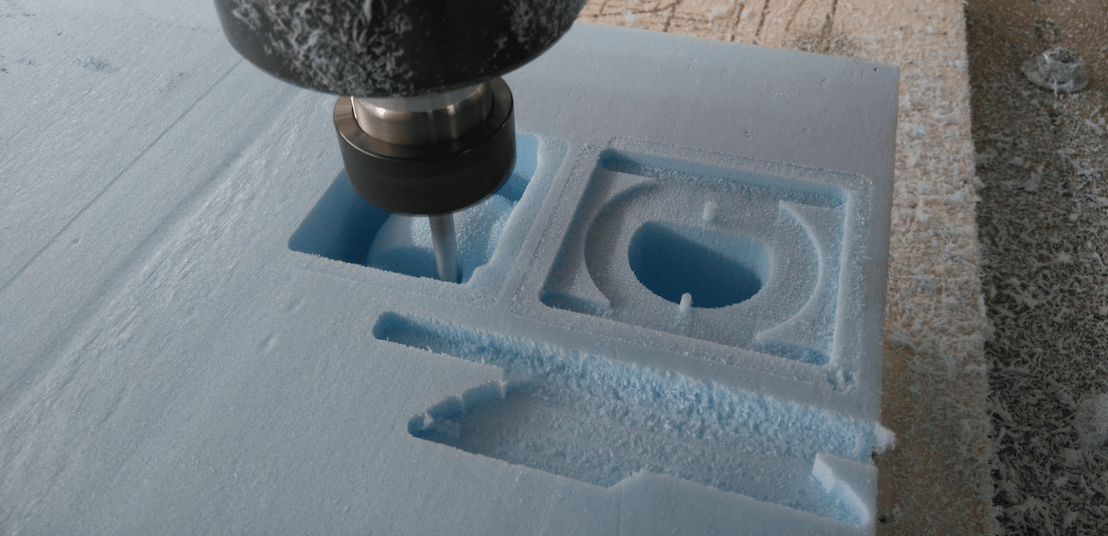
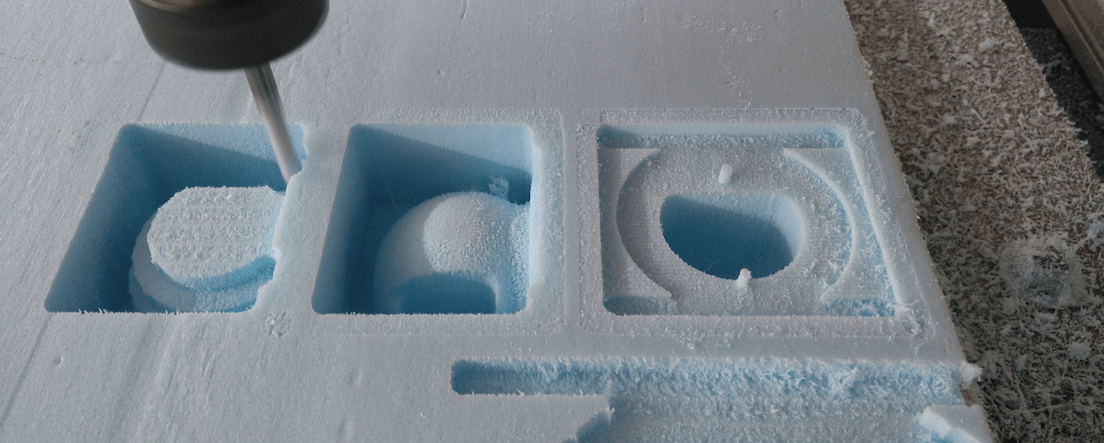
Note: Make sure that the mill you decide to use is long enough as well as narrow enough to reach all parts of the cut!
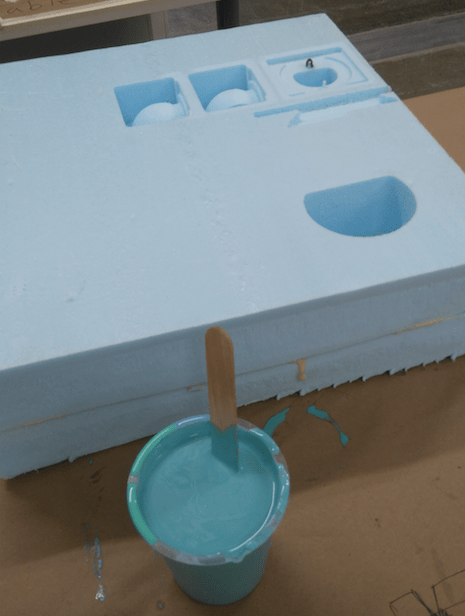
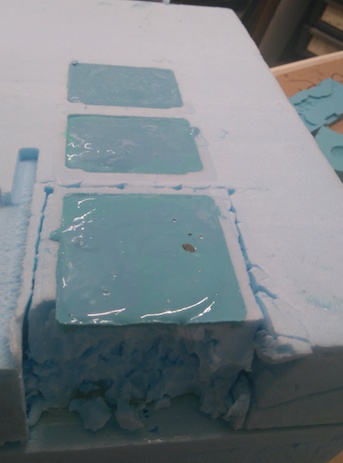
Now for the casting…
I mixed my oomoo which took quite a while because the volume I needed was relatively large.
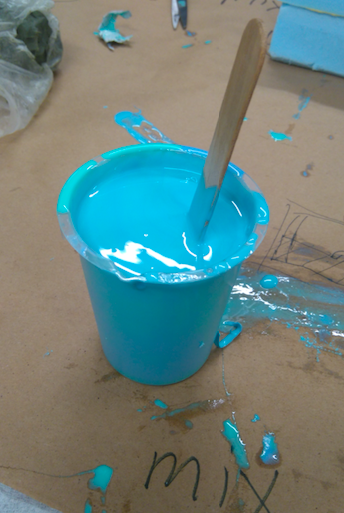
Pouring the oomoo without getting bubbles trapped is a technique I have yet to master… Now for some waiting…
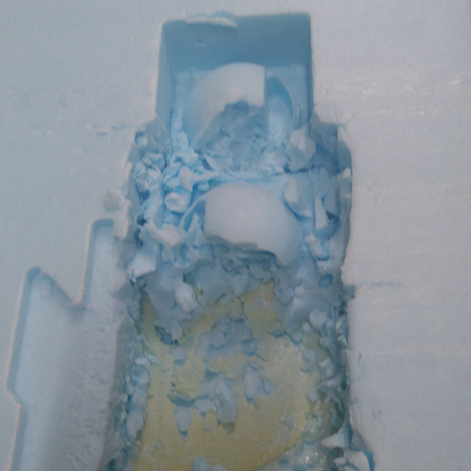
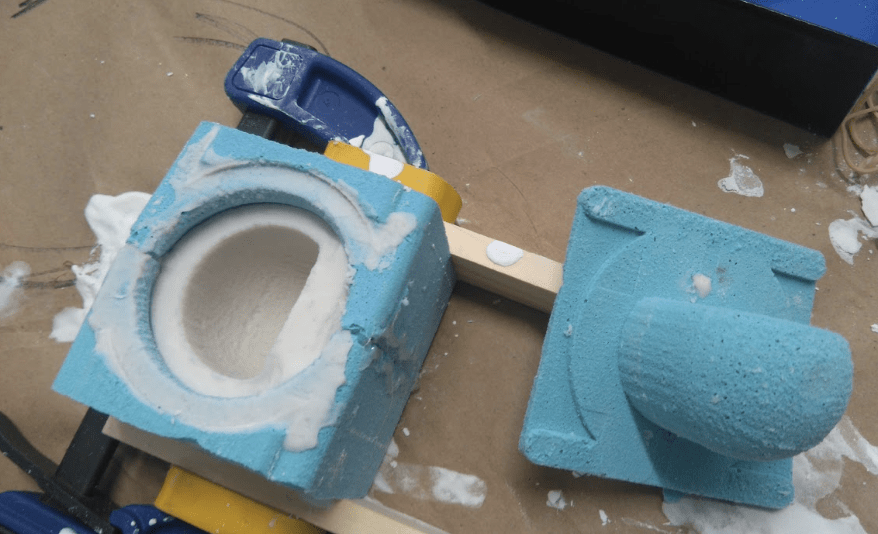
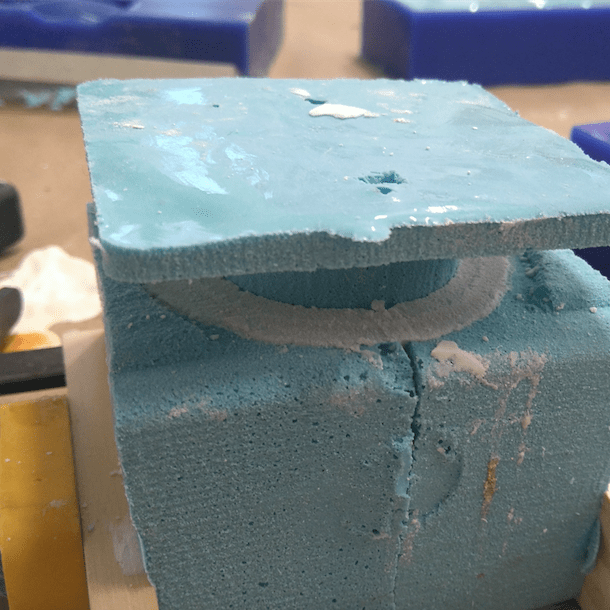
Oh my goodness I feared that this would be the case… the foam finish is too rough for the oomoo mold to come out – I am going to need to hack it out.
Still hacking
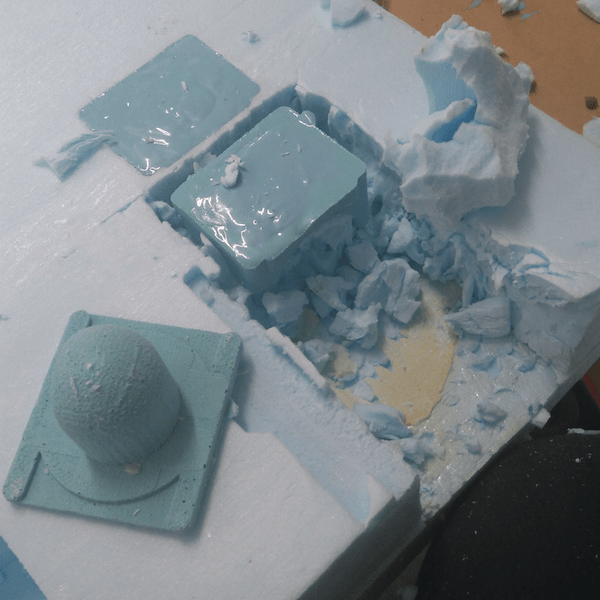
Still hacking
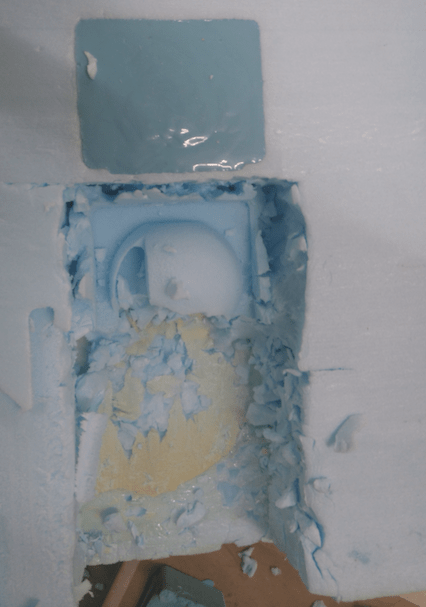
Yea! DONE (except not really)
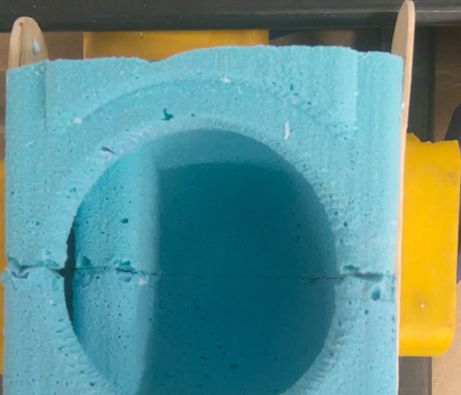
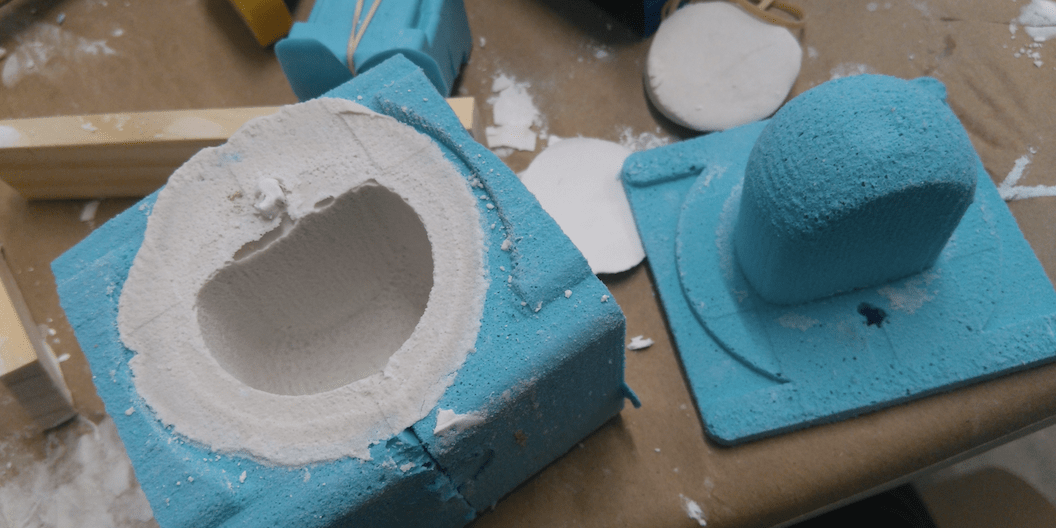
As I predicted there are some bubbles, but nothing too drastic. Aligning and fixing the mold together was not as painful as I thought it would be.
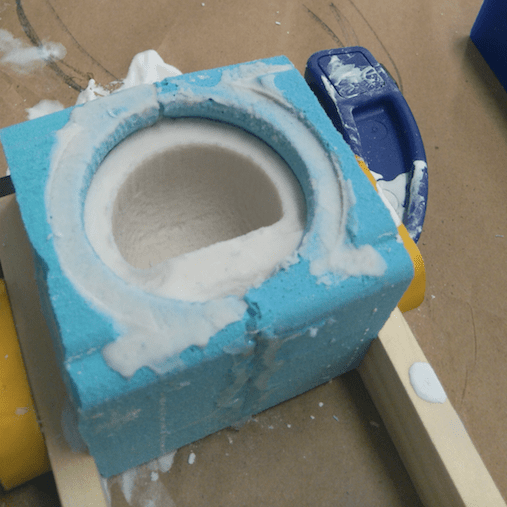
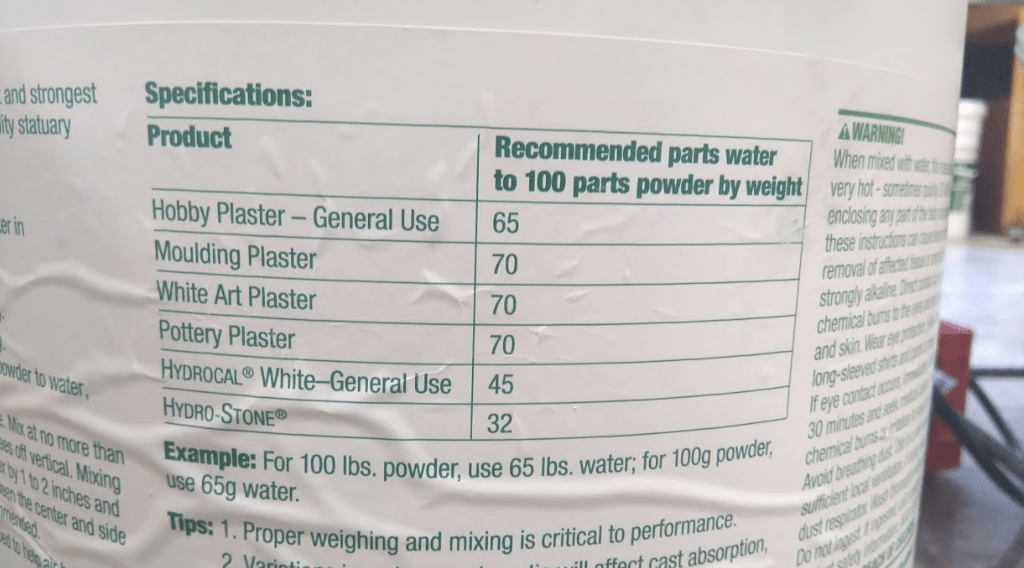
I am going to cast in hydrostone – apparently the ratio of water to hydrostone by weight is 70g to 100g. So I mixed 70g water with 100g hydrostone – it does not seem viscous enough, but I sure did get the ratio correct so I am going to go for it. Oh no! LEAKS…. Solution: glue gun.
Pour attempt 2 – Okay no leaks now just another wait – according to some internet discussions hydrostone can take about a week to dry….
I left the hydrostone to set for 24hrs - as I began deassembling the mold I saw immediately that something was not right! As you can see in the image below that hydrostone did not fill the whole mold - it also did not look quite right, the colour and texture was off.
I checked the mixing ratio for the hydrostone and realized what I had done wrong - I had used the plaster ratio instead of the hydrostone.
Attempt number 3. Third time lucky...

I waited for about an hour for it to set. Her goes... revealing the cup...
As you can see the mold creates a lip at the top of the cup which I will need to sand off.