Technologies Used:
❖ Formlabs 3D Printer
❖ Sindoh Wox3D Printer
❖ Sense 3D Scanner
❖ Autodesk 123D Catch
❖ Rhino
❖ Inkscape
Part 1: Designing and Experimenting
The toughest part this week for me was to try and figure out what to design, and to actually make Rhino work. I spent a few hours going through tutorials online again, and decided to try and
create a small keychain design that used additive construction per the assignment. I was inspired by some ideas on shapeways, and decided to experiment with geometric shapes that would be put
inside one another. The idea I eventually came up with was a keychain that would have a spherical outer structure, and a dice-like structure inside. I would then cut the sphere in a way
that would expose the dice structure and thus the designs on the face.
To add some flair to my design I decided to cut holes into the sphere so that one could see its insides, which also would help me "debug" the printing process to prevent the printers from
adding support structures inside my sphere and ruining the separation of the two bodies.
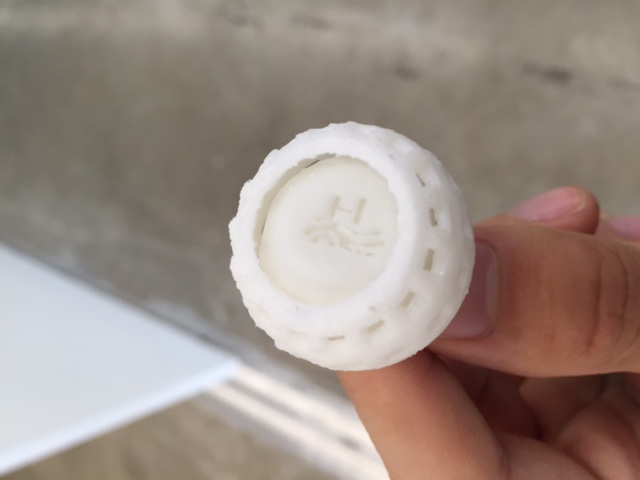
The design I put on its face was 江, the chinese character for my last/family name. I took a picture of a callegraphical drawing of the character, converted it into a vector in inkscape, and
imported the curves into Rhino. I then engraved the character into 4 sides of the dice.
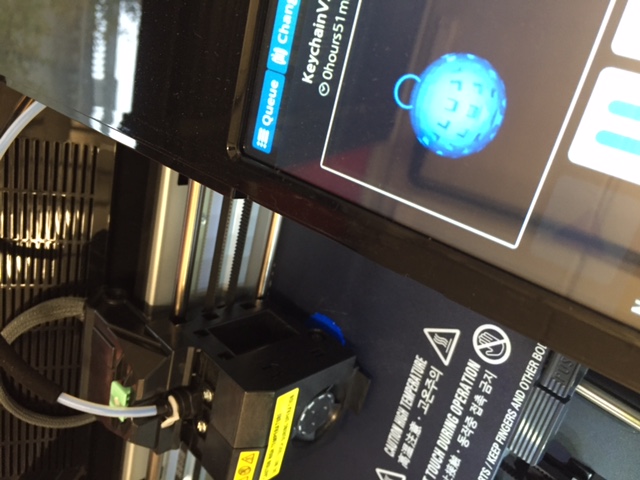
Part 2: Printing
My first print was attempted on the Sindoh 3DWOX, printed with low resolution (0.05 layer width) just to see how things went. The program was surprisingly intutitive to use and the added support
structures seemed to easily be formed without much hassle.
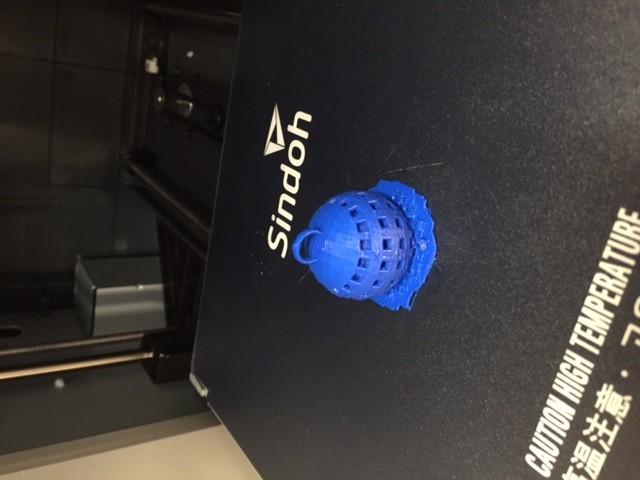
The 3D print came out almost exactly as I expected it. After a few nudges to the inner dice, I could get it to move. The only problem I encountered was the engraving character did not show up
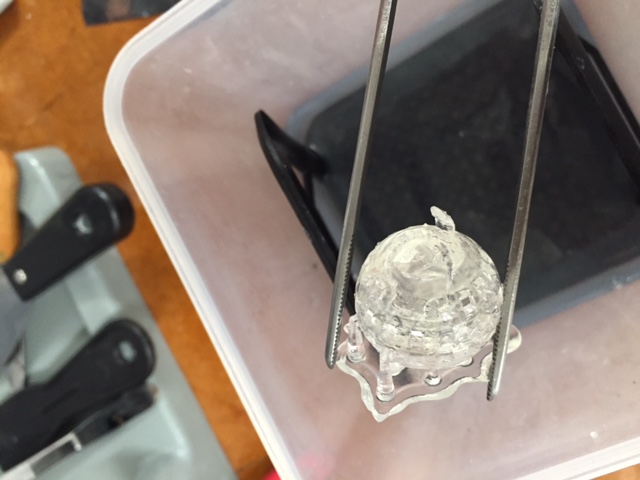
very well (or at all), and I guessed it had something to do with the resolution. I decided to give the Formlabs printer a try to see if sterelithograph would do the trick. My first Formlabs print
was a quarter size model, and almost completely failed. The bodies were stuck together and the print itself was almost too small to even figure out what was going wrong. The Formlabs program
was also a bit more difficult to use in terms of figuring orientation/support structures.

I decided to give the printer another shot and print a larger copy, as well as adding a few design tweaks for structural support given the feedback the Formlabs program had given me on weak spots
on my design. On my second run the printer did not work at all, and I figured out that it was because I had left some of the dried resin at the bottom of the resin pile that I should have cleaned
before attempting to print. On my third try the print came out shattered at the top. Welp.

I eventually ended up doing a higher resolution reprint on the Sindoh which did turn out great.
Part 3: I need to learn how to save files
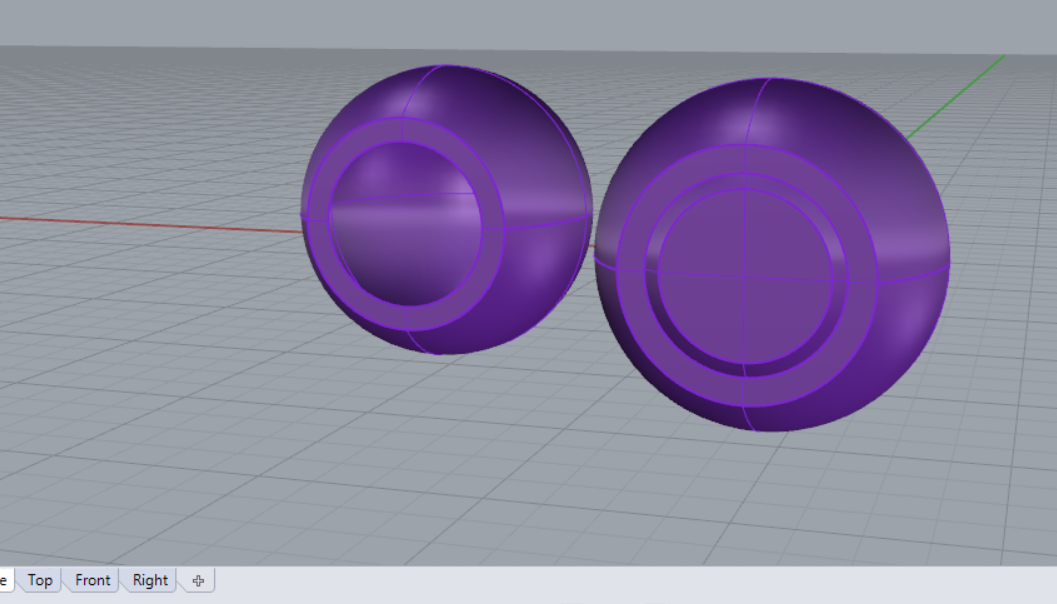
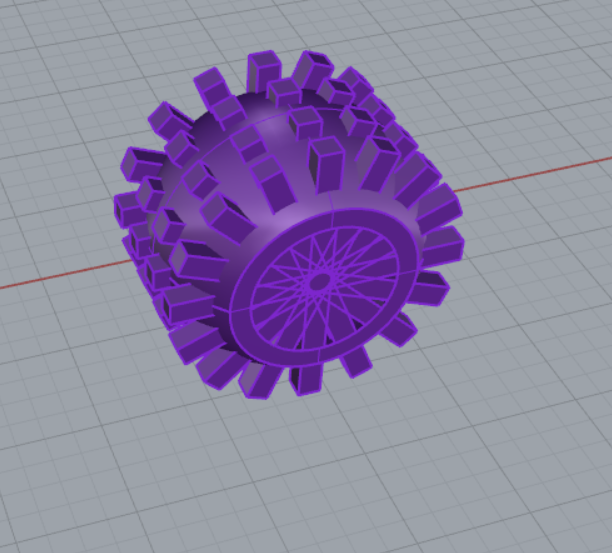
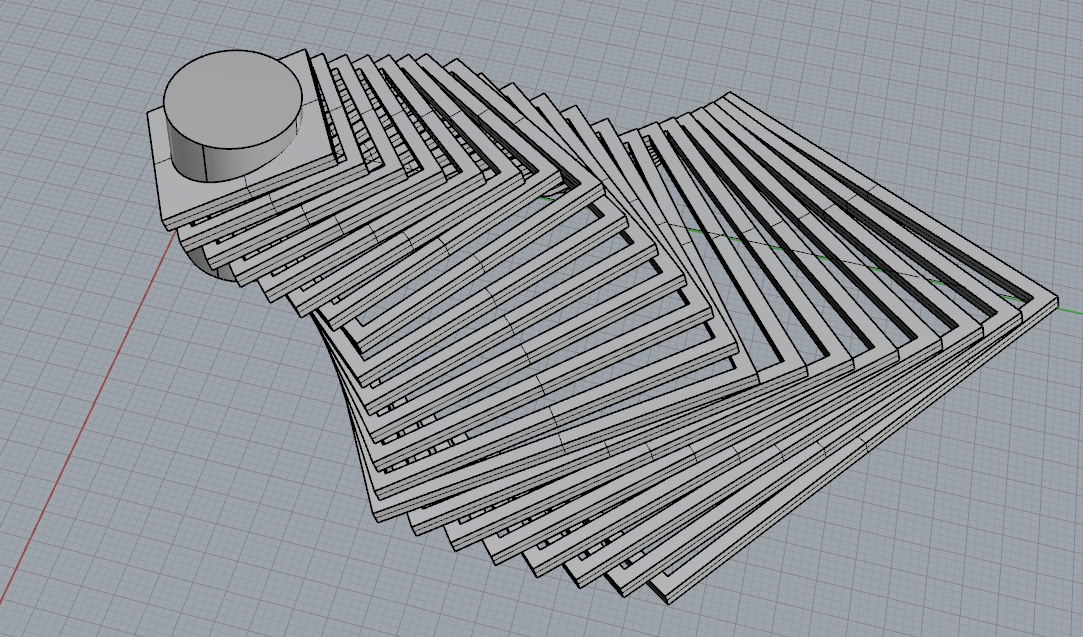
I played around a bit with Rhino to try and design some other structures, and eventually came up with an abstract design that I imagined could be a necklace or earring design. Then my computer
crashed and I lost the entire file because I hadn't saved :(. At least I caught a picture.
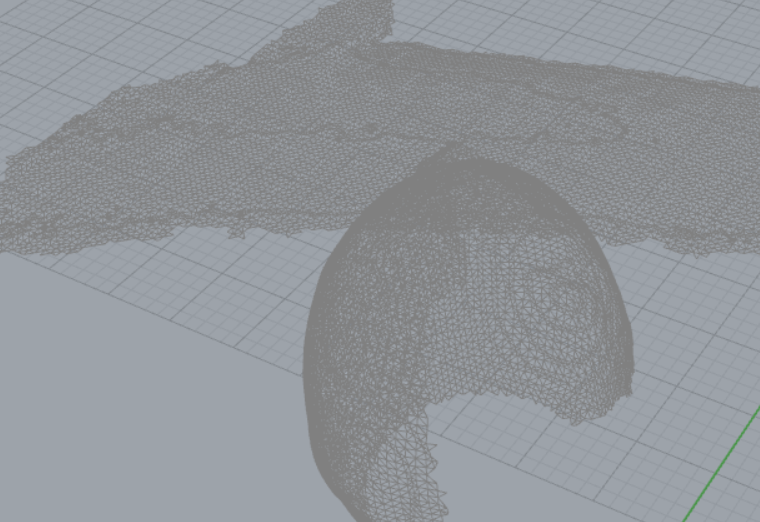
Part 4: Scanning struggles
I decided to mess around with both the Sense 3D and Autodesk 123D Catch programs to try and capture a funny measuring cup I had. Too bad neither program worked. I'm going to try and spend a little more
this week on this part of the project and see if I can get a more successful scan.