Technologies Used:
❖ C
Circuit Board Programming
I was fairly busy this week and got a late start on my board programming, but luckily I was able to get everything to work with minimal hitches. This week our assignment was to
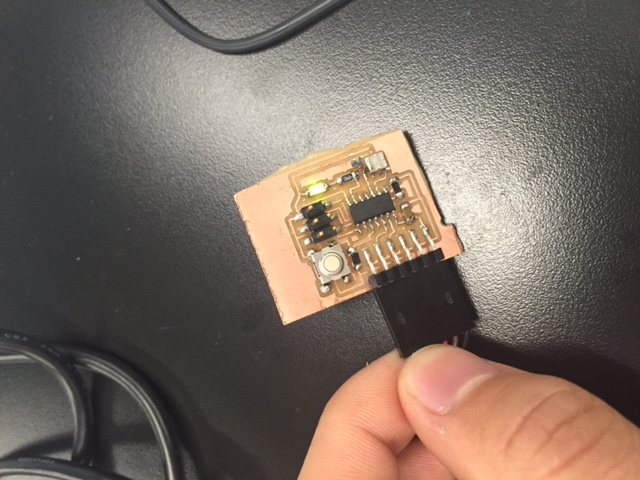
program the circuit board we made during week 4. I had a fairly typical board, with a button and LED attached. Per the advice of my TAs, the first part of the week was spent
reading over the AVR programming book, and understanding the toolchain that was involved in programming the board. I had some prior programming experience in C and using Makefiles,
but I had no experience with the AVR library.
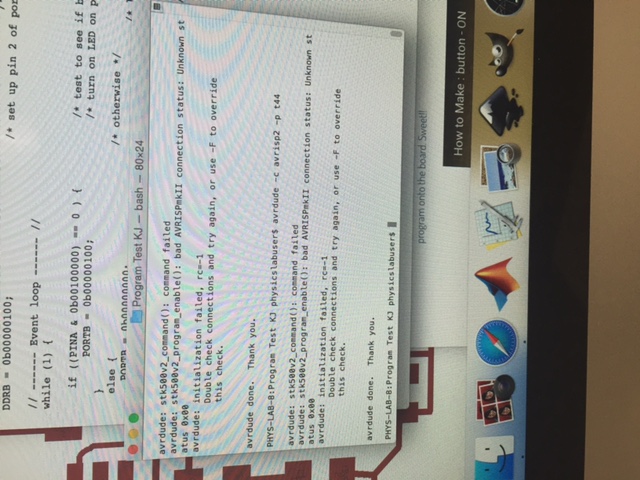
Programming the board itself was a series of trial and error. The first attempt at flashing it gave me an SCK error. I was all but ready to remill my board after spending hours
trying to resolder, until Rob helped me look under a microscope to find that there was a tiny piece of solder shorting one of my microcontroller ports! After correcting for that
my board started working.
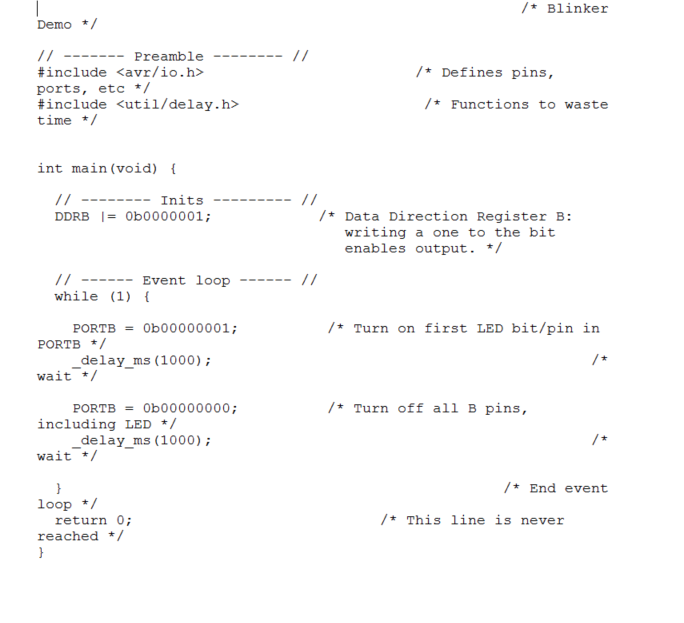
I started of writing a basic program that kept the LED on indefinitely, which initially didn't work. I used the voltmeter extensively this week to check for voltage levels, as well
as shorts when I was debugging the board. The voltmeter told me my port was sending the high signal but my LED didn't light; eventually I realized the LED had to be placed in which one
side faced ground, and that was stopping me from lighting it up. After that correction my programming went fairly smoothly and I eventually got my button to work.