Technologies Used:
❖ Shopbot
Modeling Mold
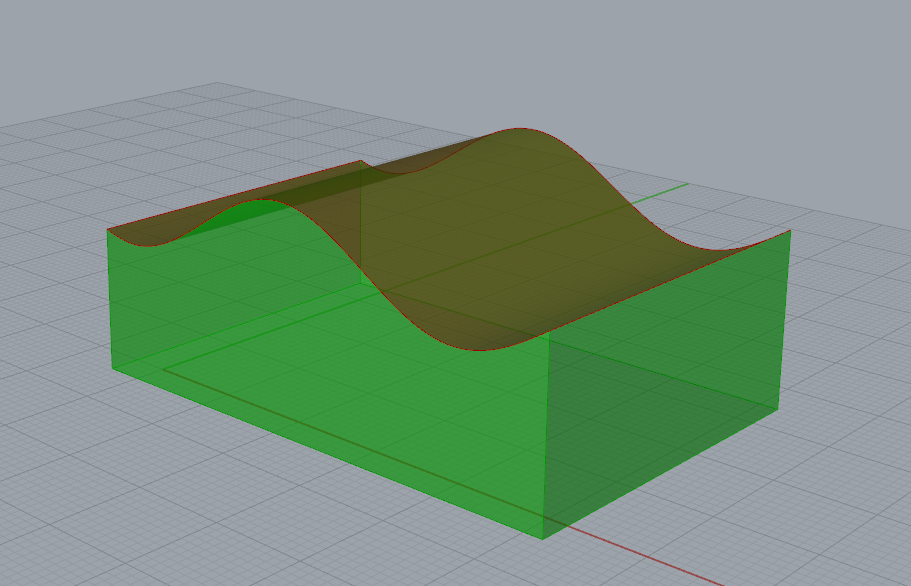
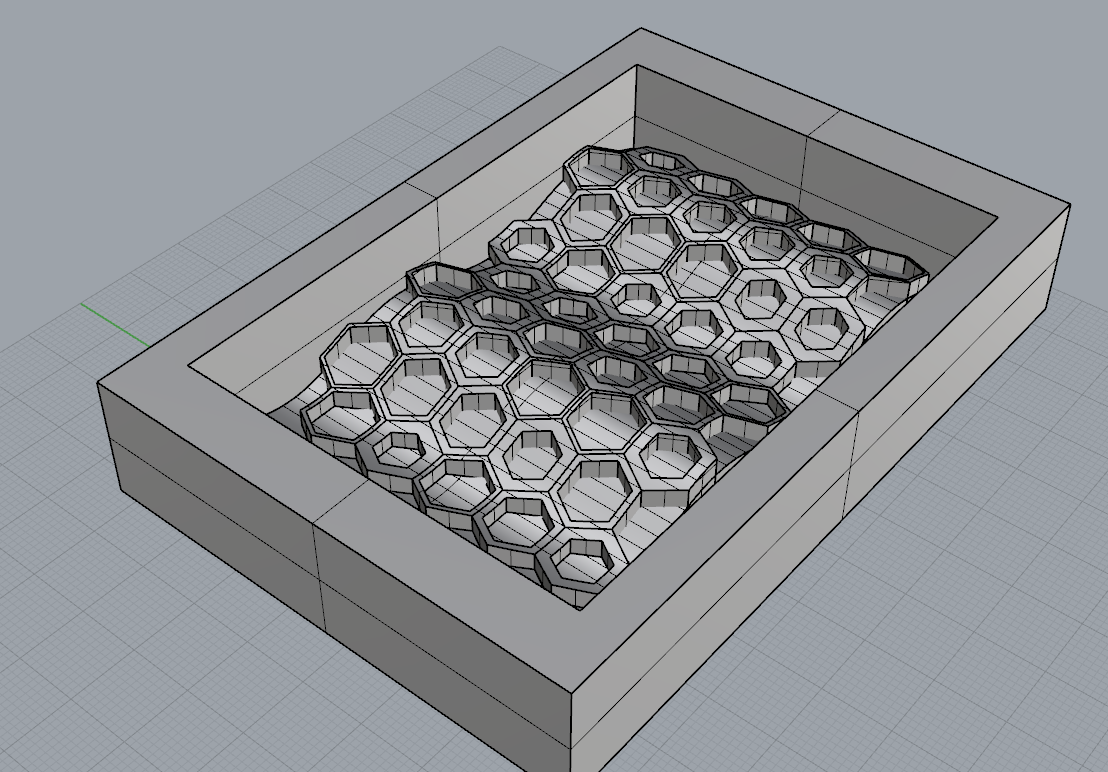
I couldn't really think of anything specific to make this week, and I was still fiending to learn more Grasshopper, so I decided to think of an simple design and learn to model it. I spent a good amount of
time watching Youtube tutorials and decided on a honycomb design that would be layered on a curve generated parametrically. The biggest challenge of this process was to keep everything in my design organized
- that meant I would really need to reduce the amount of components I used. However, a lot of my operations probably took a lot more steps than it really needed to be, and in the end even though my model was
parametric, every time I adjusted the parameters Grasshopper would take close to 5 minutes to readjust. I guess one of my major goals going forward is to reduce clutter and be mindful of the processing power
necessary to control my model.

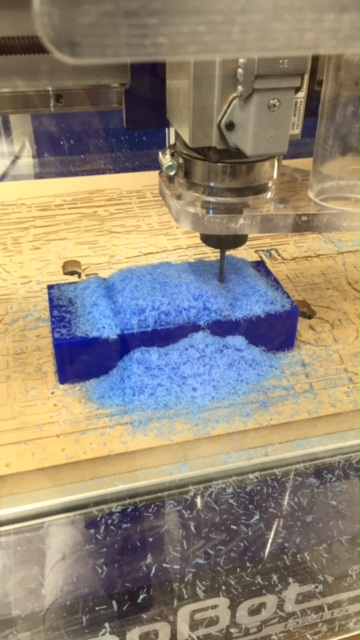
Cutting Wax Mold
Cutting the wax on the shopbox was a surprisingly simple process. I decided to use a 1/8 tip to rough cut and a 1/16 tip to finish. However, for my 1/16 finish I used a bit that had a think tapered shape,
and I didn't realize the "pits" I made around my design were too thin for the bit to fit. The bit ended up carving a large hole on the bottom right corner of my design but I stopped it in time, switched the bit
and the process worked fairly seamlessly. The cut itself took around 2-2.5 hours due to the intracacy of the design.
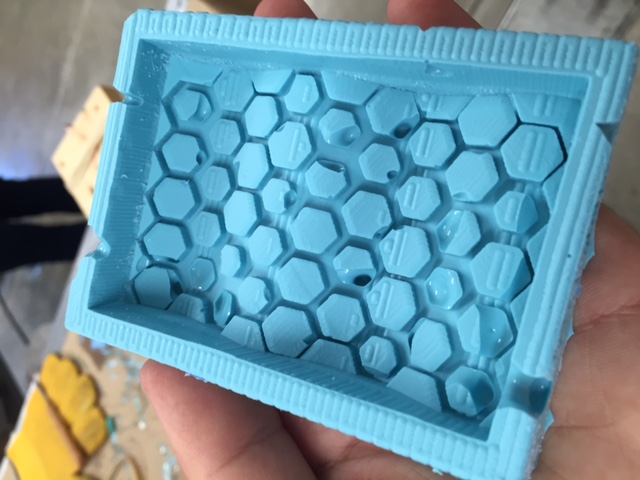
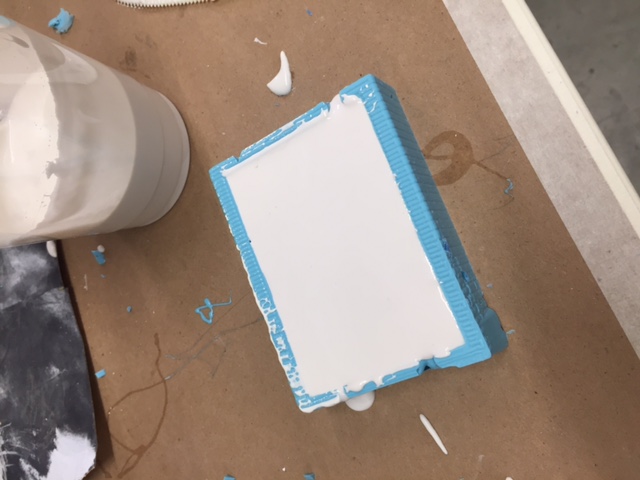
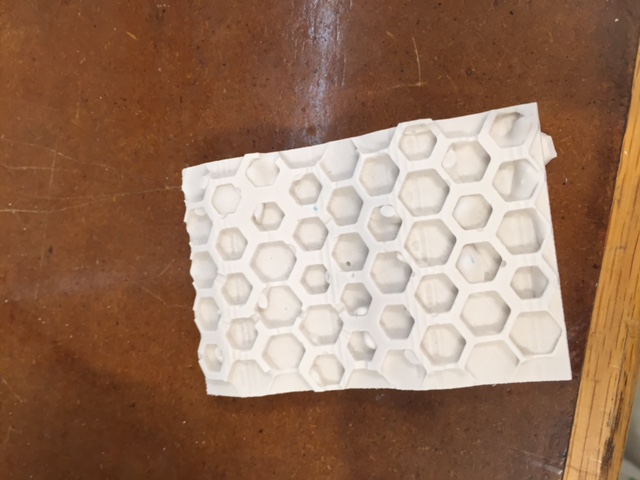
Oomoo/Hydrostone Cast
Oomoo is some thick material - it doesn't really lend itself well to be poured smoothly on top of a surface with so many dips. I tried my best to avoid air bubbles, and I put the Oomoo under an air suction container
to reduce the existing bubbles within, but in the end I was fairly powerless to stop many of the bubbles from forming on my mold. Also, due to the thinness of the honeycomb walls, some parts of the wax fell apart.
My cast turned out okay, but definitely has room for improvement.