Technologies Used:
❖ Shopbot
❖ Burlap + Epoxy + Vacuum
❖ Foam
❖ Partworks
Designing/Milling Mold
I wasn't terribly excited about this week due to the rather (literally) ragged-y look of the material. After going through the tutorial with my section on how to put on and vacuum seal the burlap,
I was further convinced that a suitable design might be difficult due to how the fabric doesn't seem to easily mold itself to complex shapes. Nonetheless, I decided to test this limitation and see how far the designs could go.
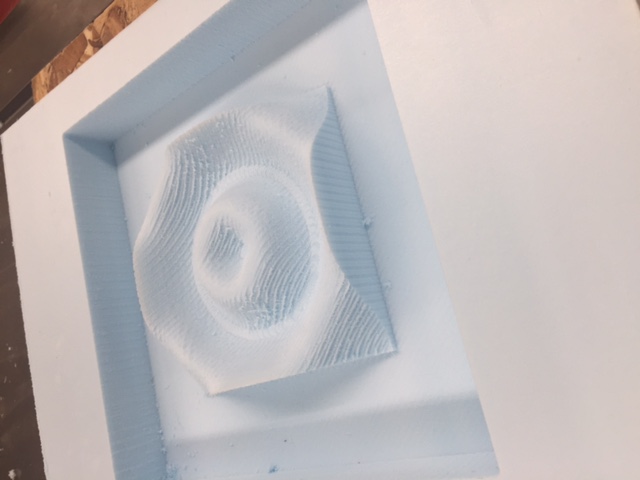
I decided to use grasshopper and create a water droplet-like structure and see if I could make the fabric go around the design and create a wavelike shape.
Milling the board was a rather straightforward, and honestly pretty fun experience. The first step was to decide the material and the program to create the design. I decided to use foam since we had plenty of it laying around, and it was
a material I hadn't had a chance to work with. I used partworks to make my 3D toolpath to send to the shopbot. Both were rather straightforward processes. I was going to use a 1/4 inch rough cut and finishing cut, but that wasn't really necessary.
After the rough cut began it seemed obvious that the finish cut's details would be too fine to capture for the resolution of the burlap. In hindsight I probably could have used a larger bit that made my cutting process faster.
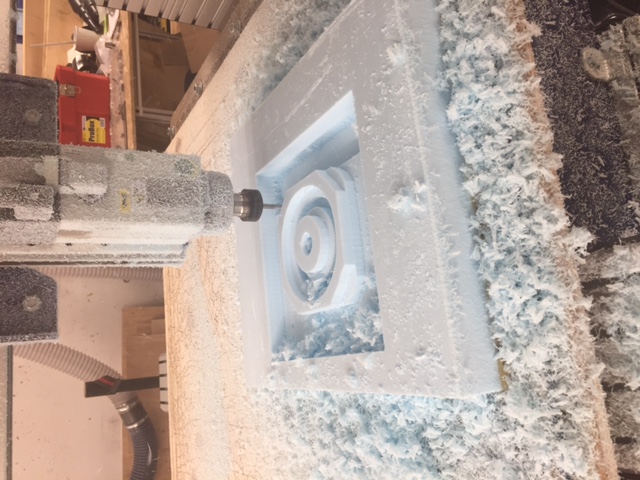
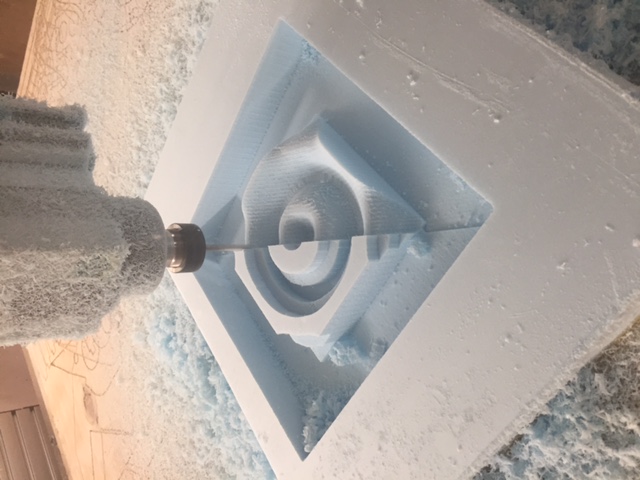
The shopbot had no trouble making very clean slices through the foam, sending pieces flying everywhere - standing near the shopbot made my look like I came out of a blizzard after the process.
The end result came out extremely clean and nice looking - I was very satisfied with how pleasing the design looked on foam, though at this point I suspected trouble with the burlap.
Mixing/Sealing Burlap + Epoxy
Mixing the epoxy was a matter of getting the ratio correct and then stirring thoroughly. We used the Super Sap 1000 ONF Epoxy, which had a 2:1 ratio of resin to hardener. The stuff smelled
pretty bad and was very viscuous, so mixing took a while to get correct. After the mix was complete, like our TA Tiffany taught us, I laid out my burlap on a piece of cardboard,
and poured the mixture in an S-shape, and then used a flat piee of plastic to thoroughly smooth it through the material. Burlap seems to have a knack for absorbing a lot of the epoxy, probably more than it even needs.
Nevertheless, after pouring the mixture on, with my hands (and gloves on of course), I thoroughly rubbed the piece of cloth in a ball-like manner to make sure the entire piece was seeped in epoxy.
I did this for two layer of burlap, which I think was the recommended amount - I thought about using 3 but it seemed like that would make the process of wrapping the material around my design even more difficult than it already was going to be.
After finishing the burlap/epoxy process, the next step would be to layer all the proper pieces. At the bottom was the foam design. Then we added a seperation layer that was a plastic sheet, to make sure the mold could be easily removed when
the composite had dried. On top of that we had two pieces of burlap, and then another seperation layer on top, where we poked holes into the piece with a mace-like tool. Lastly we put a piece of felt on top of everything and placed the entire structure in a plastic bag to be vacuum sealed.
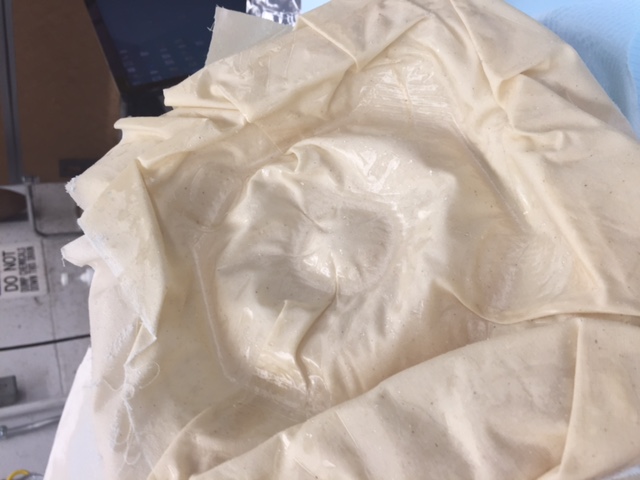
The wrapping process, as I imagined, was extremely difficult. After over 20 minutes of trying to scrunch the burlap over my design and have it shape itself terribly, I decided to just quickly seal it before too much of the material began to harden.
Generally because of th circular shape of my design, the burlap just refused to conform. After vacuum sealing, it was clear that the waves my structure had wouldn't be represented fully by the burlap since the material failed to sink in all the way into the mold.
Nonetheless I was running low on time and had to settle with what I had.
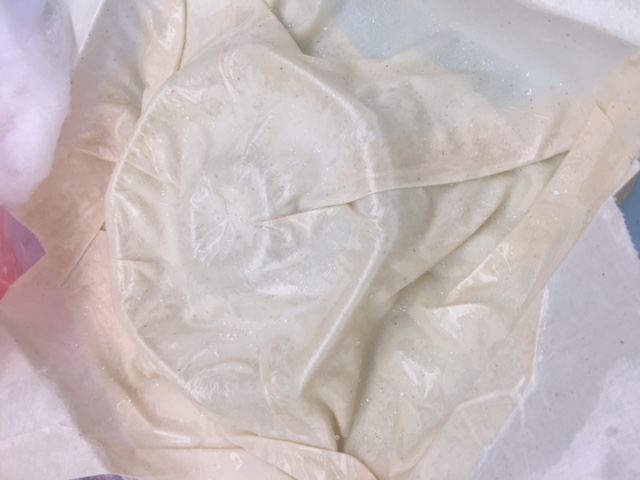
I left the material overnight and and like I expected, the design did not come out well. In the process of trying to conform to the circular shape of the structure, the burlap
made various creases around the edges. My end product looked like an old towel that was both dried up and wrinkled. I think next time I will think more carefully about my design to make to be something easier to conform to, and perhaps give some of the other material a try.