| Back to Index |
I breathed a sigh of relief this week, as I wouldn't have to grapple with software learning-curves. I wouldn't have to design anything at all! Instead, we were to mill and stuff (solder components to) the already-desiged FabISP. I considered adding an LED to the board, so I could visually tell when it was receiving power, but I have no electrical engineering experience, and didn't want to mess with a design that was already known to work. I've had some basic soldering experience, and I was looking forward to doing it on my first full-fledged circuit-board.
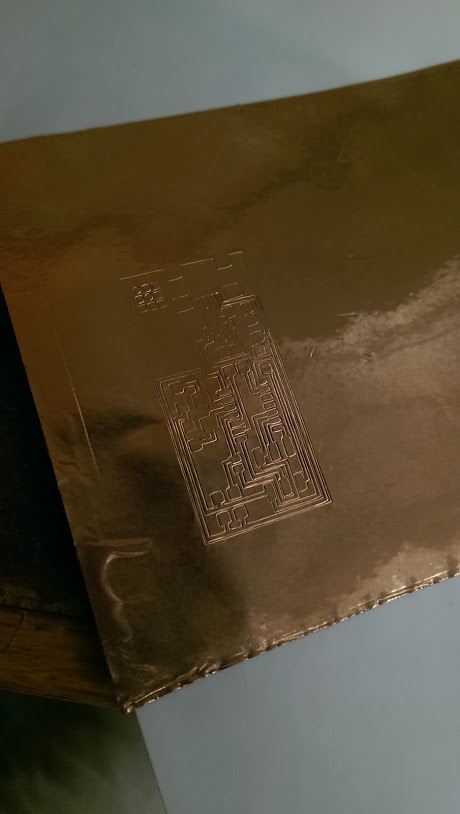
At the first milling session for the Harvard Section, the 'traces' milling file worked great, but the 'interior' file - which cut the border of the board and freed it from the larger copper-covered sheet - didn't go so well, trimming one of borders too close, eliminating an essential trace, rendering the board useless. This caused a bit of a backup at the Modelo miller, and I decided to save time by cutting my circuit out on the vinyl cutter instead.
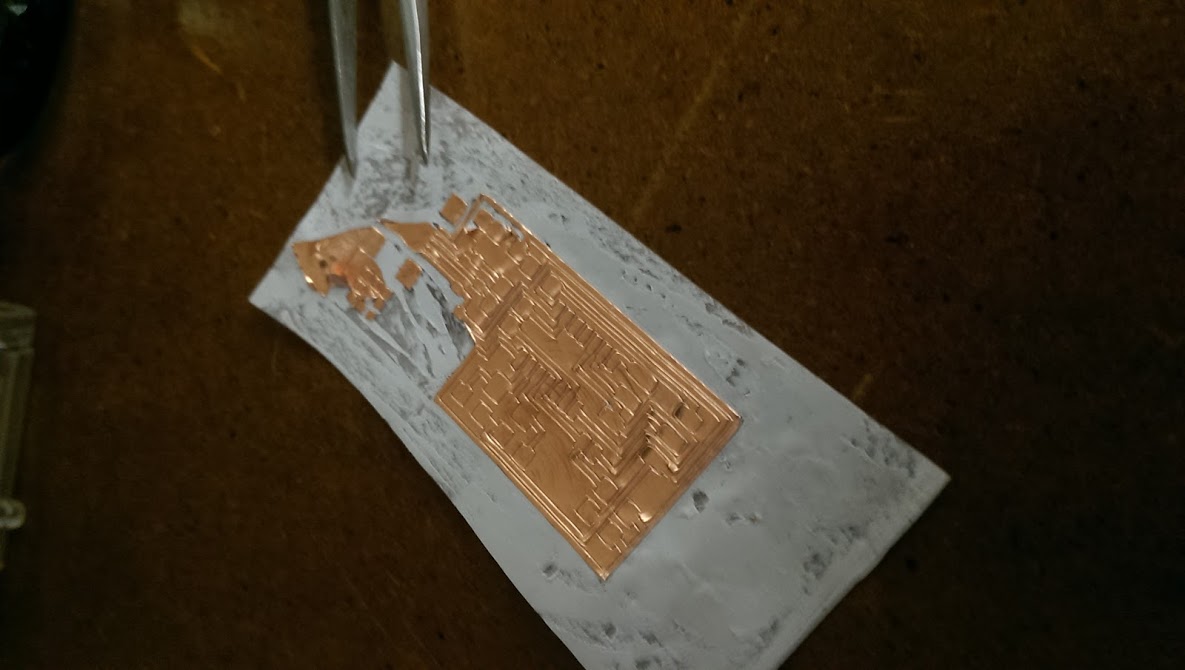
The cutting went quick and easy on the vinyl cutter, so the next step was weeding. I started using an X-Acto blade, but the process was tedious. I quickly switched over to using tweezers, correctly assuming that I'd cover ground much more cleanly and quickly if I just pulled the unwanted copper off in as few pieces as possible. It worked. Apart from accidentally weeding two of the USB mounting points (not a big deal to fix), I was pleased with how the weeded circuit came out.
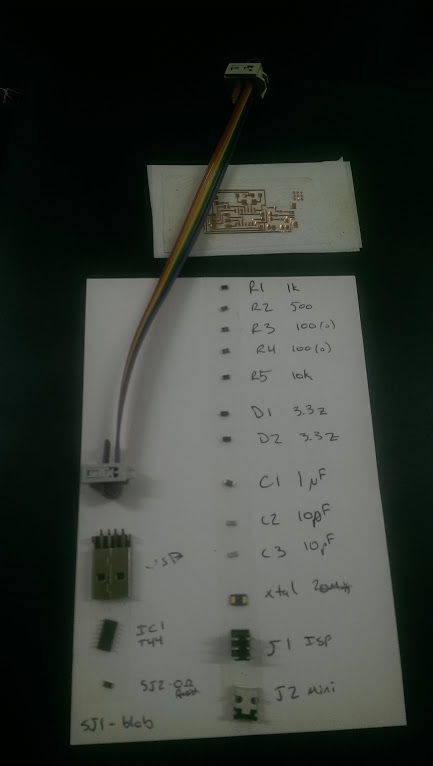
As I assembled the individual components to solder on to the circuit-board, I began to question my choice of the vinyl-cut circuit. I know me, and I like things to be tidy and solid. Flexible circuits have their place, but I decided, for my programmer, and my first stab at soldering tiny things, I'd rather work with a more solid board. Plus, I wanted the experience of using the Modelo milling machine. So I kept the vinyl-cut board as a backup, in case I messed up soldering, and set about milling out my board.
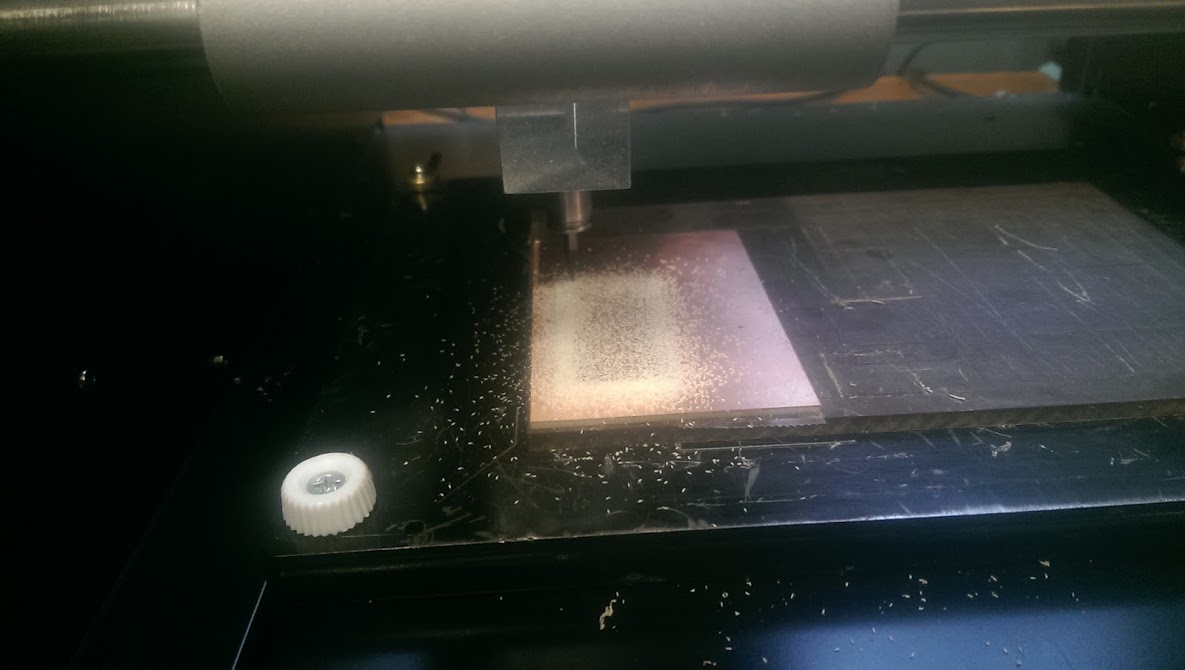
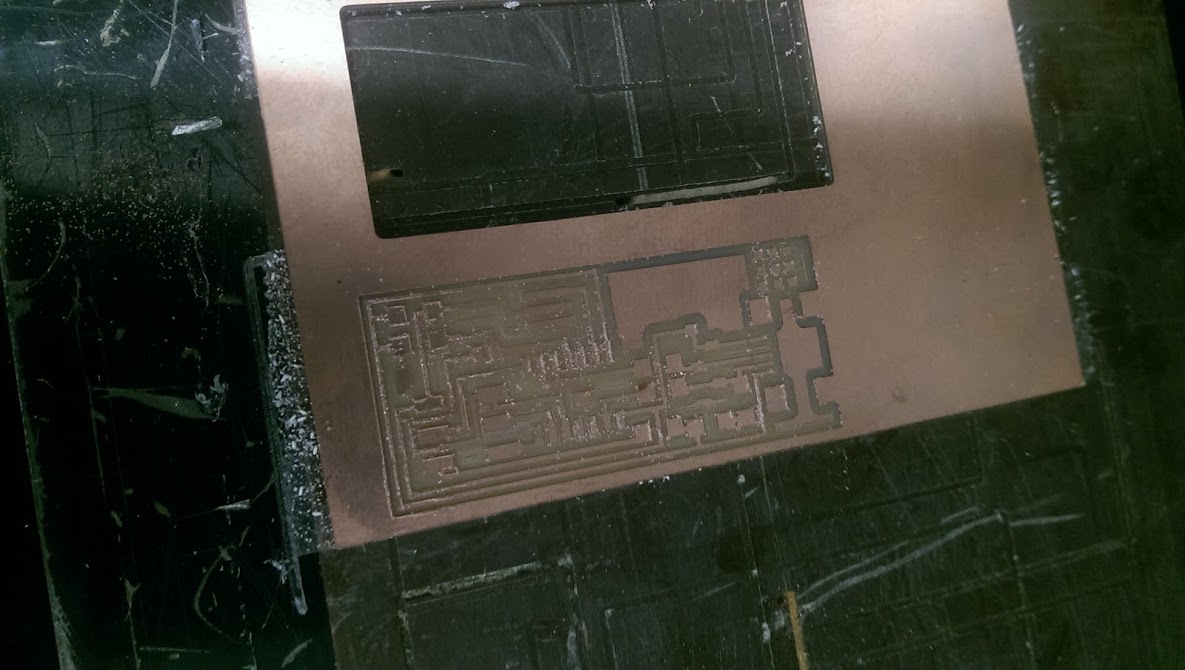
The milling went according to plan. I was the last one to use the milling machine that day, and so, at the suggestion of shopmate Brian, I produced two extra boards, to save people time when they inevitably screwed one up during soldering. I ran into a couple problems with cut depth not being deep enough, but that was easy to remedy, and I was glad to gain the troubleshooting experience on the Modelo. Milling done, I set about to soldering.
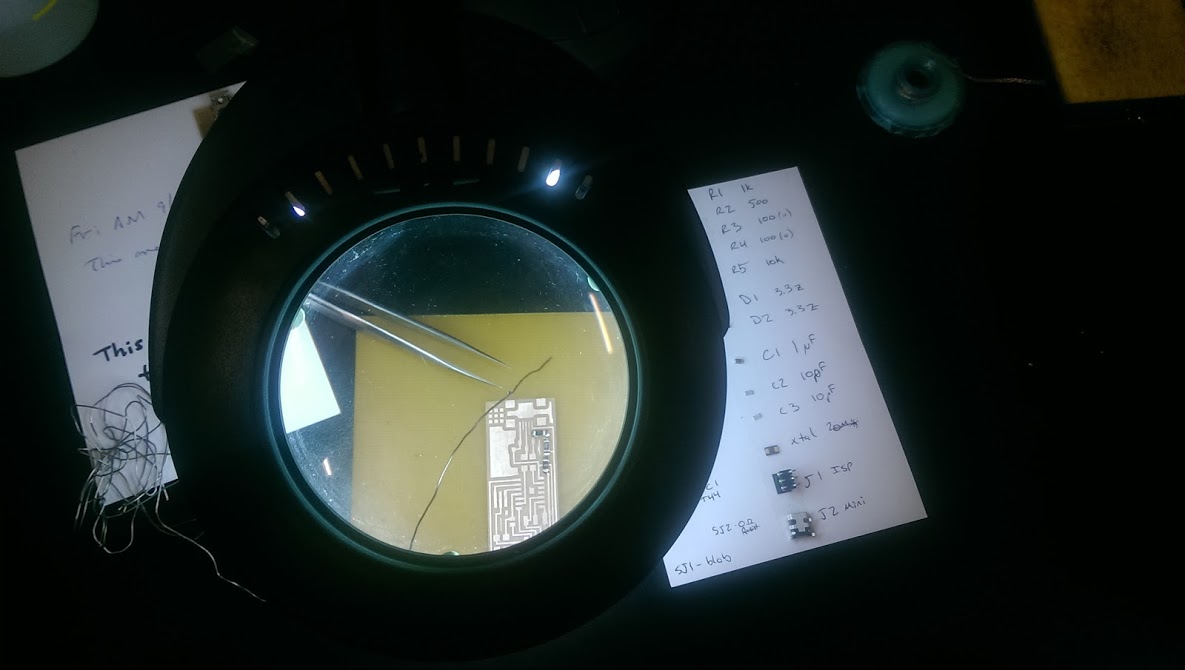
The only issue I ran in to was that the example board I was looking at used a slighly different layout - a crystal instead of the oscillator that mine was set up for - but I caught the difference before anything was soldered down wrong. Using magnification helped my aim, and wasn't as disorienting as soldering under a microscope - which I tried as well. Once I understood that solder is drawn to heat, and that in theory, the solder never actually needs to touch the soldering iron, I was good to go. I also knew that it was easy to use too much solder, so I tried to keep my solder use at a minimum I got a good rythm going: place the first blob, grab the right component, make sure it's facing the right direction (diode and ATTiny), let it drop into the first blob, solder the second side, re-solder the first side. I was methodical and careful, knowing how much better shopwork goes if you take your time and do it right the first time.
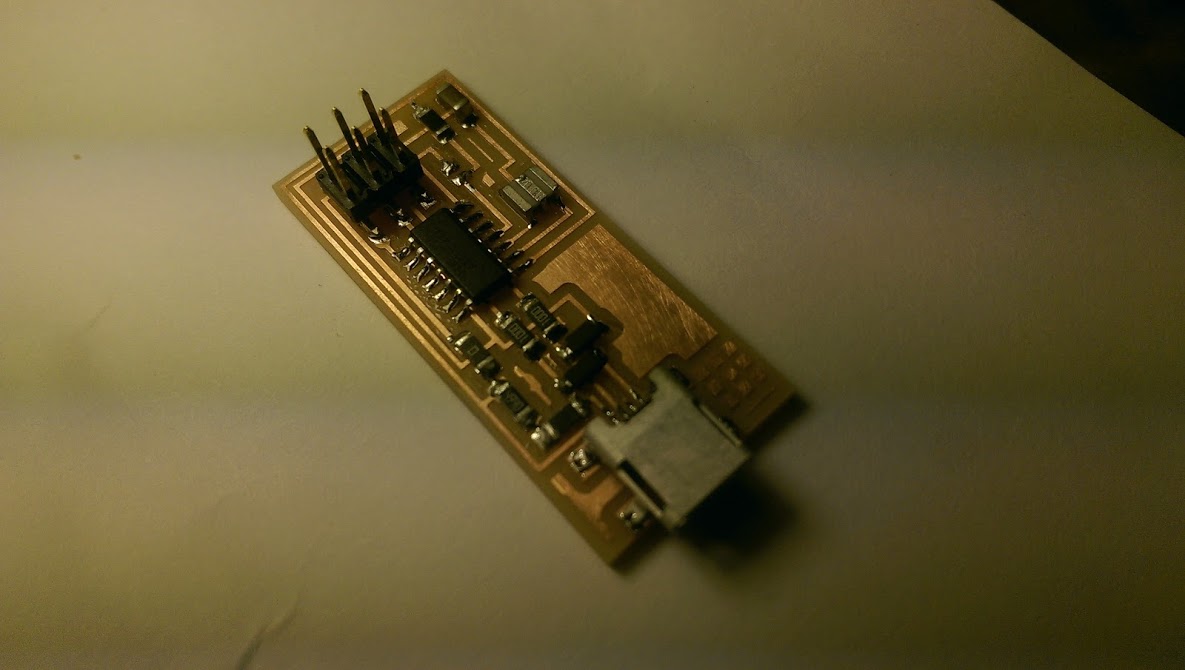
With the soldering completed, my board was plugged in and programmed without a problem! Once programmed, I removed the one jumper that turned it from a programmee to a programmer. I used it to program another board successfully, dusted off my hands, cleaned up my workstation, and called it a day.