
| Back to Index |
Here's how I ended up with a broken casting of a bad mold of an incomplete milled positive of a mess of a Fusion 360 file, and still had a pretty good week.
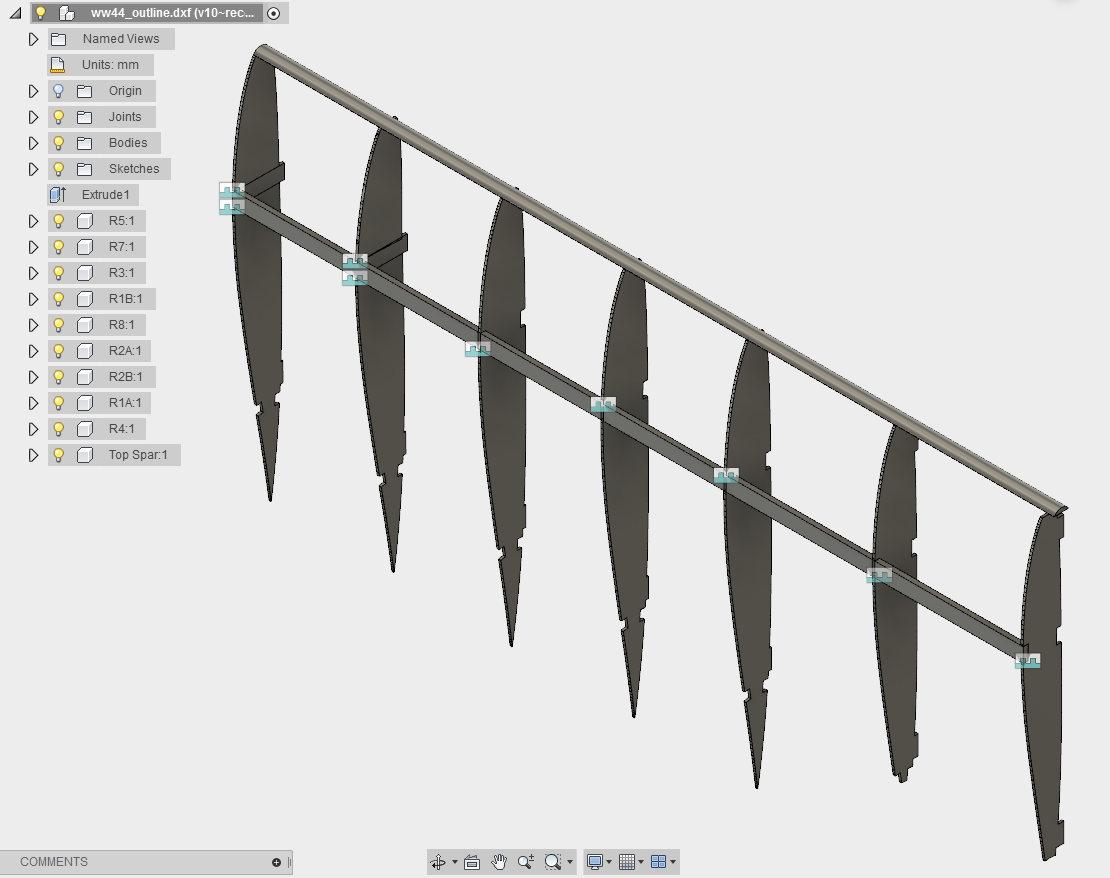
The first challenge of the week was deciding what would be a good object to mill, mold, and cast. My initial idea was to build my 3-D airplane from the 2-D dxf file I have. I got started on it, but working with a dfx file on Fusion 360 is, charitably speaking, glacially slow and immensely frustrating. There are thousands of curves, and no easy way to combine or simplify them. So with a wing partly framed, I moved on to the next idea.
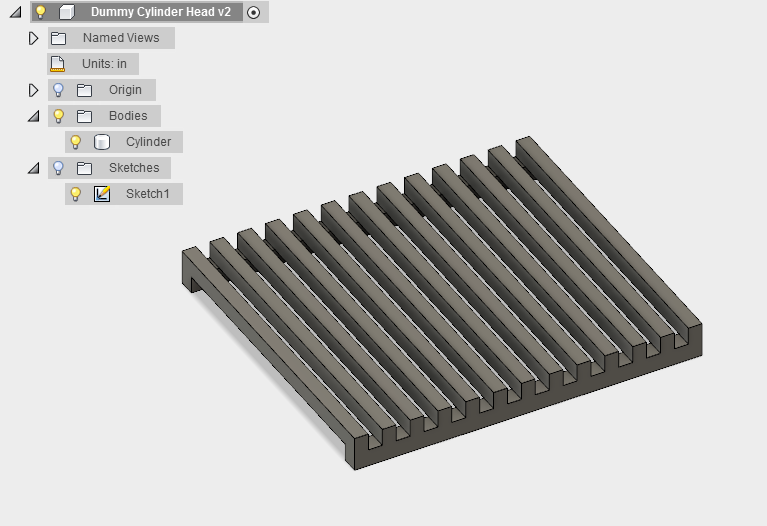
Next, I tackled creating some dummy cylinder heads (cooling fins, basically) for the 52" wingspan version of the airplane. While perfectly doable, it wasn't very interesting for the week, and I don't think I want parts on my airplane made of hydrostone.
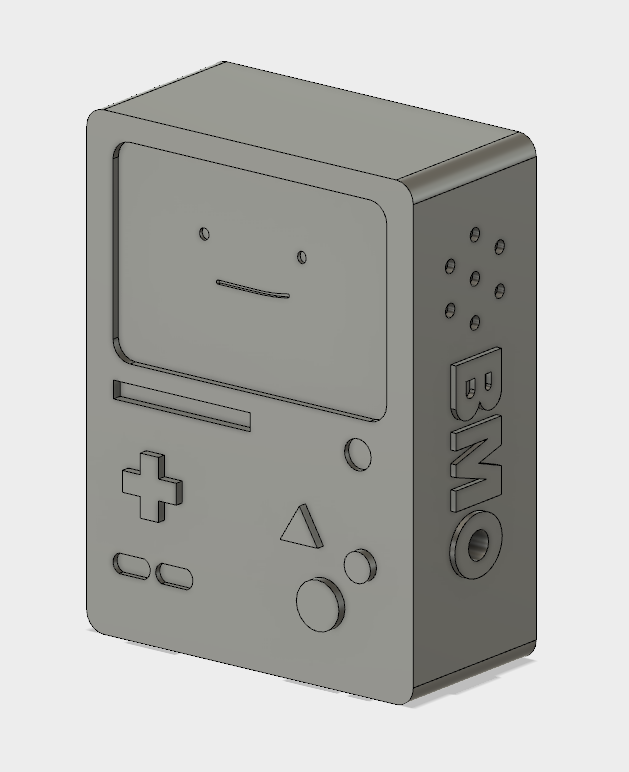
Next, I decided to try my hand at modeling BMO, a character from from Adventure Time.

His shape isn't terribly complicated, and pretty geometric, so I figured it'd be a good Fusion design exercise. Using Fusion's "insert canvas" option, I loaded in some pics of BMO, and traced him. The body went pretty easily, and I figured I'd make his arms and legs separately, inserting them once everything was cast. I realized, however, that because BMO has details on four of his six faces, milling him in two parts would be practically impossible. I really didn't want to tackle doing a 6-sided mold, so I started thinking about other options.
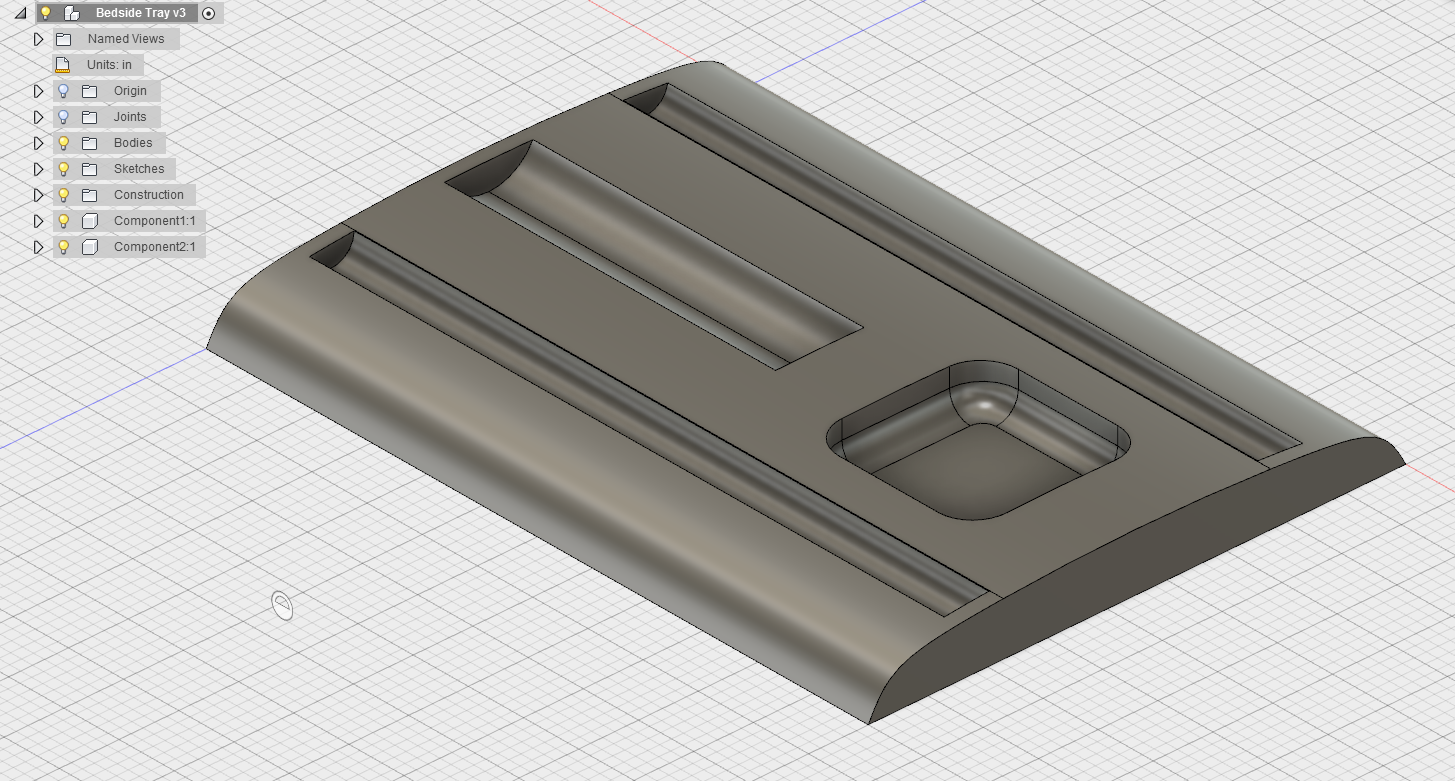
I mocked up a quick bedside tray that I've been wanting, to hold earplugs, chapstick, and a couple pens. It's wider than our wax stock, so I'd have to melt two blocks together, but it seemed pretty easily doable as a one-sided mold.
However, I'd put a lot of work into modeling BMO, so I wanted to make him happen if at all possible. After hanging out in the lab and having conversations with TAs, Rob, and a few peers about how to tackle molding BMO, there were a couple options: various multi-sided molds, or literally milling the full figure out of wax, rotating the wax block between each pass and zeroing very carefully. Both of these options seemed overly complicated for me to to tackle in one week.
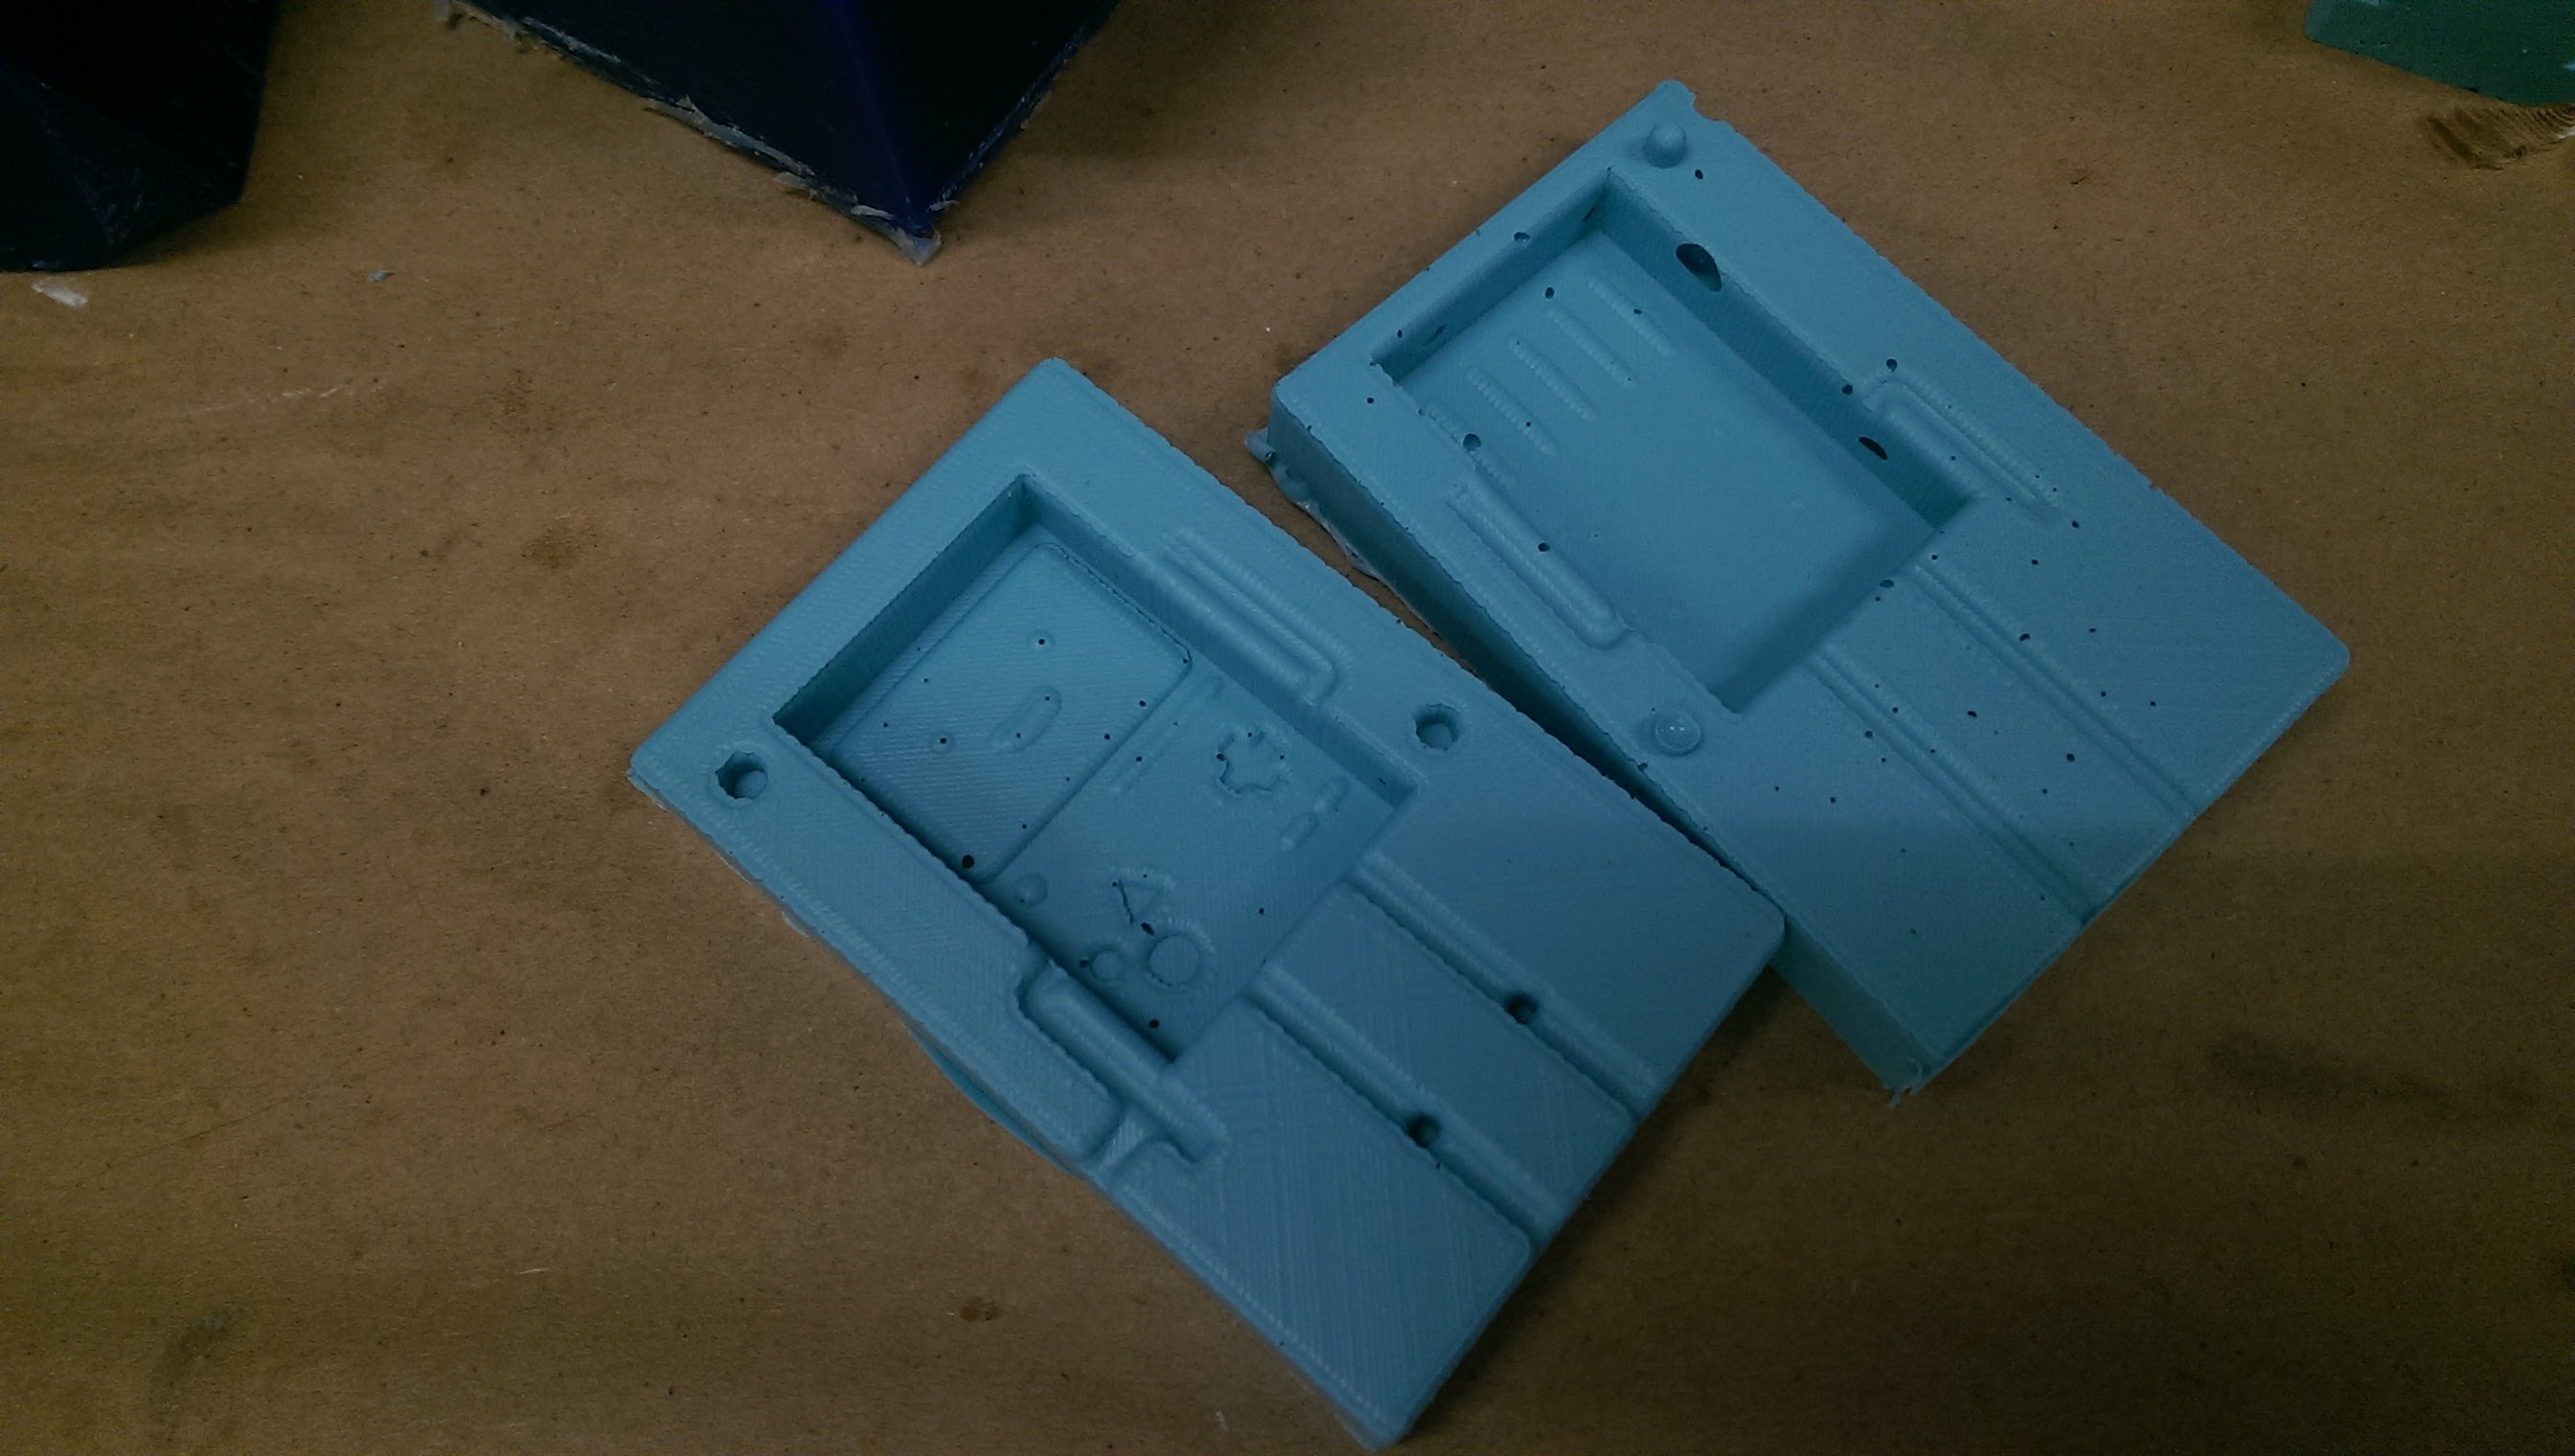
A seemingly simpler answer occurred to me: I should mill the arms and legs in place, slicing BMO down the middle into a front and a back. In order to get the details on the sides, I would slice the sides off the model, milling them separately. I would then take those sides, hack them out of the wax, and manually attach them to the milled out positives of the body before pouring the oomoo. I could melt the wax to smooth any seams and ensure a solid connection.
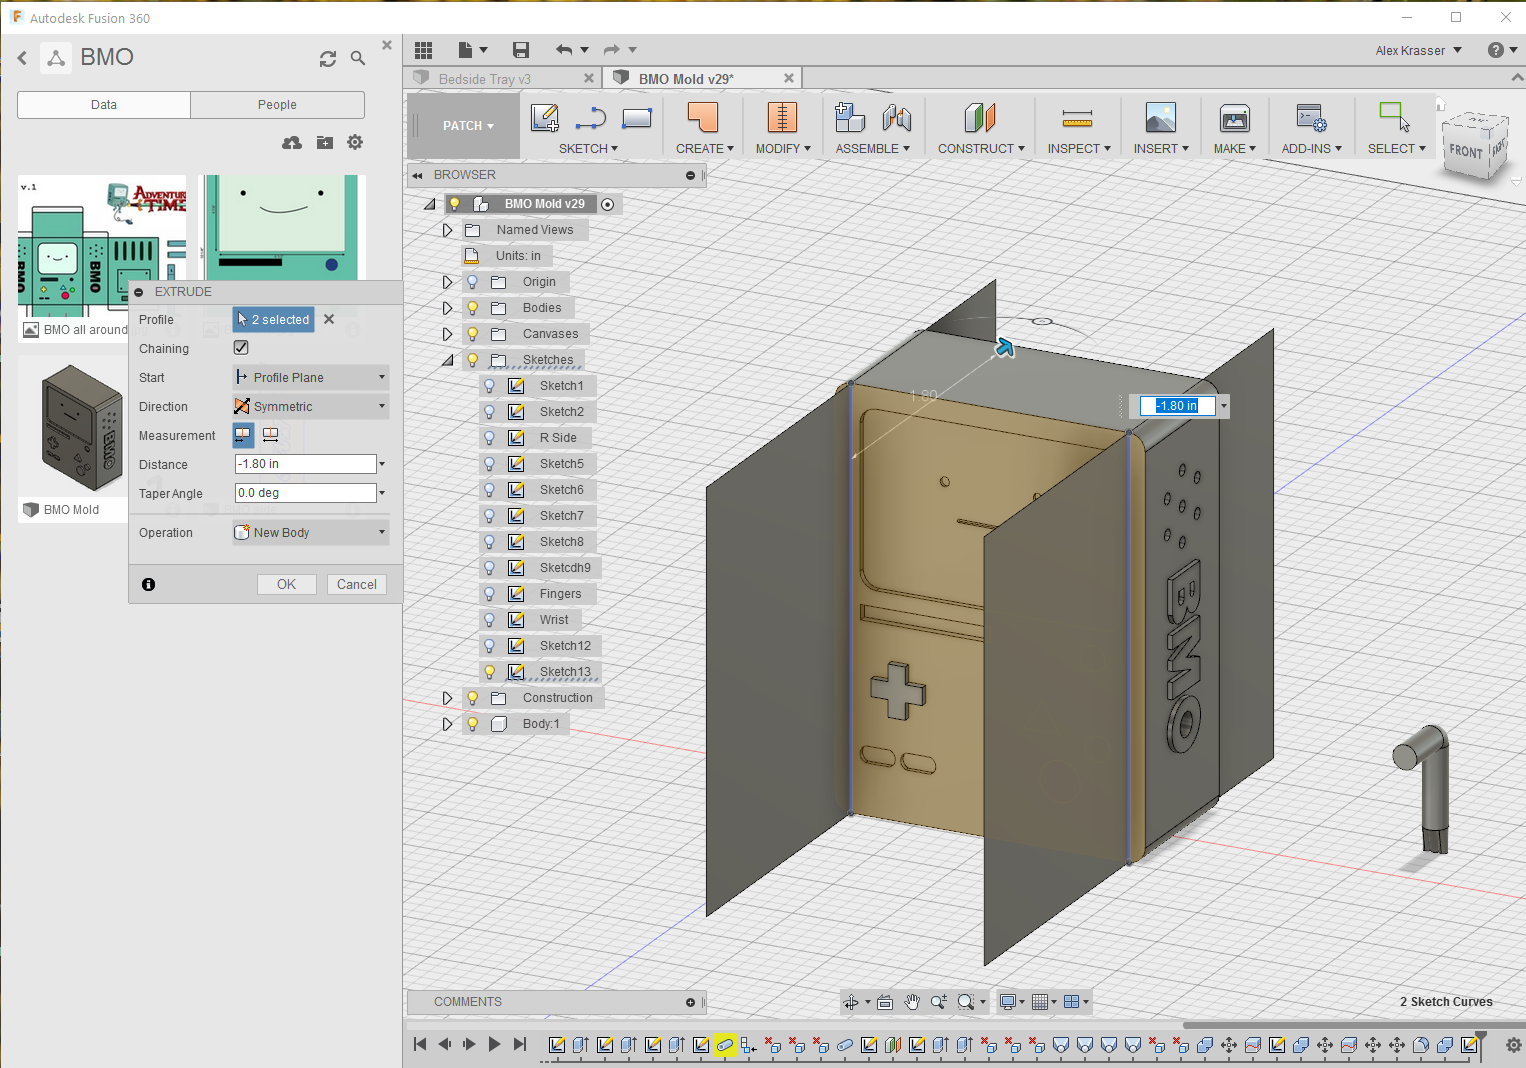
I realized that the facial features as I had drawn them would be way to small to mill out with anything other than a tiny endmill, so I changed his face. Next, I started thinking through the casting process. I put in pour and vent tubes connecting to the legs (which seemed a natural place for them to go), but thinking through the flow of hyrdostone into the mold, I realized one of my arms would likely not get any material. I added an additional pour tube. I realized that to get the locator pins correct, I'd have to set the whole model on a plank, so there was a surface to indent.

I spent a lot of time wrestling with Fusion 360, and my final BMO file is a mess of sketches, construction planes, and whatnot. I'm quite confused by it, and learning to think how Fusion 360 wants me to think is a challenge in and of itself. Eventually I figured out how to select the bodies I wanted to export, and exported them as an stl.
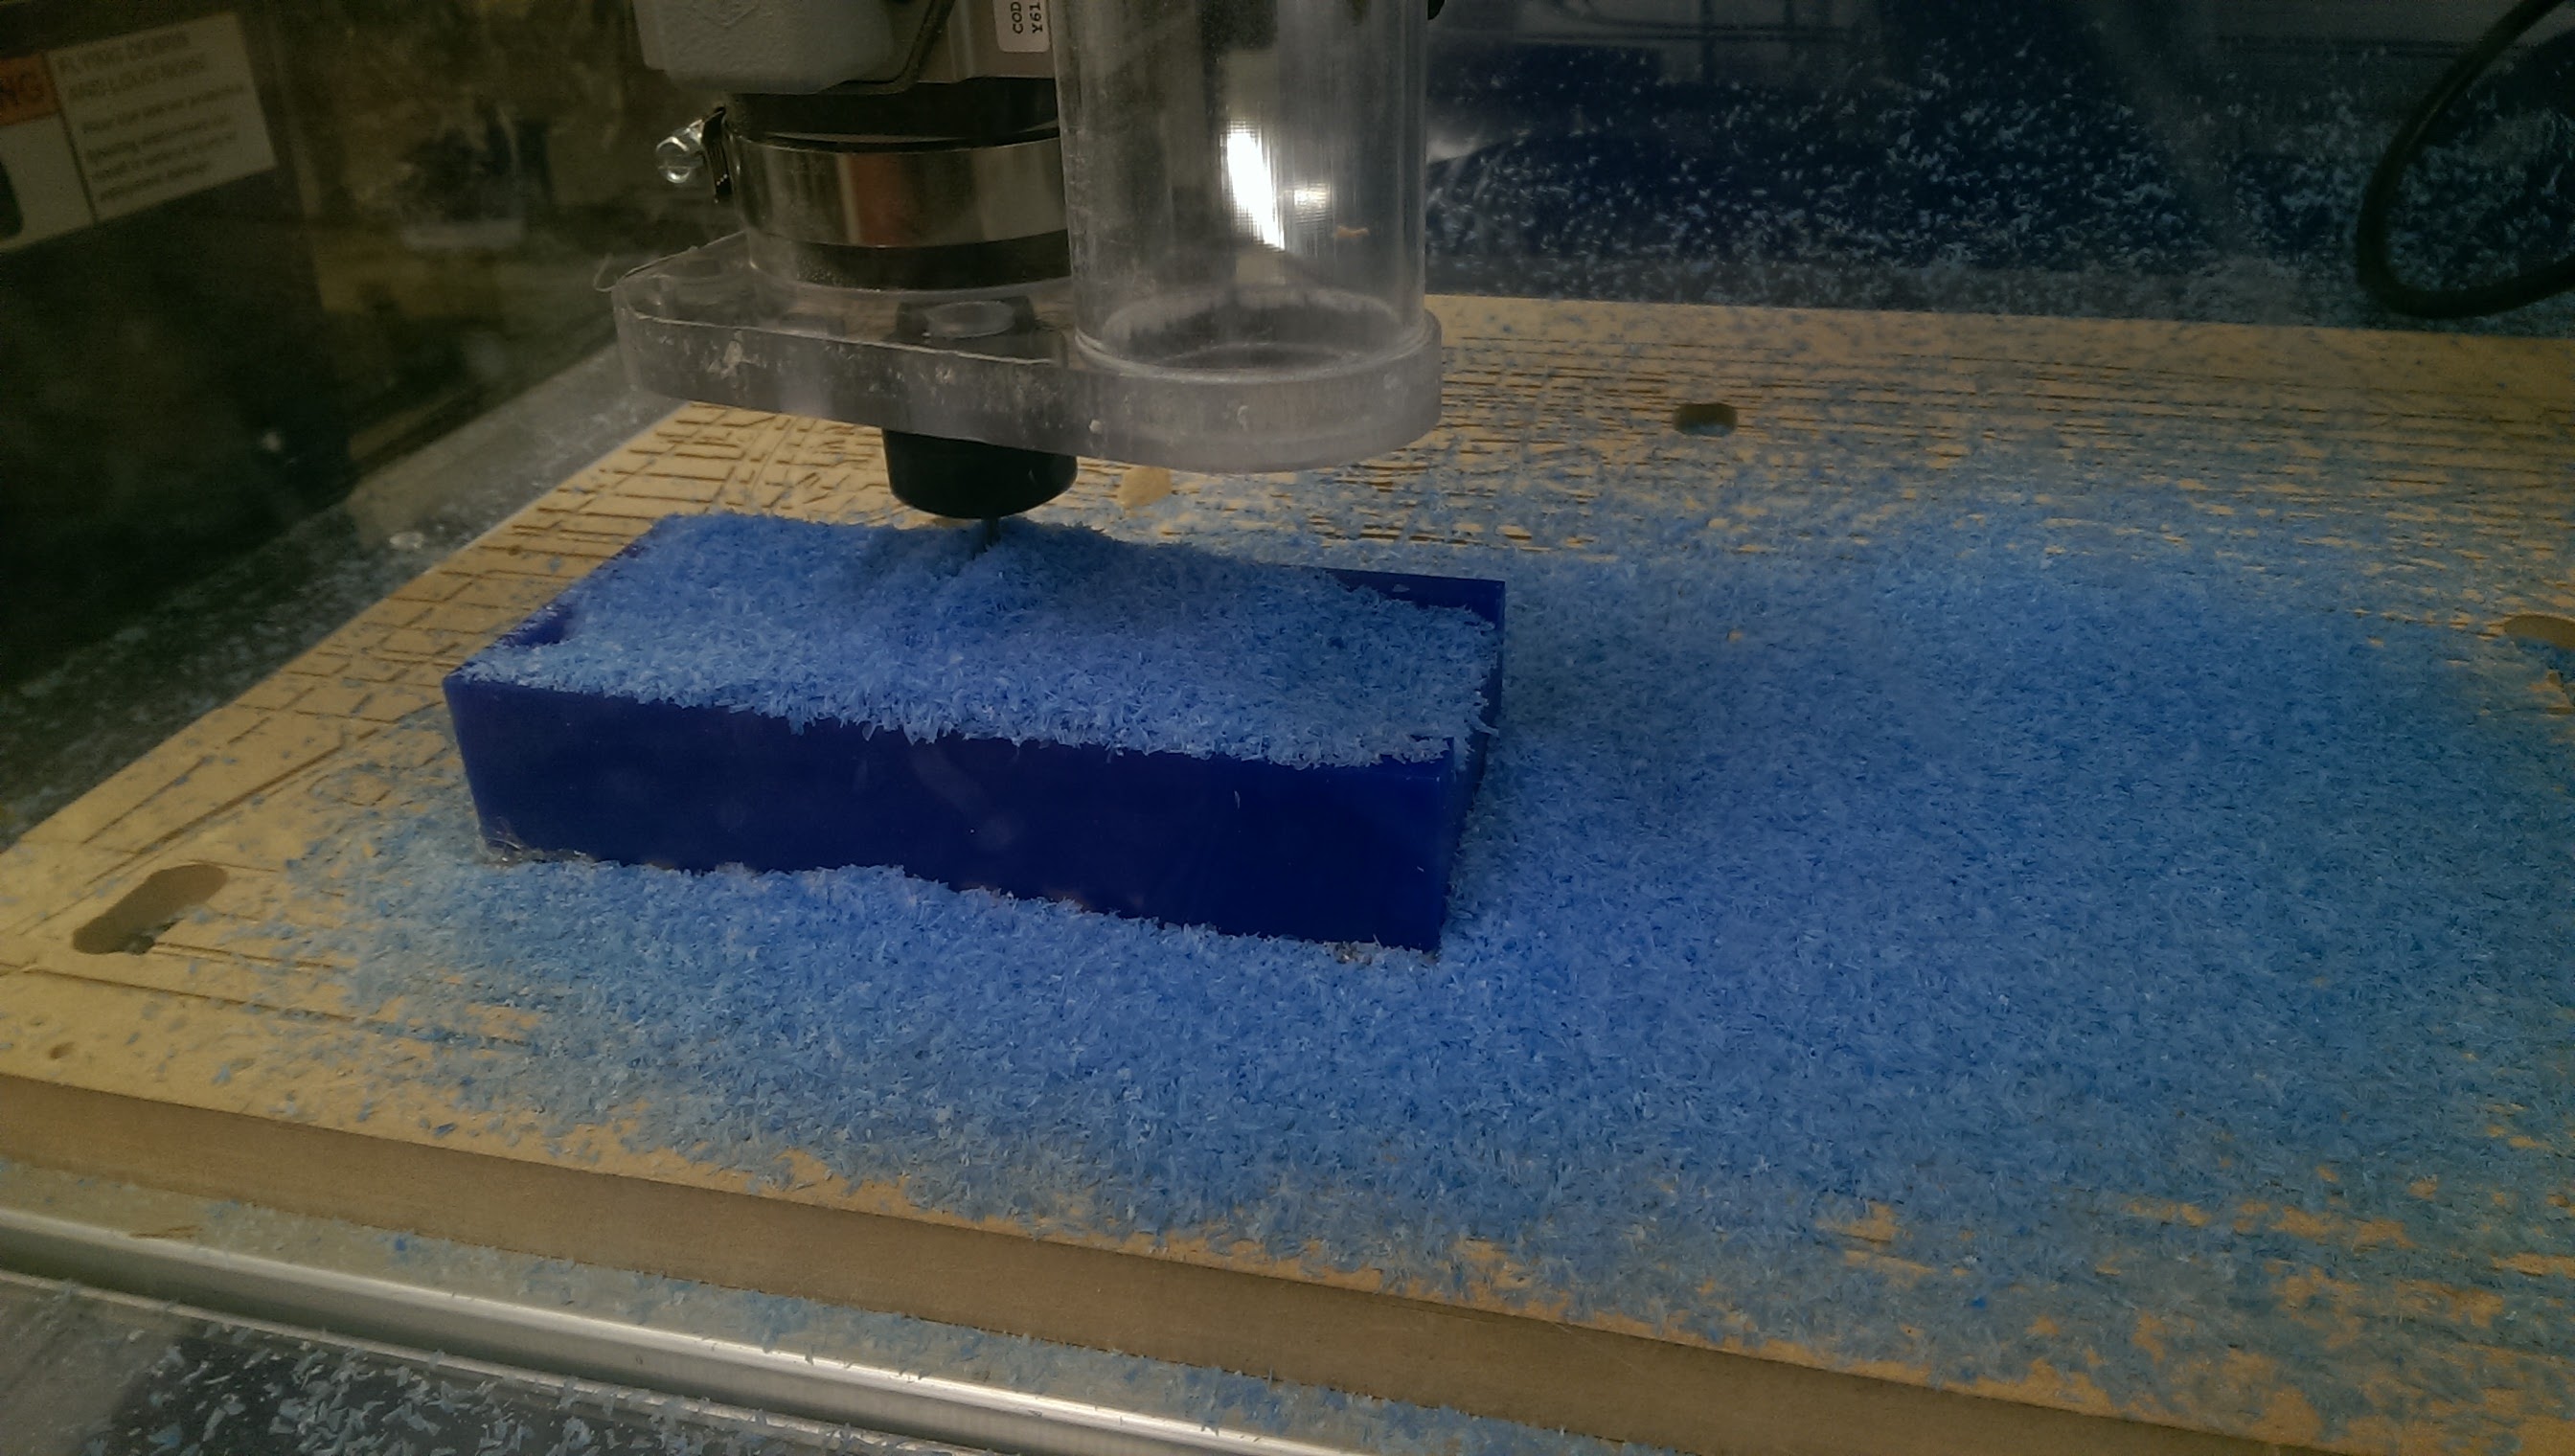
I had originally scaled BMO to fit in our 3" x 7" x 1.5" wax, assuming he wouldn't have arms attached. Adding the arms made him wider than 3", and I needed to scale him down to fit the wax block. Once he got scaled down, I was worried some of the surface details would be lost. I contemplated using an endmill smaller than 1/8", either 1/16" or 3/32", but it was going to take on the order of 90+ minutes, and I didn't have the time for that. There was also a worry that the smaller bits would run out of room, smashing the collet into the wax.
Another issue that came up with the larger bits was that a small fillet was added to the bottom (middle) of BMO, which would not only create a nasty joining line, but also make attaching the wax sides even more difficult. I'd have to hack away that fillet to ensure the sides got down as far as they needed to. Ah well, an imperfect BMO is better than no BMO!
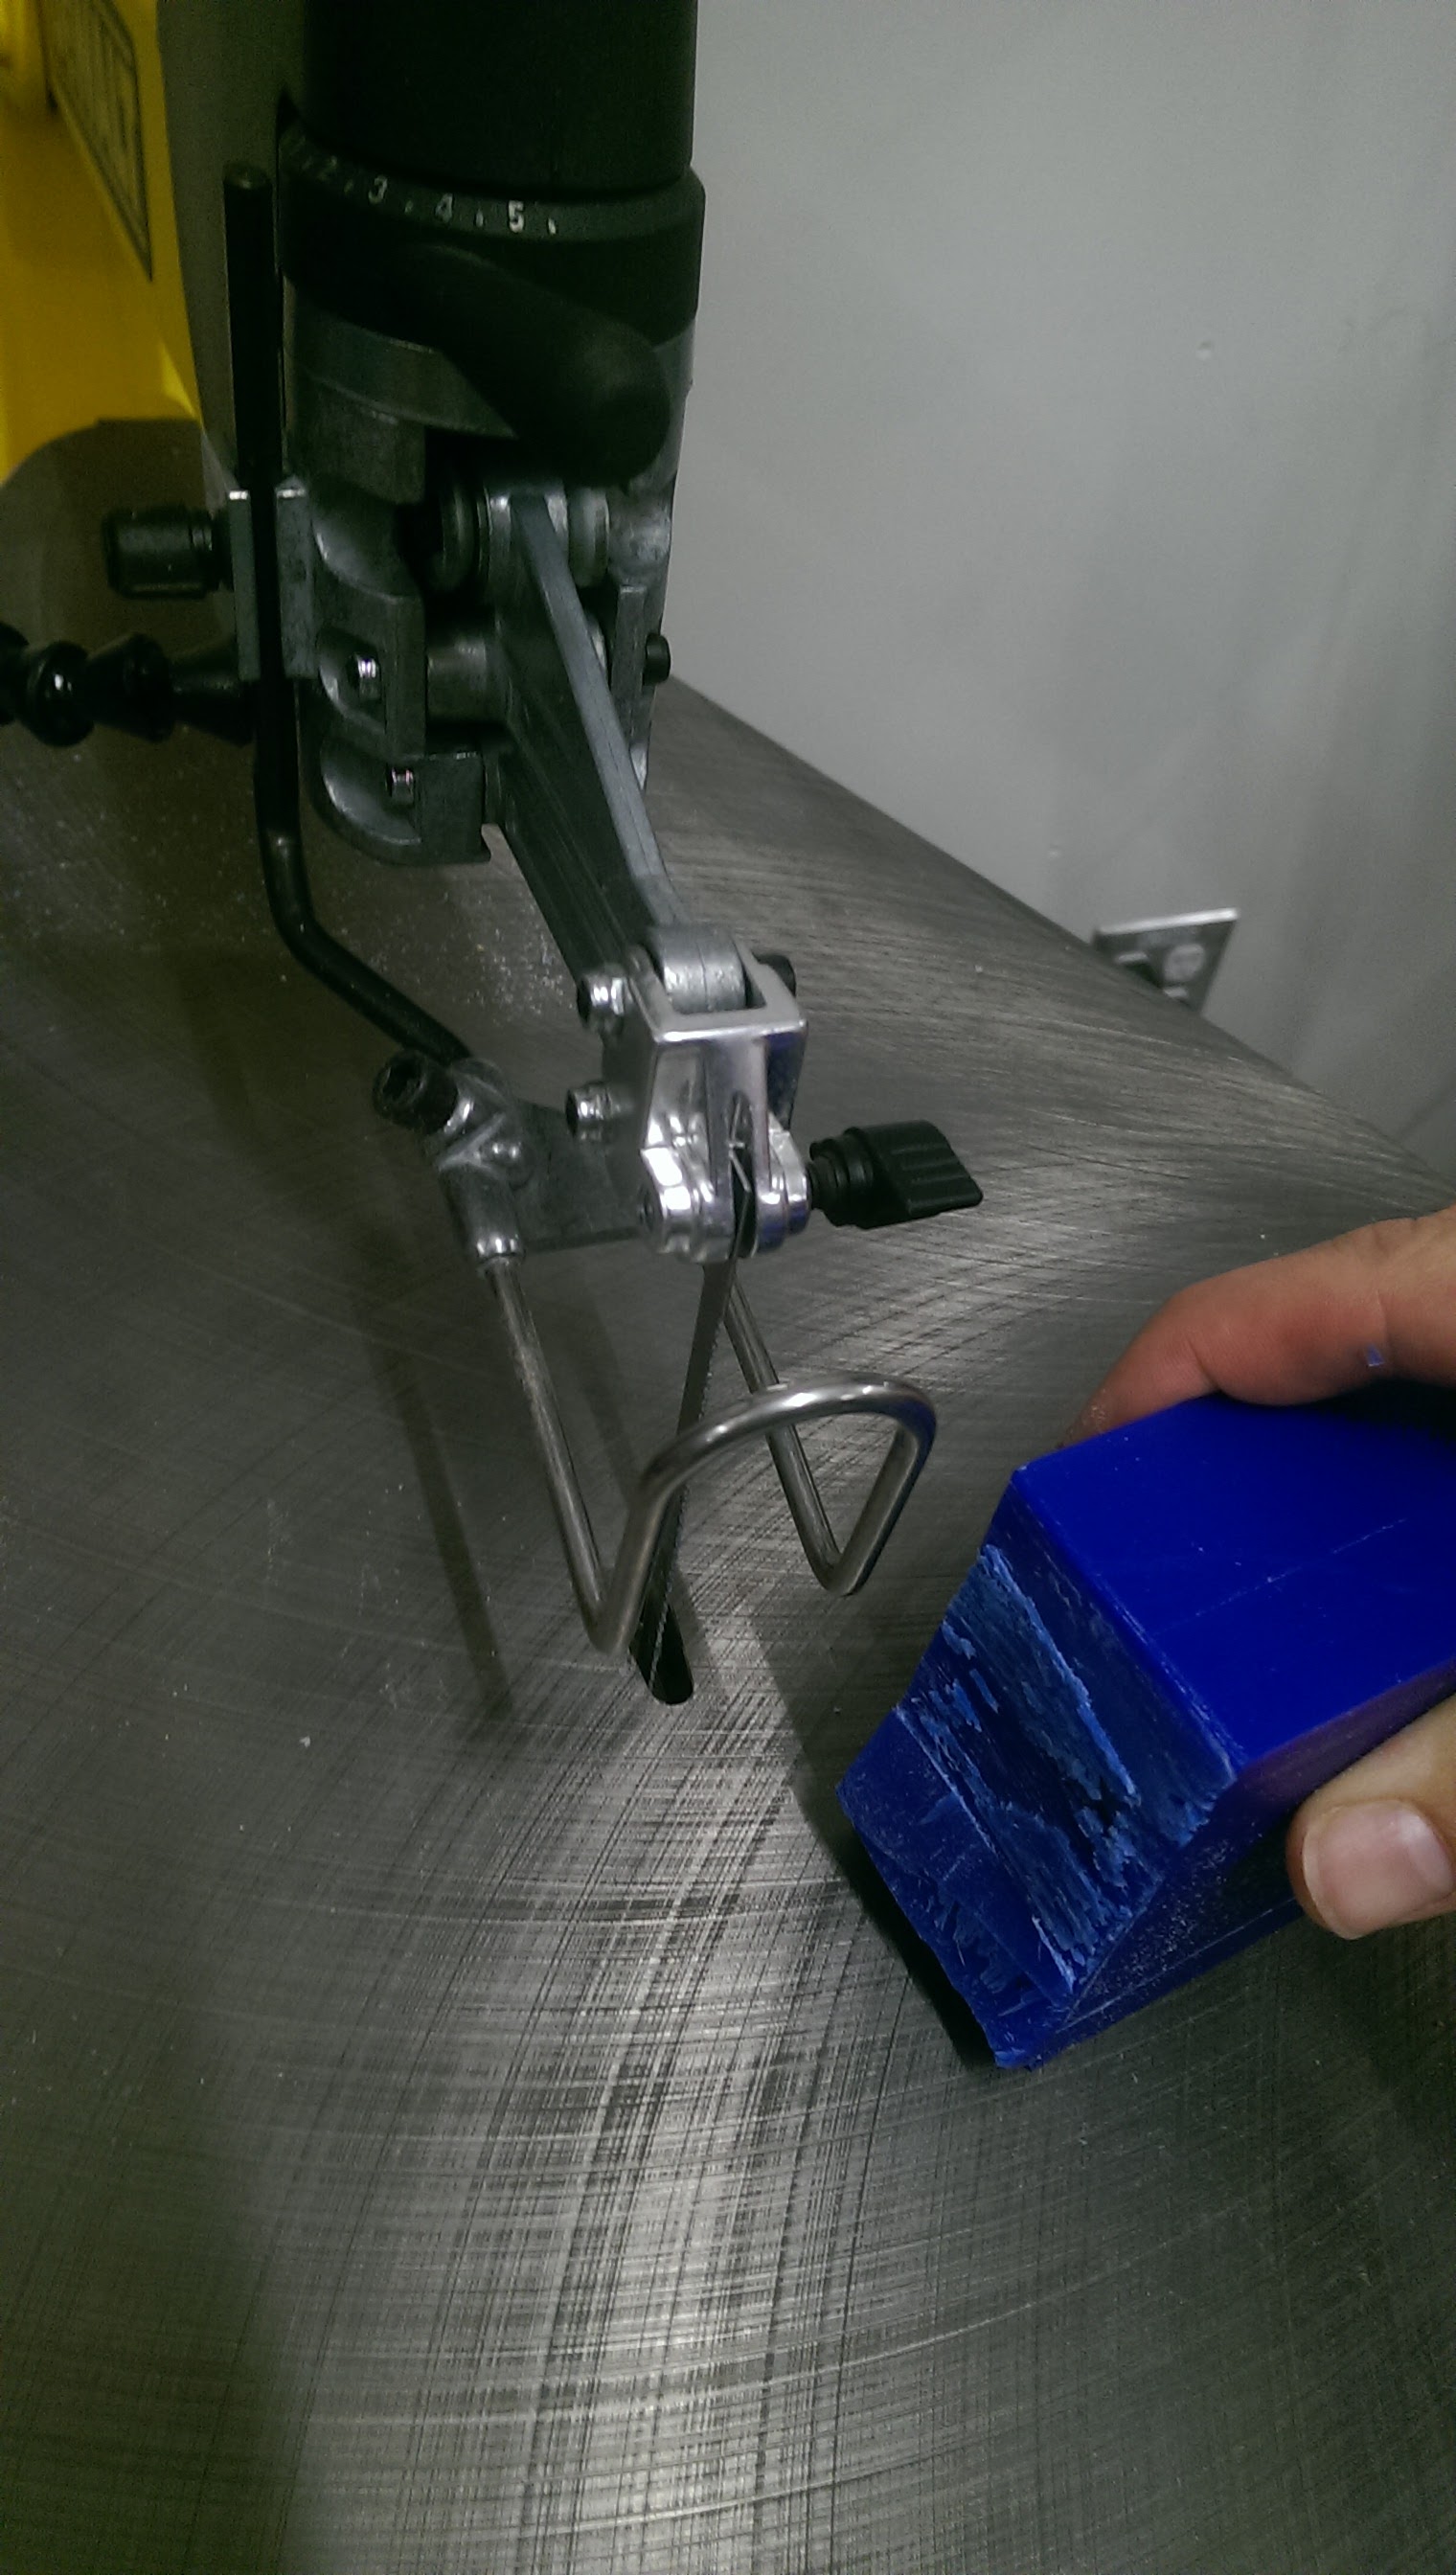
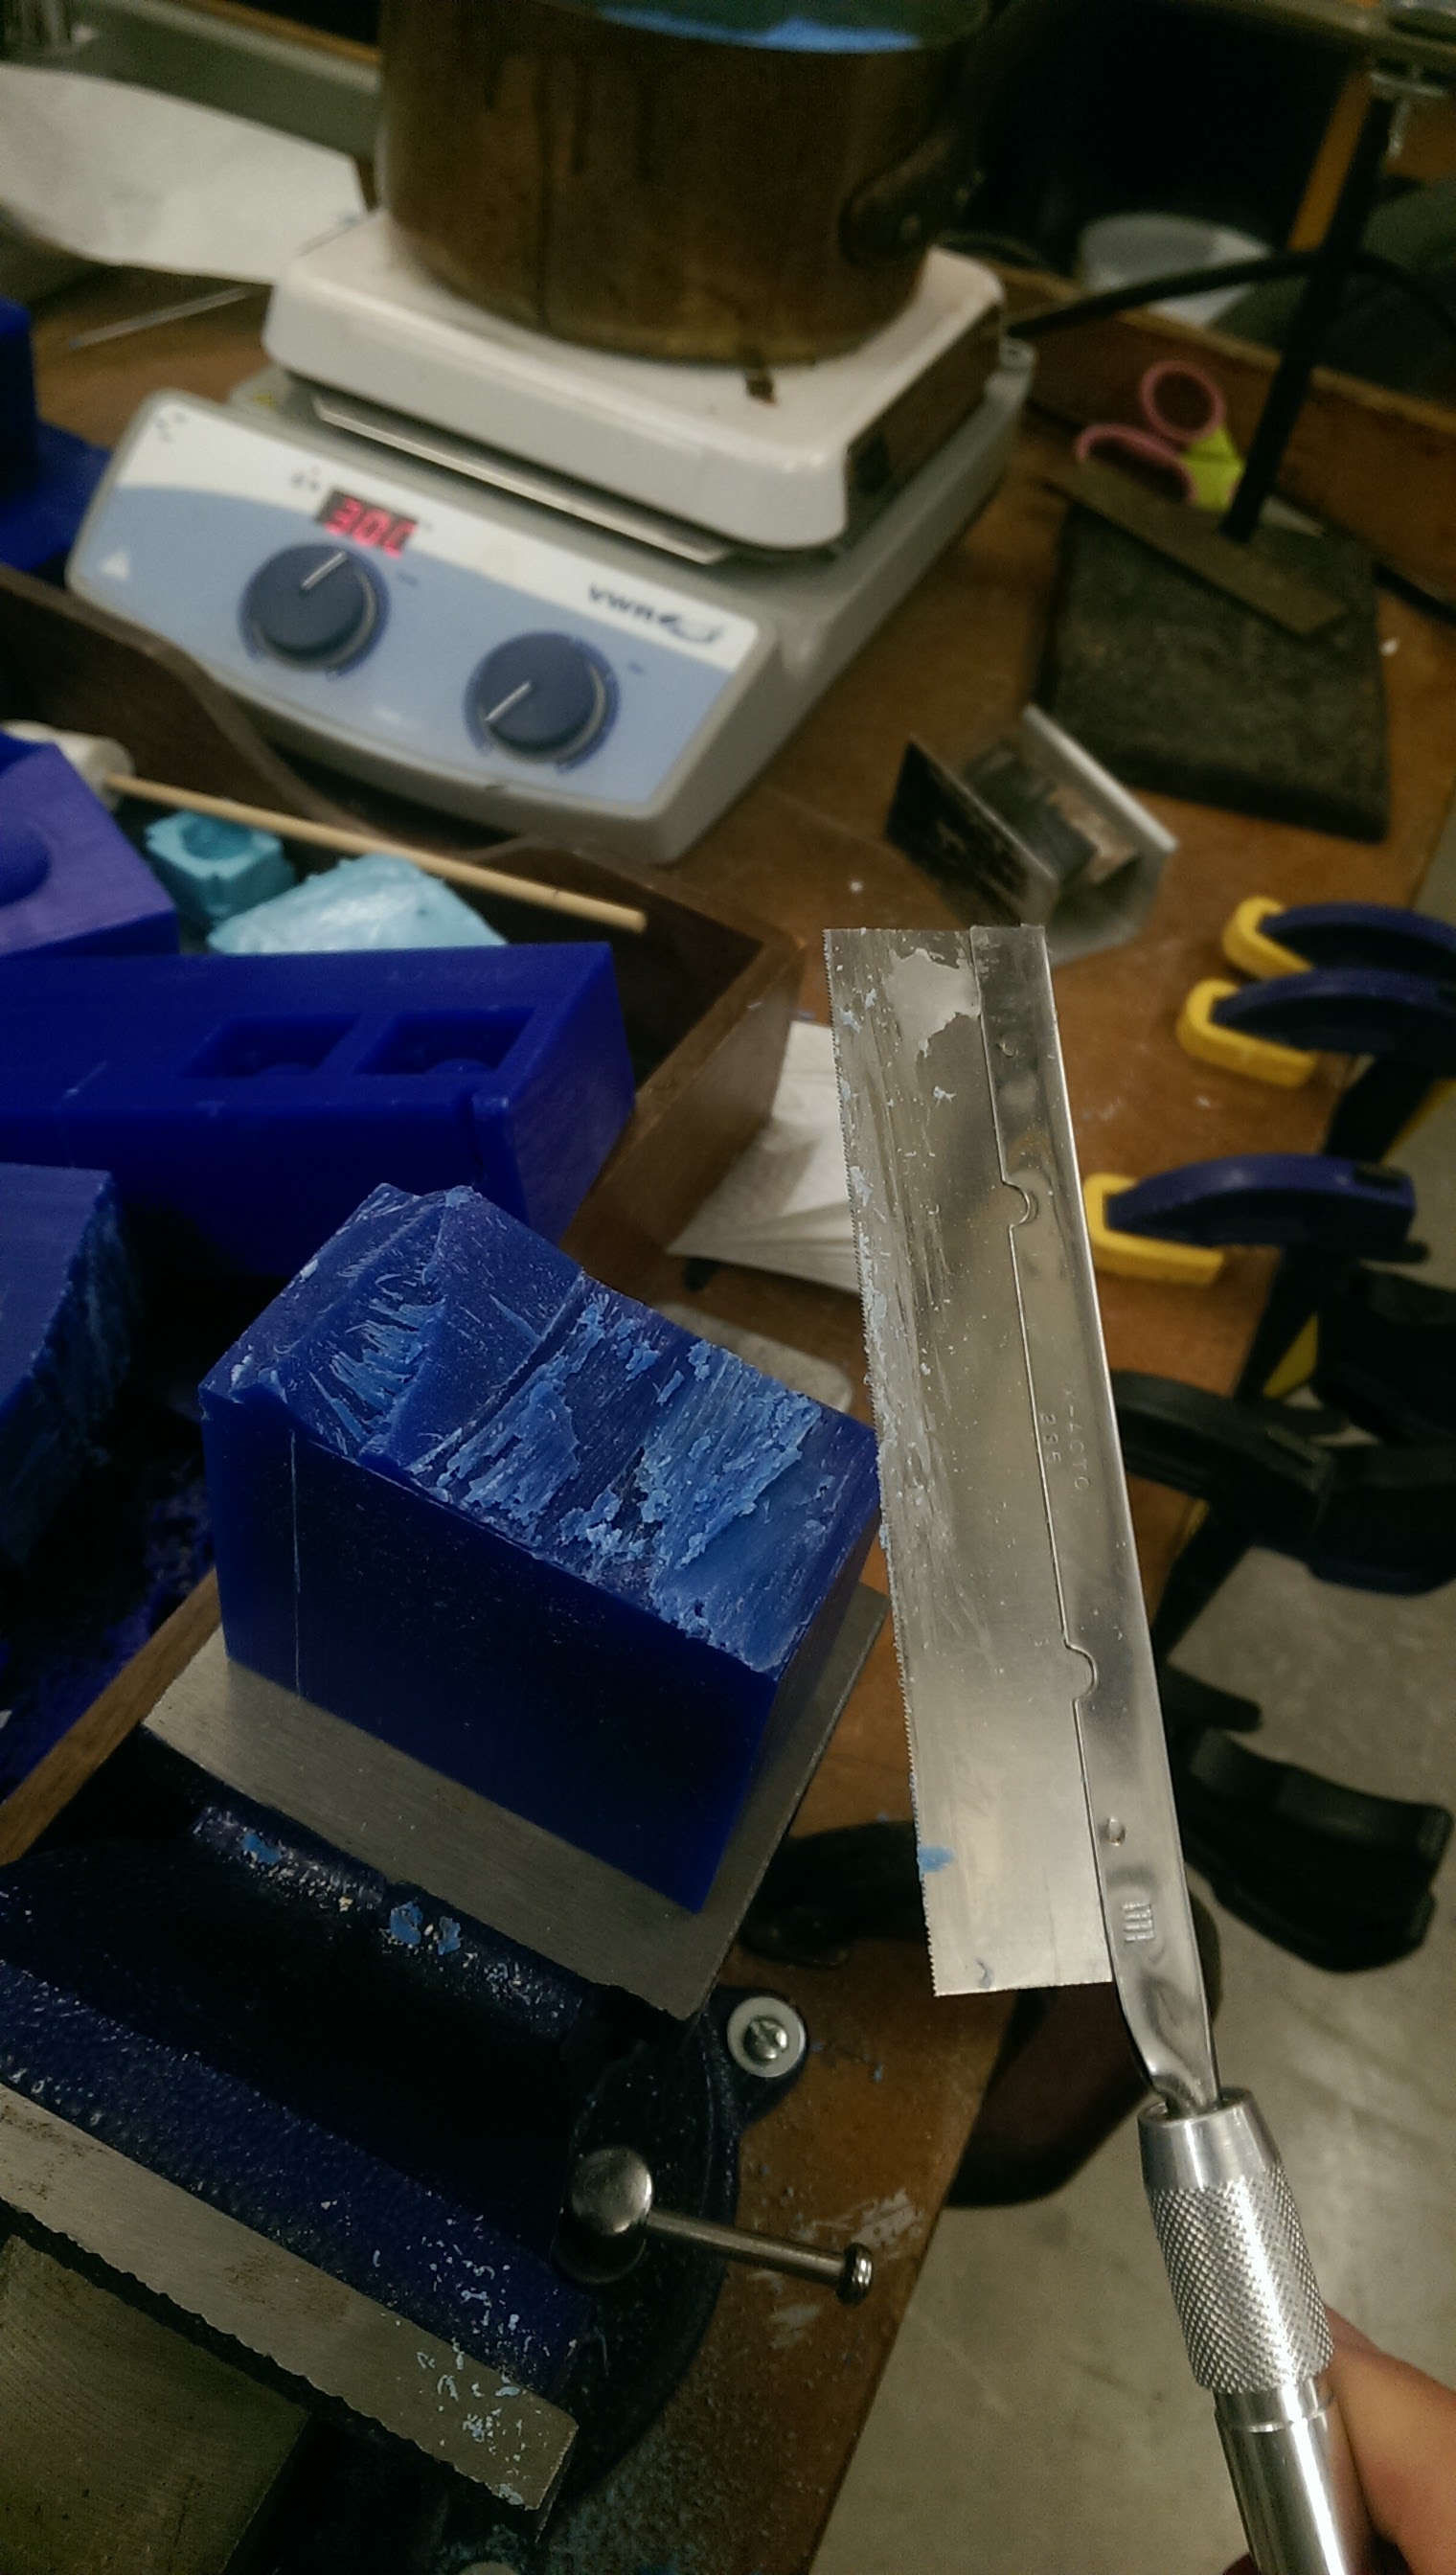
With the main body milling, I set to milling out the sides. I decided to use our Roland Modela MDX-20, instead of the dekstop ShopBot (people were waiting to use it). To mill the sides, I'd need a wax block of appx. 2.5" x 2" x .2". I tried to cut a nice block out of a larger piece of wax, but that's tough stuff! It ensnared a band-saw, broke a hacksaw blade, and I ended up breaking off what I had cut with a hammer. That stuff is hard! (I suppose that's why it mills so well.) A hot-wire cutter would be nice to have in the Harvard lab ...
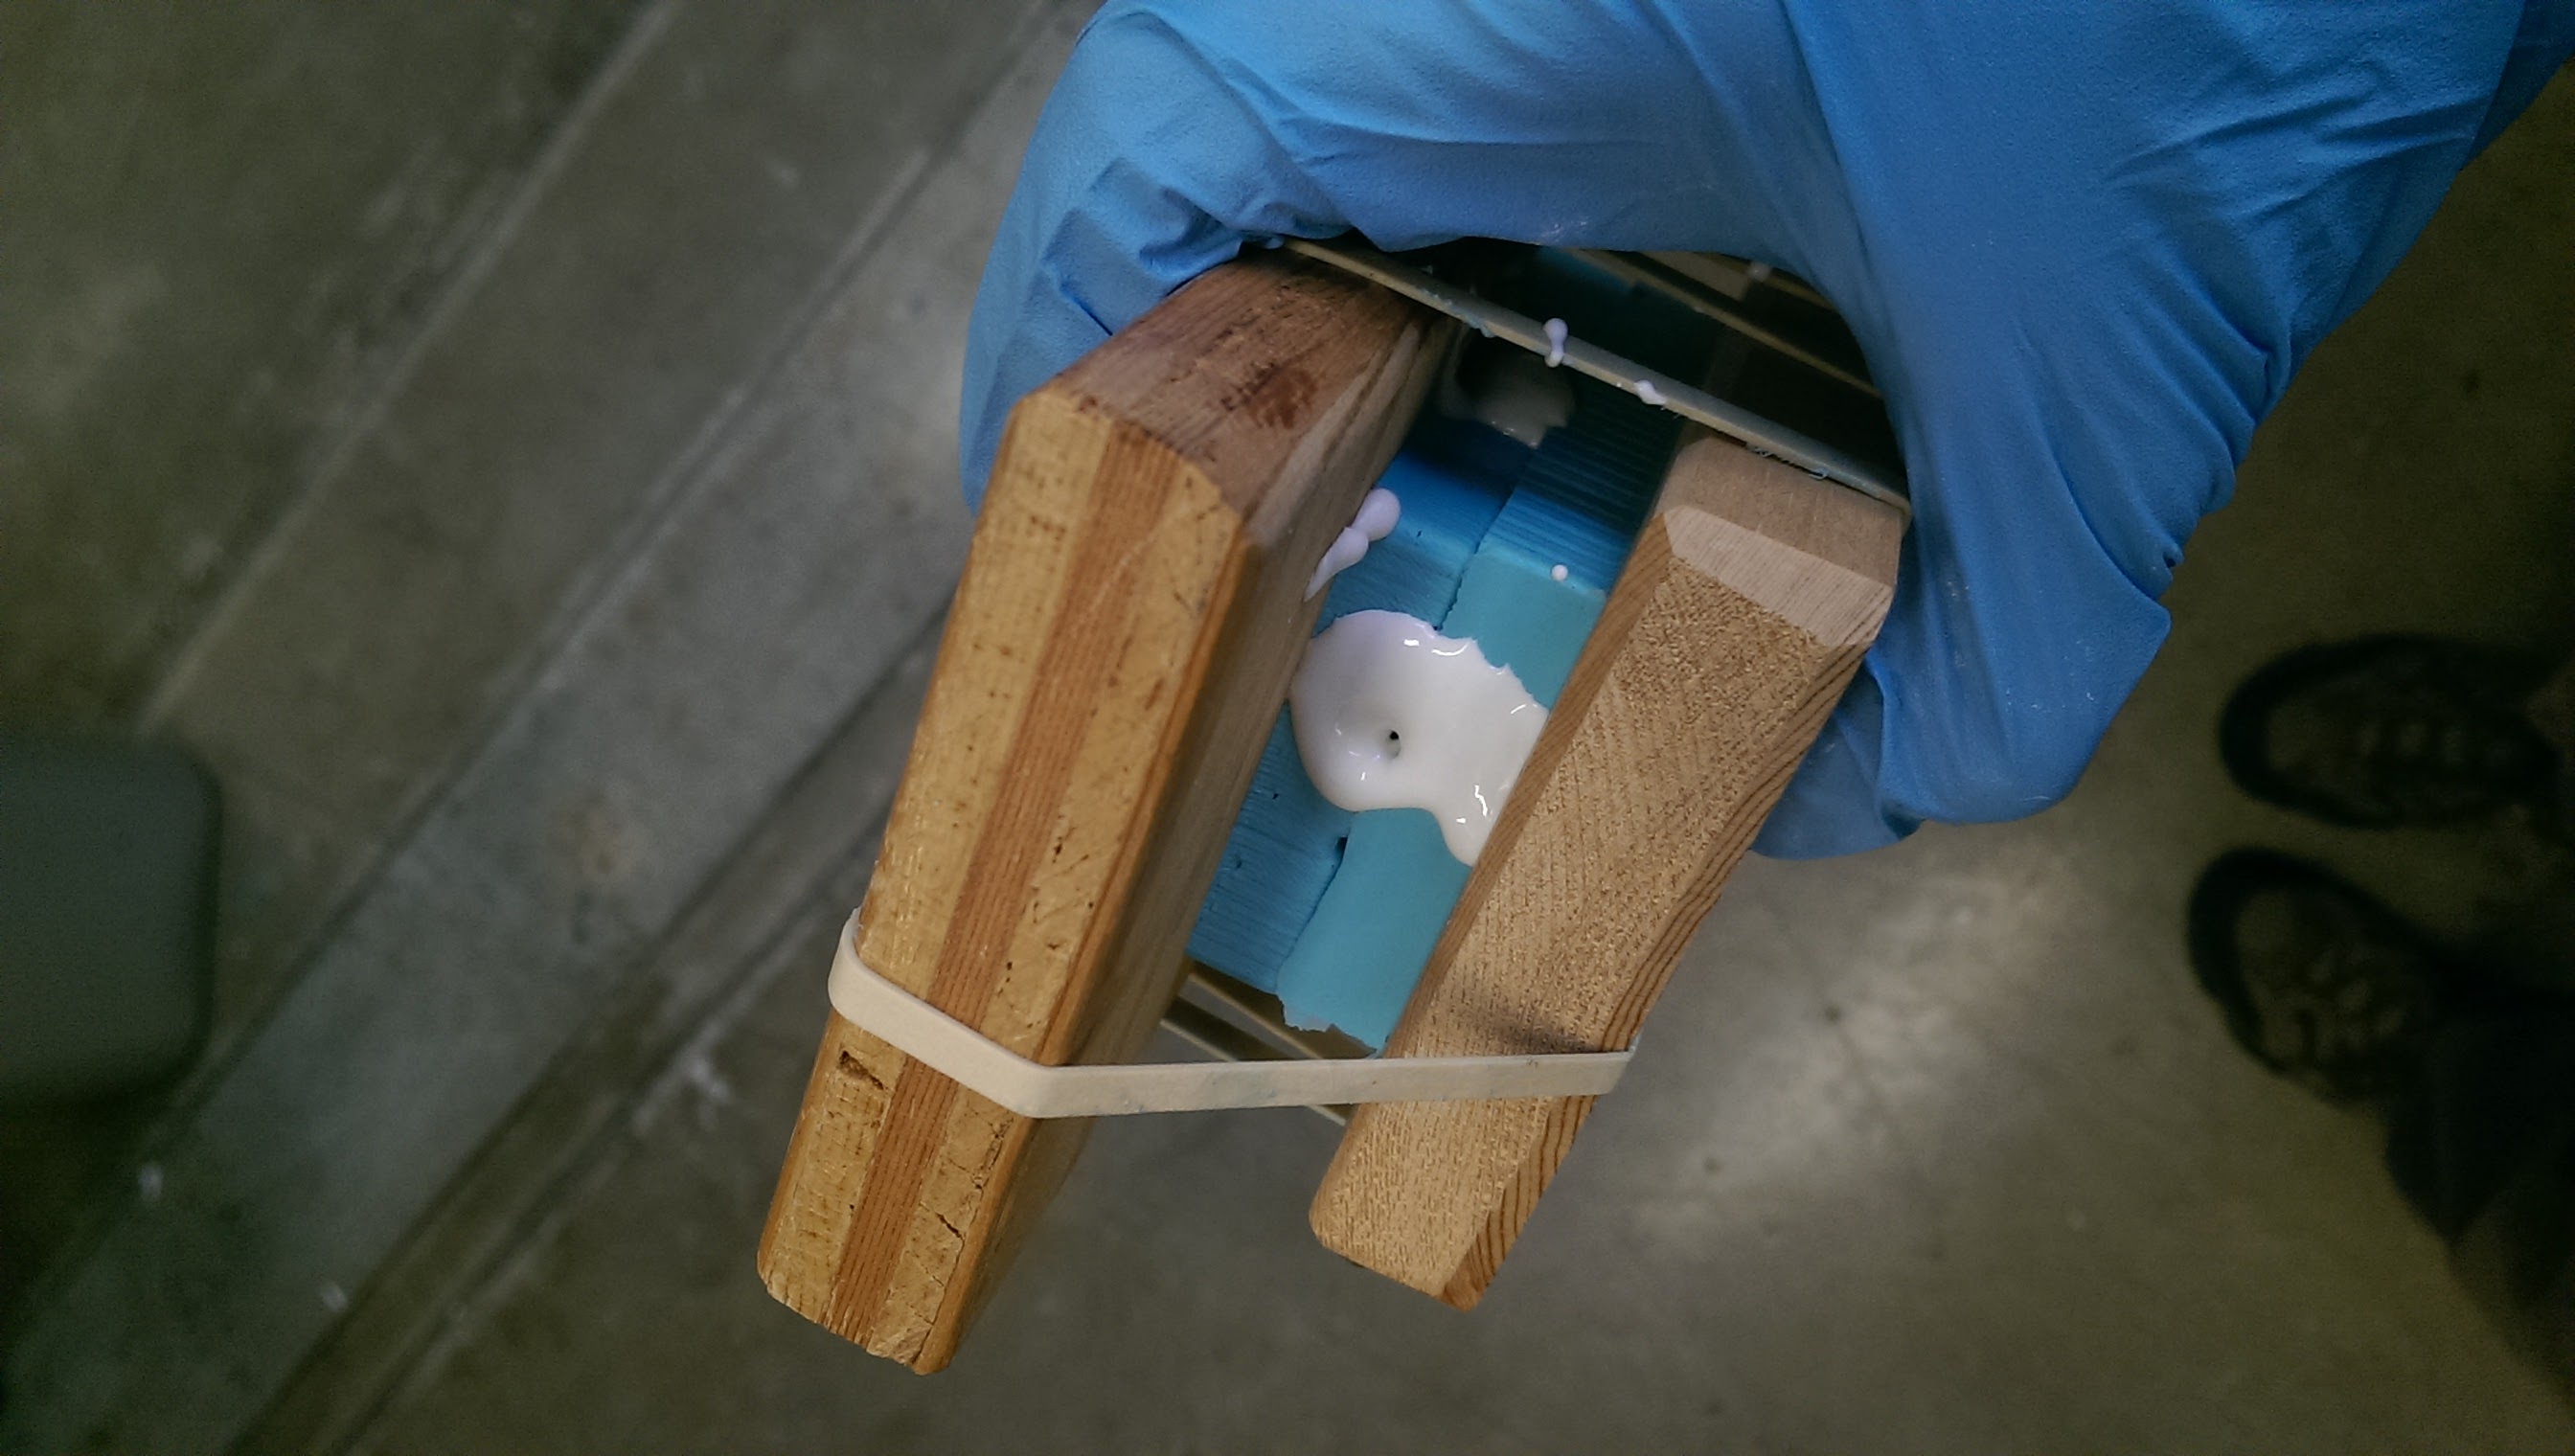
Seeing how tough the wax was to manipulate manually, I had second thoughts about cutting the sides out on my own. It'd be MUCH easier to deisgn some tabs in to the sides file, and have a machine do most of the cutting. In the interest of time, I decided to skip the sides, and just mold the BMO body I had. The bottom of the mold just barely didn't fit on the wax block, and I had to hot-glue on a wooden dam to keep the oomoo contained. With the oomoo poured, I banged it on the floor a couple of times to get rid of some bubbles. Of course, this broke any bond the hot glue had with the wax, and I had to rubber-band the dam on. (Apologies, I guess I didn't get a picture of that!)
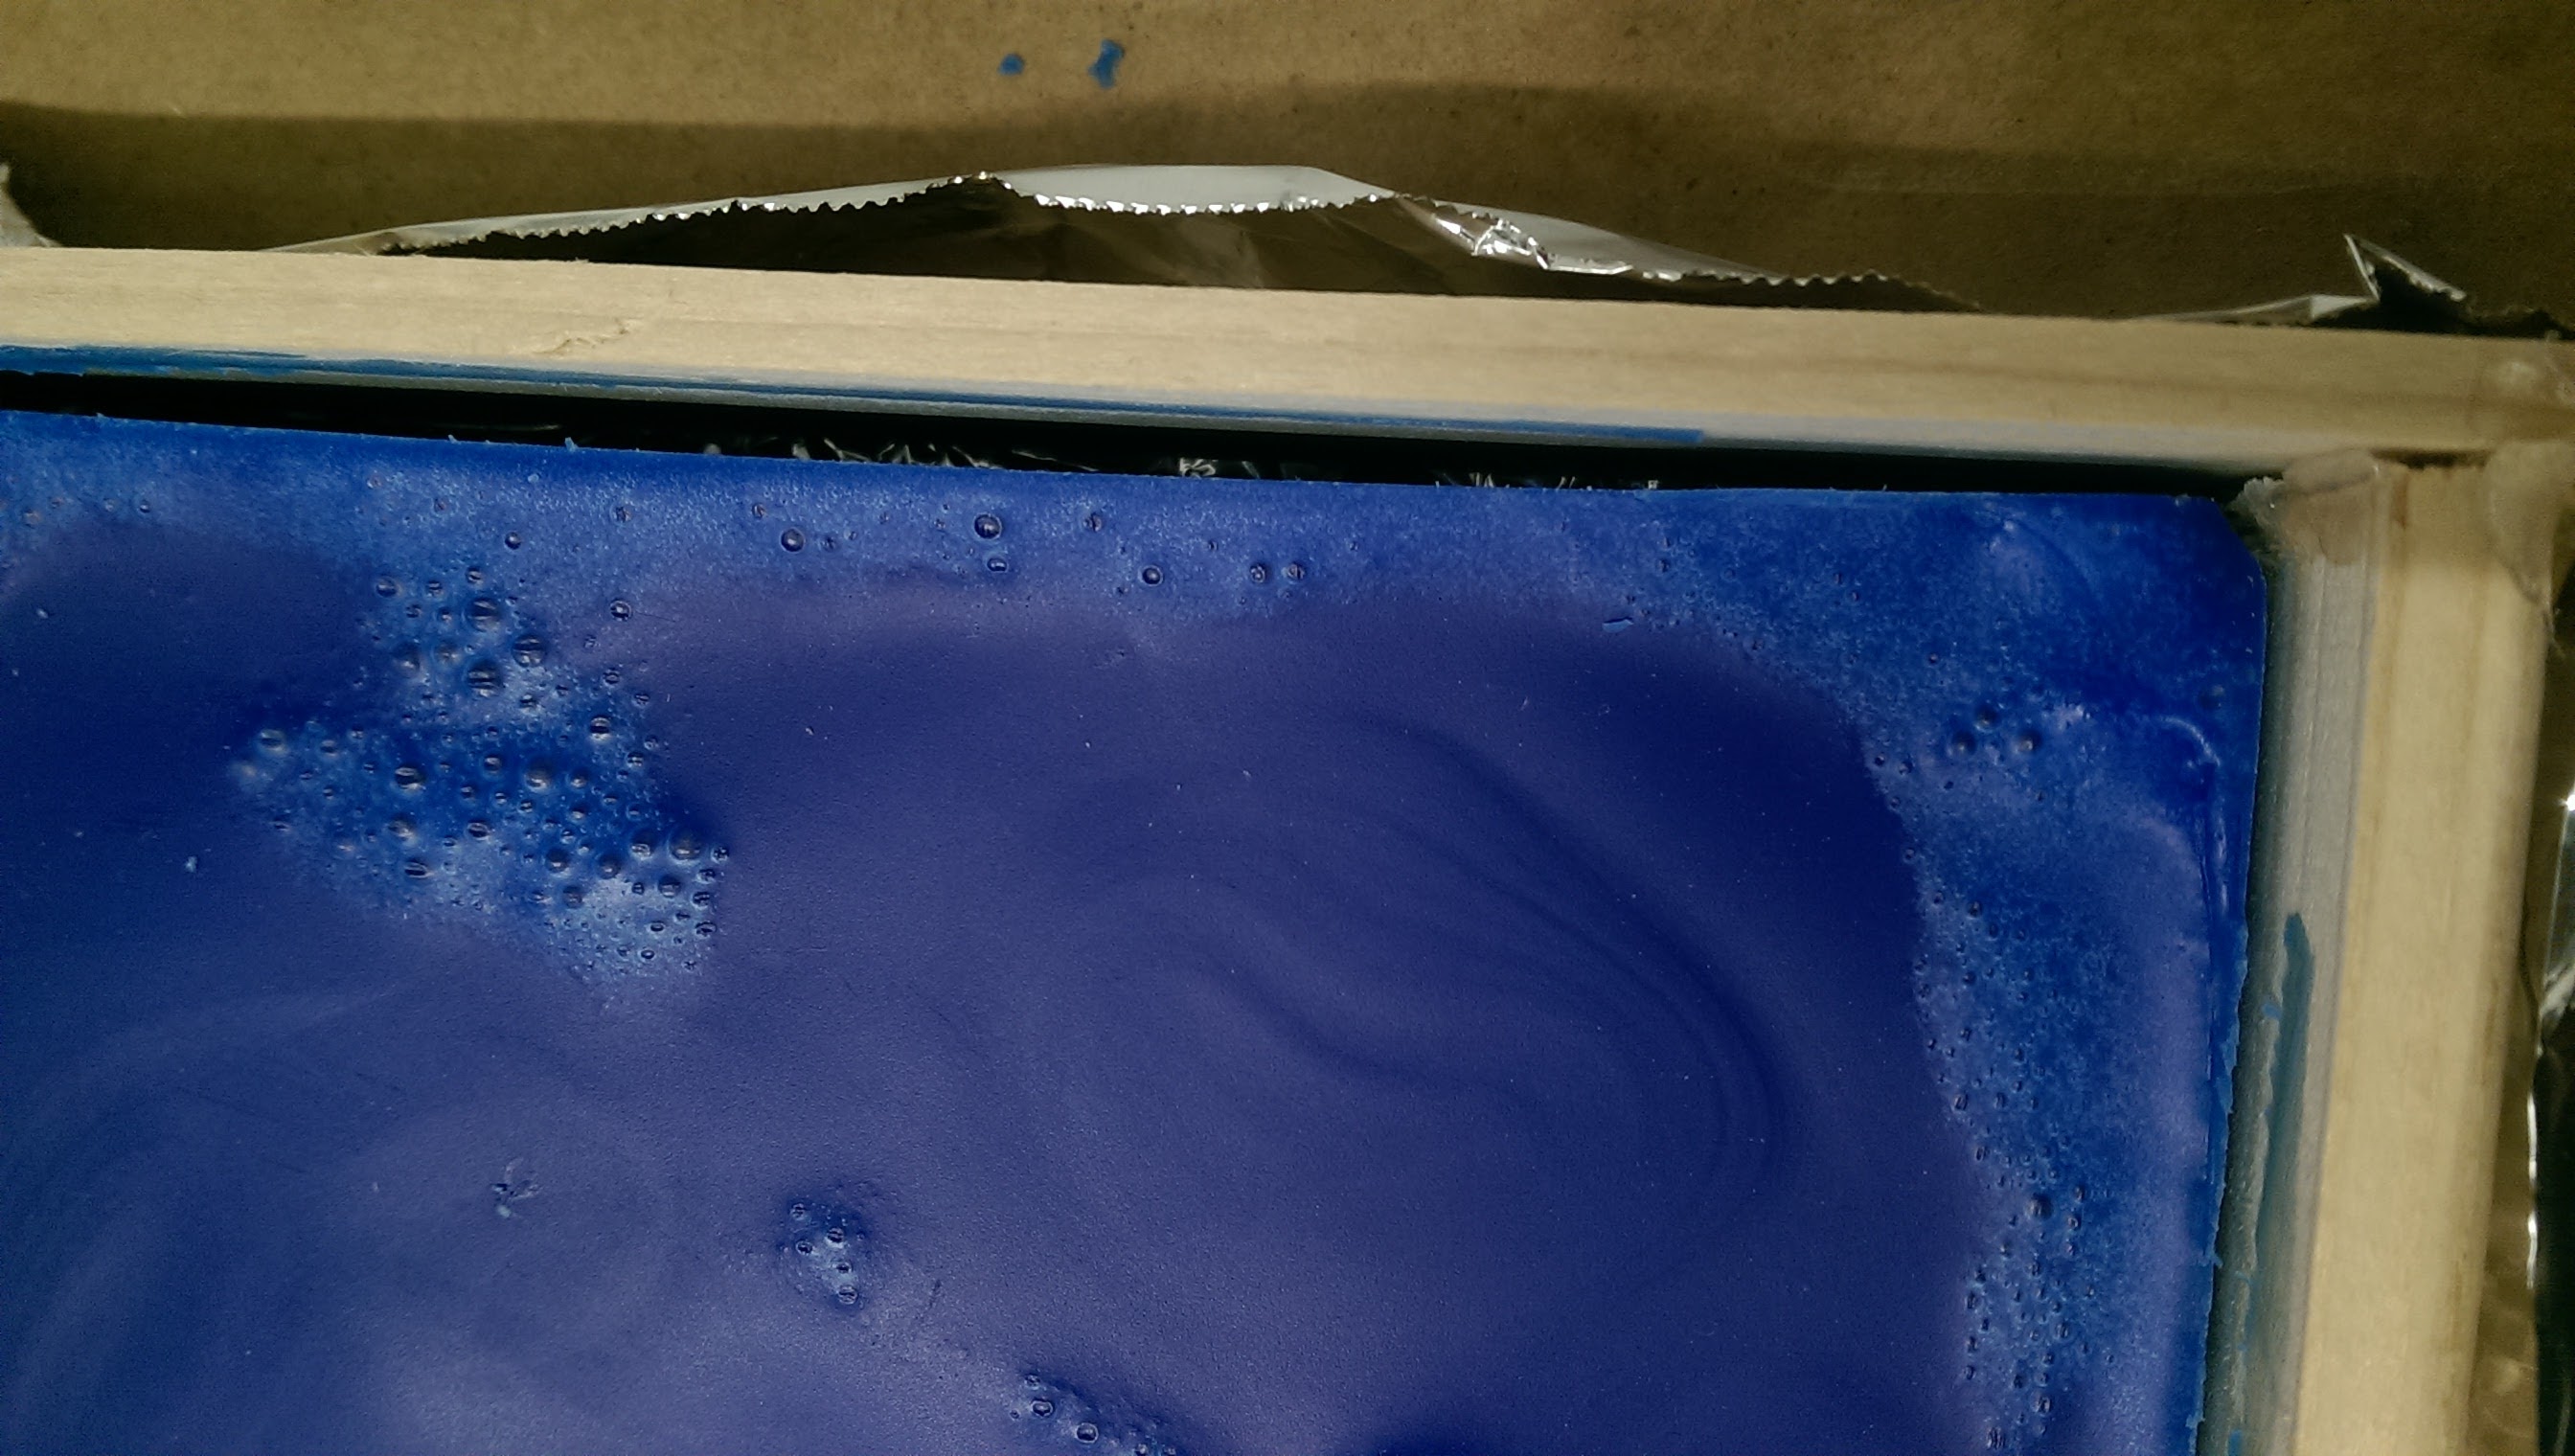
Meanwhile, I regretted not making something simpler, like my bedside tray. It meausres 4.5" x 6" x .5", so I had to melt down some wax and re-pour it to get a block wide enough. I created a mold using some wooden planks, hot glue, and tin foil. The hot wax seemed to be extracting some fun gasses from the wood! I was worried this would fill the wax block with bubbles, but after some scraping, the bubbles appeared to be only on the surface.
The next day, the wax had definitely shrunk as it cooled! I'll mill out my tray during the subsequent weeks, when the ShopBot is in less demand.
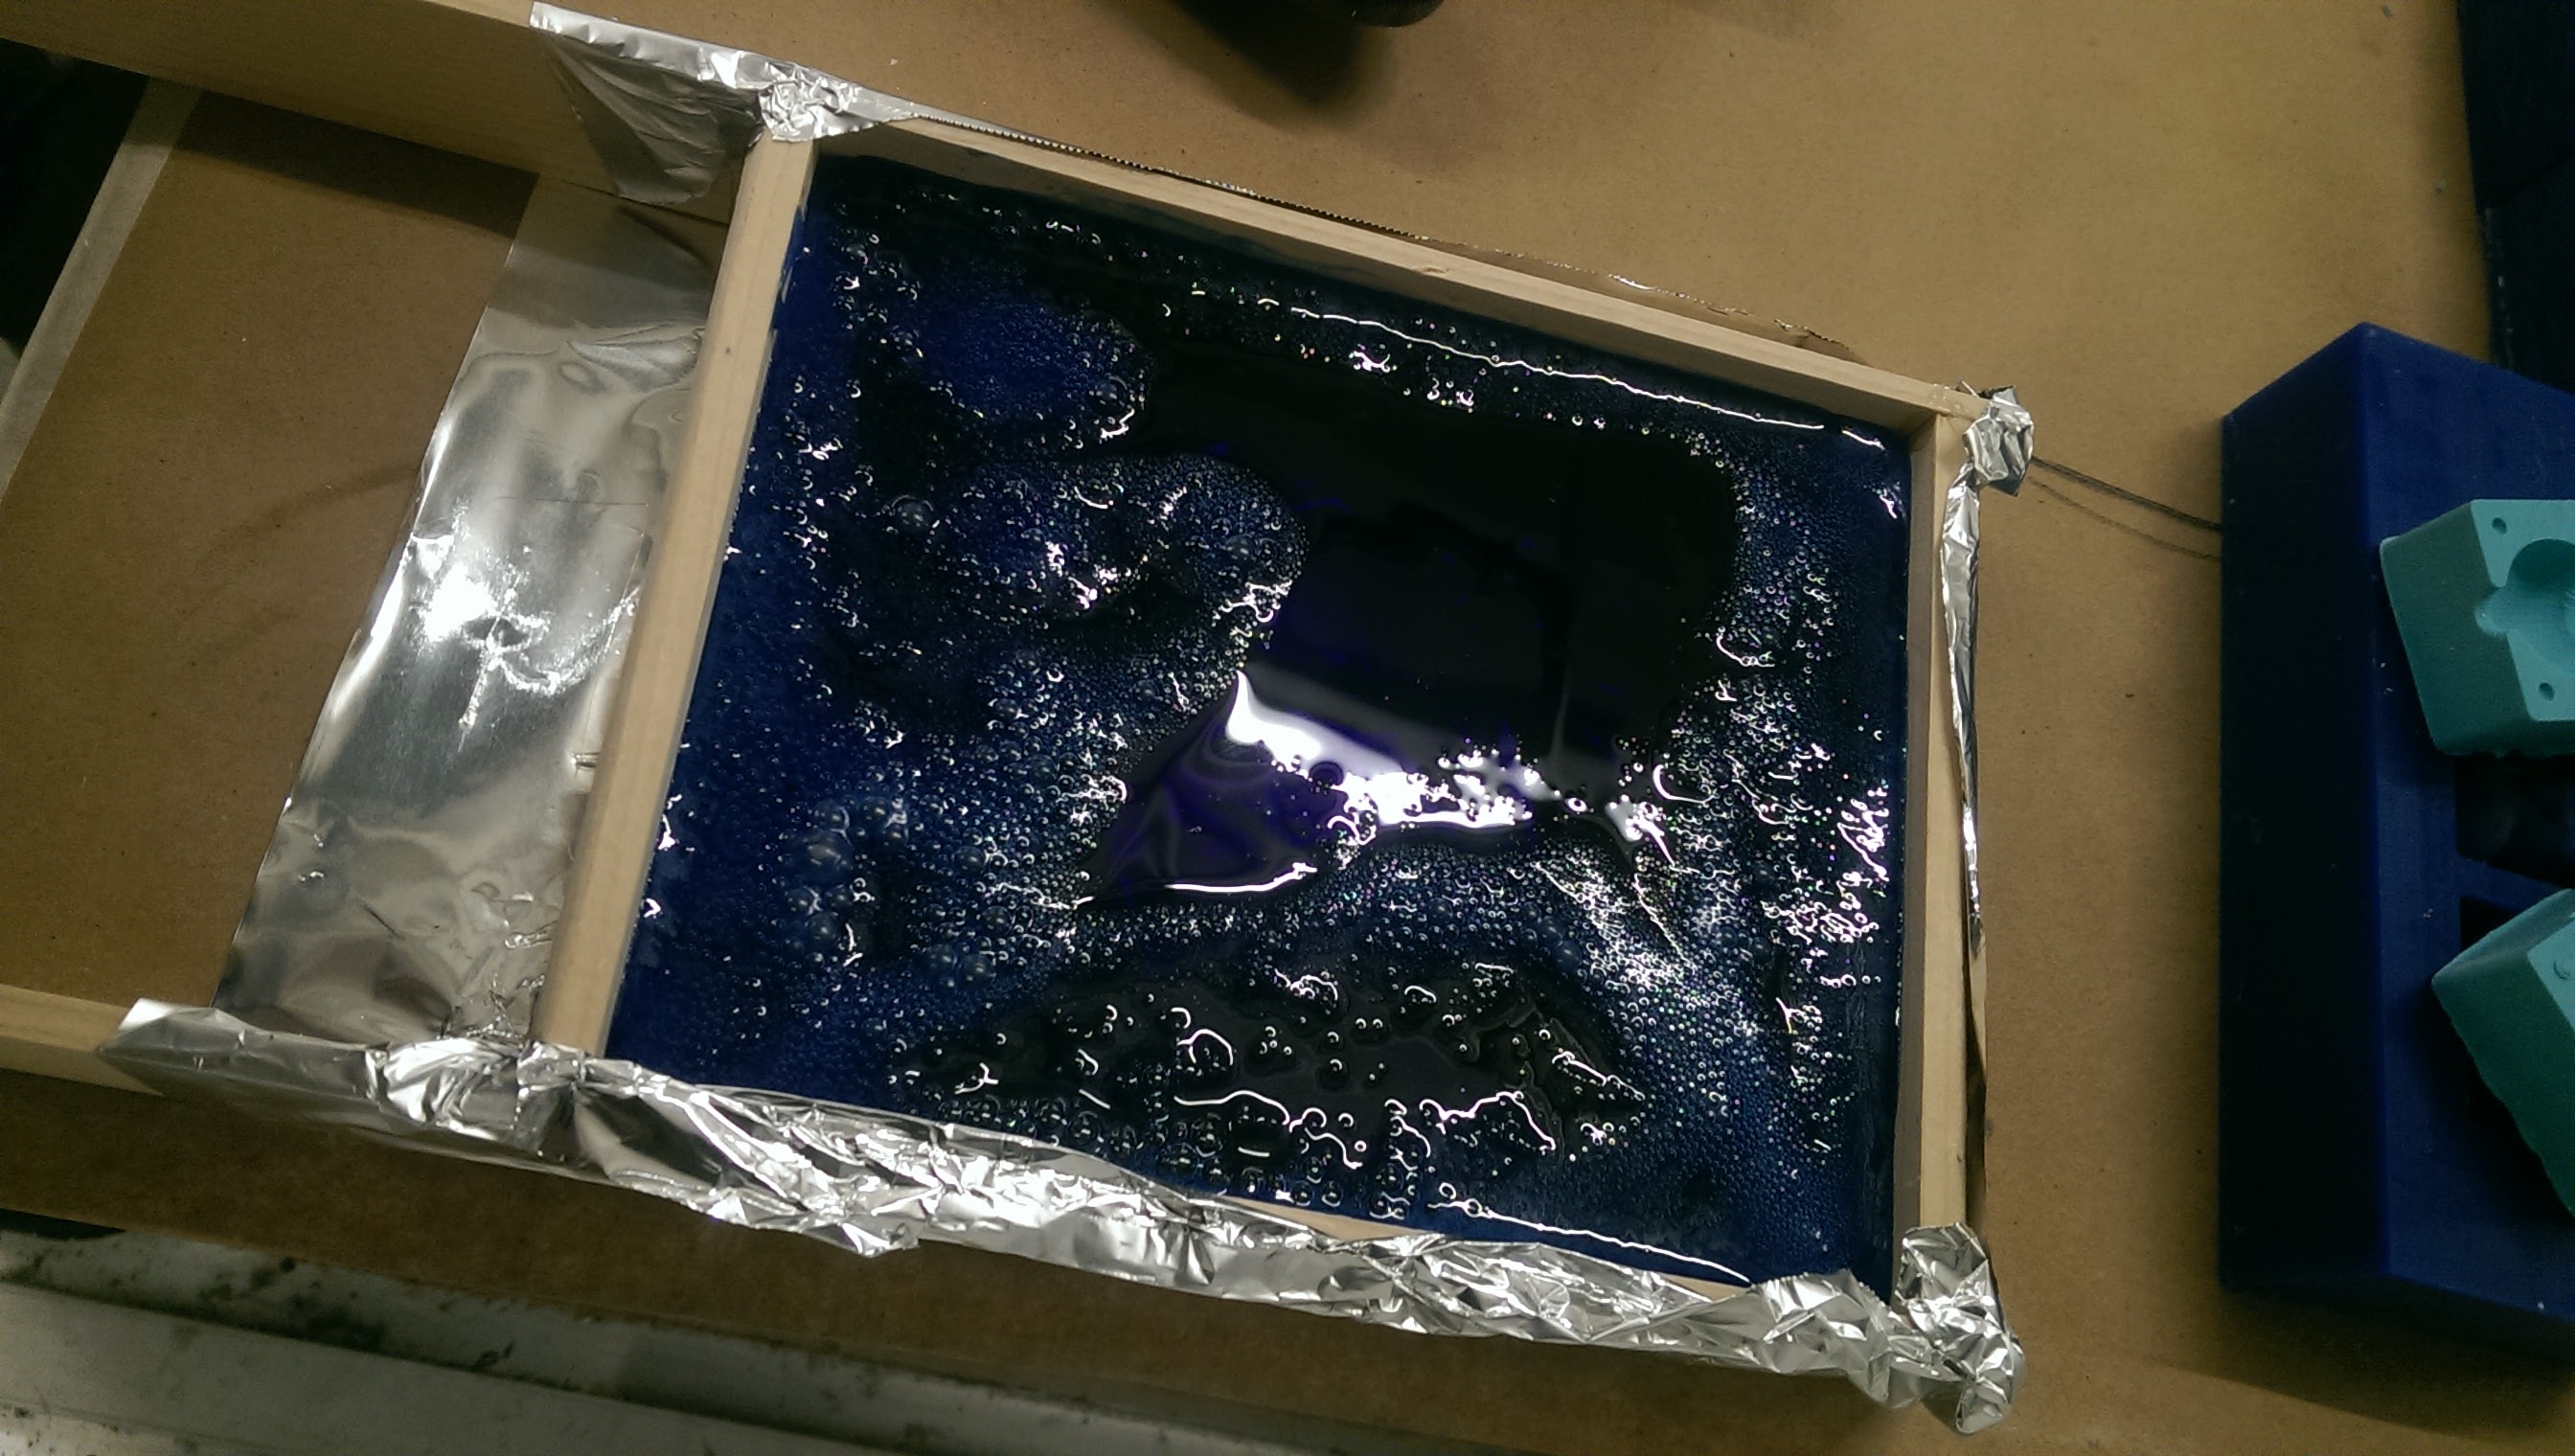
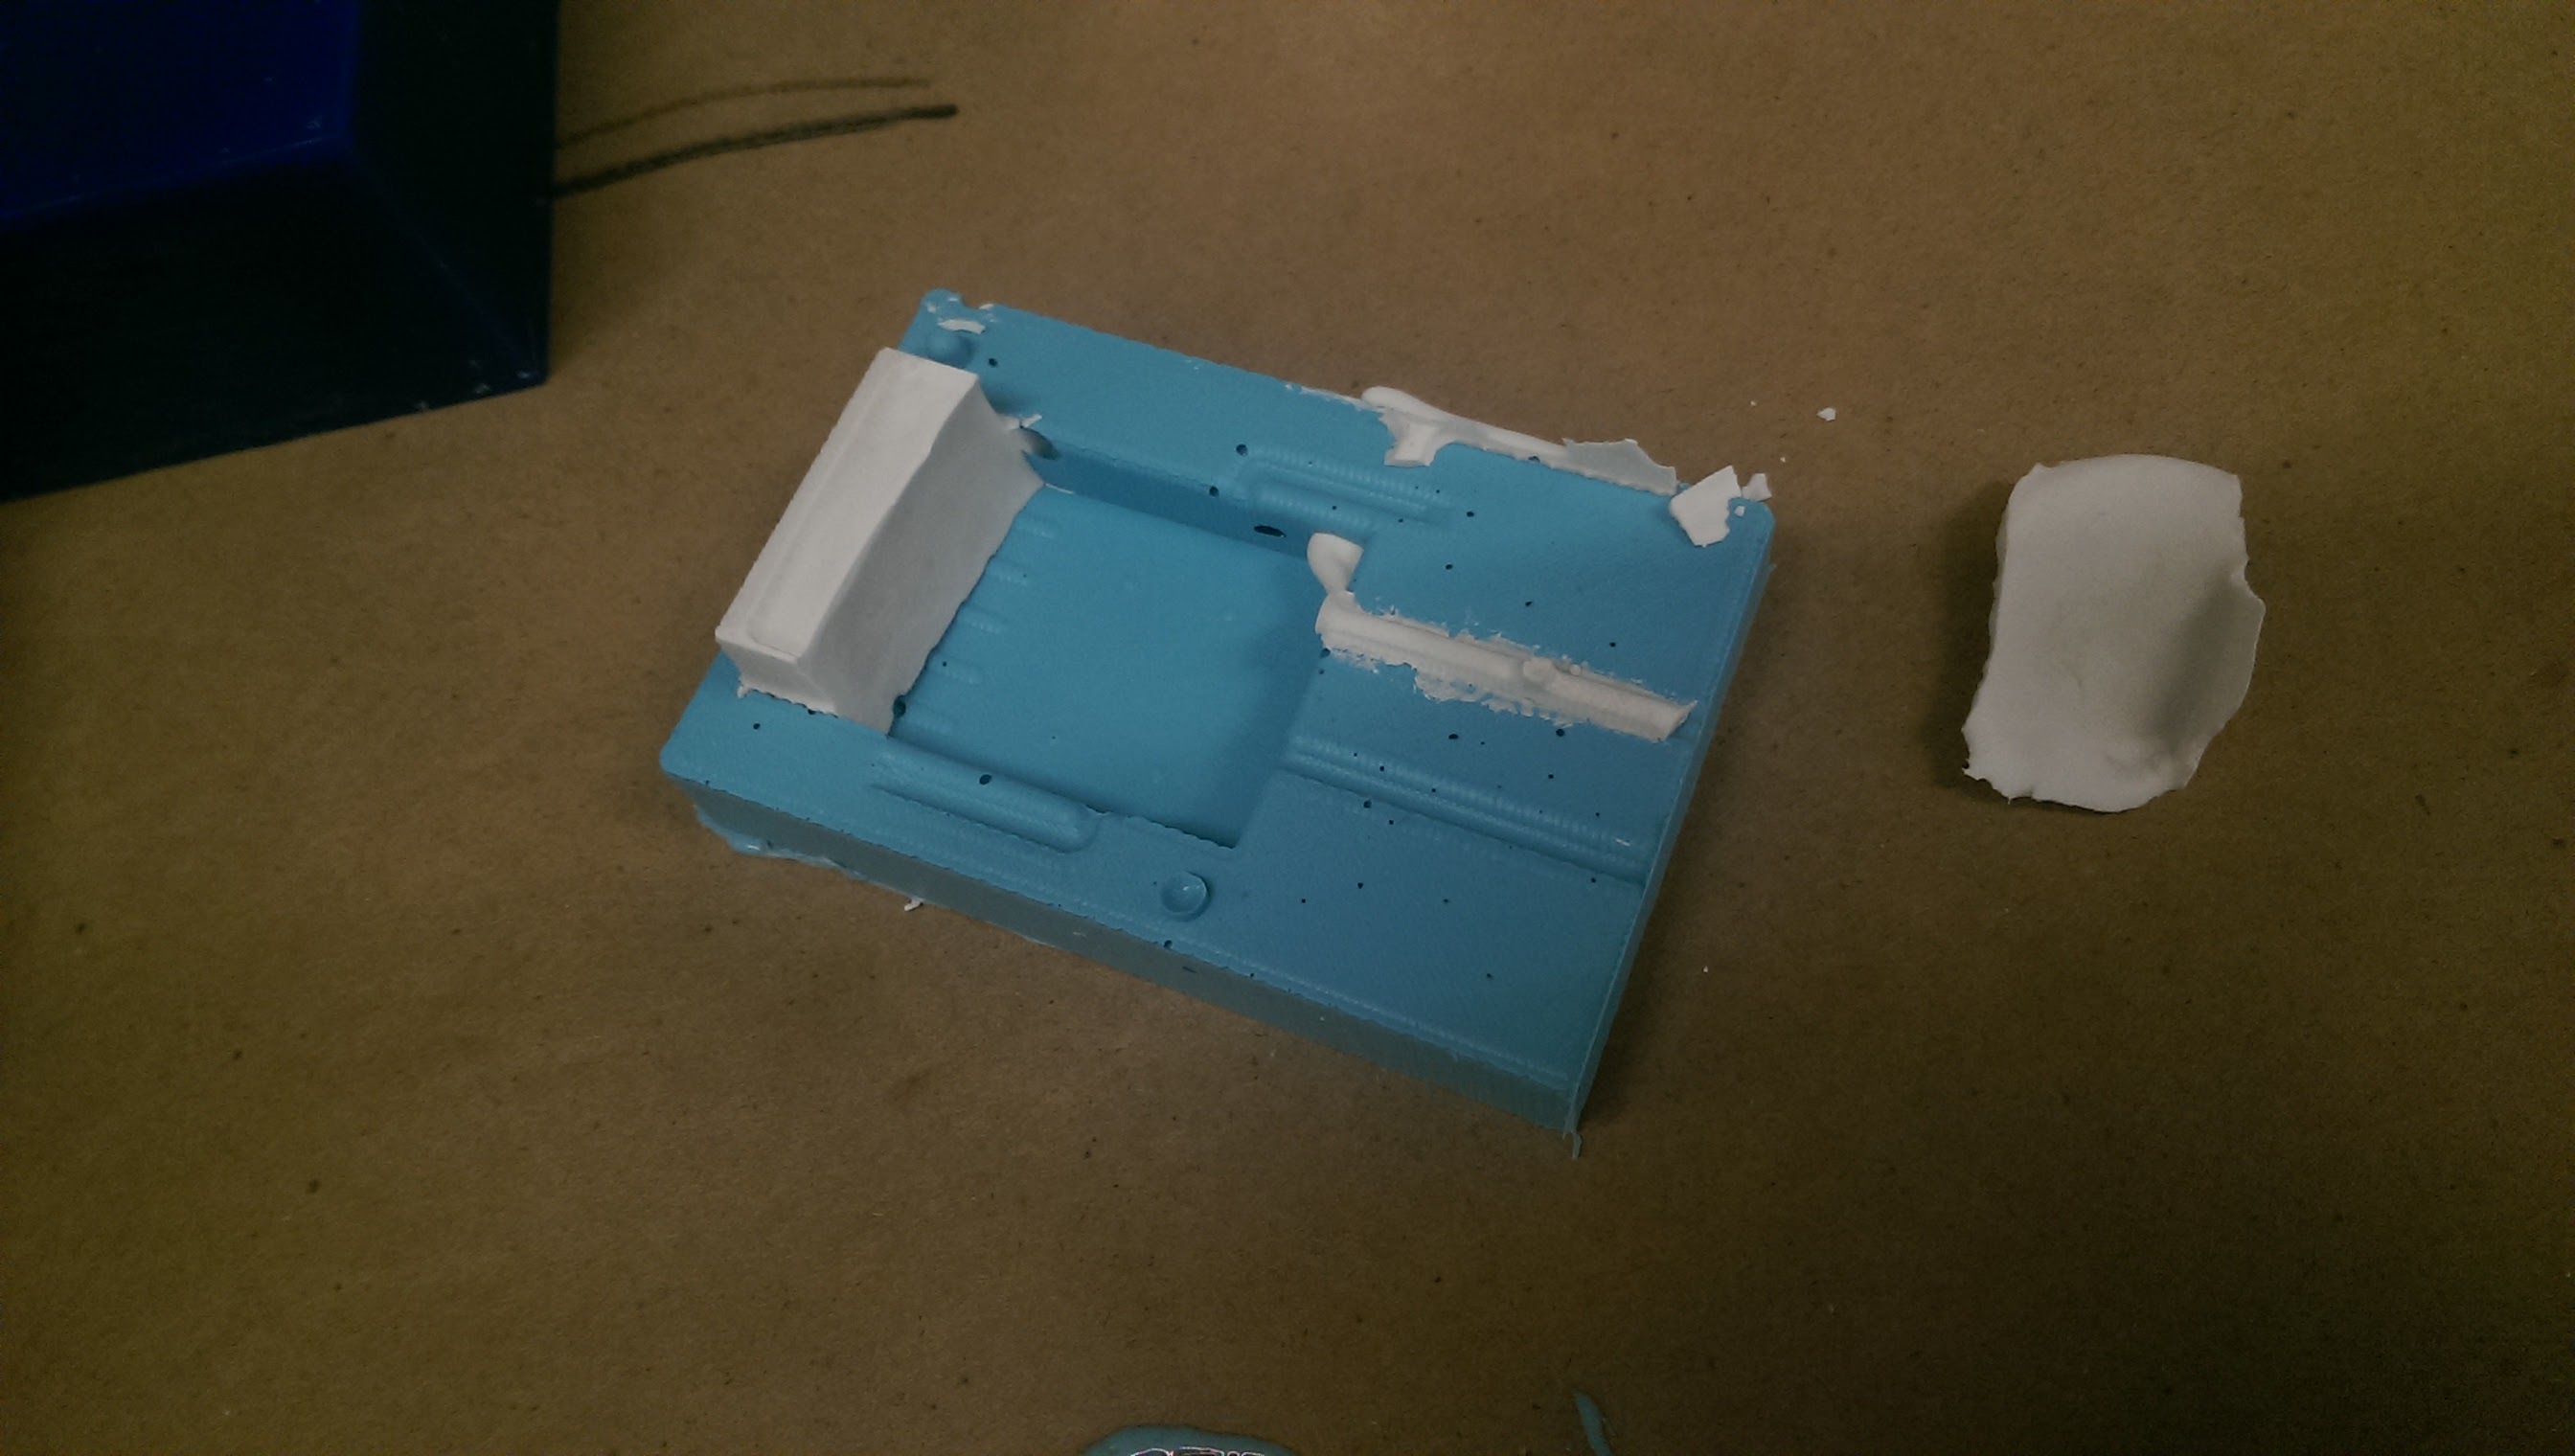
Back to BMO! After extracting the oomoo negative from the wax positive, I saw just how badly my pouring had gone. There were tons of bubbles! I'll admit, I got impatient while pouring, and ended up with more of a thin ribbon instead of a thin bead. While the bubbles created during the oomoo mixing process may have been stretched and popped while pouring, the ribbon folded over itself repeatedly, trapping lots of air under it. Add to that BMO's sharp angles, and it makes for a bubbly negative.
Ah well. I didn't have time to repour the oomoo, so I forged ahead with casting the Hydrostone. While I could have measured out the proper water / powder ratio by weight, I was told it was akin to mixing pancakes, where you'll know when you find the right consistency. Rob recommended shooting for "runny yogurt." Word to the wise: it takes a lot more powder, and a lot less water, than you think! I'd recommend starting with a decent amount of powder in the cup, then mixing in a few dashes of water, until you get the consistency you want. I got mine, and started pouring into my pour holes.
I immediately regretted many of my design decisions! My pour hole was FAR too skinny. I could only manage to pour a blob of Hydrostone, wait for a dimple to appear where it was being sucked in, and flood the hole again, until it sucked in more hydrostone, etc. Of course, the hydrostone collected in the tube, and began drying long before I felt I had gotten enough in to fill the mold. In retrospect, I should've used a syringe, though the arms would be difficult to fill.
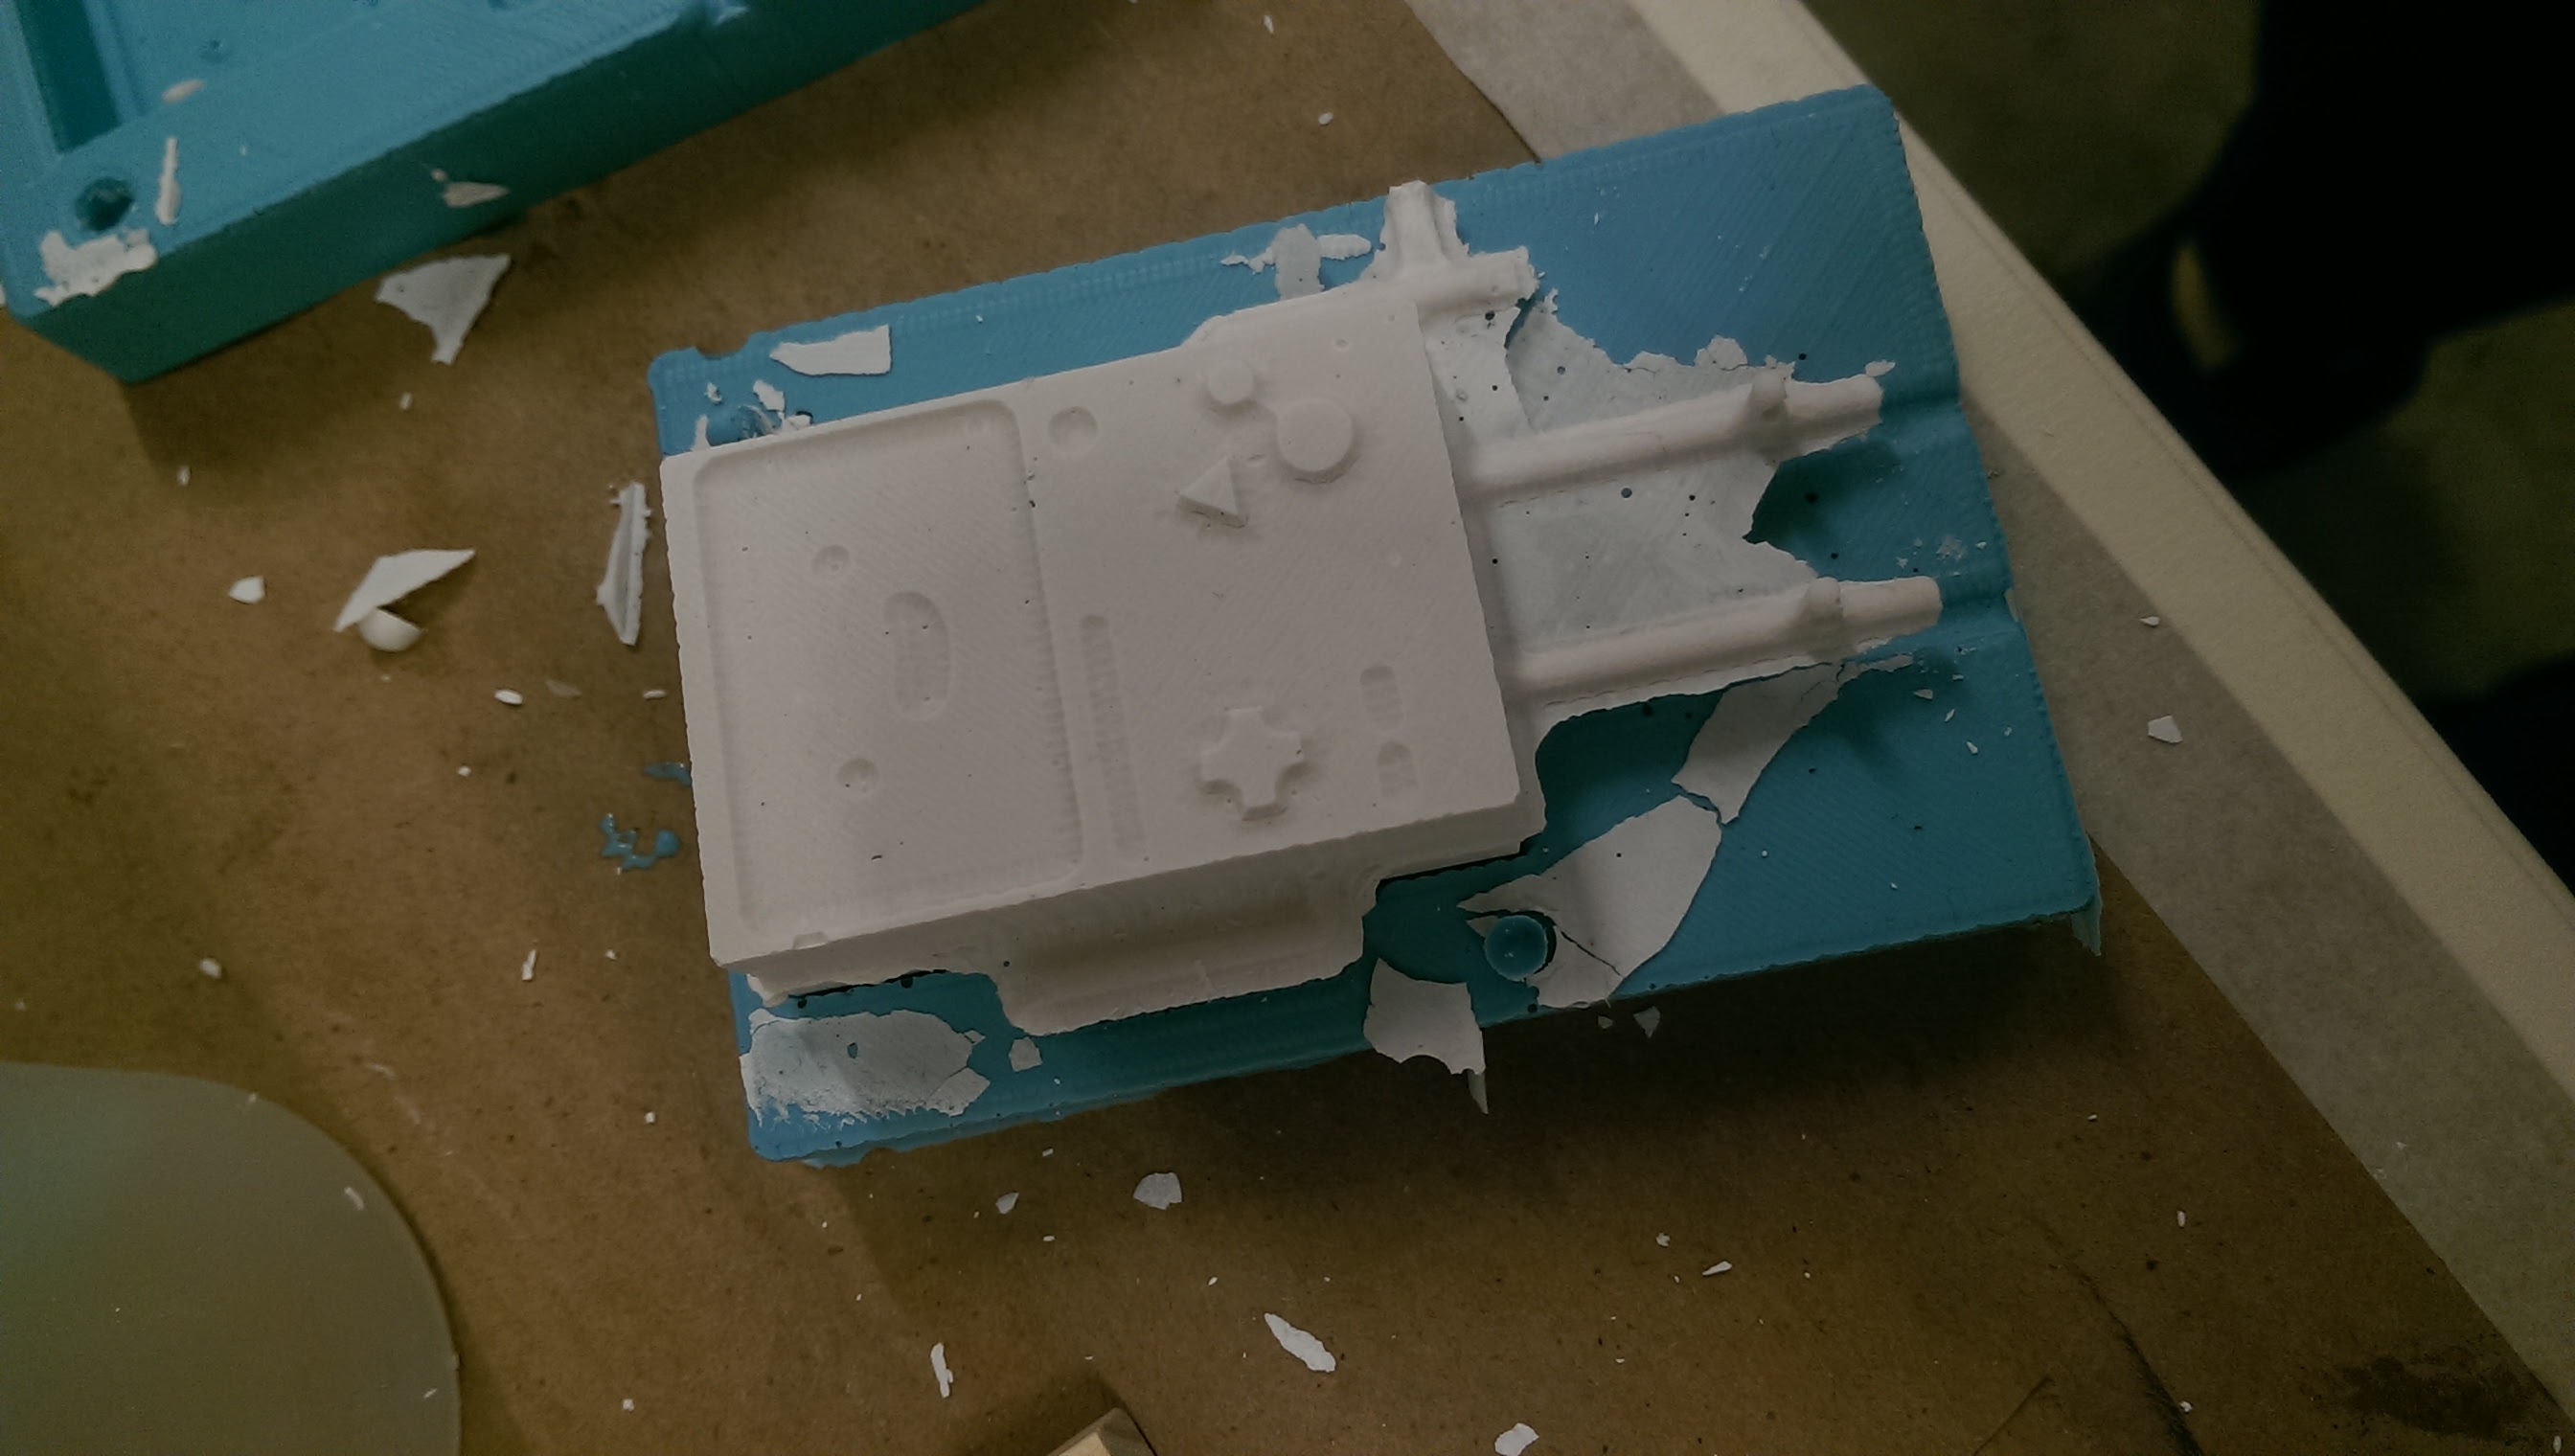
When I peeled open my mold to reveal my glorious BMO, I was instead treated to an hilarious, and completely expected, failure:
Apart from the obvious, I did learn something from what little bit HAD been cast. BMO's top line, supposed to be a sharp line, was more of a curve. I realized it was because the back of the oomoo wasn't flat, it had a corresponding bump. When I sandwiched the mold between two pieces of wood, it deformed the mold.

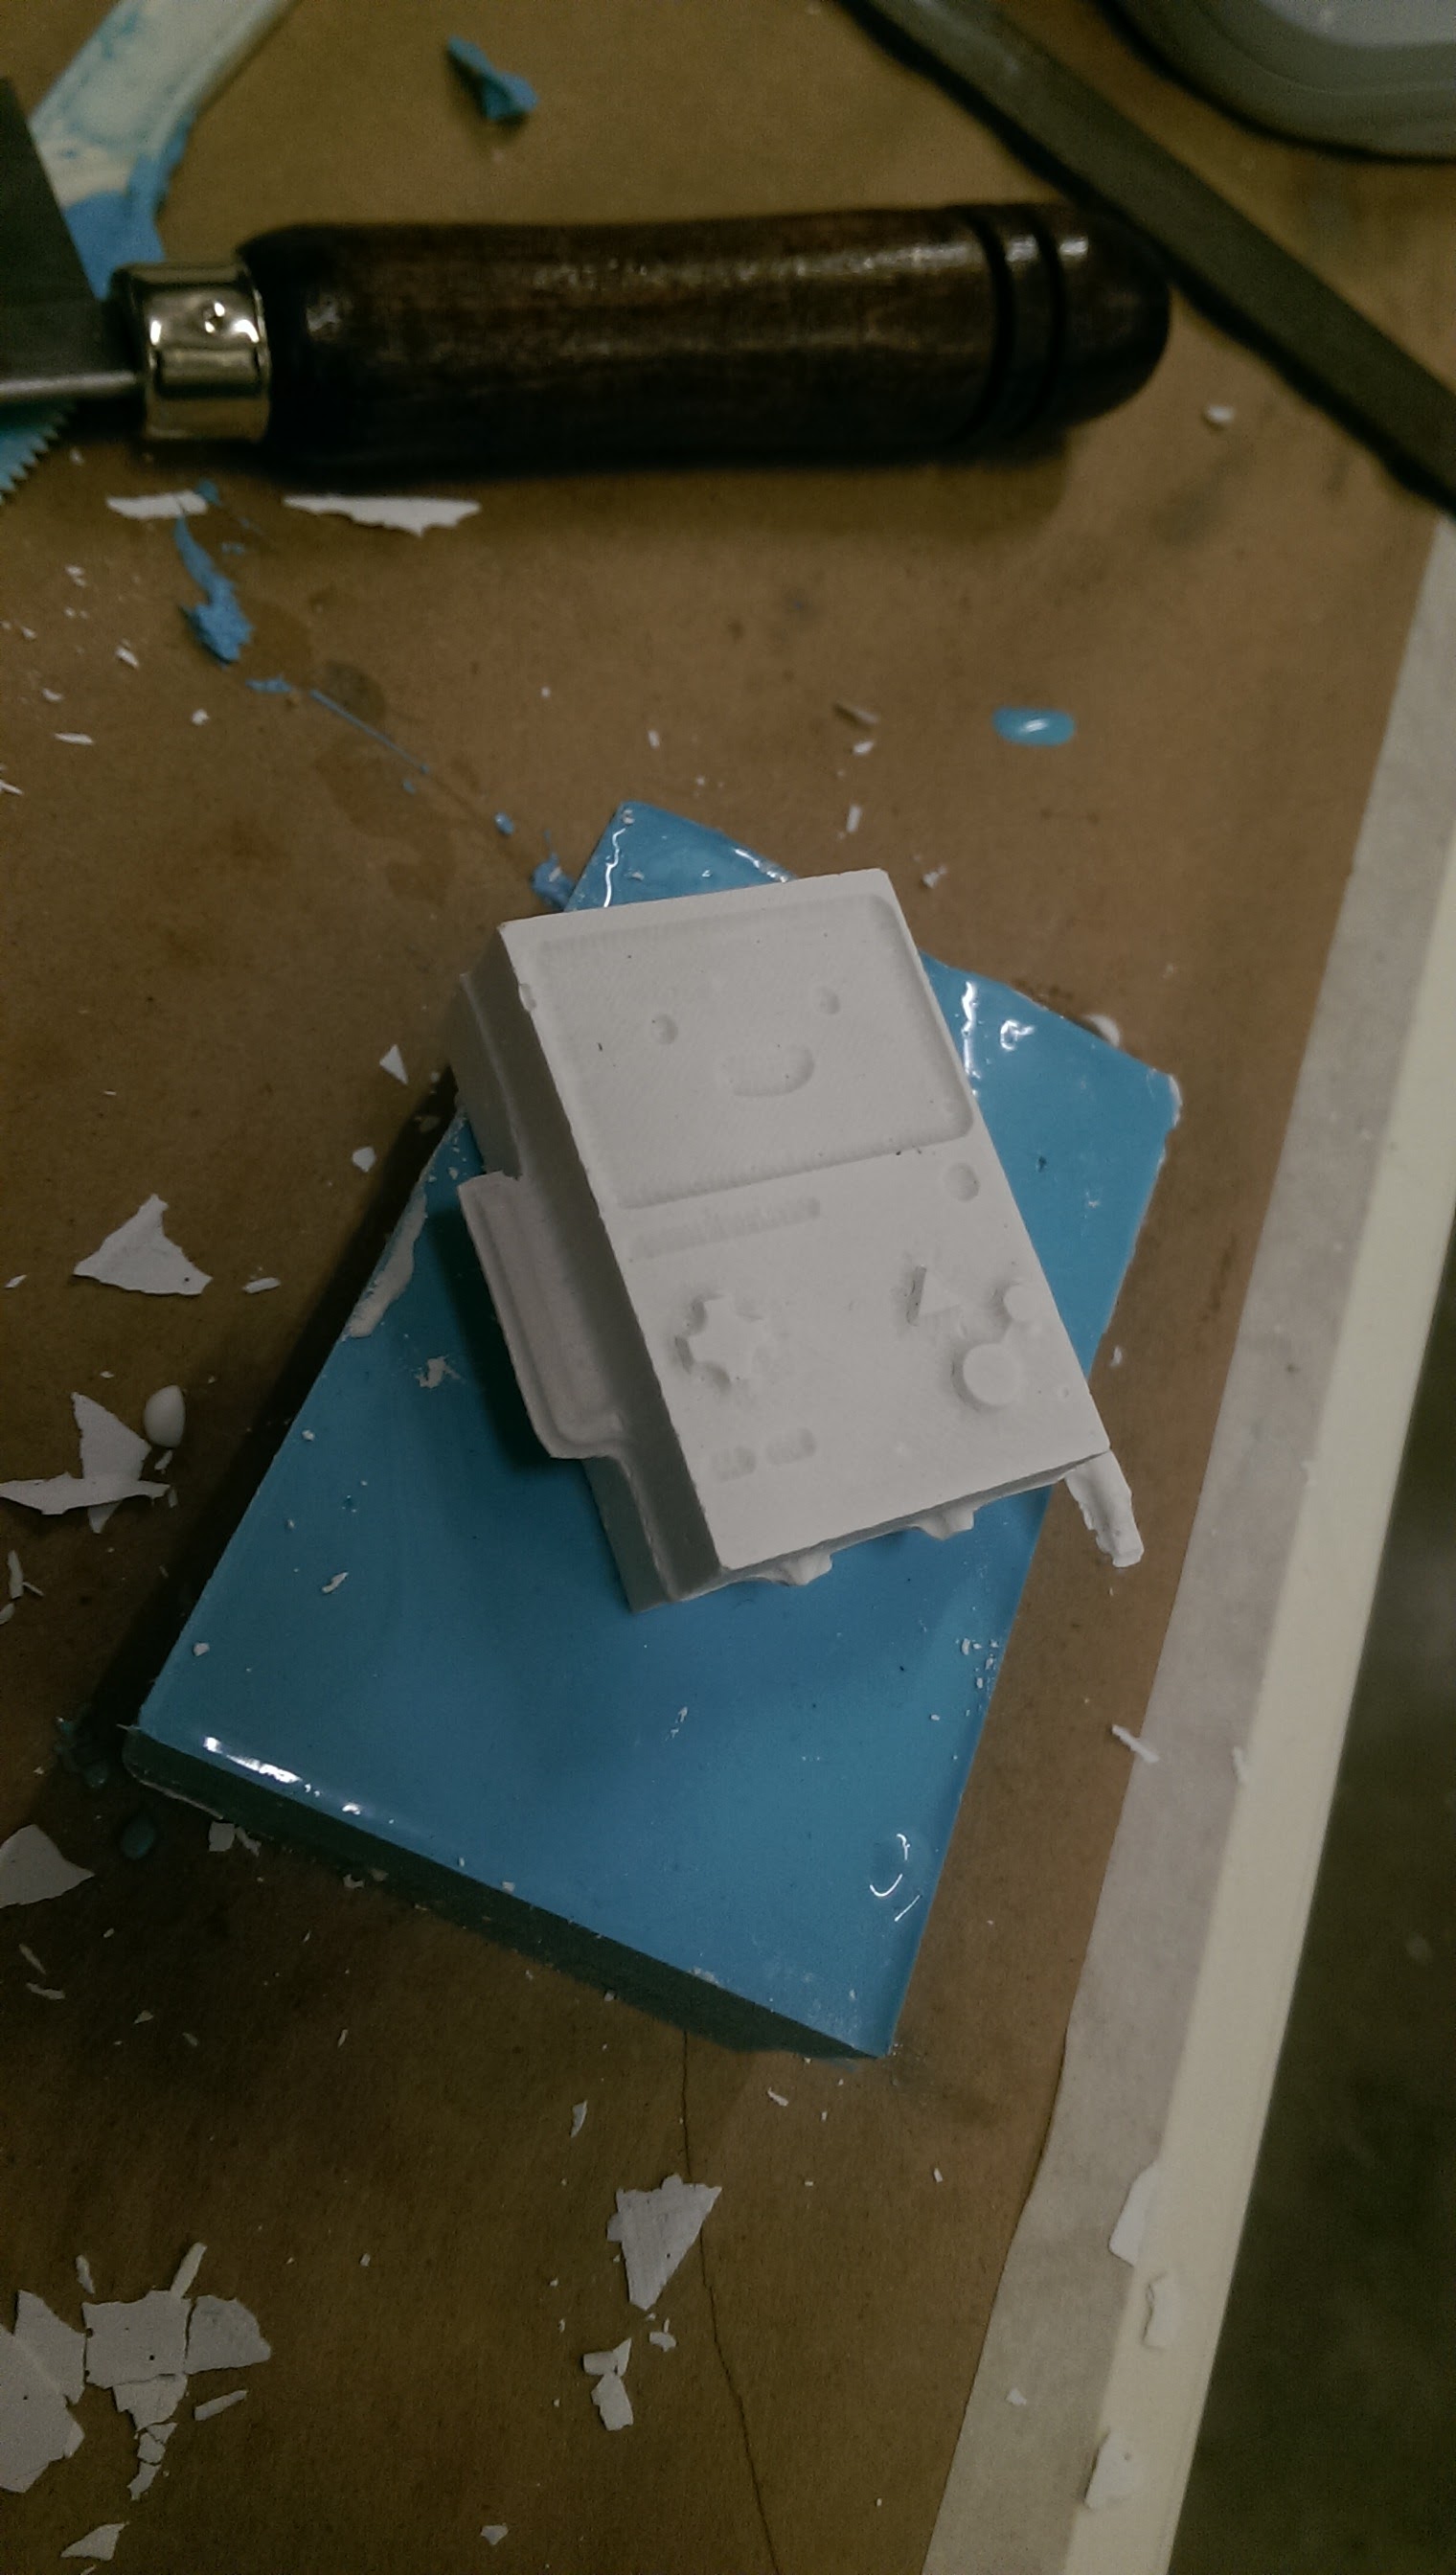
Undeterred, I tried a second way of getting the hydrostone into the mold: in separate halves, followed by a brave and rapid mashing together of the two sides once the stone had just began to set. While filling the mold, I learned that the oomoo seems to repel the water-based hydrostone, which I suppose is why they make good complementary mold/cast components!

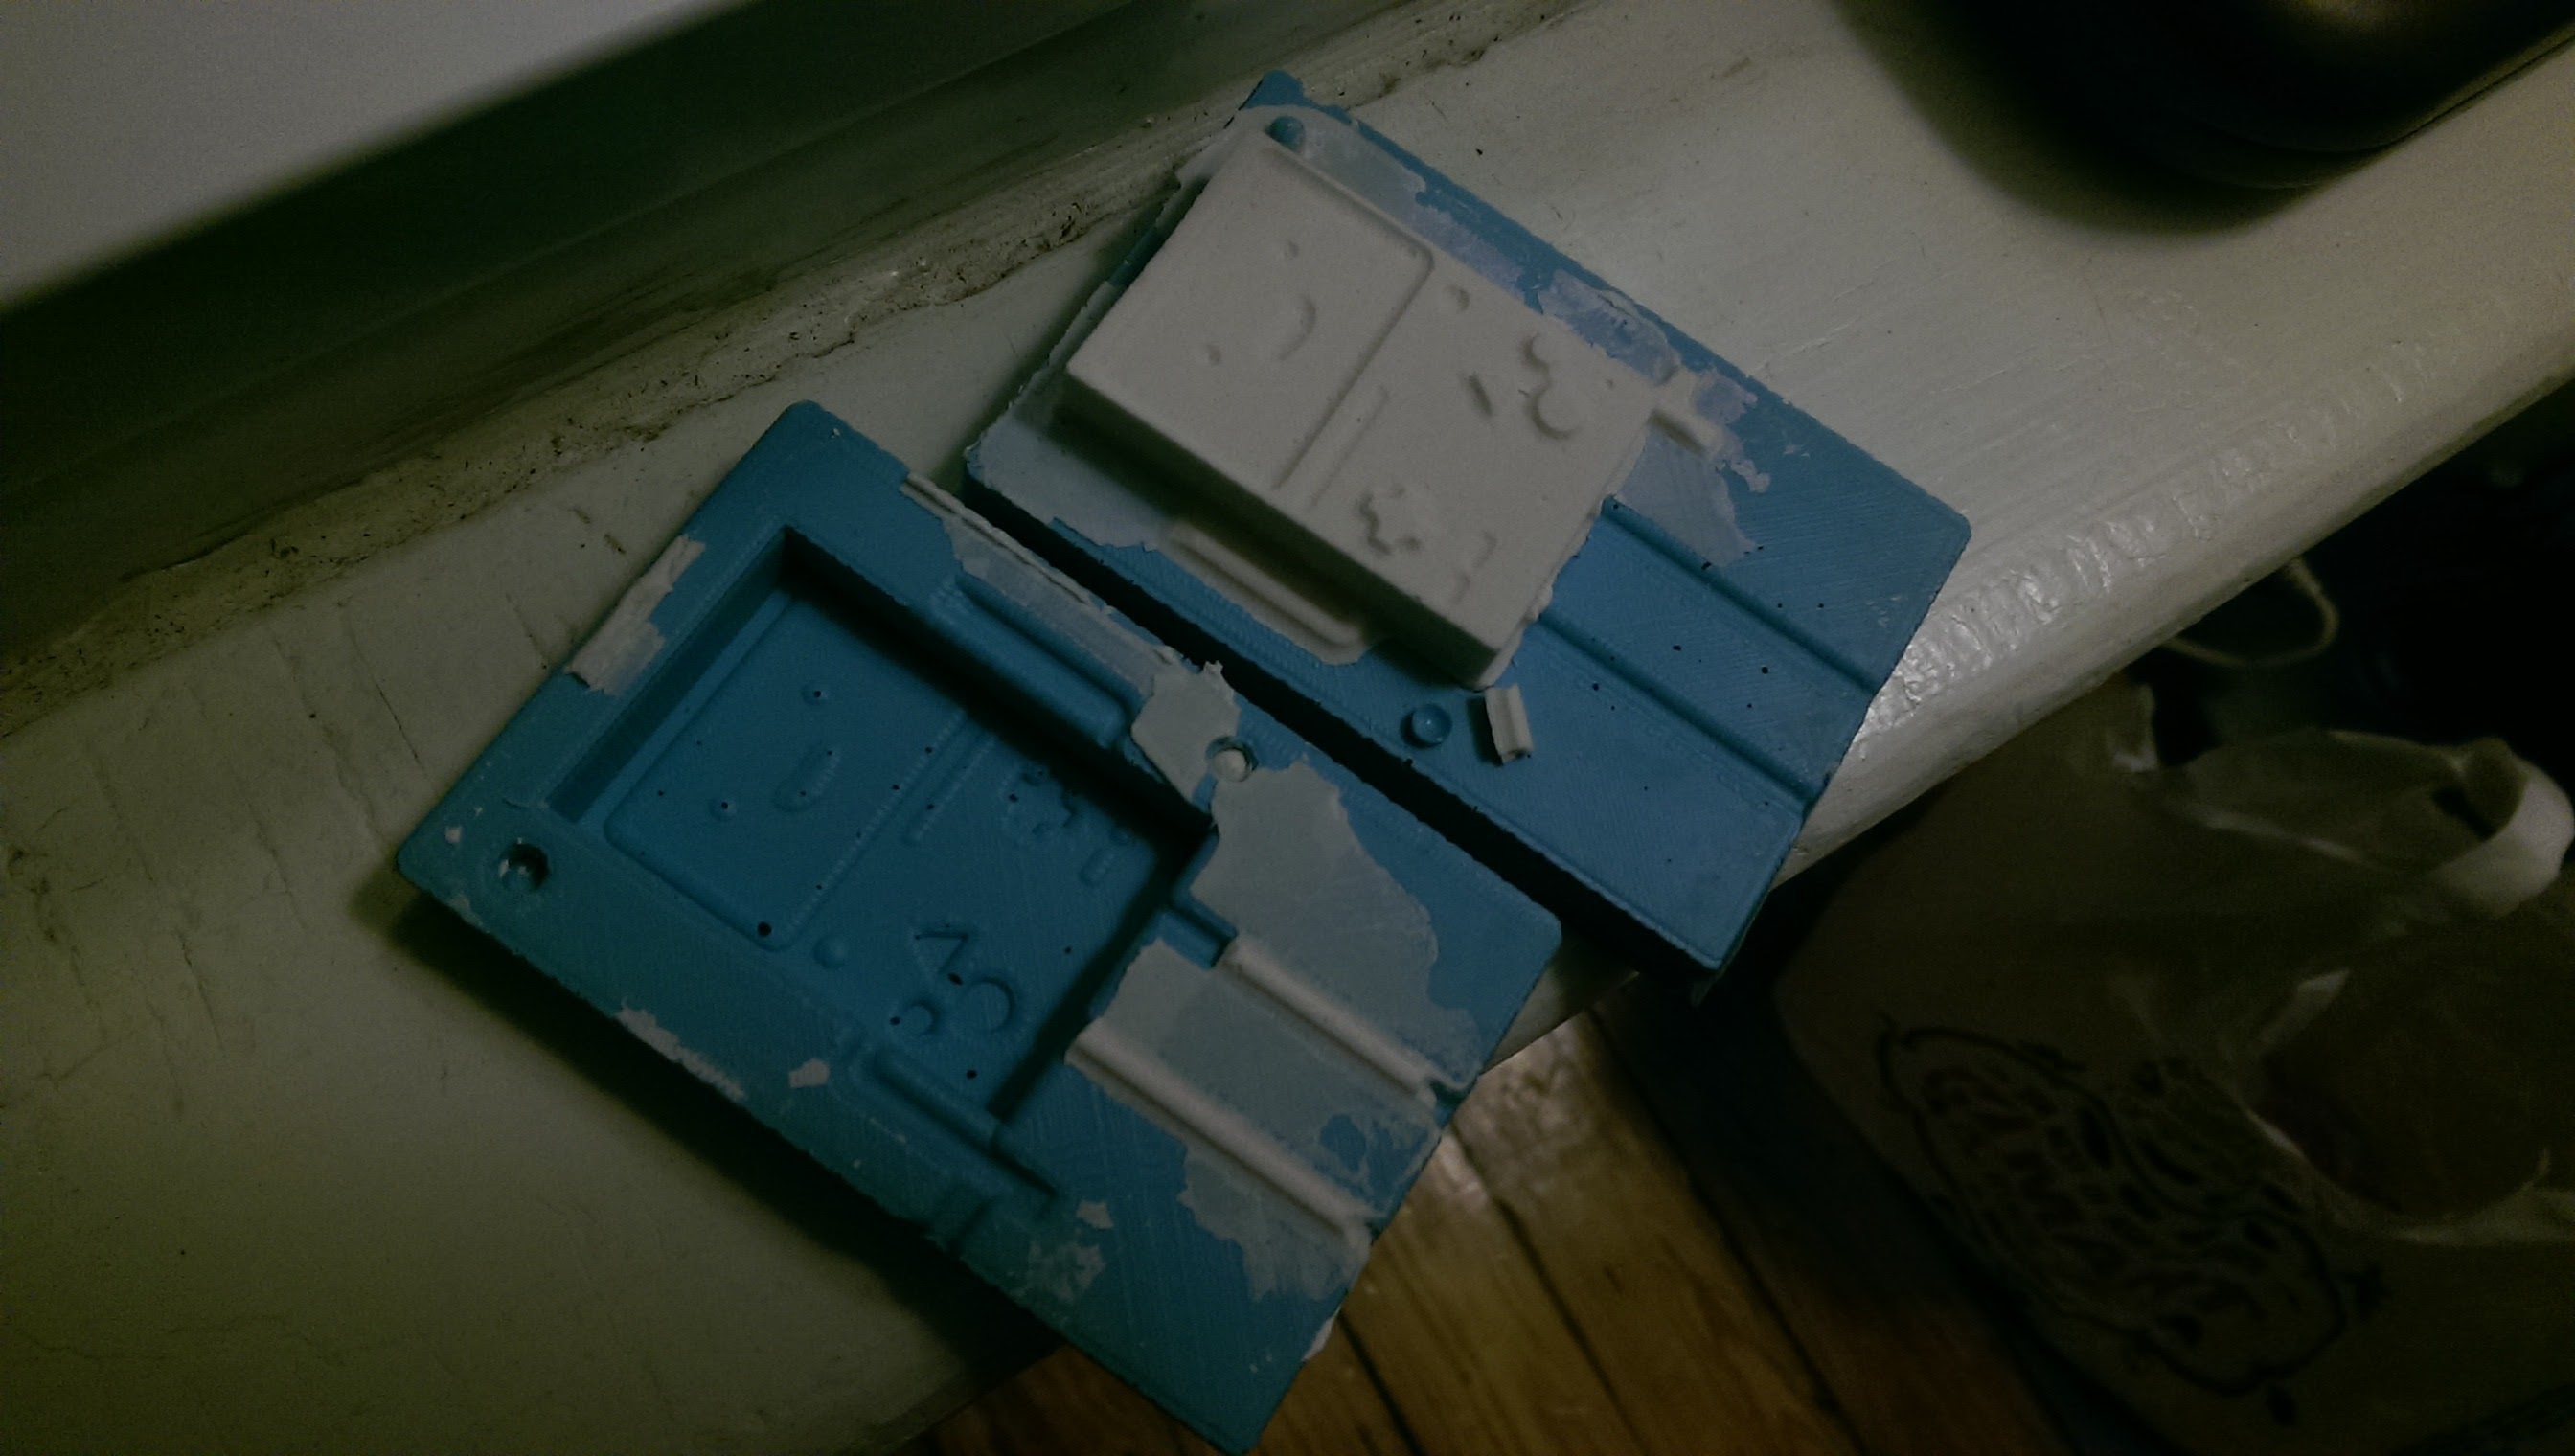
After a brief wait (hydrostone dries pretty quickly, something under 30 minutes), I peeled open the mold, and was greeted by a friendly face!
The flashing (excess material) was from the rapid sandwiching, but was aldo very thin and brittle, and wasn't an issue to clean away. However, while hacking away at the awful joining lines with a box cutter, I severed one of BMO's legs. I'm not surprised at all, in scaling BMO down to fit the wax, his legs went from an already precarious .15" down to something closer to .10". No way the Hydrostone would maintain integrity on something that long and that skinny. For good measure, his second leg fell off shortly thereafter.
A shopmate had some extra Hydrostone mixed, so I quickly poured a second casting. He barely even survived that process.
So! A week filled with many failures, but the failures were all very interesting and informative. This has probably been my favorite week of the semester, and the most educational. Many unexpected issues came up, and working through them to arrive at theoretically plausible solutions was, in many ways, fun. Looking forward to doing some more molding and casting!