The brief was to model the final project. I tried, but I ended up modeling various shapes for fun instead. The official answer is that those shapes are to play an integral role in my project. The more honest and valuable answer is that I truly have no idea as to what I could make, so I modelled some cool shapes and did my best to get to grips with the technology. A quick note on why modeling the final project is so difficult right now -- I don't even know what is possible. In theory, I know that I'm going to learn about microcontrollers, and circuit board construction, and 3D printing, etc. In practice, I have no idea as to what those concepts would enable me to construct. I'm hoping that I'll figure it out along the way -- in fact, I'm sure that I will.
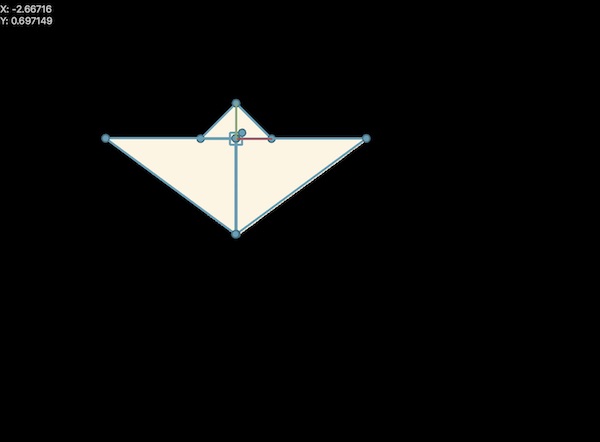
Antimony is a great program that looks very intimidating to beginners, but has a lot of power (and intuitiveness) under the hood. My initial explorations with Antimony were not particularly successful -- the above is one of the few shapes I made before giving up and moving on. At least I got further than I did with unreal engine (downloaded, opened it once, noted the learning curve, put it away for forever). Having had some experience with a similar workflow on Grasshopper for Rhino recently, I think that I may give Antimony a second try soon.
Rhino is the programme that everyone pointed me towards. Apparently it's 'the' programme to use at the design schools? I wouldn't know, but I trusted the advice and made time for a proper foray into Rhino. To get started, I played around with rotation, ultimately modelling a wine glass.
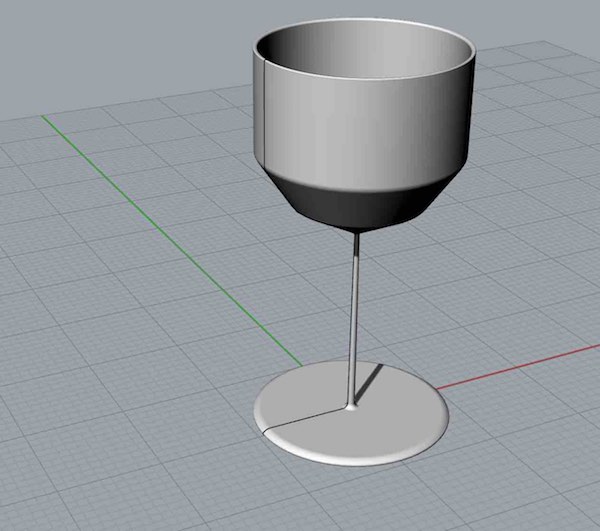
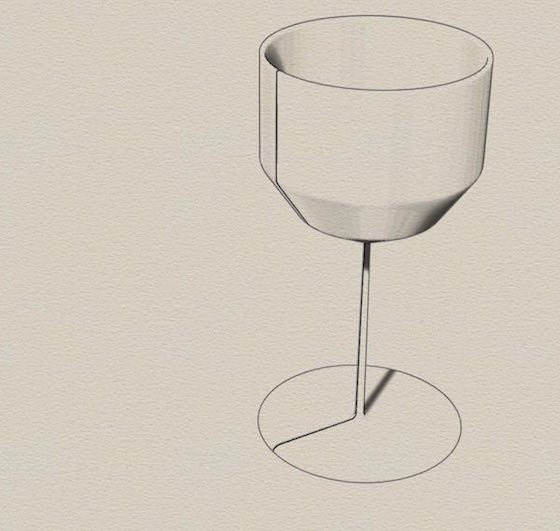
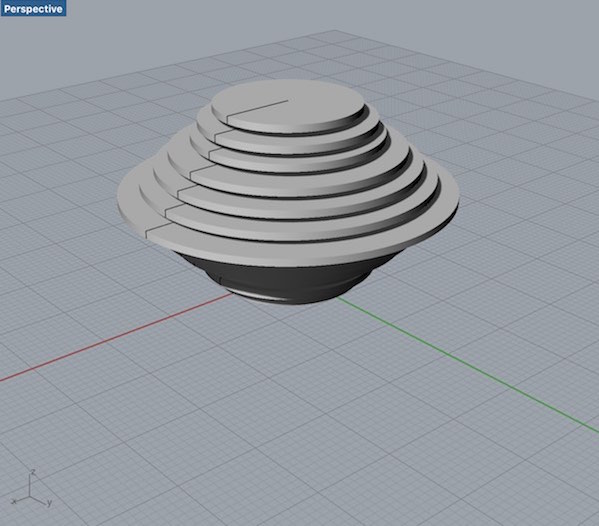
The experiment was certainly fun, but it also served as a great introduction to the power that Rhino (and its brethren) contain. Modelling the wine glass was as simple as drawing half of a 2D wine glass (using the fillet function on the edges for smoothness), then rotating it for a full 3D model. The next shape was a spherical-ish object composed of many circles layered on top of each other. The idea was to see how it would look if I chose to layer many circles on top of each other in real life... Though, I suppose that's the point of modelling... You've officially read the most redundant sentence on this site (I hope). Nonetheless, the model looked interesting, but the circle sizes could certainly use some adjustment before the idea leaves the computer screen (adjusting the circle size would make the difference between 'spherical' and 'spherical-ish'). This shape was designed similarly to the wine glass -- I drew half of many circles, then rotated them for the full shape.
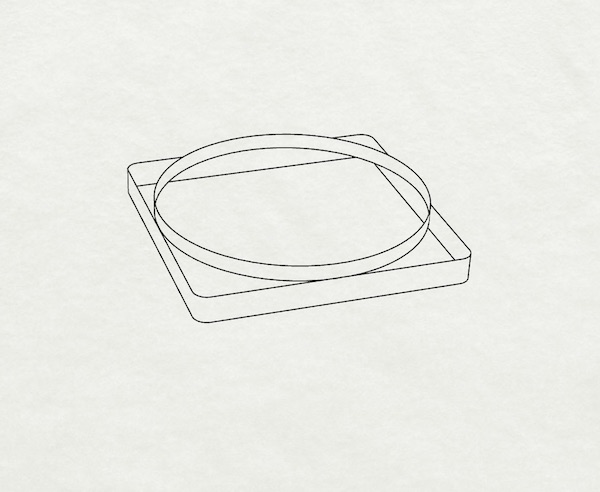
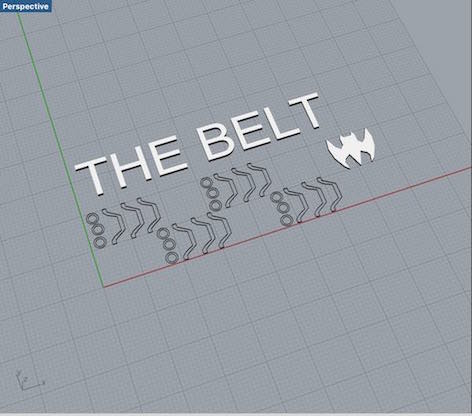
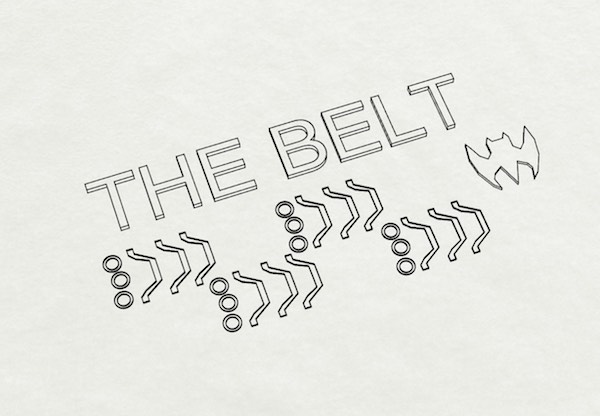
Next, I began considering next week's assignment -- laser-cutting -- and attempted to model something that could be cut. Having done the laser-cutting, I now know that the design format that I chose is not conducive to laser-cutting at all. At the time of writing, I haven't cut this idea, but I'd still like to try. The idea is quite simple -- a host of large semi-circles with ridges can be connected to one another with smaller circles, creating large loops. If these loops are connected before sealing them, then a wood/cardboard chain can be created. Below is the design. The title, 'the belt', is due to a silly idea -- making a wooden/cardboard belt out of smaller loops. It may yet be doable, though.
The last object that I modelled in week one was a tentative attempt at a final project idea. I'm not super excited by the idea, so it's unlikely to follow me to week 11, but it's worth posting nonetheless. It's a platform, programmed to have an orientation, that will always turn to face the direction of a certain RFID tag. The applications are numerous, but a simple one would be to place a fan on this platform and pop the tag in your pocket. Then, enjoy uninterrupted airflow throughout your summer day.