I started this week very pessimistic about the process, and, honestly, I still am. Two major issues: 1) It seems to me that the resolution will always be very low. Looking at parts that other people have made, it became apparent that anything with fine details or sharp edges would not be represented in the final piece. Apparently, only smooth surfaces work. 2) The aesthetic is terrible. Either, you get hard, plasticky burlap, or hard, plasticky linen. Usually, I'm inspired make something cool -- almost always aiming for 'aesthetically pleasing'. This process left me uninspired. So, as I couldn't make anything that I actually wanted to own, I decided to experiment with the process -- perhaps I'd learn something that would benefit my final project...
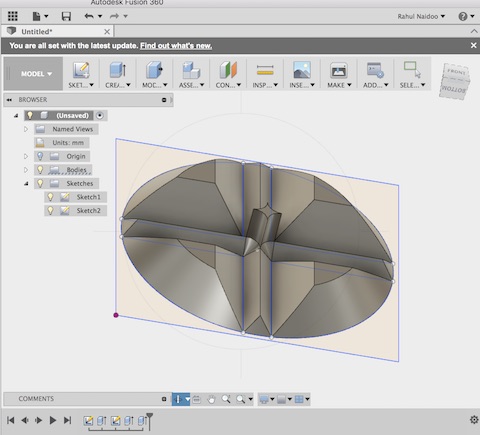
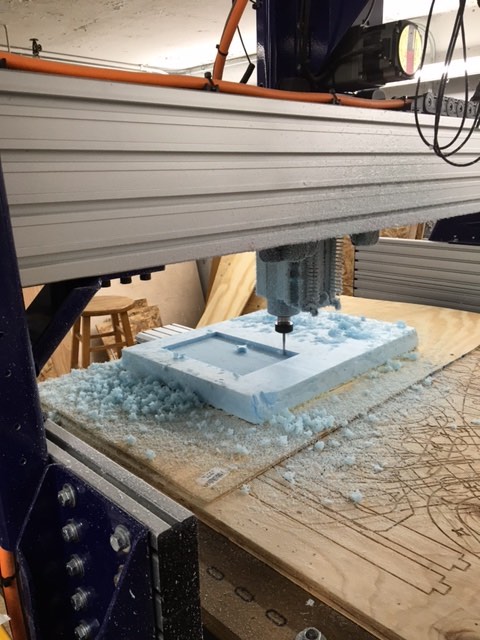
I decided to experiment with the 'negative space'. So, I designed an interesting foam object (sort of roughly bowl-shaped) with lots of gaps, such that the burlap/epoxy could settle into the spaces when vacuumed and create an object defined by the negatives. I used Fusion360 again -- it excelled, as I was designing a simple 3D object. Once the design was complete, I exported the .stl and set up the toolpaths on PartWorks3D (same process as the molding/casting week). One big advisory for the toolpaths this week -- it's almost never necessary to have a high-resolution cut (the resolution will never be represented in the final product). Thus, settling for higher stepovers, larger endmills and faster feed/plunge rates will reduce time cutting significantly without affecting the eventual composite. Before setting up the ShopBot, I hot-glued the foam to a piece of scrap board, so that the scrap board could be drilled into the ShopBot's sacrificial layer and fully secure the foam.
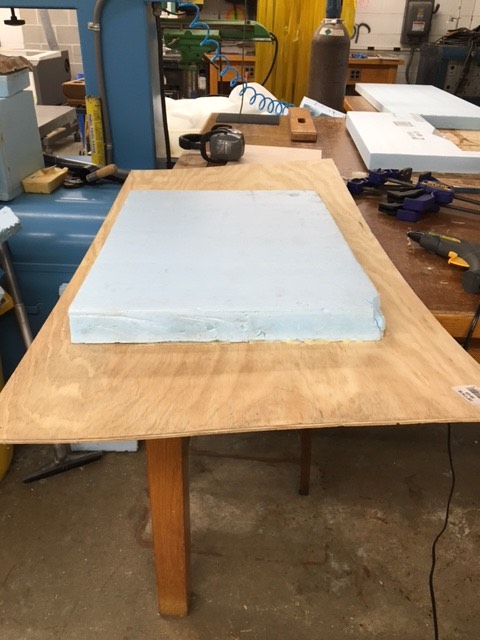
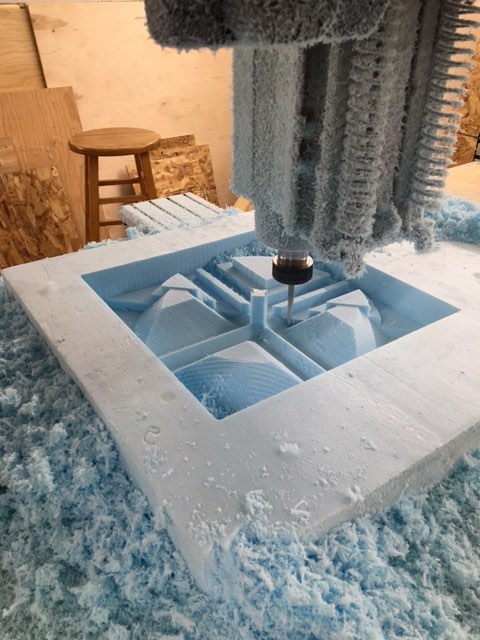
The actual milling went very smoothly, pictured below (setting up the ShopBot was the same as in any other week). Just one note -- the milling throws up a bunch of fine, floaty foam dust. 1) It gets everywhere -- remove from clothing with tape. 2) Breathing it in made my chest feel a little weird. Consider standing away from the machine while milling.
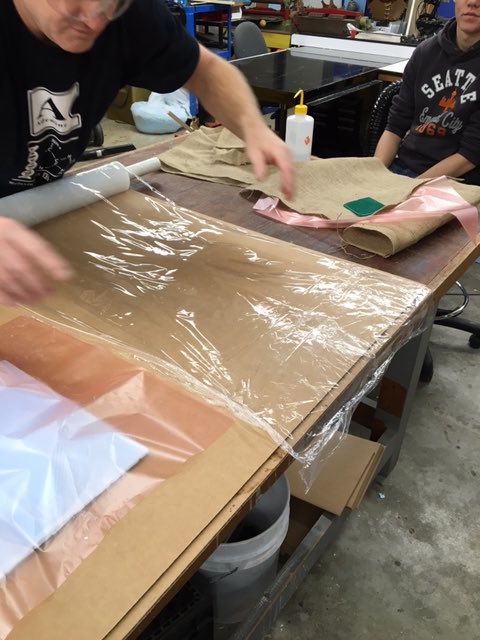
Before mixing any epoxy, set up the workspace and prepare the materials! Not going to mention any names, but I saw someone mix a big batch of epoxy before preparing the workspace, and, in the time between mixing the epoxy and prepping the workspace, the epoxy's exothermic reaction had progressed to the point that it was smoking and melting the cup it was mixed in. Prepping the materials entails cutting out pieces of burlap and plastic. The only advice there is, cut the pieces to be slightly bigger than the part -- they will 'shrink' when vacuumed, as the material will fill in any empty spaces. Perhaps my favourite tool for the week is the spiky roller (no idea what it's called), used to perforate the upper layer of plastic so that the composite can breathe when in the vacuum bag.

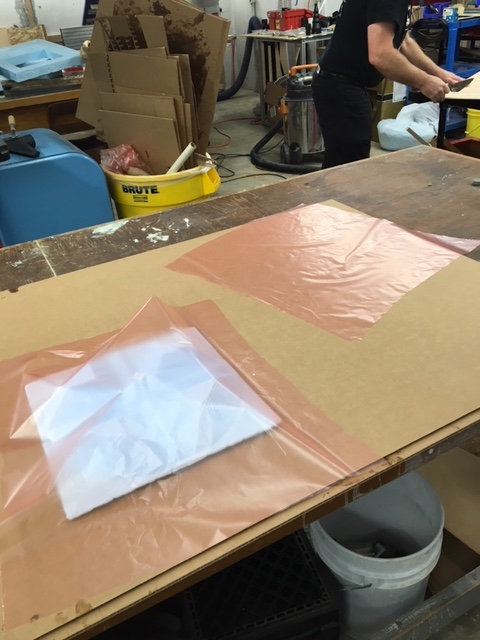
There's no particular best strategy for cutting out the various pieces. Use scissors, and don't be left-handed. I'm left-handed, it's terrible. Usually, we mix up the epoxy in a plastic cup, then spread it onto the natural fibres on a piece of corrugated cardboard -- a disposable layer to get messy. One change that Daniel suggested before I began, however, was to put a layer of plastic over the cardboard. The reason is that cardboard is a porous material, so there's a good chance that it would 'steal' epoxy from the natural fibres. Pictured below is the workspace.
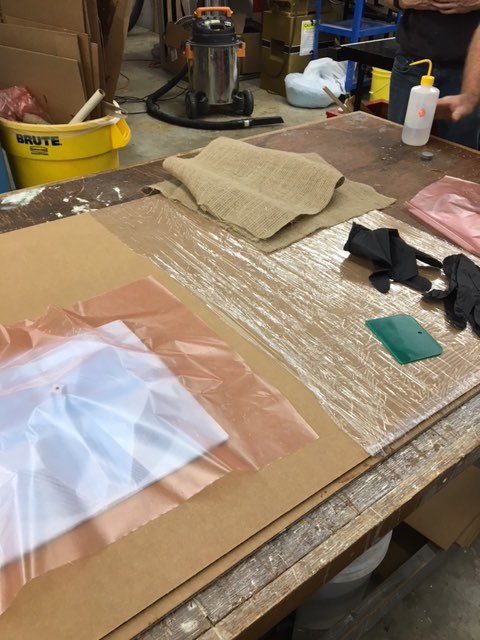
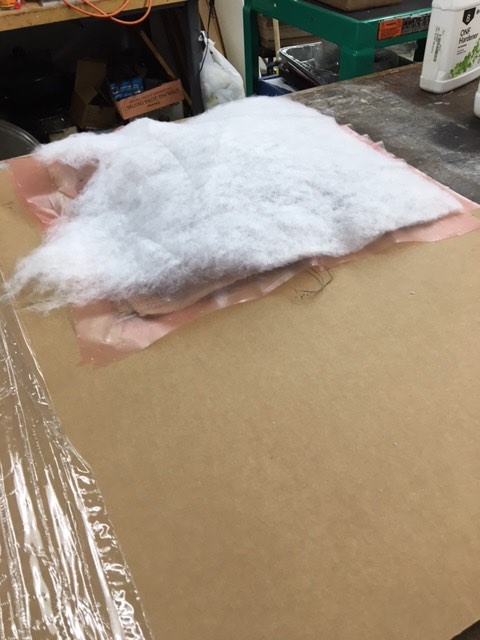
The actual process is as follows 0) Put on gloves. 1) Mix two parts epoxy to one part hardener in a plastic cup (NOTE: the ratio may be different for different brands, check). 2) Pour epoxy onto a sheet of natural fibre, spread it out with a plastic spreader (name?). Don't be afraid to press really hard -- you may need to in order to spread the epoxy effectively. 3) Place the epoxy-covered sheet of natural fibres onto the mold (that should have a protective plastic coating on it, as pictured above). 4) Repeat with as many sheets as desired. 5) Place a perforated plastic sheet on top of all of the sheets of natural fibre. 6) Place some fluffy polyester (helps air travel when vacuuming) on top of everything else. Let's call this stack of stuff an 'epoxycake'.
7) Place everything into a vacuum bag. 8) Place a 'bridge' of polyester and natural fibre from the vacuum bag valve to the epoxycake. 9) Vacuum all of the air out!
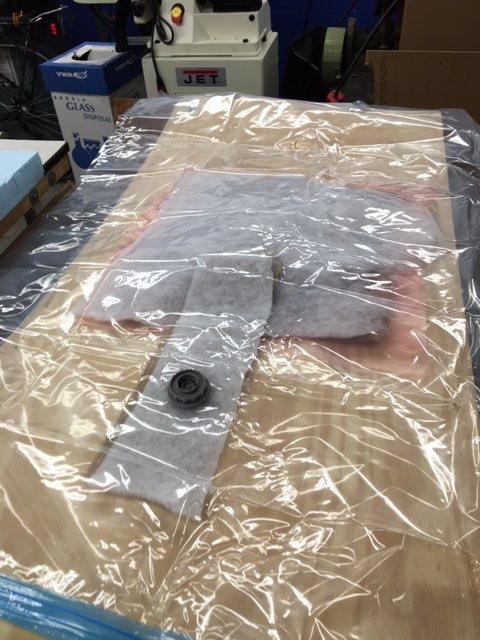
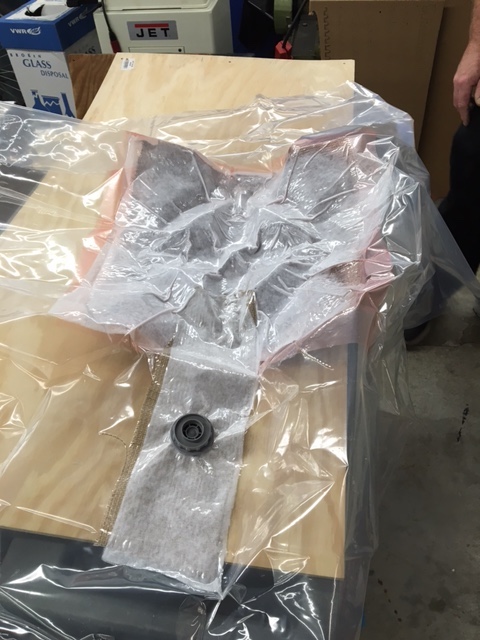
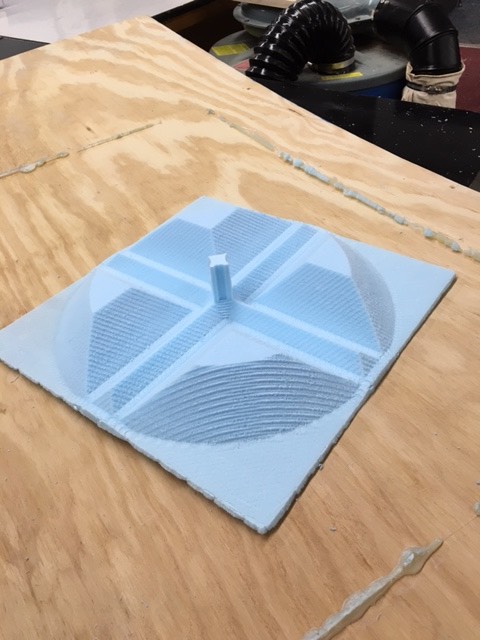
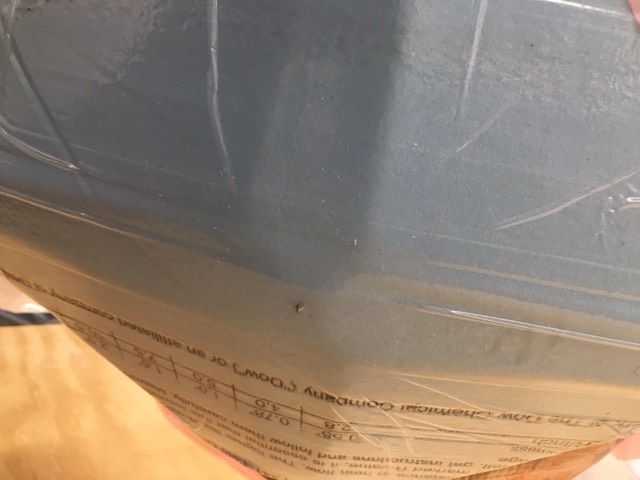
My mold has a thin foam column in the center. The column isn't particularly strong, so I was concerned about it breaking in the vacuum bag. So, I put a nail through the foam column, in order to reinforce it. The problem, though, is that the foam mold flexed when vacuumed, pushing the nail out through the other end, and puncturing the vacuum bag. As shown below, the hole in the bag was surrounded by plastic that was pressed firmly to the mold. So, I wasn't sure if the hole would actually allow air to escape from the bag. I watched the bag for about 15 mins, found that it didn't seem to be losing pressure, then left. Turns out that the bag lost pressure a few hours later...
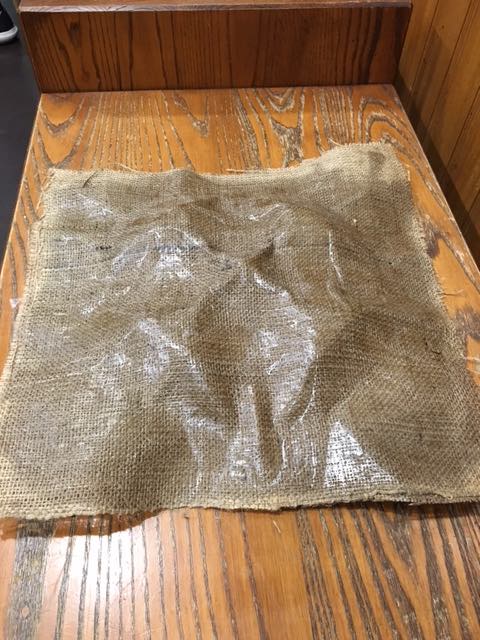
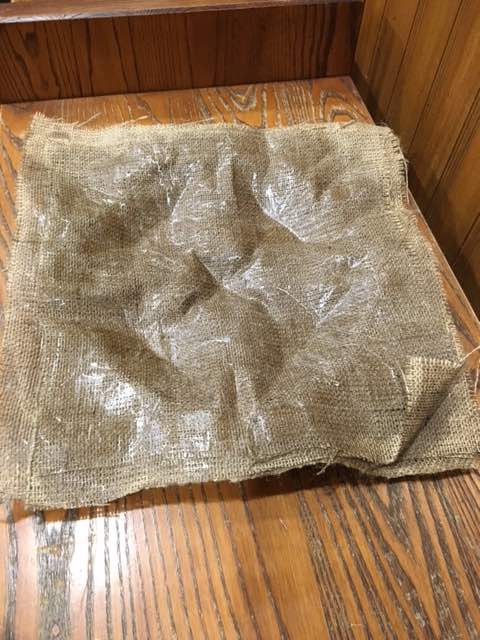
The final product was not quite as expected, due to the depressurization. Also, there are fine strands of dry, detached epoxy all over the surface, almost certainly because the loss of pressure allowed gravity to pull some of the epoxy out of the natural fibres. Nonetheless, a composite was made, and I'm quite impressed with its strength. I may have to make a composite for my final project.. will revisit the process then.