Output is really interesting. Sure, it seemed very intimidating beforehand (and, it still is), but the idea of being able to make your code enact upon the world is an exhilarating one. So, I spent a great deal of time deciding what to output. Sound, light, vibration, motion? Eventually, after a super helpful introduction to the various devices from Rob, I settled on a DC motor. Why? Rob showed me some small water pumps (powered by a DC motor) that could be used to pump water through pipes (clear or otherwise), and I spent about 25 minutes pumping water from a cup into another cup. Pumping water was way too much fun, so I decided that I had to do more.
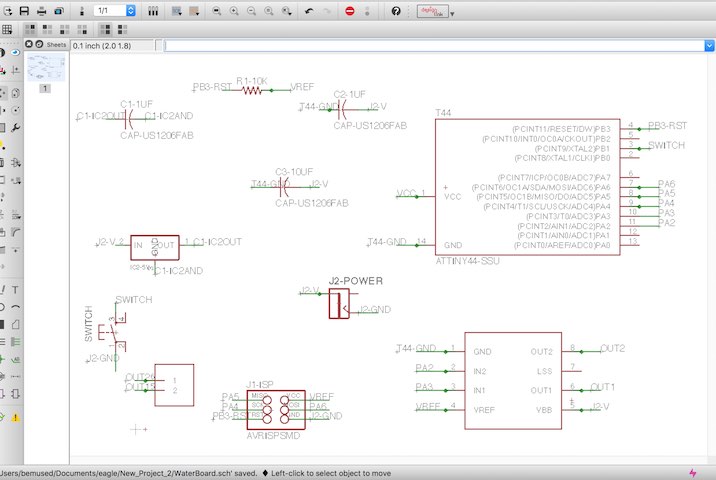

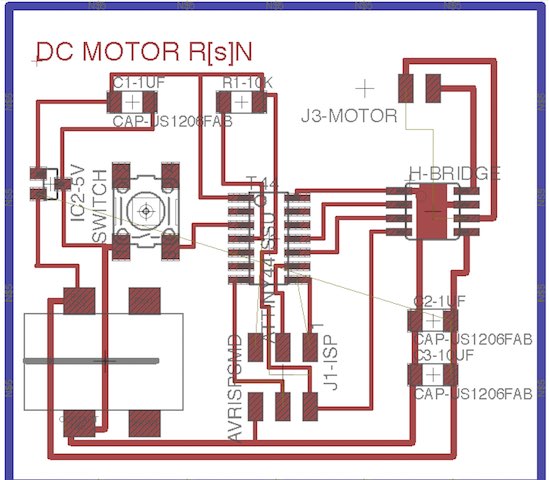
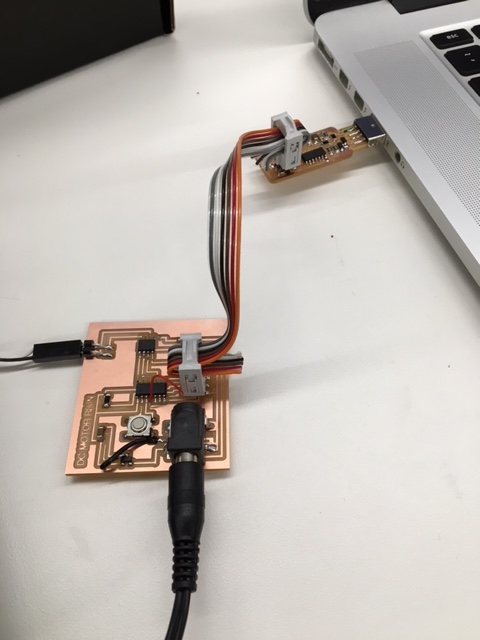
Neil's DC motor board almost sufficient for my purposes, there were just a few changes that I needed to make. I replaced the 2x4 header (used to connect to power) with a port for connection to mains. I have forgotten the name of the port, but you'll be see a picture of it shortly. I replaced the other 2x4 header (used to connect to the motor) with two pins of an FTDI. Lastly, I added a switch, so I could power the motor on (or off) with the press of a button. All of this was quite straightforward, with one small caveat. A two-pin FTDI does not exist. So, I had to make a custom part in Eagle (second picture above). This was doable, thanks to the tutorial on the class page. Wiring the button does not require much -- simply connect it to a free pin, then ground it.
Nothing much to say here... This process was exactly the same as every other week. Convert eagle file to image, halve the size, use modules to generate sbp, mill on the ShopBot (NOT the Roland mill -- no time for that hateful little machine).
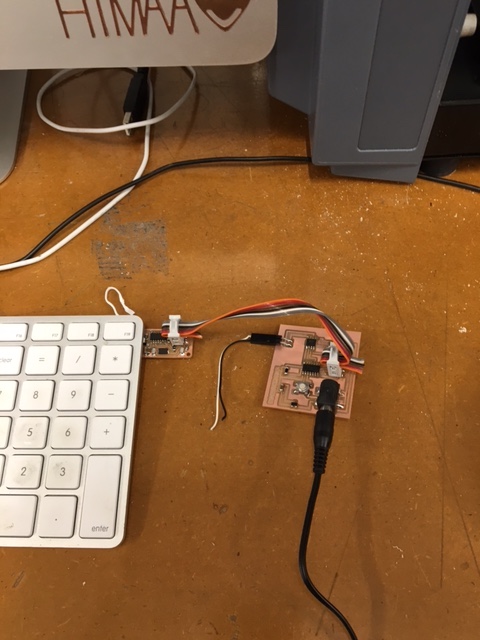
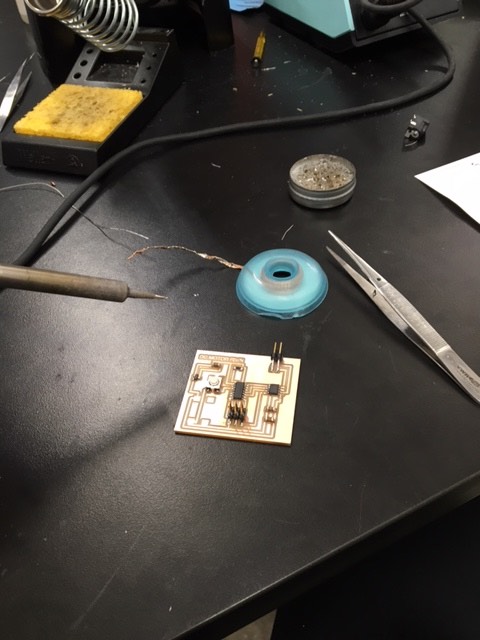
Once the board was ready, I jumped straight into programming (with Neil's code to test), eager to see if it worked. Two things. One: I'm writing this here, so I never forget it again: avrdude -c usbtiny -p attiny44 . That is the command that you run to check if the board is connected properly. Change 'attiny44' if the chip you're programming is different. Change 'usbtiny' if you're using a different programmer. ... anyways. Two: It didn't work. The dc motor board did not register at all, so it was time to debug. Thankfully, at this point in the class, I can actually debug boards, somewhat (TA help is still very appreciated...). I noticed that the regulator was heating up a lot. That made me suspect that the power port I was using was reversed, or there was something wrong with the traces in the vicinity. Thanks to help from Tiffany, I found that I had forgotten to ground the regulator (hence the heating up). The solution was to use a wire jumper to connect the regulator to ground, simple. After this change, the board still refused to program. With Rob's help, though, I discovered that I had forgotten to connect the reset pin on my header to a requisite pin on the attiny. Insert jumper number 2... After these two changes, the board registered.
Note that the board above has two jumpers, one red and one black, not present on the prior picture of the board. Those two jumpers make the difference between a board that works and a board that does nothing at all... Anyways, once the board was programming, I decided to get to work on the code. Neil's example code for the DC motor ran the motor forwards and backwards at various speeds. I had a few changes to make: I wanted the motor to only run forwards, at one speed (probably fast) and switch on/off at the press of a button. So, I deleted the unneccesary parts of Neil's code and got to work with the editing. The only 'difficulty' was getting the motor to switch on/off at the press of a button -- the challenge being that the initial loop structure was insufficient, as if the motor only checked for a button press at the end of a long loop, there would be a lag between pressing the button and the motor actually powering down. So, I defined a variable that was initialized to 0 (x) and set it to alternate between 0 and 1 whenever the button was pushed. The motor would run/not run depending on the value of x. In theory, this code will work. I have no idea if it will, yet, due to a reason that will be revealed shortly.

I programmed the board with my code and it didn't work. So, I programmed my board with Neil's code... still didn't work. A quick check with a multimeter revealed that everything was being powered correctly, and, with help from Rob (using the big device with a screen, name forgotten), I found that the tiny44 was also outputting correctly. Rob suggested that I had blown my h-bridge, and he was correct. Apparently, connecting the board to power before connect a motor will blow the h-bridge. So, I replaced the h-bridge.. and... It worked. For a few seconds... Then the motor detached and h-bridge blew again (I assume).
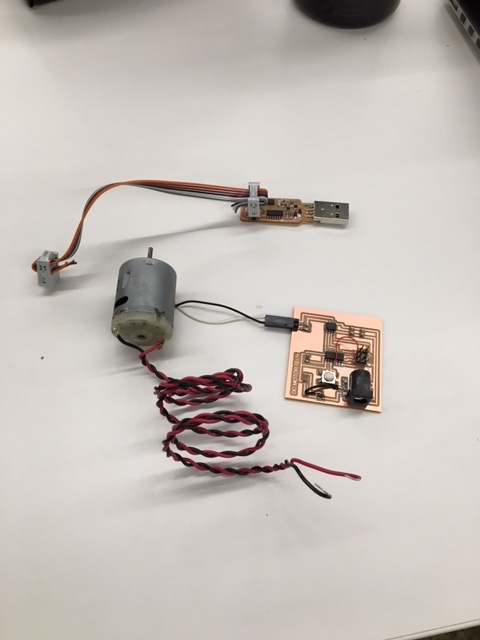
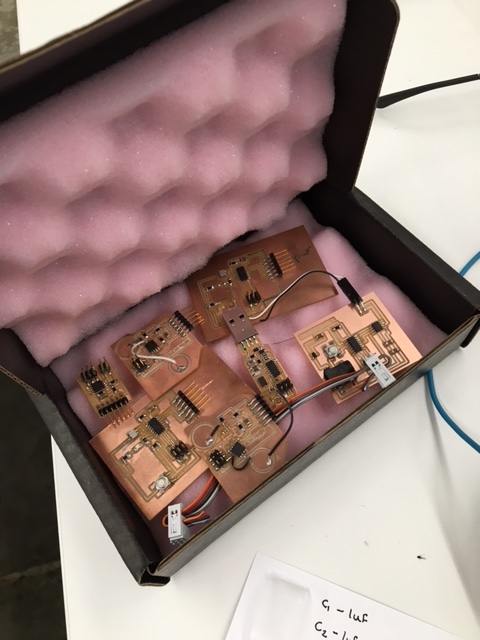
I intend to replace the h-bridge again later today and test out my code. Also want to pump some water... Please enjoy this picture of all of the boards I've made in the class.