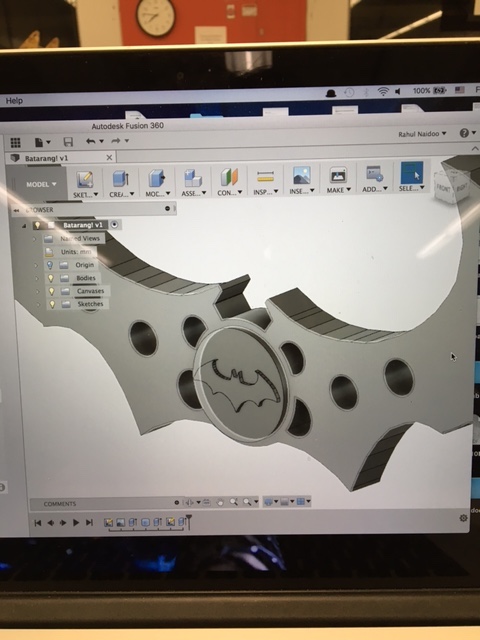
He'd make a batarang. The design process was incredibly straightforward this week (or so I thought) -- I simply downloaded an image for a batarang, trace the outline, then fiddled with the design, extruded, etc. No complaints with Fusion 360 this week. As I said in the CNC week, Fusion 360 excels at making 3D objects -- this was apparent this time -- big fan of the intuitive controls. I chose the batarang design used in the popular 'Arkham' series of videogames -- it's a more interesting, complex design than an extruded bat-symbol.
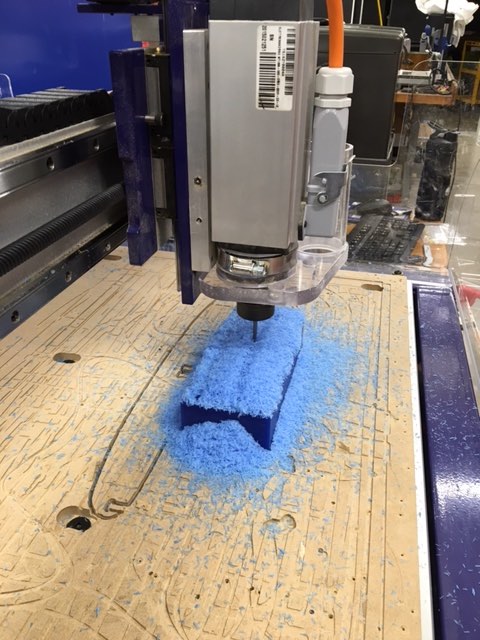
The next step was preparing the design for milling in PartWorks 3D. The software has upsides and downsides. Upsides include the ease of use, and the intuitive way in which the software positions the 3D design in the wax block. Practically, this means that the .stl that you export can be just the 3D design, it doesn't need to account for any more (there's no need to design the 3D shape into the block before exporting the .stl). The downside, though, is that the software includes no way to add registers. This is a serious oversight, as registers are really important (as will soon be evident), and they 'should' be quite easy to add (at least, no more difficult than adding traces -- something that the software already supports). I chose not to go back to my design and add registers... I definitely should have. Once the software was setup, I milled. The only changes this week were: hot-glue the wax block to the sacrificial layer (so that it doesn't shift) and do an air-cut, to ensure accuracy. The result was a block of machineable wax, complete with half a batarang, ready for oomoo.
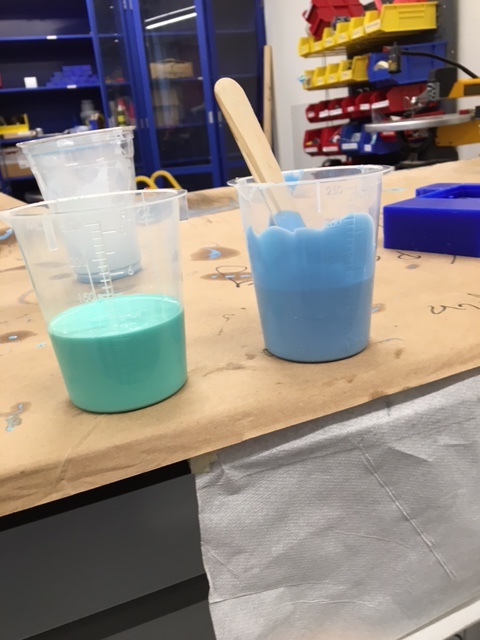
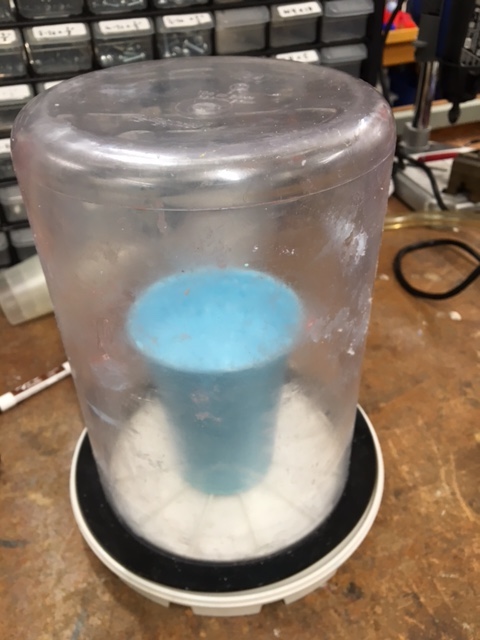
There are two parts to the oomoo process -- mixing and pouring -- both surprisingly non-trivial. First, mixing: Mixing the oomoo is complicated by time constraints and air bubbles. The natural tendency is to mix quickly and vigorously, doing so traps air bubbles -- detrimental to overall cast resolution. So, if you can't mix quickly, mix slowly, right? Wrong. Mixing slowly, as I did the first time, is a big mistake. The oomoo cured significantly during the extended mixing time, to the point that it was too viscous to settle fully into small spaces in the wax, resulting in an imperfect mold. The other concern when mixing is removing air bubbles. No matter how slowly you mix (and we've already determined that mixing too slowly is a problem), there will always be trapped air, and so it will be neccesary to use a vacuum chamber to remove air bubbles. When using the vacuum chamber, be sure to watch how the oomoo rises -- I did not, and I made a mess. Small caveat, when an oomoo mess is made, wait for it to dry before cleaning. Dry oomoo can be peeled off. Wet oomoo is a headache. The pouring needs to be done so as to minimize trapped air bubbles. Pouring such that layers of oomoo fold over each other will trap air bubbles. Pictured below is the vacuum chamber (post-mixing) and two cups containing the oomoo constituents -- pre-mixing.
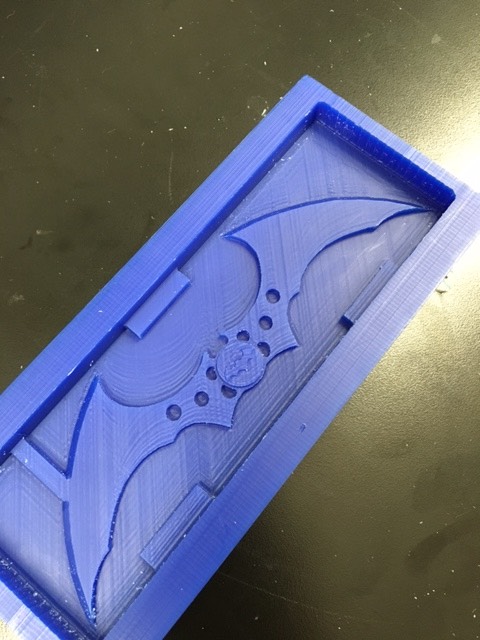
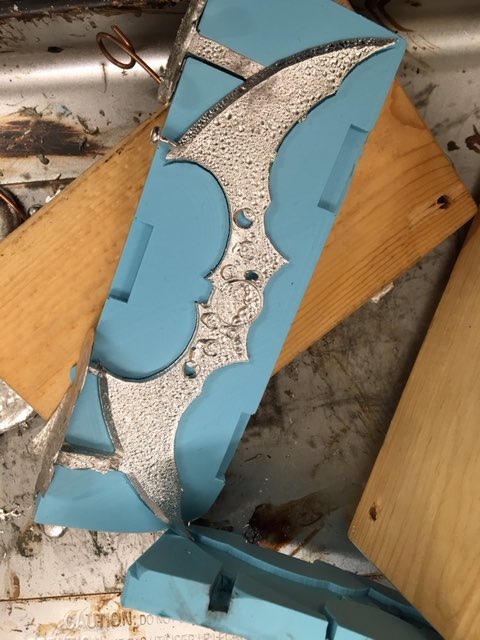
Once the pouring is complete, leave the oomoo for 4-12hrs (4 because that's how long it took, 12 because that's how long they say takes) to cure. Below, my final mold.
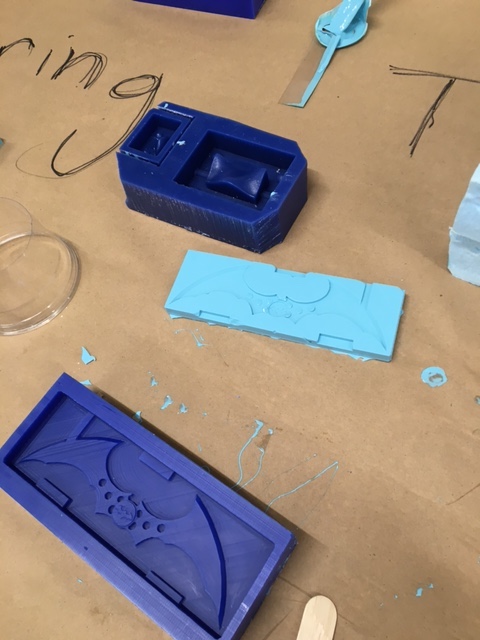
Aligning the two molds (for a two-part mold, obviously...) is terrible. It can be easy if you add registers. It could definitely be easy if PartWorks3D added registers easily. As I did not add registers, aligning the two molds was terrible. I had tried to Mcgyver a 'register' by adding tabs in PartWorks3D, but they didn't work, as PartWorks3D did not allow for precise placement of tabs, so they were off-center. Eventually, I figured out a system for aligning my molds. First, I lined them up as precisely as is humanely possible (they were both rectangles, so could be aligned), then, once I was satisfied, I put a pin in each of the four corners to hold them in place. Once secure, I placed wooden boards on either side of the molds, to maintain structural integrity, and then clamped the whole setup together.
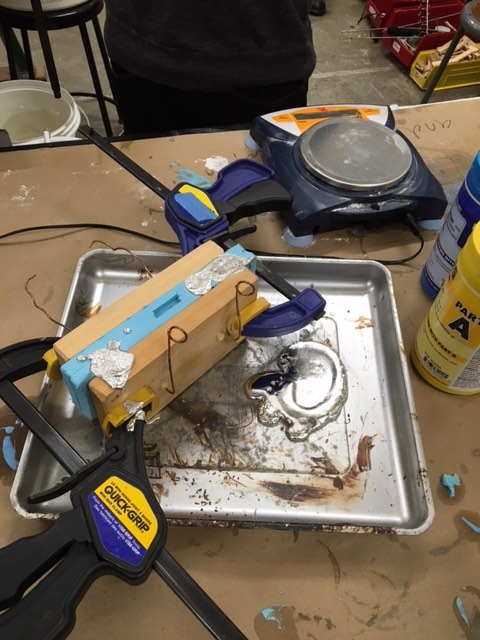
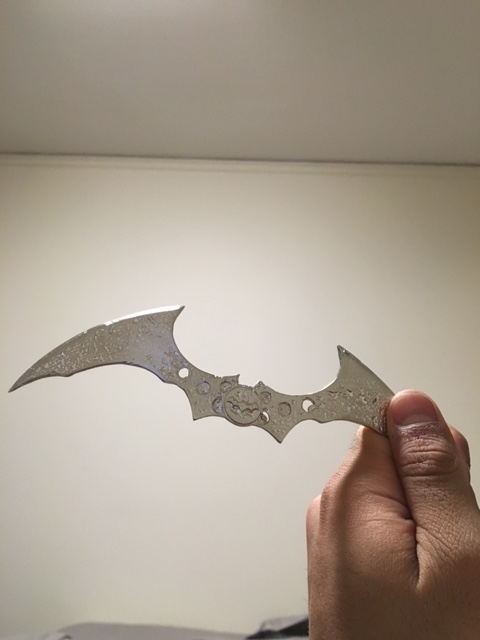
Pouring the metal was easy, with a slight caveat -- it is often difficult to liquid into small, high areas within the mold. To remedy this, I added slight holes in new places in the mold -- directly connecting to the areas in question. Otherwise, the process was as simple as melting the metal (in the microwave) and pouring it into the mold. I'm assuming that advisories about molten metal being hot are obvious to the point that they're unneccesary. Freshly-molded batarang below
Post-processing involved snapping off extra pieces of metal (left over from the pouring channels) and sanding the piece until I was satisfied. Included in post-processing was re-making the piece twice, as I shattered it by dropping it (the metal is so brittle) and snapped it while sanding. Huge advisory about sanding -- sand with water. Dry sanding will release metal dust into the air. In the event that the metal contains lead, this dust will be dangerous (thankfully, the RotoMetal 281 used this year was a tin and bismuth alloy -- mostly safe). Even if the metal doesn't contain lead, breathing in a lot of metal dust is never fun.
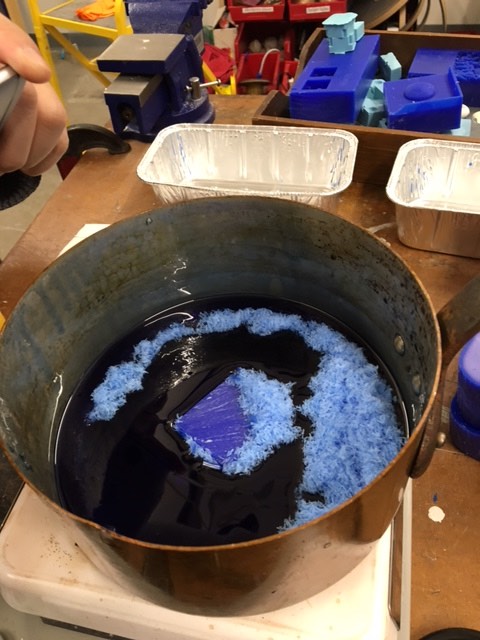
This week really awakened my inner recycling-junkie. For some inexplicable reason, I became obsessed with melting down any spare wax I could find and making new wax blocks. Below is a super fun picture of melting wax.