3D Printing and Scanning
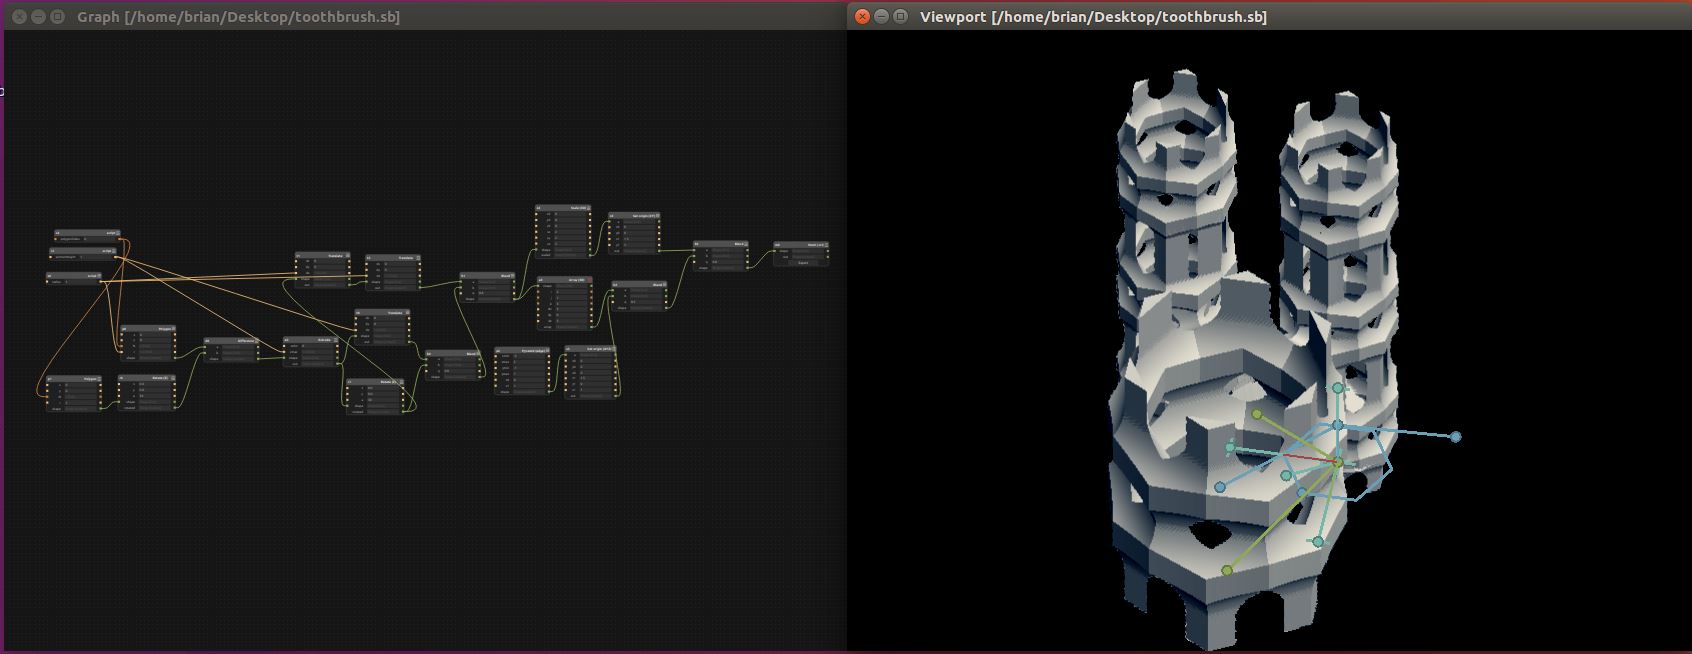
The other day I looked at the bottom of my toothbrush holder and noticed that there was a little puddle of water that had been growing in there (along with something else). My first two thoughts were 1) gross and 2) there should be a whole at the bottom to let the water drain so I can just wipe the ledge it sits on. Unfortunately, the design makes it very hard to drill a whole in the plastic in the right spot to allow for drainage. So I decided I will print myself a new one! My initial idea was to leverage the interesting blur power of Antimony. I wanted some hollow tubes for the toothbrush and the a triangle to direct the water out. My initial design can be seen below:
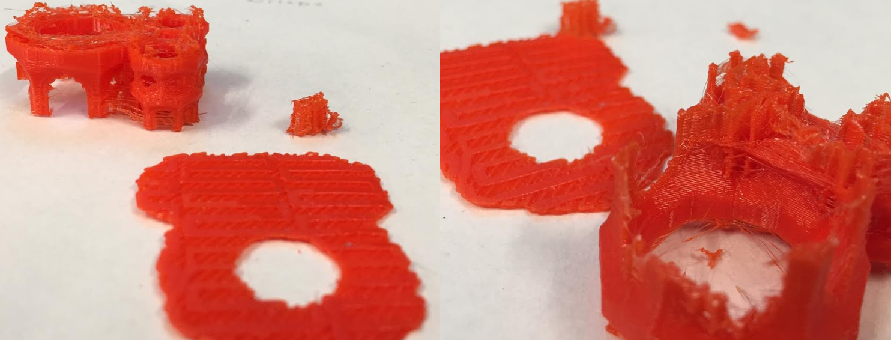
The makerbot was the only printer not in use so I decided to print a 1/5 scale model size as a test. It was really easy to import the STL into the makerbot software and then output a file for the makerbot onto it's SD card. I then sent the job to print. Unfortunately, part way through the print the spool of PLA got tangled and the extruder did not have any access to more PLA and so it started just printing air effectively ruining the print. That said, it was far enough through the print that I learned a bunch of things about my design and how it was a bad idea. Basically it was a little too complex and would have resulted in a TON of supports to remove. In general the walls were too thing there were too many sharp points and there were just too many overhangs at sharp angles that all easily broke. Images below:
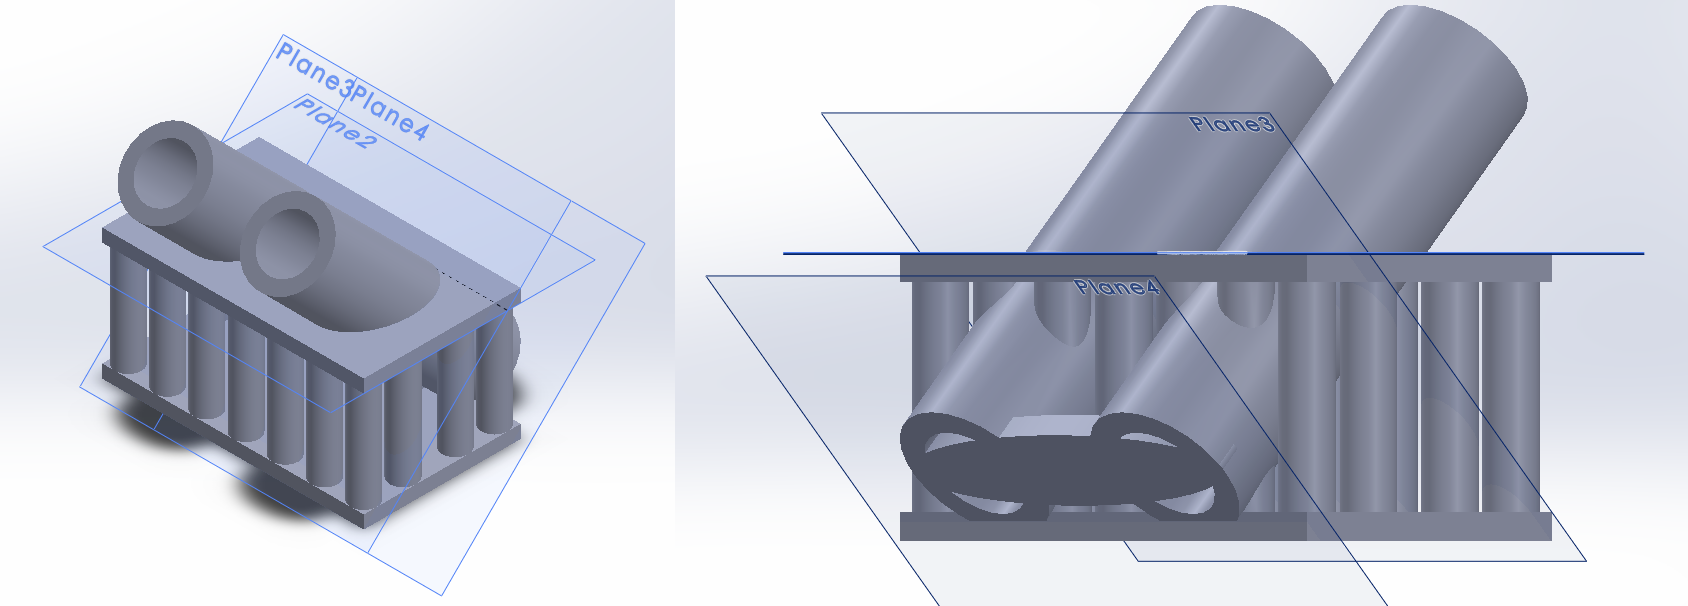
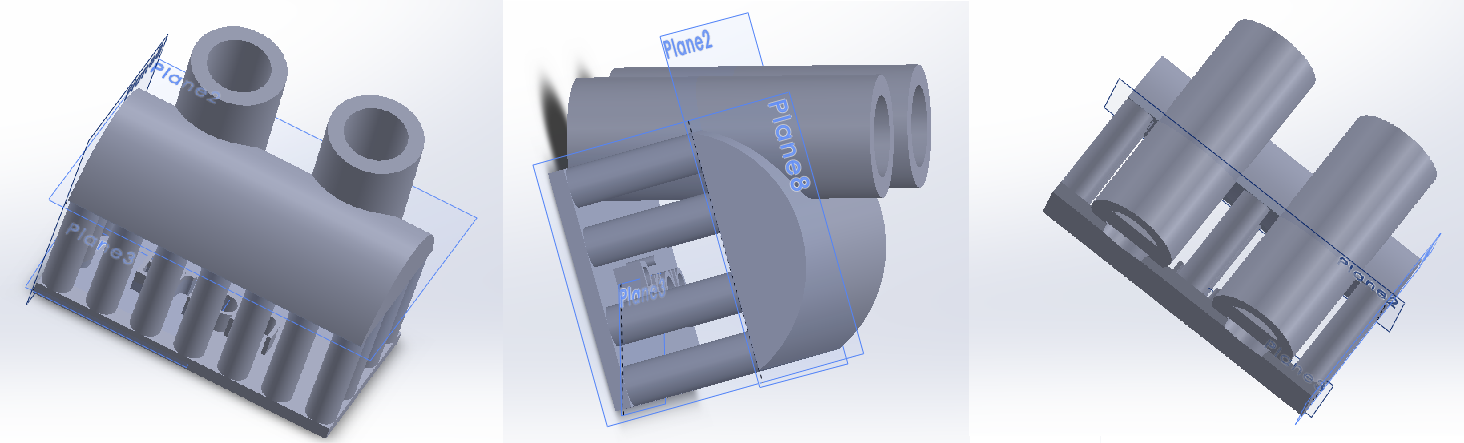
So when I went to update my design I decided to go with a simpler cage design to show off the power of 3D printing and keep the support structure a little bit simpler. I moved back to solidworks for this more straightforward design process. Results shown below:
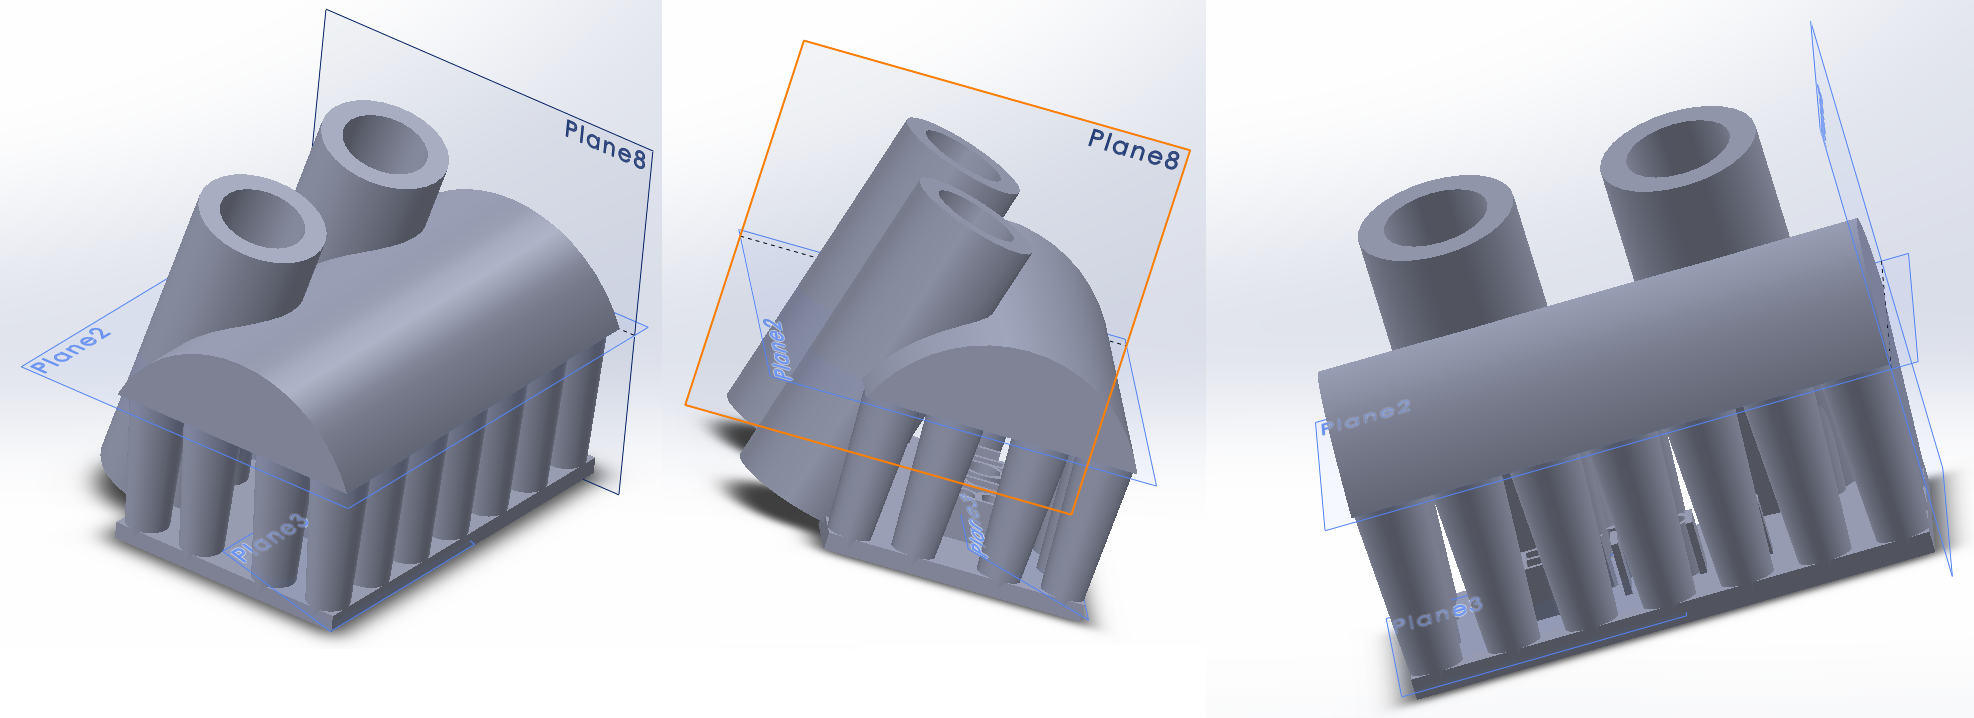
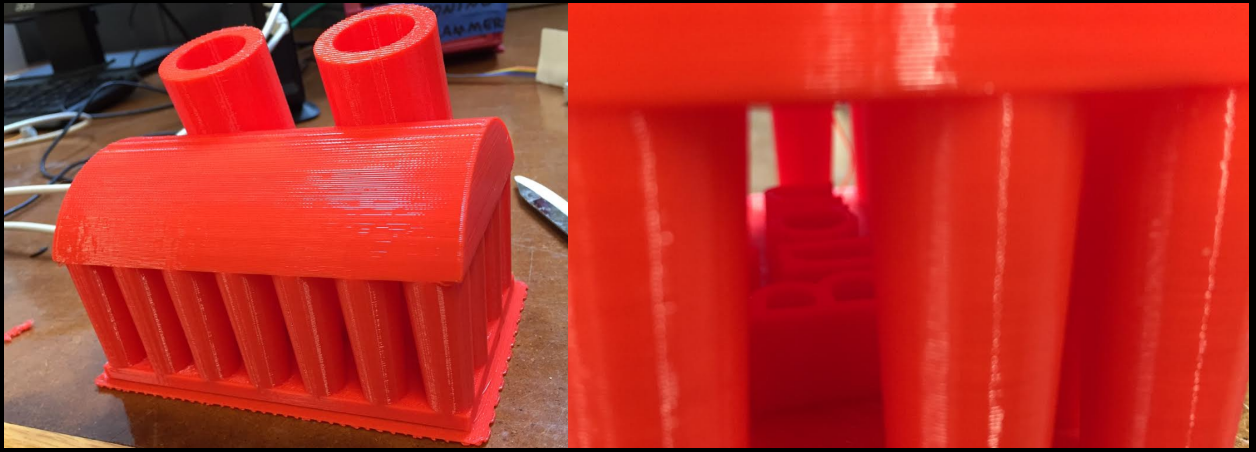
After I designed that initial design I started to analyze it to come up with a way to test the printer to not print any supports. I put a dome on the roof and used the shell function on solidworks to hollow out a good portion of the roof. This meant that each layer was at a slight overhang from the previous layer but not by much so that hopefully it could support itself without any supports. I really didn't want to go through removing all of the supports. So after I had this test design ready I decided to print a 1 to 4 scale of the piece to see where there were issues in the design. I also wanted it to print fast so I wanted to test out what happened when I pushed the maker bot to its least precise settings. The test print came out pretty darn well and while it printed fast it was still pretty darn slow in 51 minutes. The design and result can be see below.

Examining the piece carefully I noticed that there was a bit of drooping in between the various pillars. So I decided to update the design a little to flair/draft the pillars so that they expand in radius as they get higher and thus meet closer together at the top so there is less drooping between the columns. I also made a large error and did an extrude after I cut the whole for the toothbrushes so on the test copy there was actually not a full whole and the whole piece didn't work as it was intended. This is an important note for all Solidworks users -- be careful of the order of the cuts and extrudes! After I made those updates, I sent the real print job and slightly improved the quality but not by much. It projected for 7 hours so I let it run overnight. I came back in the morning and my improvements worked as planned! :) It was a great print! The makerbot really did an awesome (if slow) job! Final pics and design below:
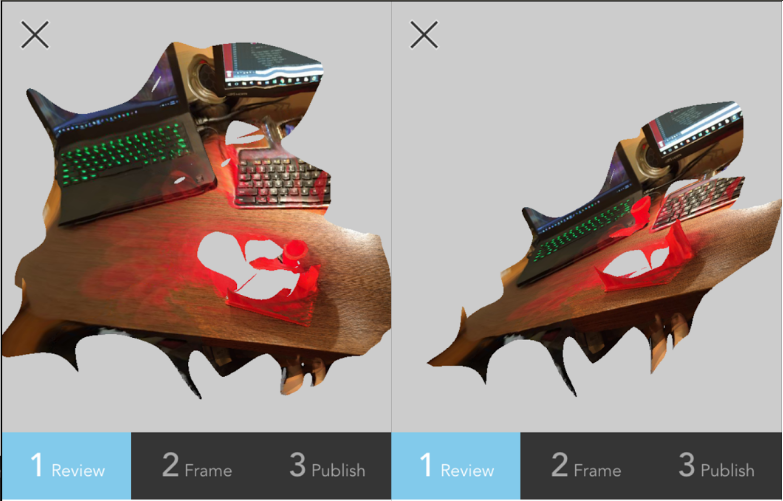
Time to try some 3D scanning. After seeing what a hard time everyone was having with the sense I decided I would use 123D catch for my 3D scanning. And I decided I would scan my own 3D print and see if it would come up with a halfway decent model! I took about 20 pictures around the print and then sent it to the server to be scanned. It took a long time for the server to respond (on the order of tens of minutes) which I was surprised by since I assumed the poer of the cloud would calculate things quickly. I tried spinning the model while keeping everything else still -- bad decision it failed spectacularly. So I took some more moving around and then sent it to the server and went to bed. The result this time was a realtive success. I see Neil's point about how 3D scannign is still in its younger days and is not fully formed yet, but this was a very interesting experiment.