CNC Machining or Big Boy Laser Cutting
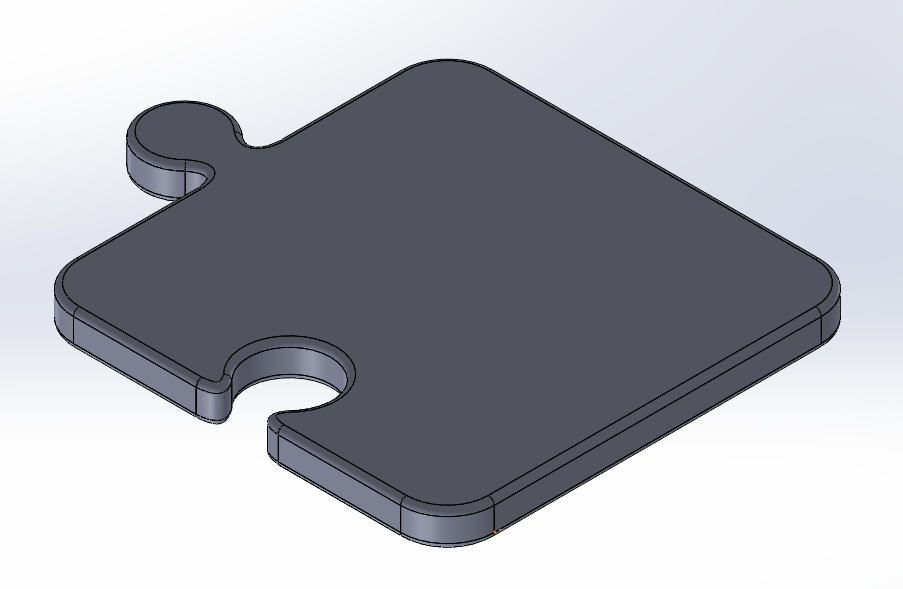
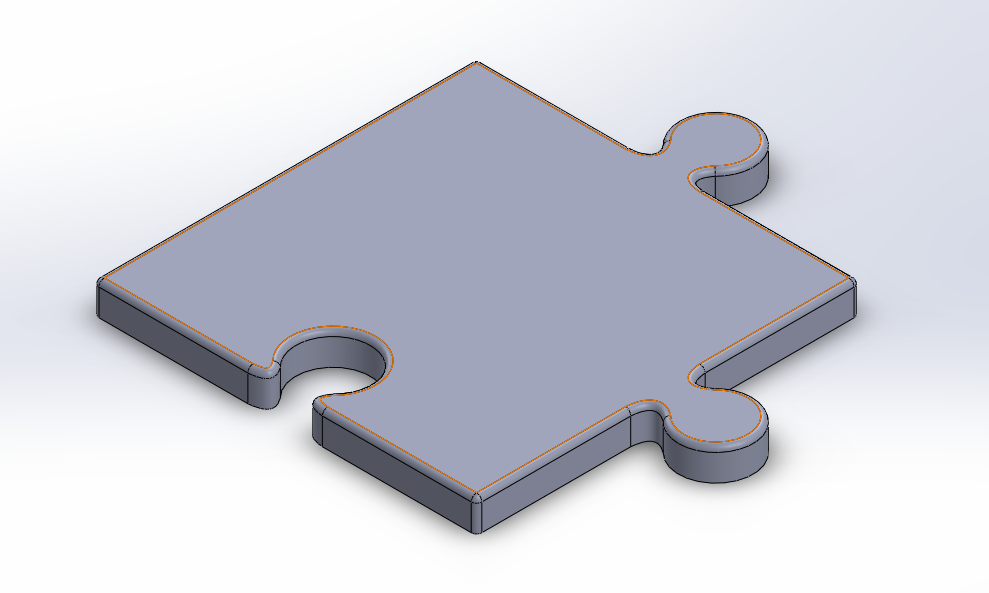
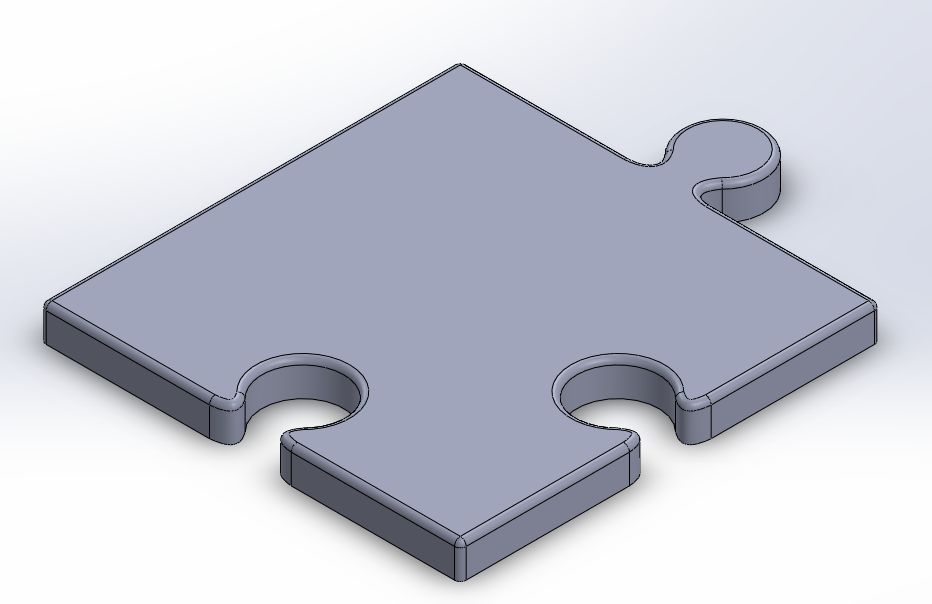
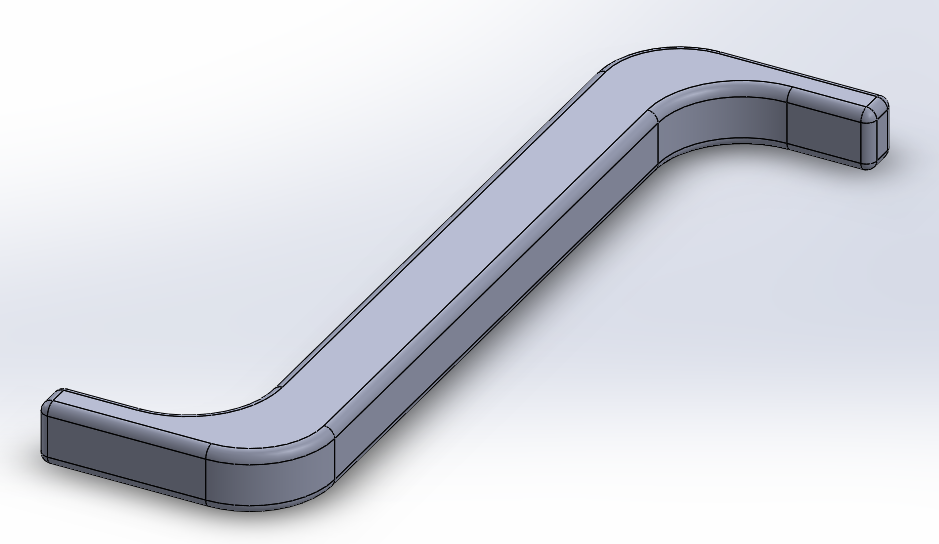
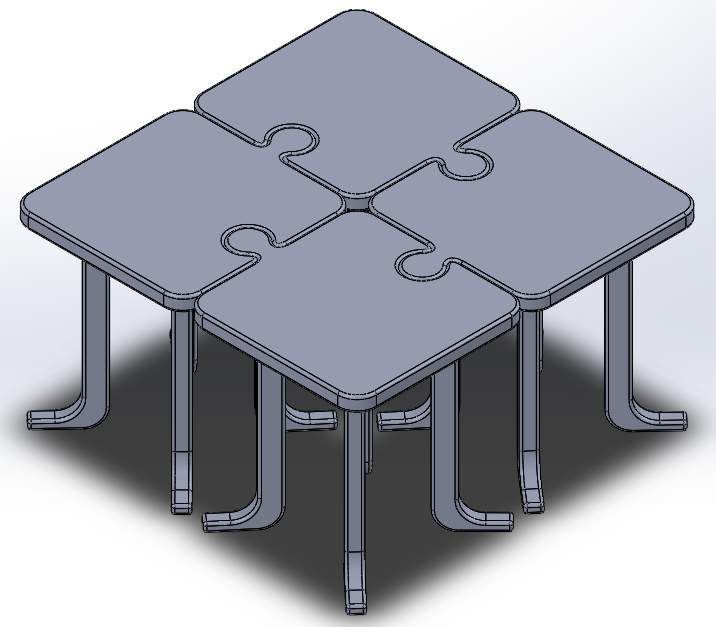
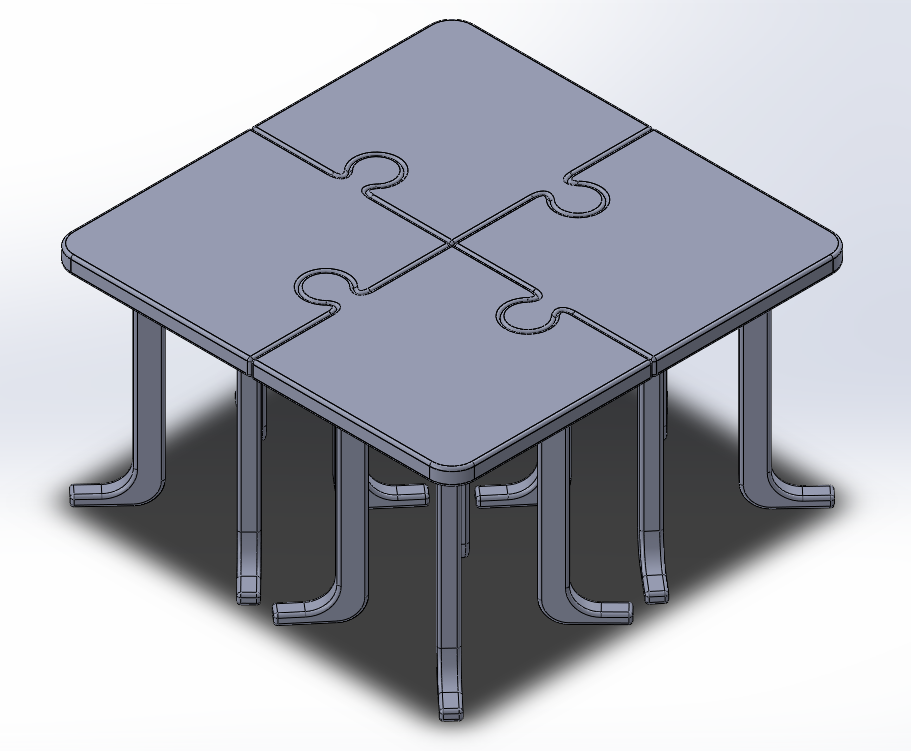
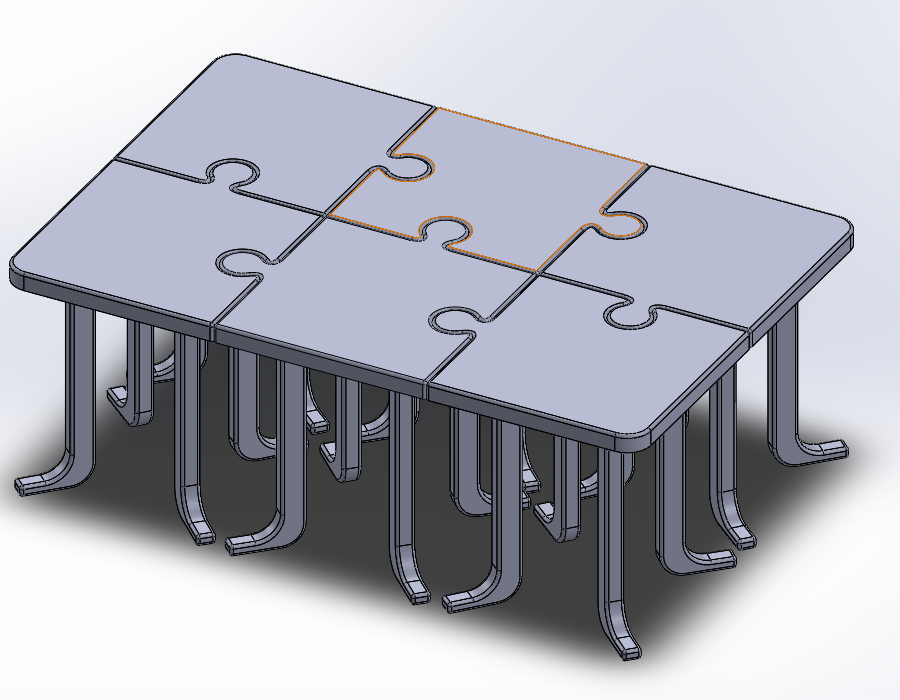
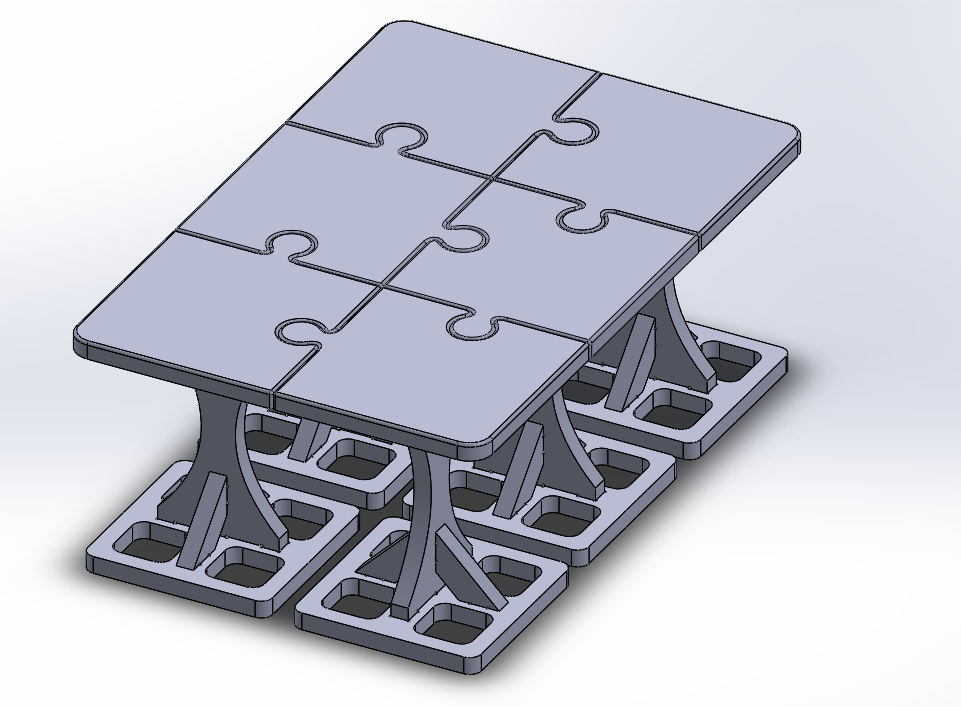
This week I am going to make some awesome coffee table(s) where the design on top is a puzzle and each piece has its own legs so they can be combine or removed at will! I stared by CADing up the corner pieces and a simple leg. I then created an assembly with the legs on the corner. I then created an assembly of those assemblies to make the full table. I realized from this that I actually only needed to round one corner not four. So I made that change and made two middle pieces and then put it all together. This looked great up top, but my fiancé and I decided that with all of the legs it looked a bit like a millipede. So I went and designed a different leg system that I think will also be relatively stable (although not as stable as four legs) but also way more aesthetically pleasing. See all images below:


I then went for a drive out to the Lowes and got some cheap softwood 2x12 beams which run about $25 for 16 linear feet. I'm going to joint, plane, and glue them into wider boards to cut my parts out of. That is a whole other can of worms and I'll get back to that later.
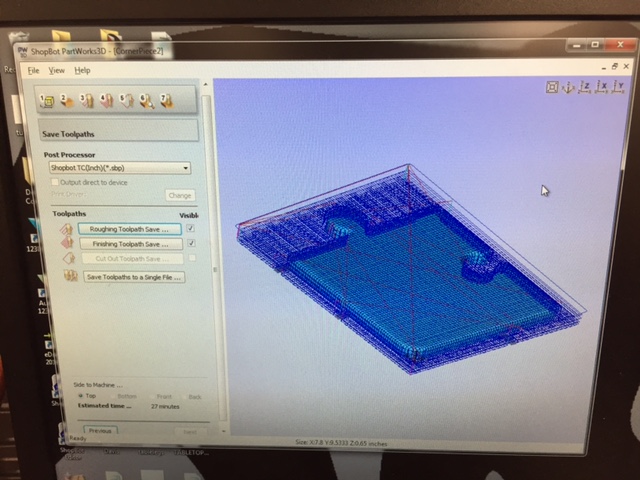
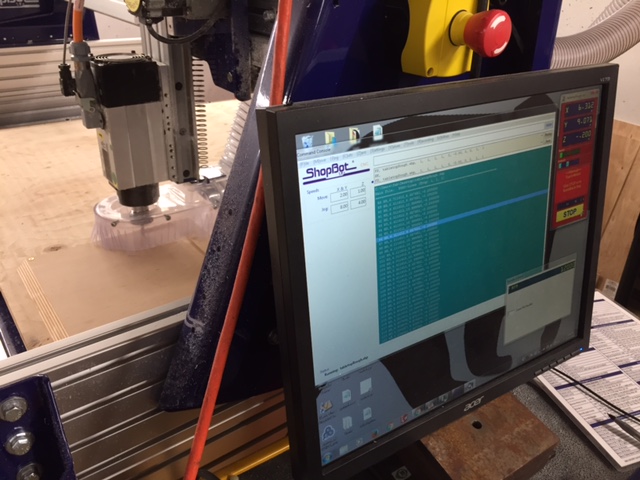
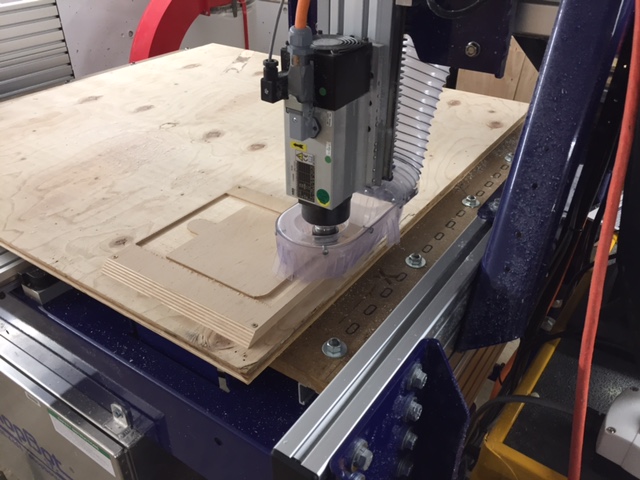
In the meantime I went to the shop to cut a test piece and learn the shopbot flow. Since I had some nice 3D models and because Rob wanted to explore shopbots 3D path planer we decided to try making the toolpath in Part Works 3D. It turned out to be a really really easy piece of software to use. You just had to go step by step through screens and it gives you previews each time. One warning: make sure you choose the correct drill bit for each pass - it doesn't assume you'll keep them the same and that is why my first finish cut test was so ugly. Also air cutting is super super helpful. We realized the test cut was 9x11 and not 11x9 which meant we had to re-orient our small piece of test plywood. In the end our test cut worked out really well. I now have to figure out when I can get into a wood shop and get all of my wood jointed, planed and glued up so I can start cutting out my real pieces! If I don't have time to do it this week I'm going to make a full test set of pieces on the given sheet of wood with all the components to make sure they all fit correctly.


Given the assumption that I should make test cuts just for safety anyway, I decide to move to 2D instead of 3D cuts based on the fact that the bevels above didn't come out super well (slash would have required a TON of time to do it smoothly). To make the cuts I used vCarve to design a toolpath. Overall I found vCarve super easy as well. One big trick for vCare is to use the close all curves button to make sure it treats all of your consecutive vectors as one curve! Then it was on to cutting.
First off before I talk about the results in the wood I want to leave a cautionary note. When I started running the cut the xy-jog was running very slowly. I paused the job and change the speed and restarted it. BUT the spindle doesn't automatically restart!!!! So I *sigh* broke the bit. Very very very sad. Upon getting a new bit I decided to just let it be slow on jog and not screw with it -- this worked great. Be VERY VERY careful if you pause a job to make sure the spindle is on before continuing!
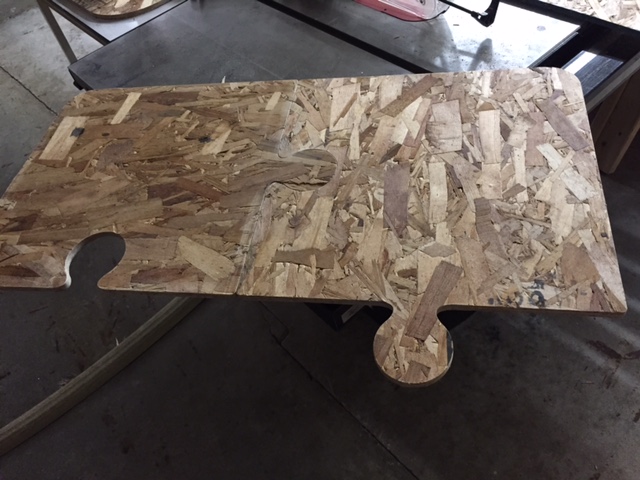
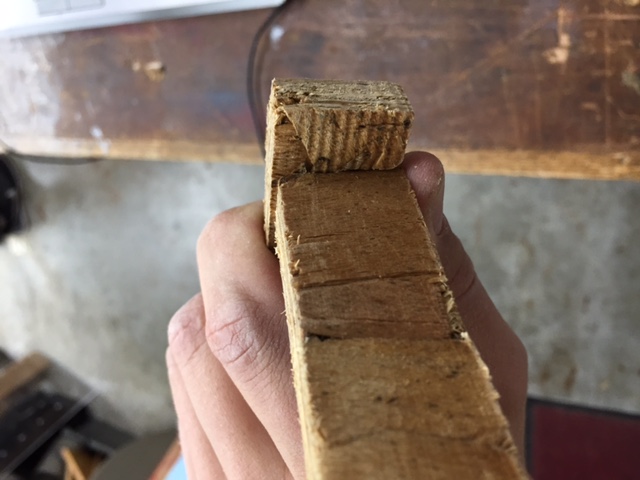
Overally the cuts were ok. The upper puzzle pieces looked great but were too perfect of a fit and required some serious sanding to get together. But the larger problem was the stand. The press fits in short sucked (see pics below). Basically I put curves at the bottom of all cuts to make a nice toolpath but then neglected to take that into account and so the pieces just didn't fit together right. Also the thickness varried throughout the board a little so the joints were a little too loose in places. It was time to design a new base!


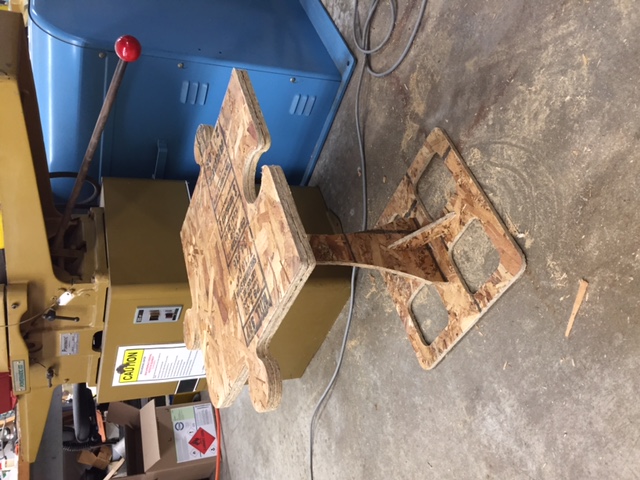
After talking with a bunch of people my new design leverage a one piece top, bottom, and middle of the stand, with two perpendicular supports in place to lock it together even if the attachments are a little off in size. Hopefully this will work better after testing. So it was back through vCarve and onto the shopbot for testing. Overall the new design worked way better. The pieces were very stable and fit together perfectly. The only issue was that the shopBot was a little generous on certain sizes and a little stingy on others -- therefore, it was a tight squeeze. I think I will be cutting on the line instead of inside the line for the wholes to make a little more room (I had to use a band saw to cut a couple pieces down because I got bored of sanding). That said, it stays together without glue which means it is a WAY more stable design. The same approach will go for the table tops as a 95% top looks a little weird. See design and pictures below:


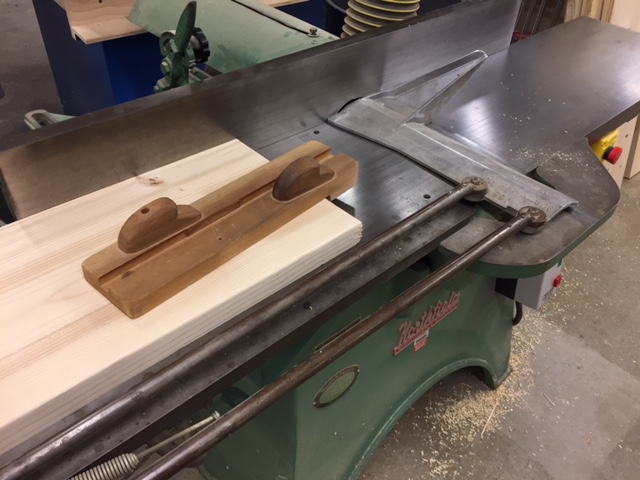
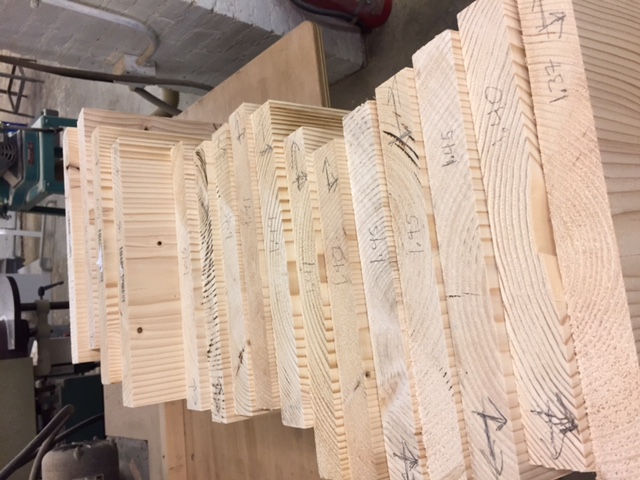
I also jointed and planed the wood and it is ready for a glue-up and then cut now that I have a final design (but that will have to happen another week). My notes on that is to: one, make sure to measure all of the boards after jointing to make sure you start biggest to smallest on the planning, and, two, make sure to draw a siquiggly line across the boards to notice when they are perfectly flat and planned! Images follow:

[Update Week 9]: I have glued all of my boards up. However, while delaying and wiating around to do this, the boards bent a little and so the final boards aren't perfectly straihgt. We will have to see how this effects the final cuts and joints. I think with sufficient sanding and wood glue (and maybe a little sawdust) this will all work out just fine. That said, since it took my forever to get through the glueing and since the semester has gotten a bit crazy I don't think I'm going to have time to finish these until January. Hopefully sooner but we shall see. I will try to keep this page updated regardless! This is an important cautionary tail for future HTMers that woodworking takes a LONG TIME!
Back