Molding and Casting
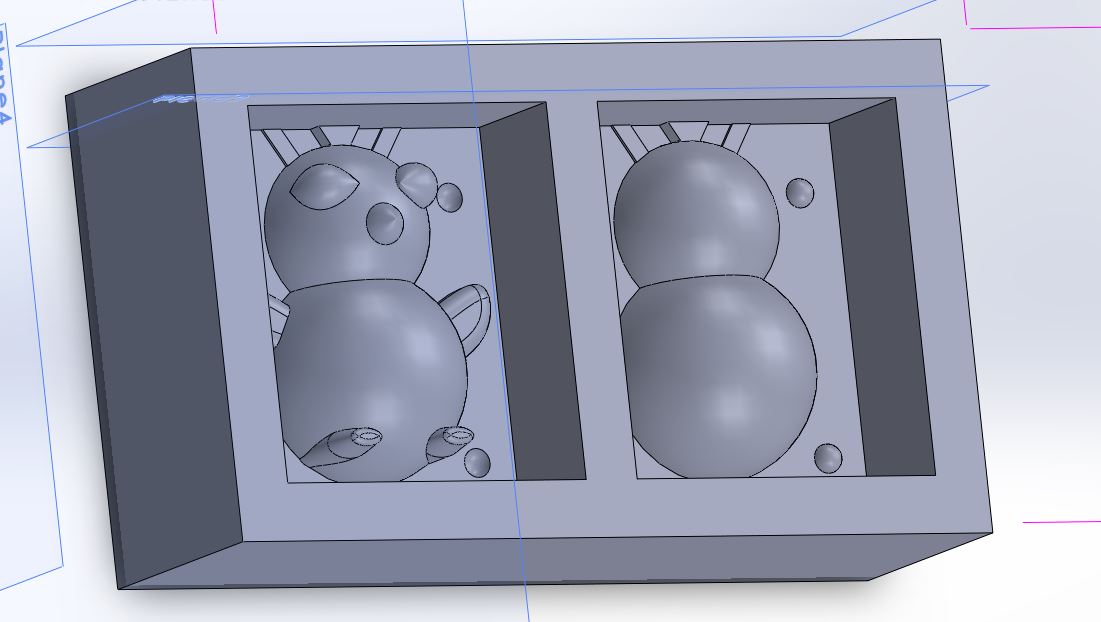
This week we are going to cast an object in a mold. I decided to make a penguin trinket for my finace because of an inside joke. So first it was time to CAD up my design in Solidworks. I made sure to make it in two halves but creating the full 3D object and then rotating one and filling in a box plane at the midway point. I then filled up some walls around each half to create my positive mold. I made sure to add two air vents and a vent to point in the final casting material (a sprue). I also added some bumps and matching wholes to make sure to have my negative mold halves come together appropriately. My design is below and STL is here:
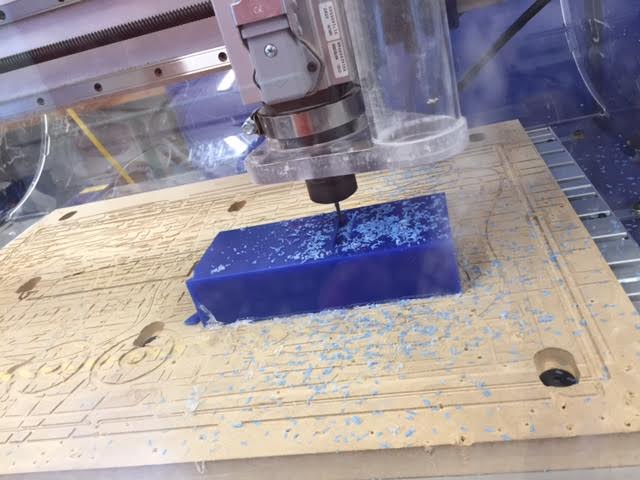
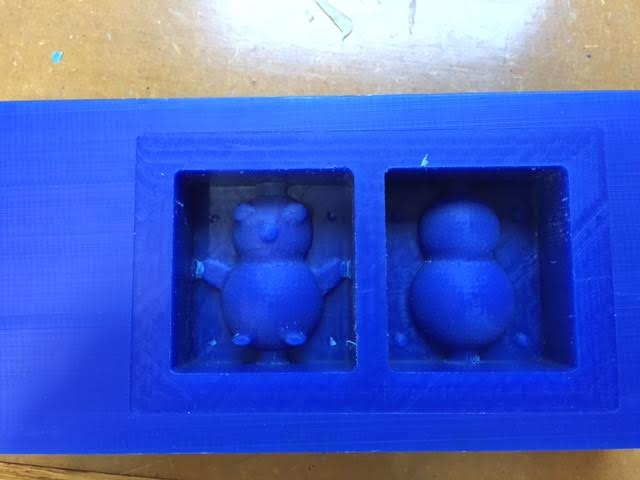
Then it was time to machine out the mold from the machineable wax. It was back to PartWorks3D to design my toolpath for the mini-shopbot. Remembering back from the make something big week this was a breeze. Just make sure to click apply after you change the origin point! I didn't but caught that on the aircut and fixed it! Also always do the aircut there is no downside in doing it! Results from my mill are below. It turned out that in shrinking down the size of my model I created features that were too small to make it in the cut. Therfore, I had to use a razor blade and an endmill bit to manually make some small cuts. There is also now an airhole in the top and bottom that I wil have to plug with clay or something. Good learning on the scaling of models. This week for me is more about exploring than getting things perfect so going to move on and do the oomoo and see how this works out!
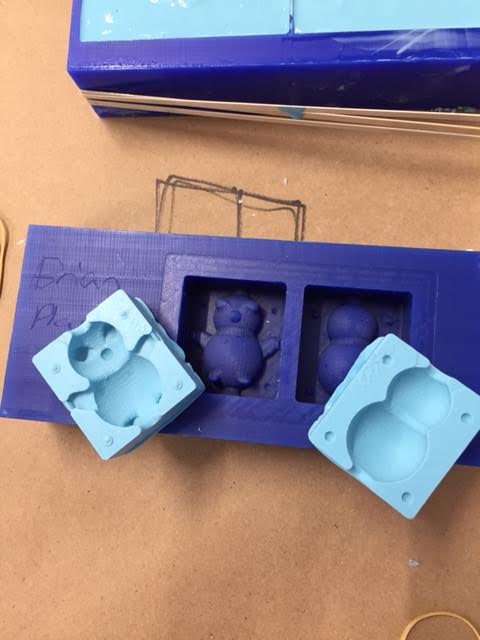
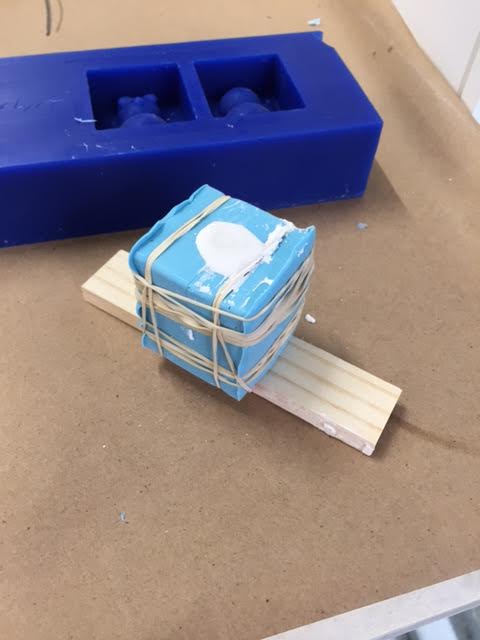
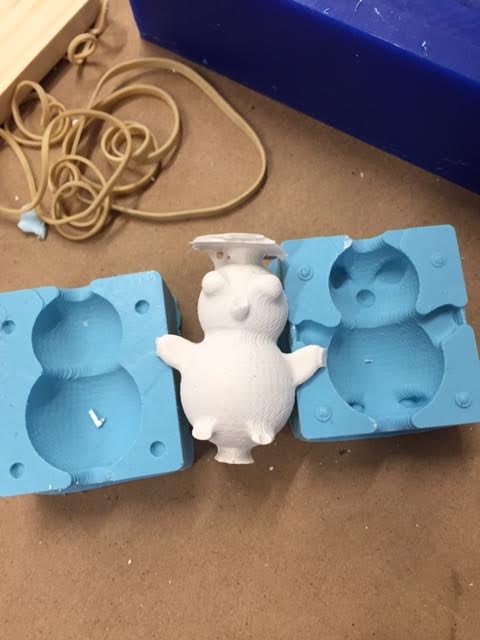
Mixing and pouring the oomoo was relatively straighforward. I made sure to pour super slowly and it got most of the bubbles out! I poured quickly at the end once I had covered the whole shape just to fill up the back of the mold to see the difference and there where a couple of bubbles in the final mold there, but honestly not that many. I must have mixed the oomoo really well! :). Next up I mixed up the hydrostone (you need a surprisingly large amount of powder for water) and then poured it into my mold. I held the mold together with rubber bands and left it to dry for a couple of hours. I tried to pour really slowly but it started to "glop" out of the container at the end and poured a little to fast for the last bit. Unsurprisngly, there was therefore a bubble that stuck on the nose of the penguin so it is missing the tip of its nose but otherwise it all worked really well!. Just make sure to pour as slowly as possible!!! Then it was time to just sand off the extra bit on top and bottom. Results are below:
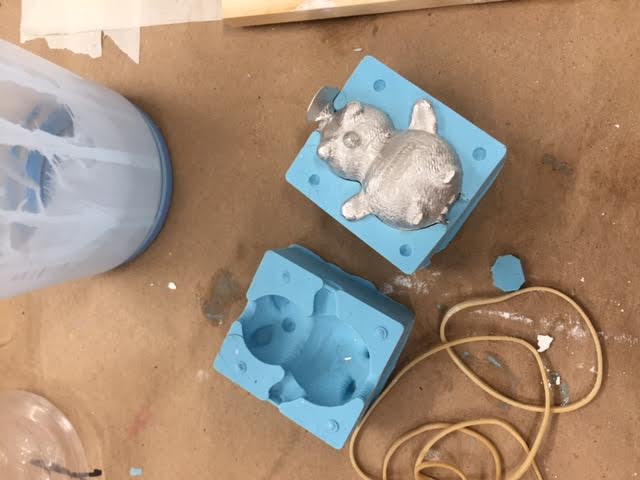
Then I tried one more time with metal -- another classmate was casting in metal anyway so I went after him and used his scraps. Learning from my plaster I poured much slower and put an oomoo plug in the bottom whole so I wouldn't have to file off something huge on the bottom. And presto it worked great! Just a little filling off the top and yah amazing! Metal! :)!
