Week 10: Composites
Introduction
This week, I designed and fabricated a 3D mold and produced a fiber composite in it. I made a bowl with a diameter of 12’’ and depth of 2’’. Composites are made for objects that require being rigid and lightweight – that is why they are used for making aerospace objects.
Phase 1: Designing the 3D mold
I used Rhino to design the board. I like Rhino because I feel that it was very flexible and easy to get the correct measurements.
- In the top view, use the Polyline line segments to create a square (you can type in the size you want for the next point)
- In the top view, create the center by selecting the single point and checking the ‘center’ checkbox
- In the top view, move the square to the 0,0,0 point by typing ‘Move’ and selecting the square and center
- In the front view click on the ‘curve: interpolate points’ and create a curve
- Create a polyline for a ‘y axis’
- Type in ‘Revolve’ and revolve the curve from the top of the y axis to the bottom
- Swing the curve around 360 degrees
- In the perspective view, create a box and put the bowl inside the box
- Then make a hole with the bowl in the box
- You can scale1d to scale the bowl to the correct size
- You can also use ‘planarsrf’ to create surfaces from curves
- Create a mesh out of the object
- Export that object as an .stl
Phase 2: Machining the shape of the board
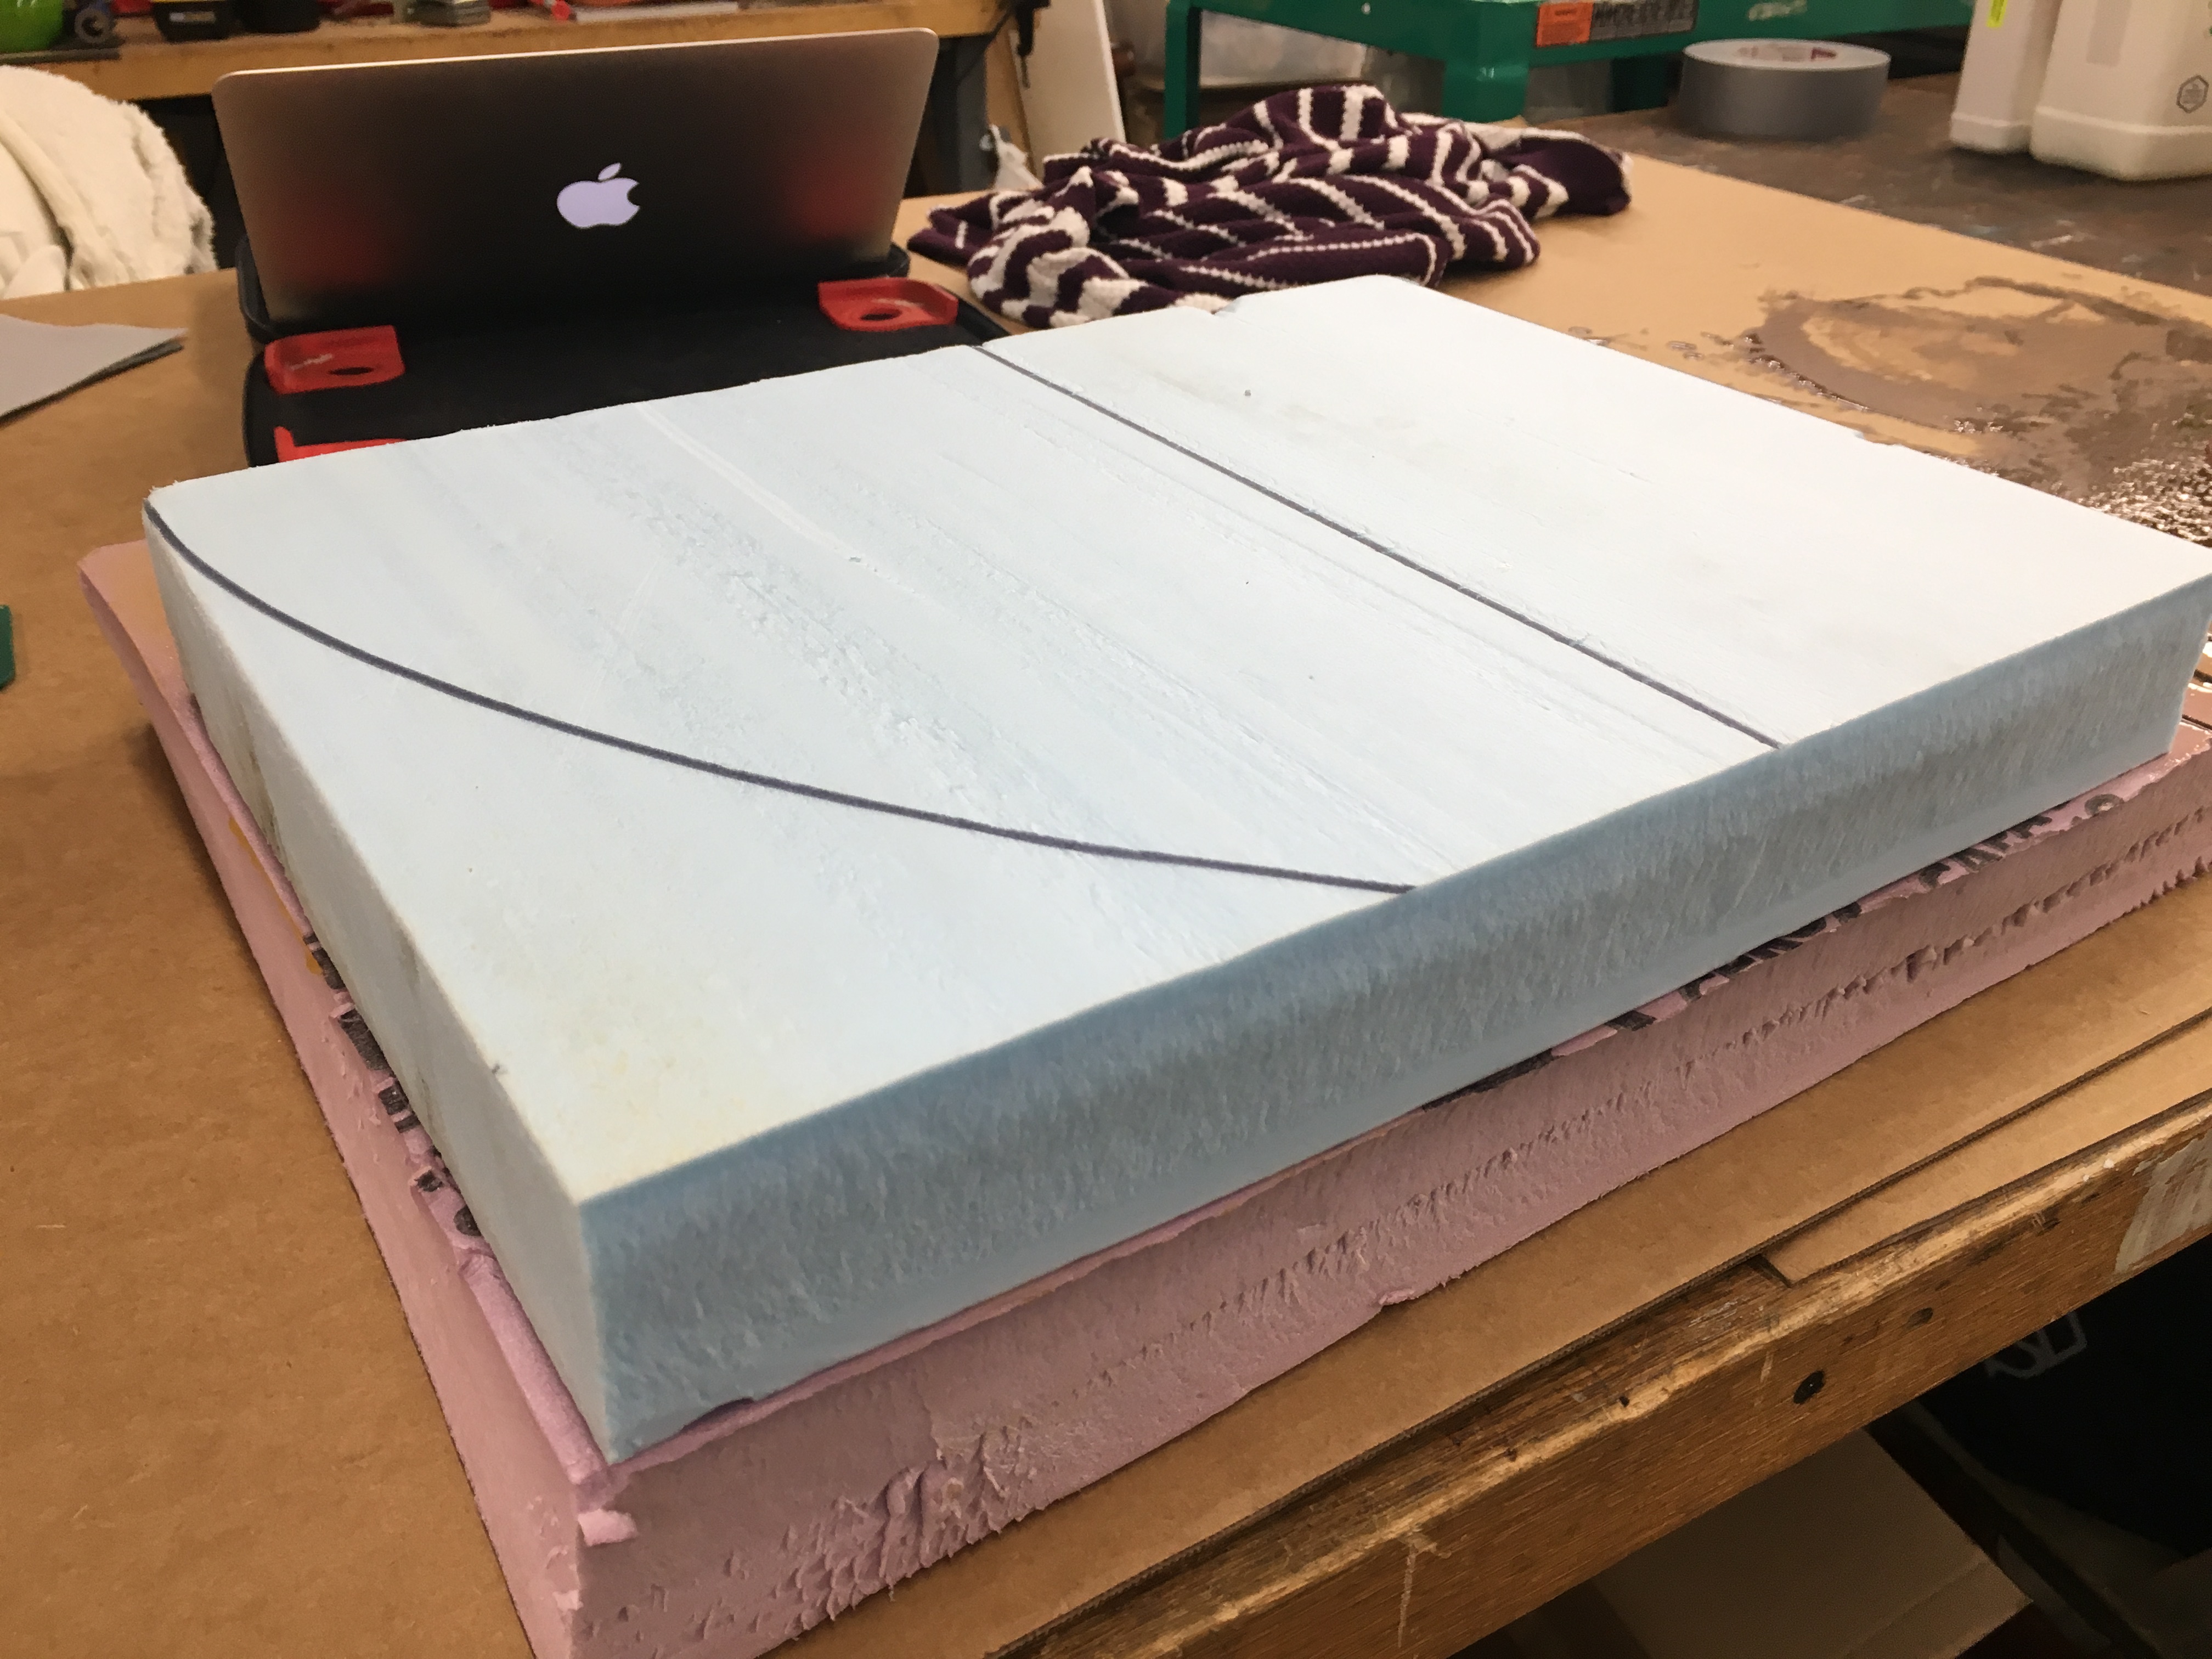
In order to make the shape of the bowl, I used two pieces of rigid foam. One piece of rigid foam is 2’’ deep, but I wanted to create a bowl that would be deeper than 2’’ so I needed to stick two pieces of rigid foam. I used gorilla glue to stick the two pieces of foam together. Then I had to put the foam in a vacuum bag to suck out all the air so that the two pieces of foam would stick together nice and tightly. I stuck the foam in a vacuum bag and waited about an hour.
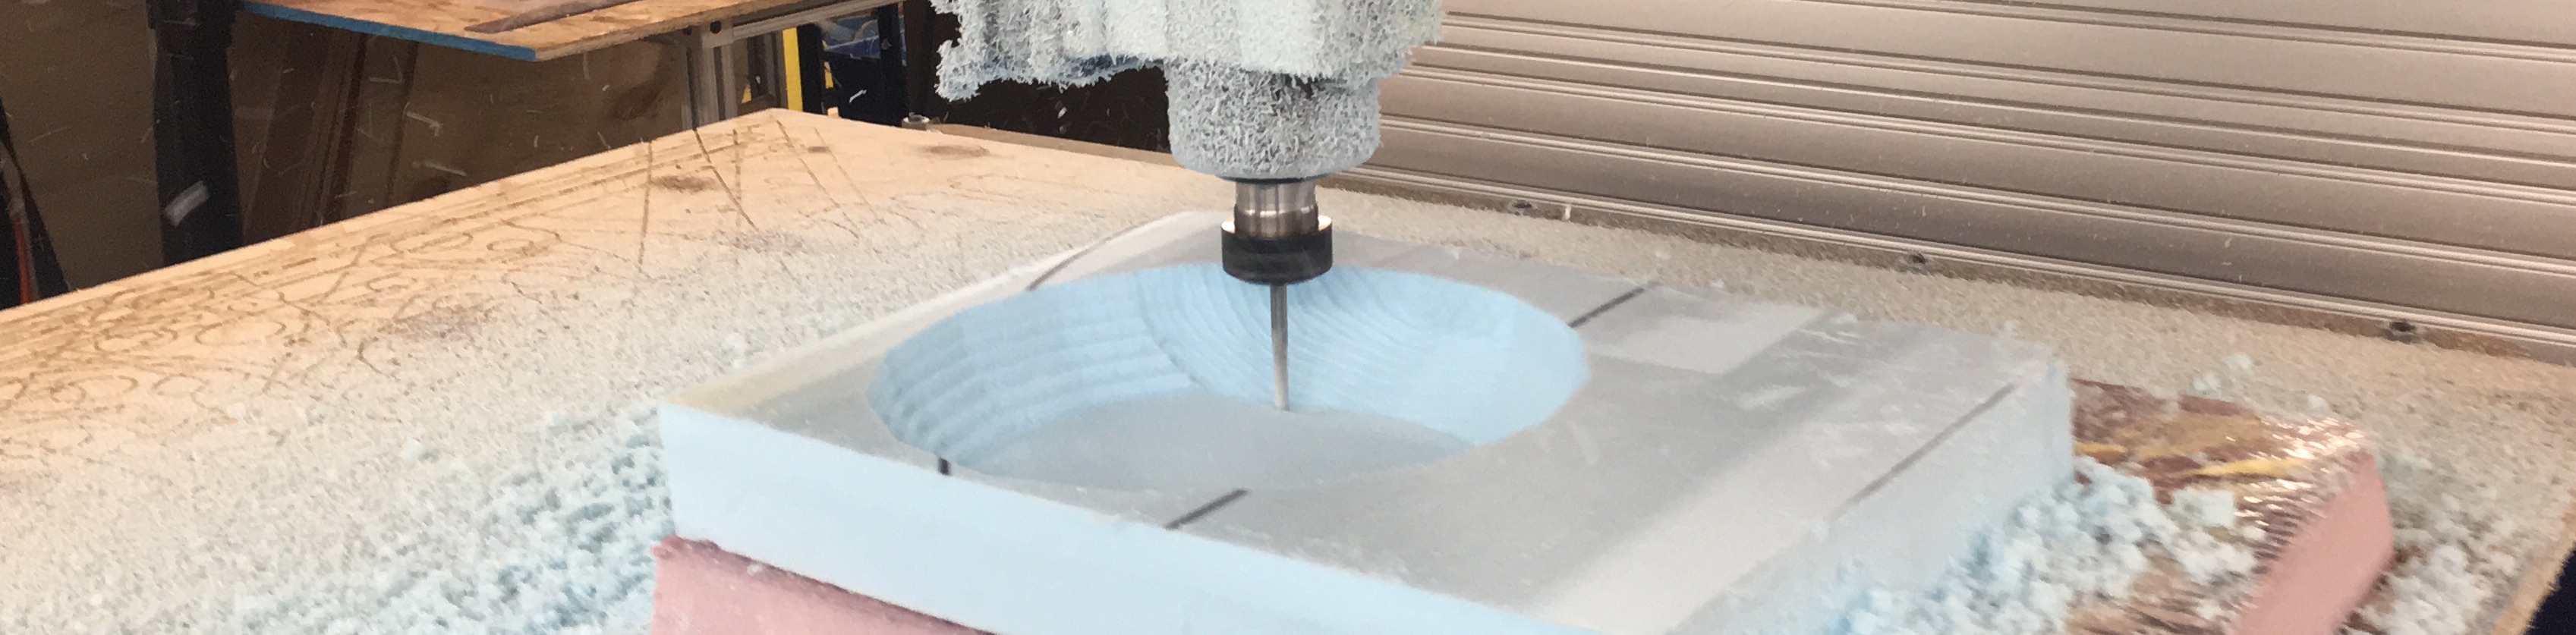
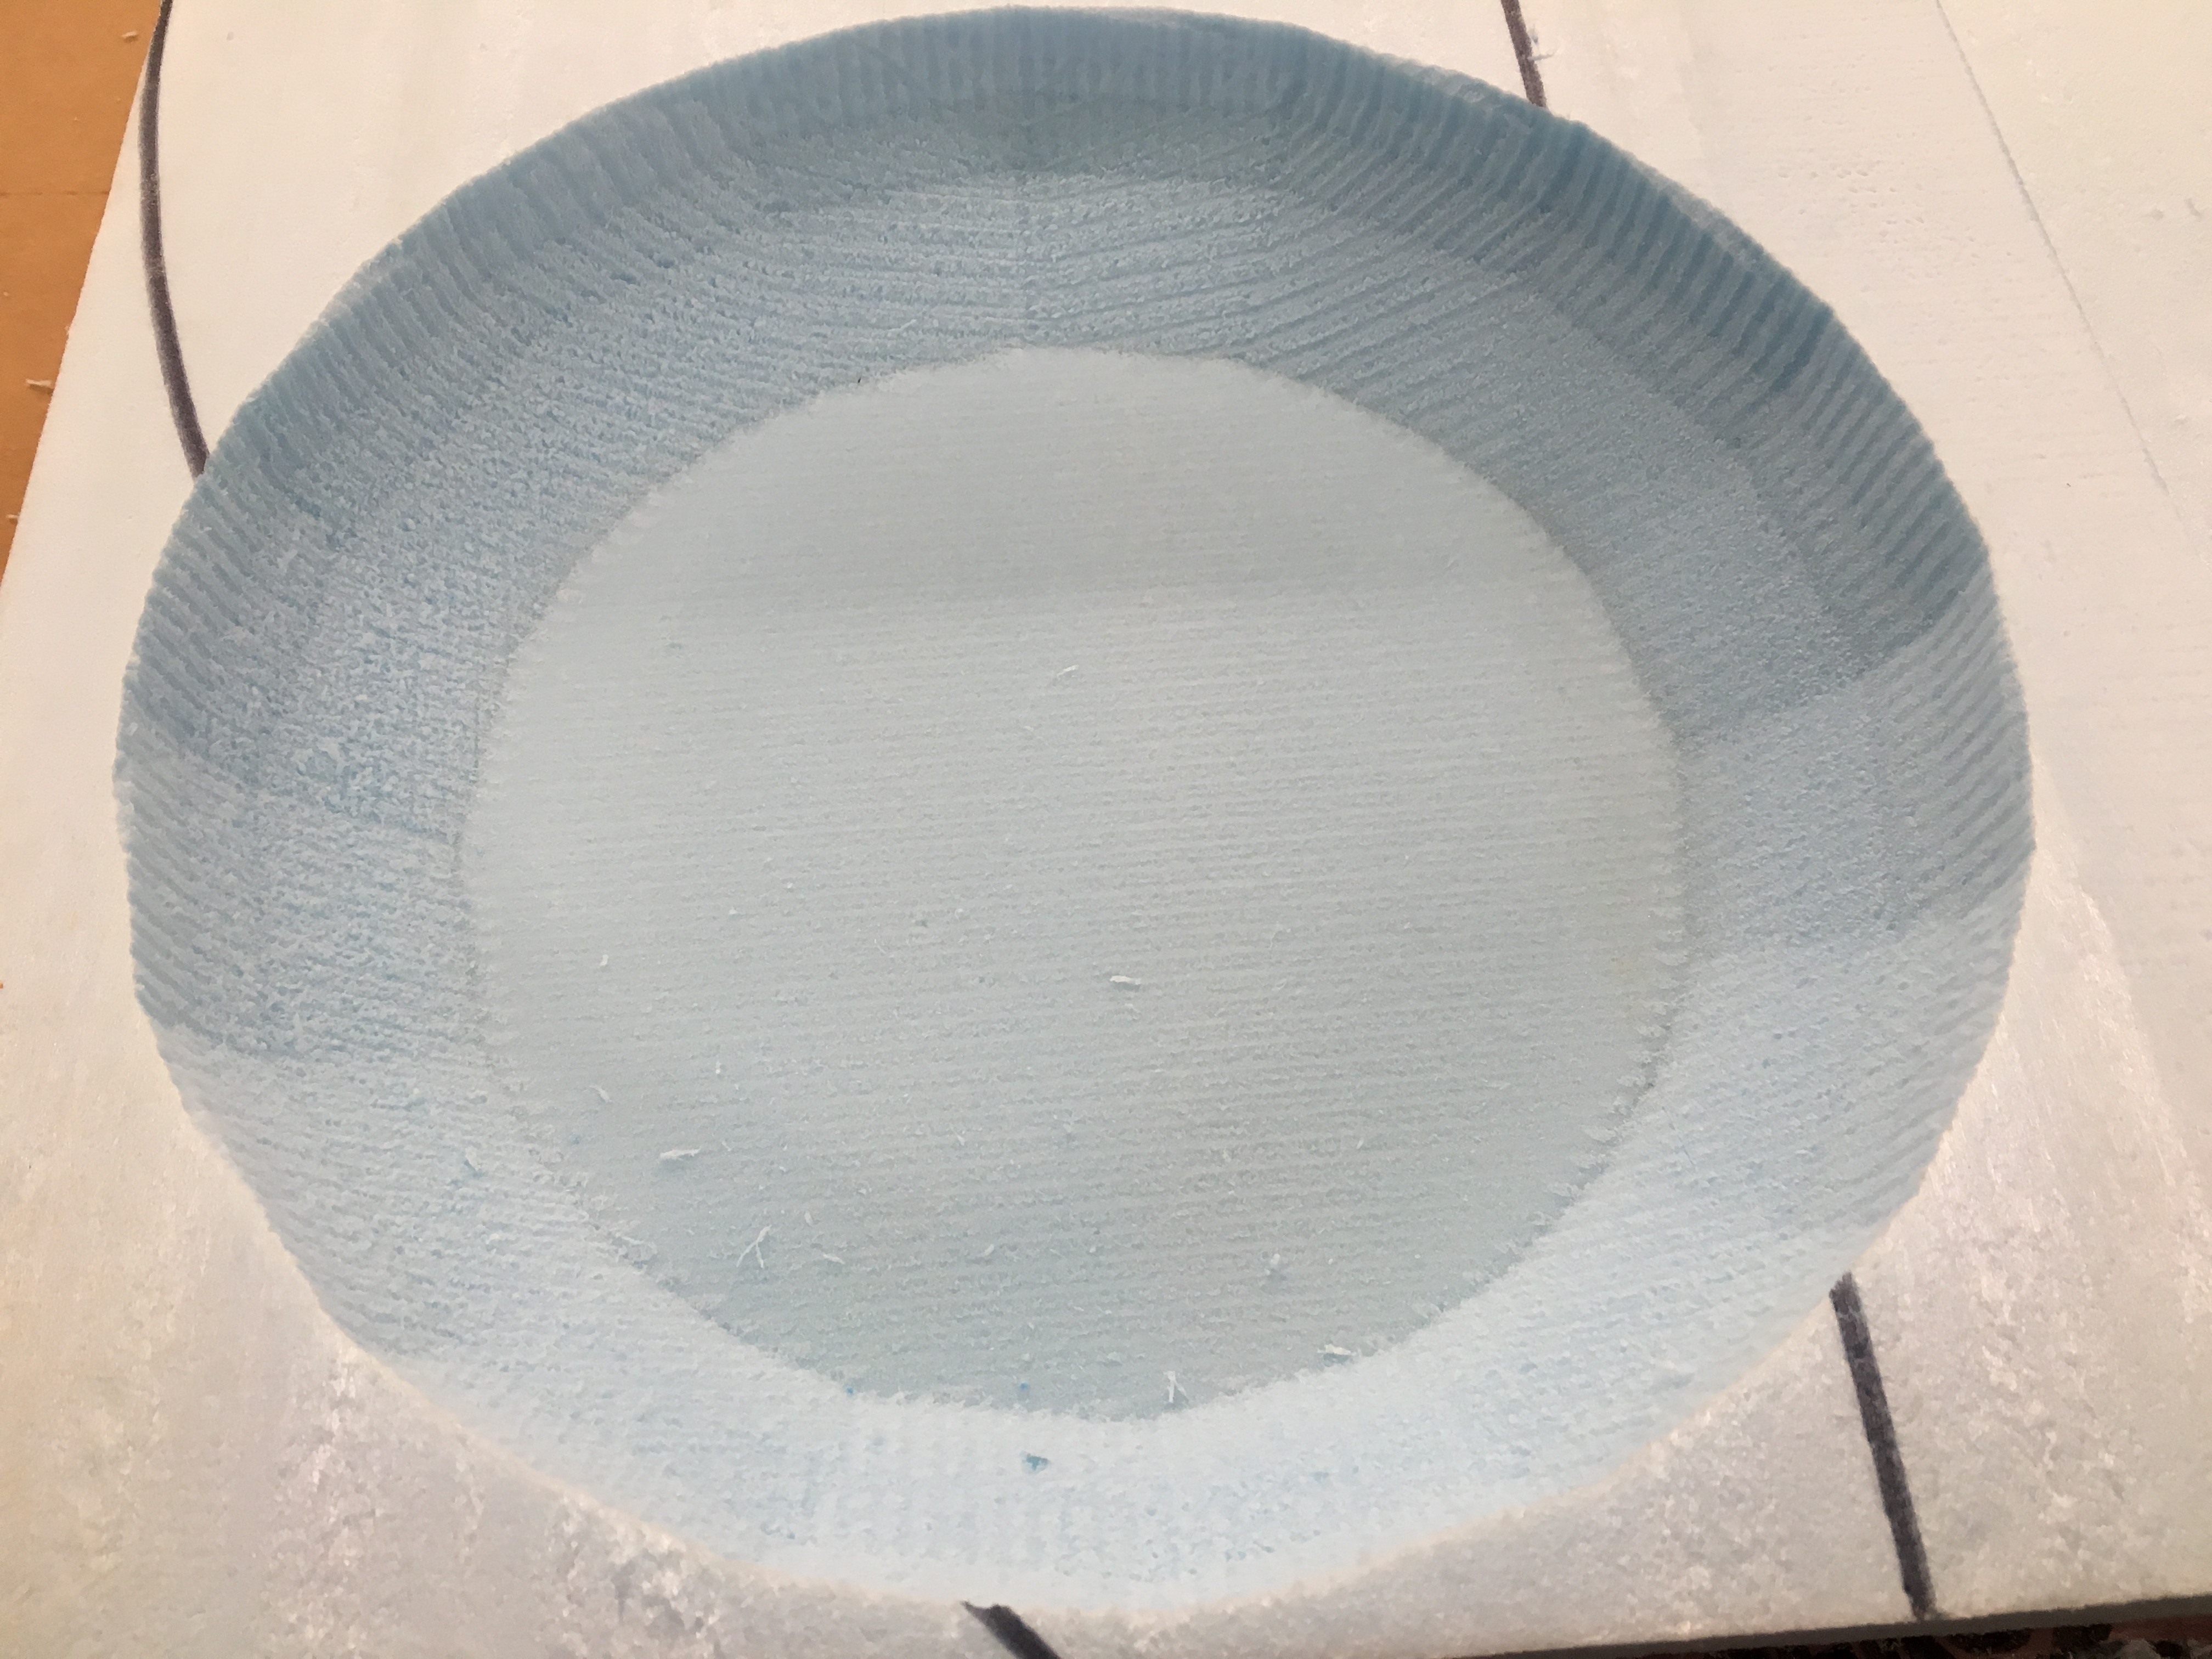
After an hour, I placed the pieces of foam on the Shopbox machine and uploaded the bowl .stl file to the shopbot software. I zeroed the machine to the correct position. I checked the default properties on the software and changed some values to quicken the process. Tip: check the box to let the finish path do another round at a 90 degree angle for a smoother finish. Then it was ready to go.
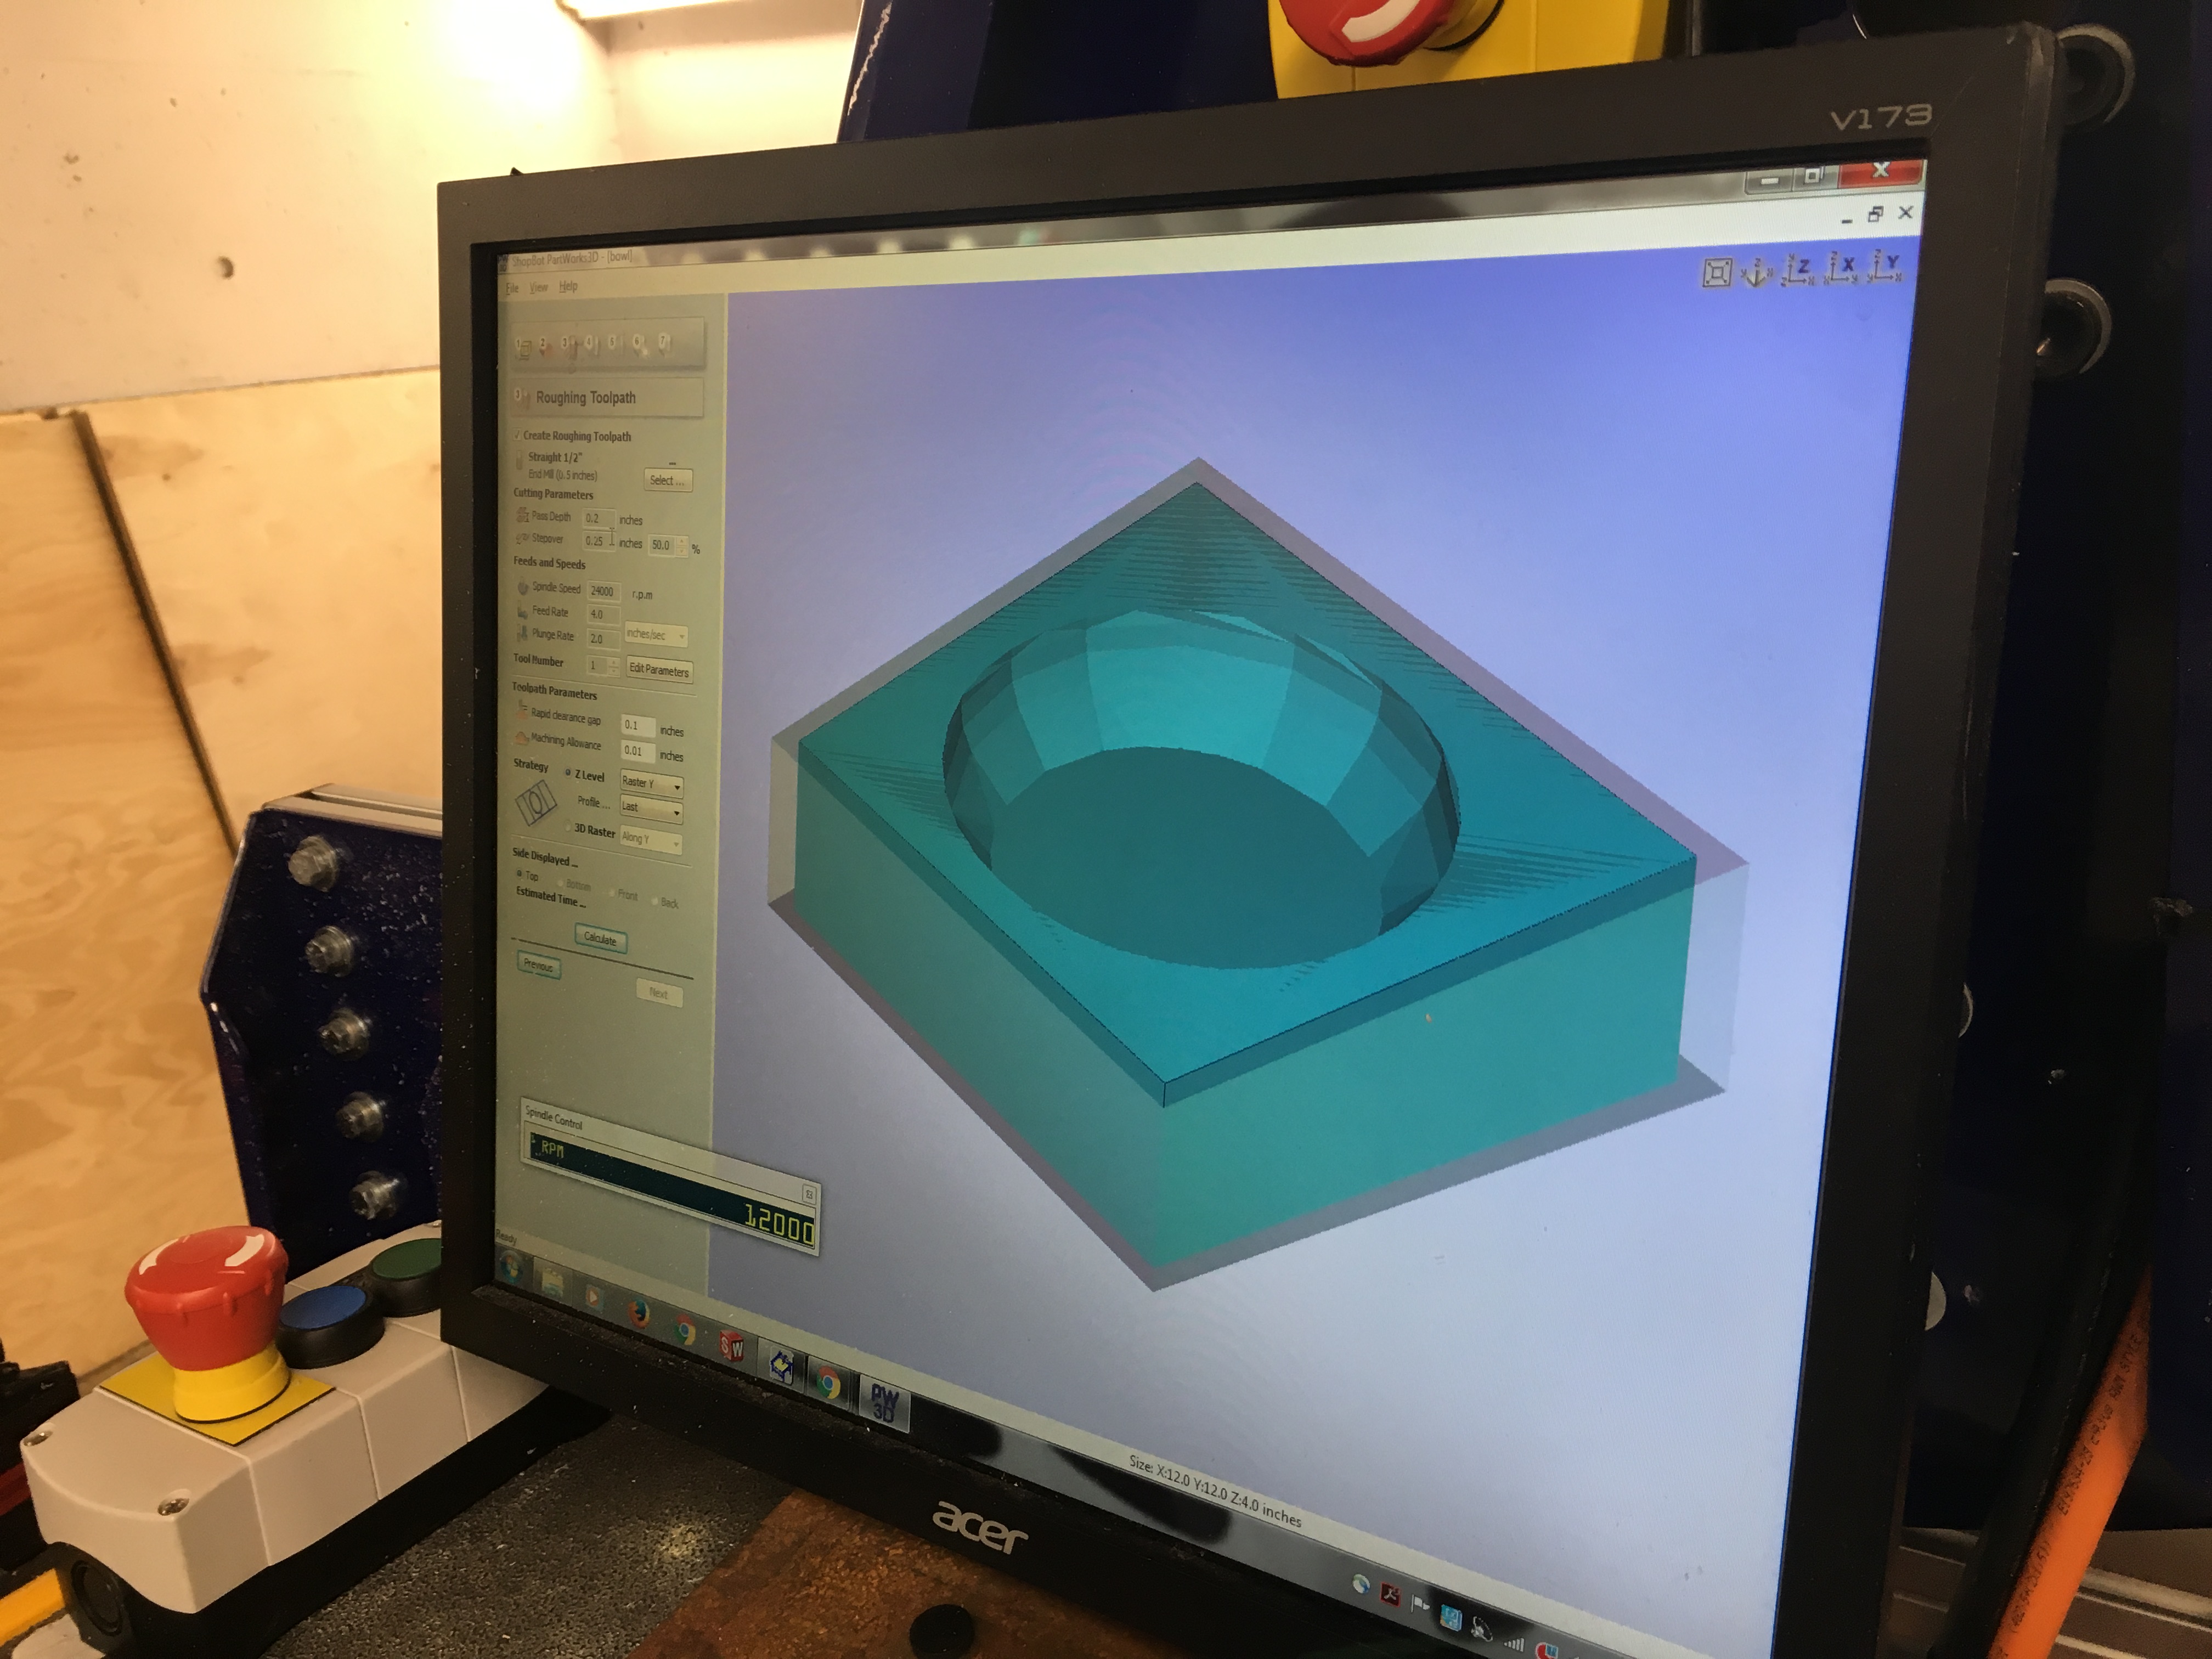
It was very satisfying to see the machine cut away at the foam and form a beautiful bowl shape!
Phase 3: The fun stuff - epoxy and burlap
-
Lay out all of your materials before getting your hands messy with epoxy! Here is what you will need:
- 4 or 5 layers of burlap material cut to the appropriate size
- a cup and stirrer rod
- a clean-ish table
- cotton
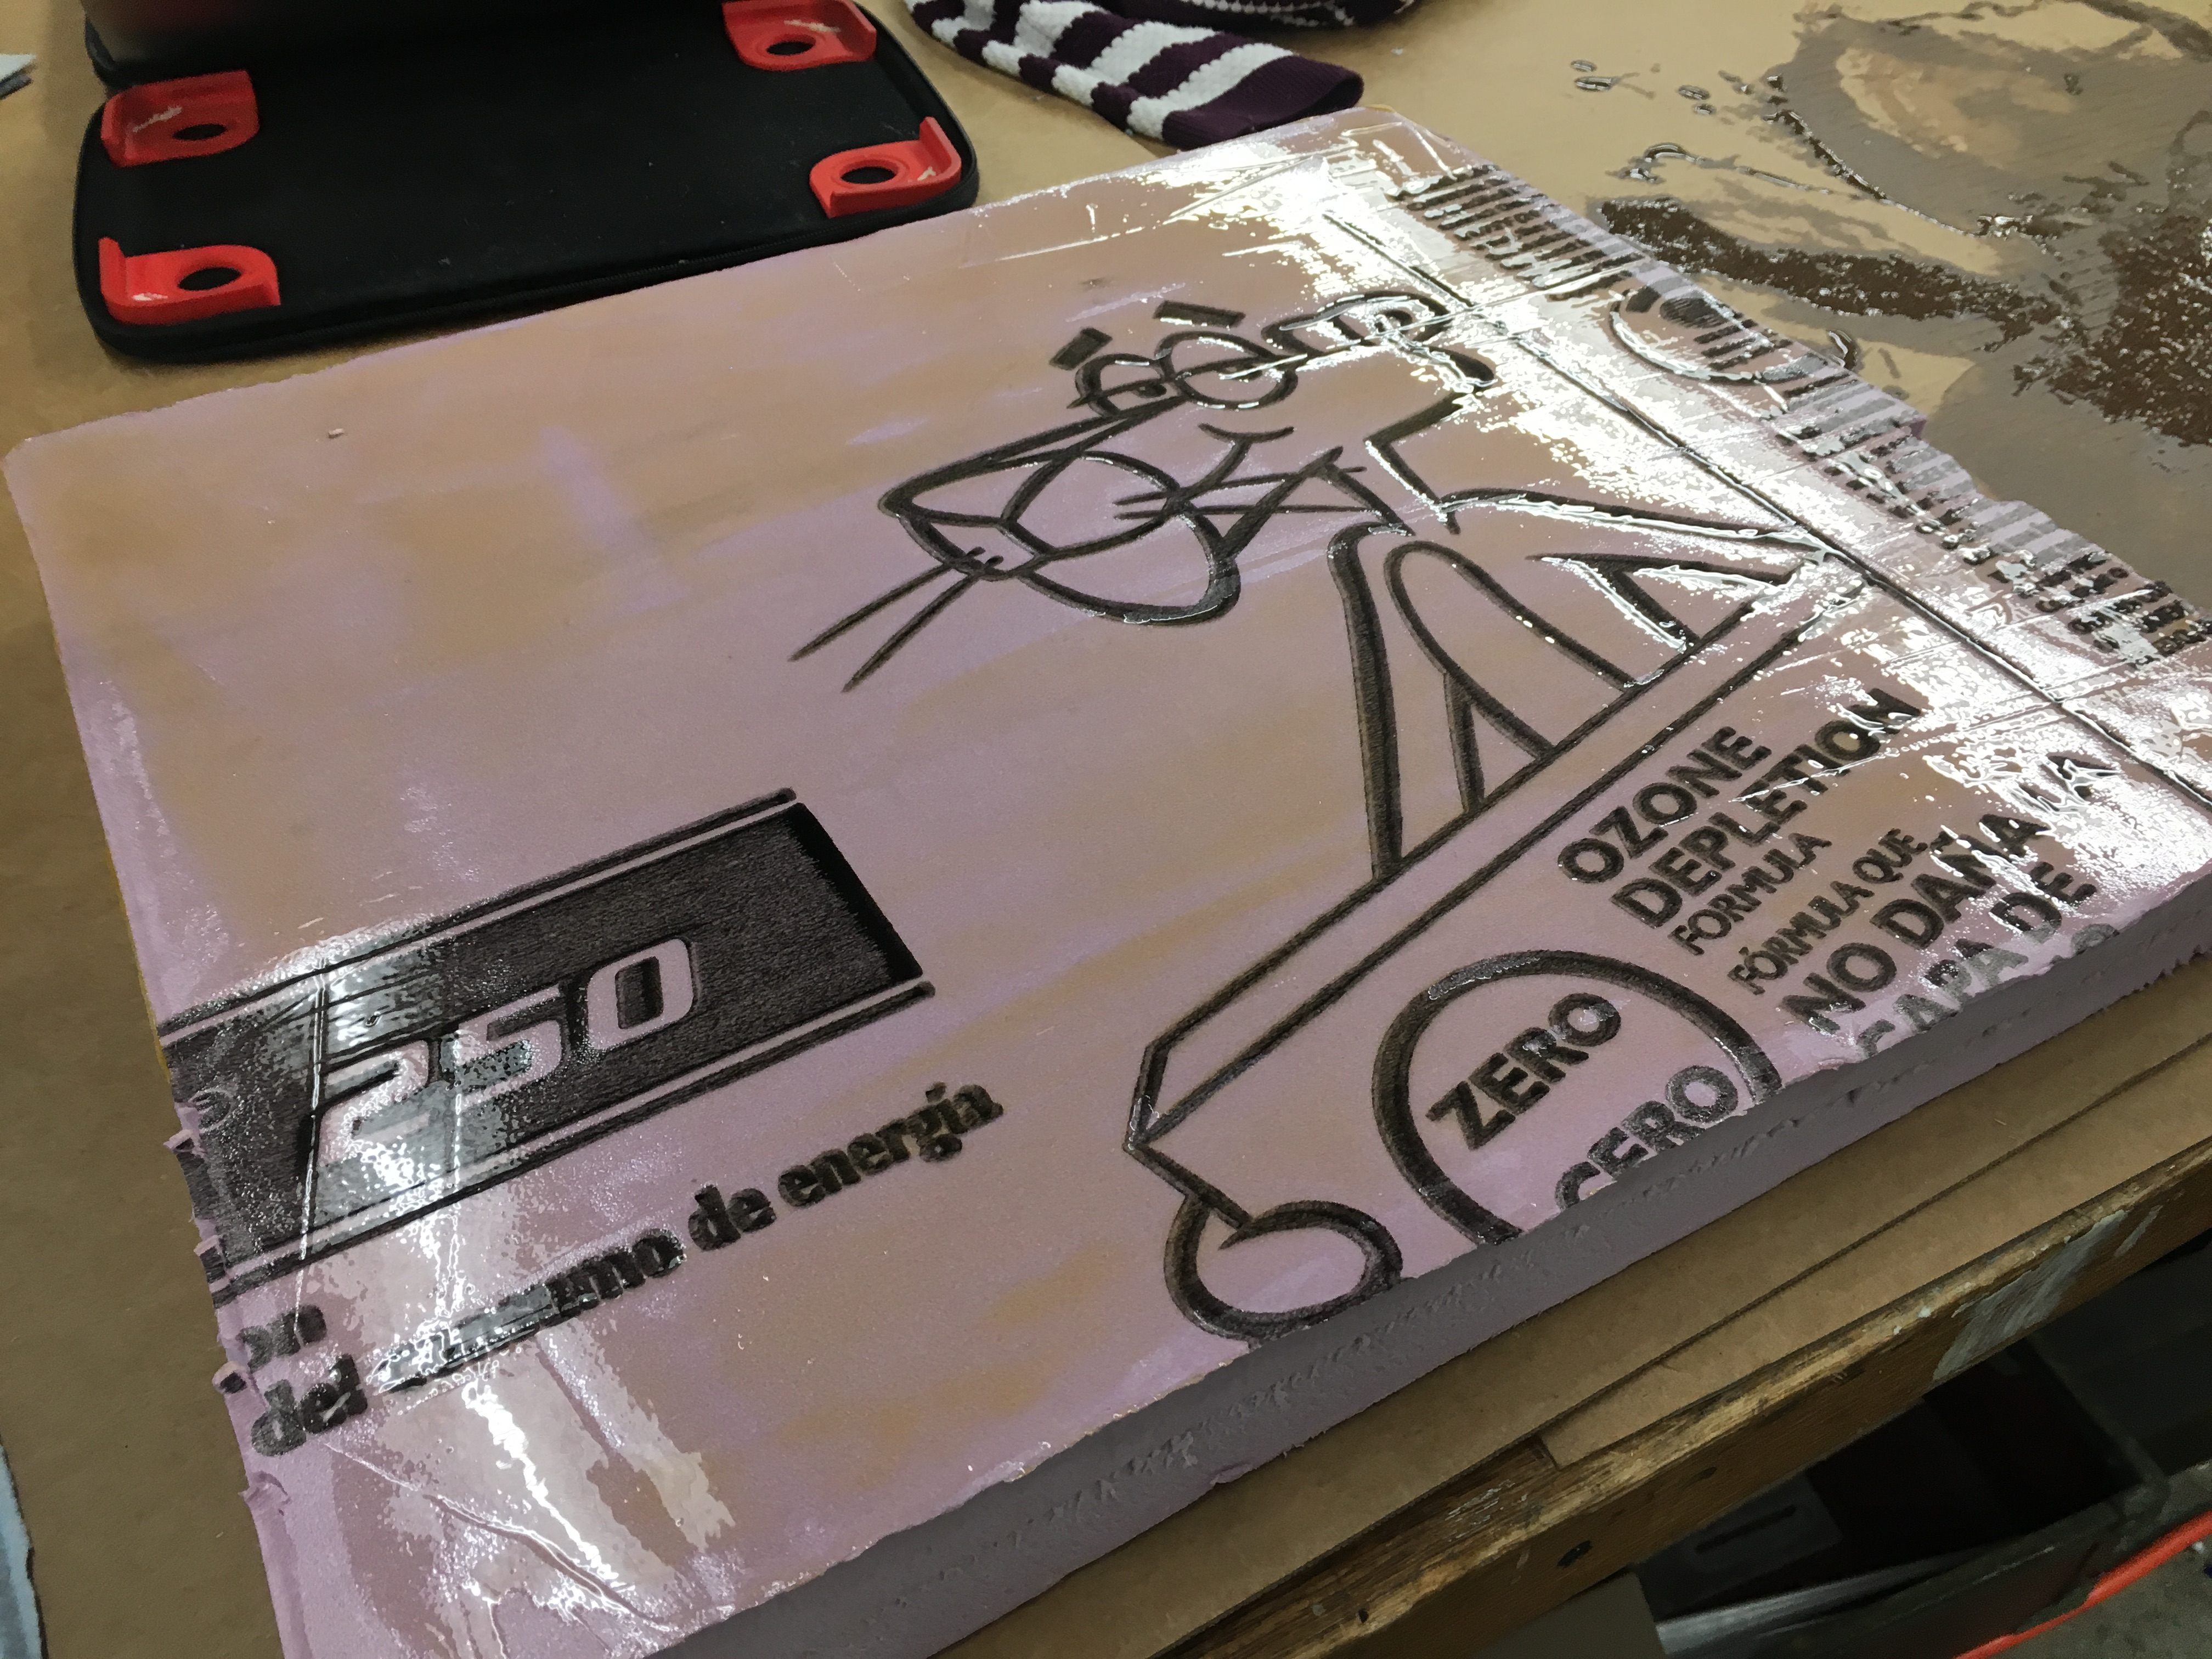
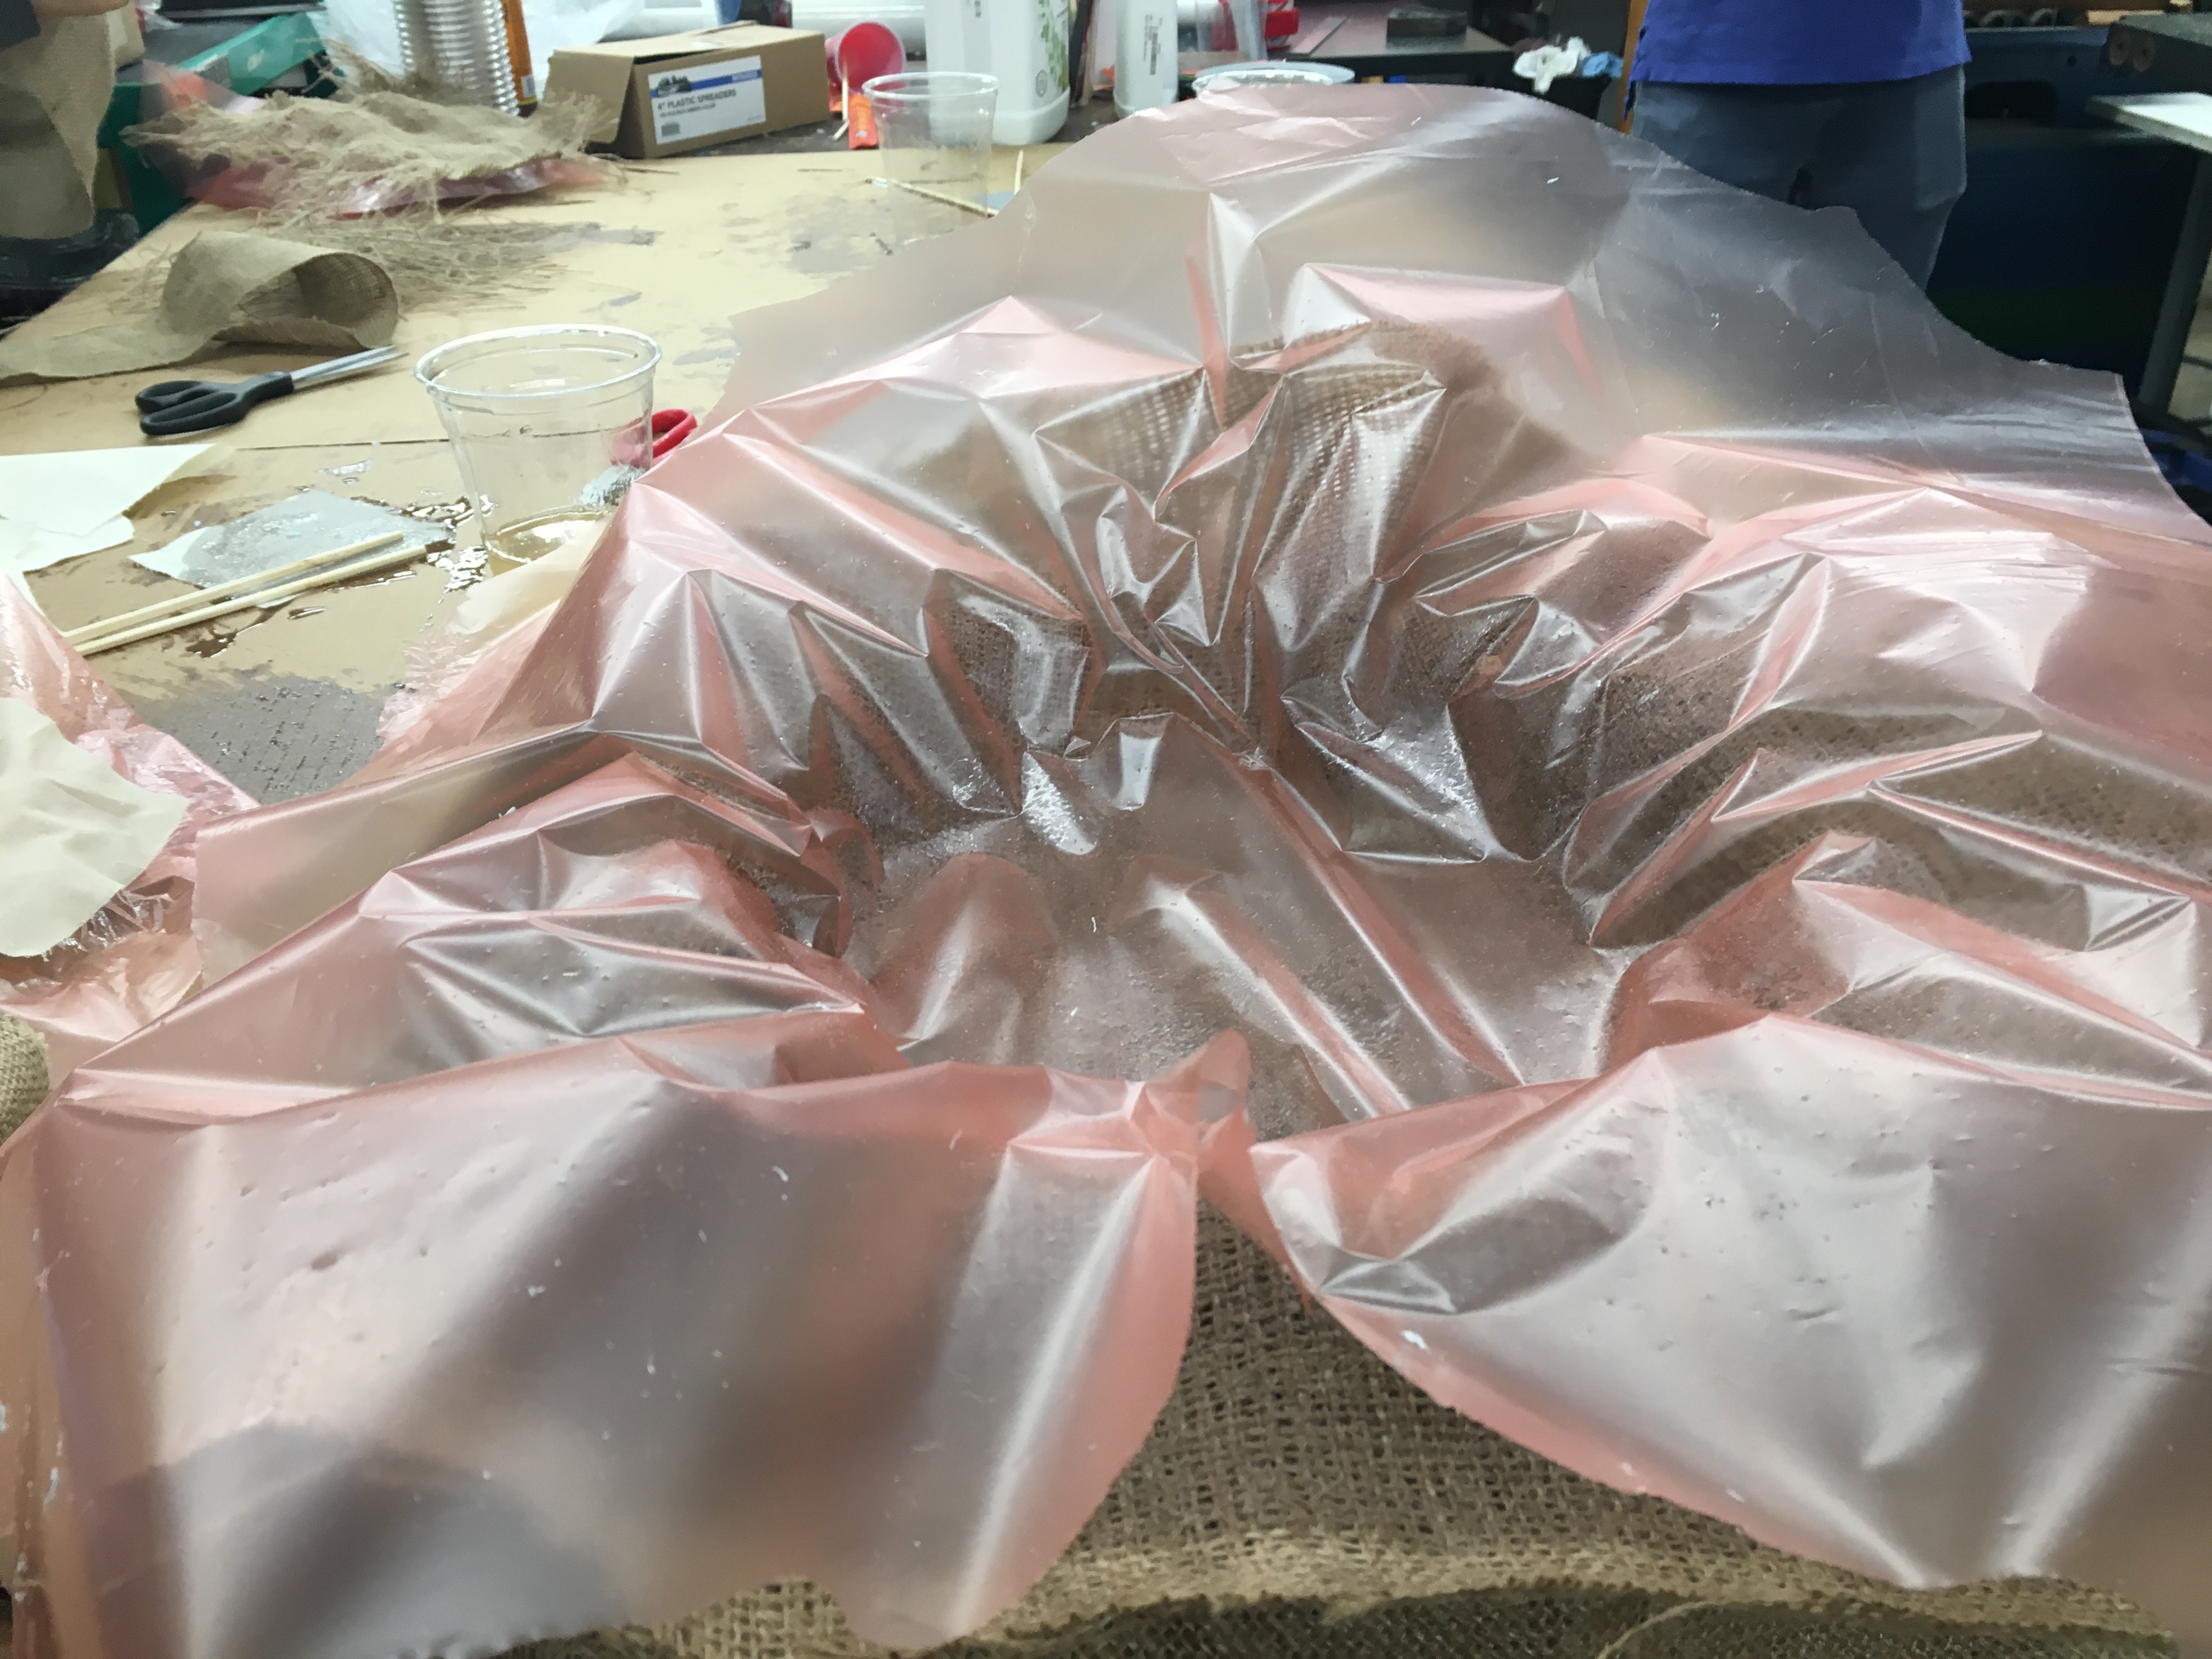
- pink sheets
-
Prepare the epoxy: stir 2 pumps of epoxy and 1 pump of hardener
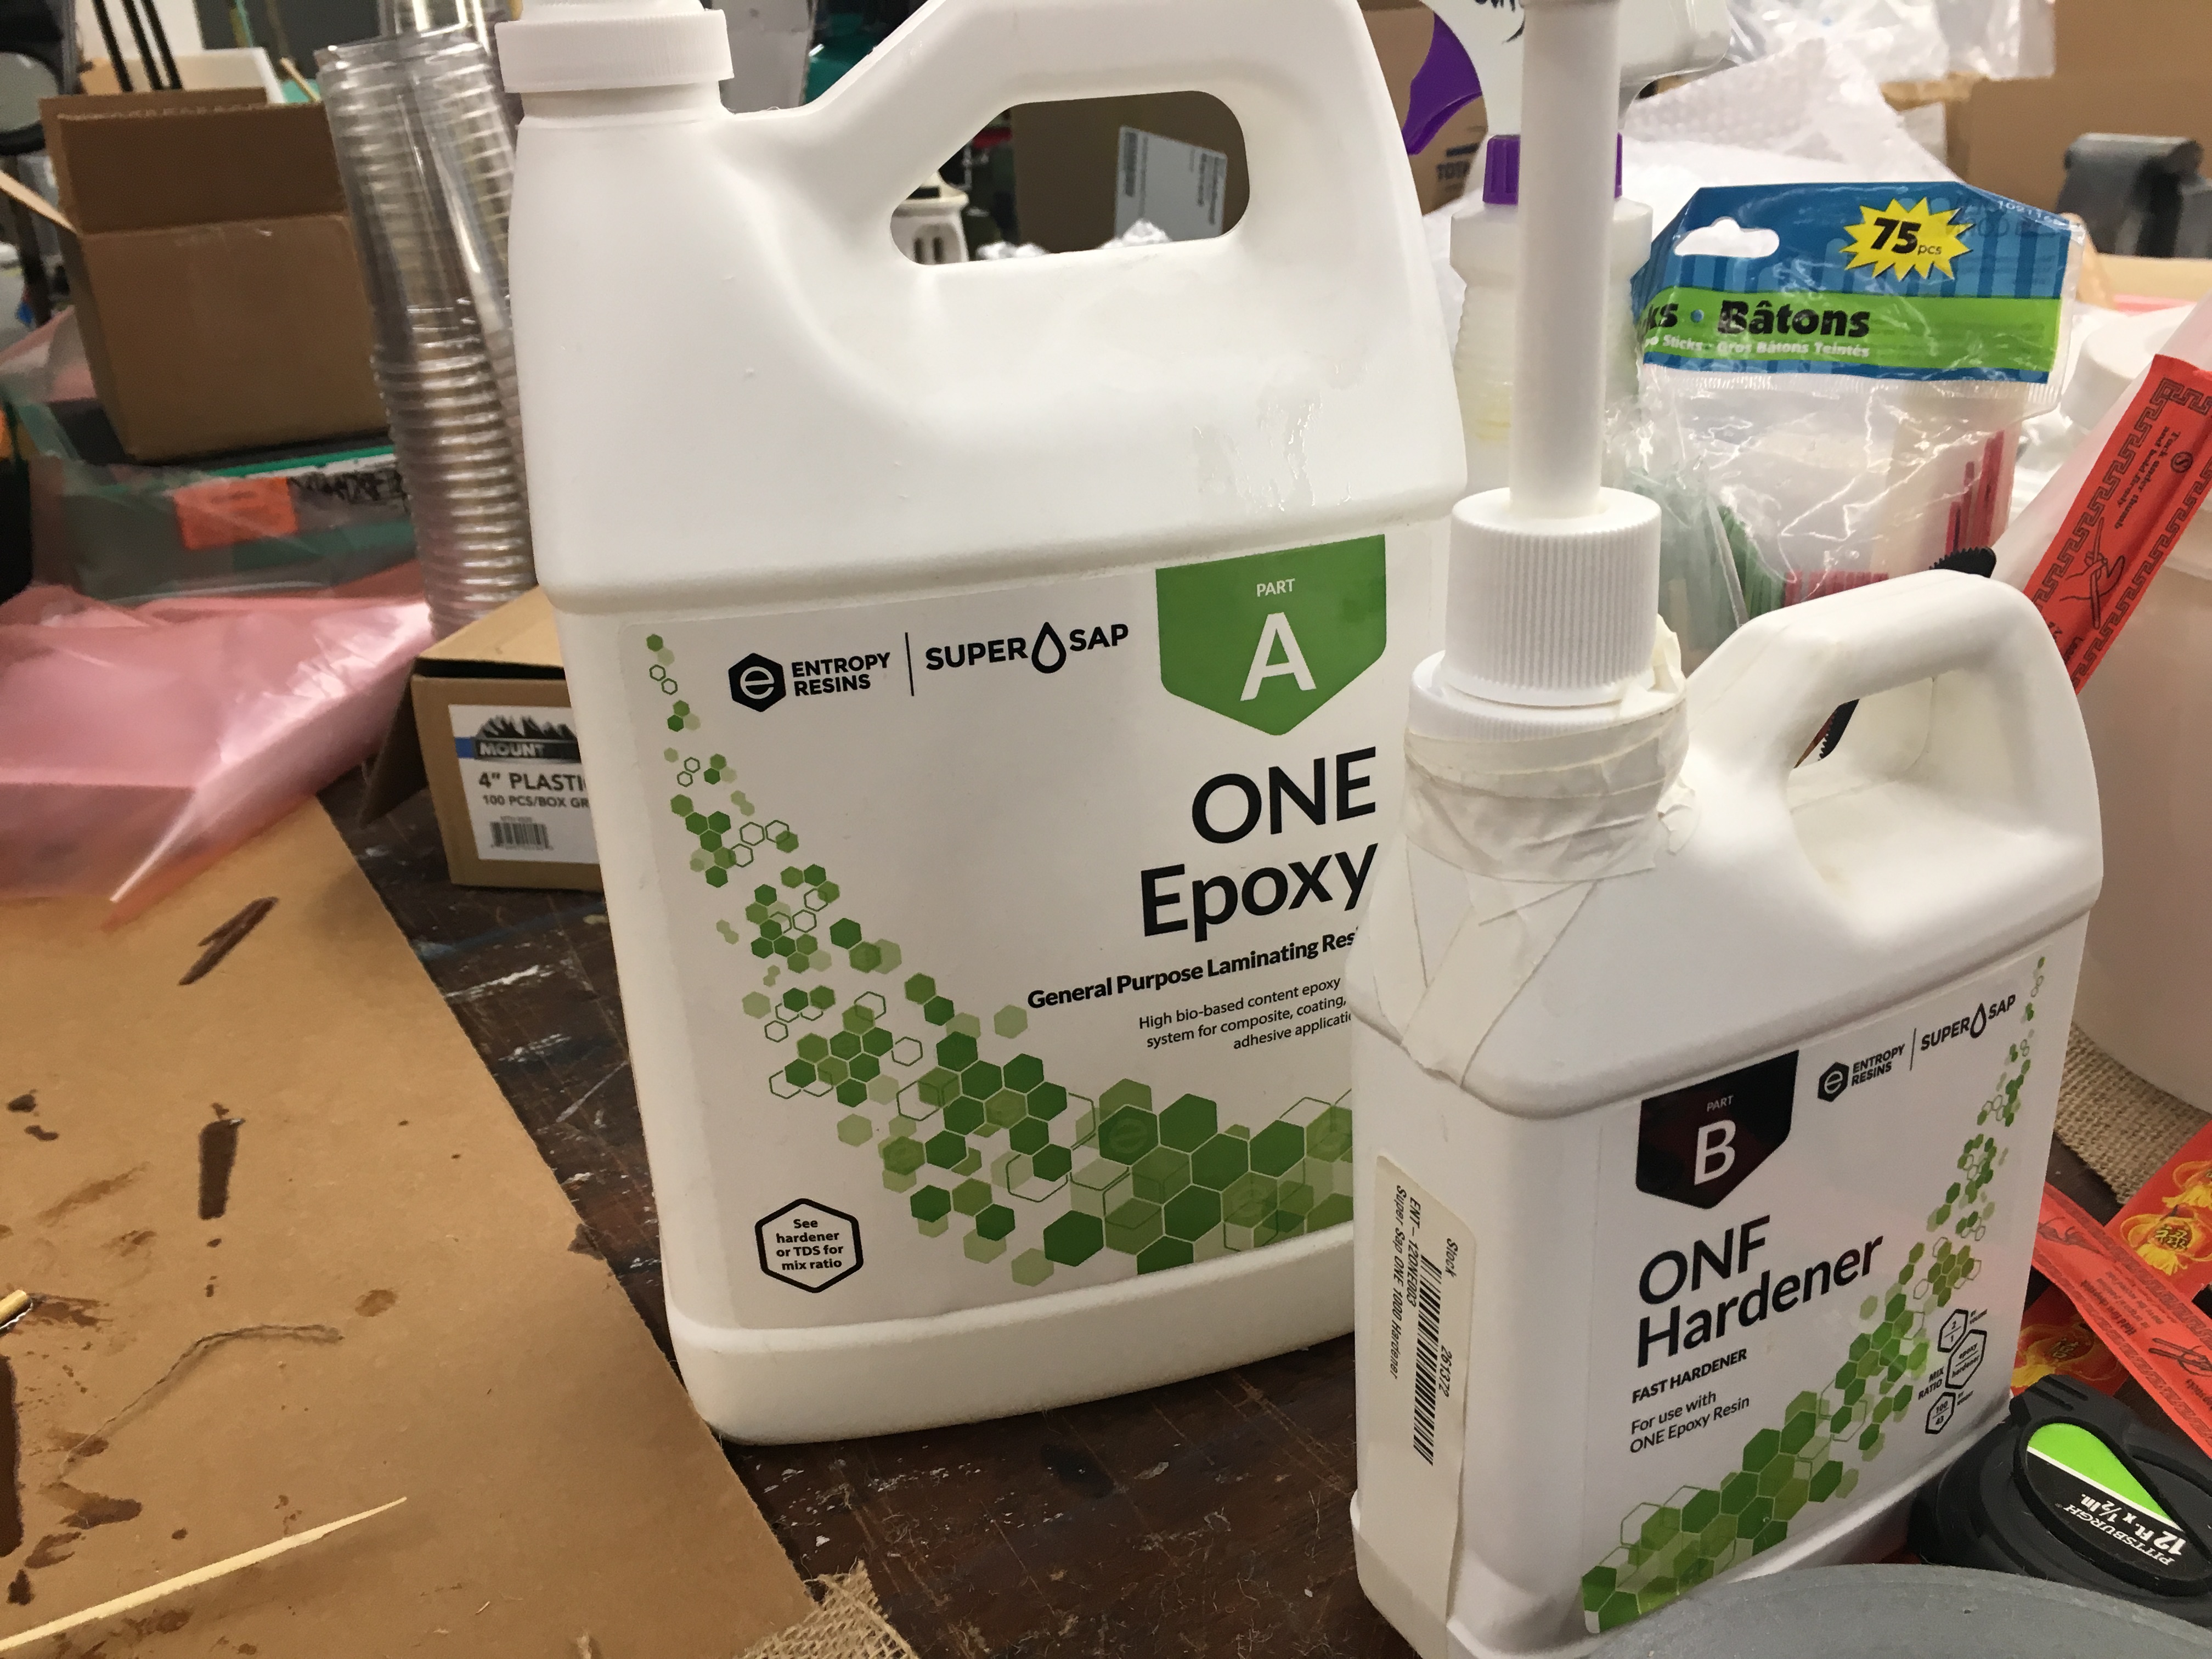
Epoxy -
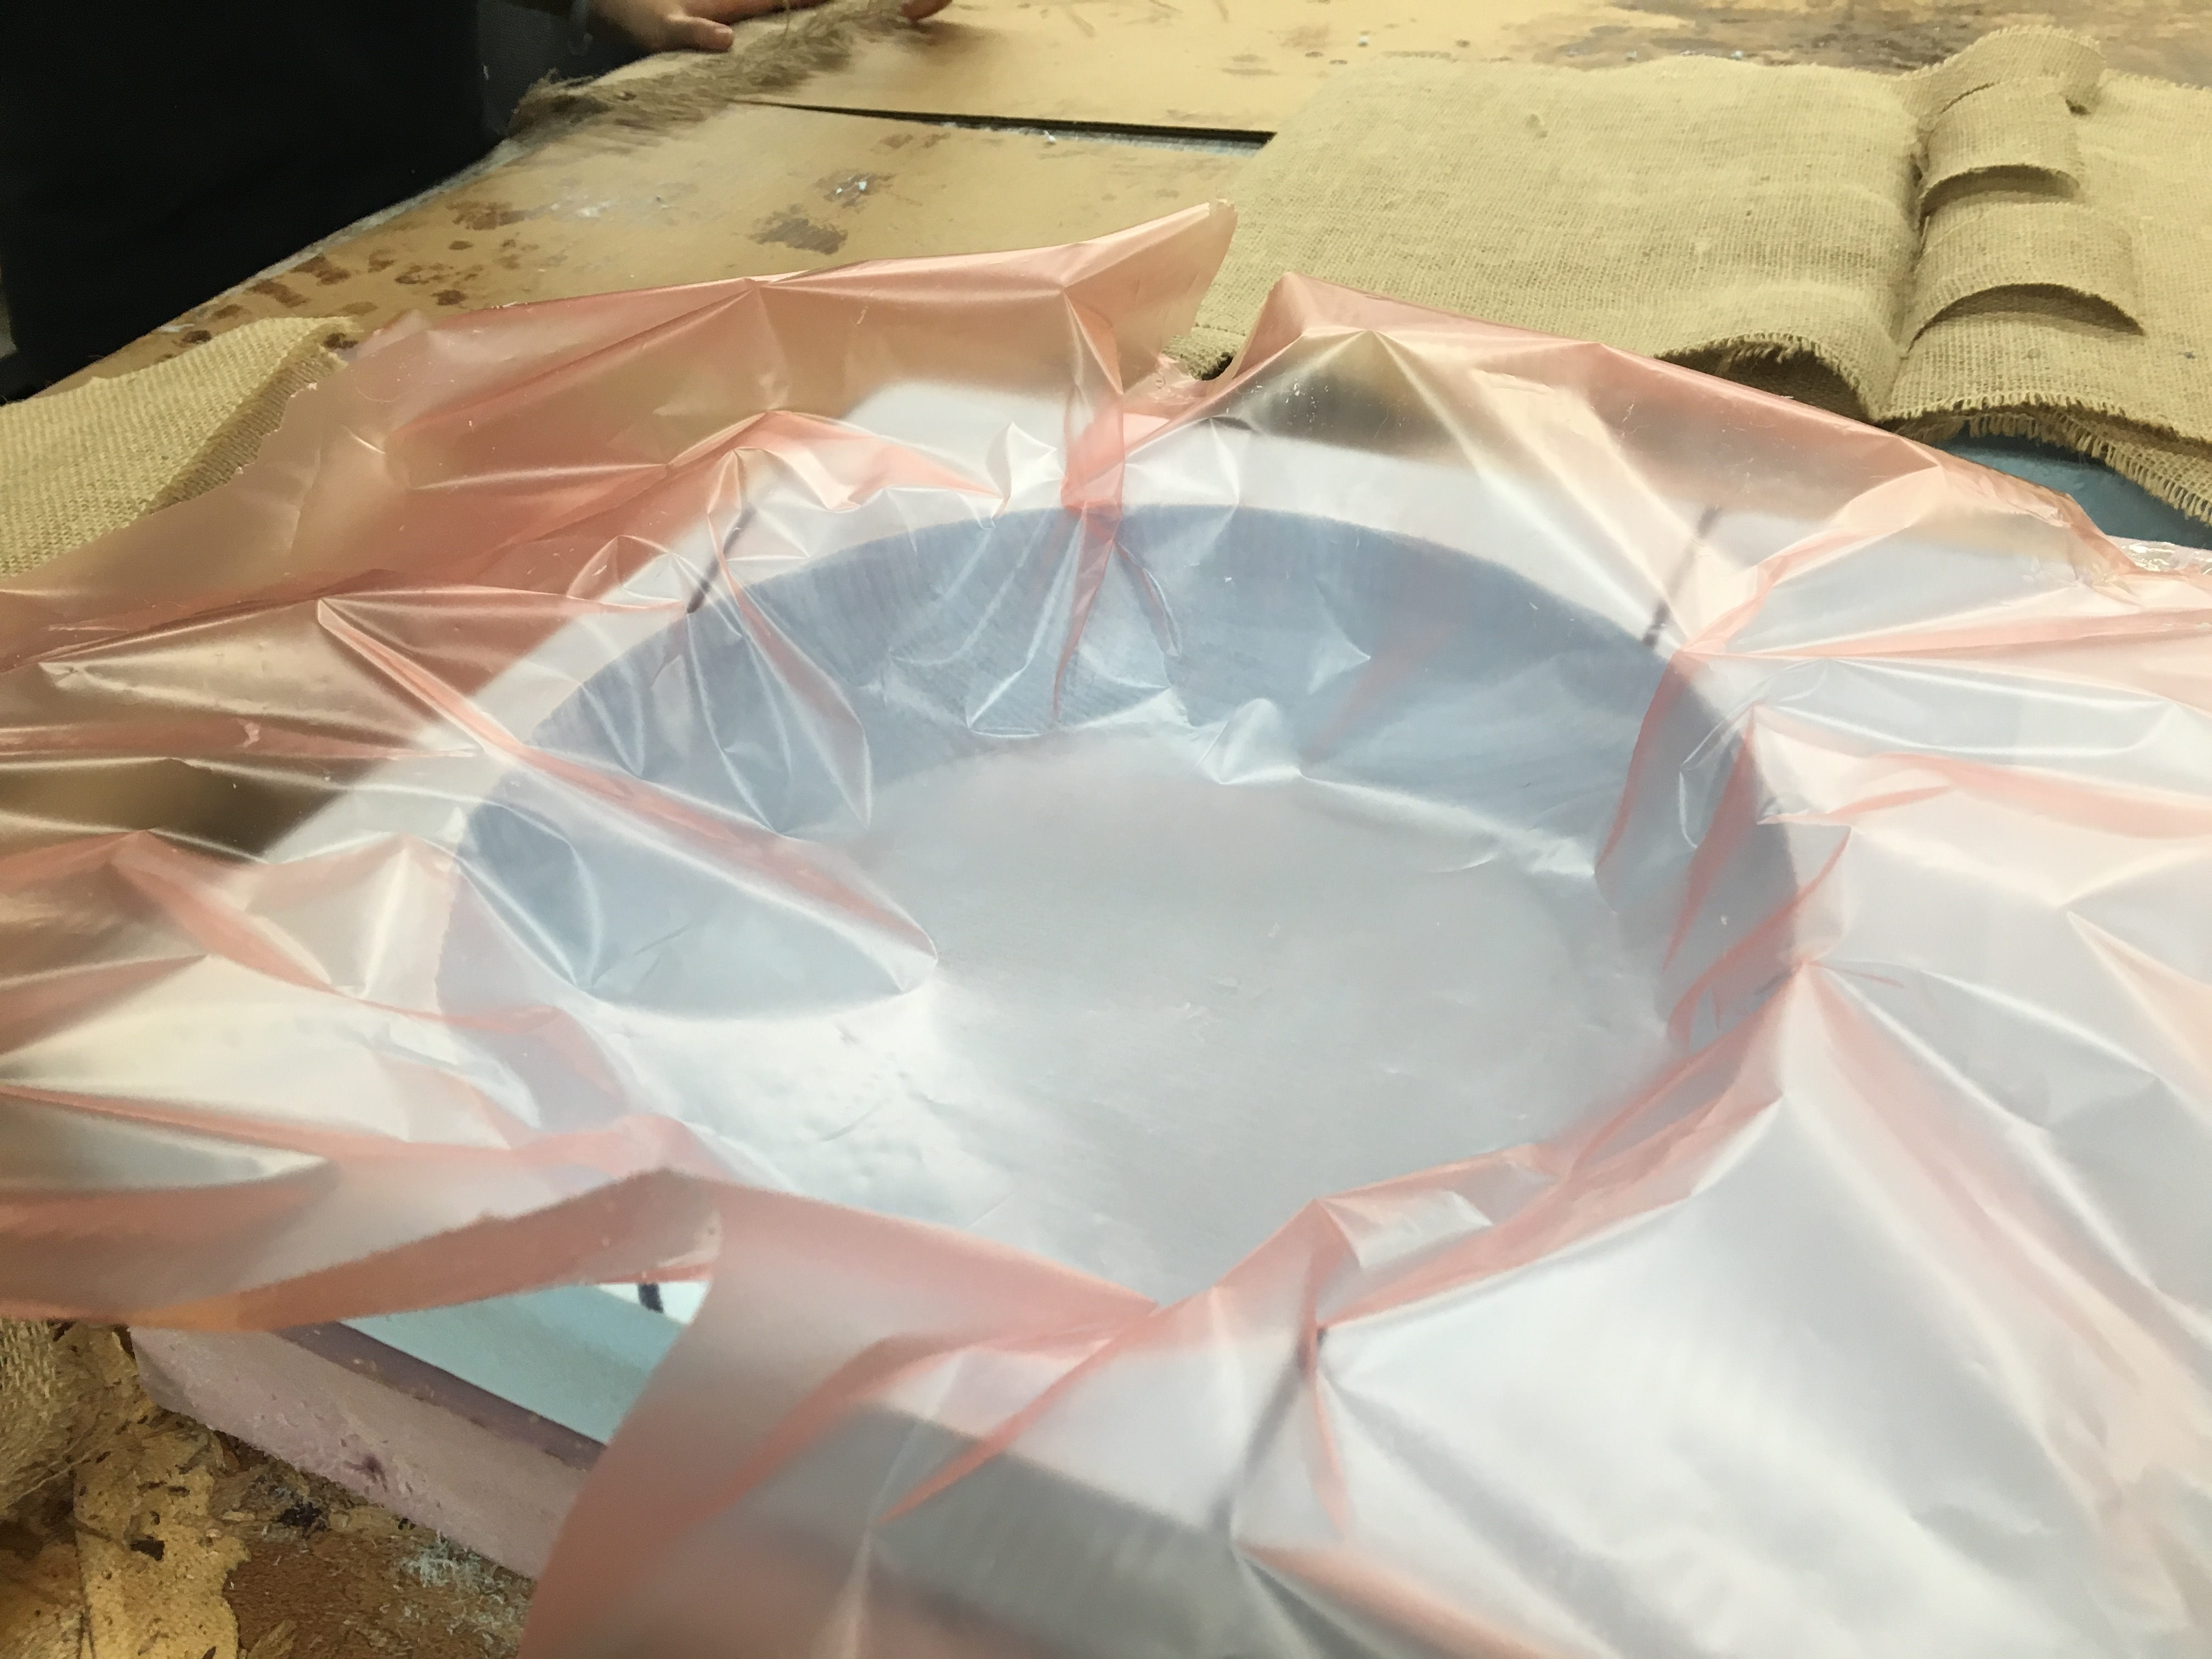
Put one of the pink sheets in the bowl-shaped foam (this keeps the foam clean when the epoxy mixture will be oozing out from the burlap
Pink sheet layer - Punch holes in the other pink sheet (we will use this on top later). This allows the epoxy mixture to ooze out from the burlap when it is in the vacuum
- Lay out a layer of burlap and place some of the epoxy mixture on it, spread it around with a piece of plastic
-
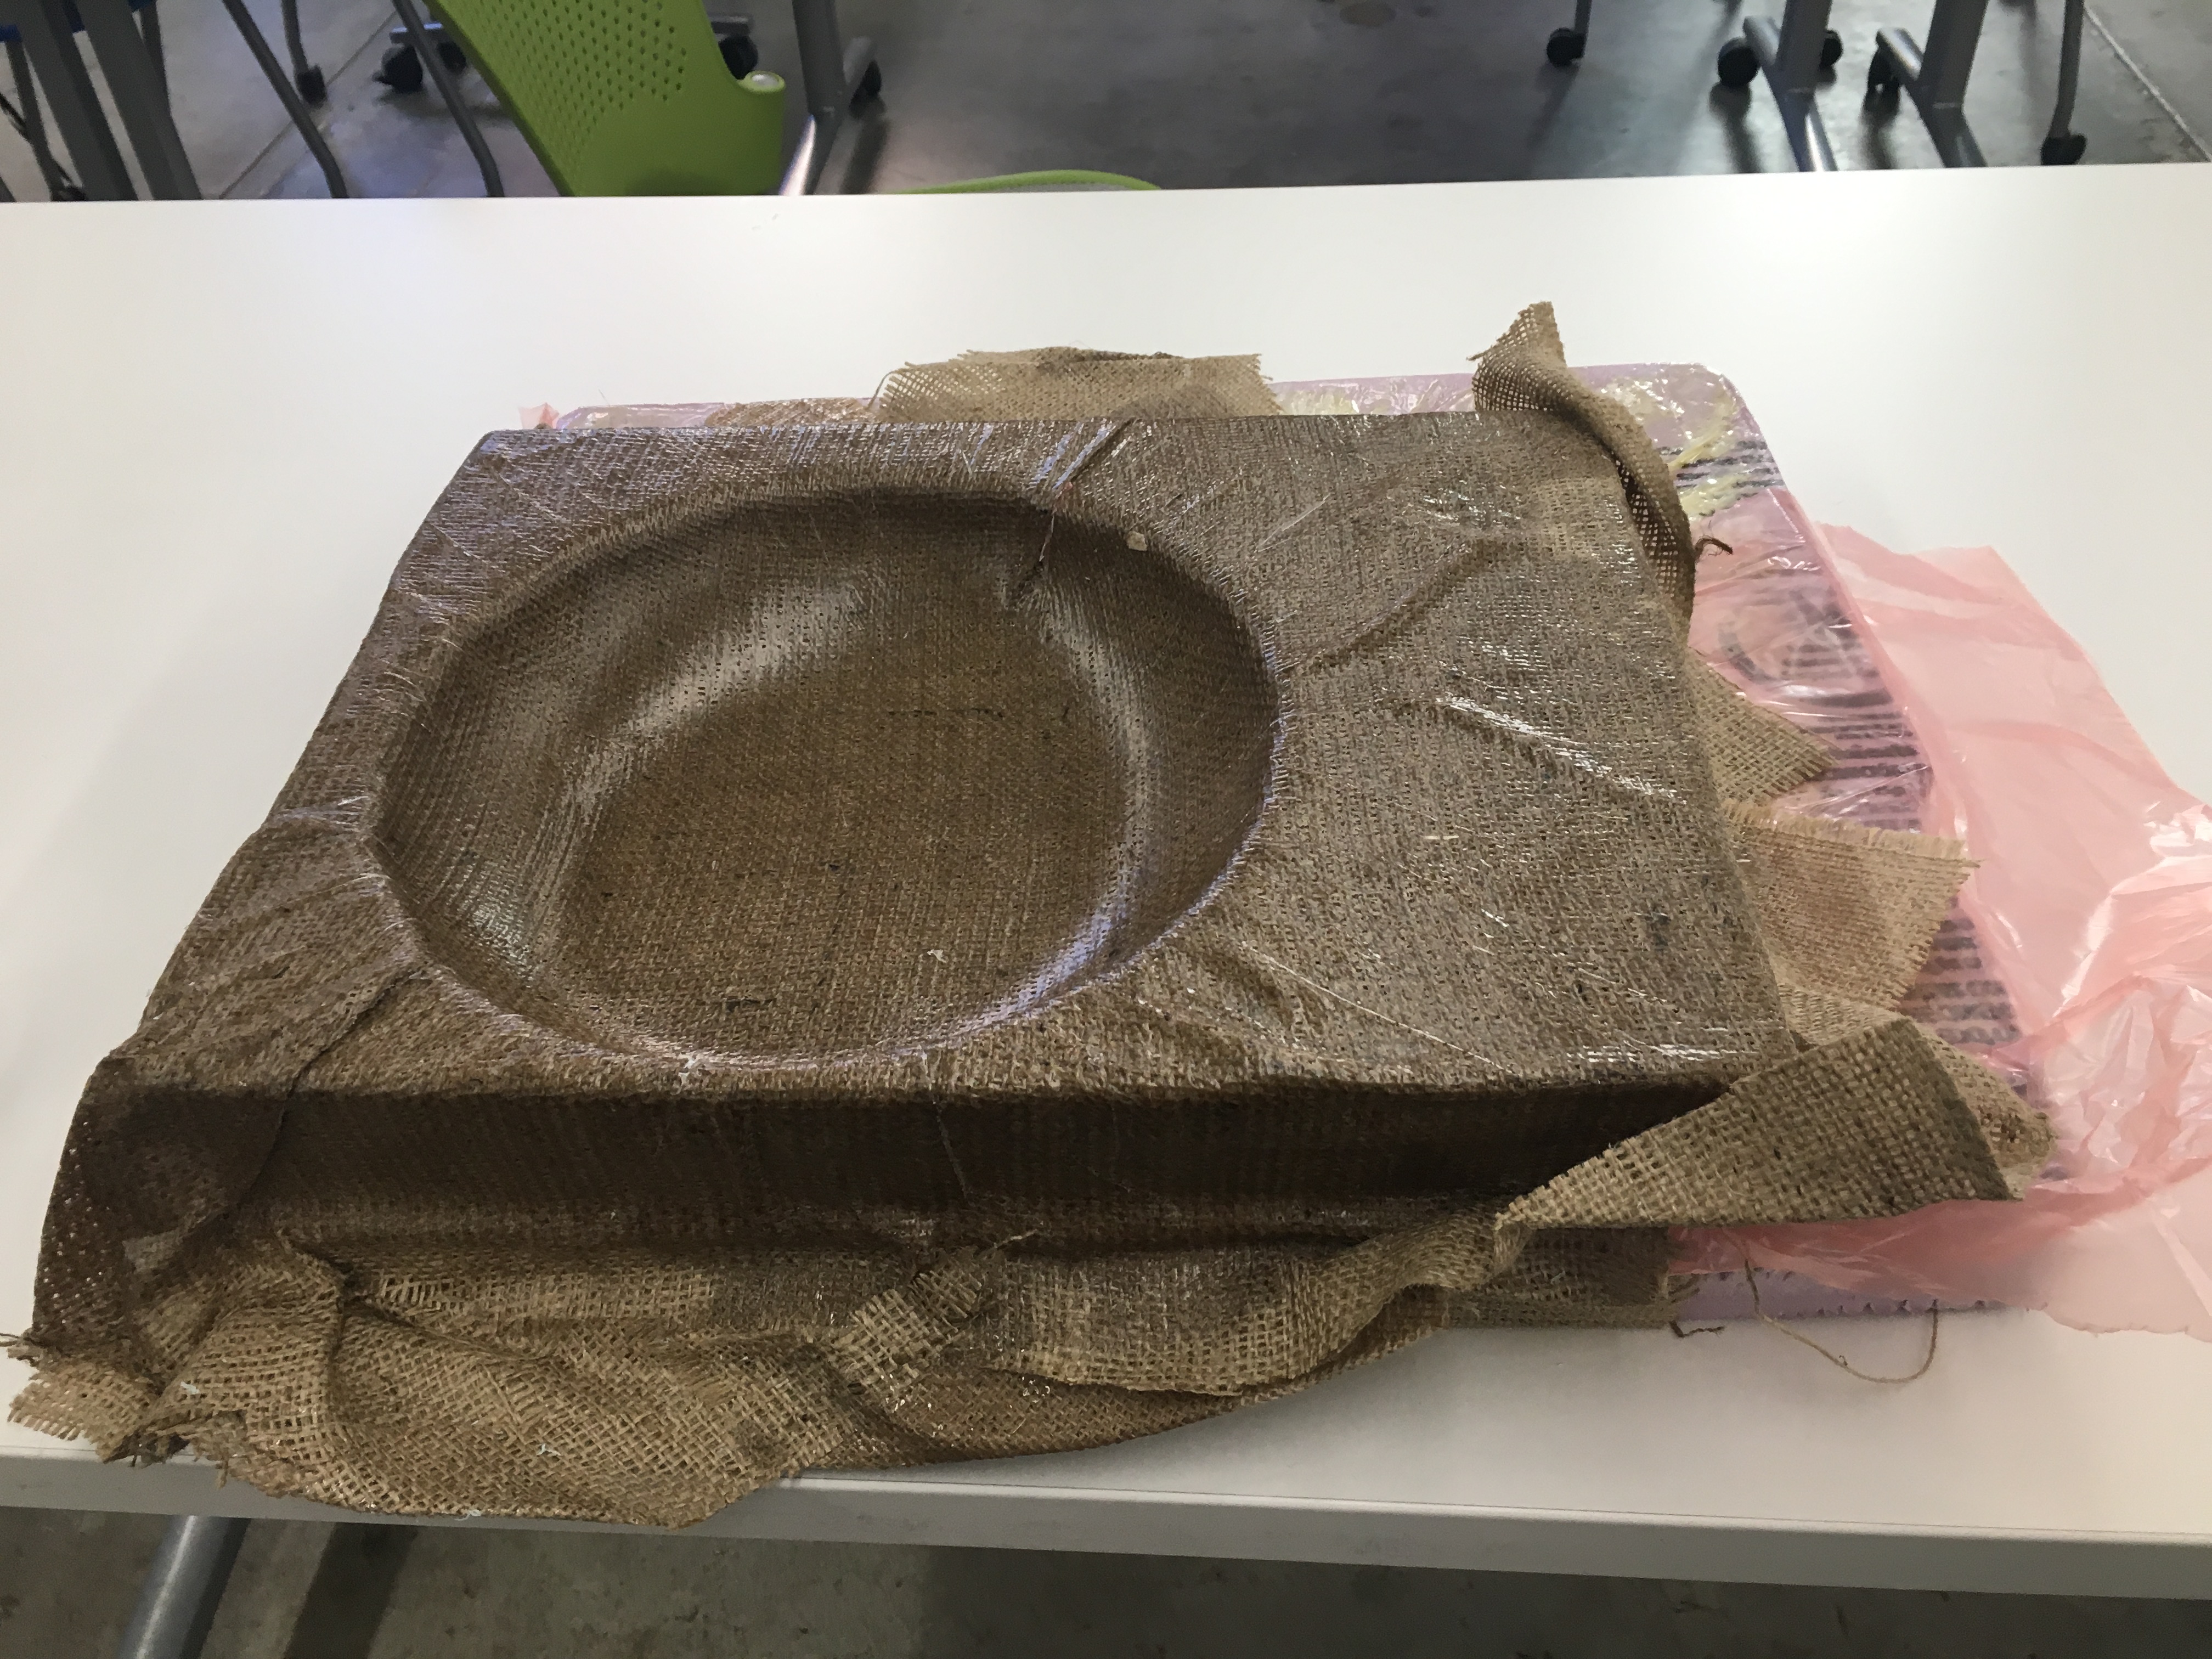
Place the burlap layer in the bowl-shaped foam
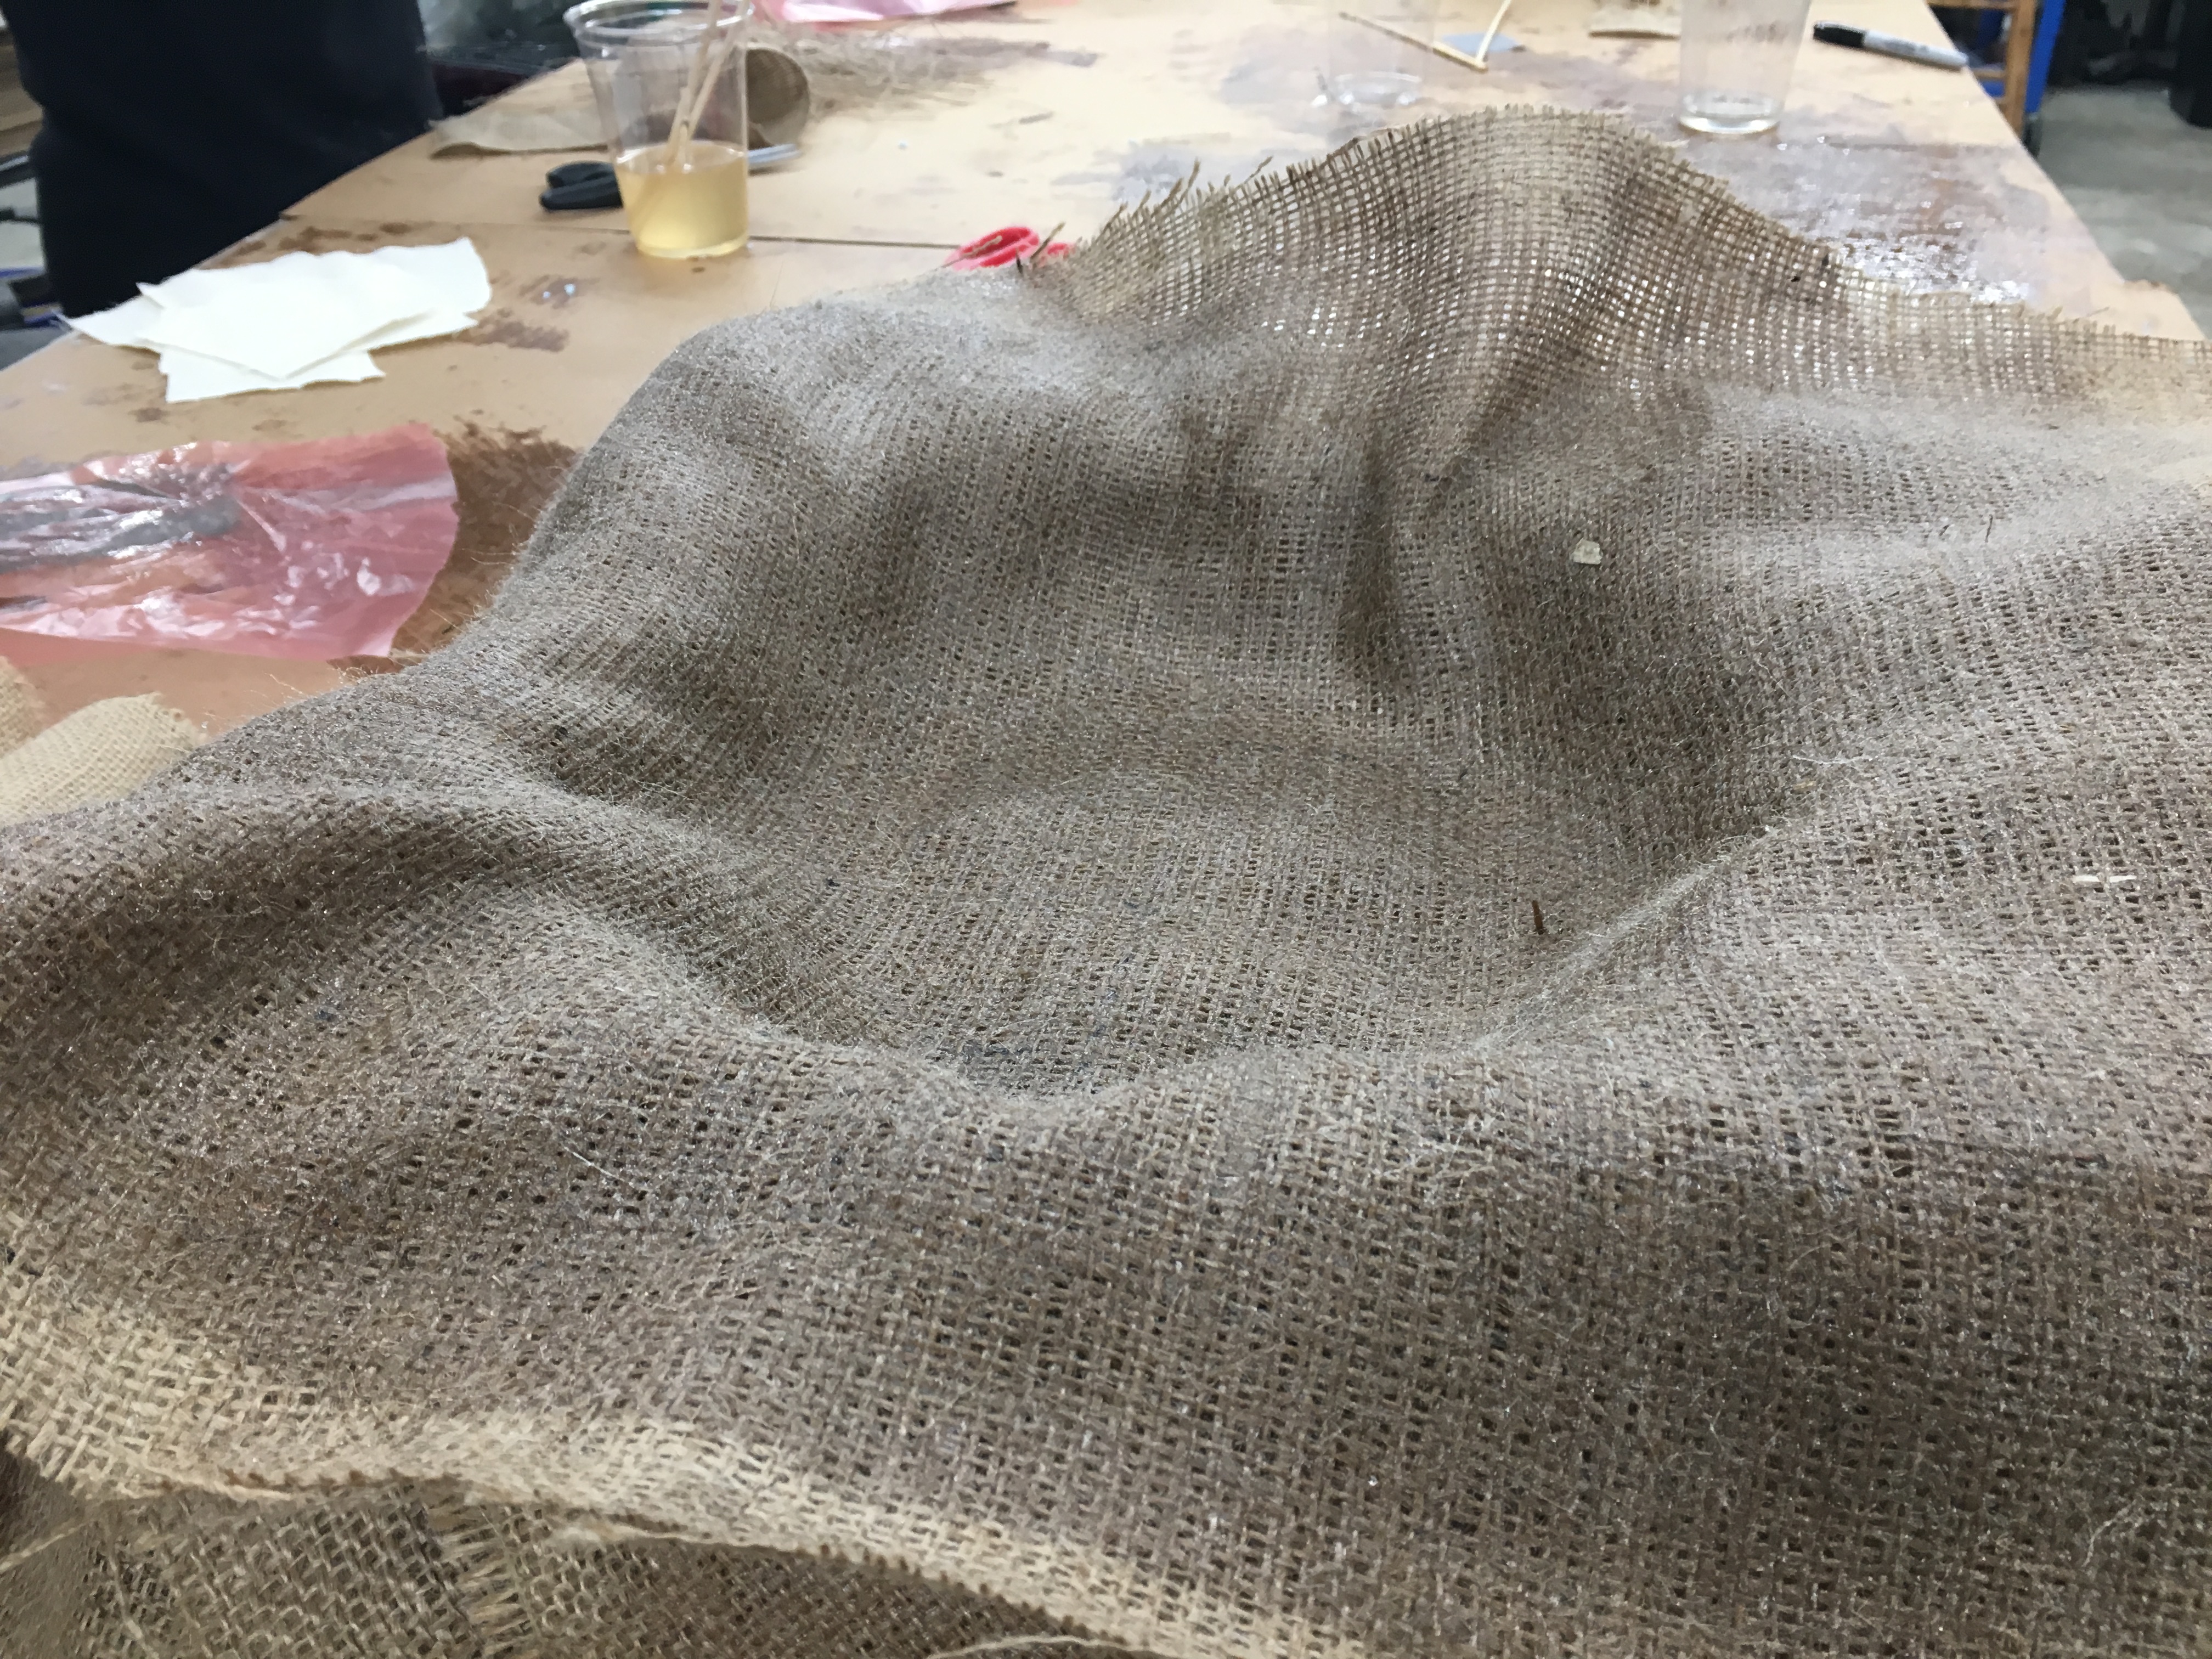
Burlap layer - Repeat this process with the other burlap layers
-
At the end place the hole-punched pink sheet and place the cotton over that (the cotton absorbs the epoxy mixture when it oozes out of the burlap)
Top pink layer 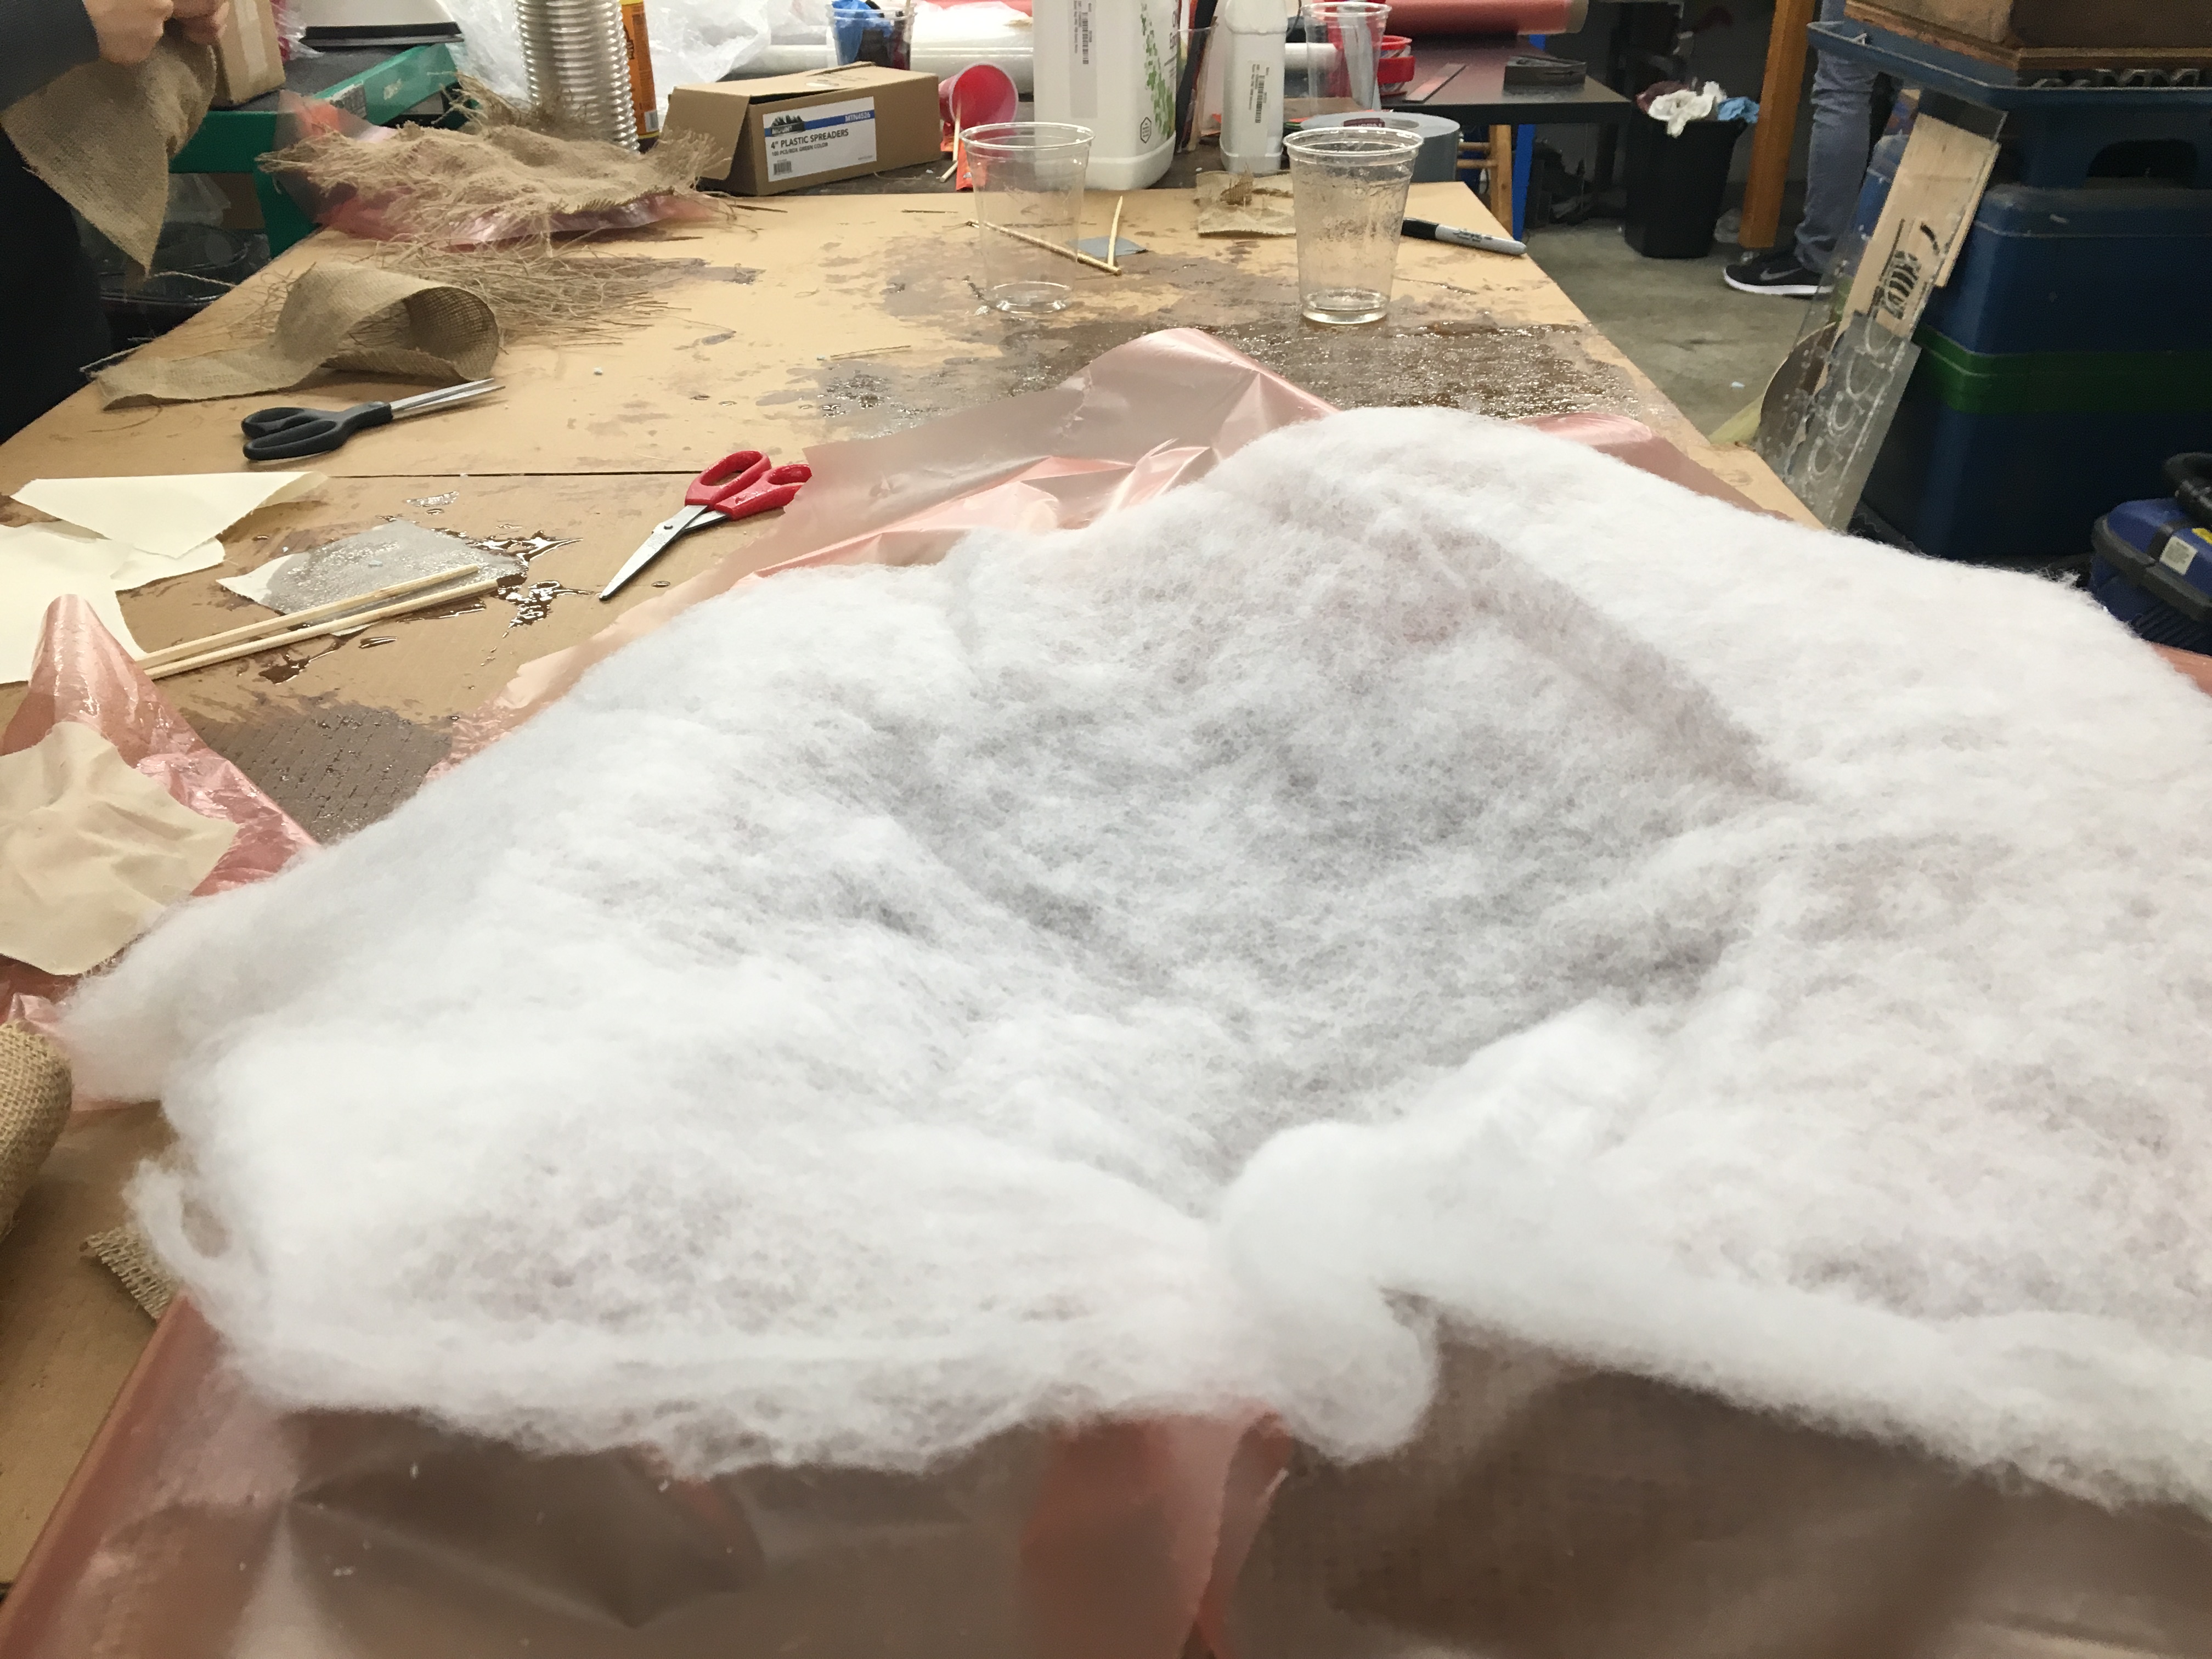
Cotton layer
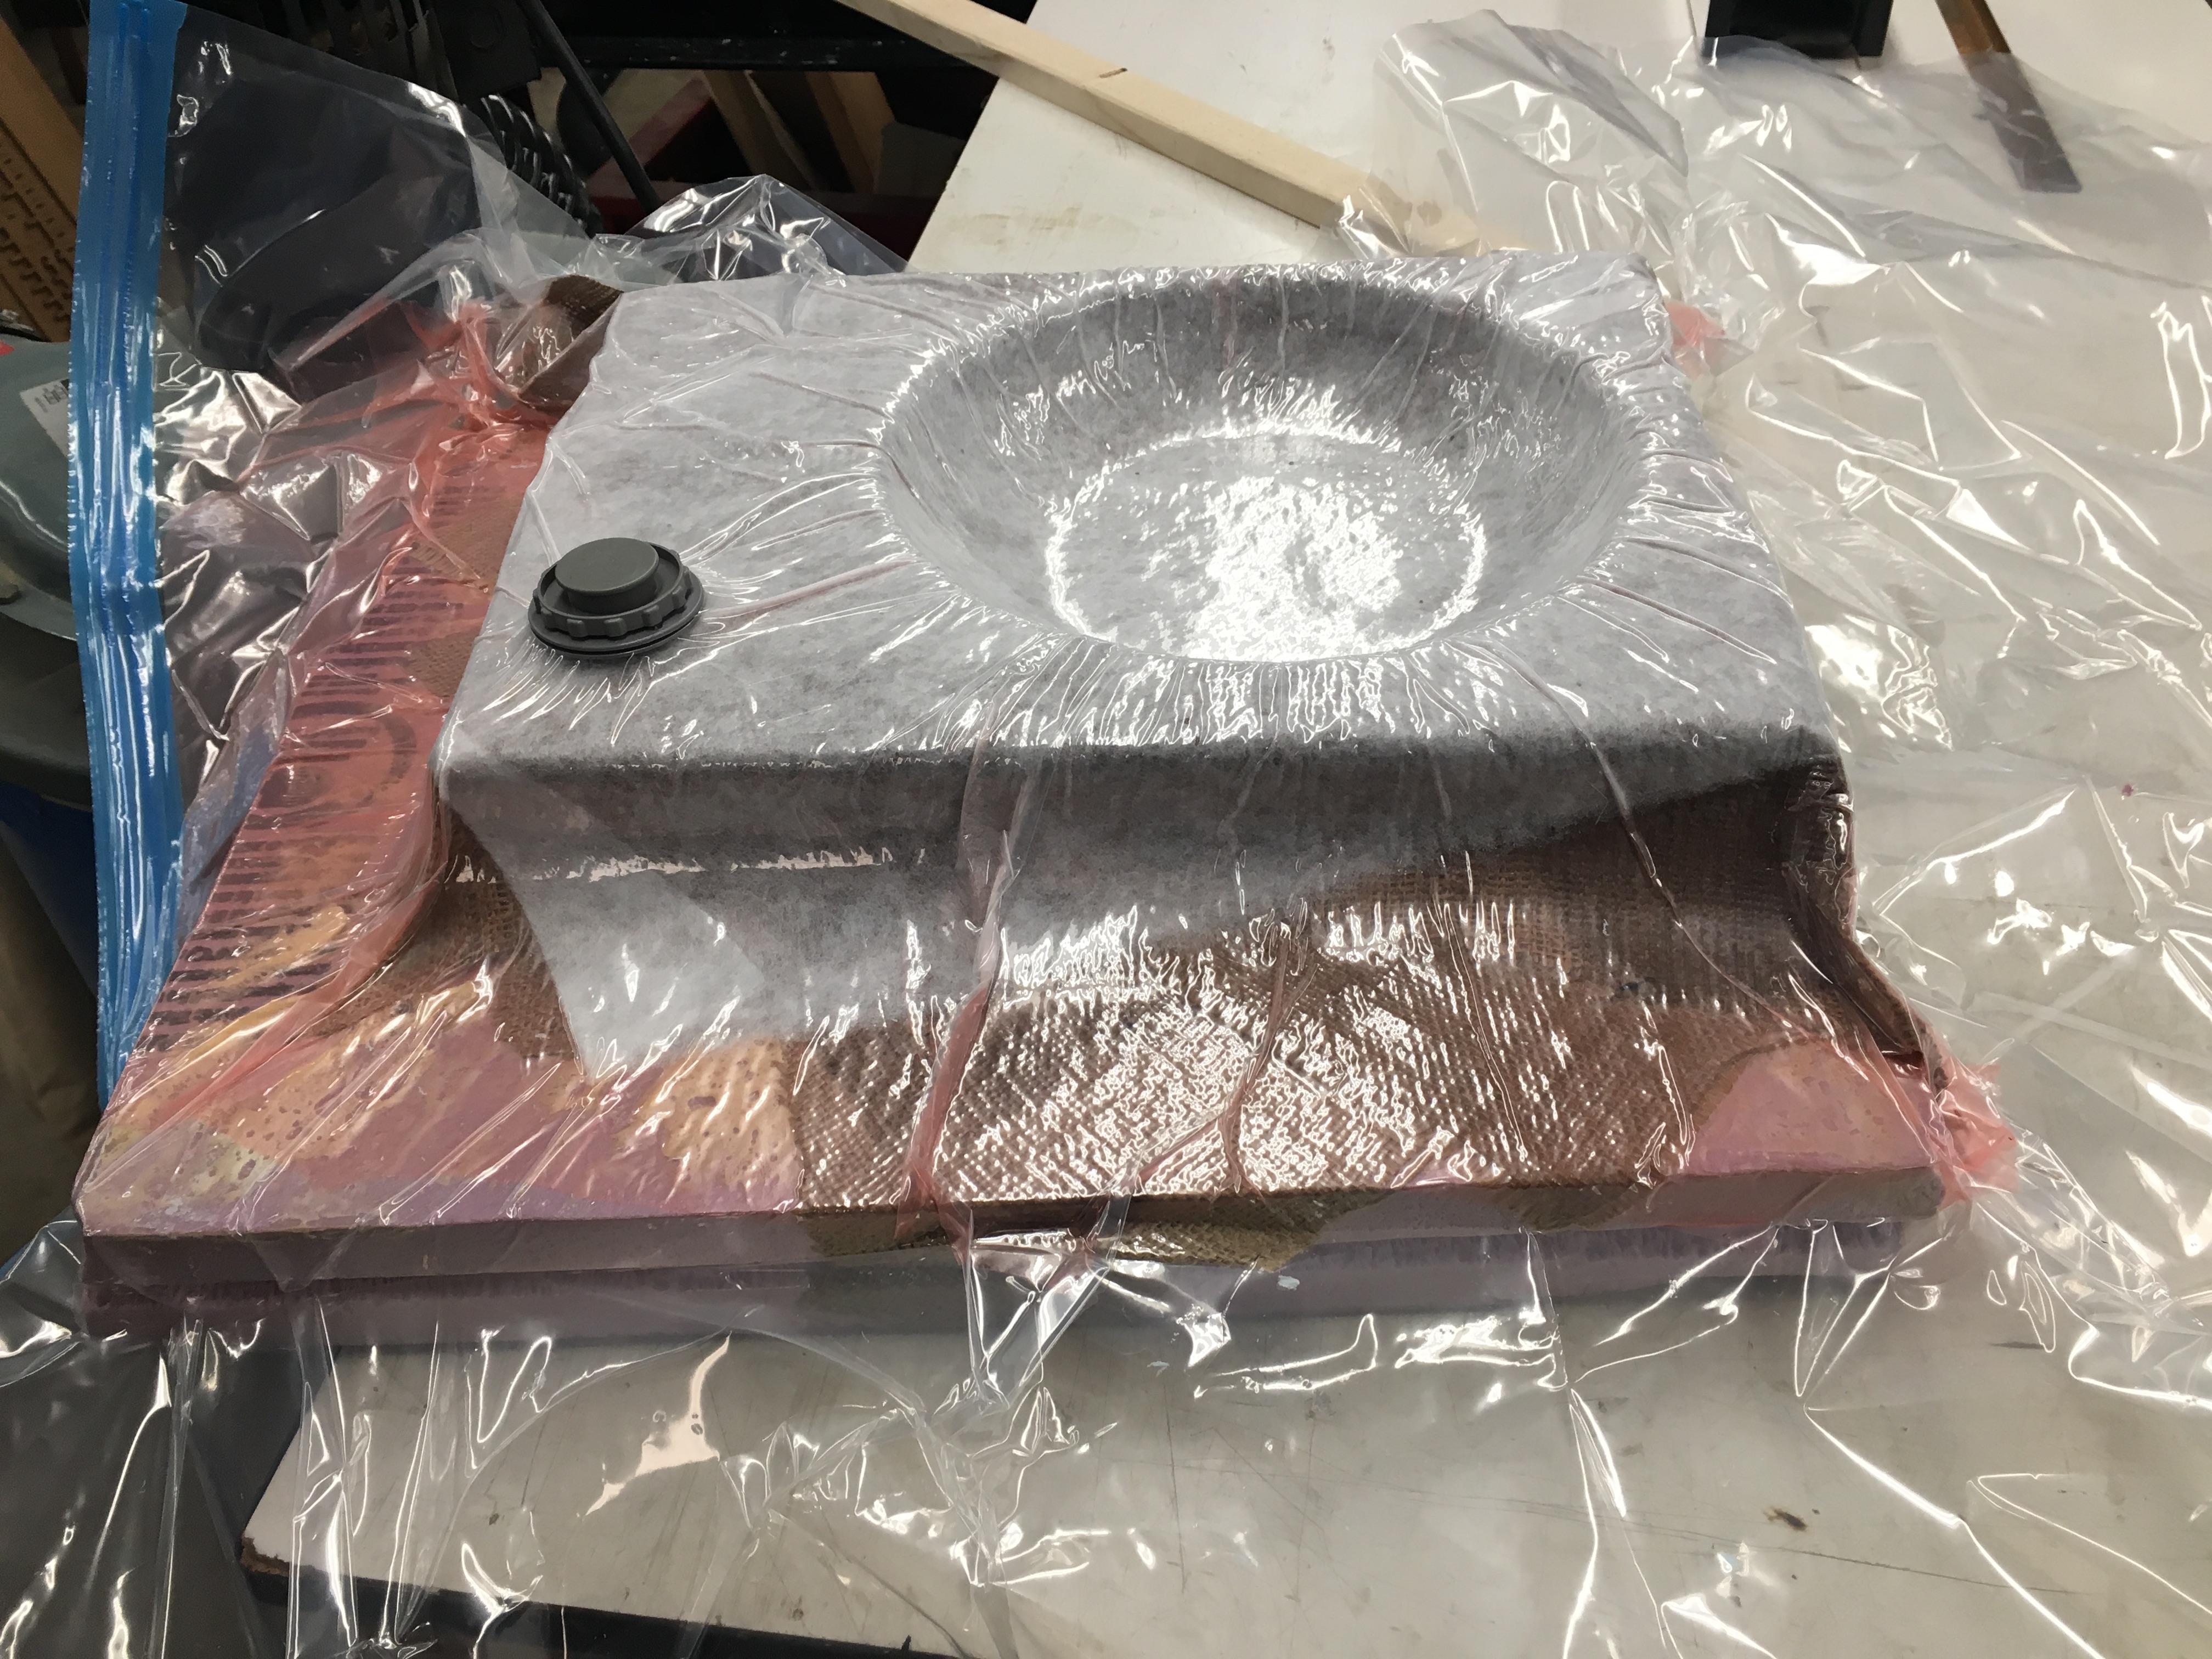
Phase 4: Suck out the air
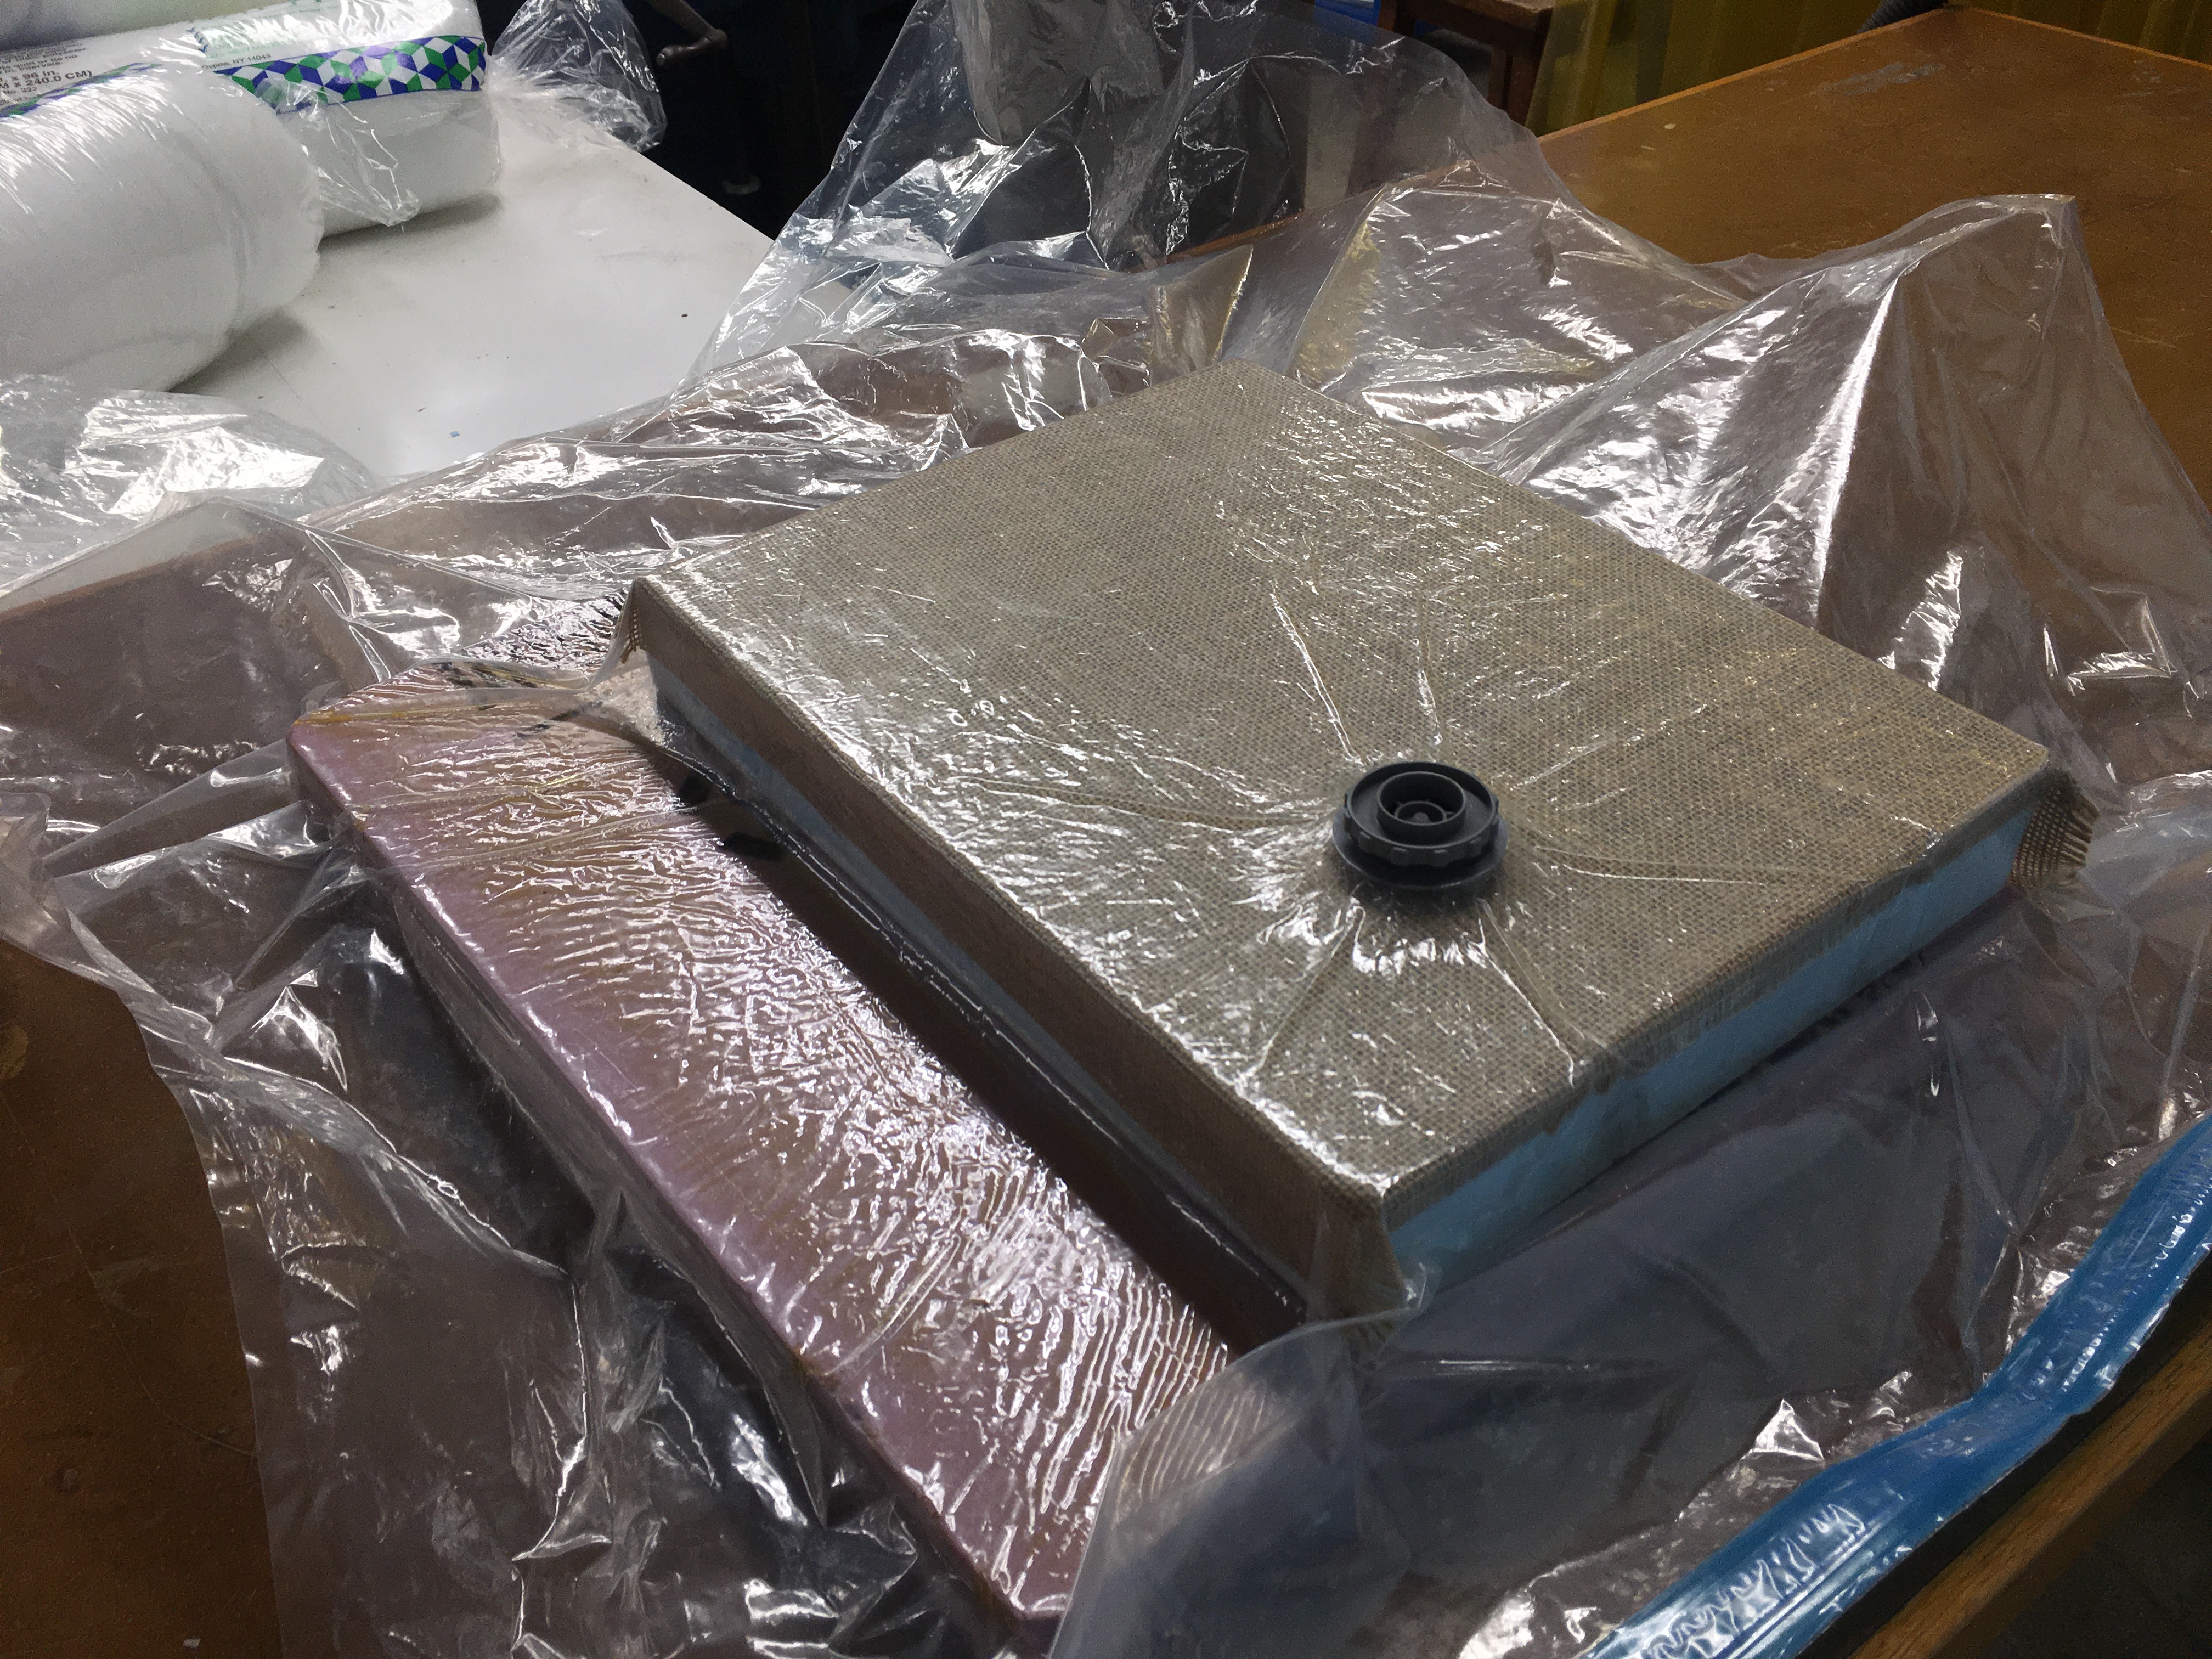
Now place the foam-burlap-epoxy object into a vacuum bag. Make sure that the ‘hole’ of the vacuum bag is resting on the object but not in a critical part. This allows all the air to be sucked out (otherwise the rest of the air would be blocked by that place). Put the vacuum cleaner nozzle on the hole and suck out the air! Loosen the valve to suck out more air faster. Great, now wait 24 hours!

Challenges
- Nearly got a blob of epoxy on my shoes!
- I was having a bit of trouble in Rhino – it was complaining that my bowl did not have any closed surfaces, and thus wasn’t allowing me o make the hole in the cube. I had to repeat multiple times and ended up using a new way to create the bowl to ensure a closed surface. In the end, I ended up creating a sphere and using half of that as the bowl.
- The bowl wasn’t as deep as I liked – the cutting never got to the bottom piece of foam (the pink one). In the 3D model, I should have pushed the bowl further down in the box to get a larger depth
- A few of the vacuum bags I was using were faulty. They were leaking air that made me wait even longer. In the end, I used new vacuum bags ☺