Week 6: Computer Controlled Machining
Introduction
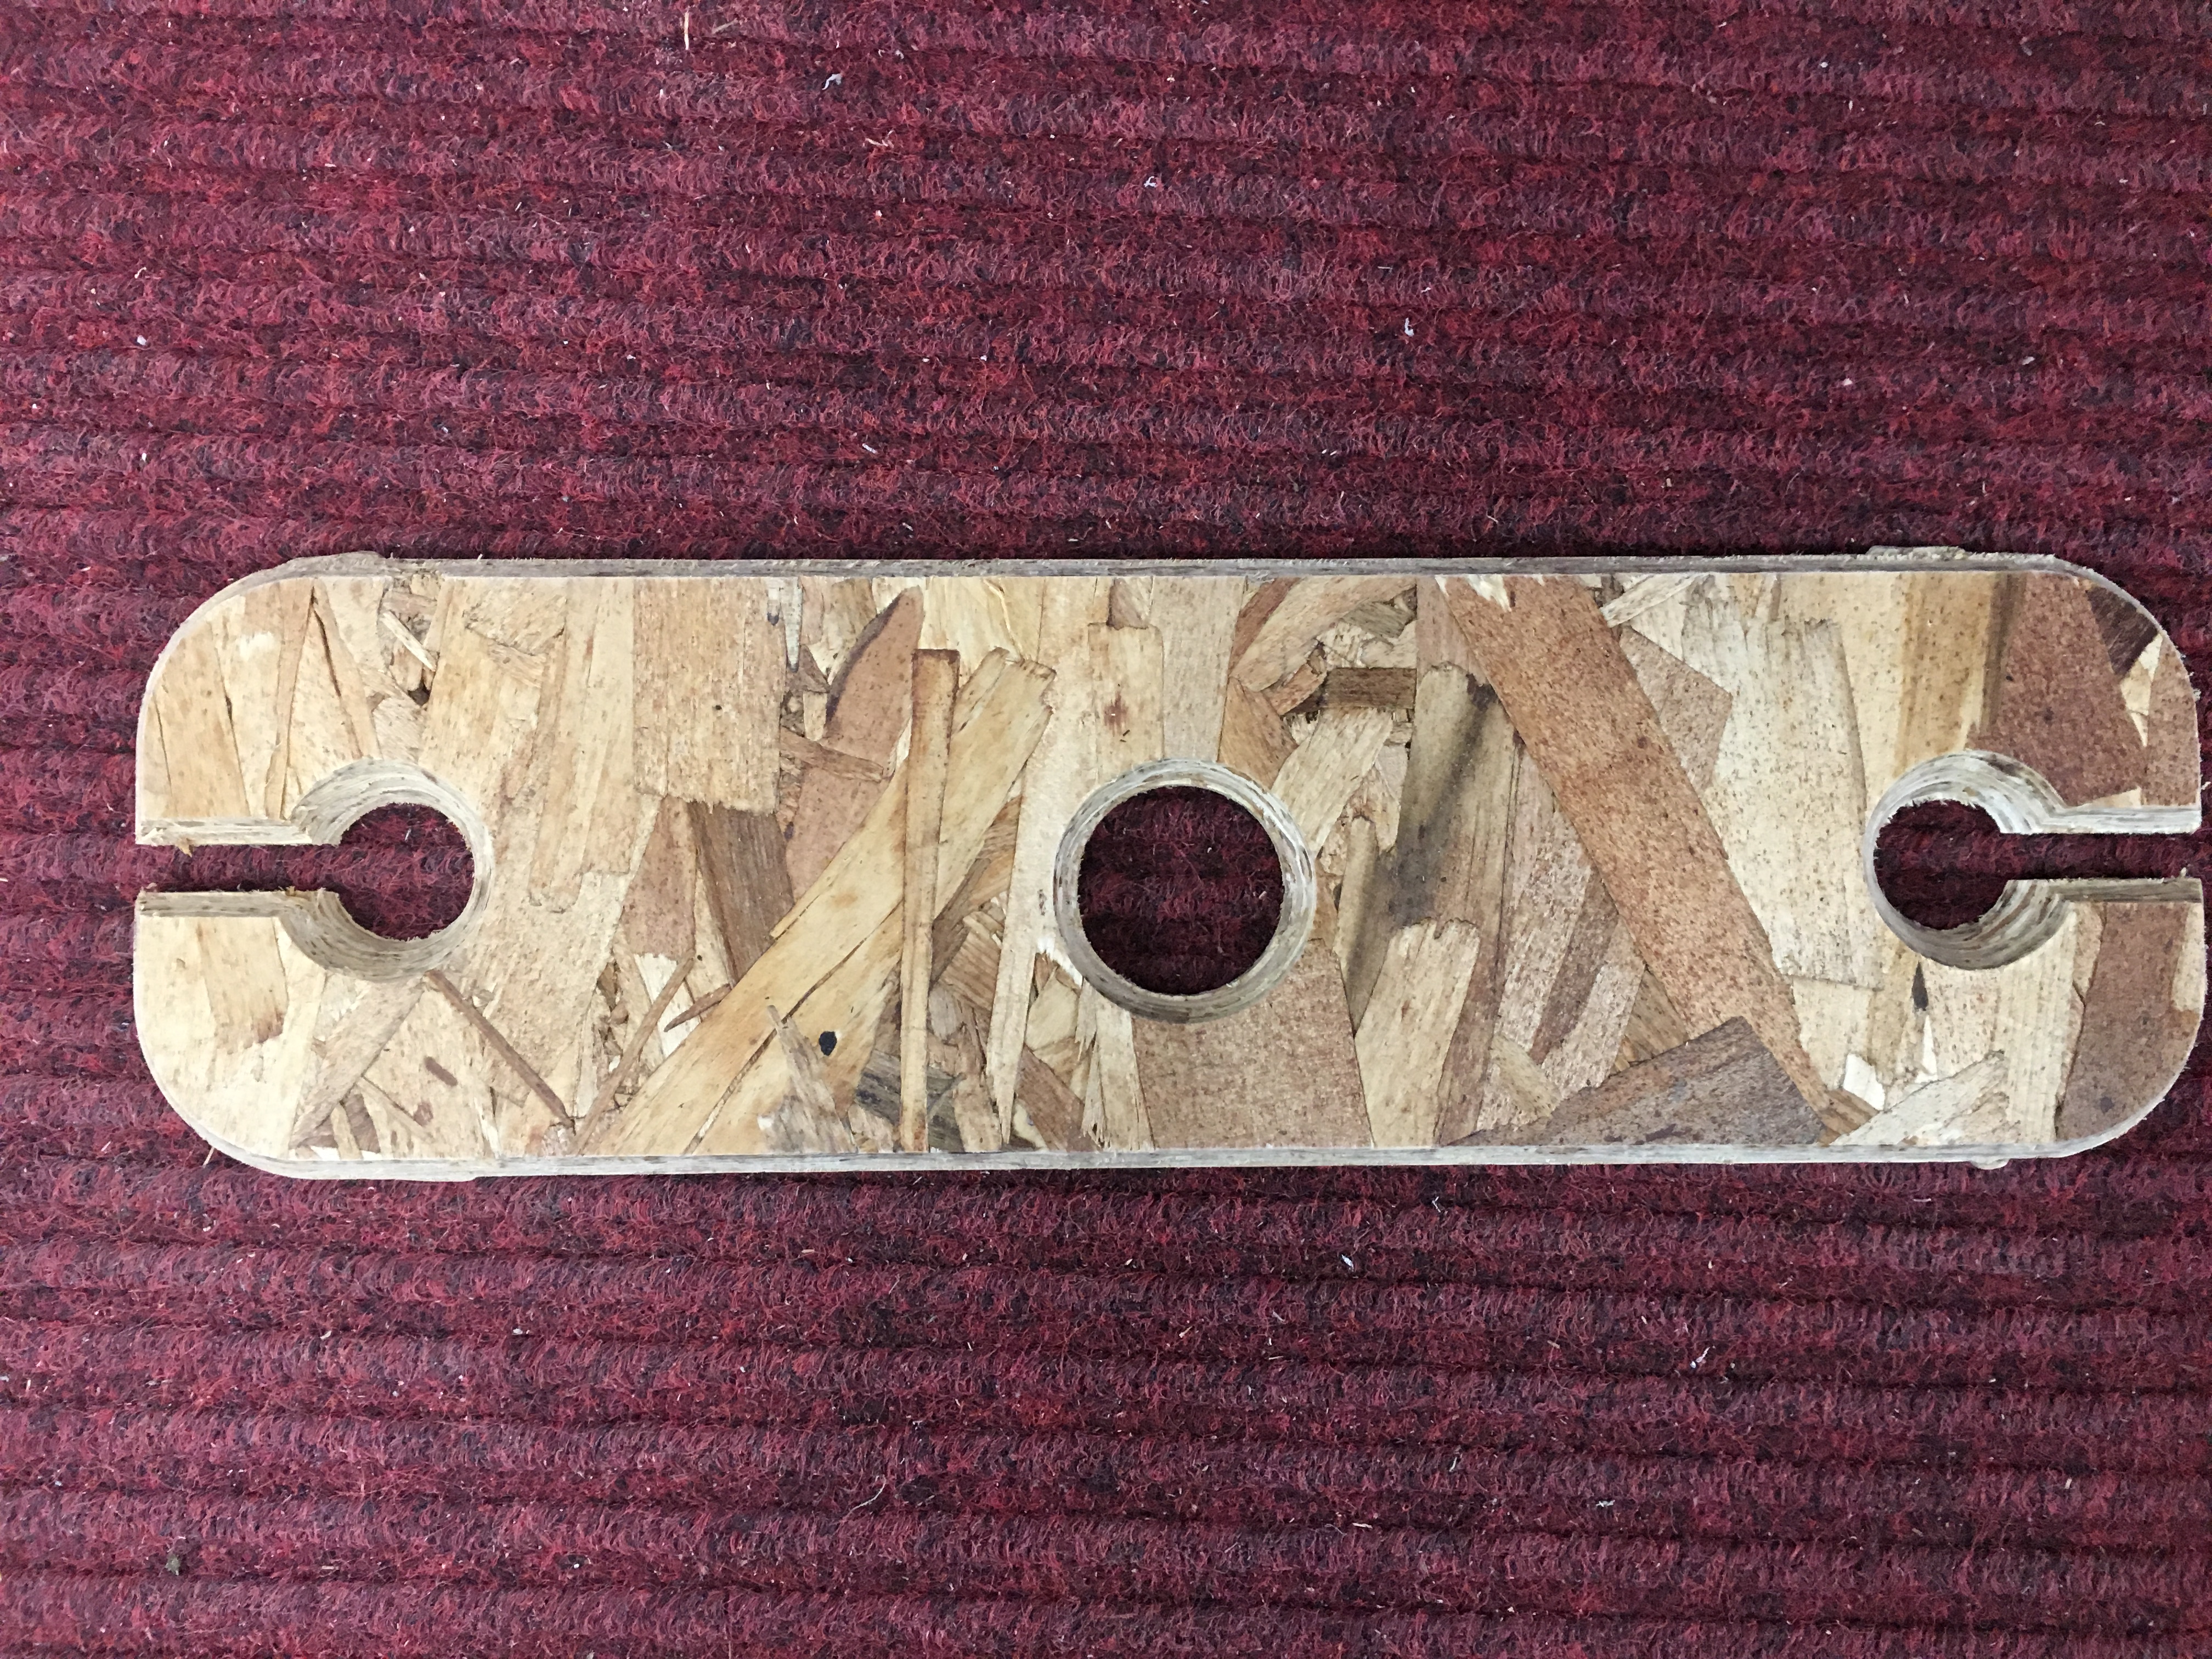
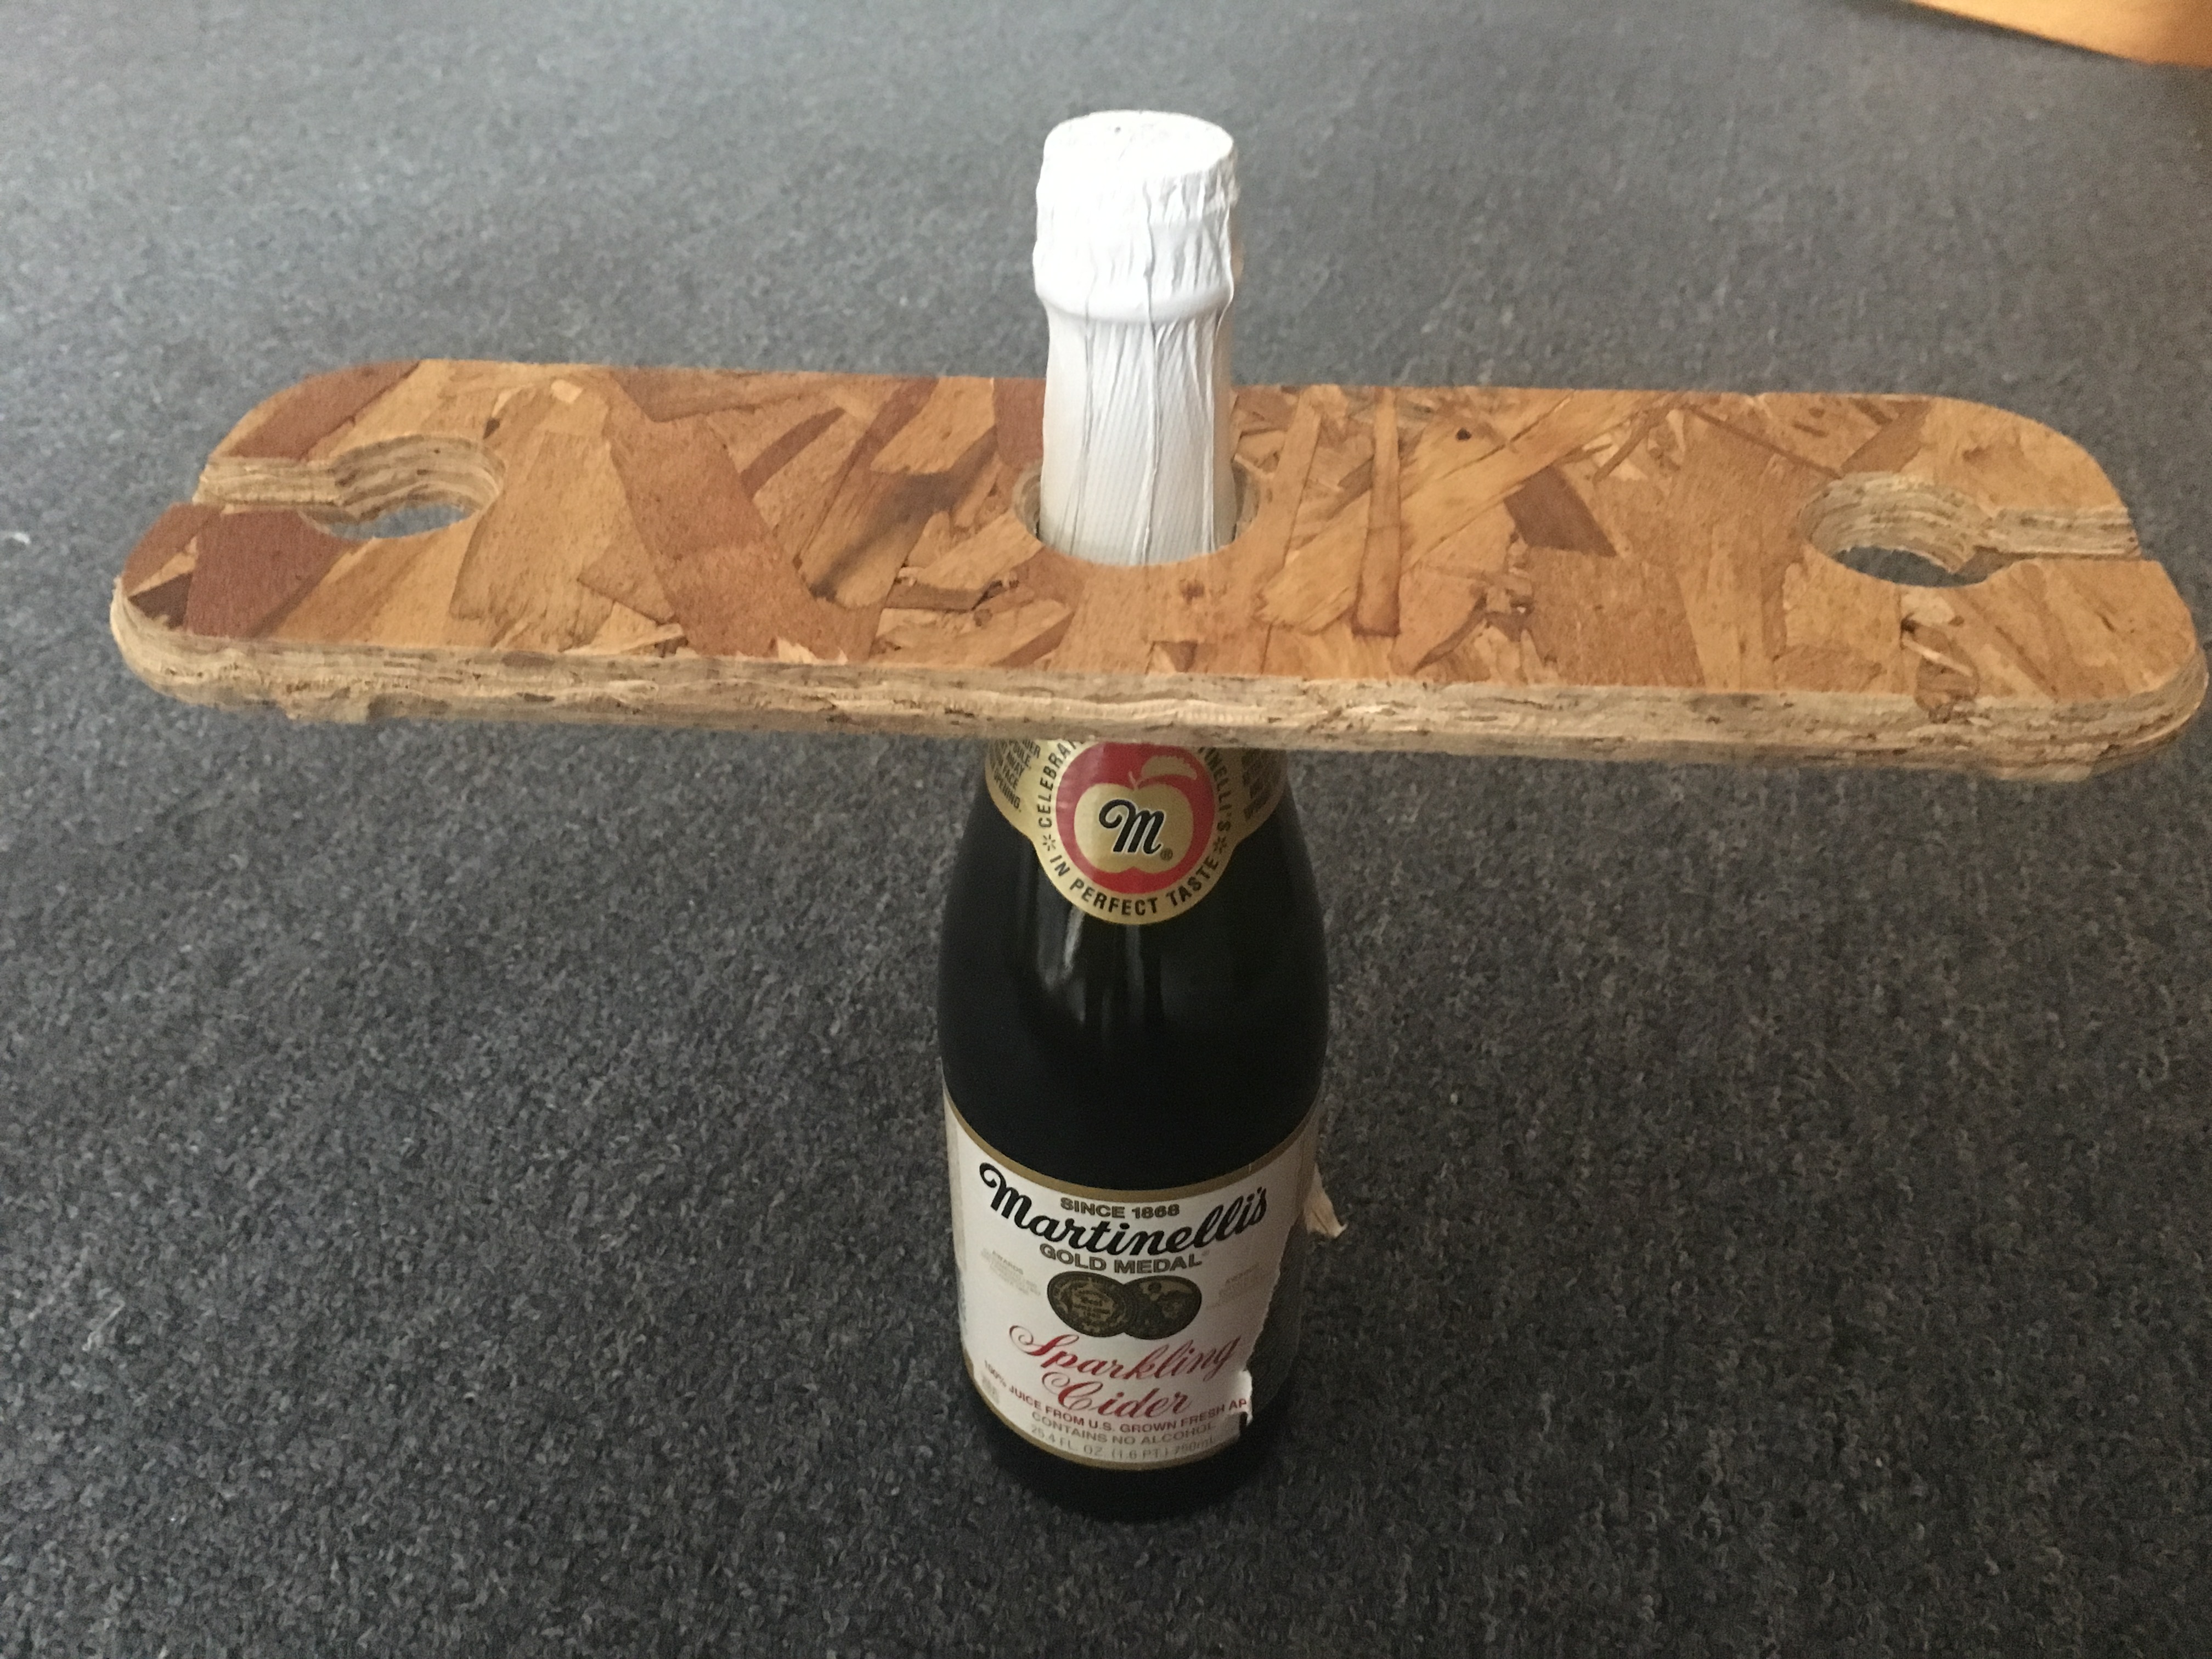
This week, I made a wine glass and wine bottle holder by using computer-controlled machining with the Shopbot on oriented strand board (OSB).
Phase 1: Designing the object
To design the object, I used AutoDesk Fusion 360.The cool thing about AutoDesk is that it is completely free for students!
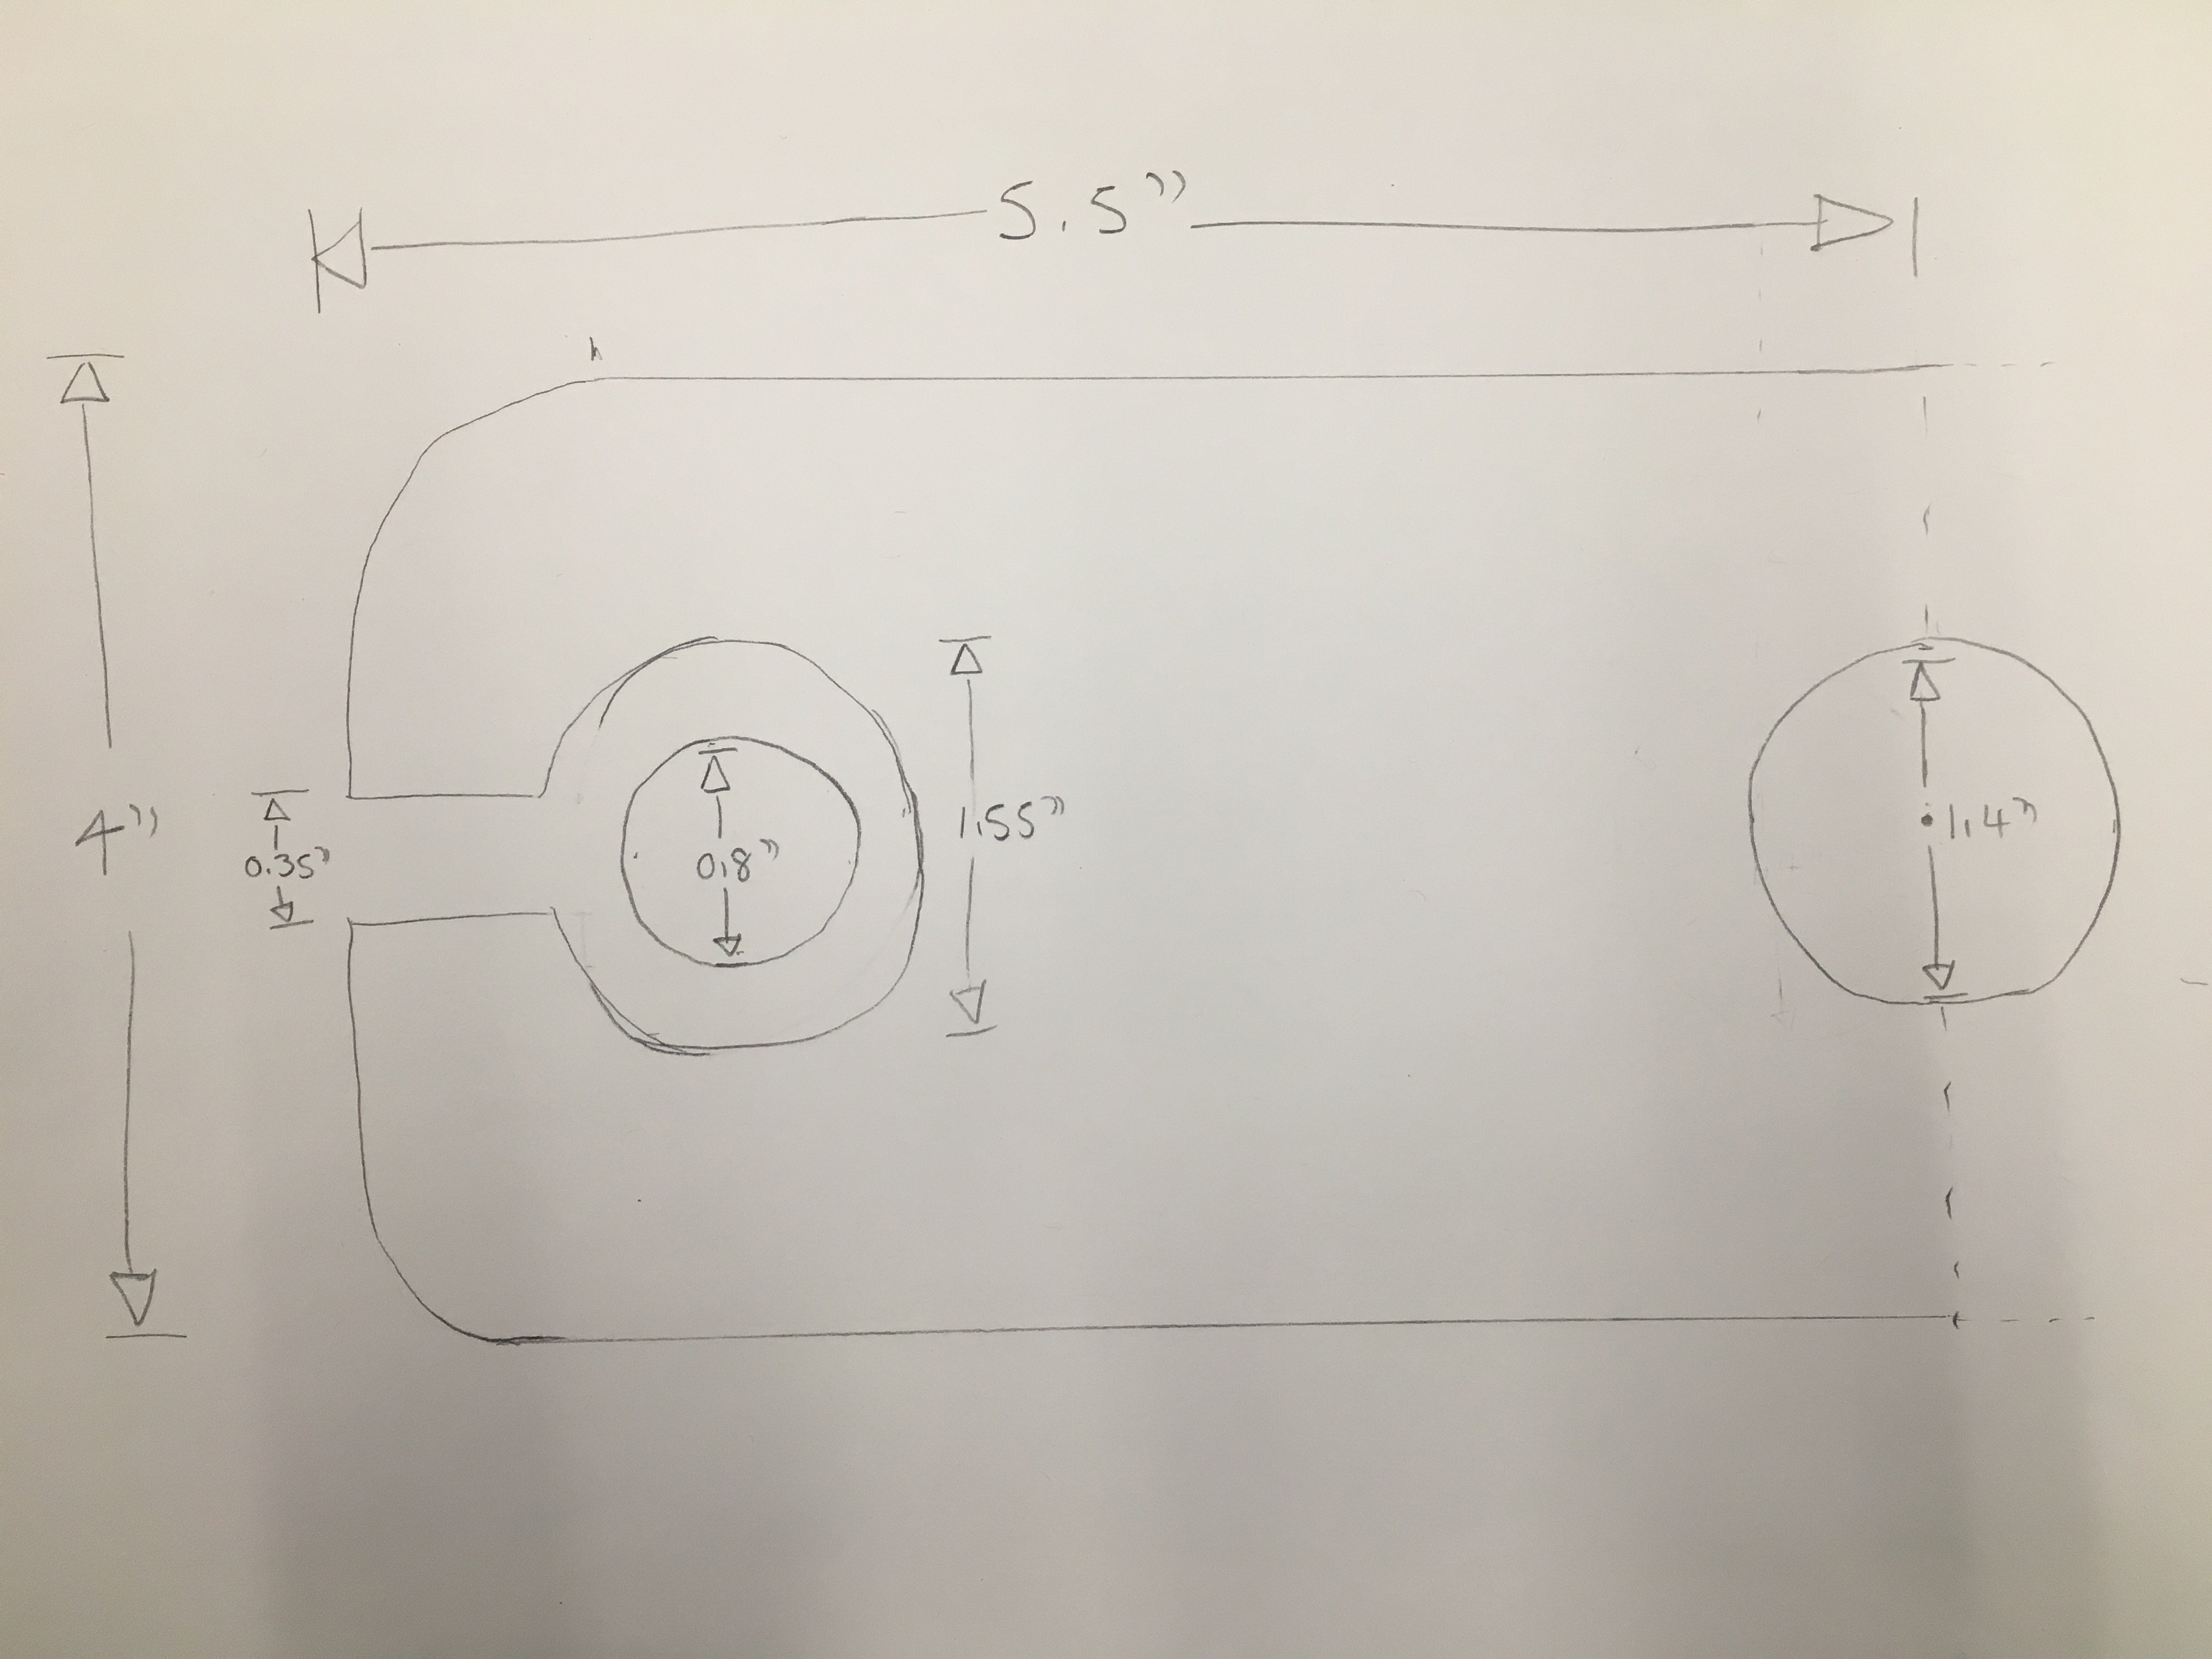
First, I created a paper design of the object in 2D. Since my object is small, I made the paper design the correct size (i.e. a ratio of 1:1). Also, I only drew half of the object, because the object is symmetrical and Autodesk will allow us to mirror the other half.
Using Autodesk: Check out this video on how I made the wine glass/bottle holder in Autodesk:
Phase 2: Building the object
- Export the object to an .stl file
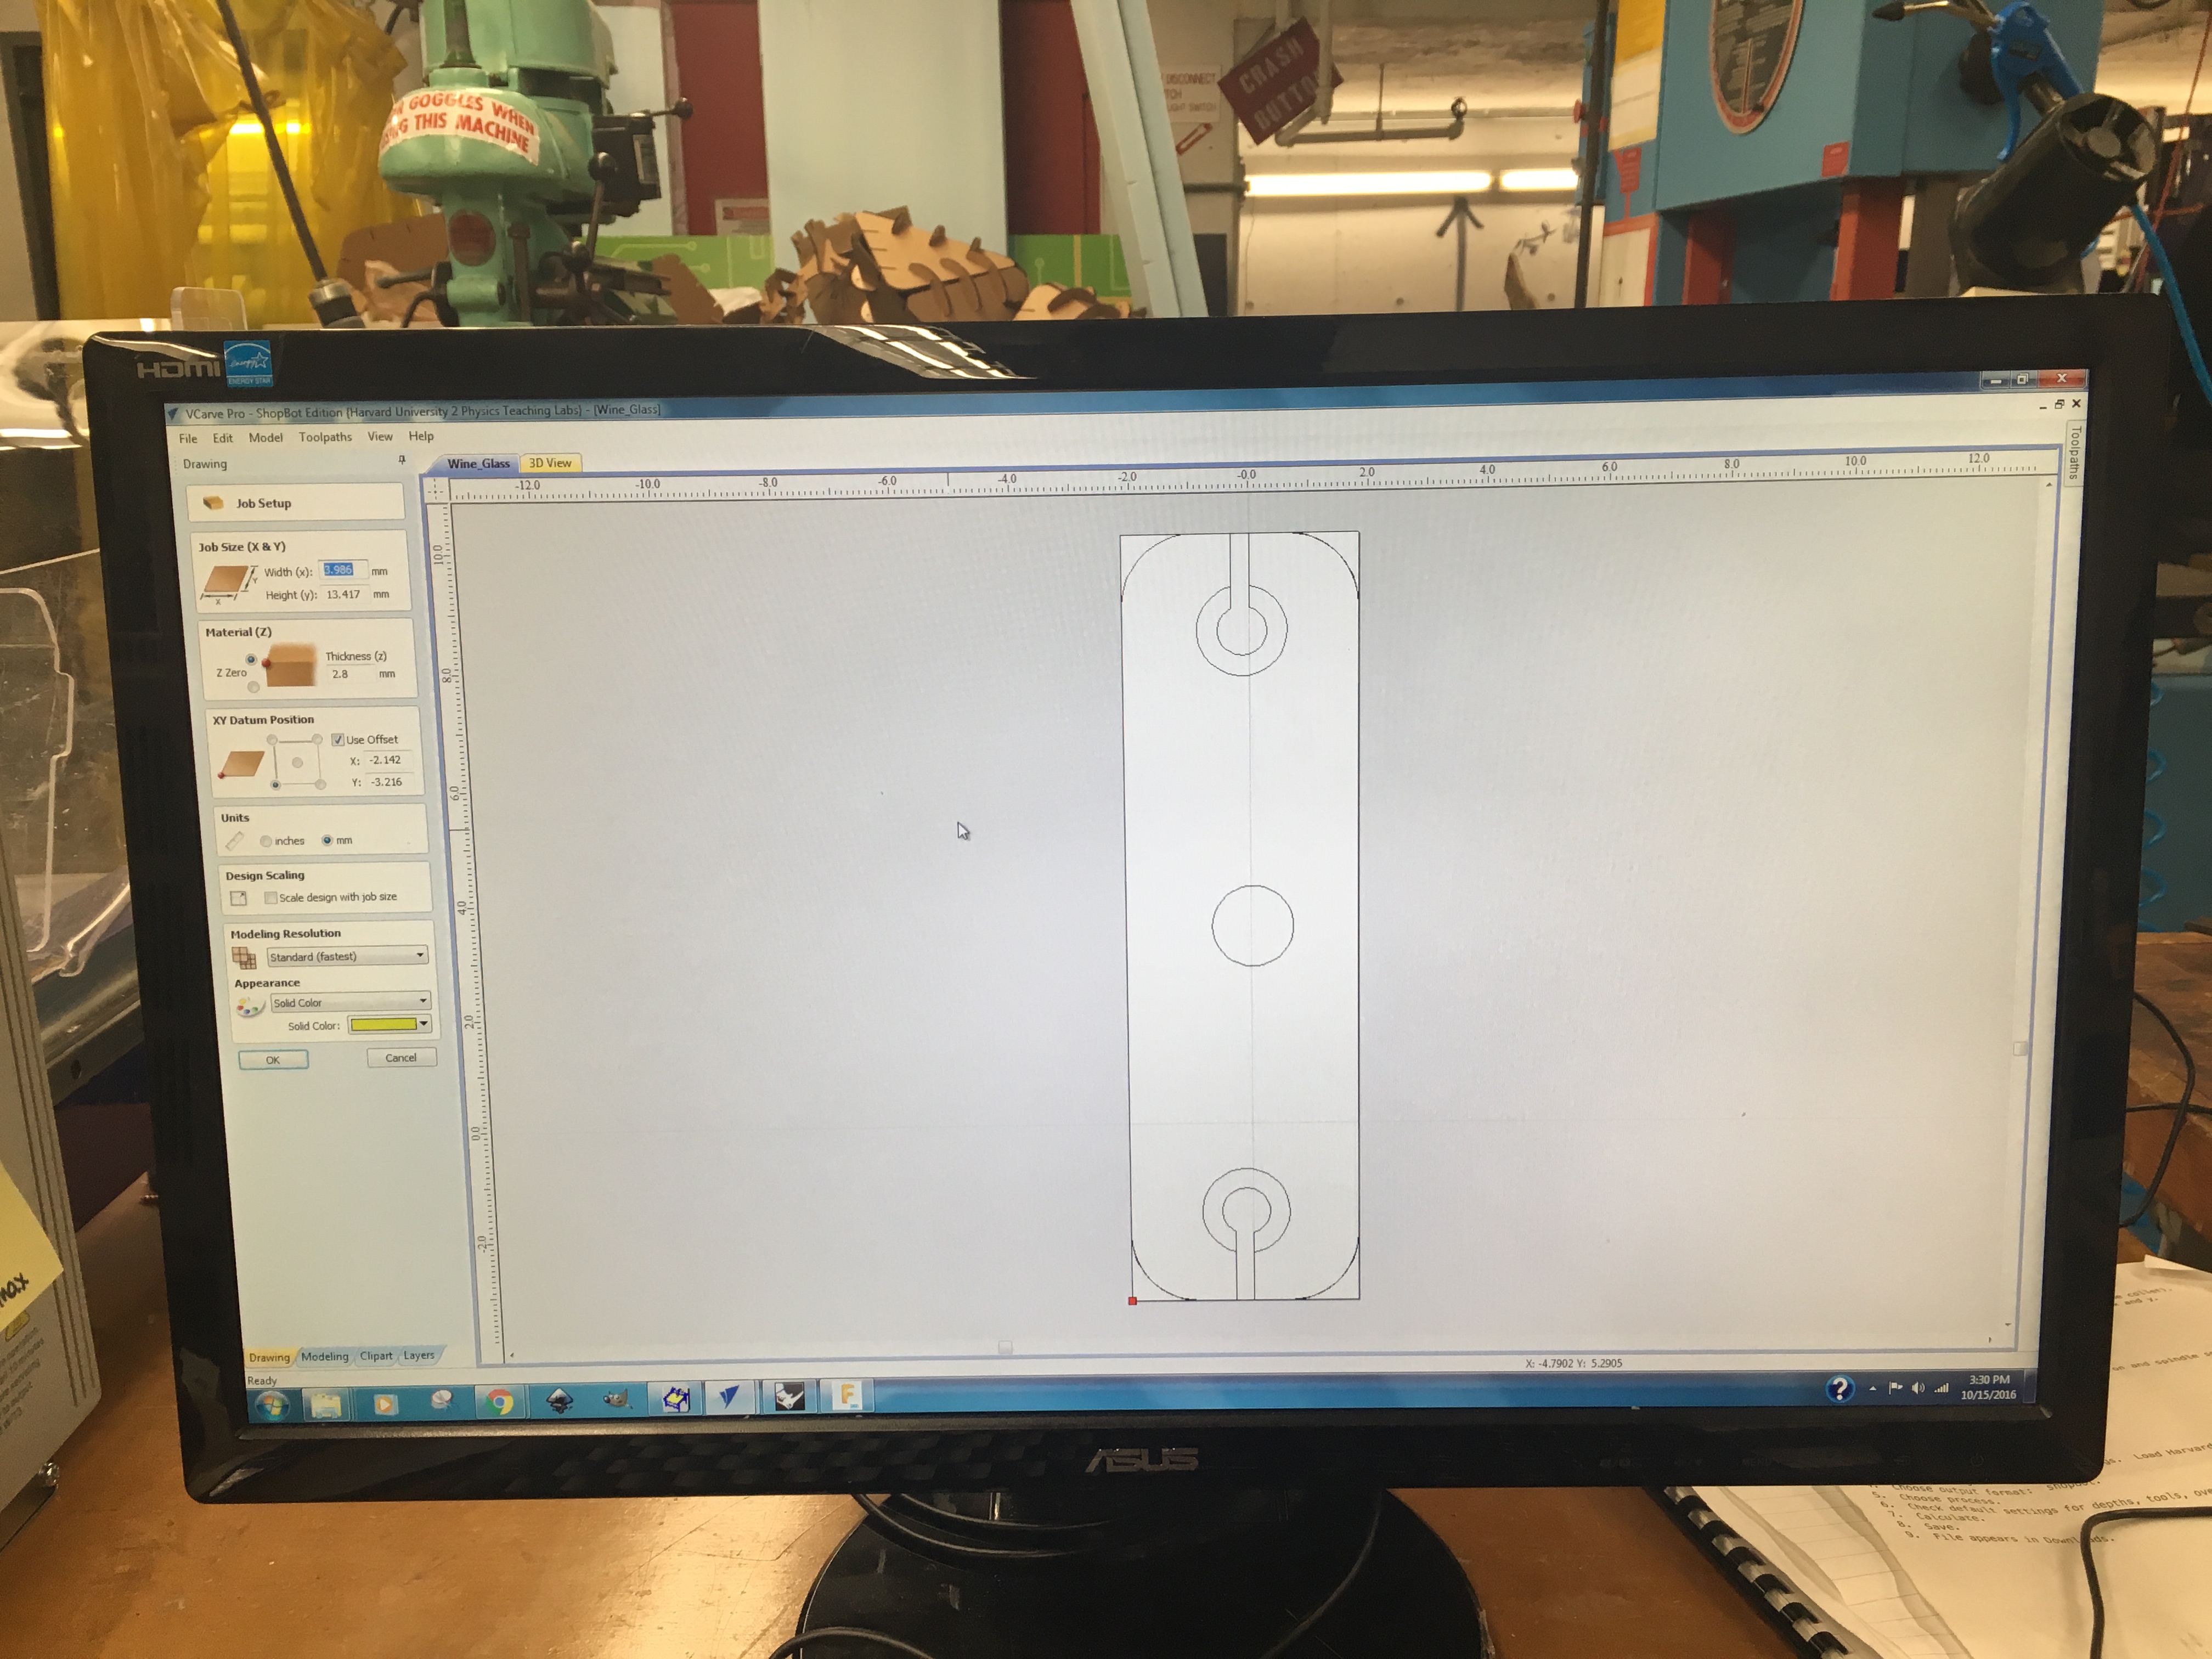
- Upload the .stl to the shopbot software
- Check the settings on the software
- Drill the OSB onto the sacrificial board of the shopbot (to keep it in place)
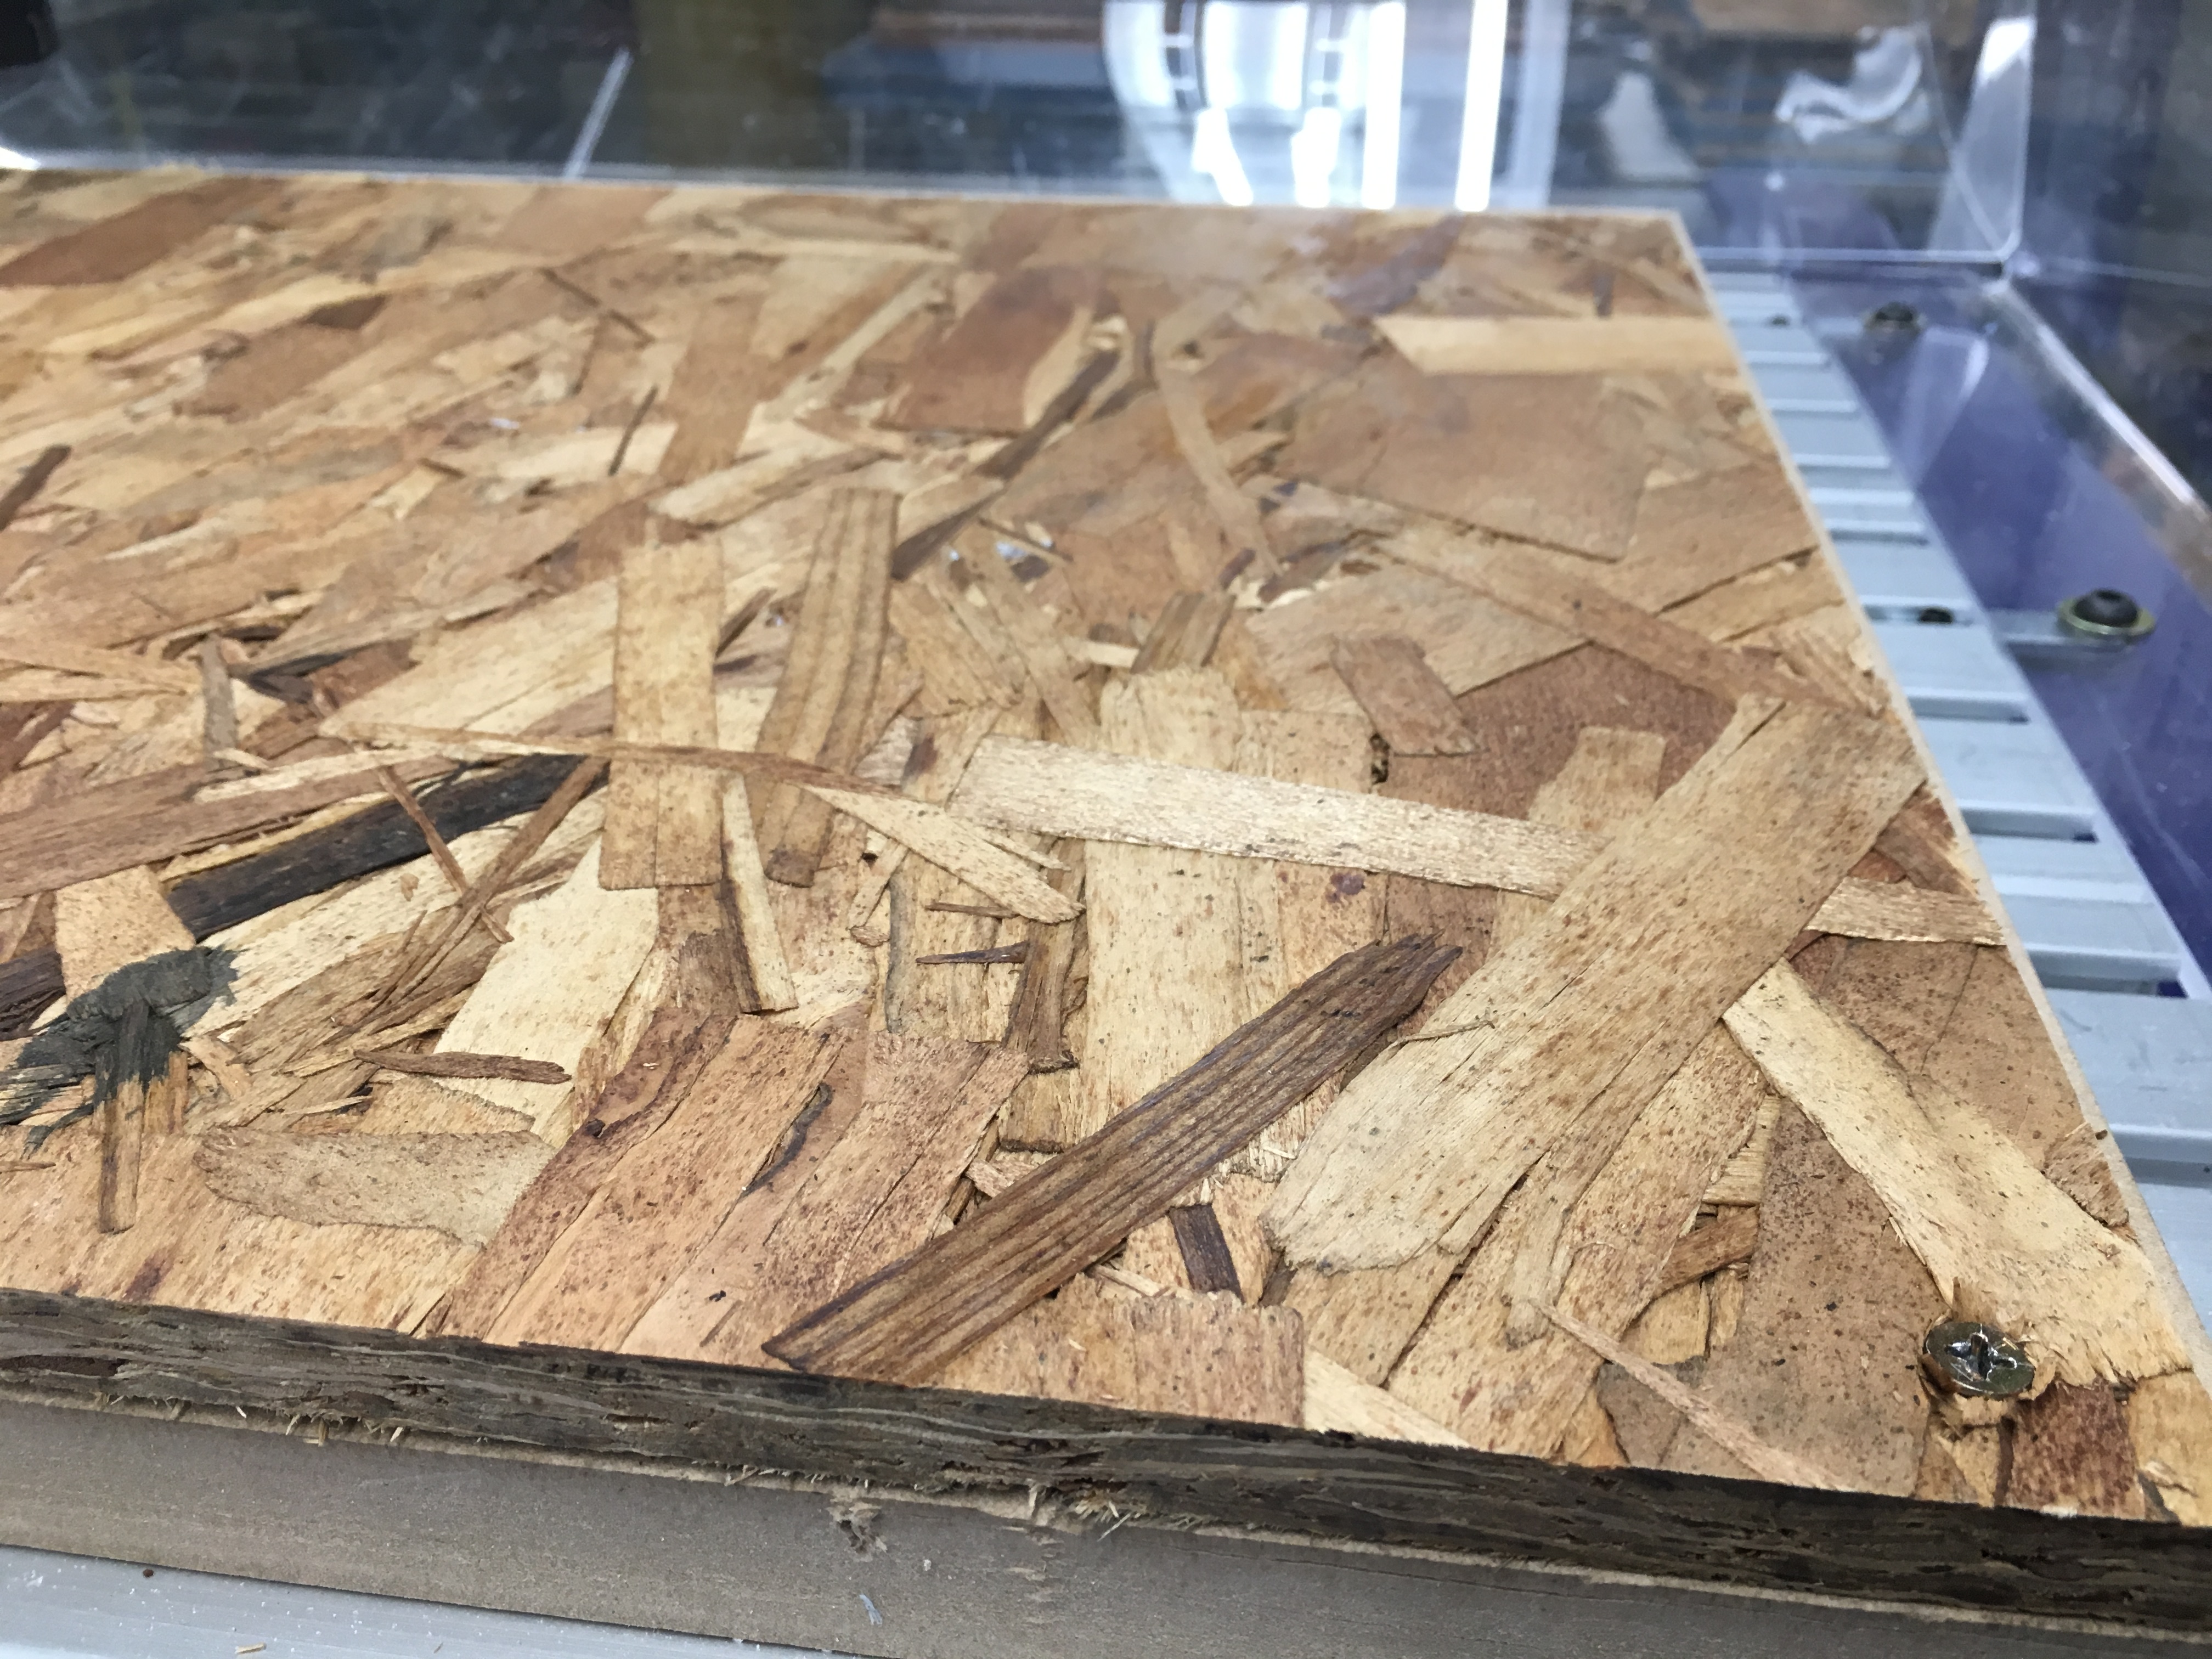
OSB drilled on sacrificial board - Zero the x,y,z axes in the shopbot software
- Run it!
Challenges
-
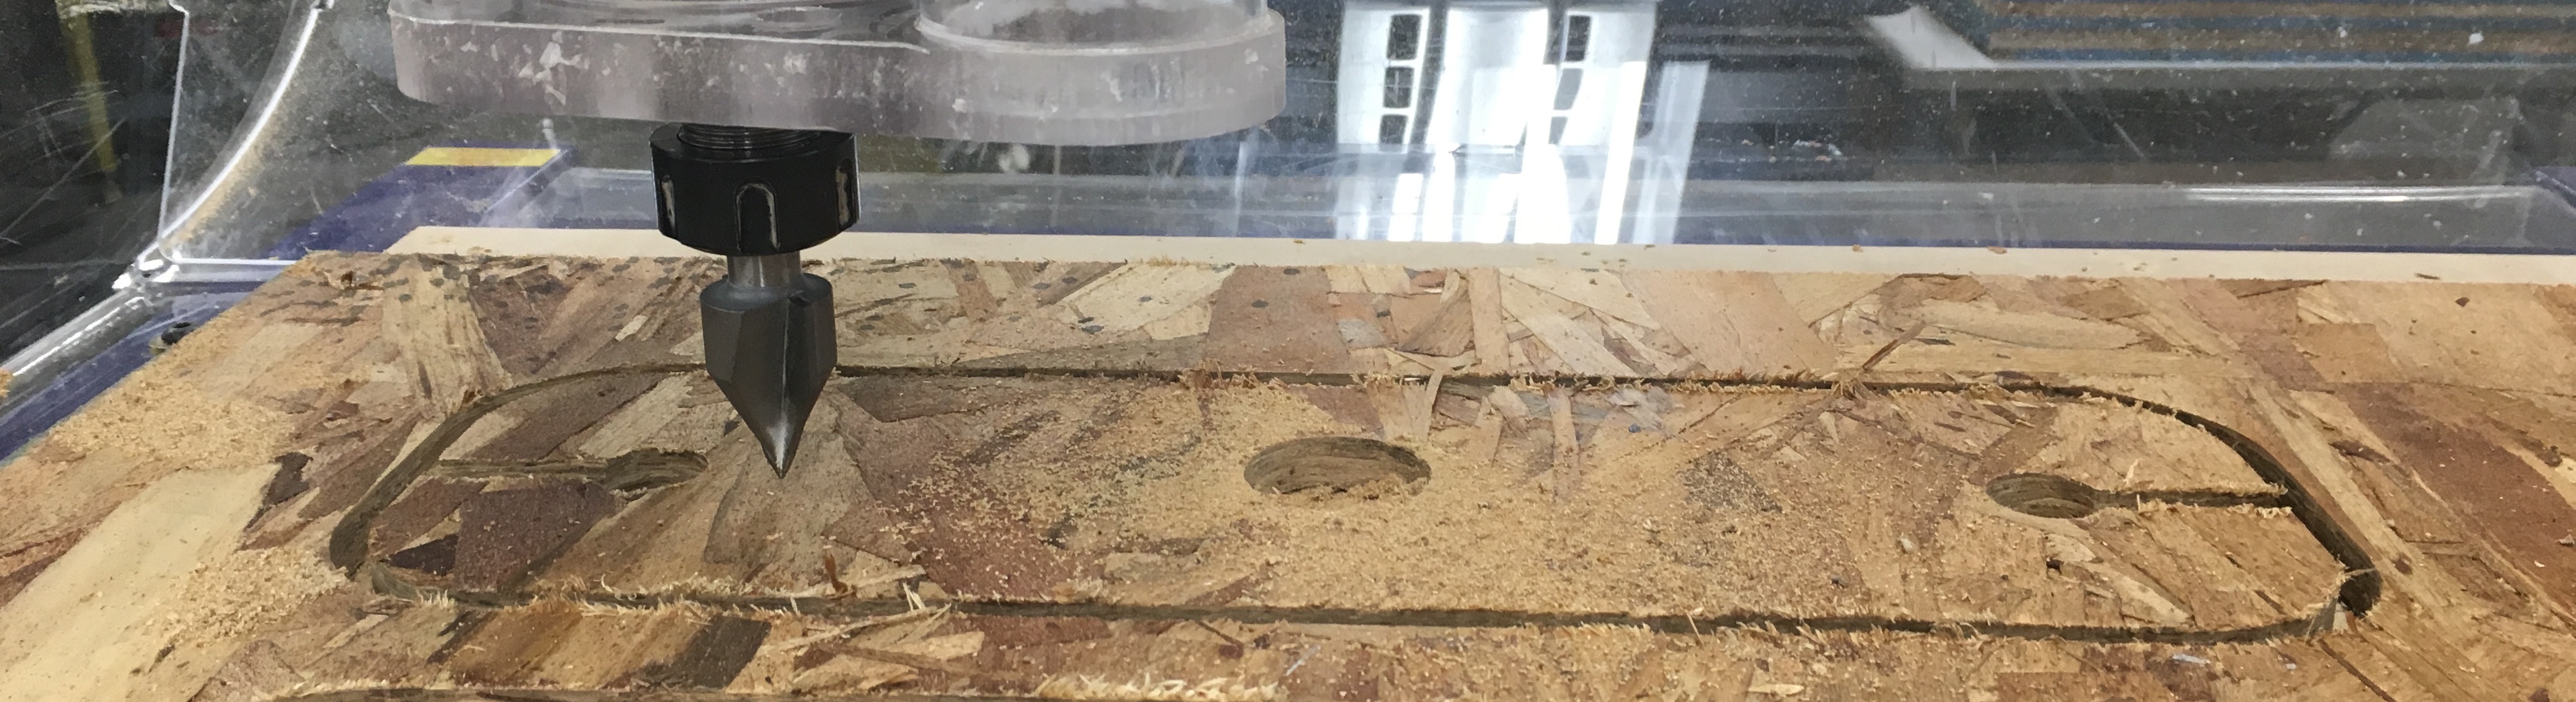
To securely hold the wine glass, I created a chamfer for the two holes. This meant that we had to change the bit that was used to cut. In order to do this, I first uploaded an stl with the holes with the smallest diameter and cut that using the normal bit. Then, I uploaded another .stl with the diameter of the larger holes and used the angled larger bit.
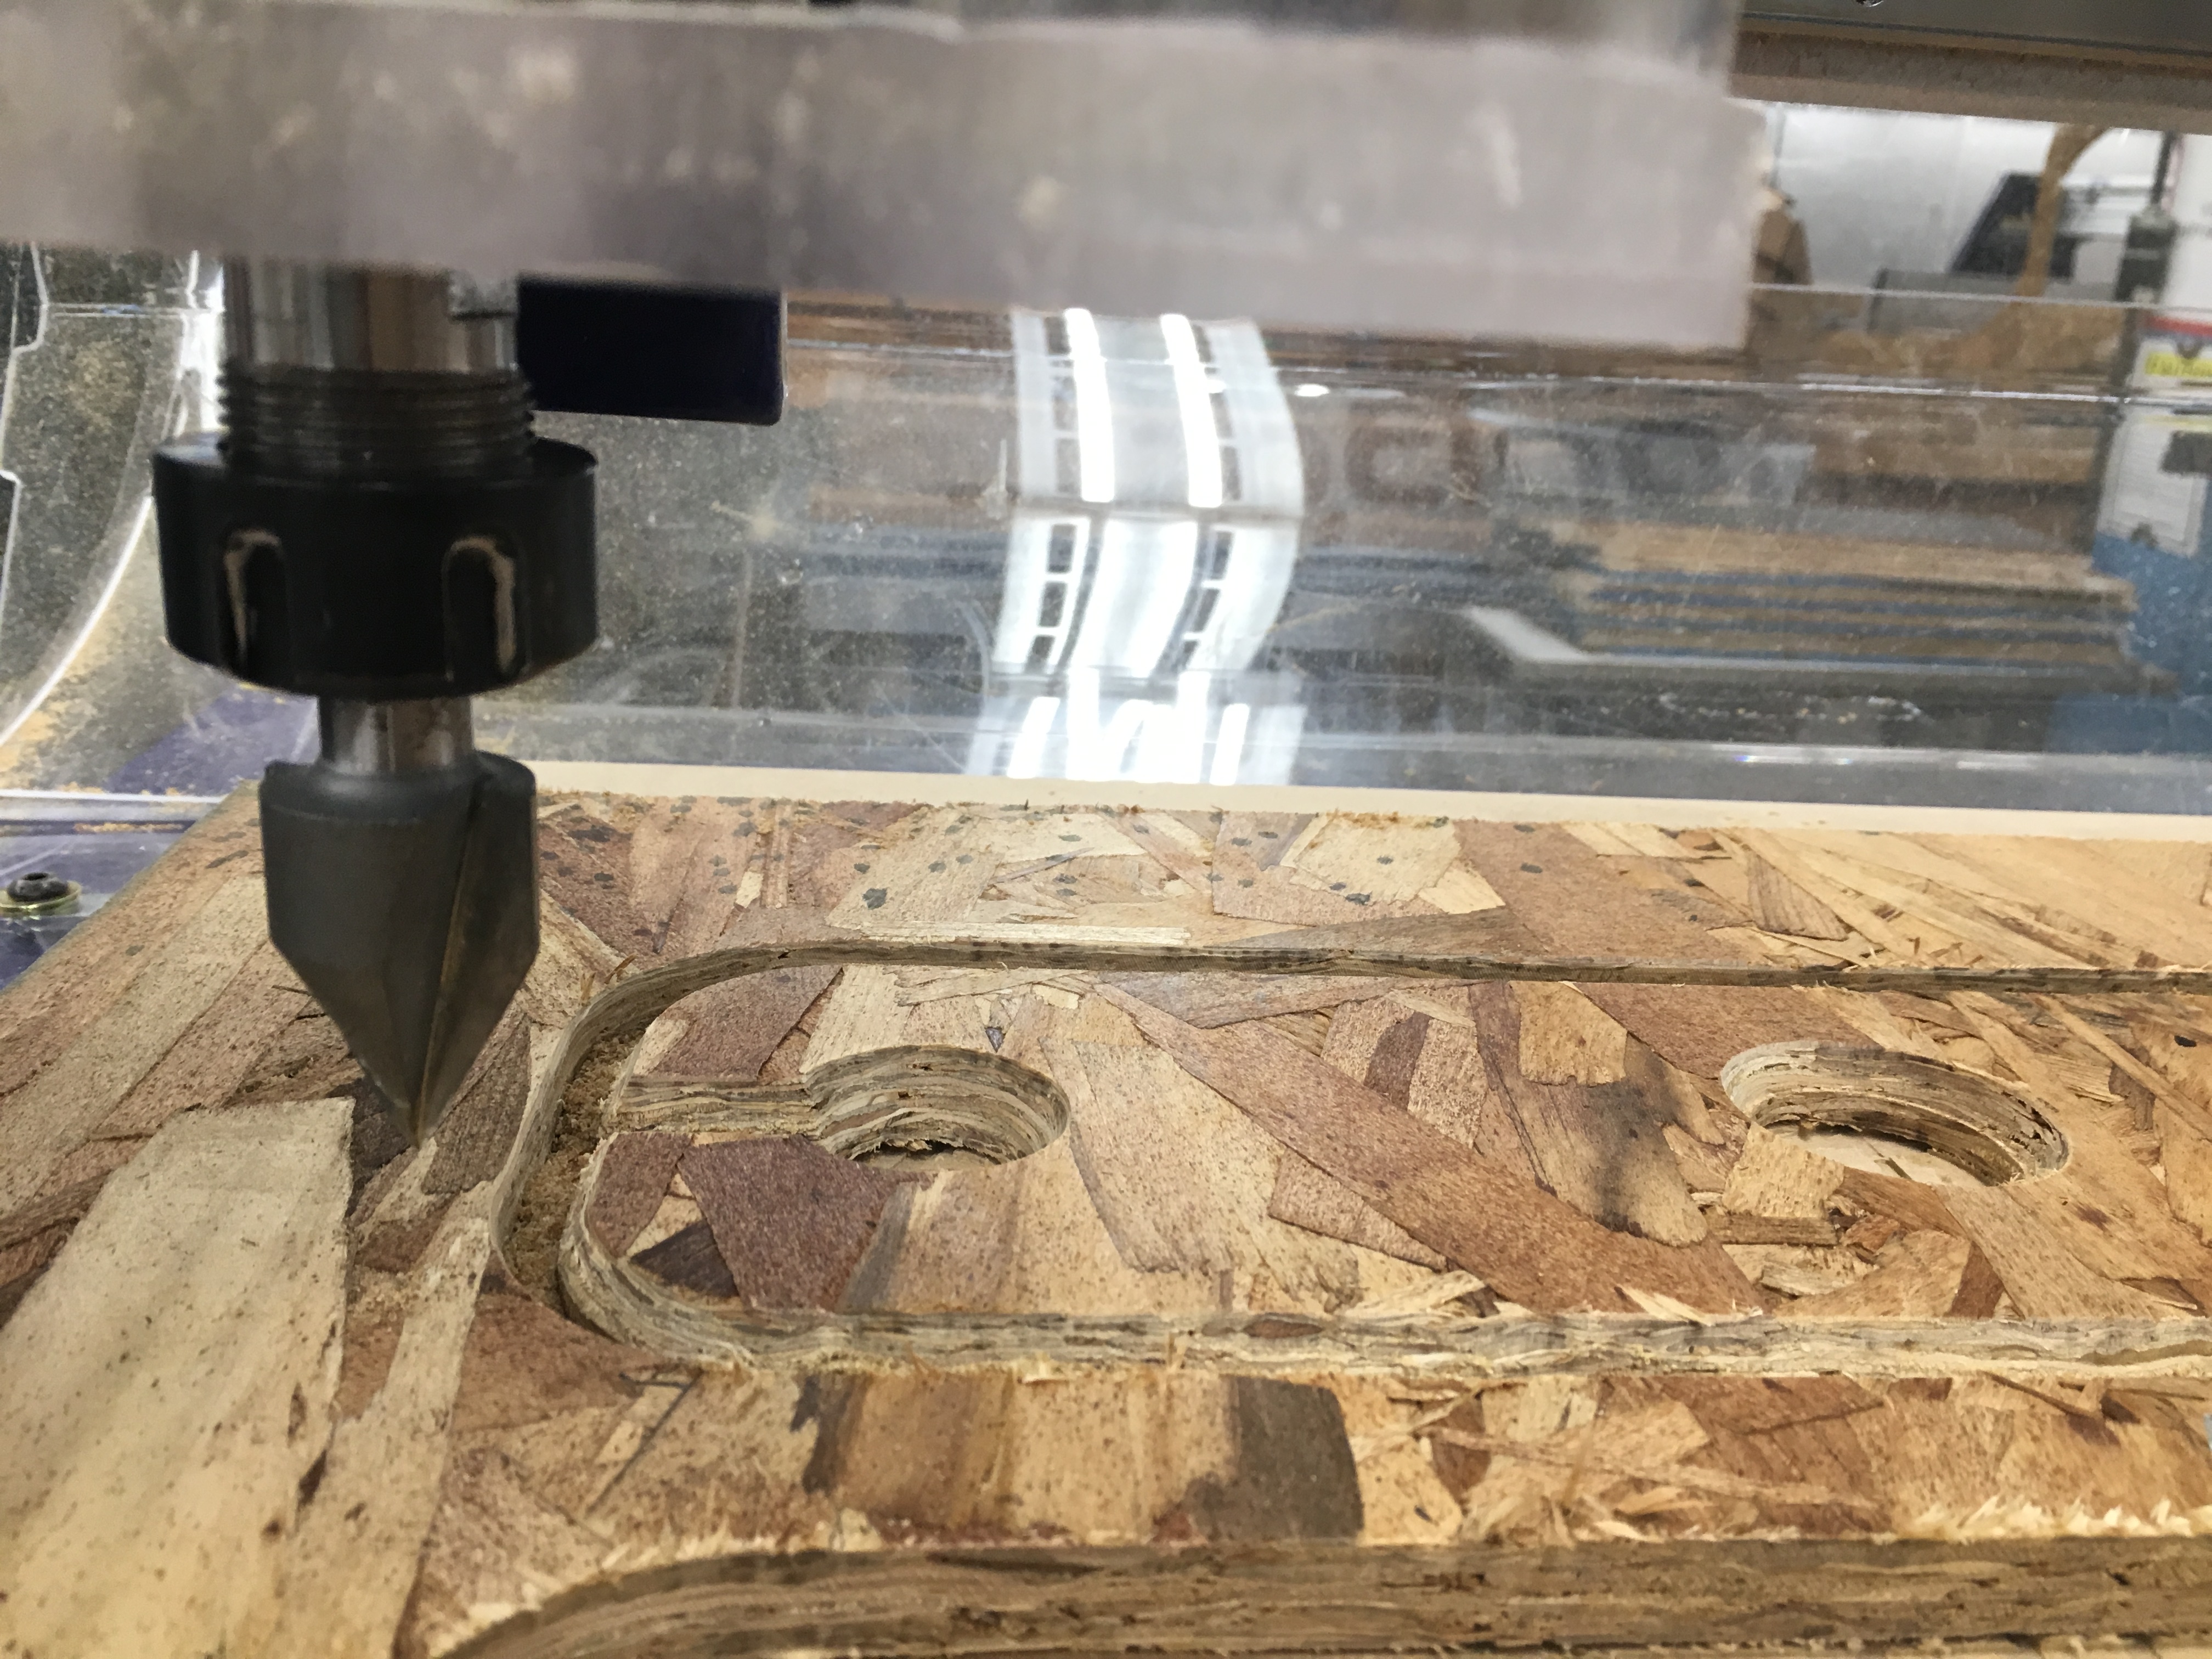
Using the chamfer bit -
The first design I made had rough edges. To smoothen the edges, I actually used the bit that I used for the chamfer on the whole board!
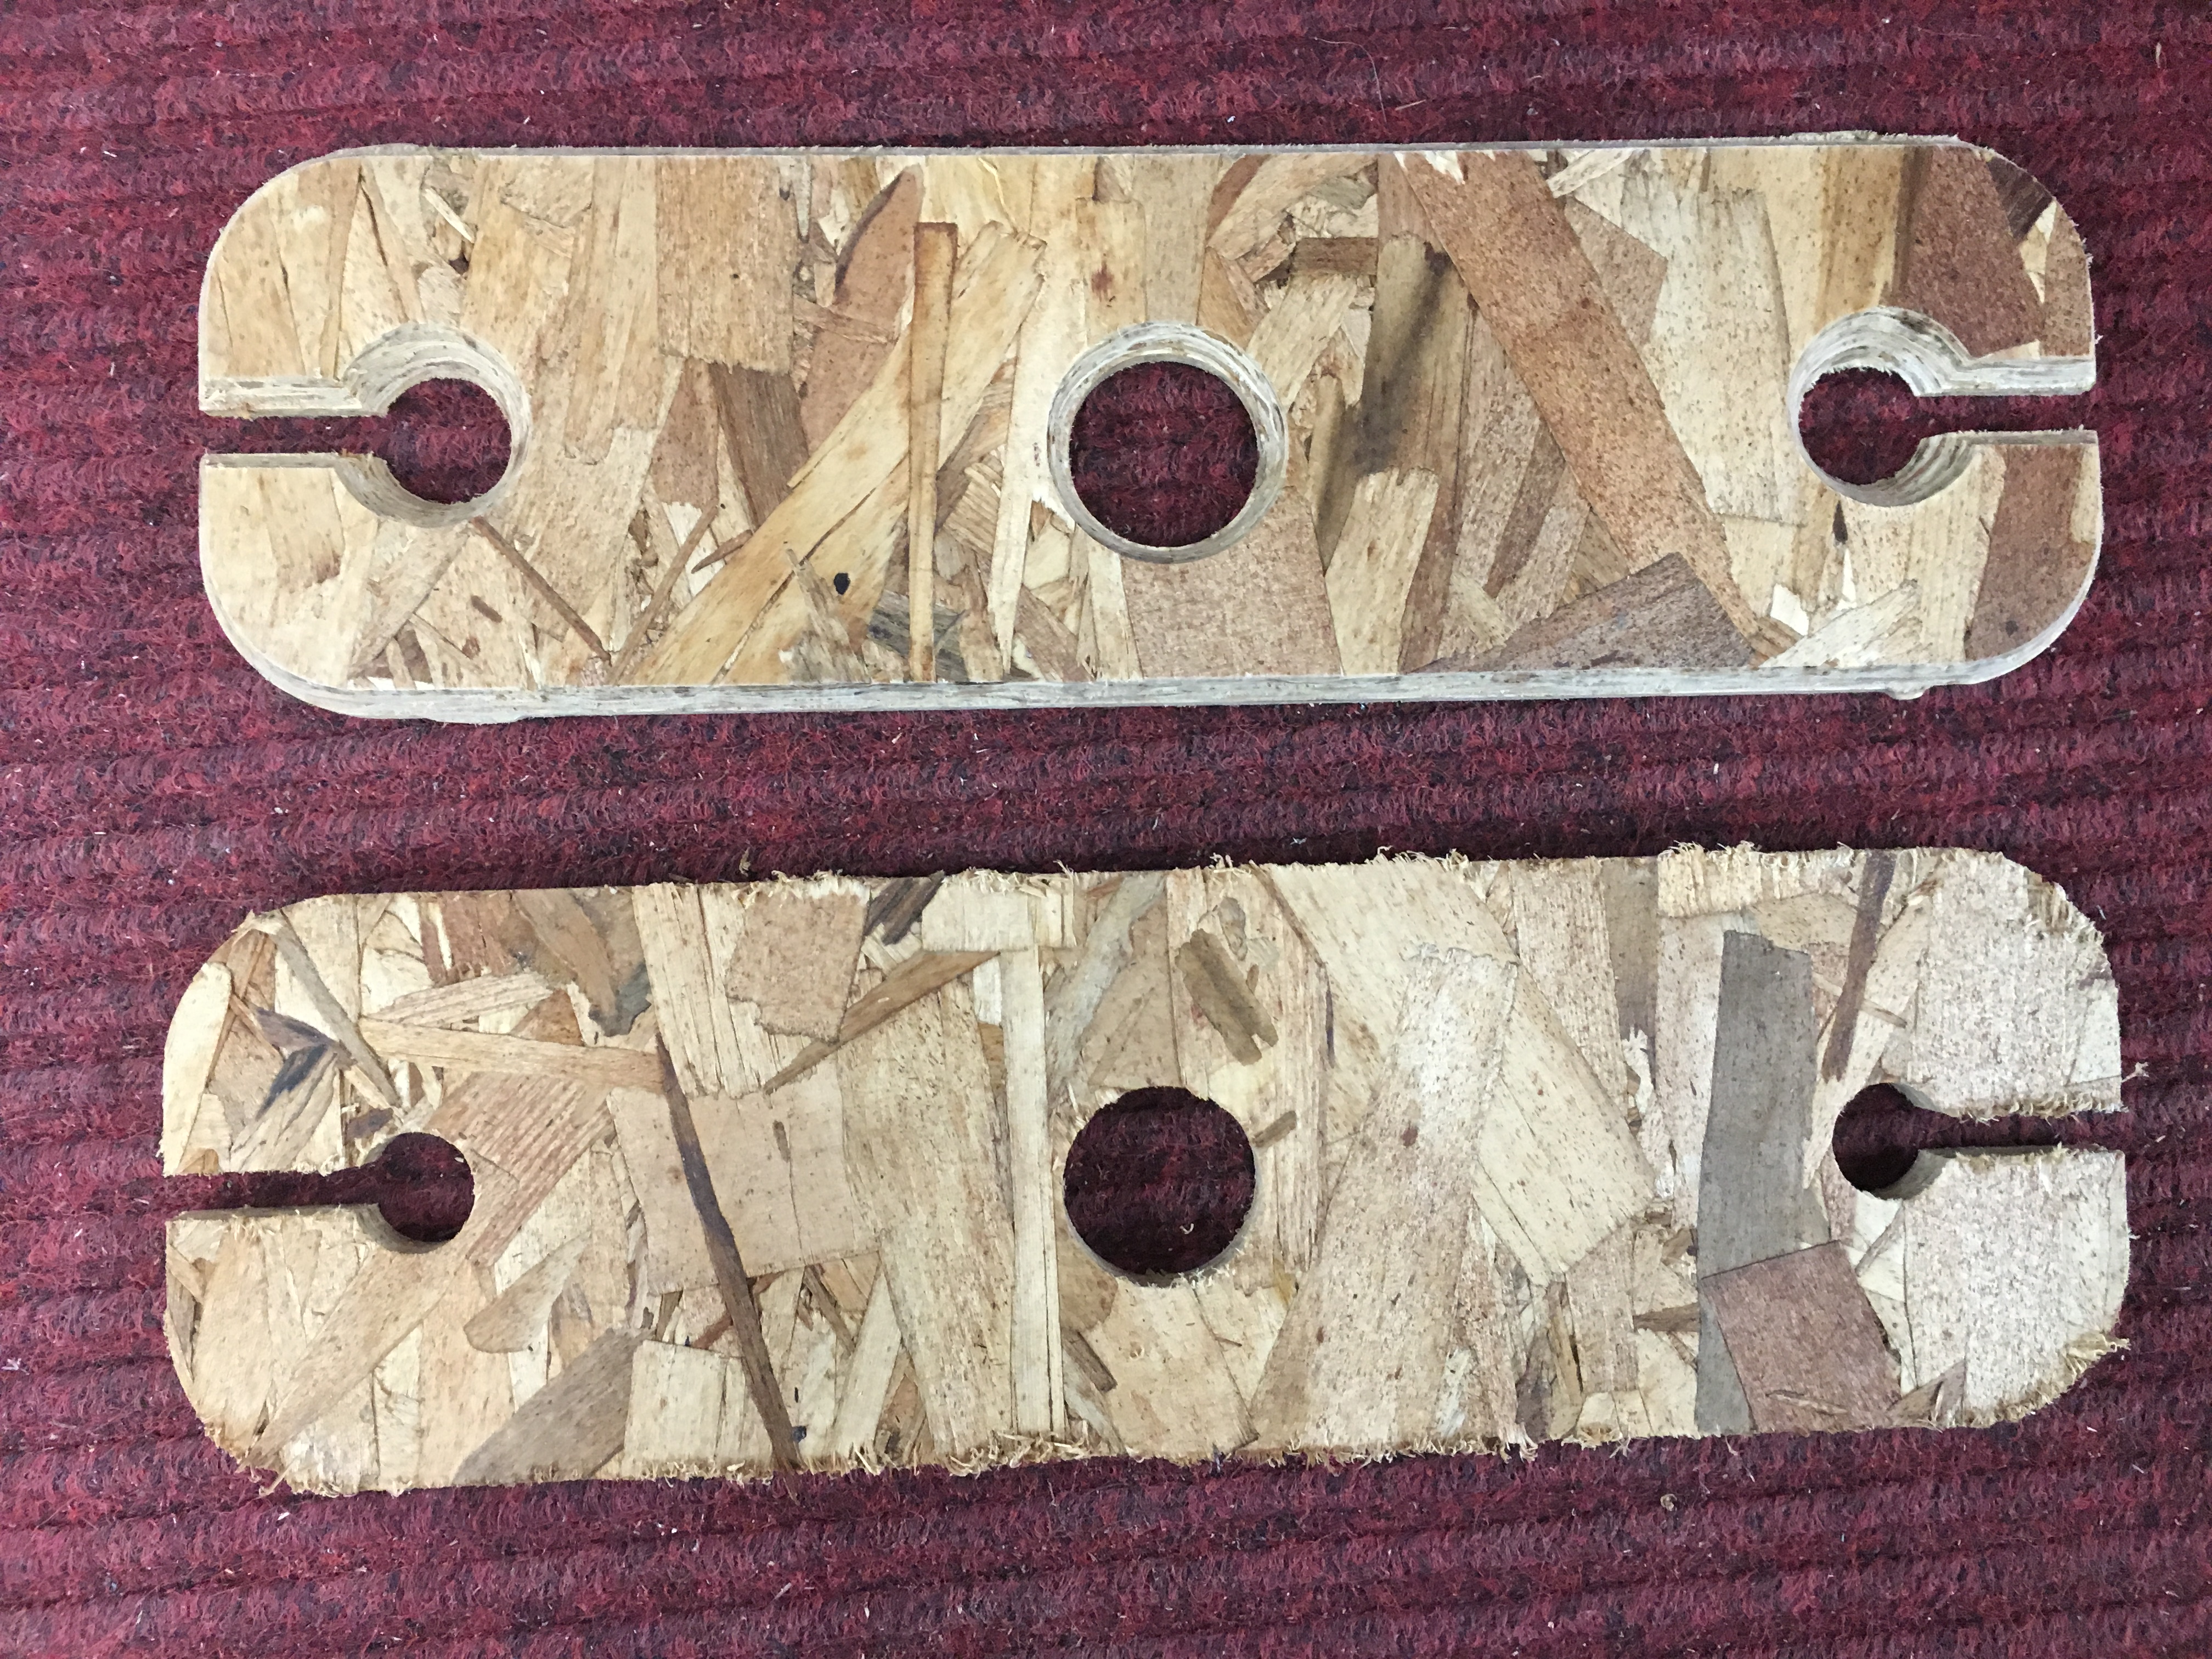
Comparing the objects with (right) and without (left) chamfer