Week 14: Machine Design
Introduction
This week, we worked as a group to automate a machine.
This week, we automated a machine that makes. This was a group project. My contribution was hooking up the circuits and connecting the software to the machine to make it work. For her PhD, Nadya Peek, built modular machines that made other machines. She documented her work on the Machines that make website (http://mtm.cba.mit.edu/ We followed some of the steps there in order to make this machine!
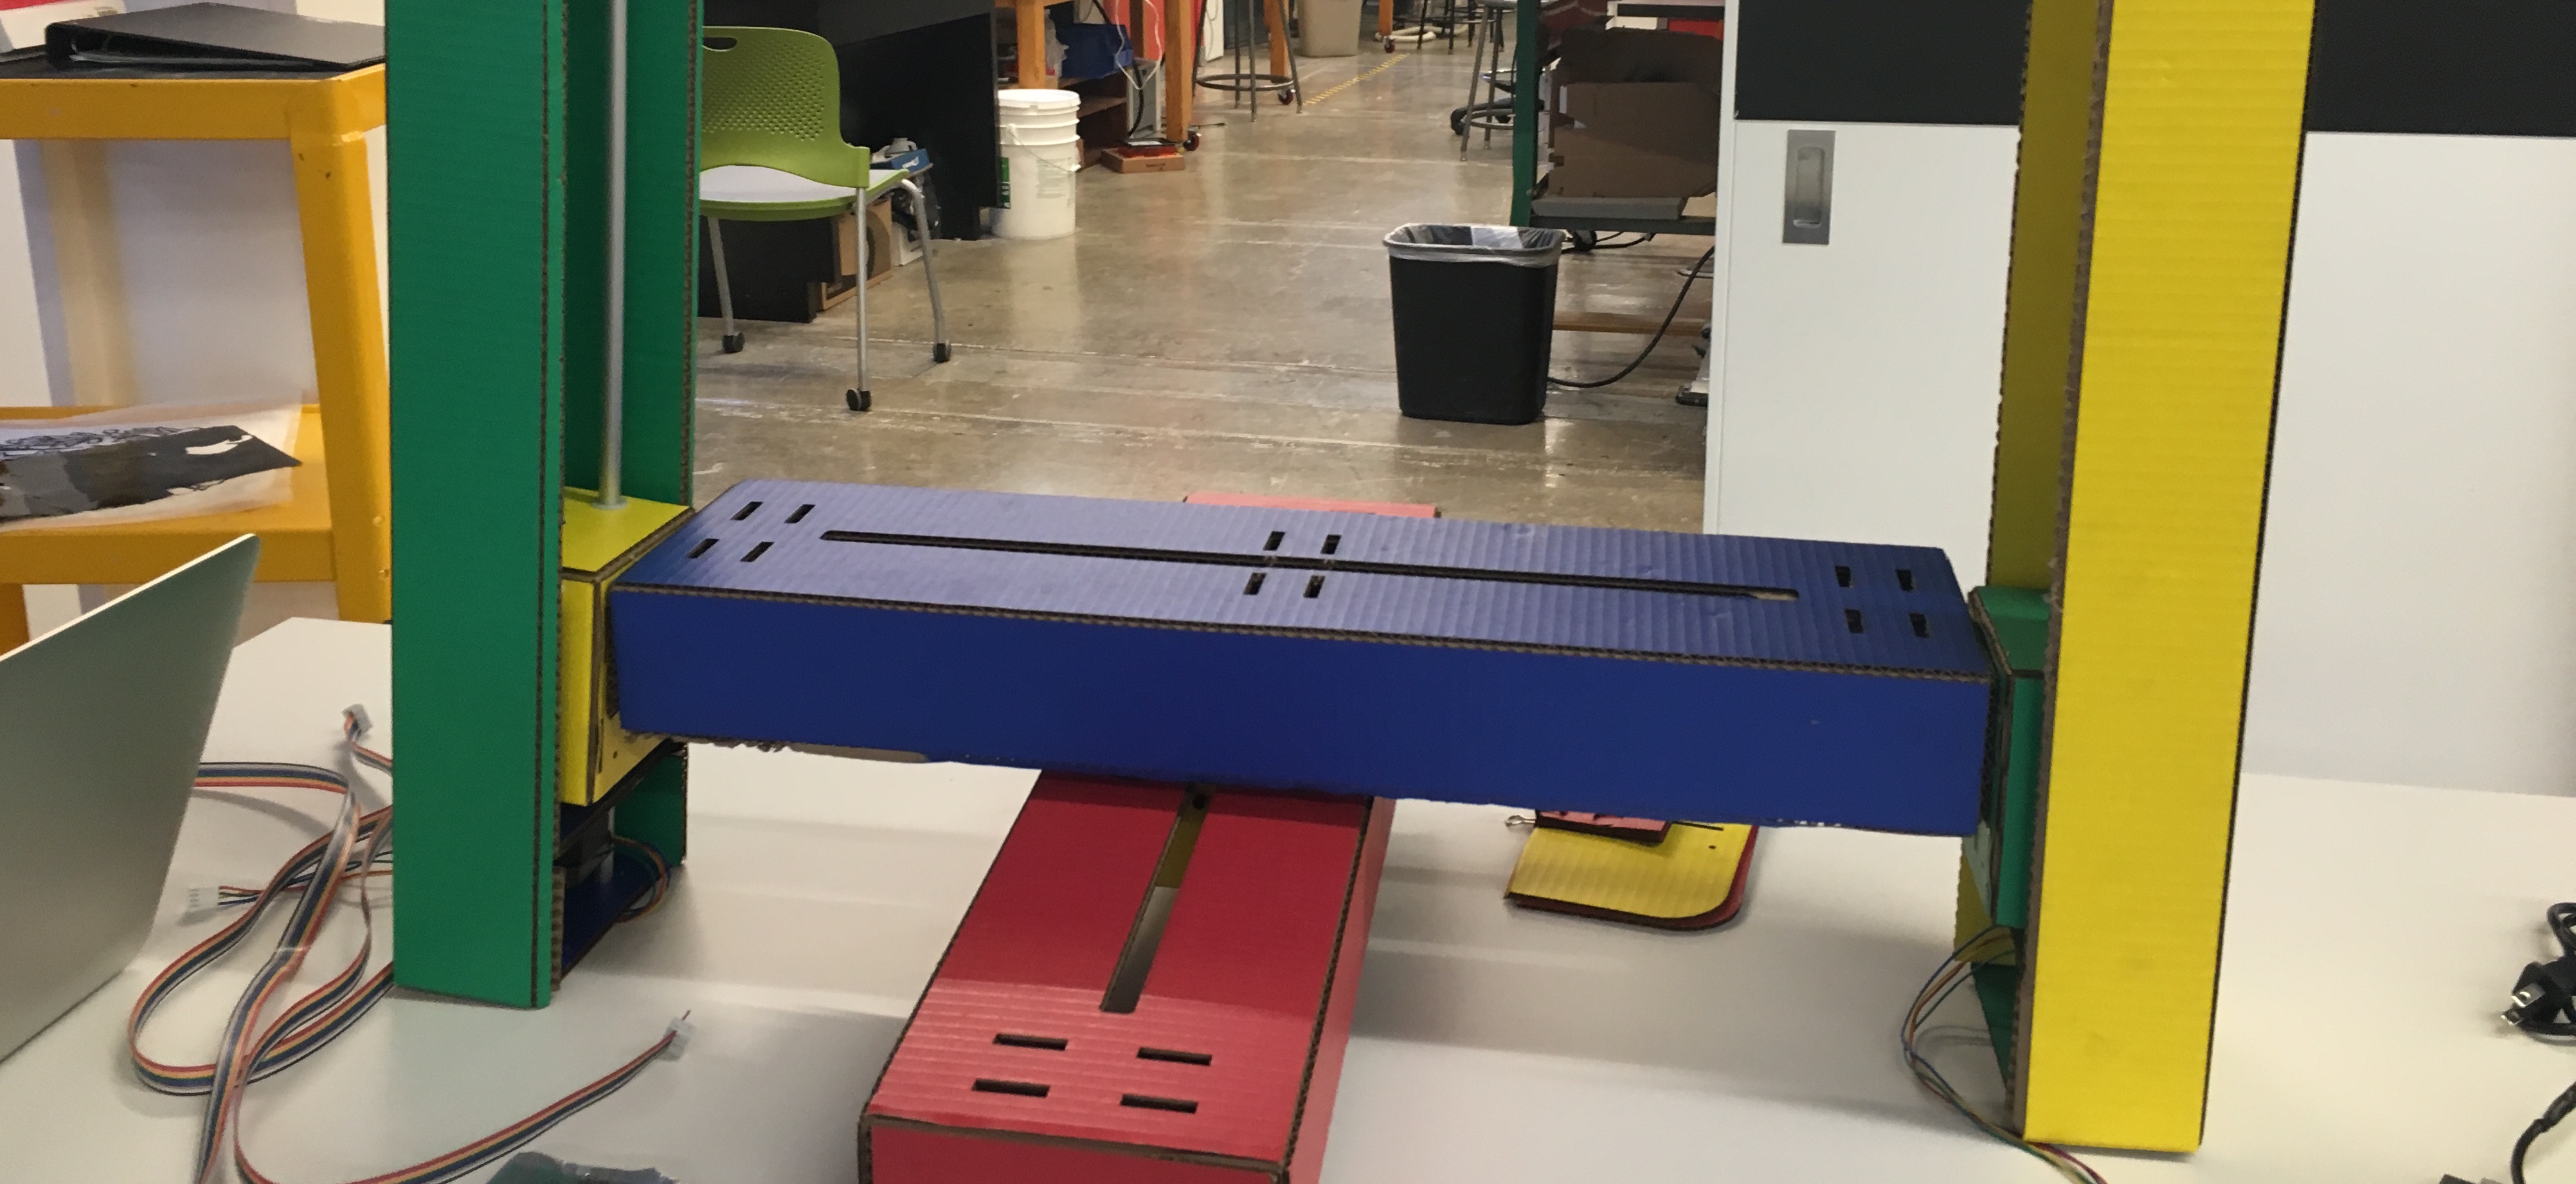
Phase 1: Building the machine
Since this was a group project, other people in the group built the machine using cardboard and laser cutting. The machine was ready!
Phase 2: Getting software ready
This documentation (http://mtm.cba.mit.edu/machines/mods/index.html) was the main source of figuring out what to do.
- First of all, we cloned the gestalt library from git. To get there you go to Control → Download gestalt library (https://github.com/nadya/pygestalt)
- Next, if you don’t have Nodejs (https://nodejs.org/en/), you should download that.
- The main READme file we are using is in Examples → machines → mods → READme
- Then go to the directory where you save the folder and then cd pygestalt-master/examples/machines/mods
- We ran into a few issues with some missing libraries, so make sure you npm init and install the following libraries:
- Npm install ws
- sudo python setup.py install
- sudo pip install pyserial
Phase 3: Hooking up circuits
Now that the software is ready (hopefully), you want to hook up the circuits. We followed this schematic:

Plug in power supply attached to circuit and plug in usb with ribbon cable
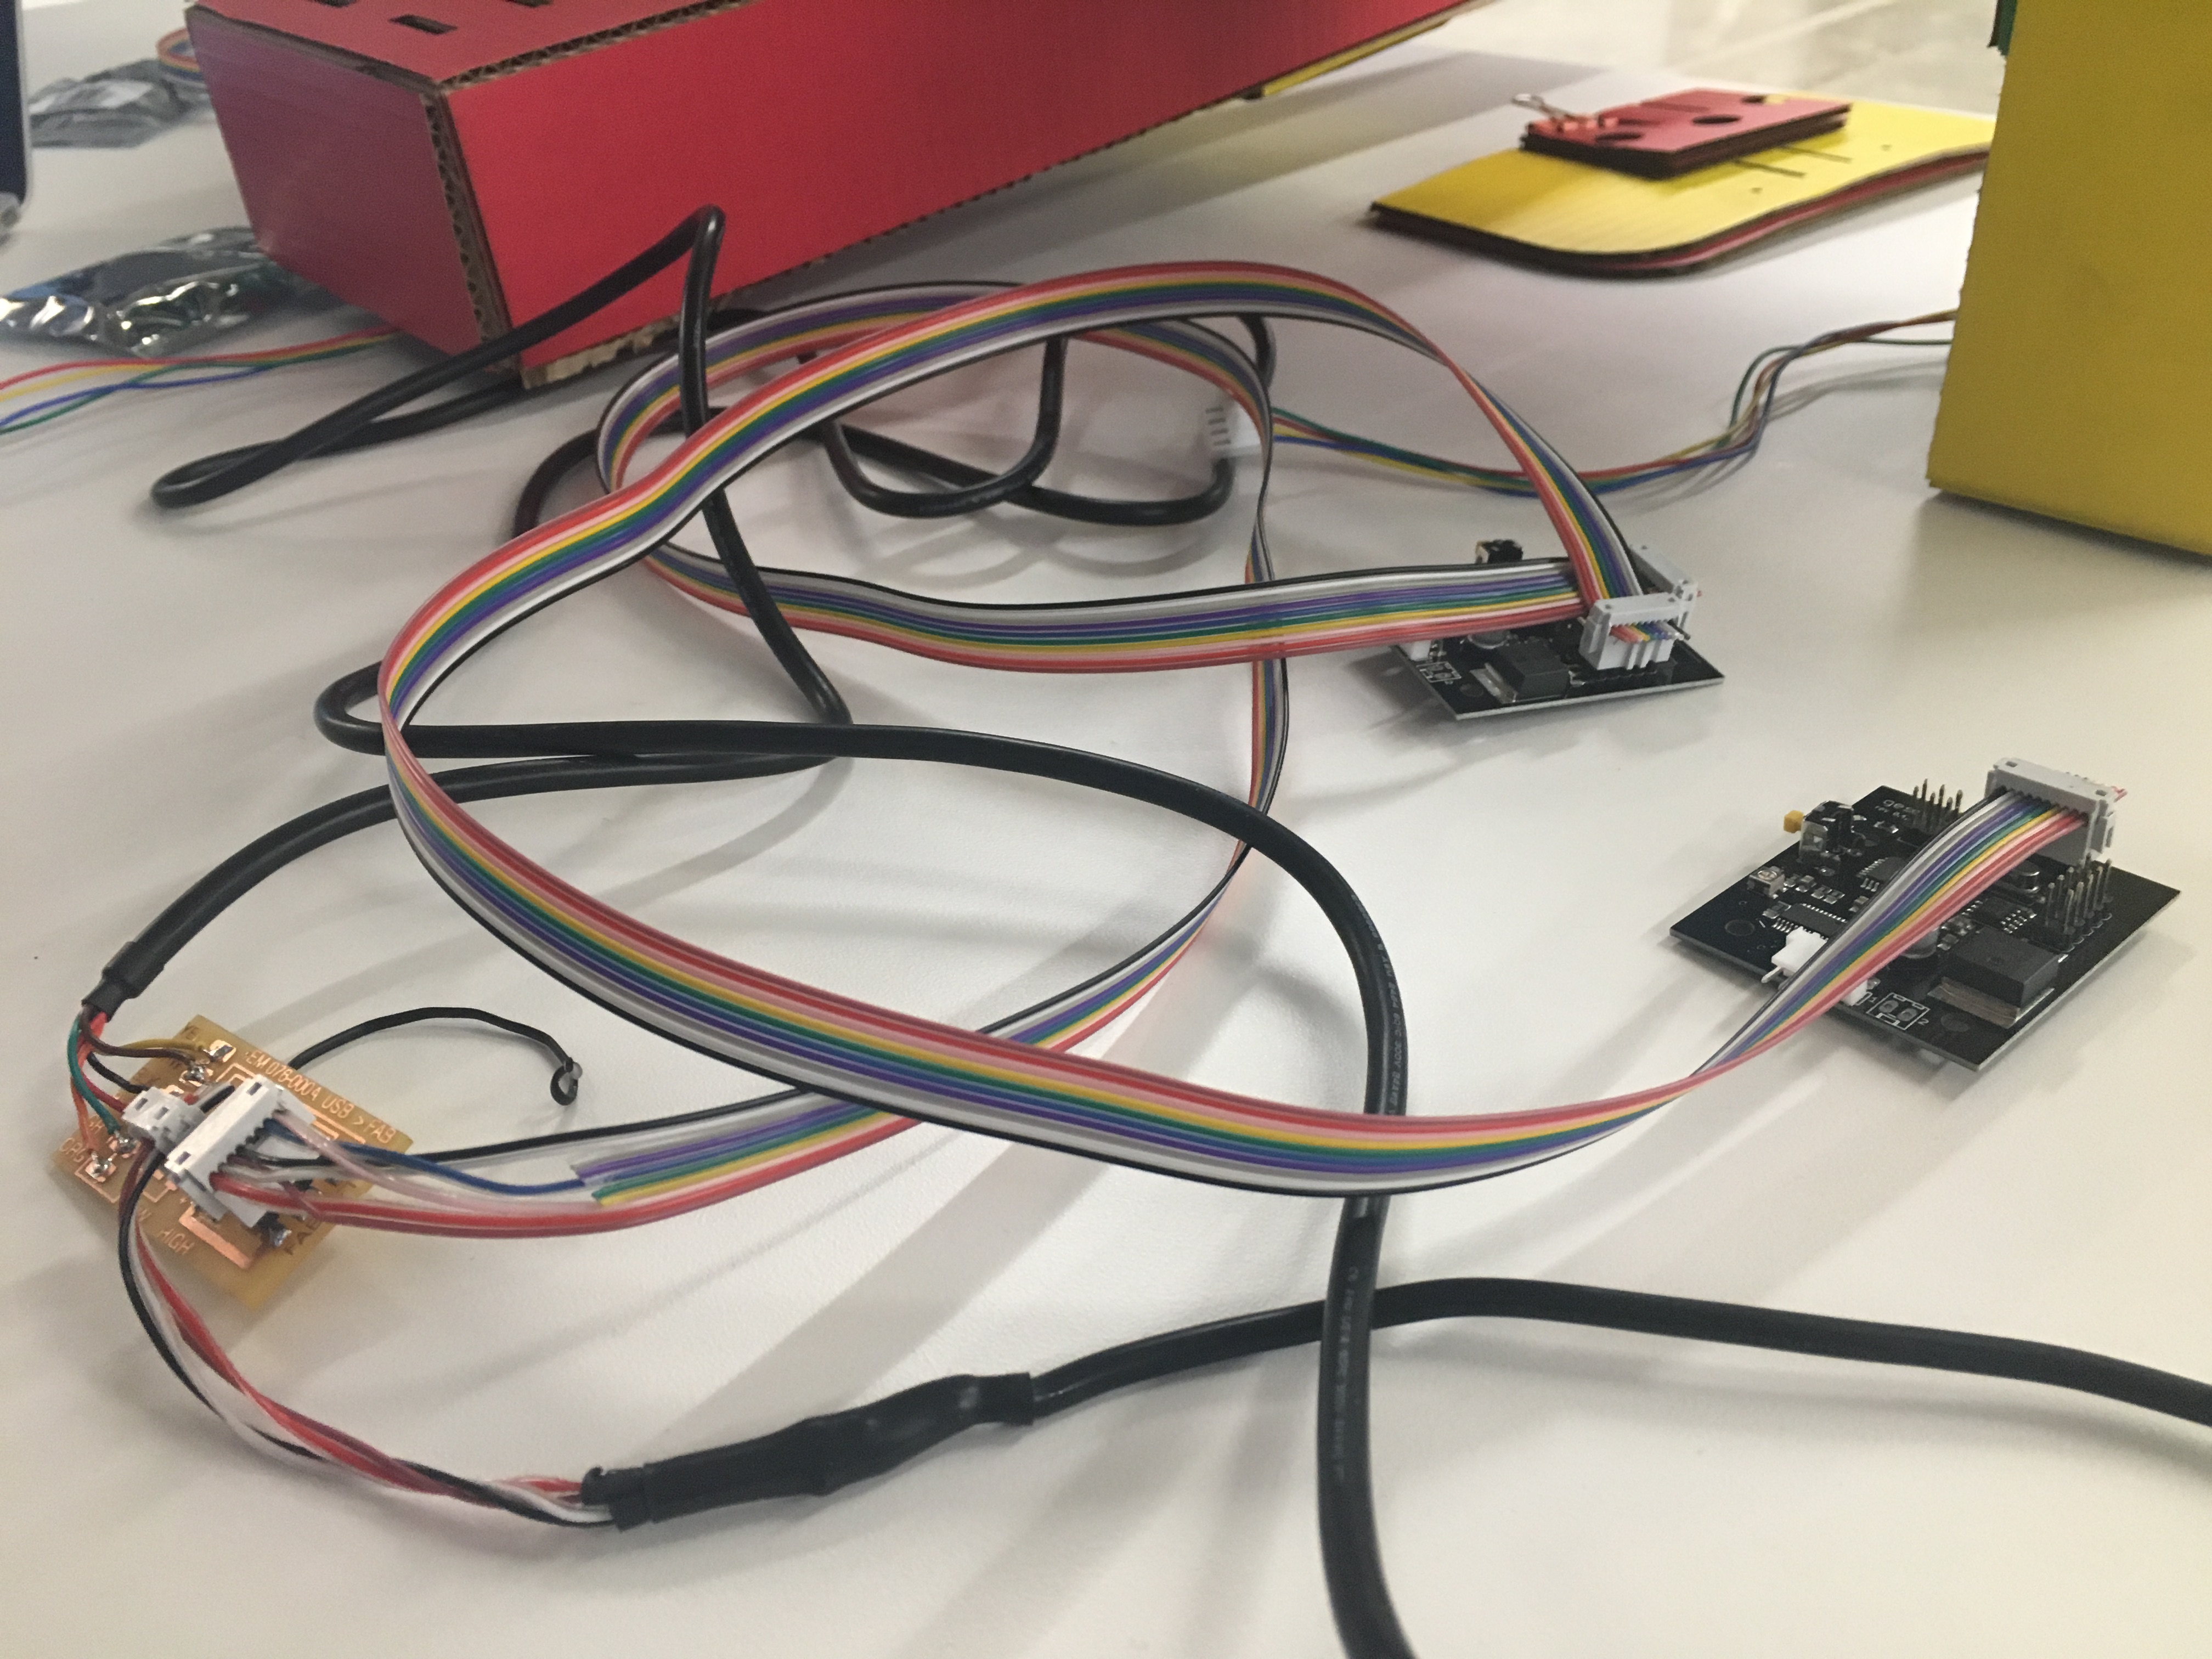
The image above shows everything connected together.Next step and this is important! This led to some issues because it isn’t mentioned in the documentation. You want to find out what your portName is. There is already a default portName, but if you are on a mac, that probably won’t be correct. To figure out the port name, do ls /dev/tty* in the folder. Then you should see a file with ‘usbserial’. If you are not sure what file it is, then you can disconnect the ribbon cable and see which file disappeared.
Now, we have to set that portName. Open up ‘fabnet_xyaxes.py’ and change the default portName. In my case, I had to change it to: portName = '/dev/tty.usbserial-FTZ56Q0P')
Apparently Nadya told us to hotplug stuff - Hot plug is the addition of a component to a running computer system without significant interruption to the operation of the system. So first of all, we have to identifify the PCBs before adding the motors. Run fabnet_xyaxes.py It should then say ‘X Axis: please identify me on the network. Press button on board’ Then press a button the board that you want to be the X axis. Unfortunately, this is where things went wrong for hours. I couldn’t get the board to be recognized when we pressed the button.
I tried getting new ribbon cables, making sure the computer was recognizing the circuit, readjusting cables for hours but nothing worked. Hopefully, the rest of the team can take off from here and get the machines moving!