
Week NINE.
Composites
Main Page
Composites
This week I wanted to connect my work more directly with my final project. One of the components that I will be needing for my final project is a sort of inset | insert that will be intermediary space between the chess component and the copper component. I worked on a 2D and 3D Model of this chess board in Fusion360, and then exported the in a DXF file. Click here for: DXF File

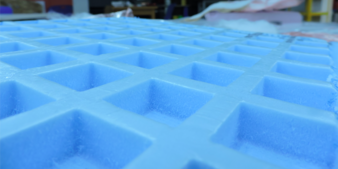
Because my design's dimensions were only 12.5" x 12.5 ", I decided to use the Desktop Shopbot. I uploaded my DXF into Vcarve to create the toolpath for this milling.
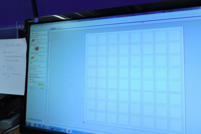
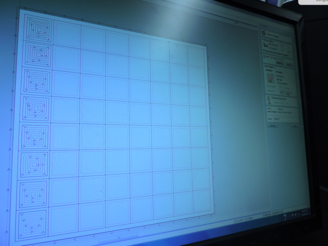
Following my choosing of specifics for the 1/4" bit, thickness of the material (2"), and placement of my origin, I used Pocket Toolpath to create insets for the chess board, with a depth of .5".
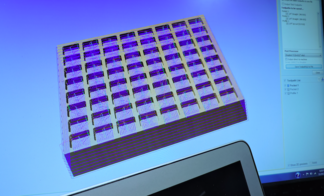
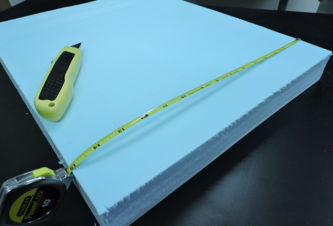
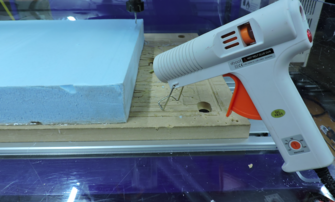
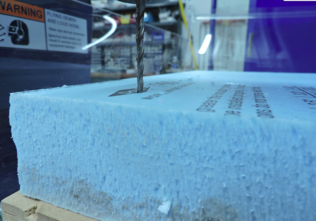
I measured out a piece of styrofoam slightly larger than what I needed, just in case I needed some room to test. -See the multiple fails using MDX20- Nevertheless, there was no problem. Instead of creating a toolpath for the outside of this piece, in being the depth of the styrofoam, I forgot to take into account the size of the collet. Nevertheless, I set up the Shopbot and the appropriate bit and milled this piece to represent the inset of what will be my chess board.

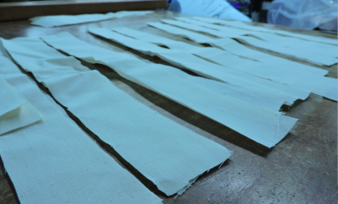
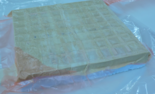
In considering how I the strips of cloth would fit within the molds, I thought the weight of the expoxy on a lighter fabric might be enough to make a somewhat deep indentation. I also thought that perhaps using strips might offer easier application to at least some of the wells.
I ultimately used two layers of cloth over a release layer and then a performated layer over the compositry. A layer of cotton over all of that, placement into a huge vacuum bag, removal of air via vacuum cleaner, and then a waiting period for the epoxy and linen to cure.
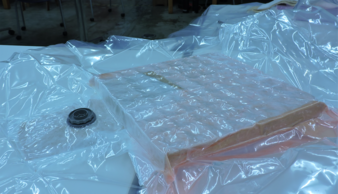
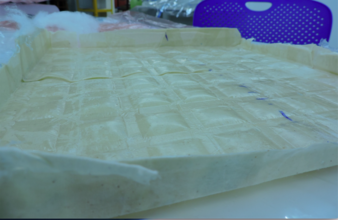
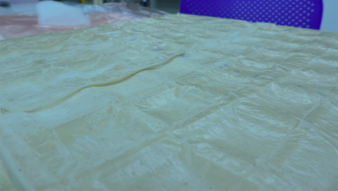
As you might imagine, this will not be used in my final project. Perhaps an interesting texture that I repurpose somewhere downt the line.