PROCESS
THIS IS HOW I GOT THERE
↓
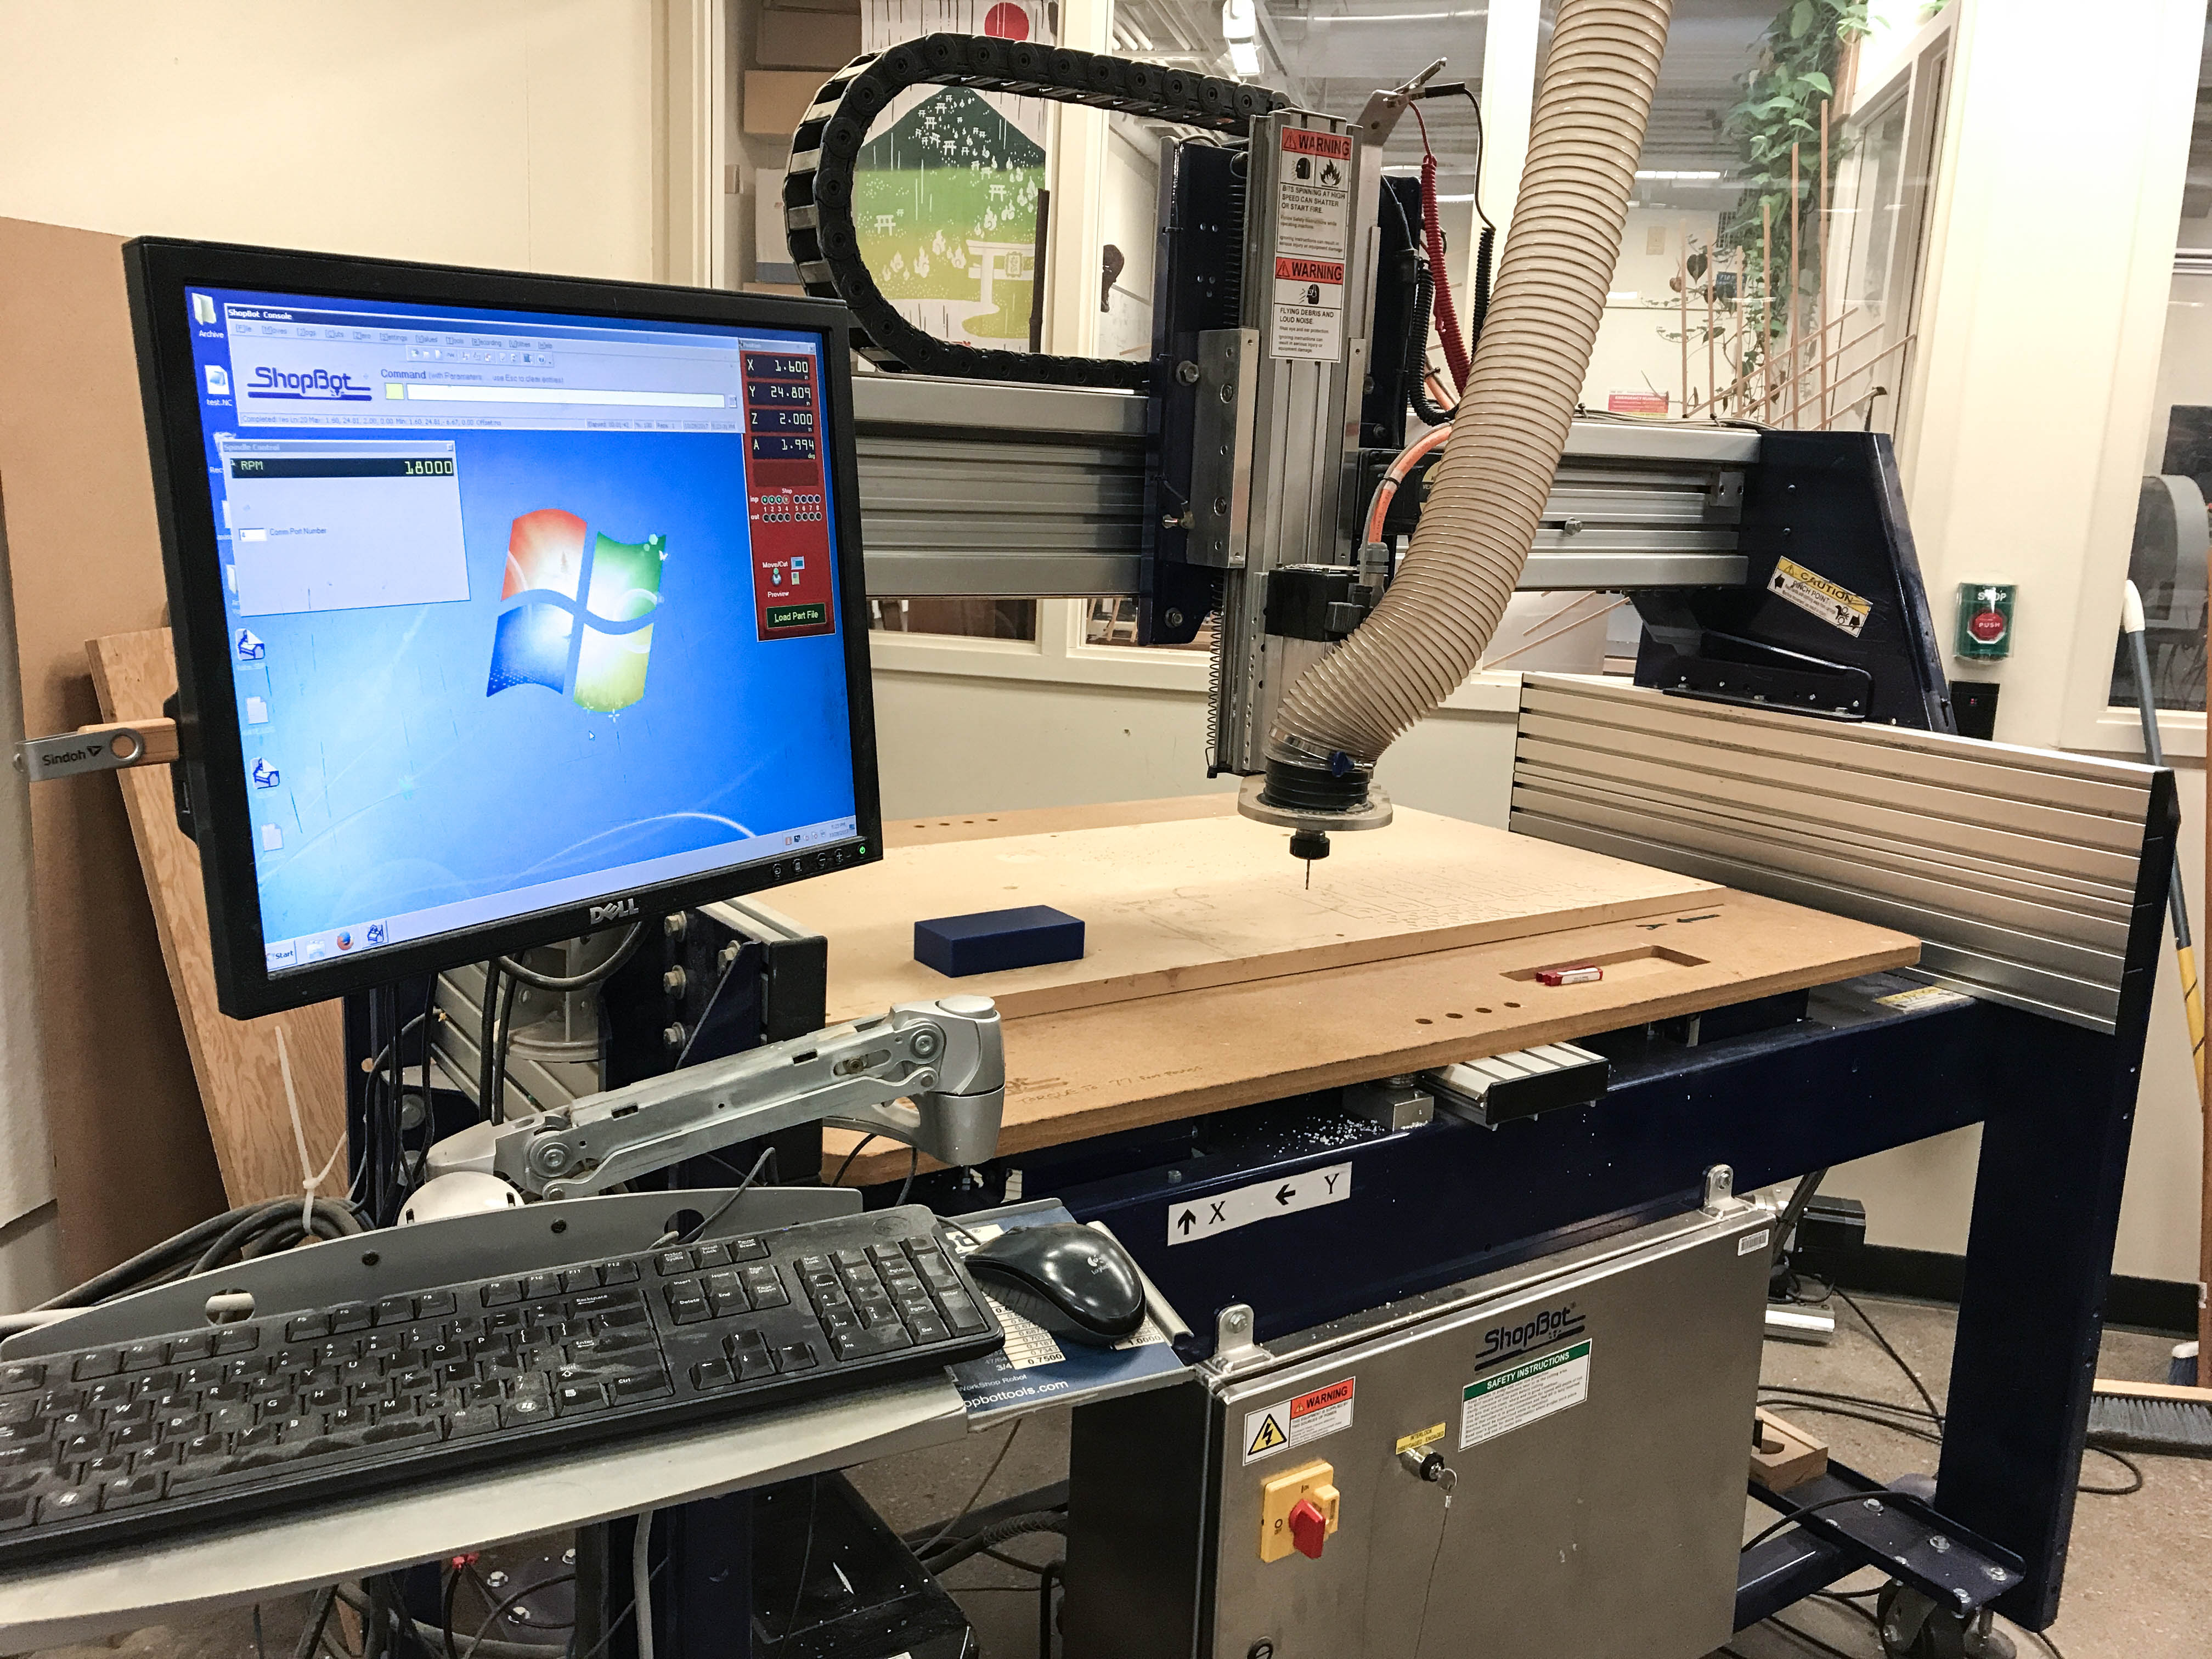
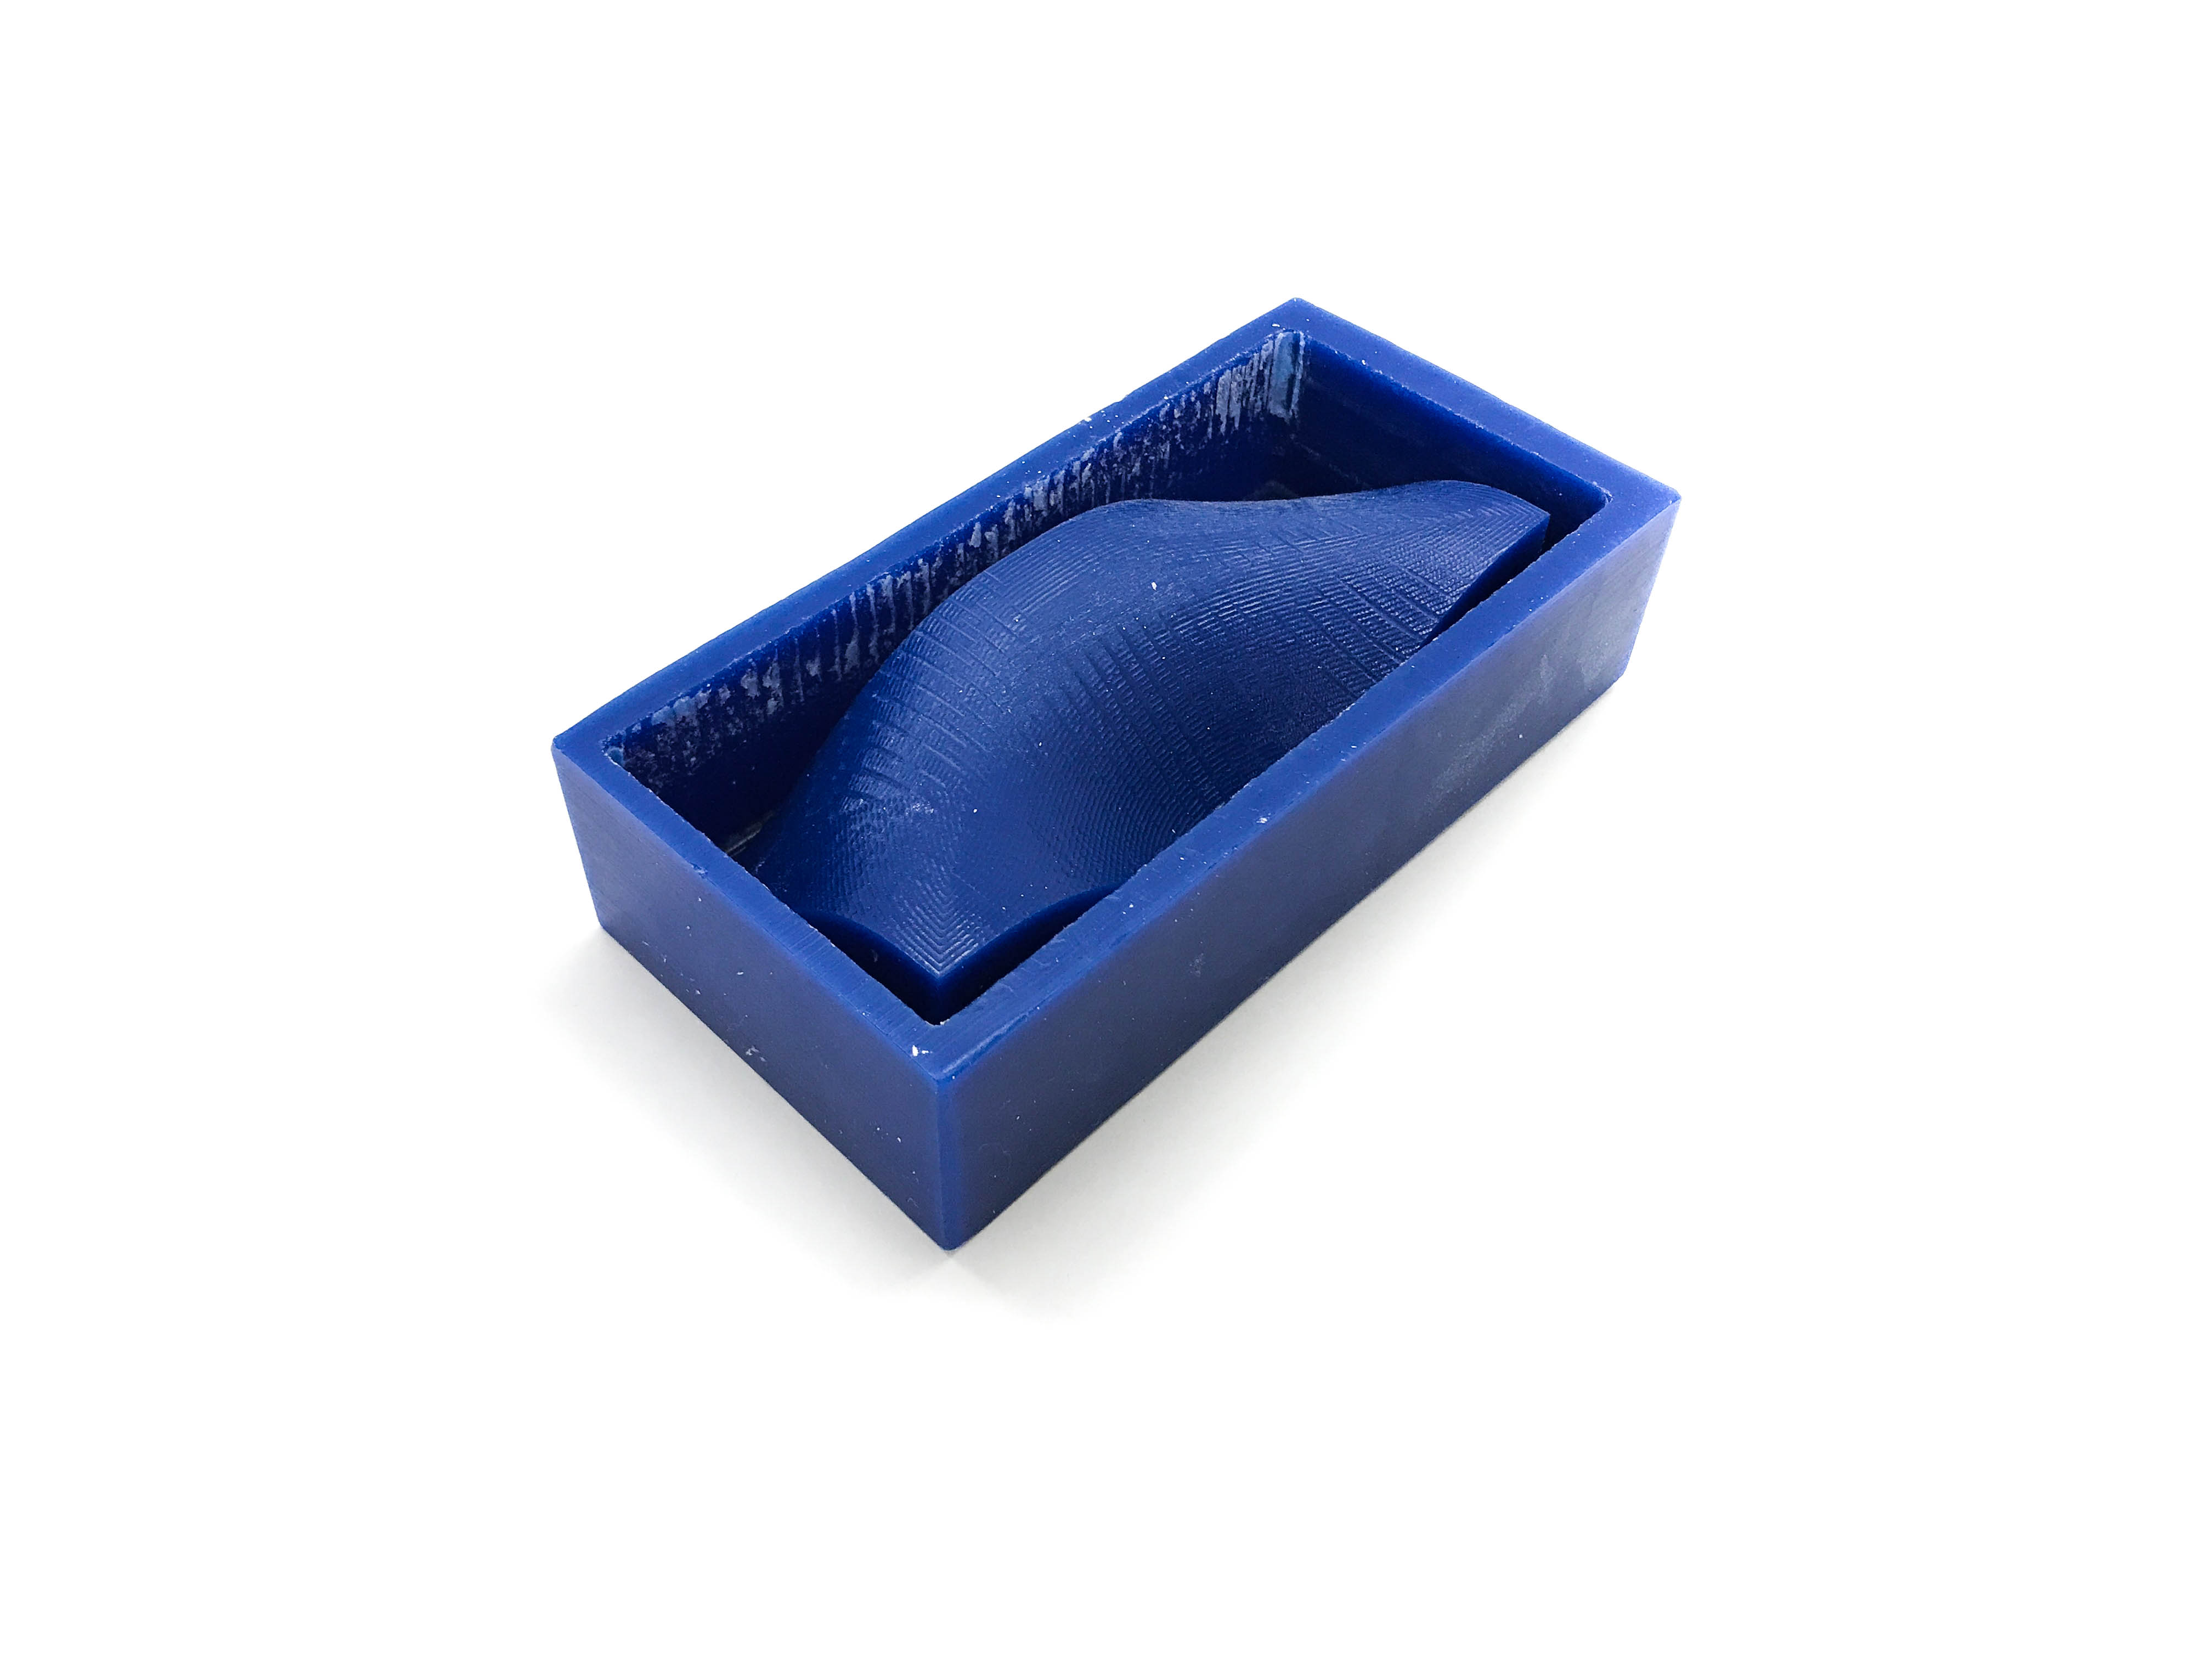
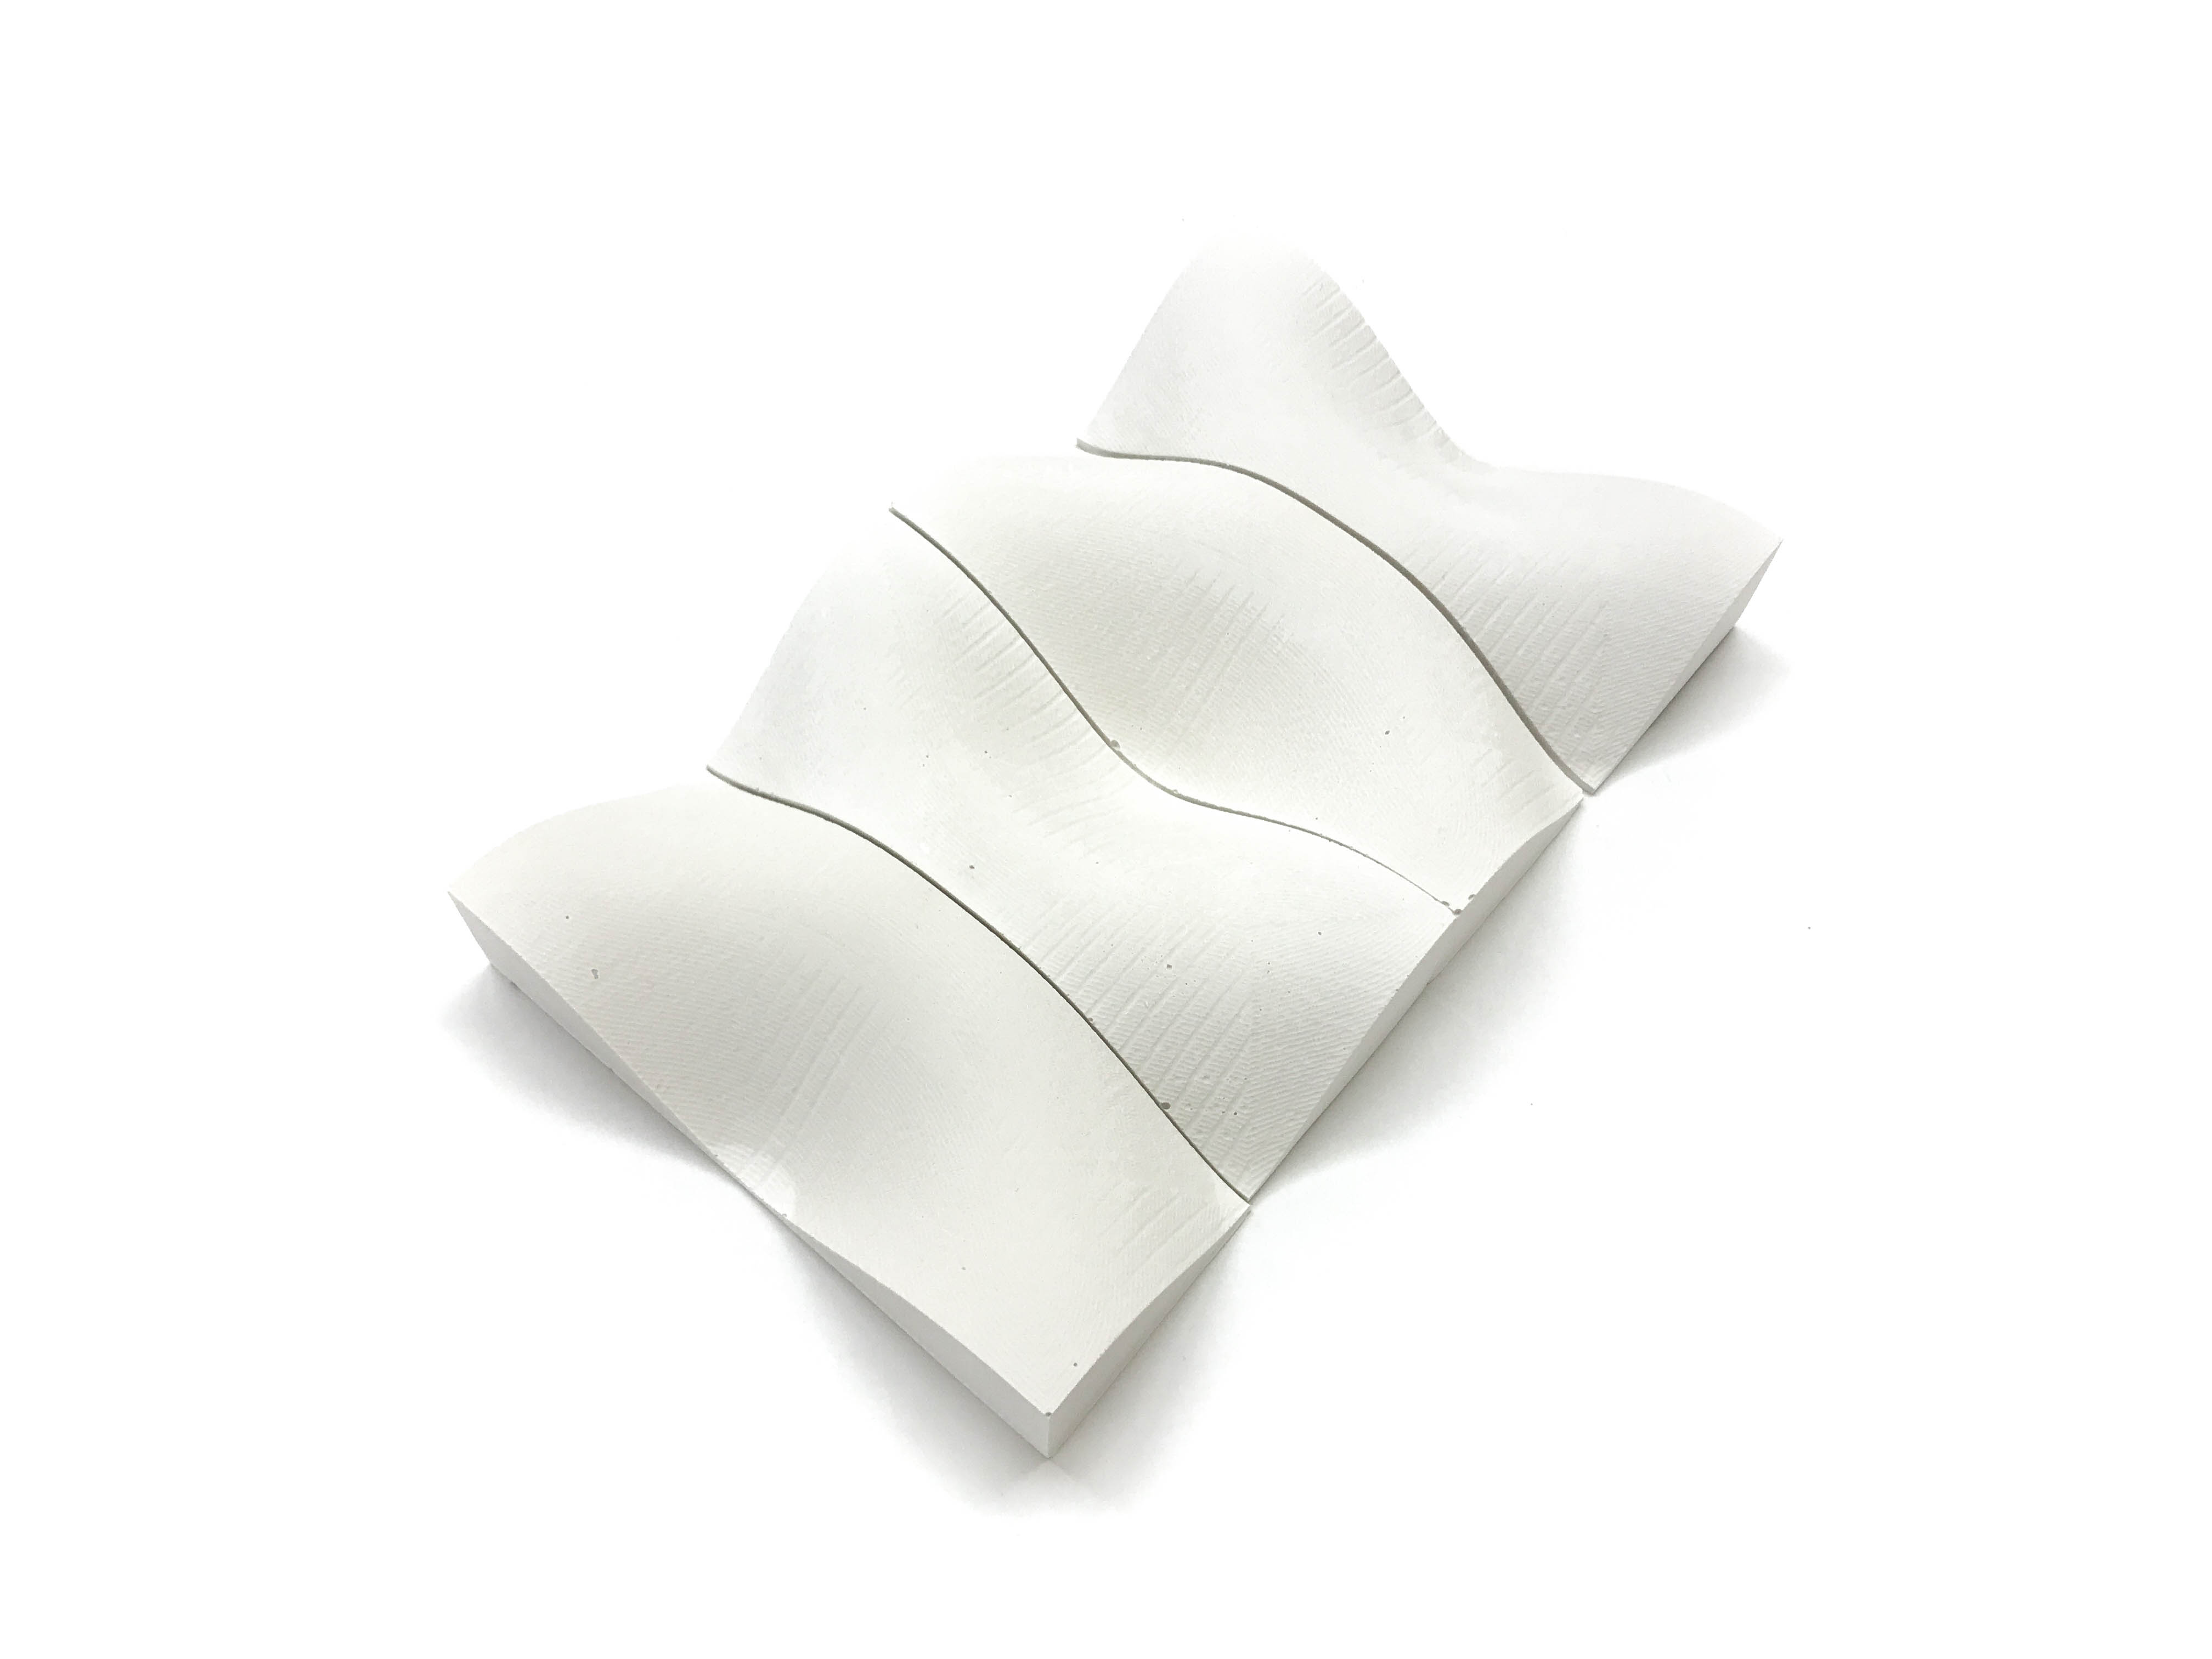
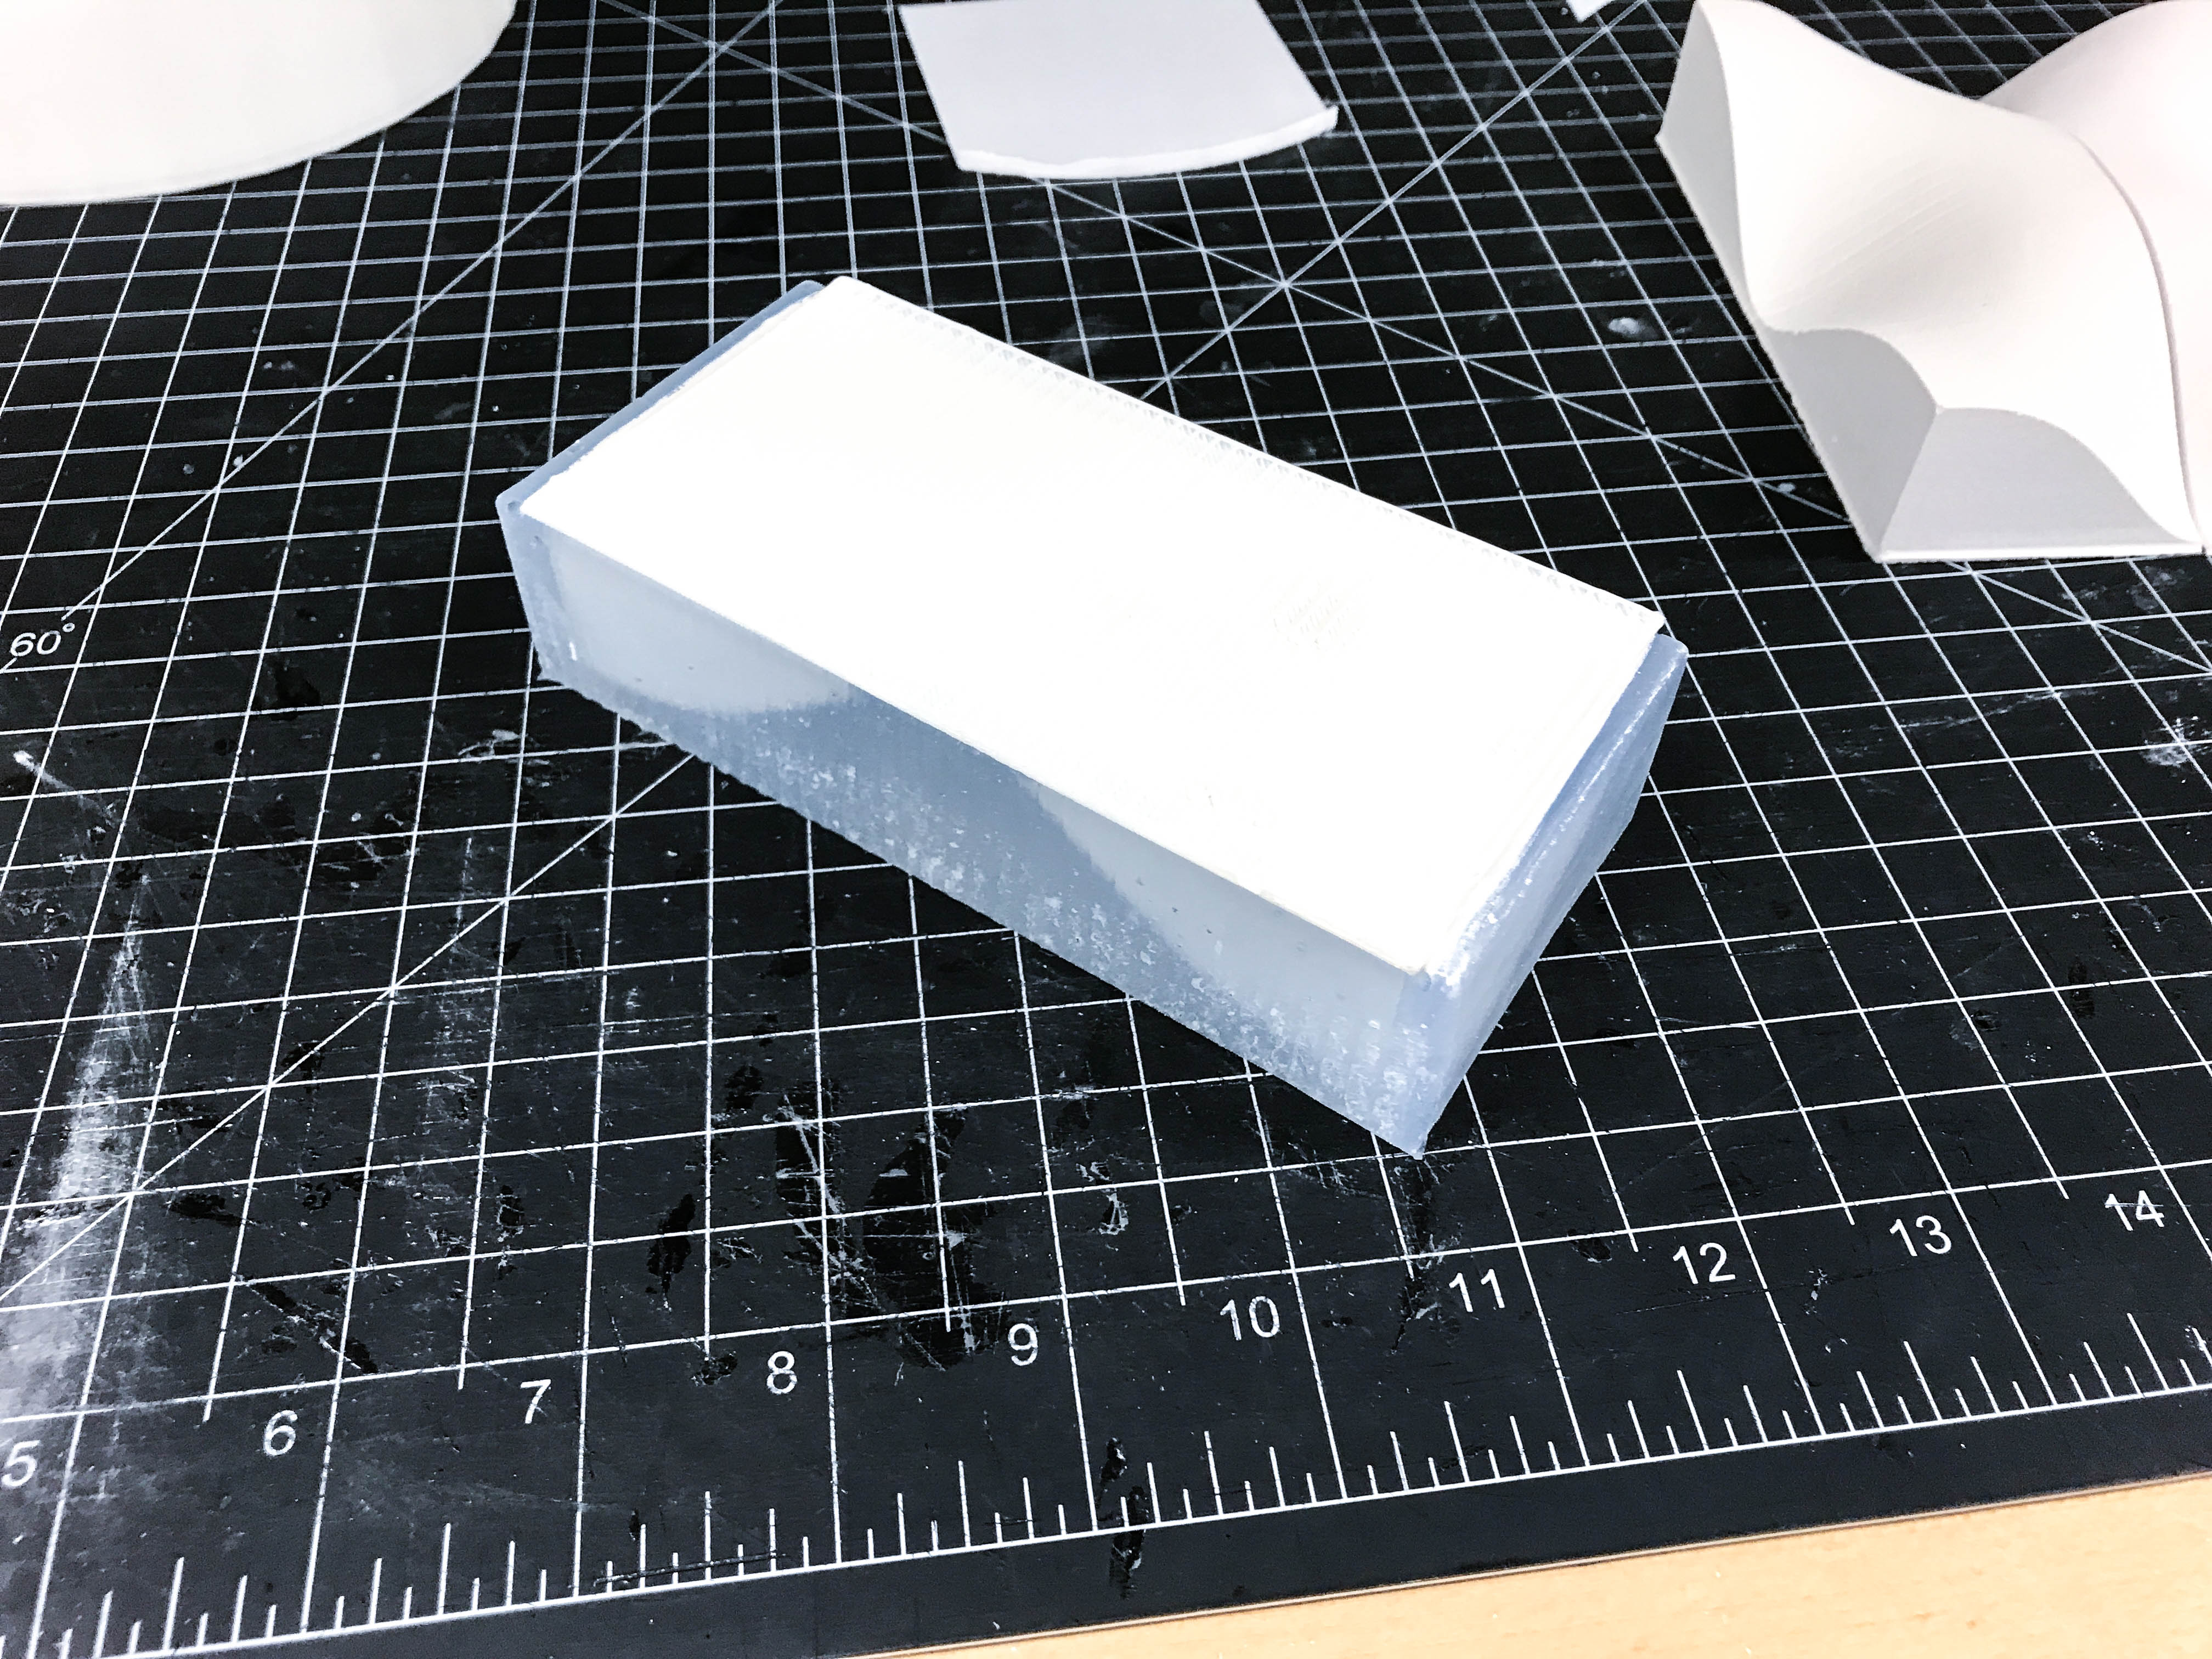
I first started out by modeling the positive object in Rhino. With Calvin's help, I then created a three axis mastercam toolpath for the Shopbot. The mill took around an hour because I used a 1/8" round end mill. The rounded bit made the surface much smoother than the flat bit, though the edges and corner became slightly rounded.
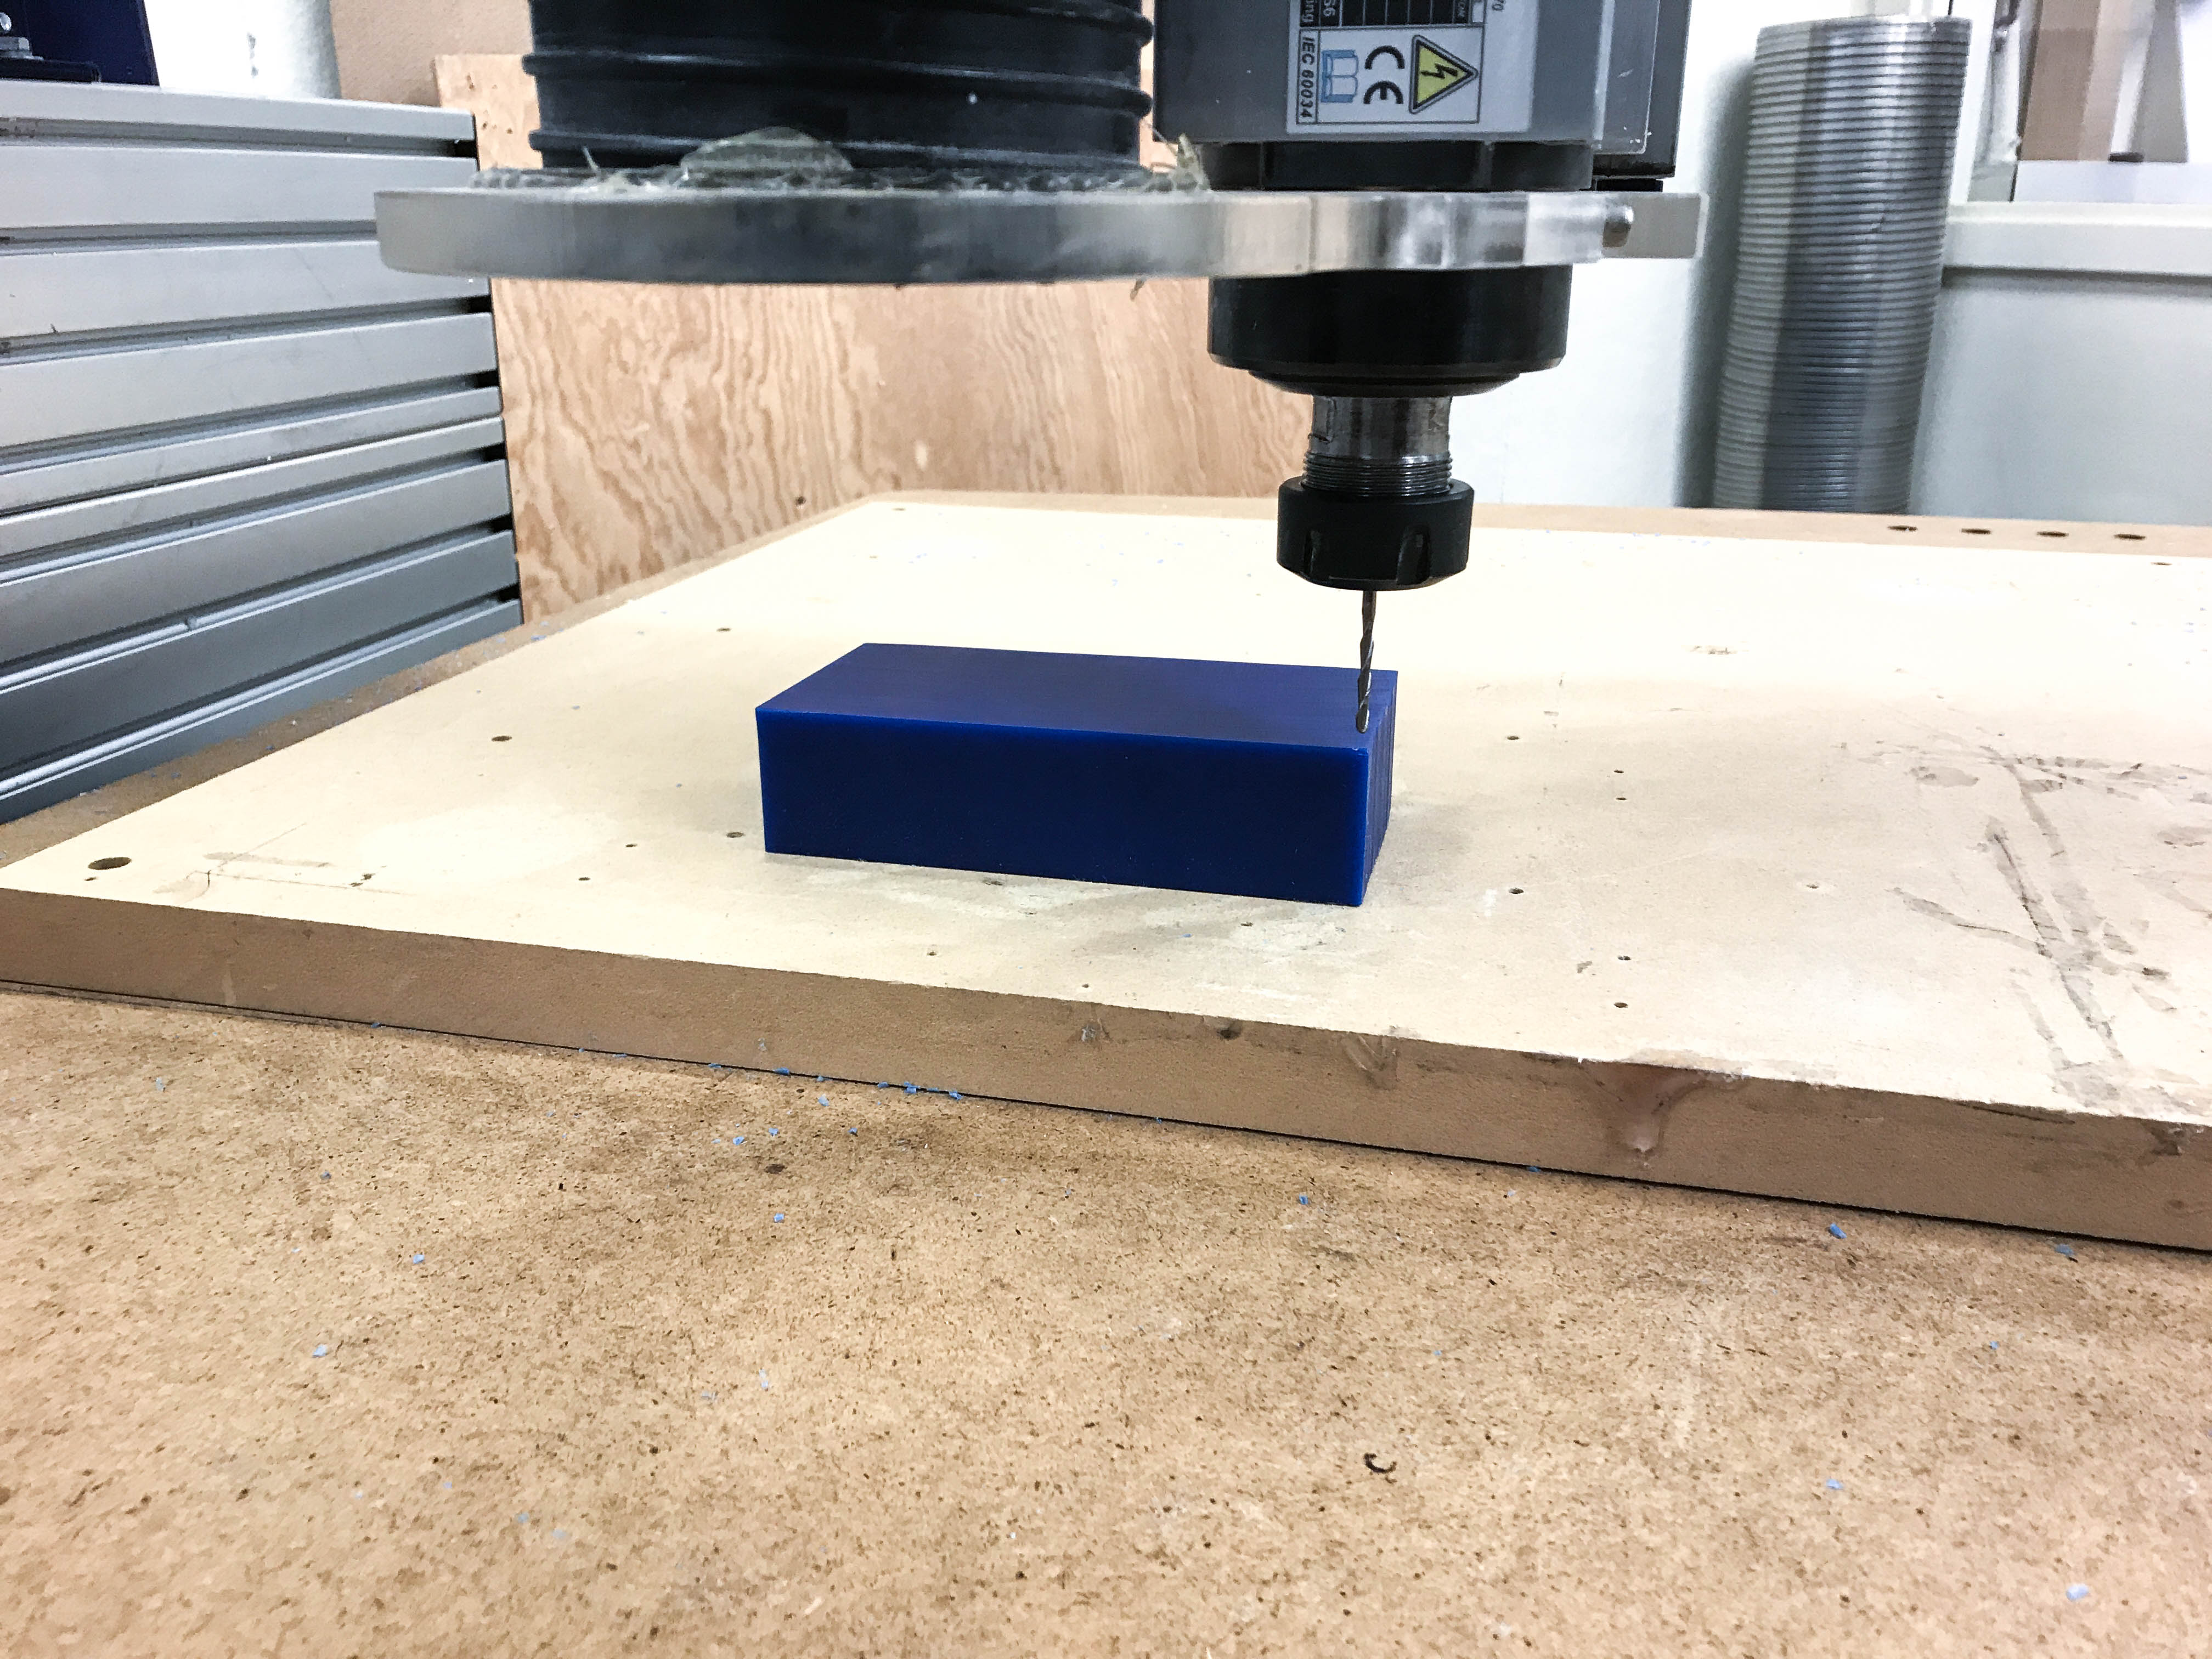
I then set up the Shopbot before starting my mill. The wax block was hot glued to the sacrificial layer, then the origin was set to the bottom right corner of the block.
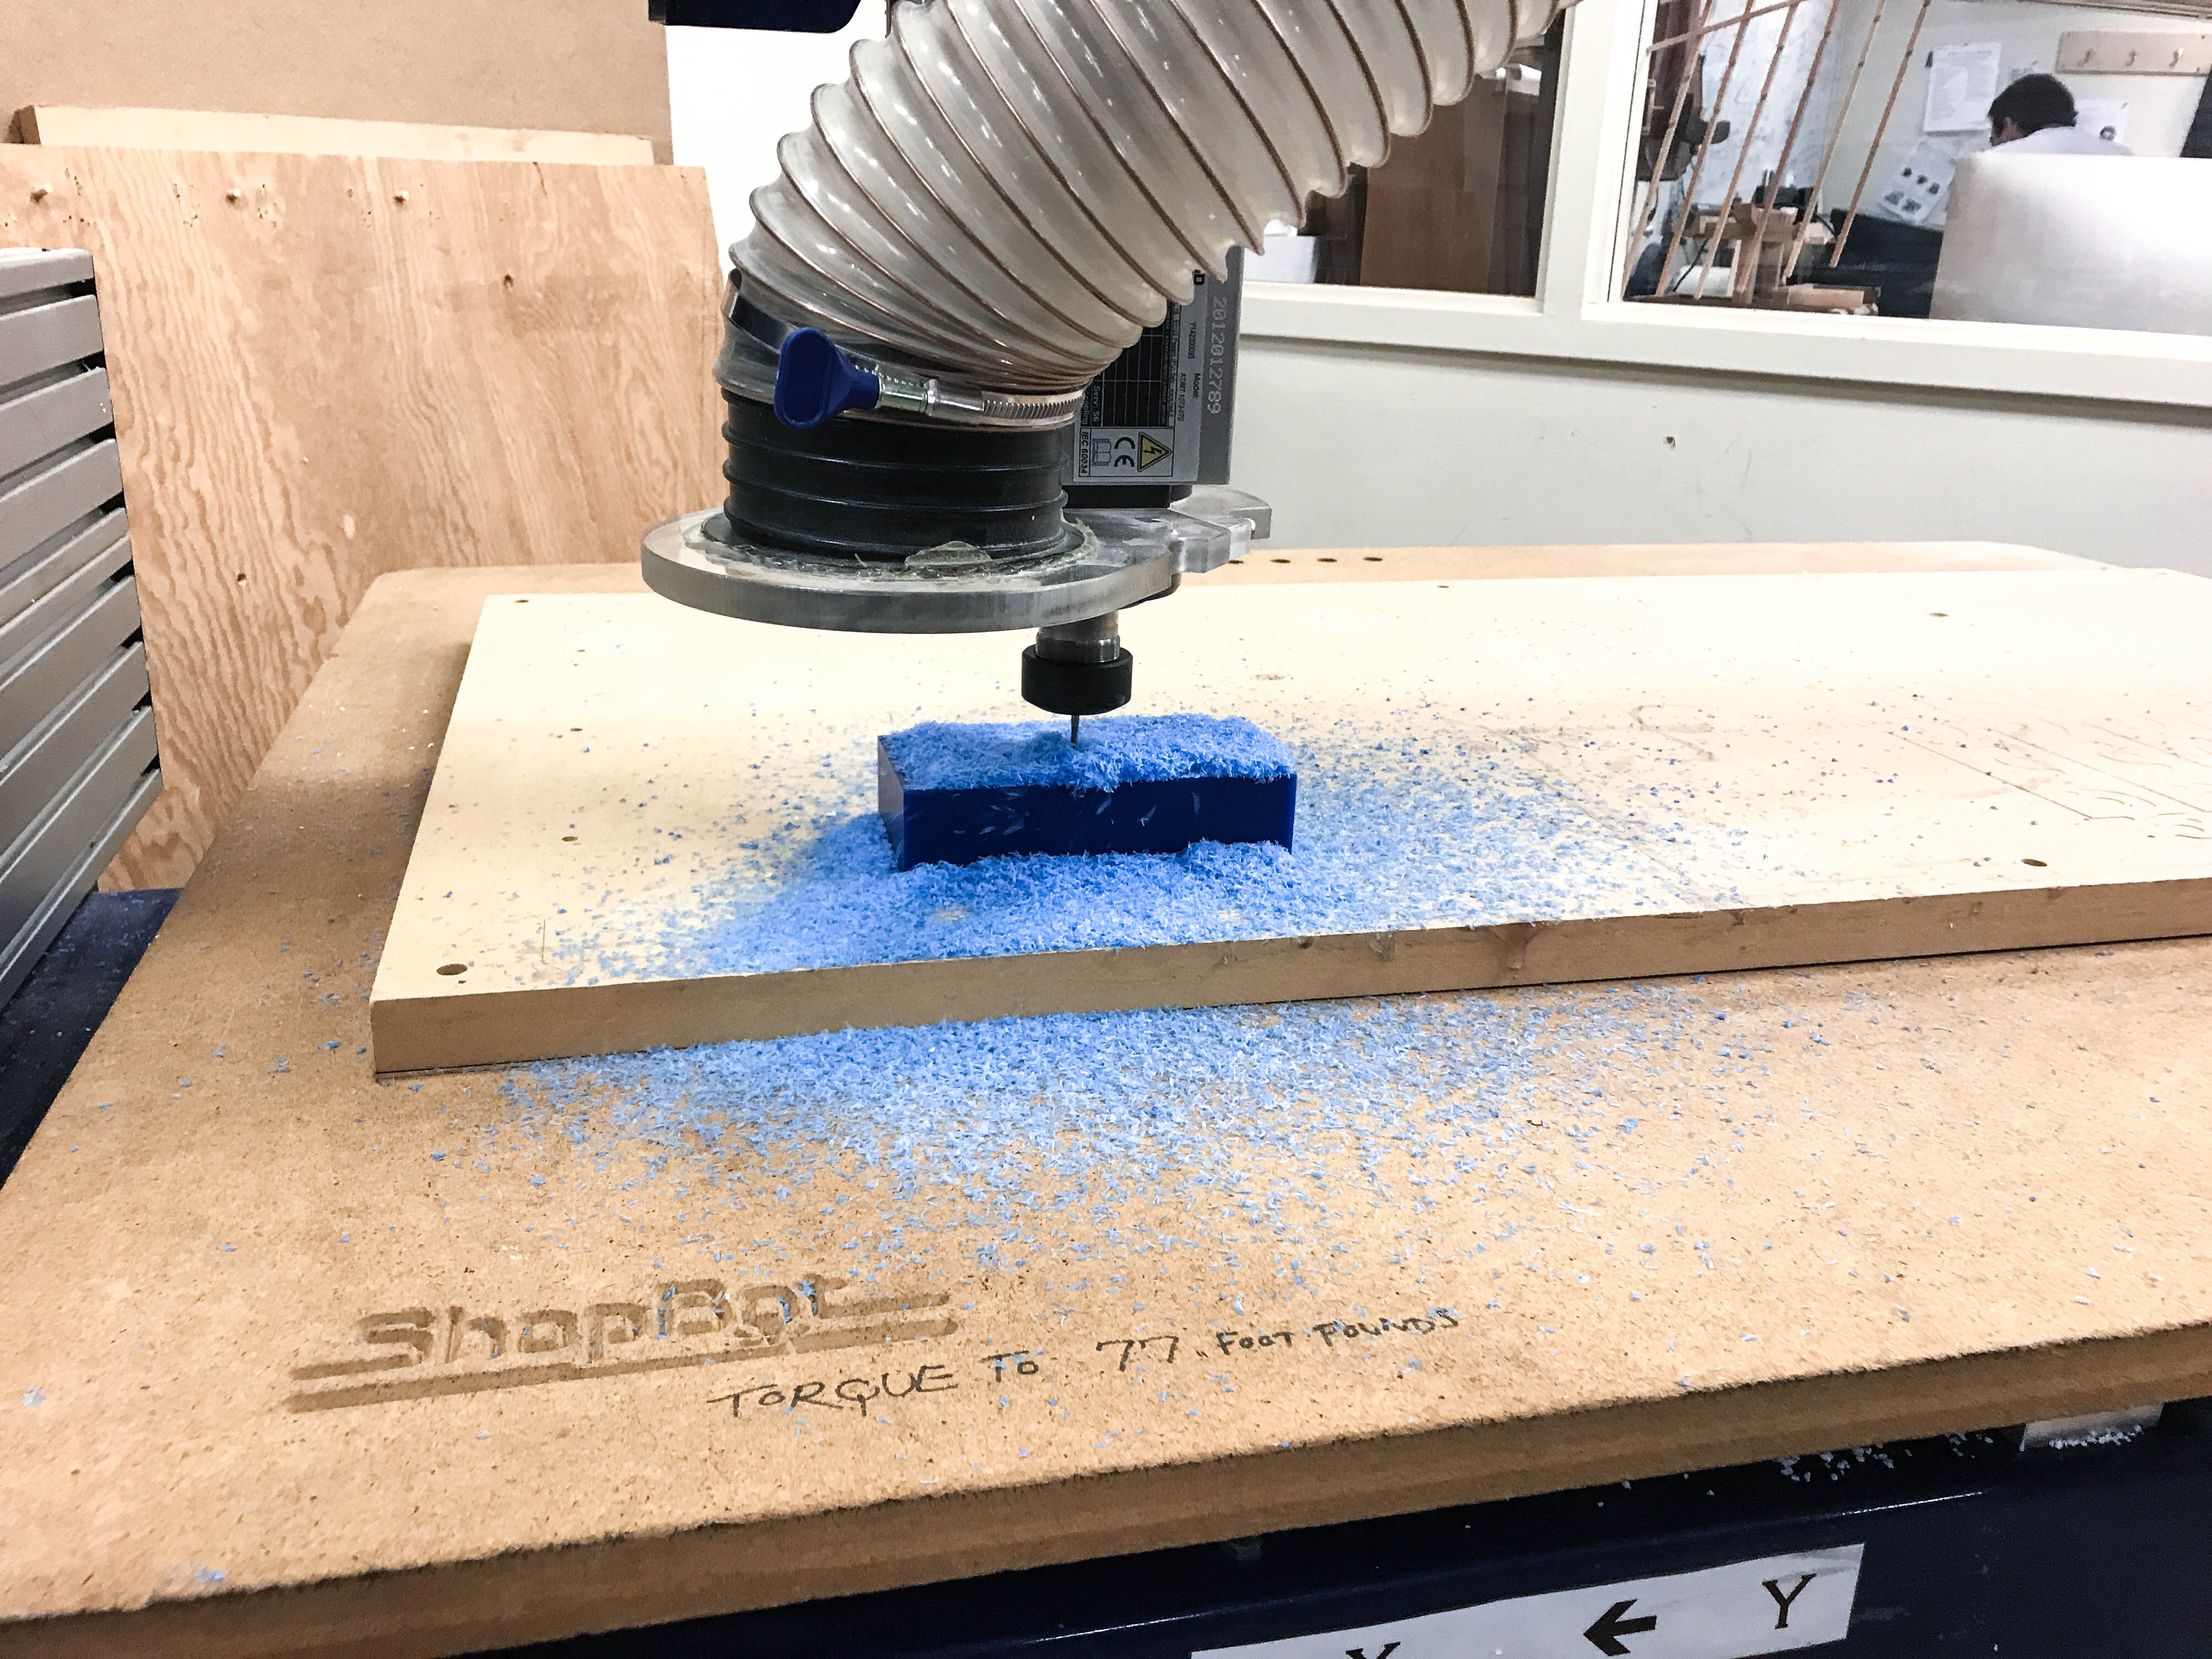
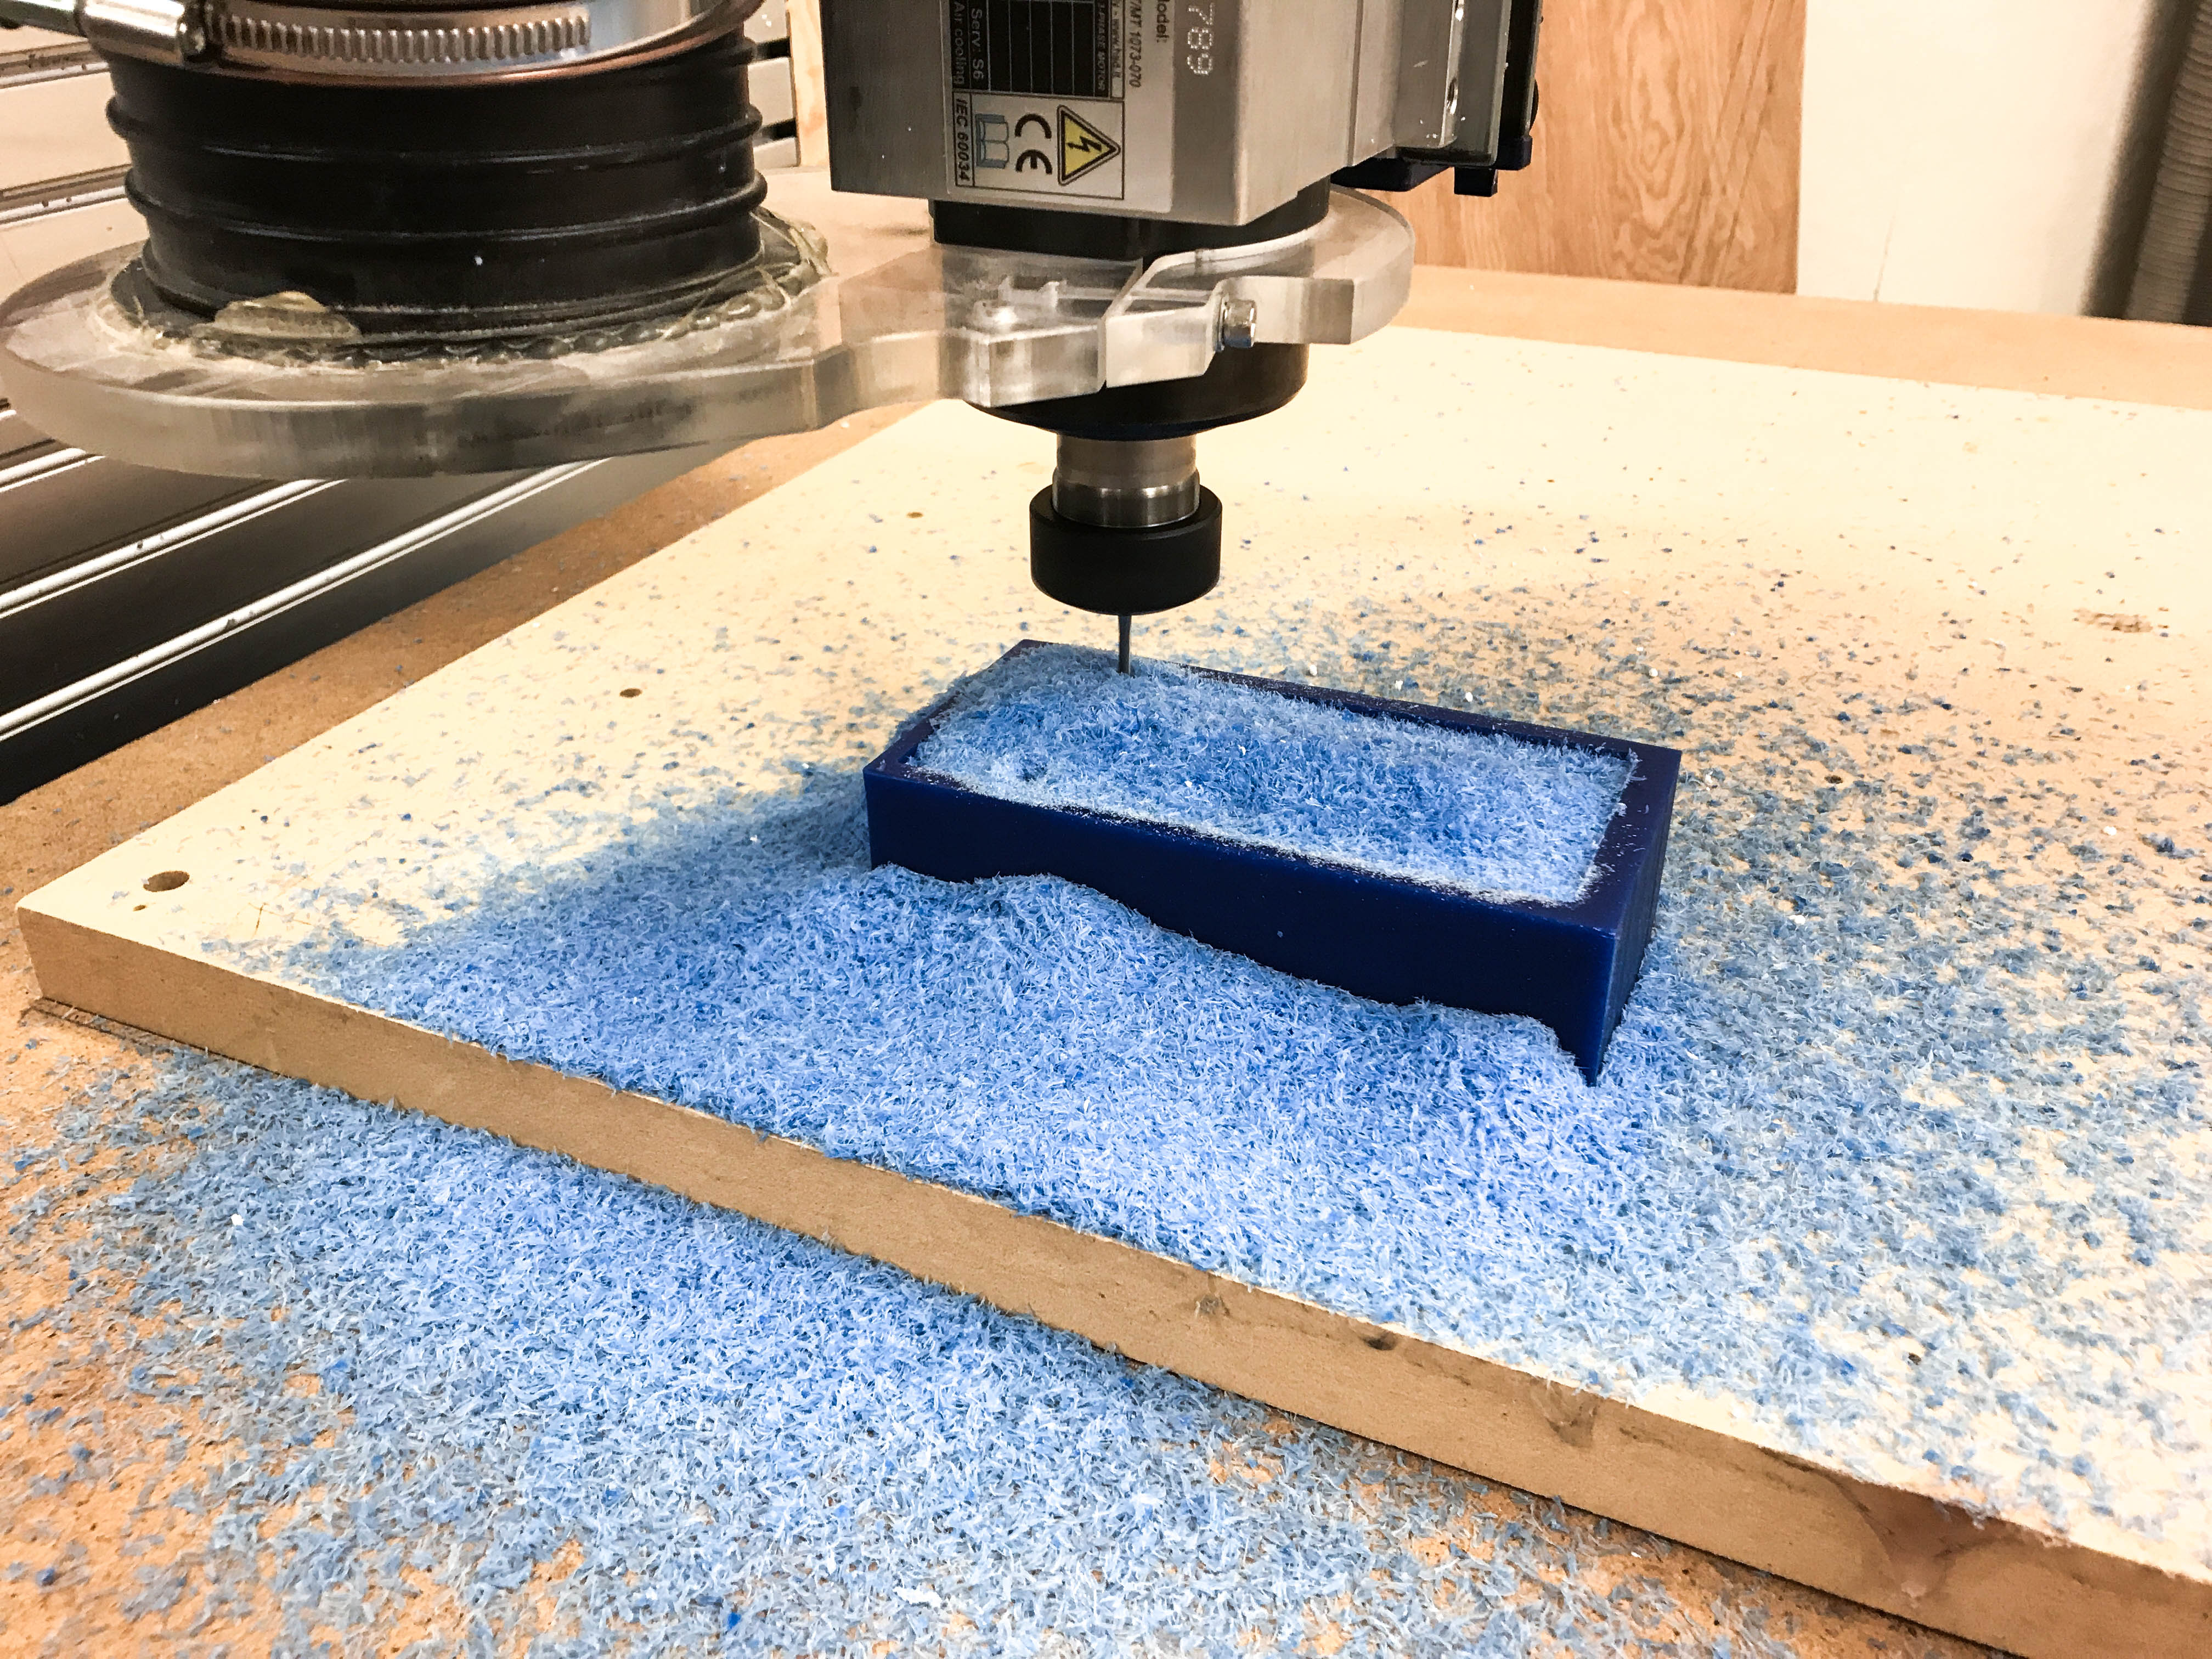
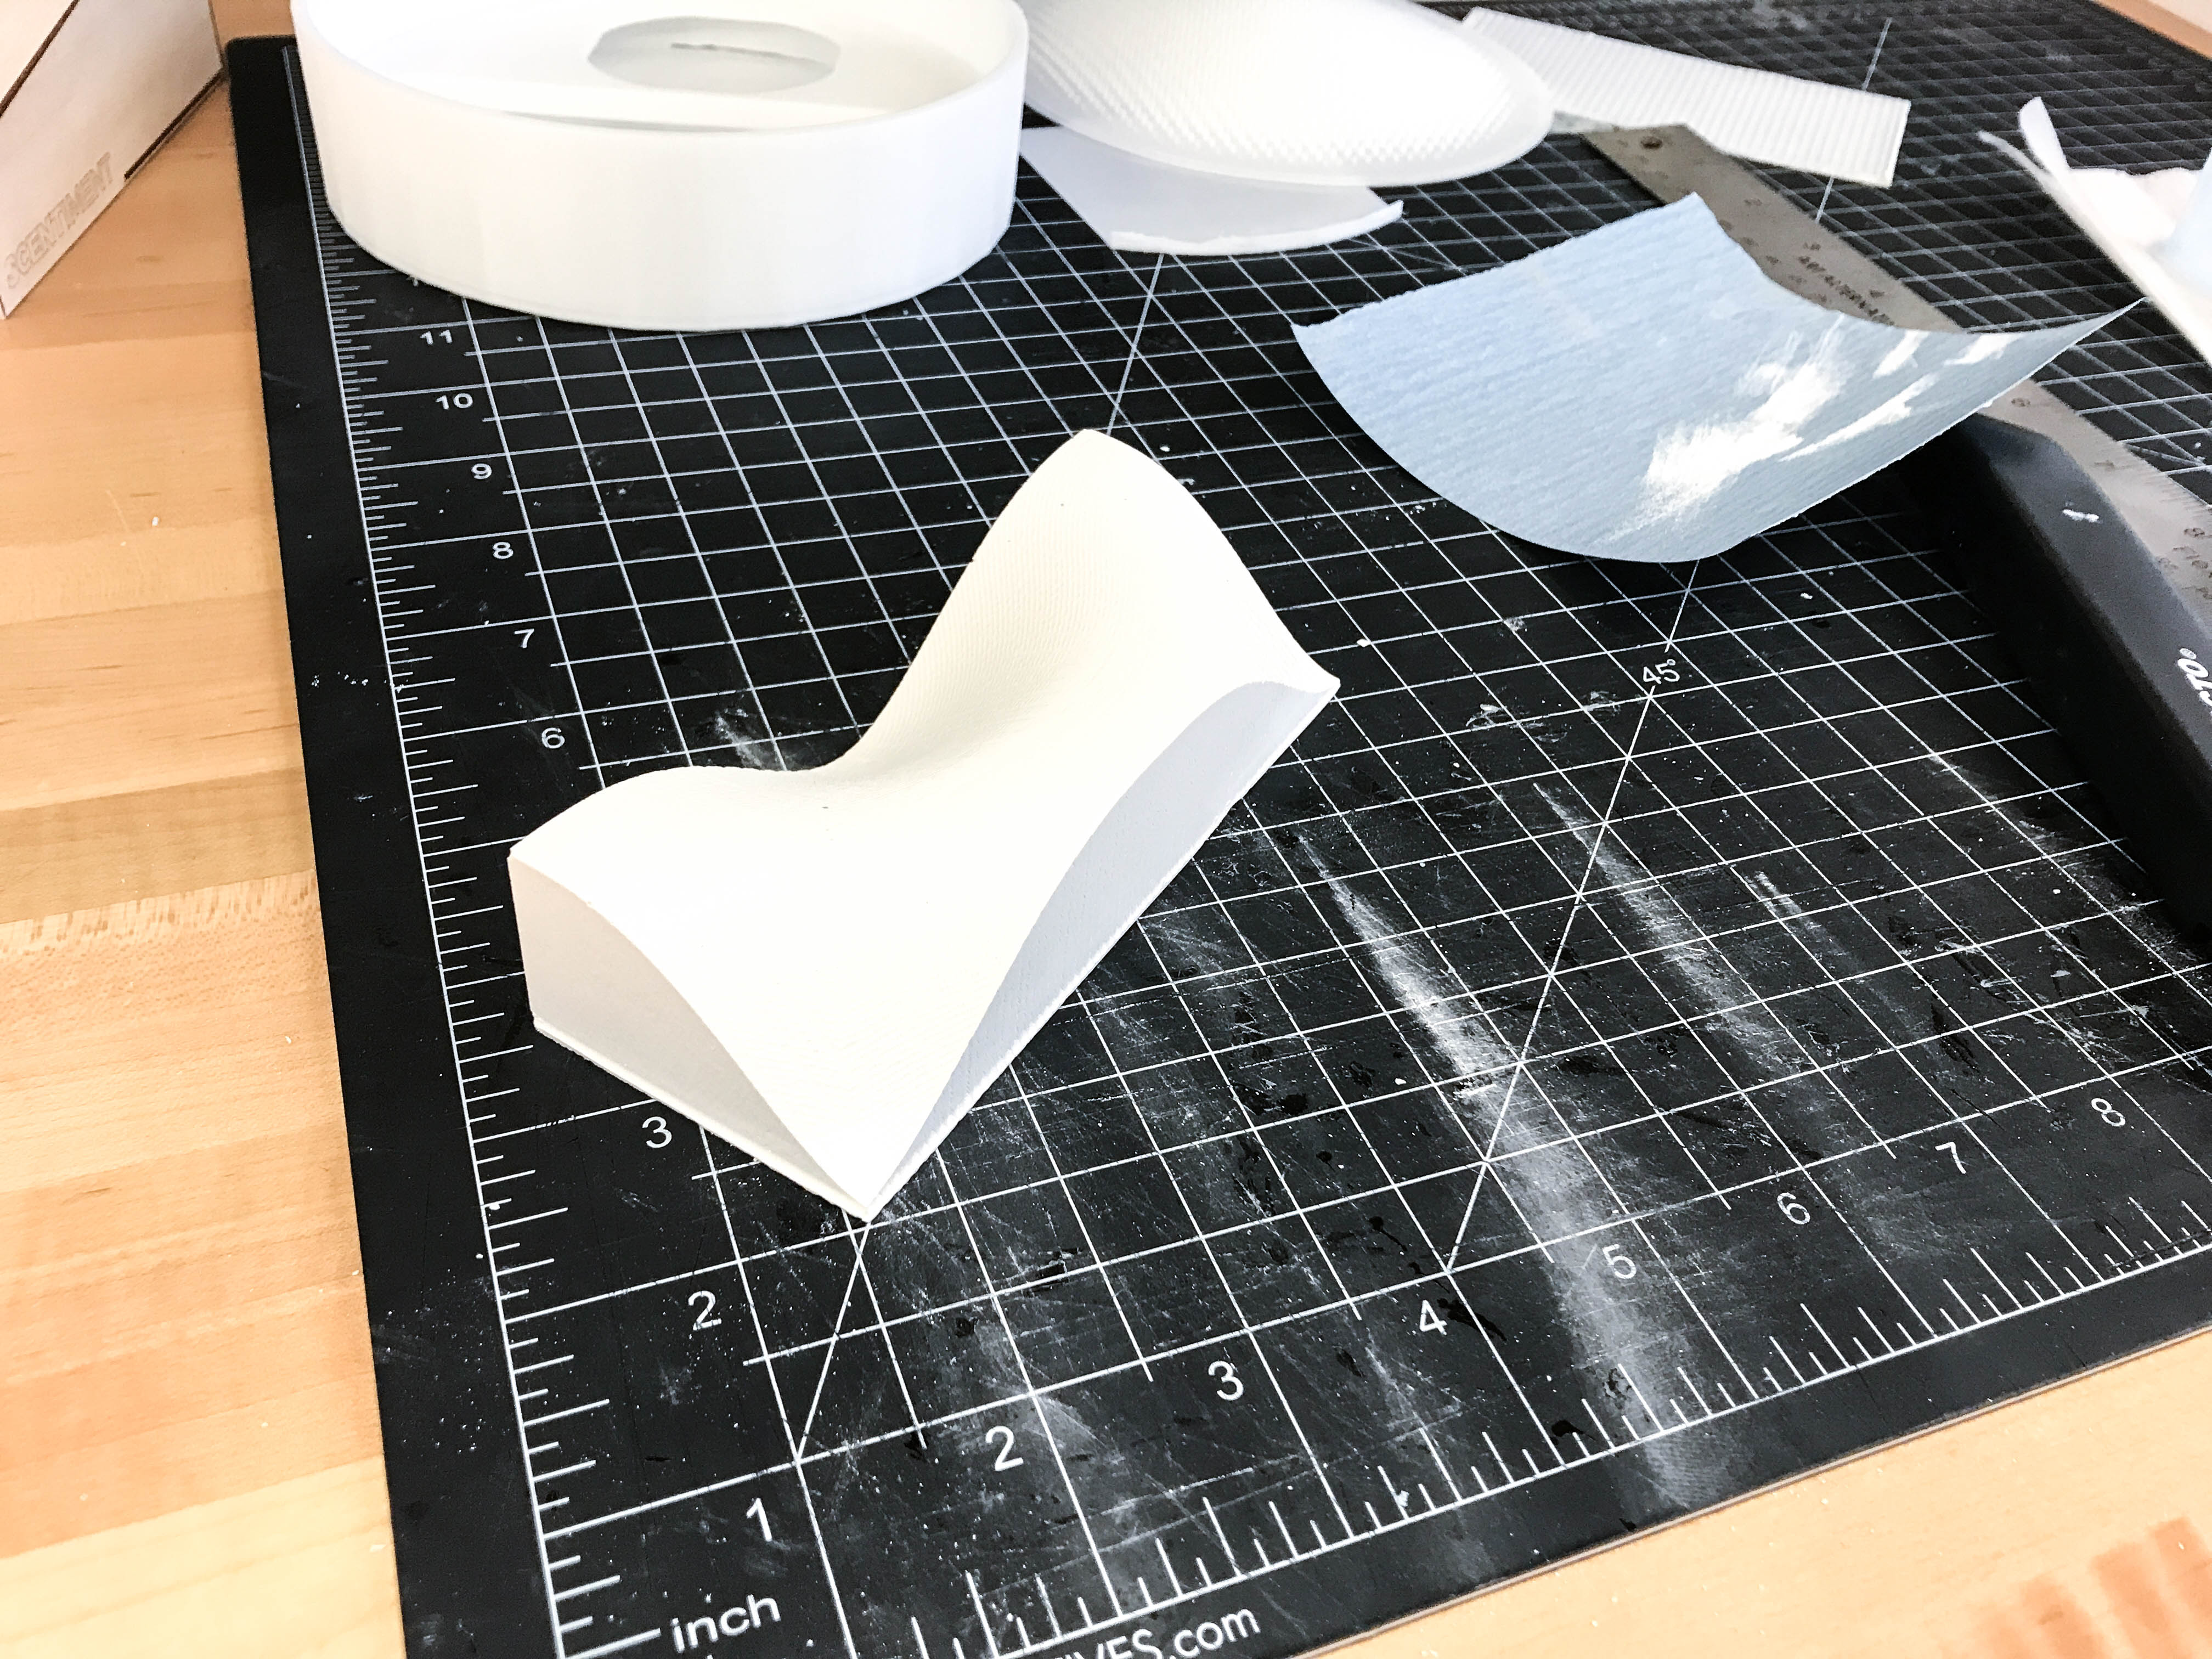
My mill started going - and going - and going - for an hour. I was happy to hear that the architecture shop planned to melt and reuse the wax dust!
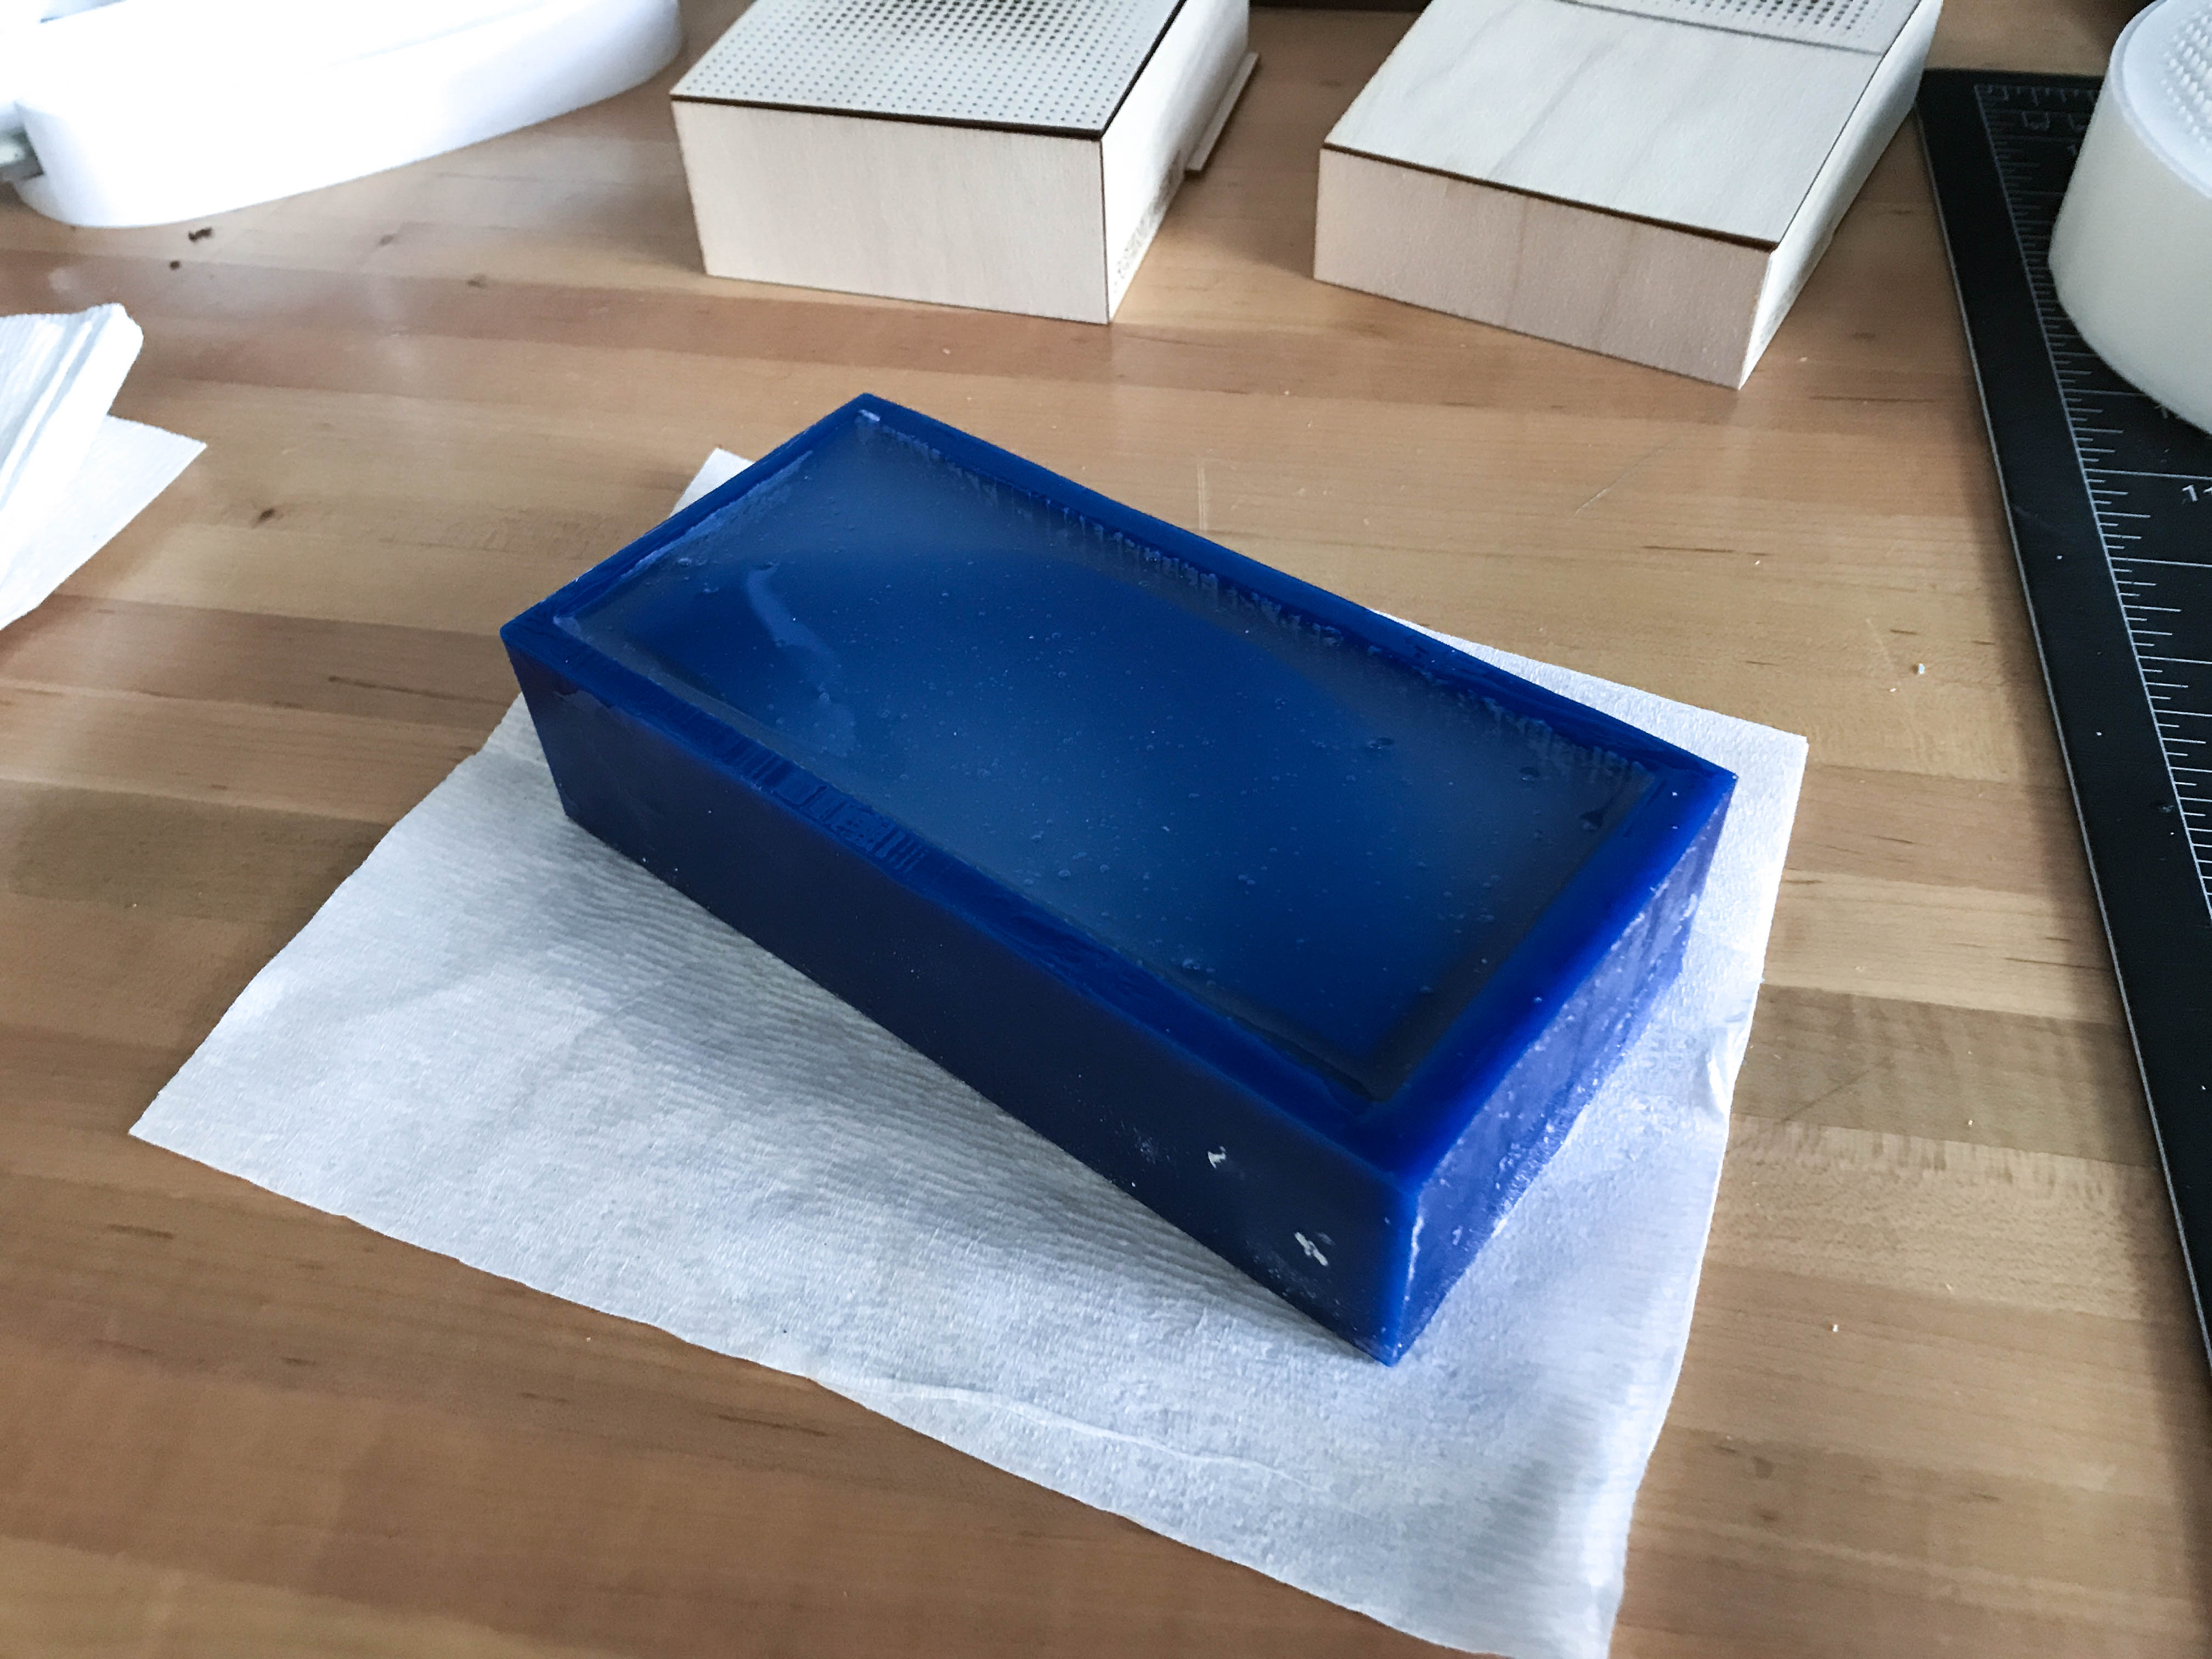
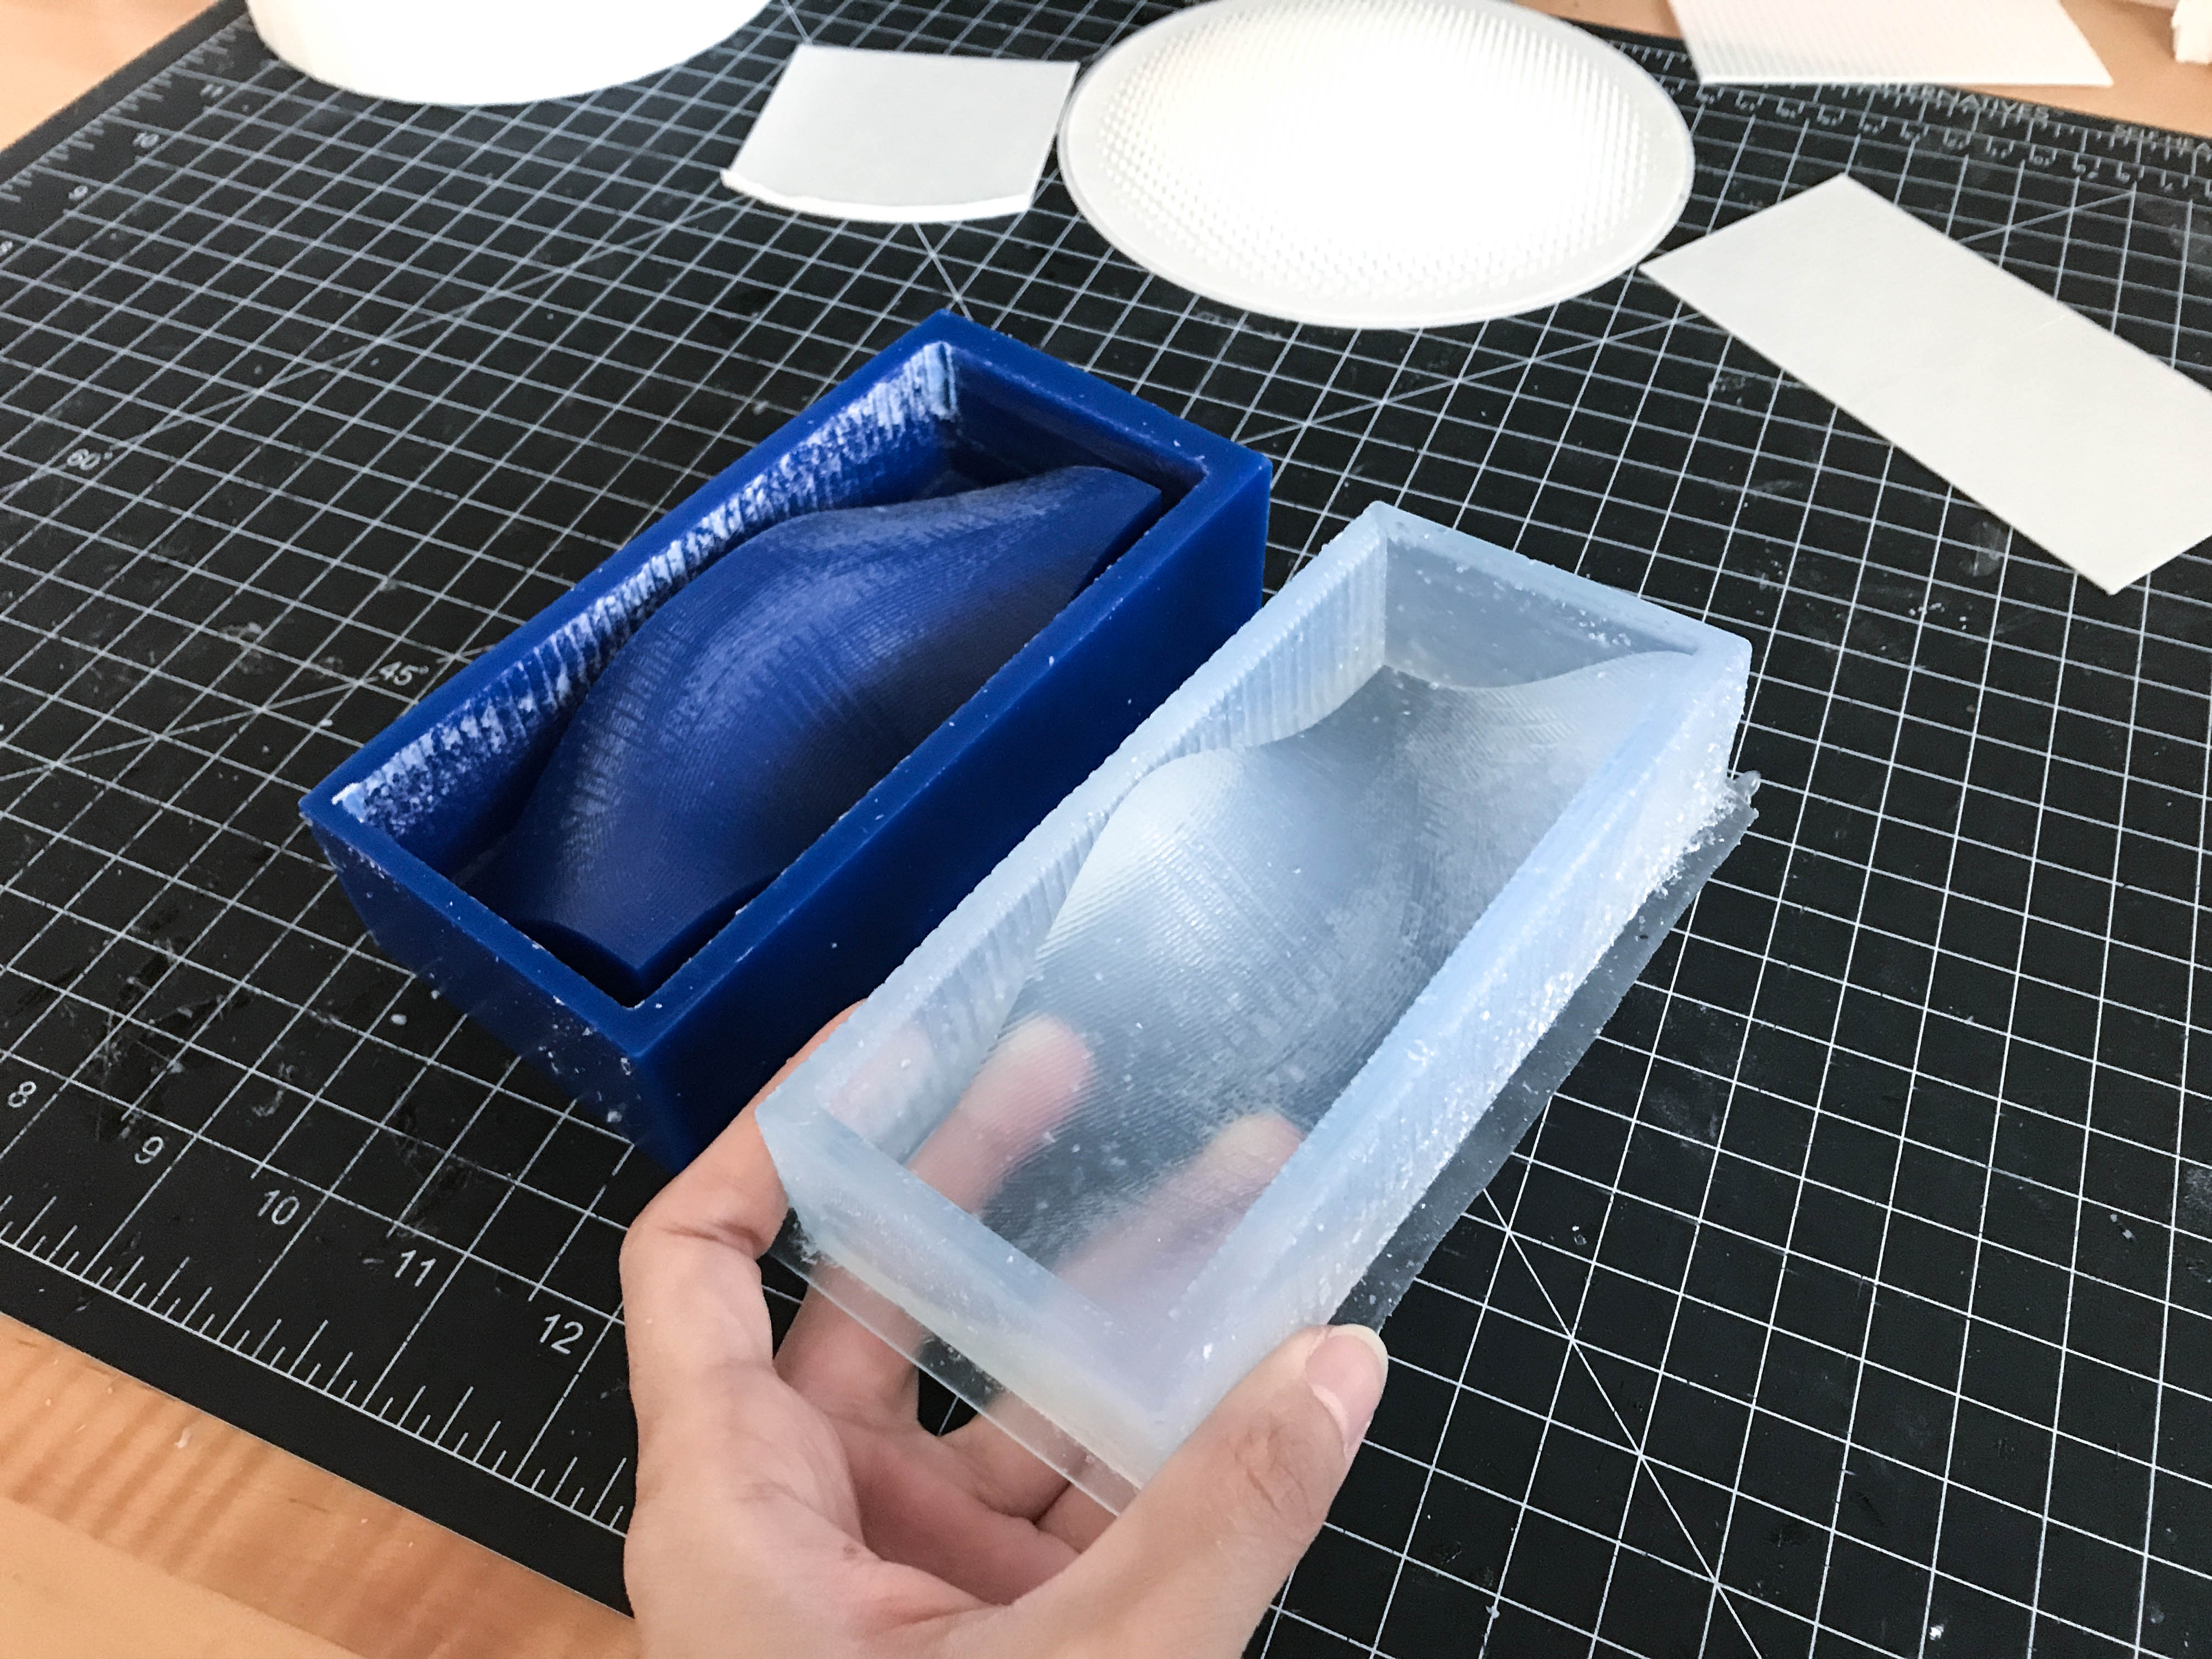
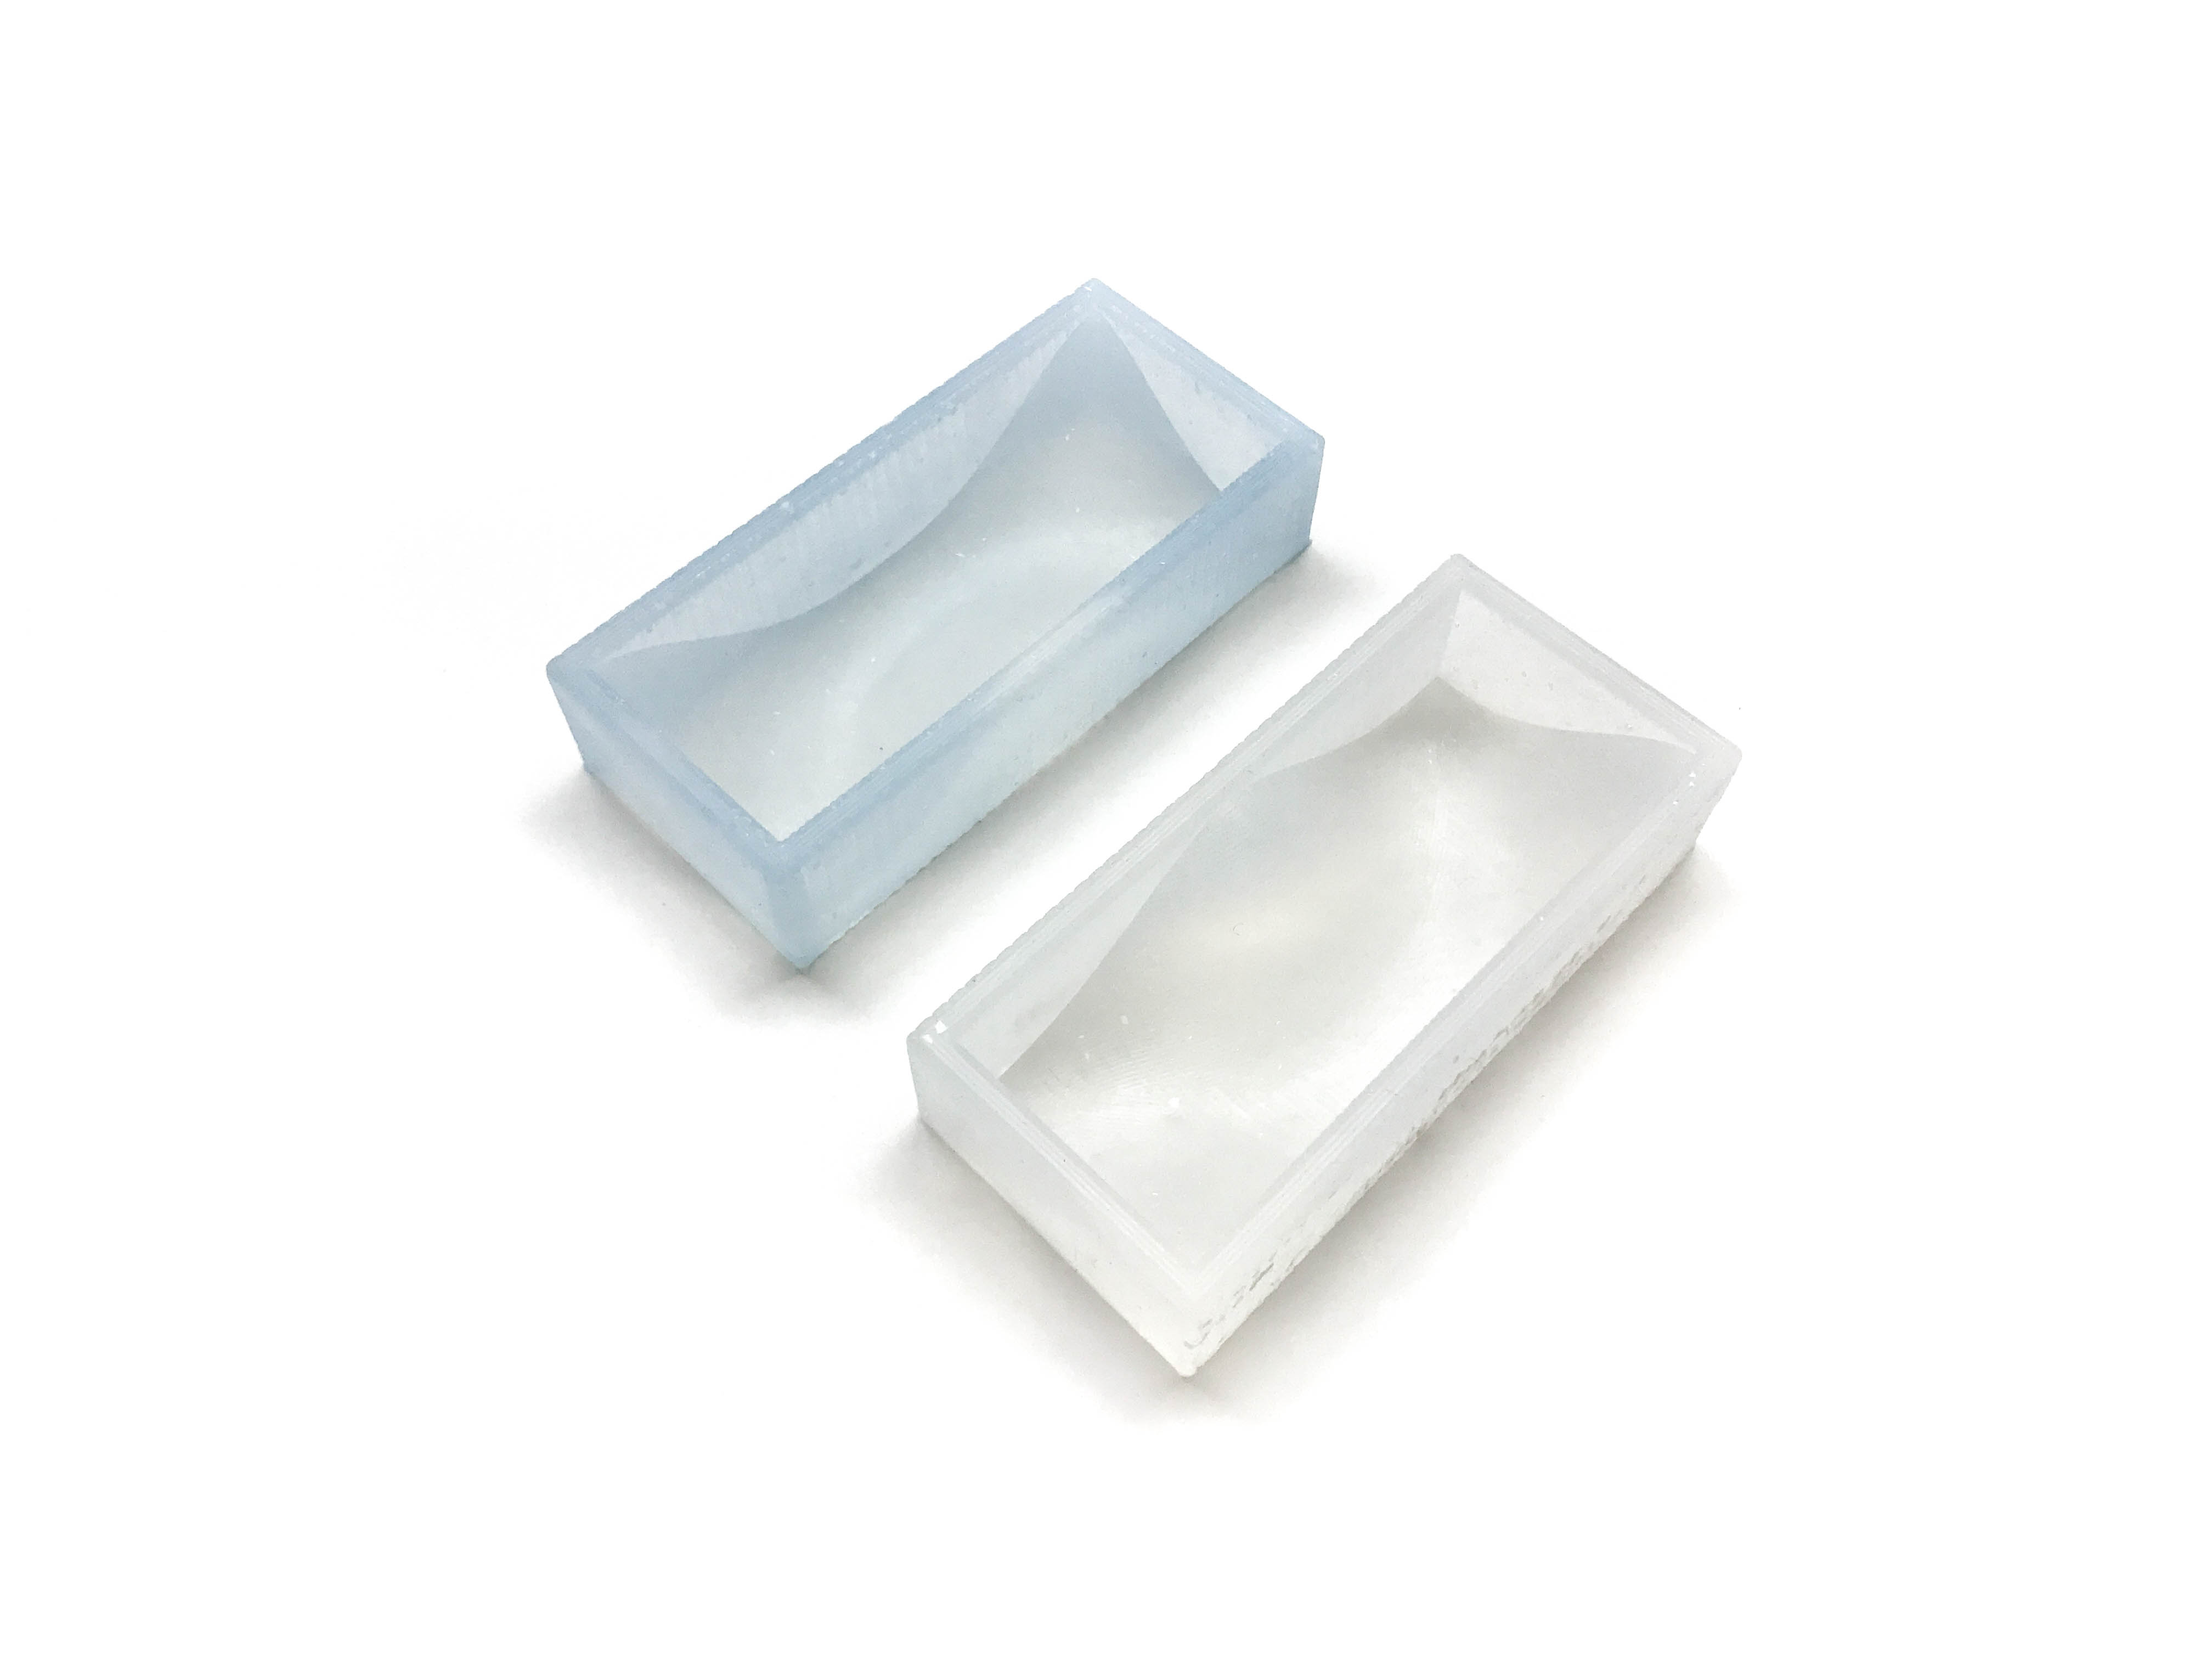
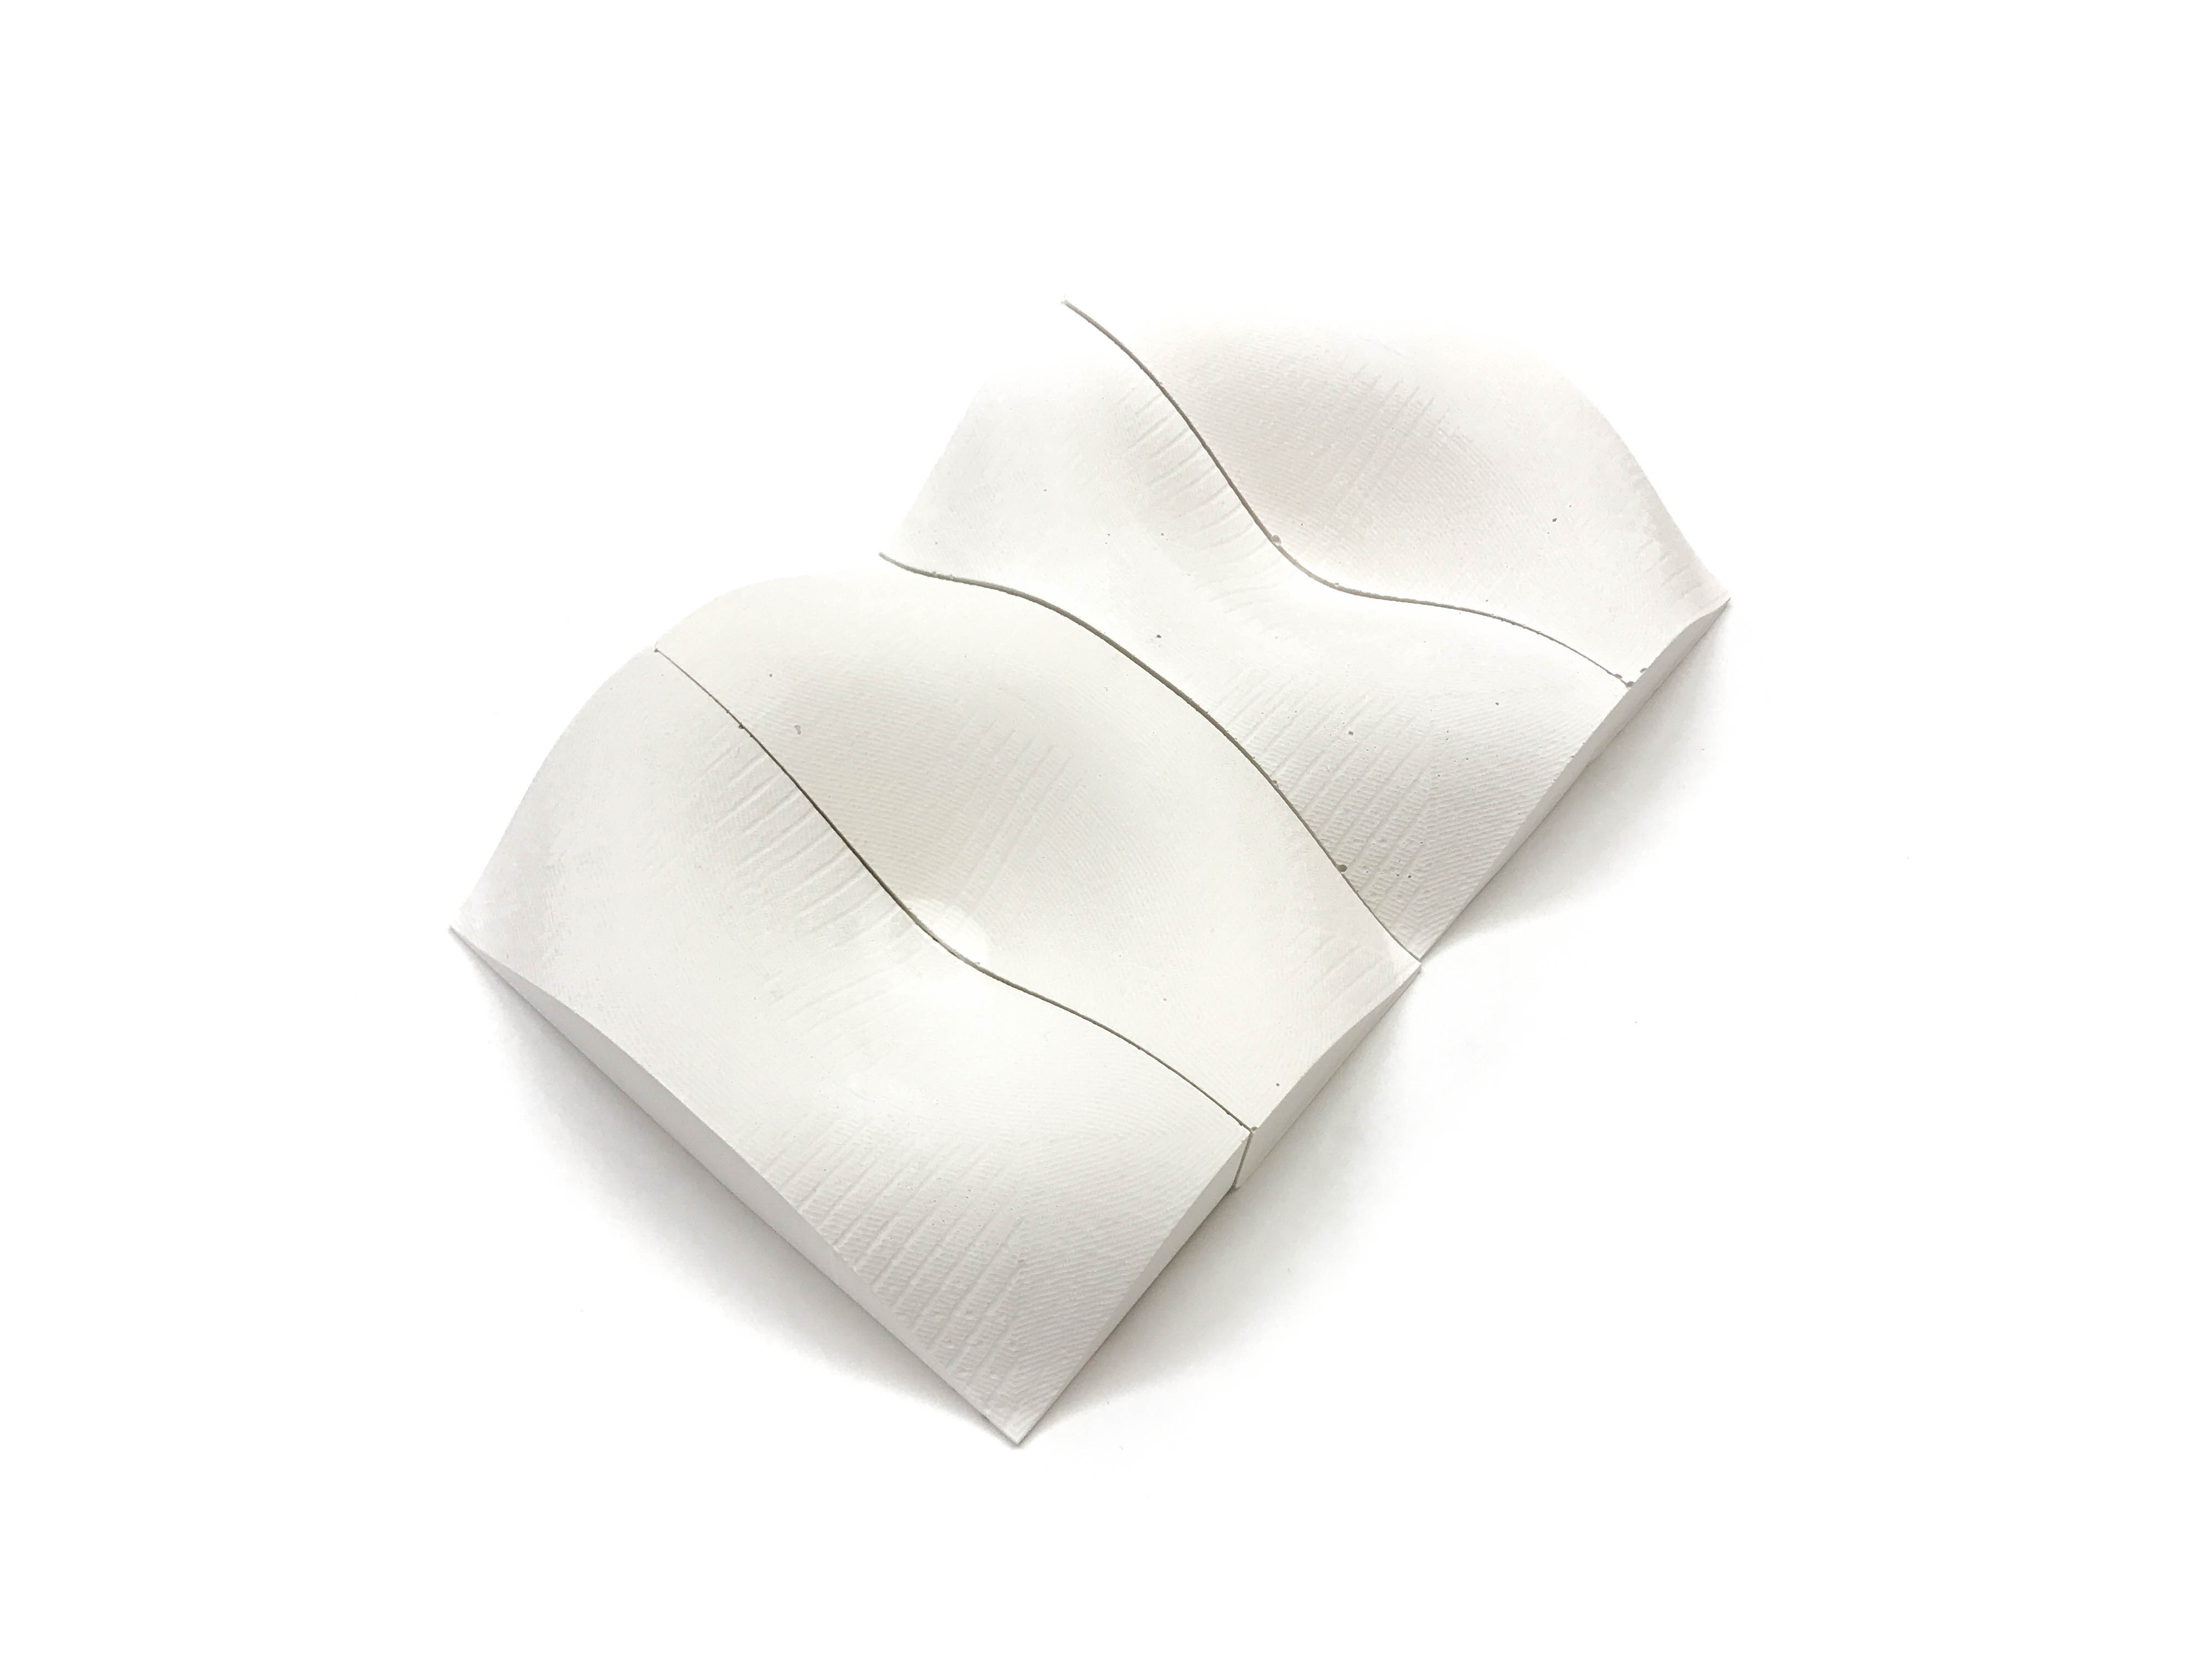
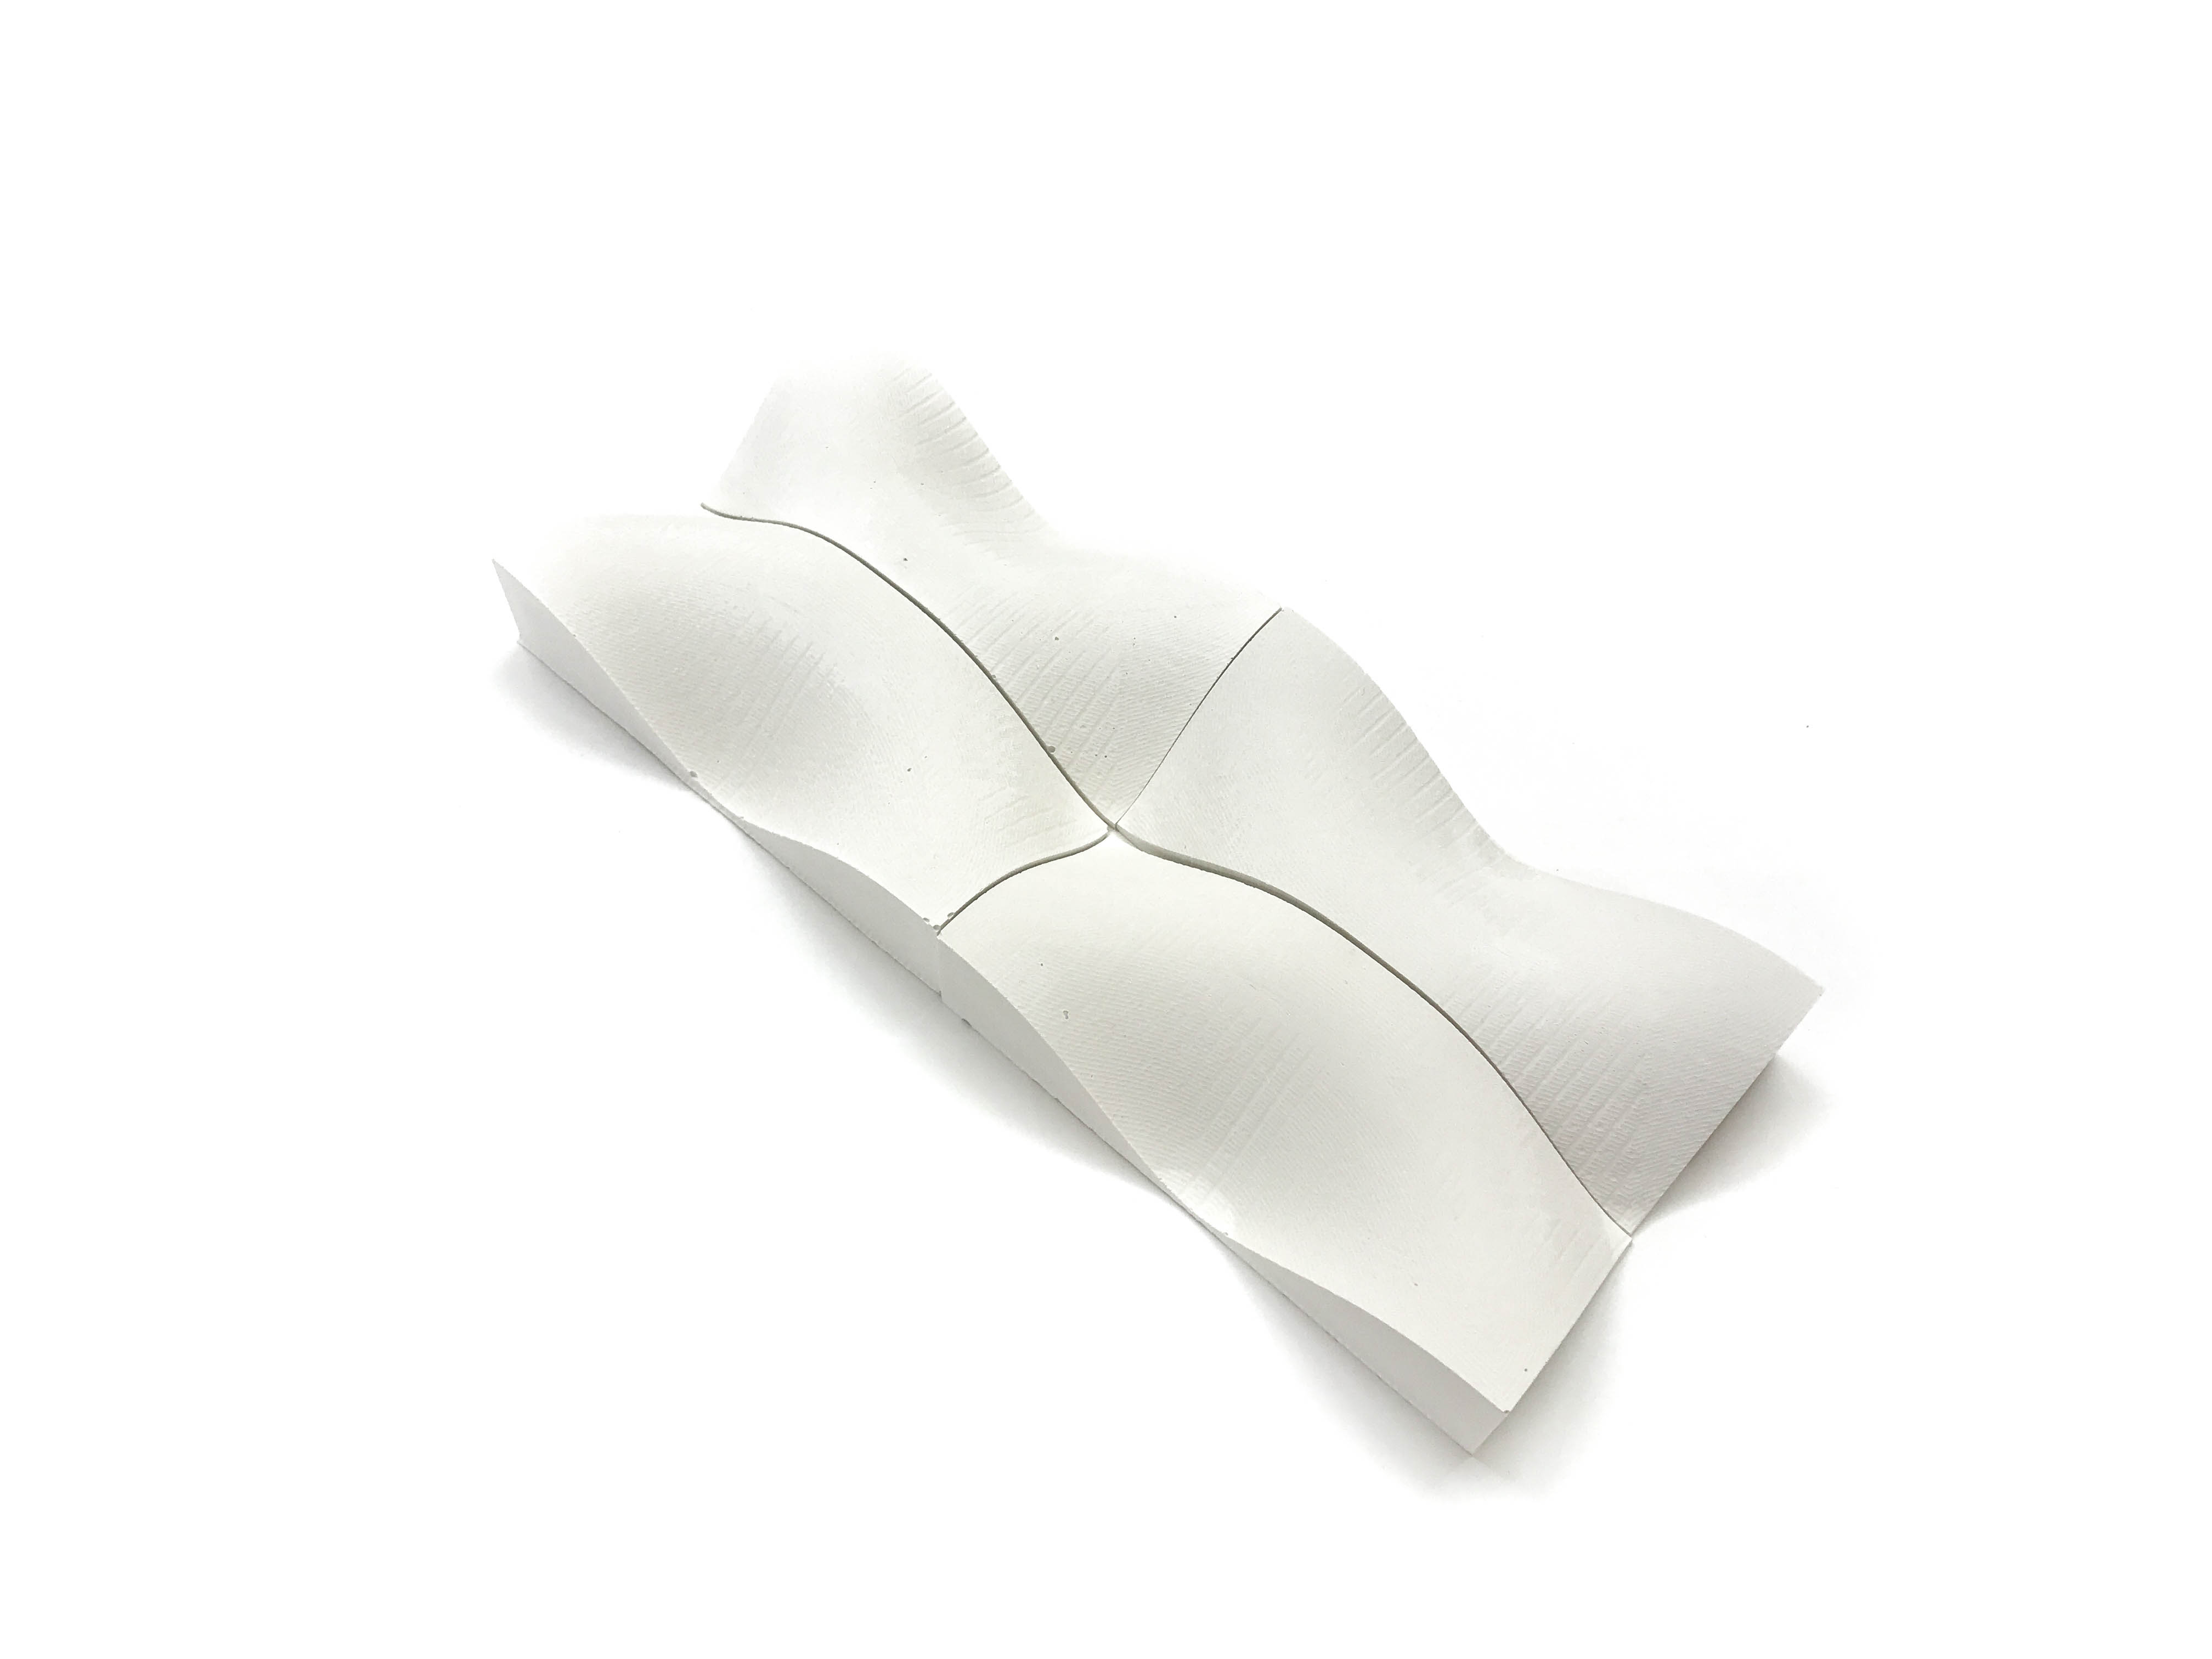
After my file successfully milled, I then casted into the wax with silicon. I create two molds with the wax piece in order to speed up the fabrication process. On the first cast, I did not use a mold release which made it extremely difficult to take out the dried silicon. I learned my lesson and used the release spray for the second time around.
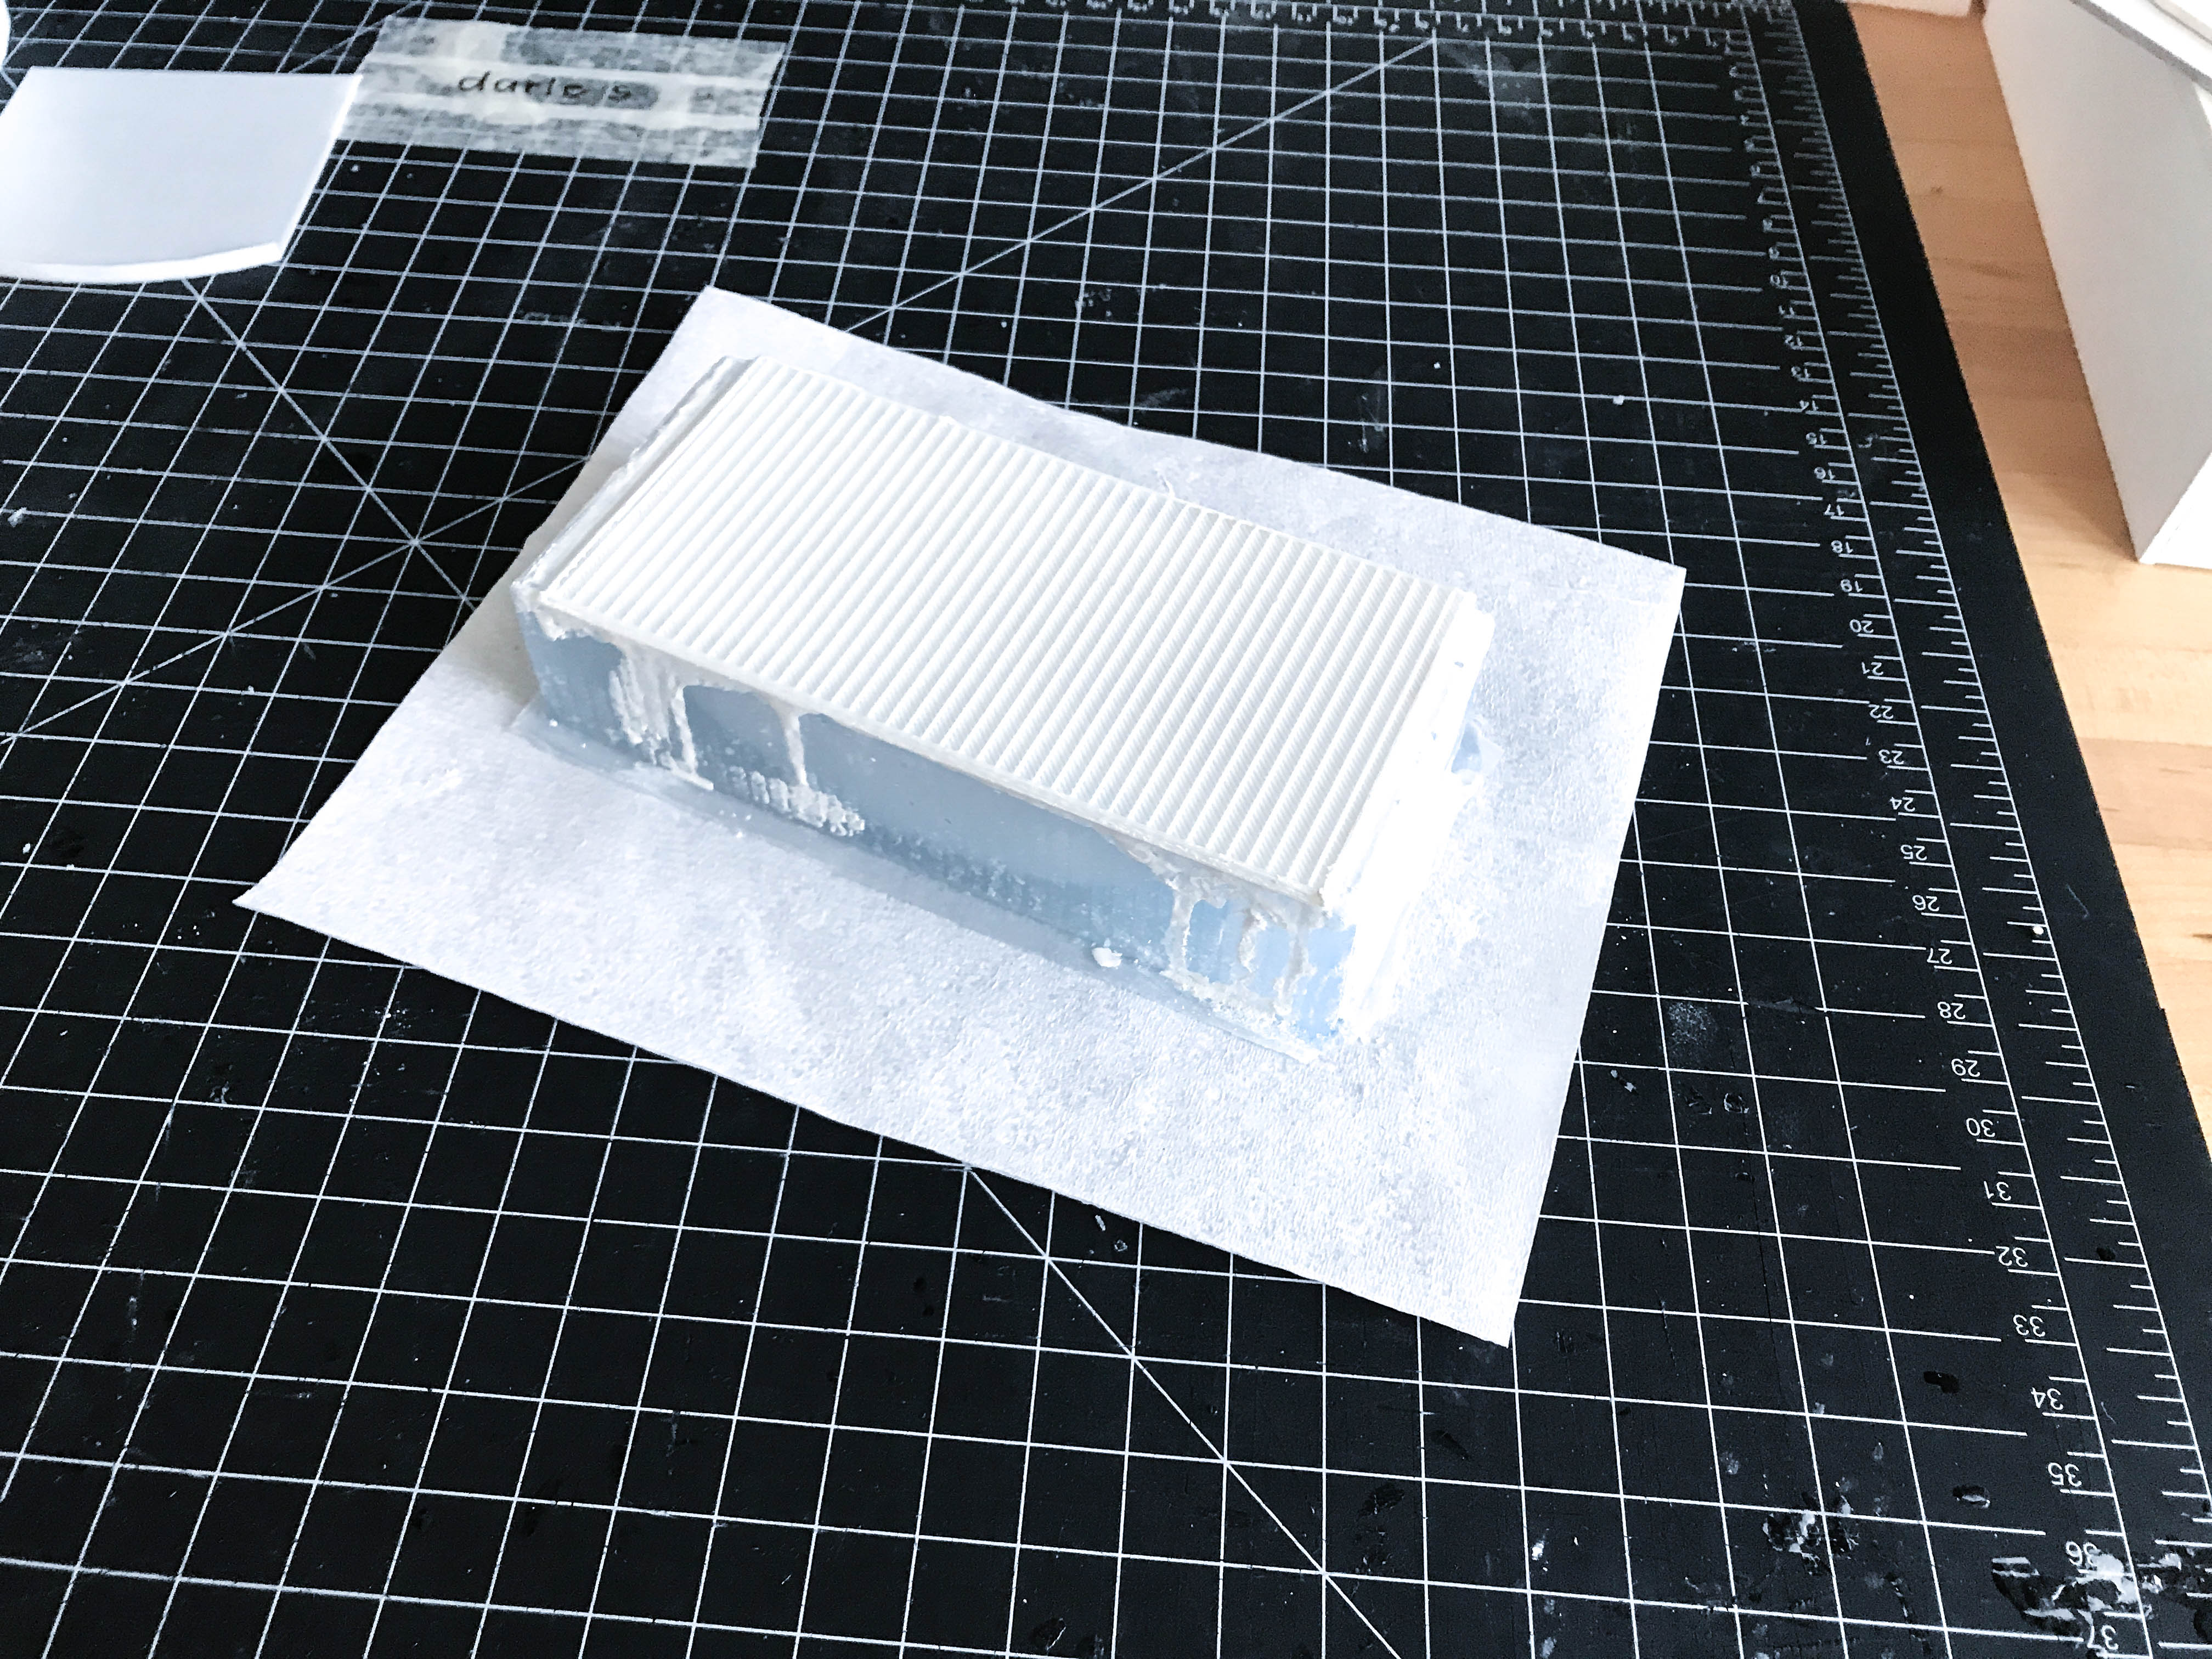
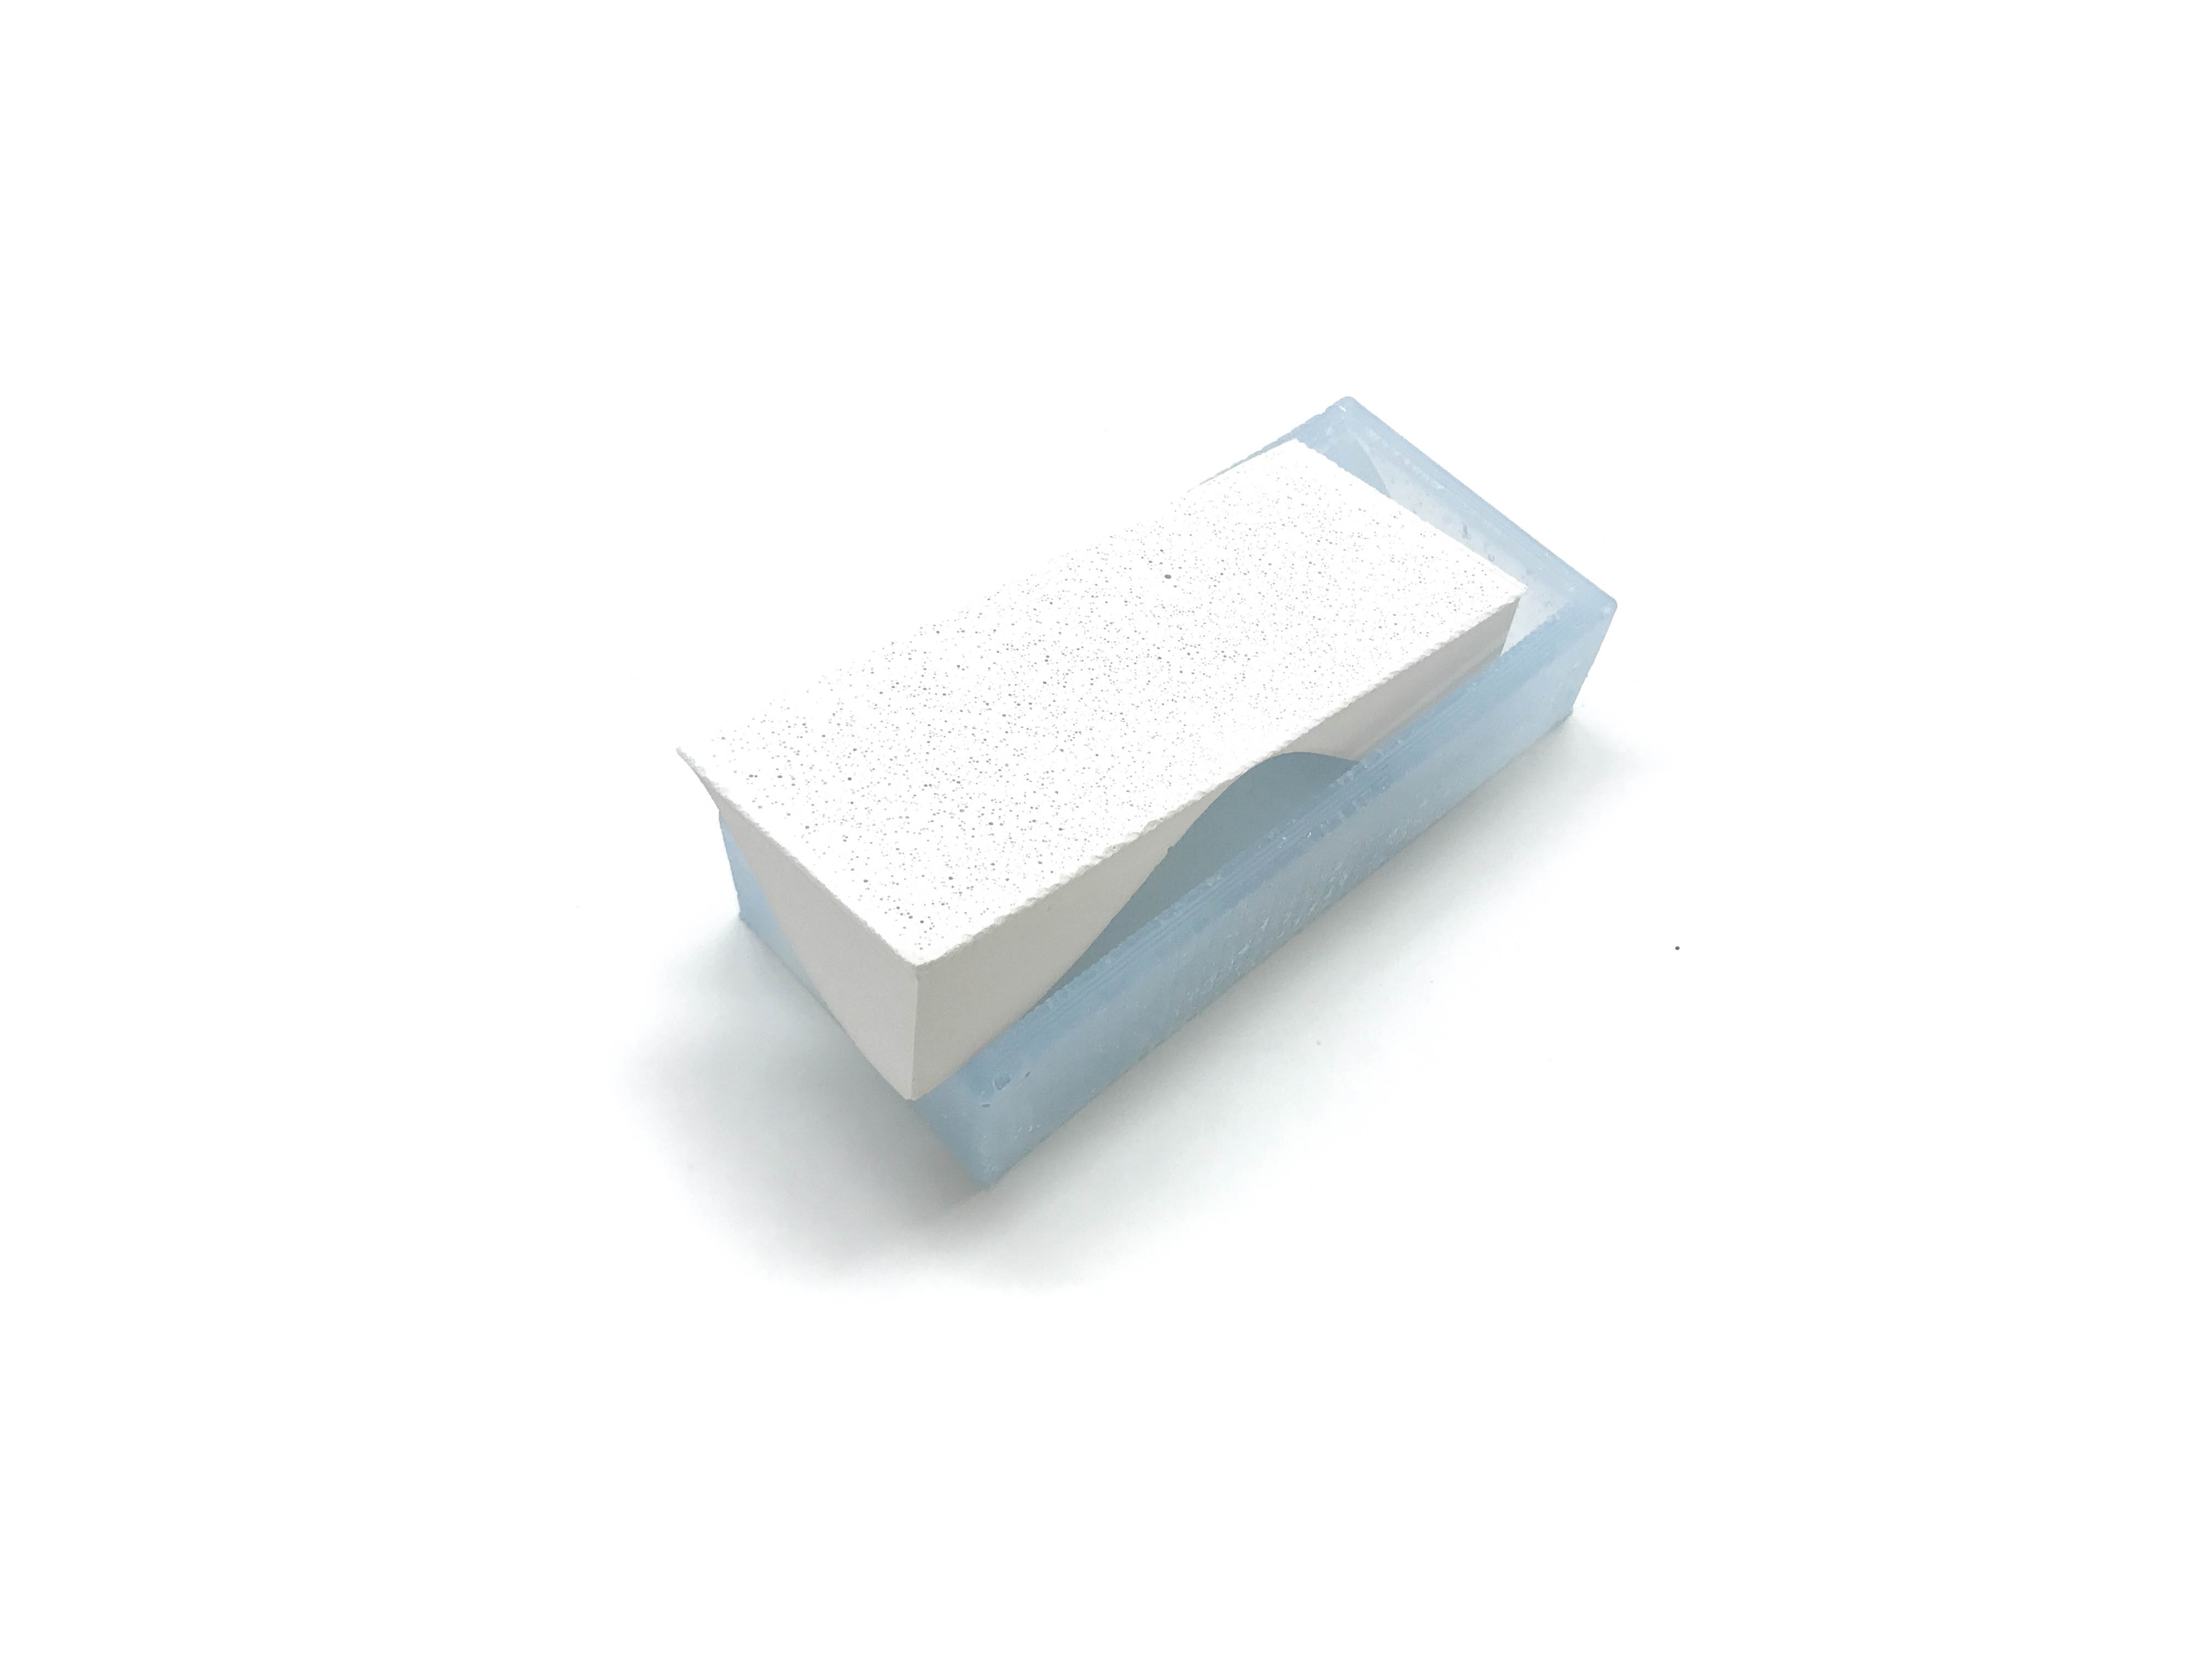
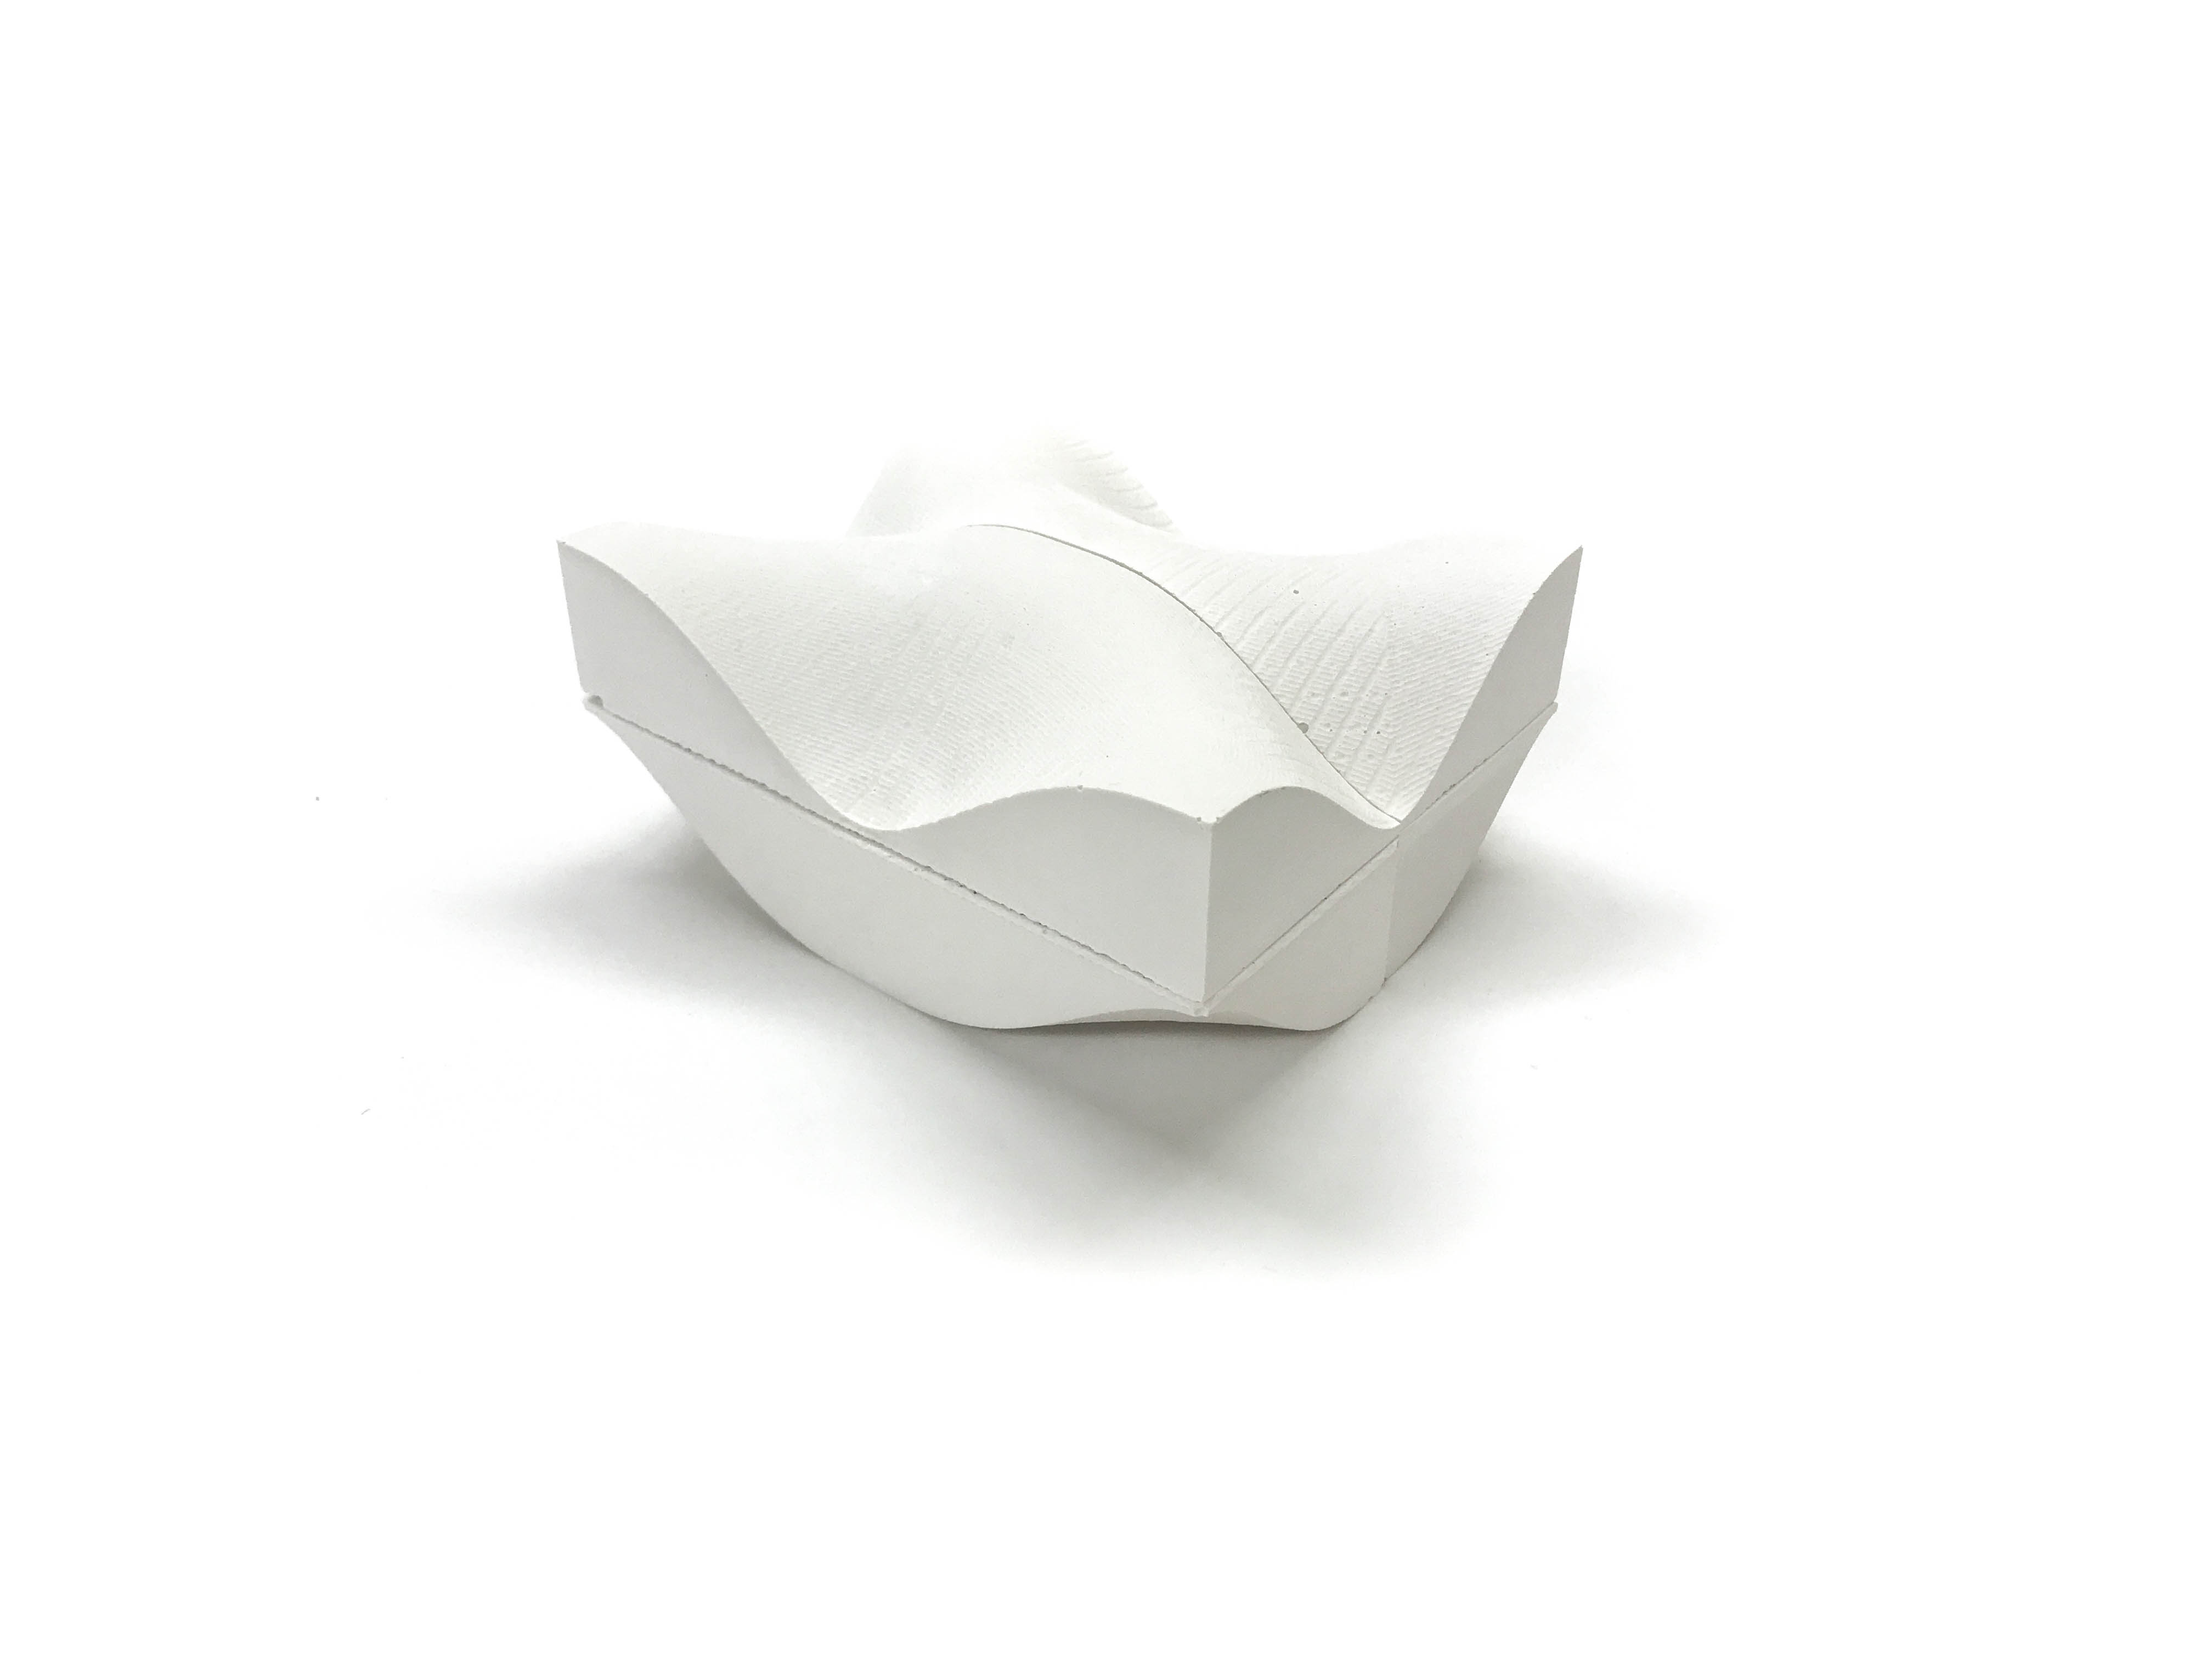
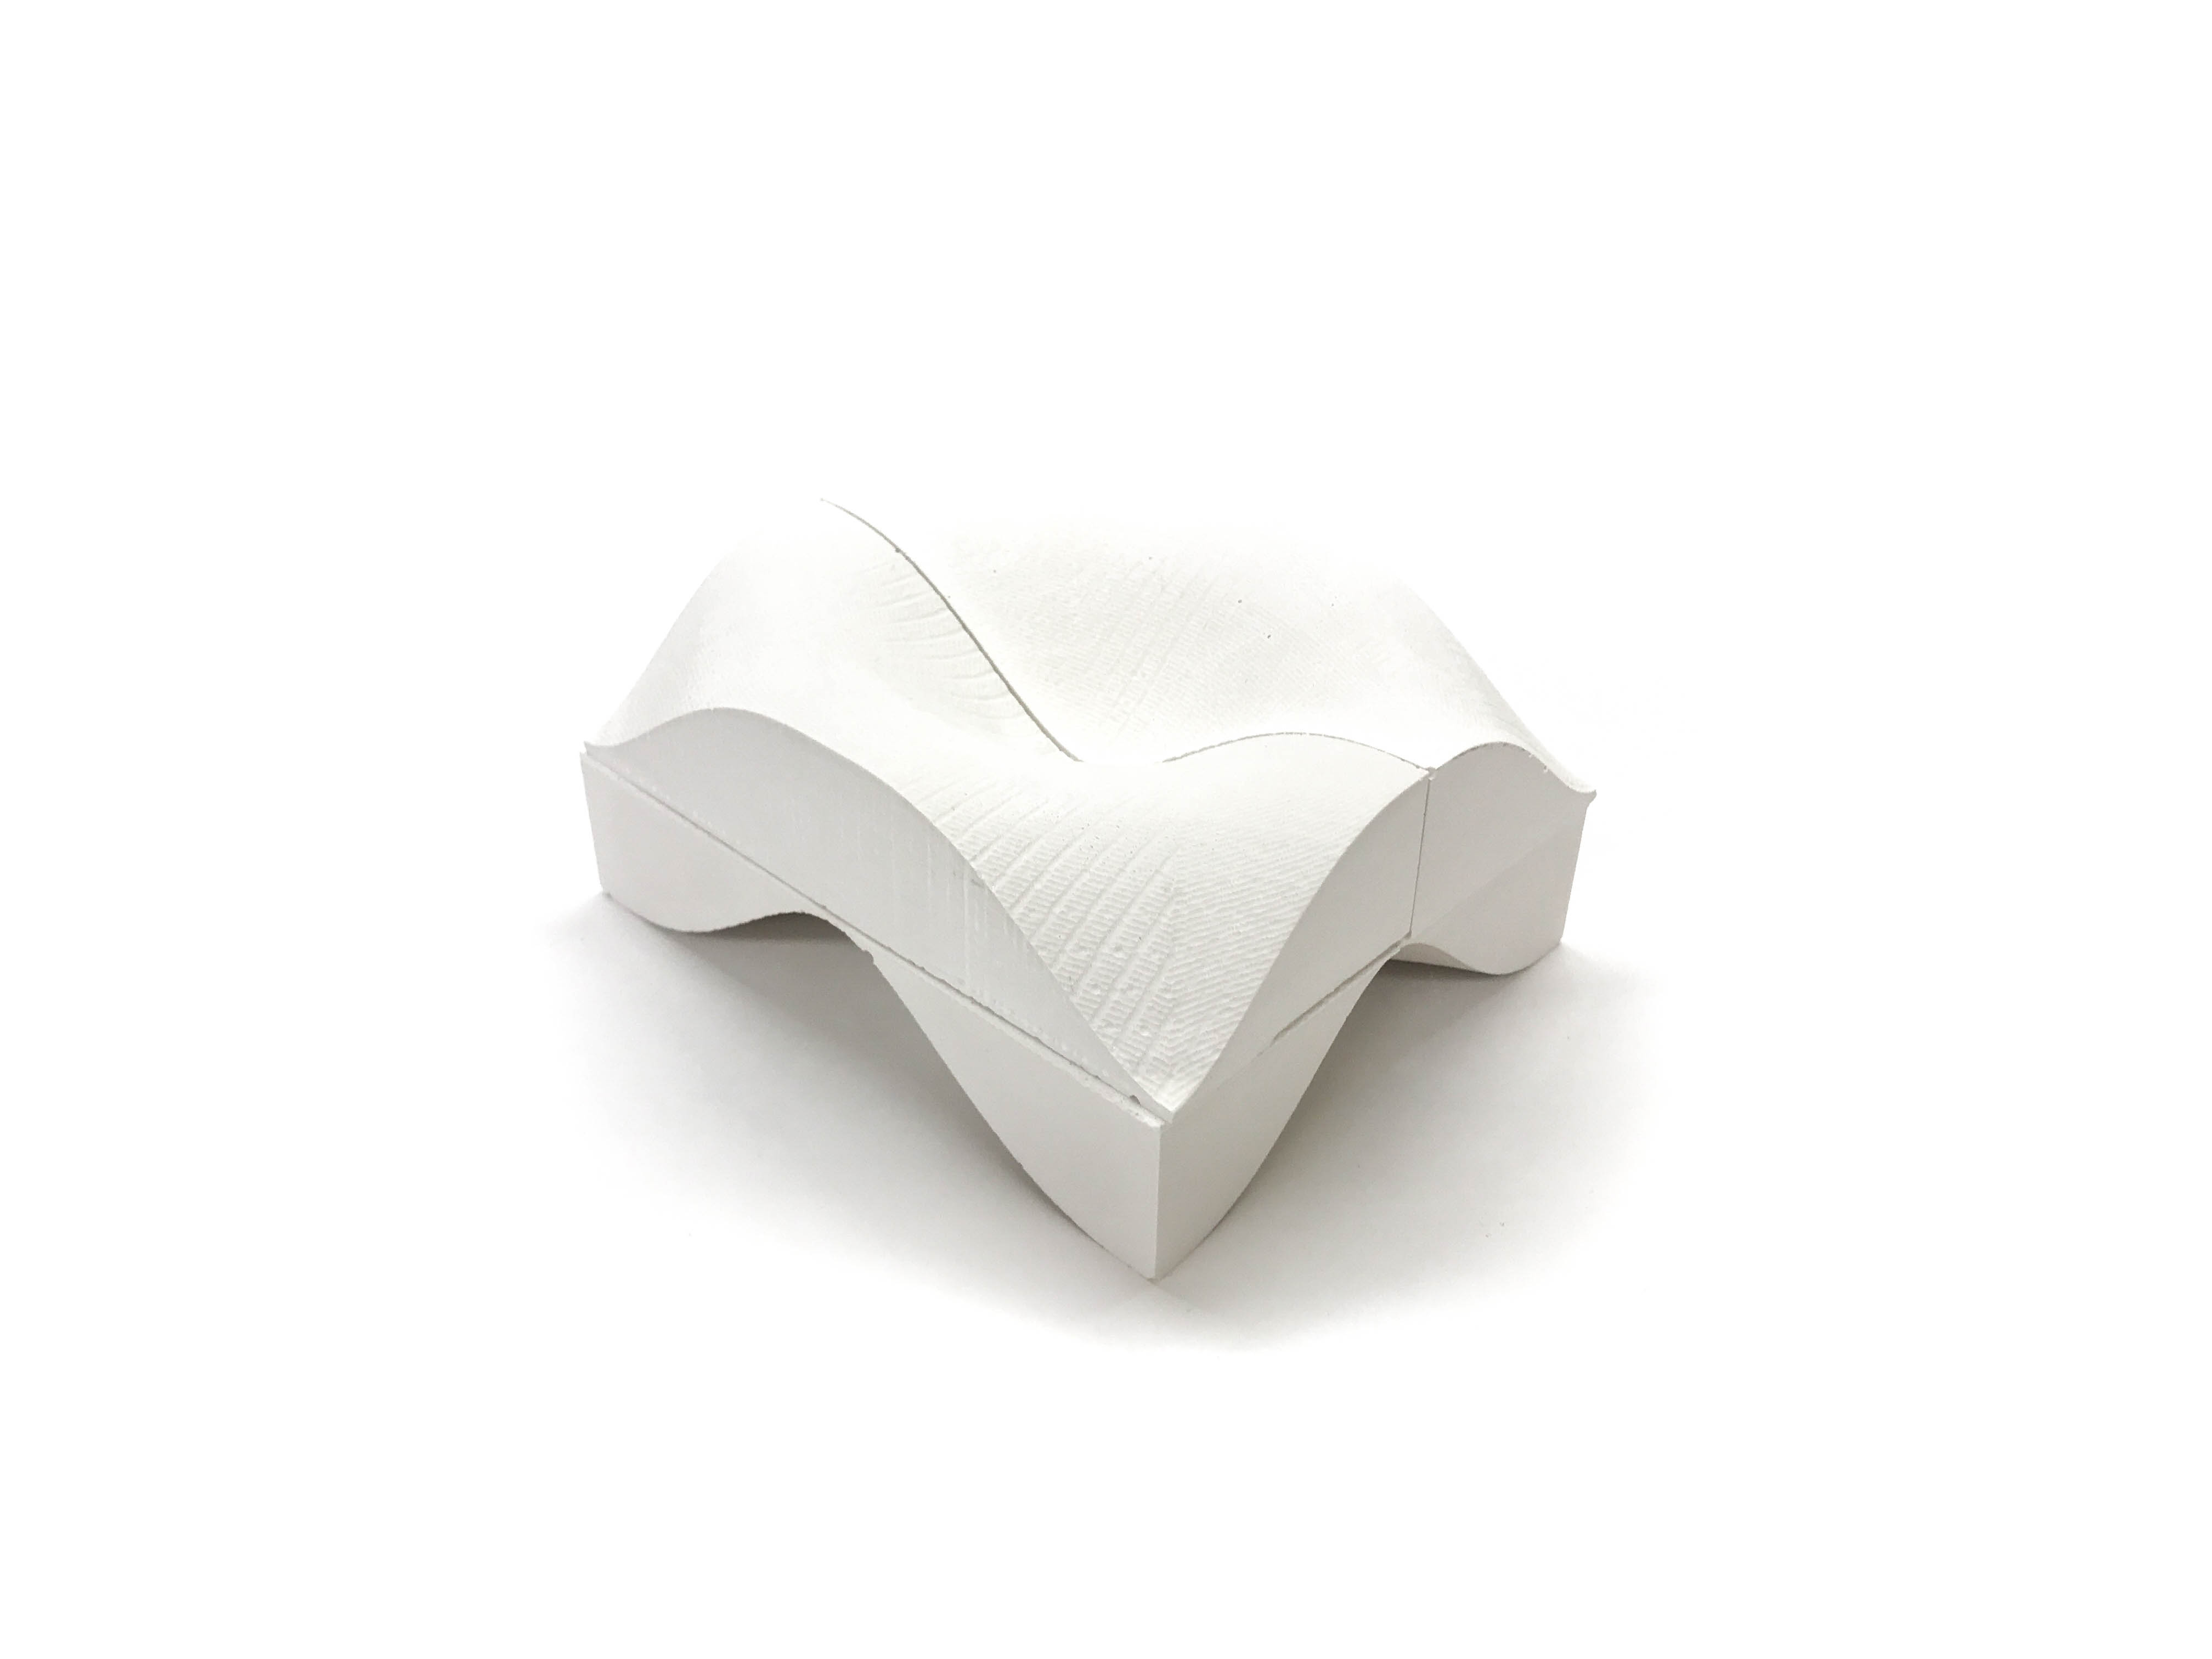
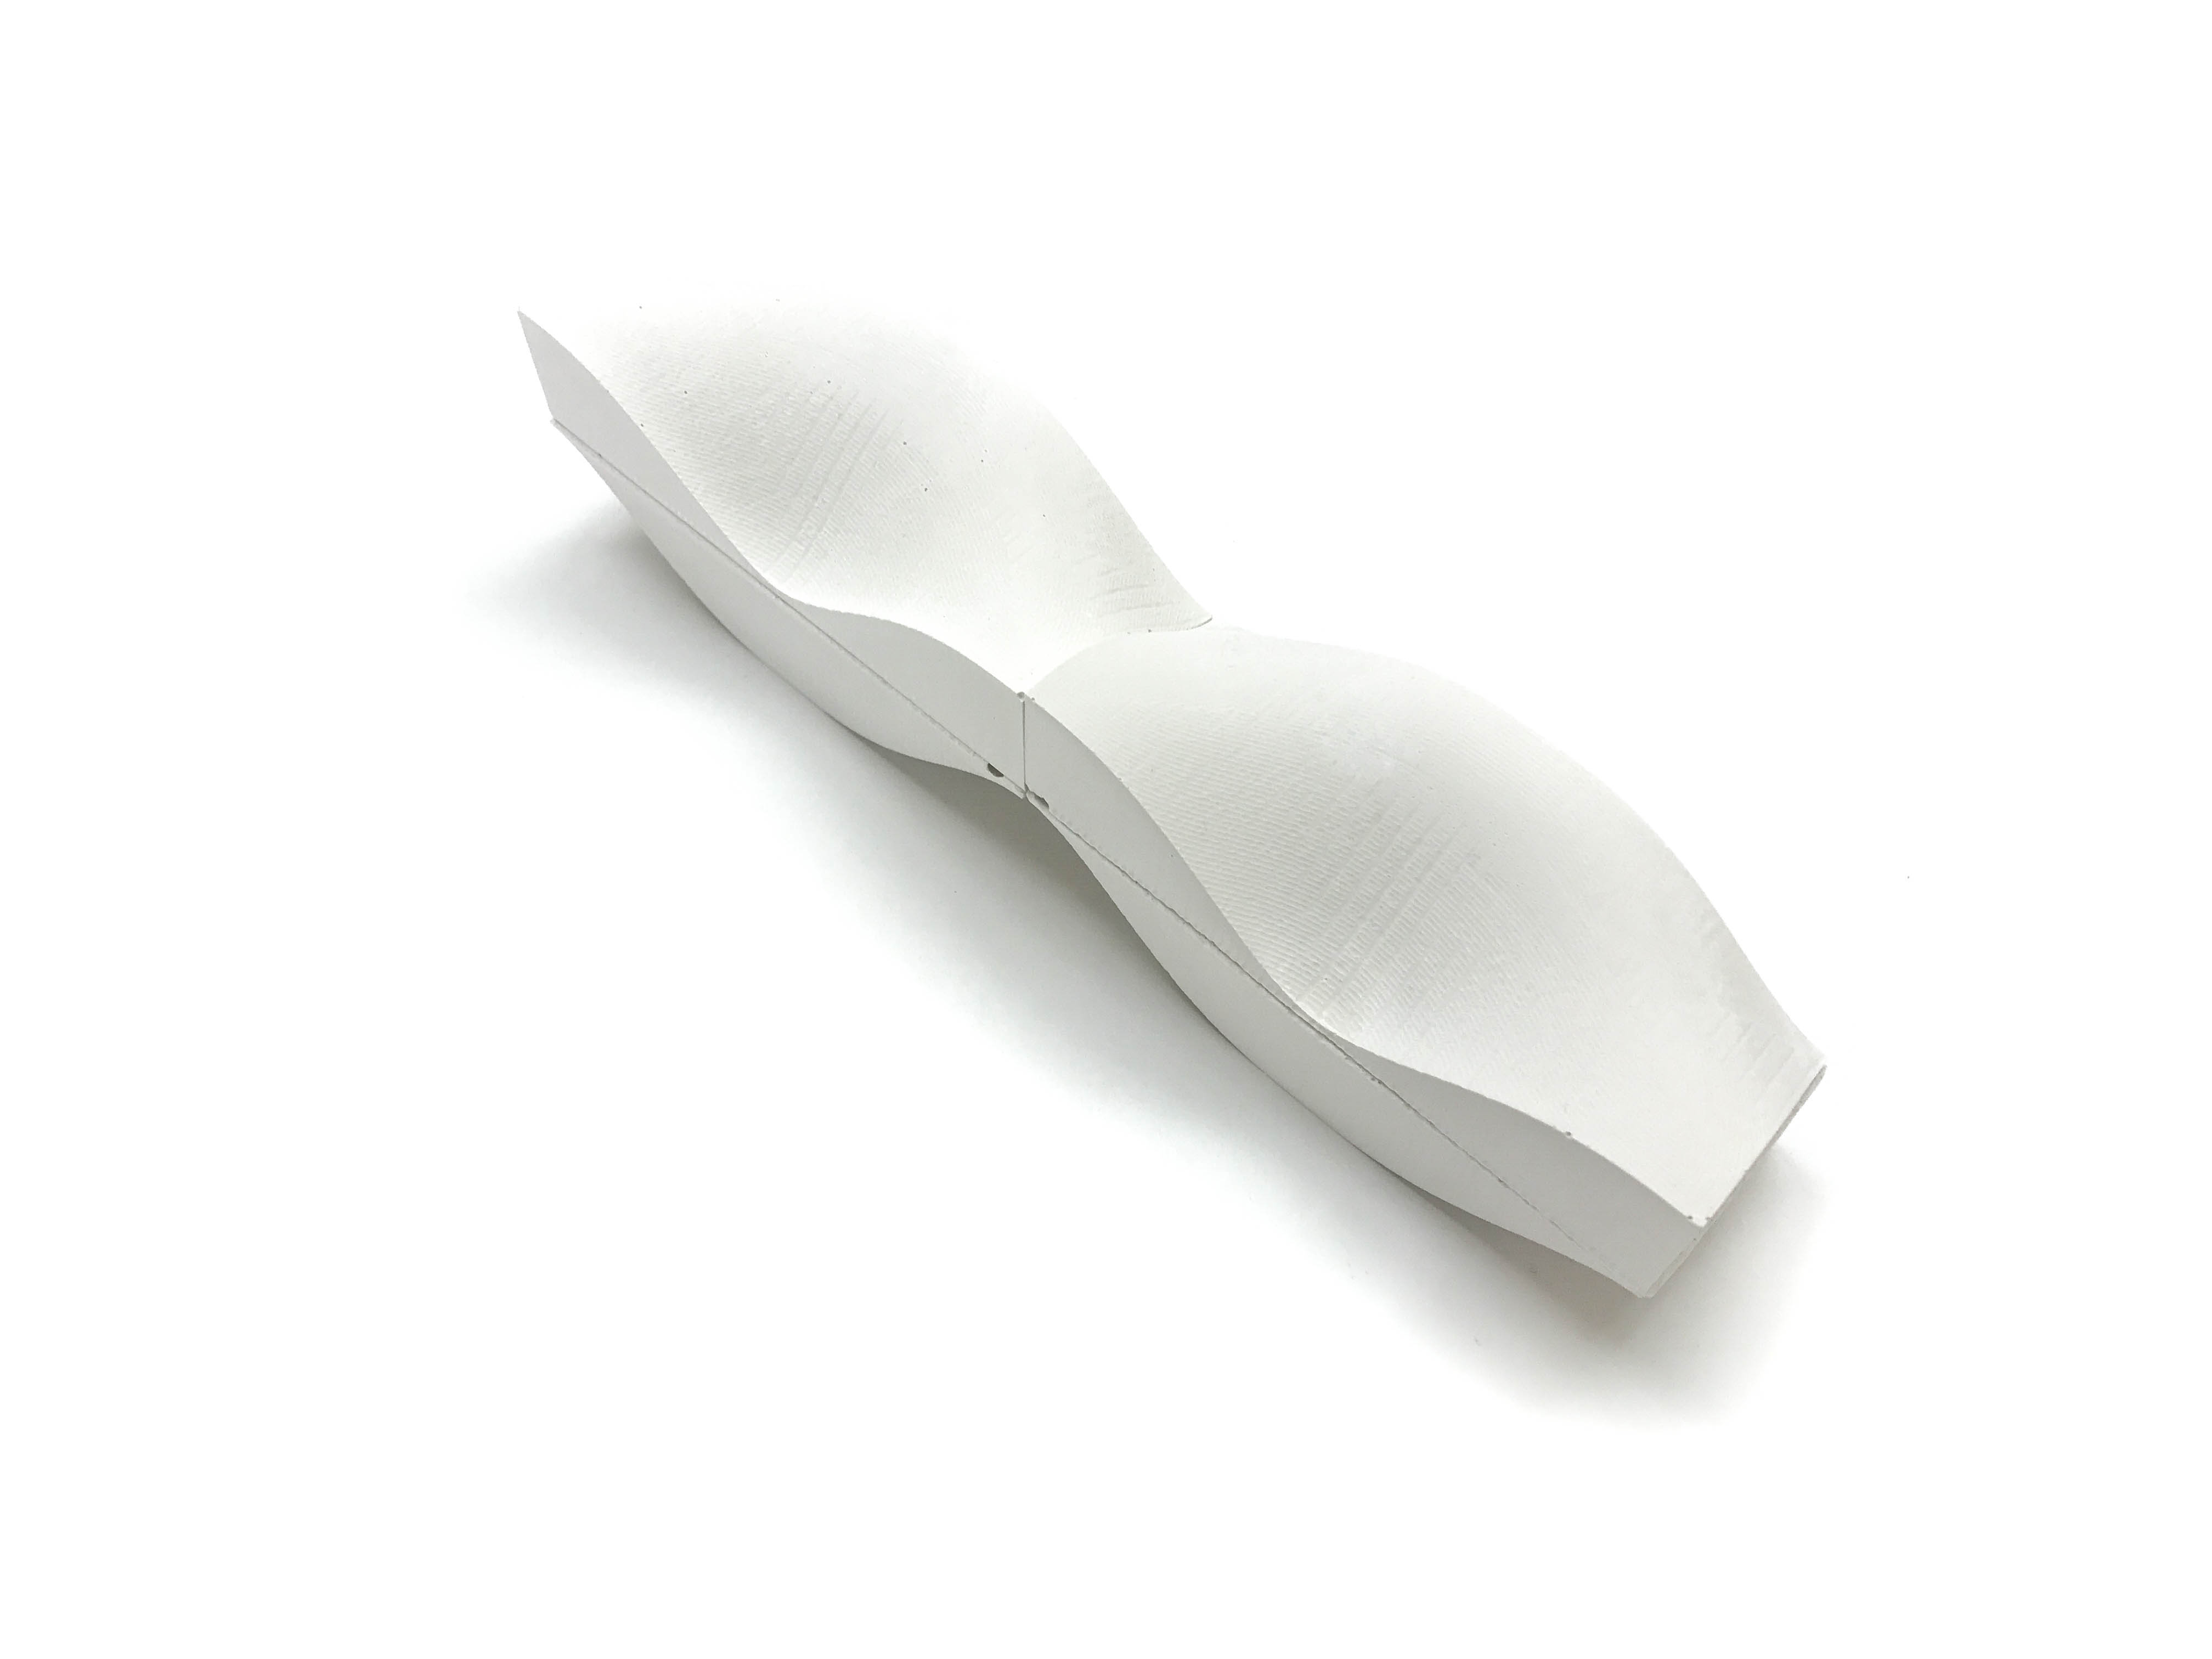
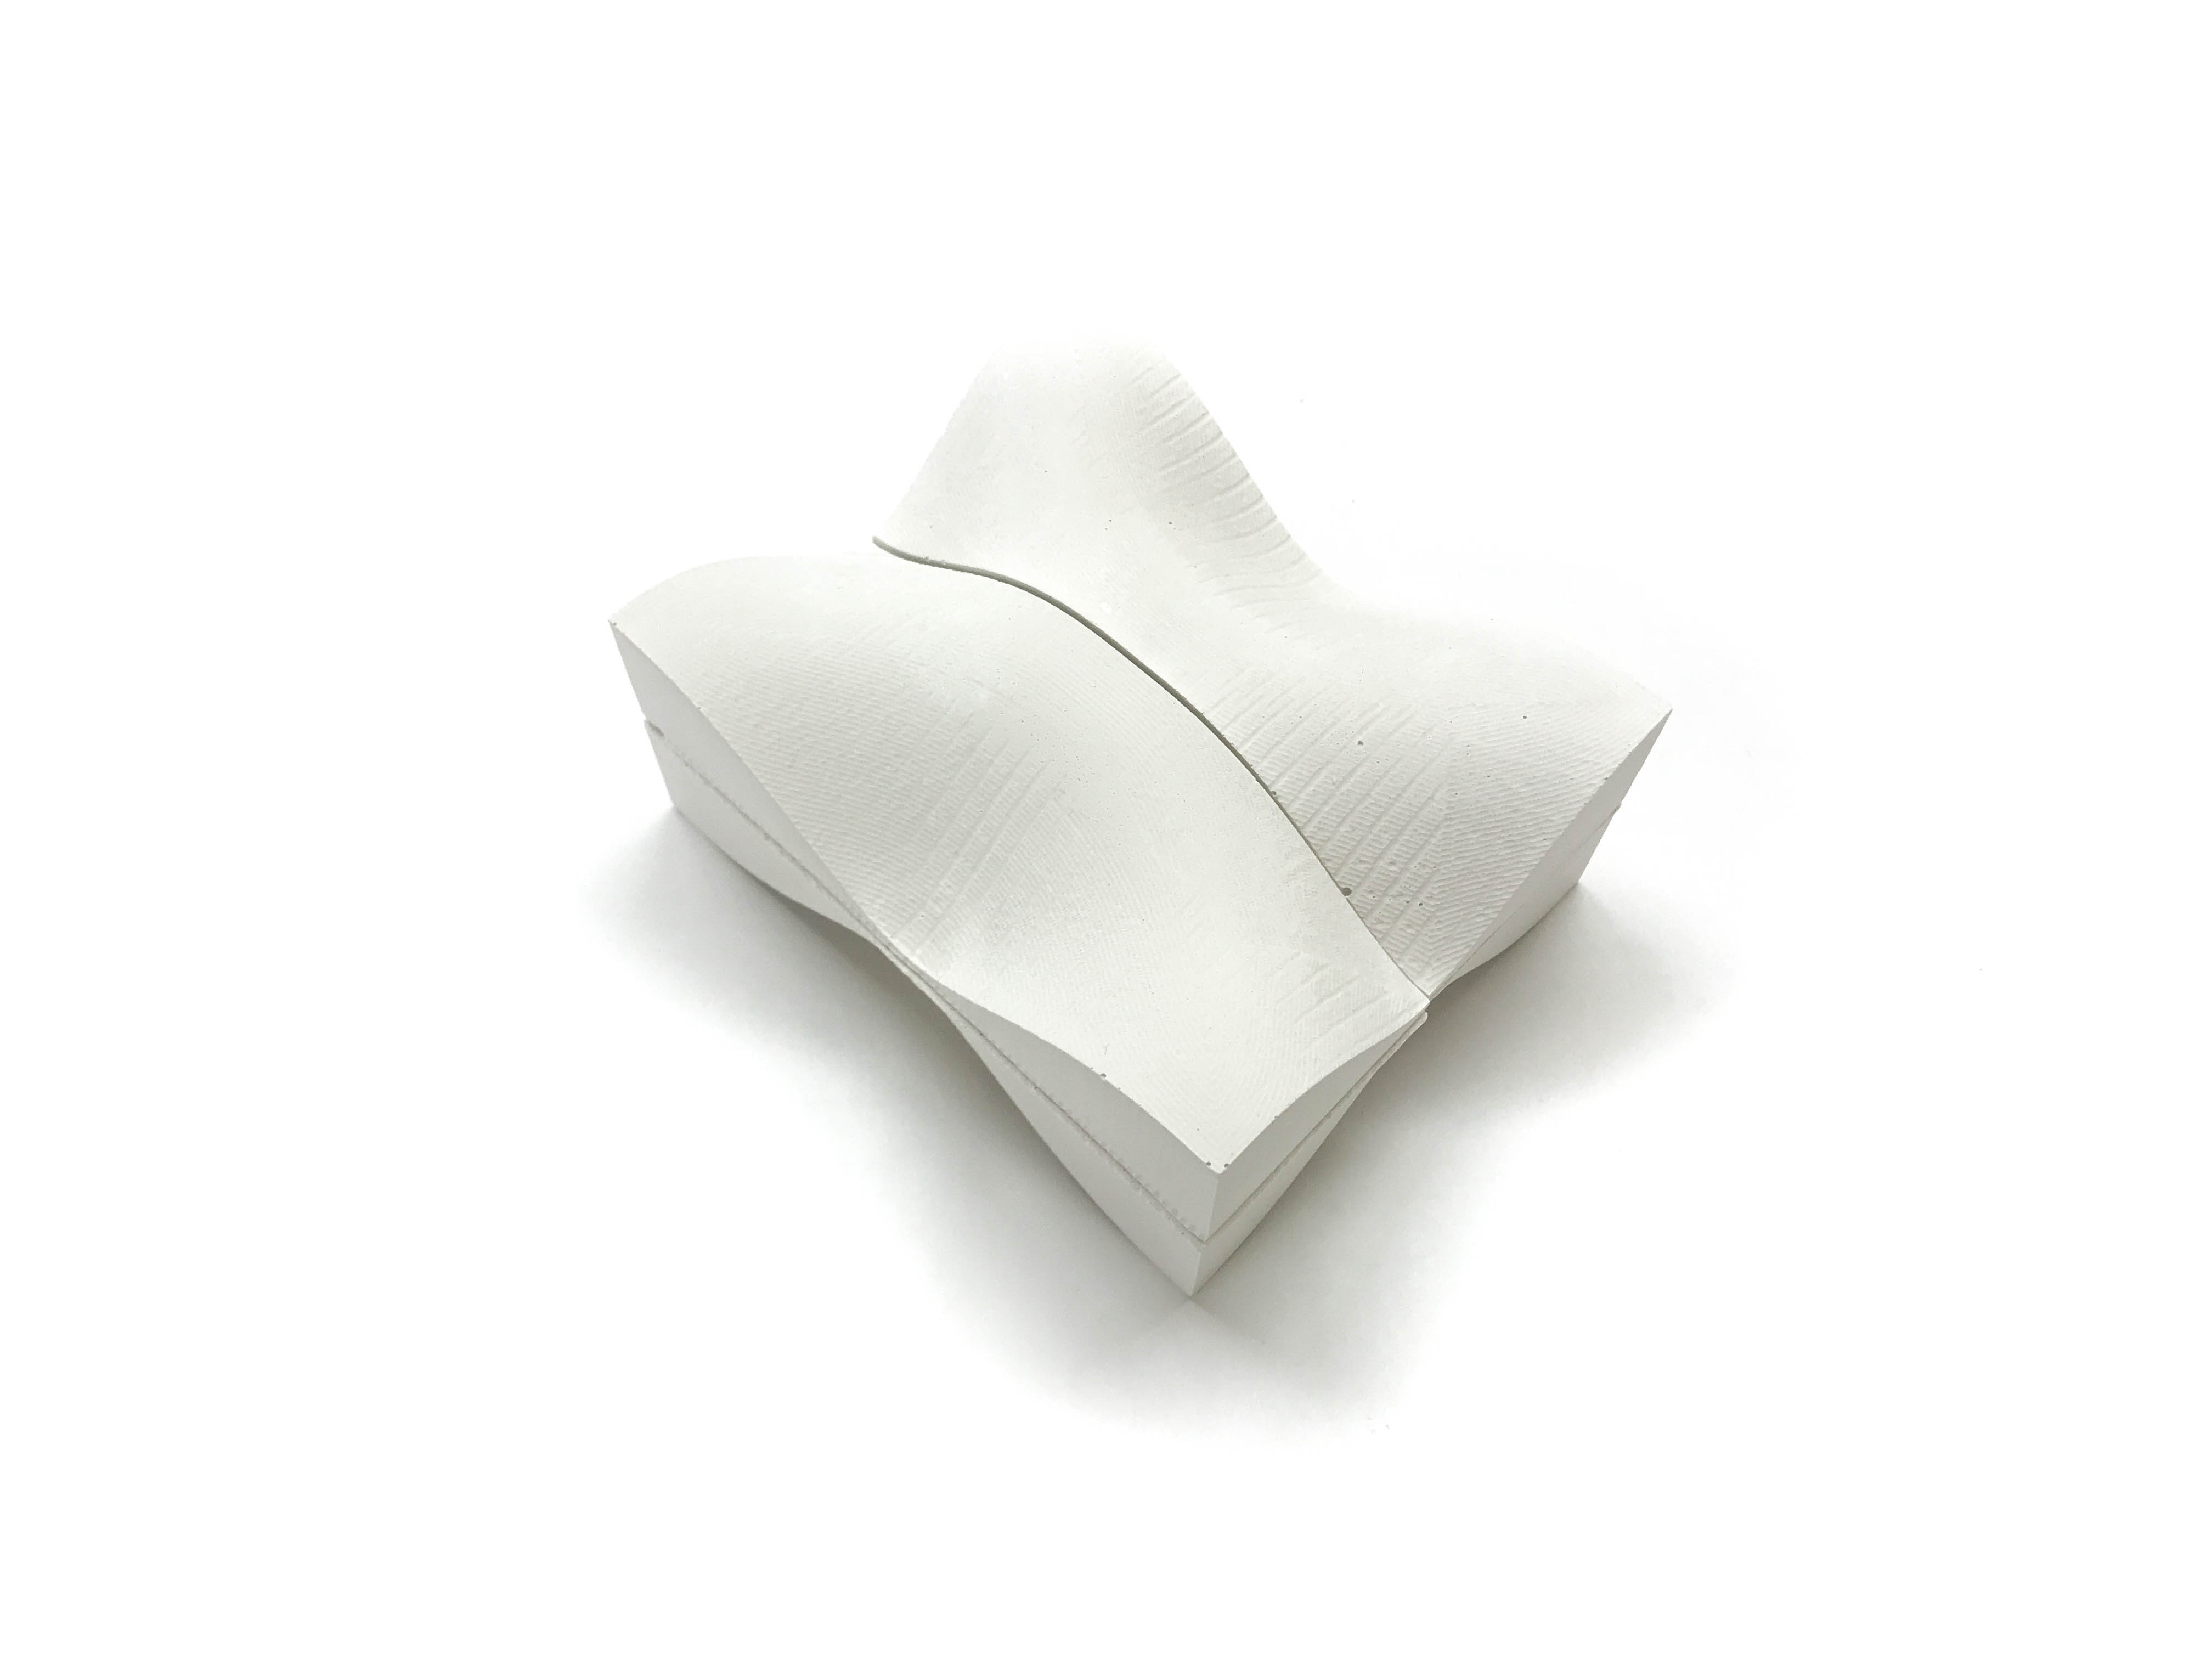
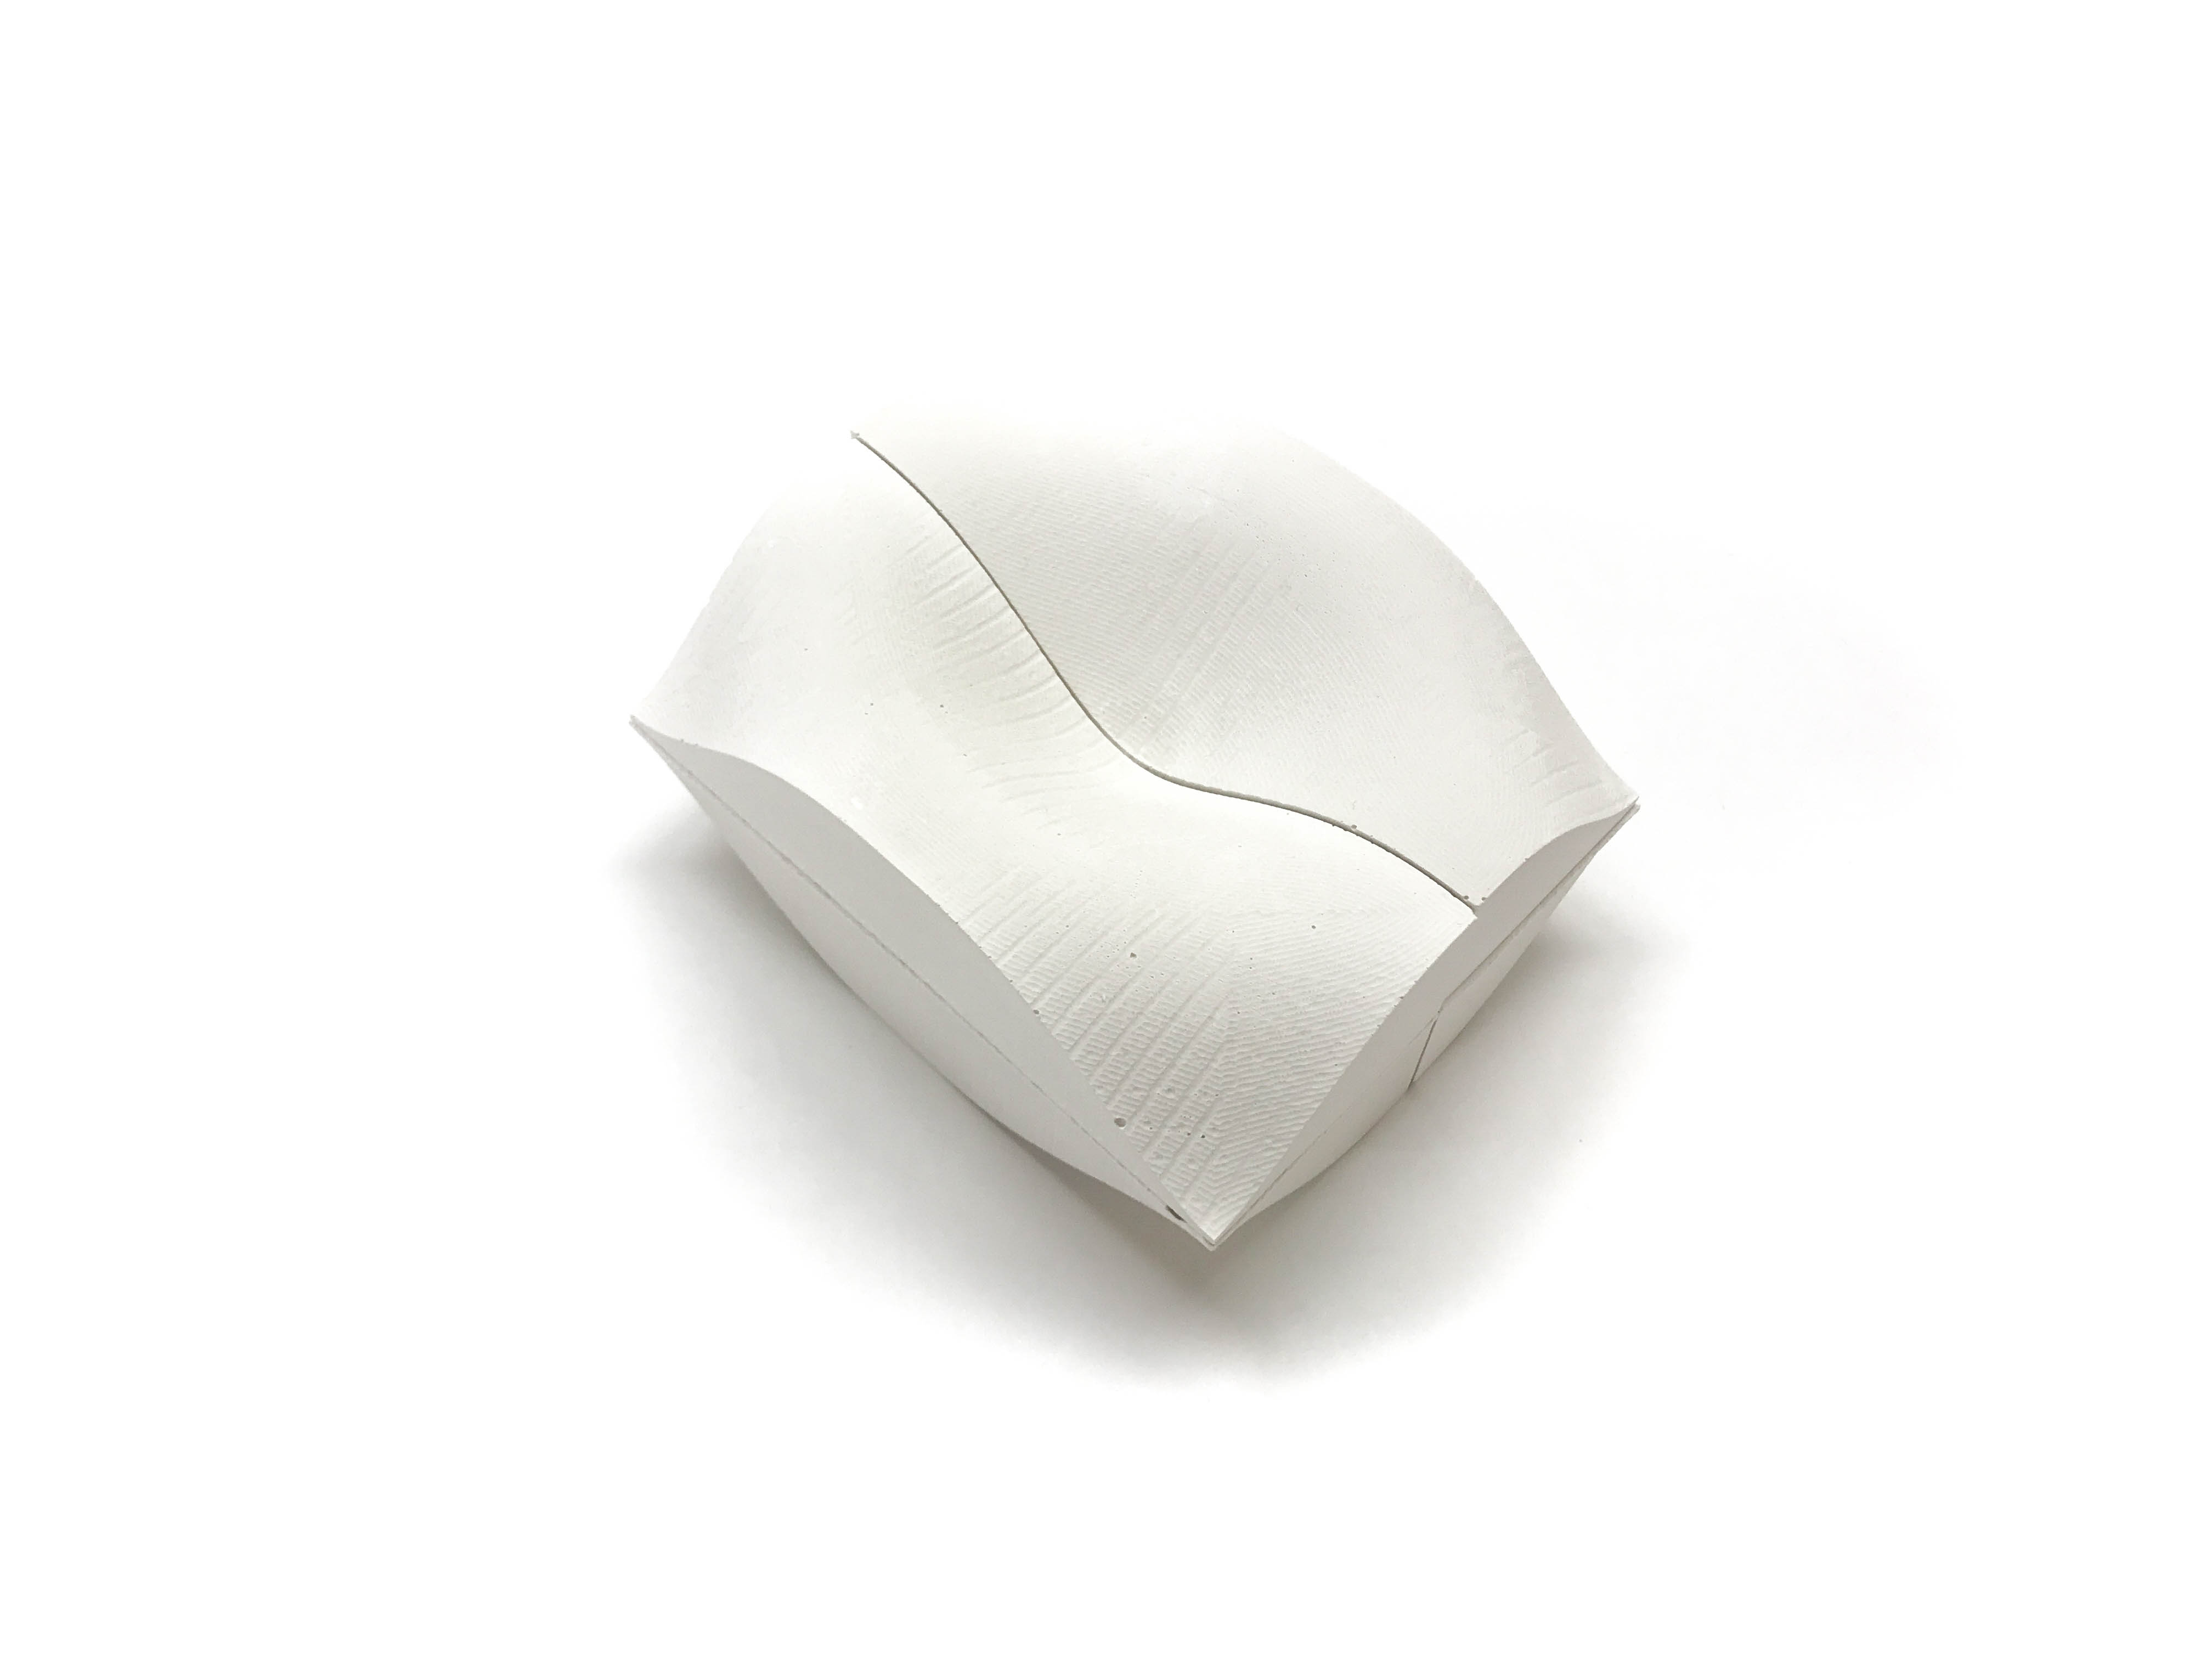
I then proceeded on to casting - the most exciting part of the process! First, I sprayed the mold release onto the silicon, and waited five minutes for it to set. Next, I measured out the water and plaster ratio - one part water to five parts plaster. The mixing process was very methodical. The plaster needed to be added to the water very slowly, if not, it would clump. Also, another challenge was trying to minimize very tiny air bubbles from forming. I was able to tap andd vibrate most of it out of the plaster before pouring. The plaster set within 45 minutes and became quite warm when it was ready to be removed.
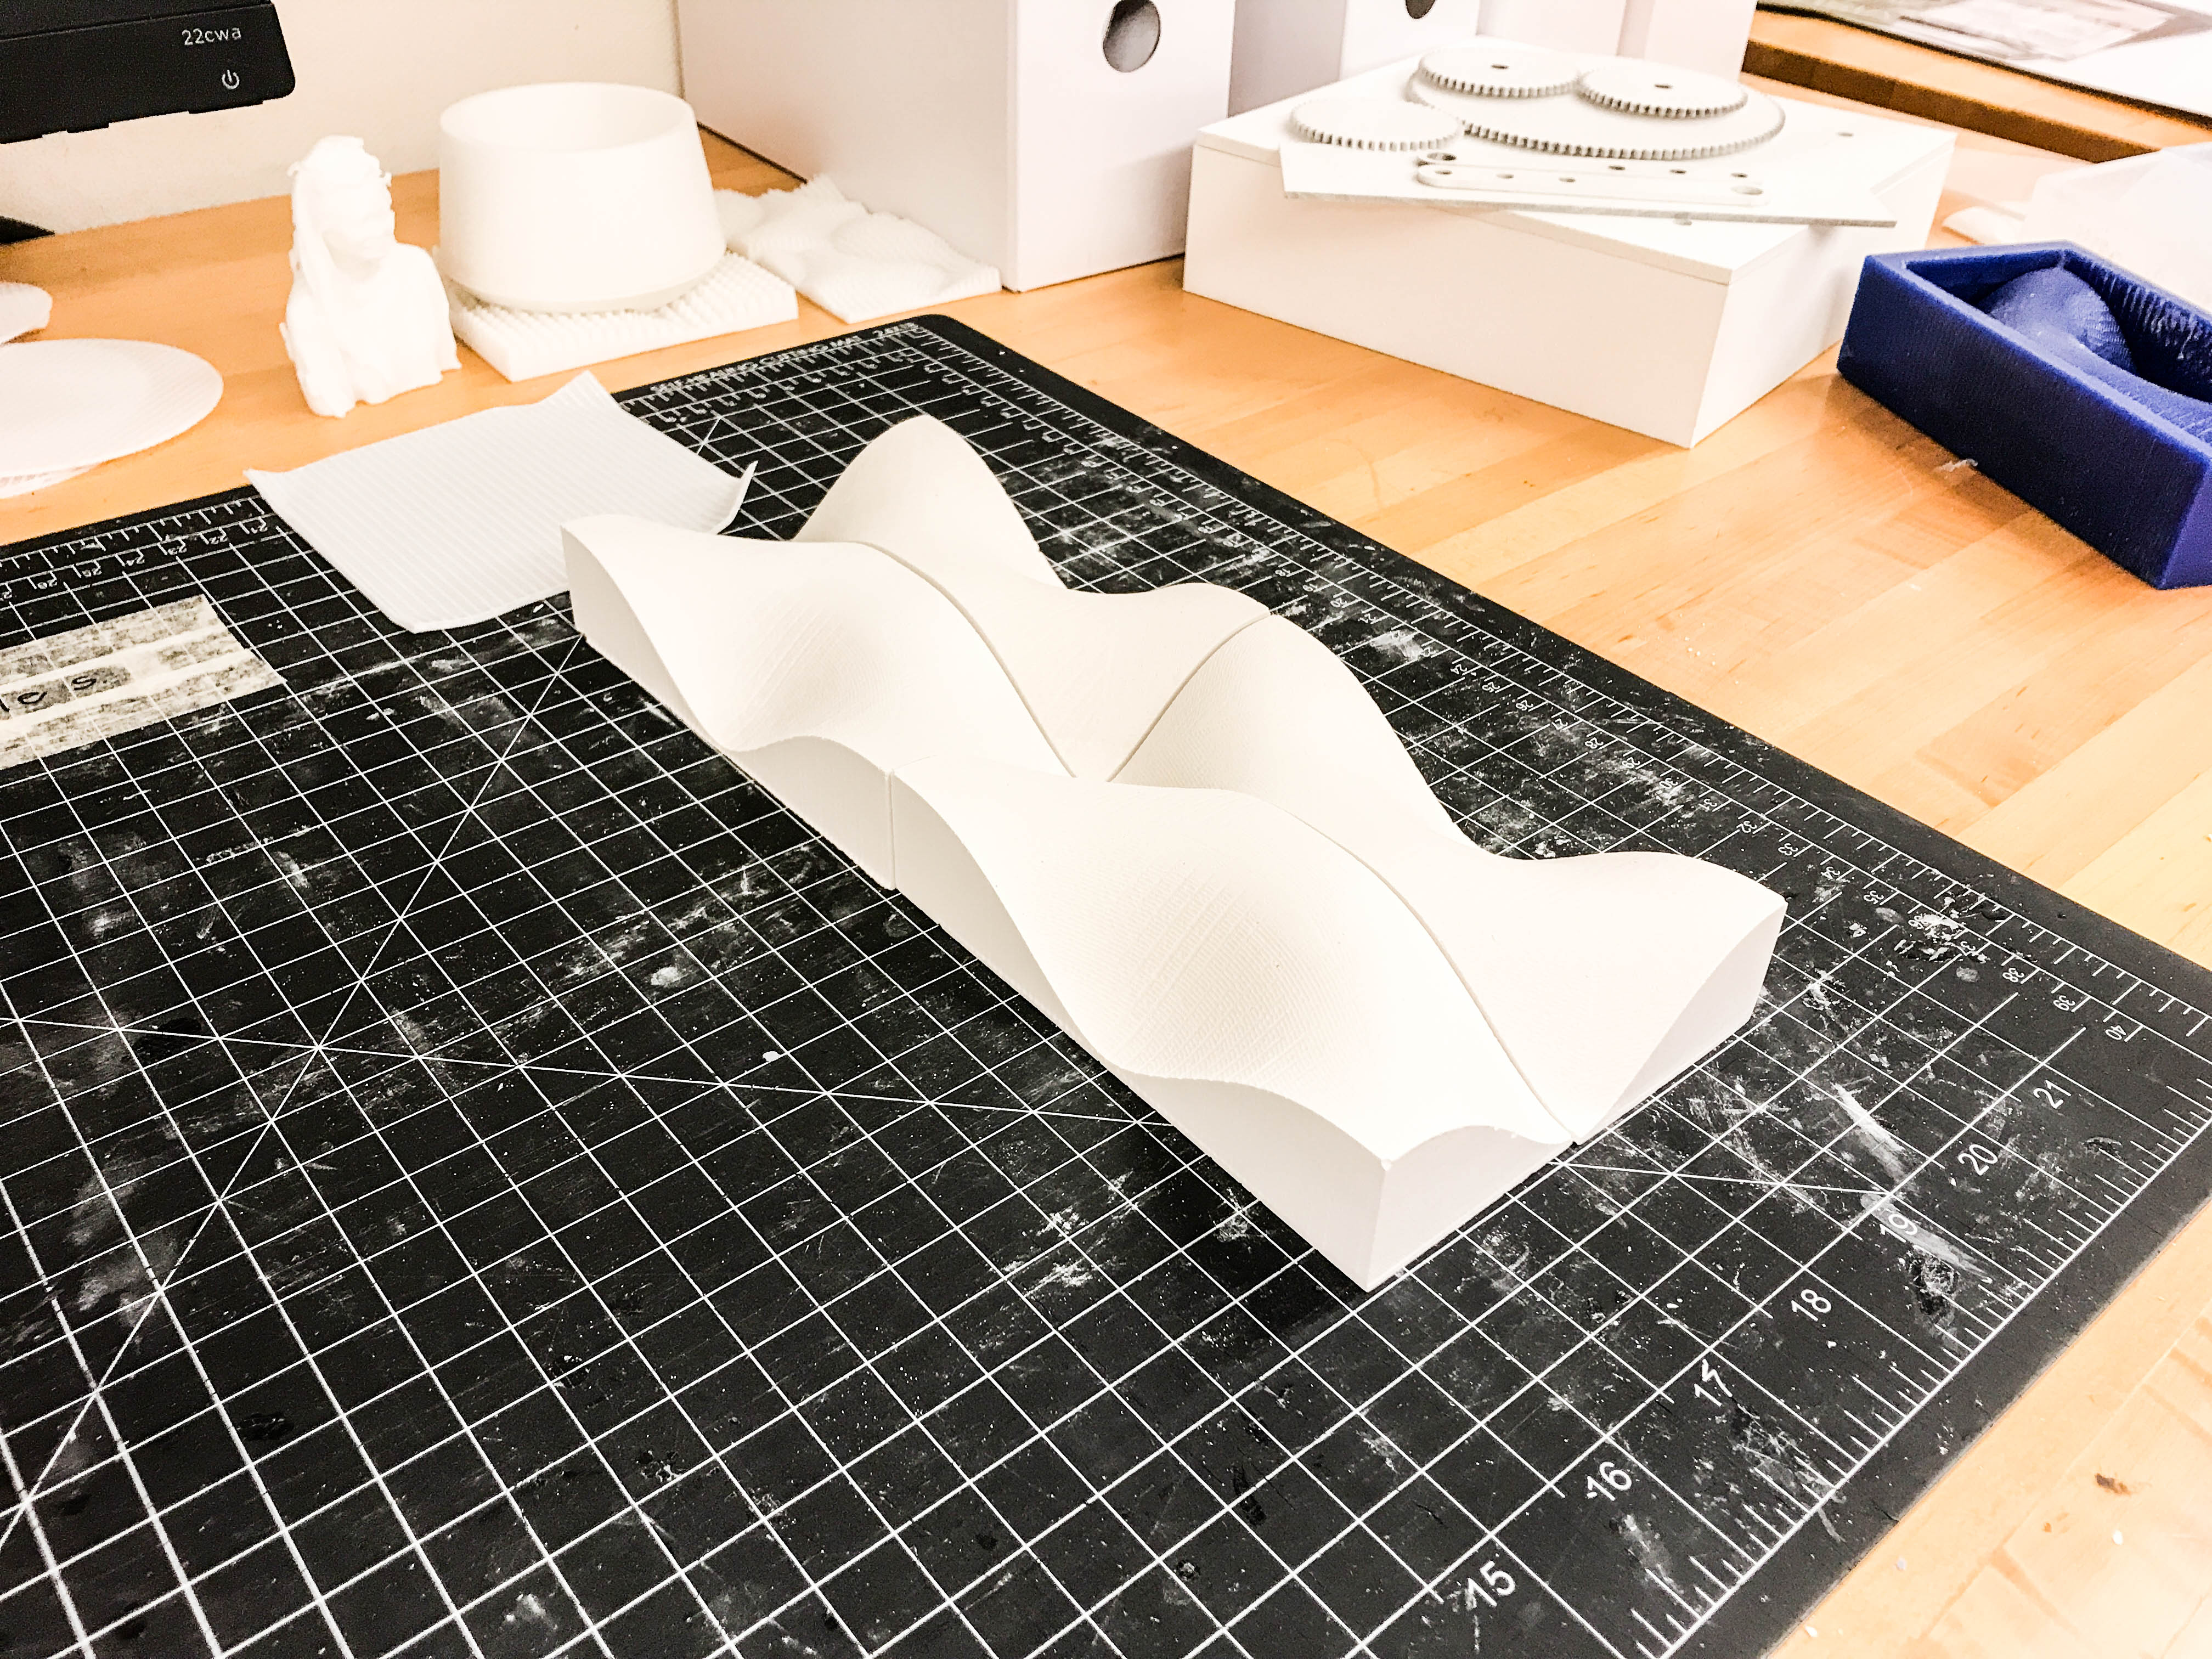
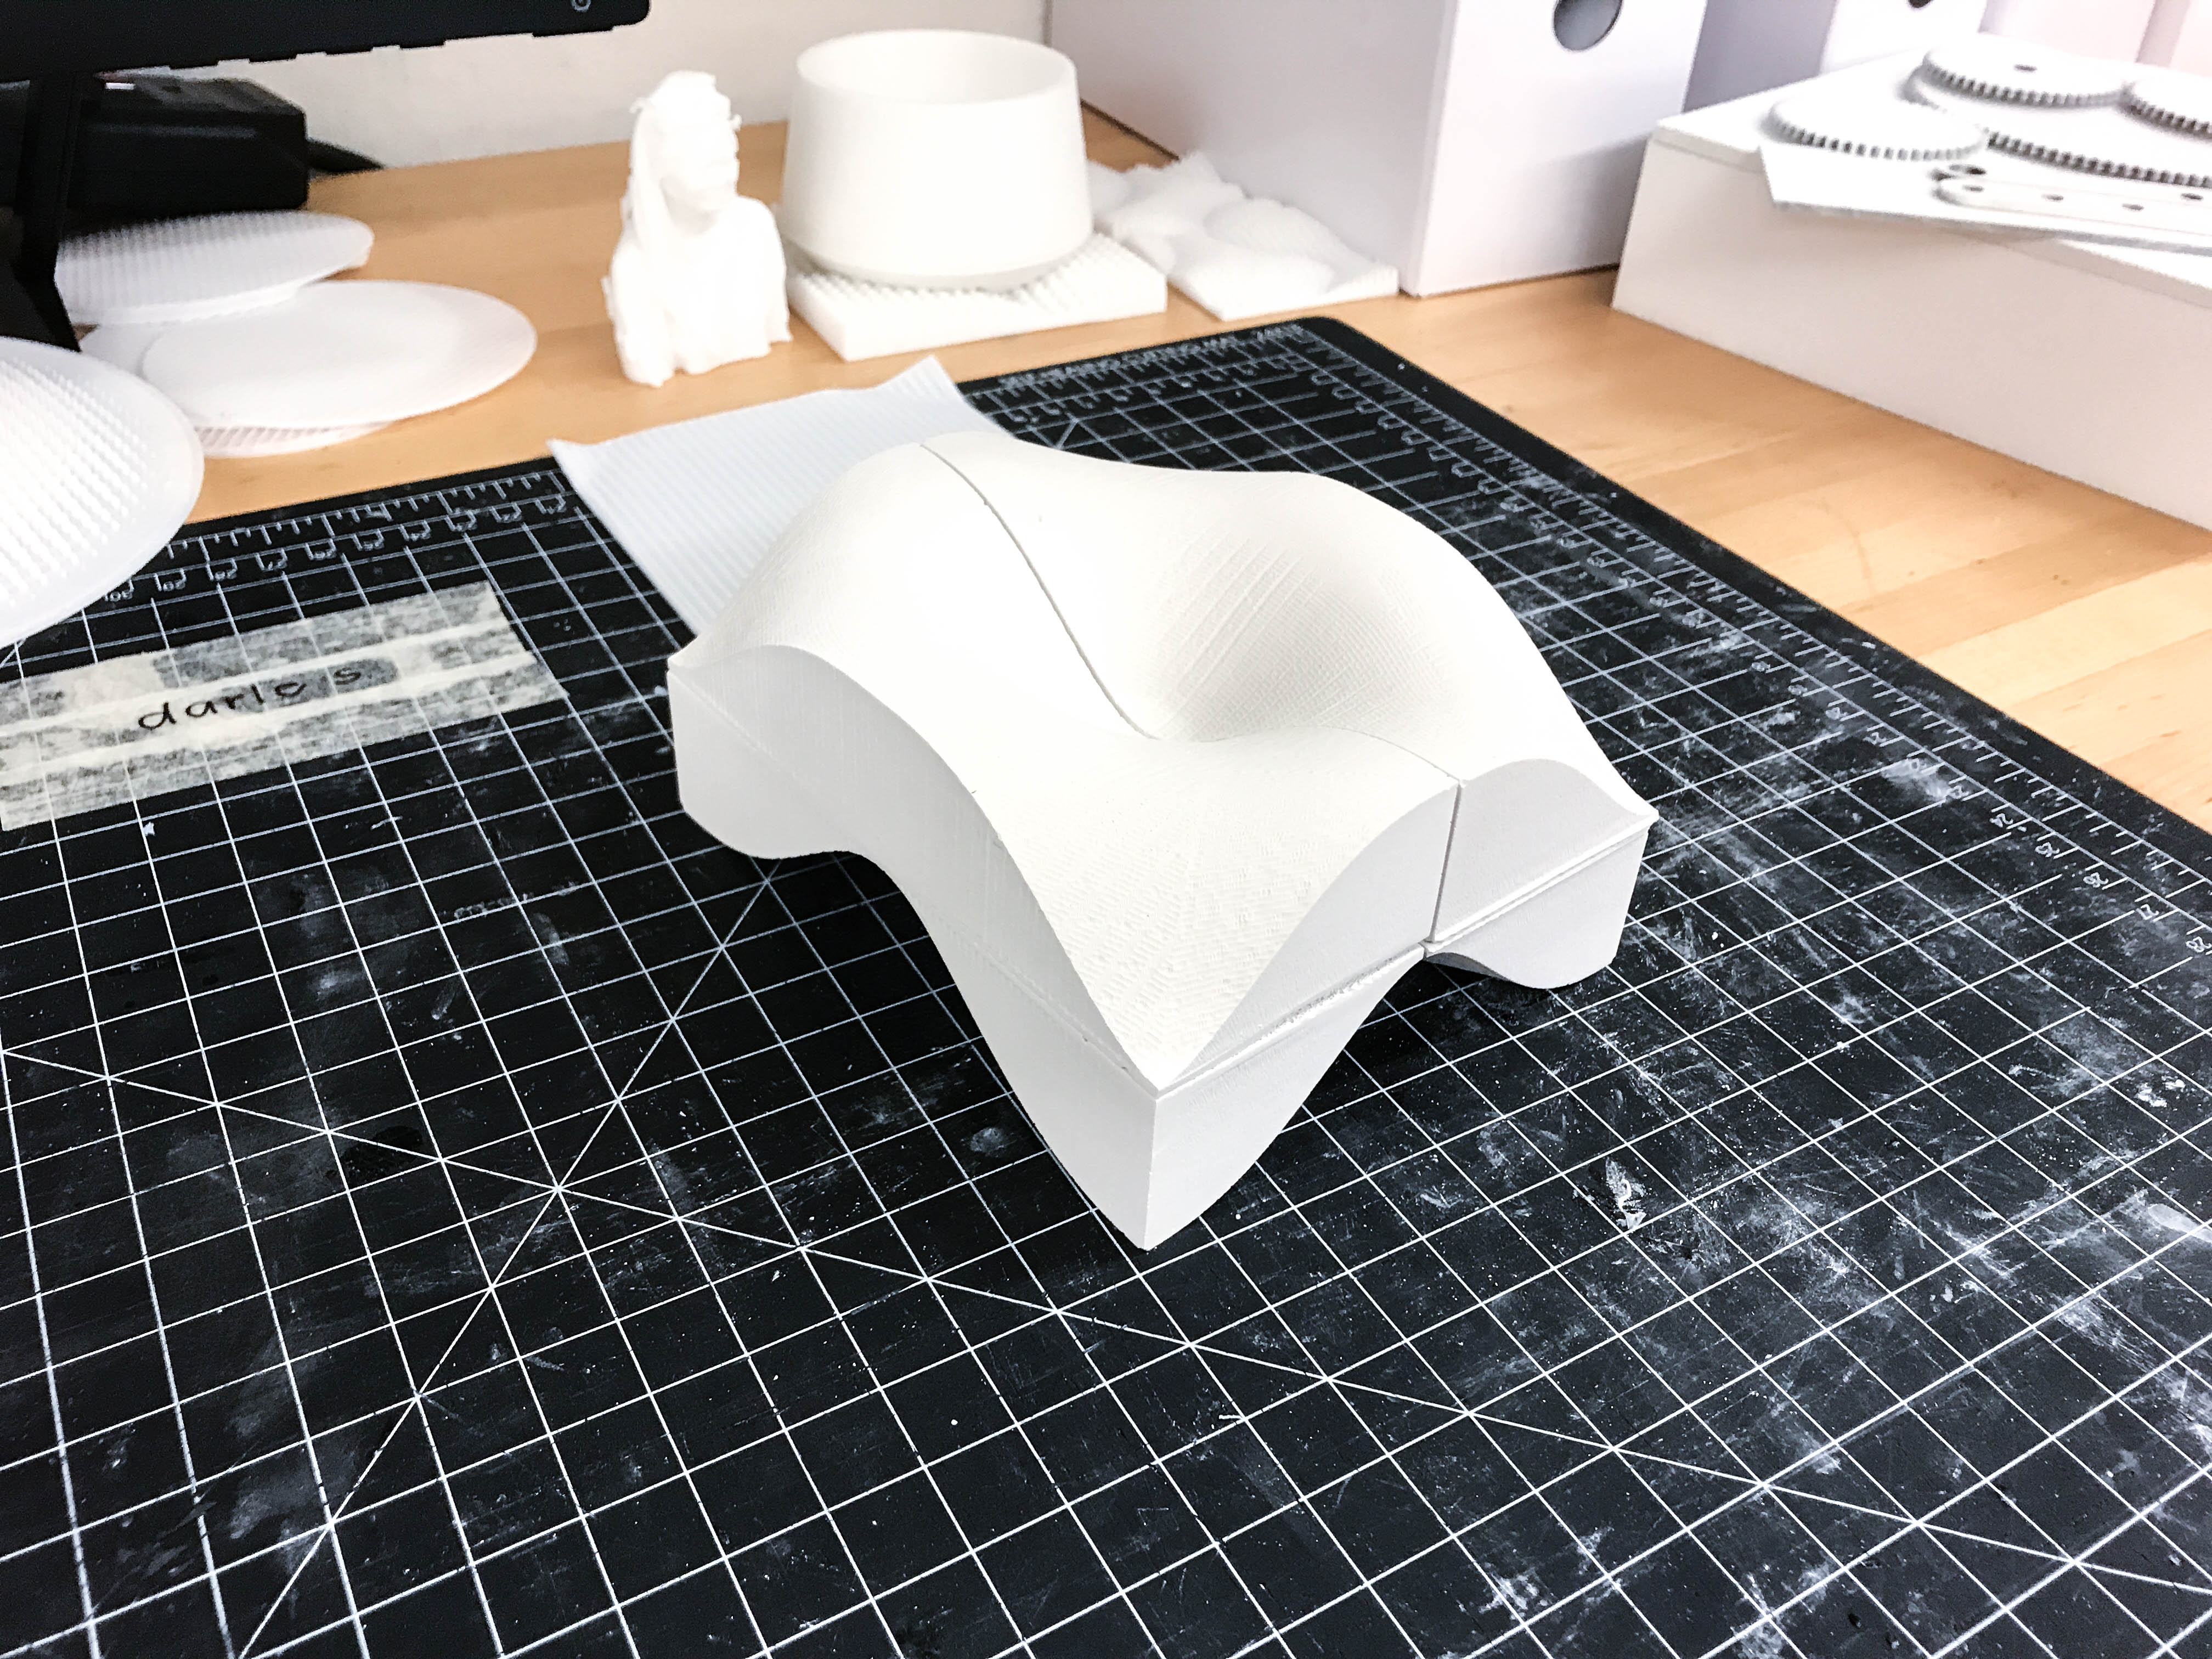
A few finishing touches with trimming/sanding and the casts were done!