

Calvin gave a great tutorial on composites this week. I found out that there were many hazardous substances that we would be using (which required us to wear not one, but two pairs of gloves!) The first step was to create a 3D model which would fit on the 24'x48' bed of the Shopbot. The next step was to then create a mastercam file of the model and mill it. Then comes the process of making the surface as smooth as possible through 4-7 layers of gesso and sanding. Once a smooth surface is achieved, then the you can proceed with the lay up process.
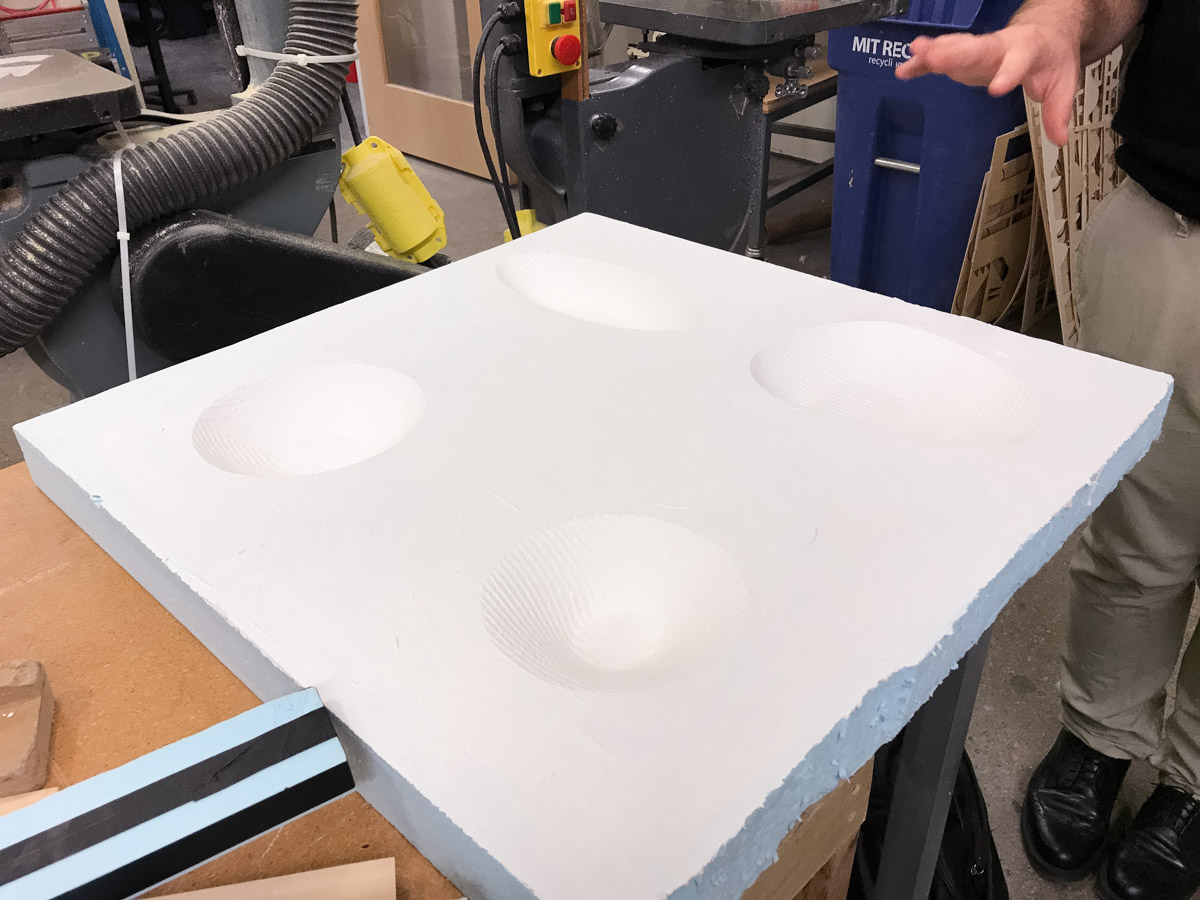
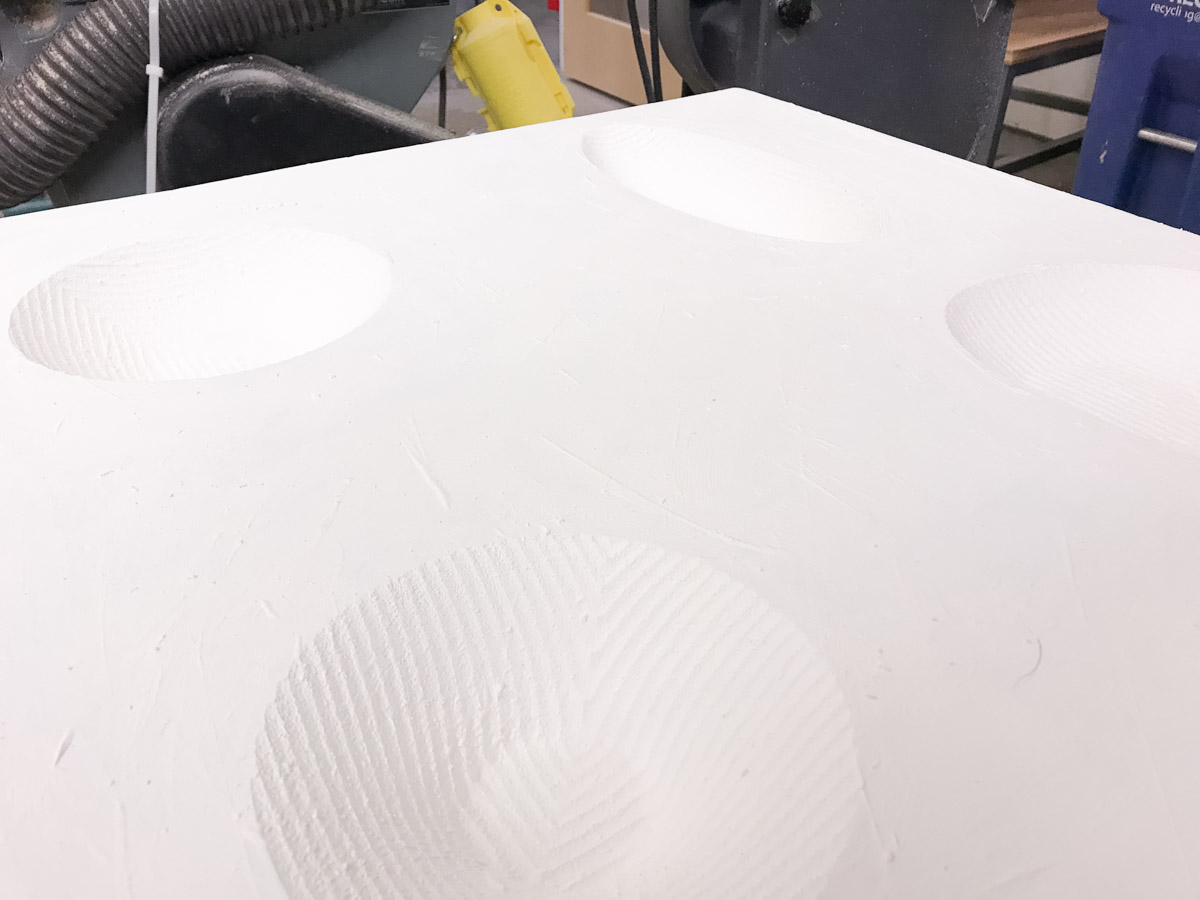
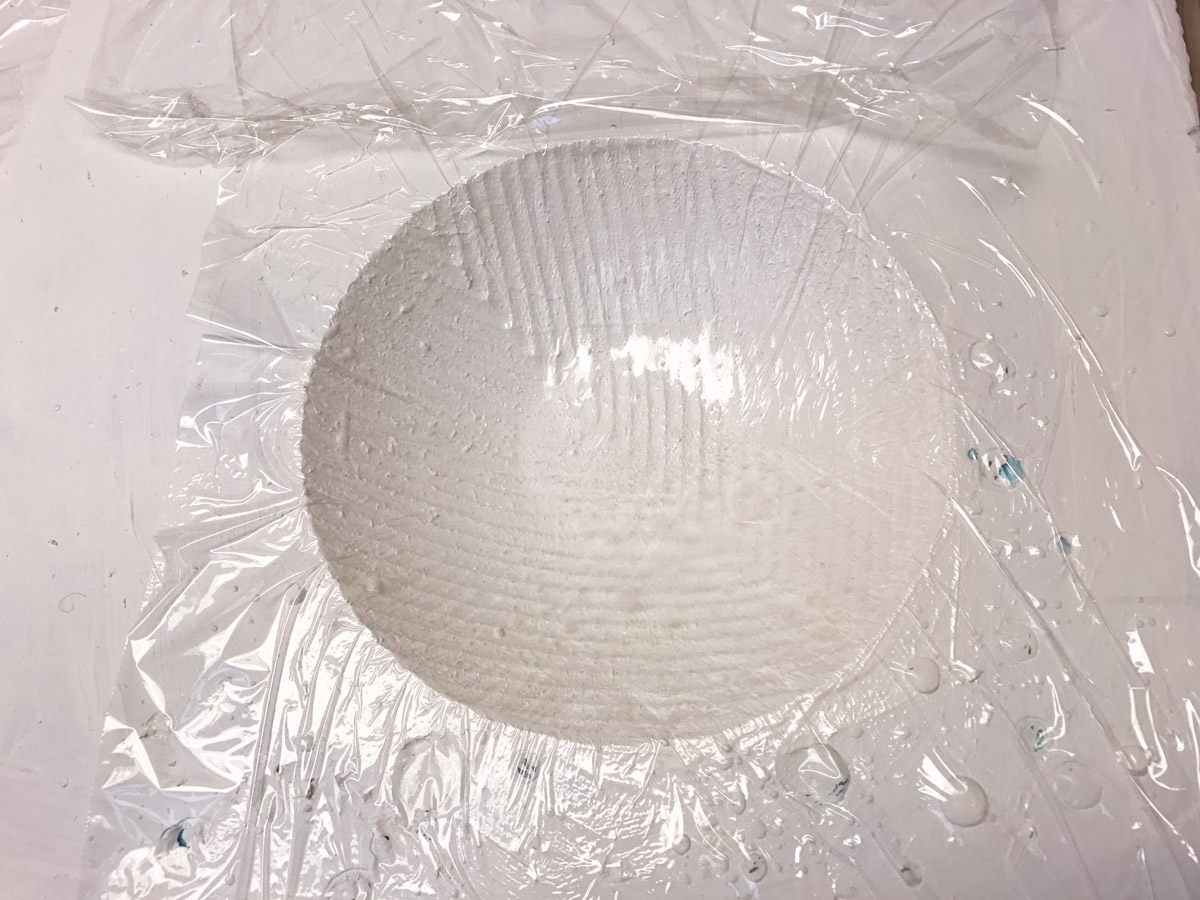

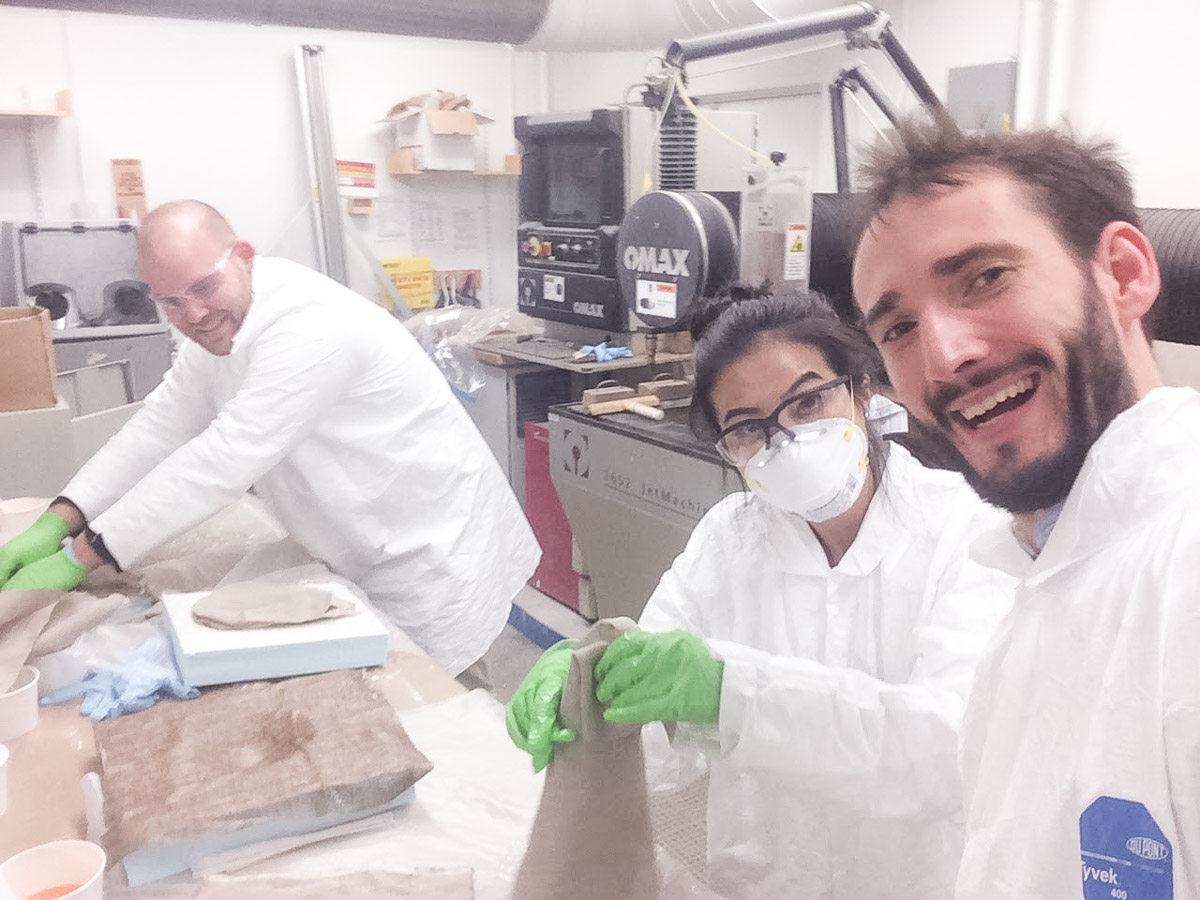
For this week's assignment, Kyle, Jackie, Zach, Daniel and myself worked together. We first designed a very simple mold (geometrically simple because Calvin showed us examples from past projects, due to the thickness of the burlap, intricately detailed mills did not register correctly.) Then, we painted gesso over the foam and sanded it for 4 layers. Eventually, Justin advised us to use saran wrap instead of painting and sanding. The step over we used on the mill was on the larger side which inevitably created ridges. Because it would take days to get the surface a uniform consistency, we used adhesive and attached saran wrap to the foam.
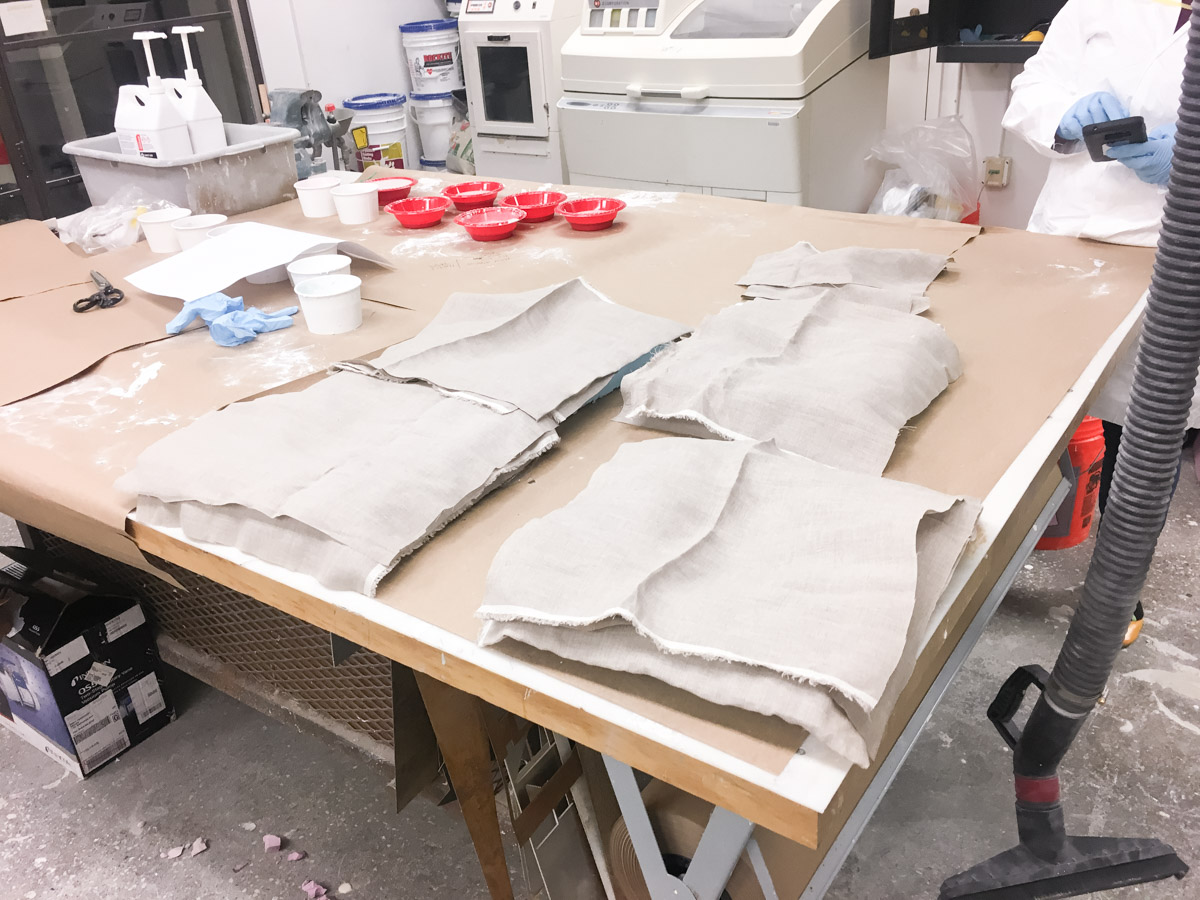
Next we geared up! Put on a protective jacket, two layers of gloves, safety classes, and dust masks. After doing this, we prepared our work surface, first with a layer of butcher paper and then with a layer of plastic. There was a big batch of thin burlap and we cut three pieces for each mold, large enough to cover the inverted area we wanted to mold.
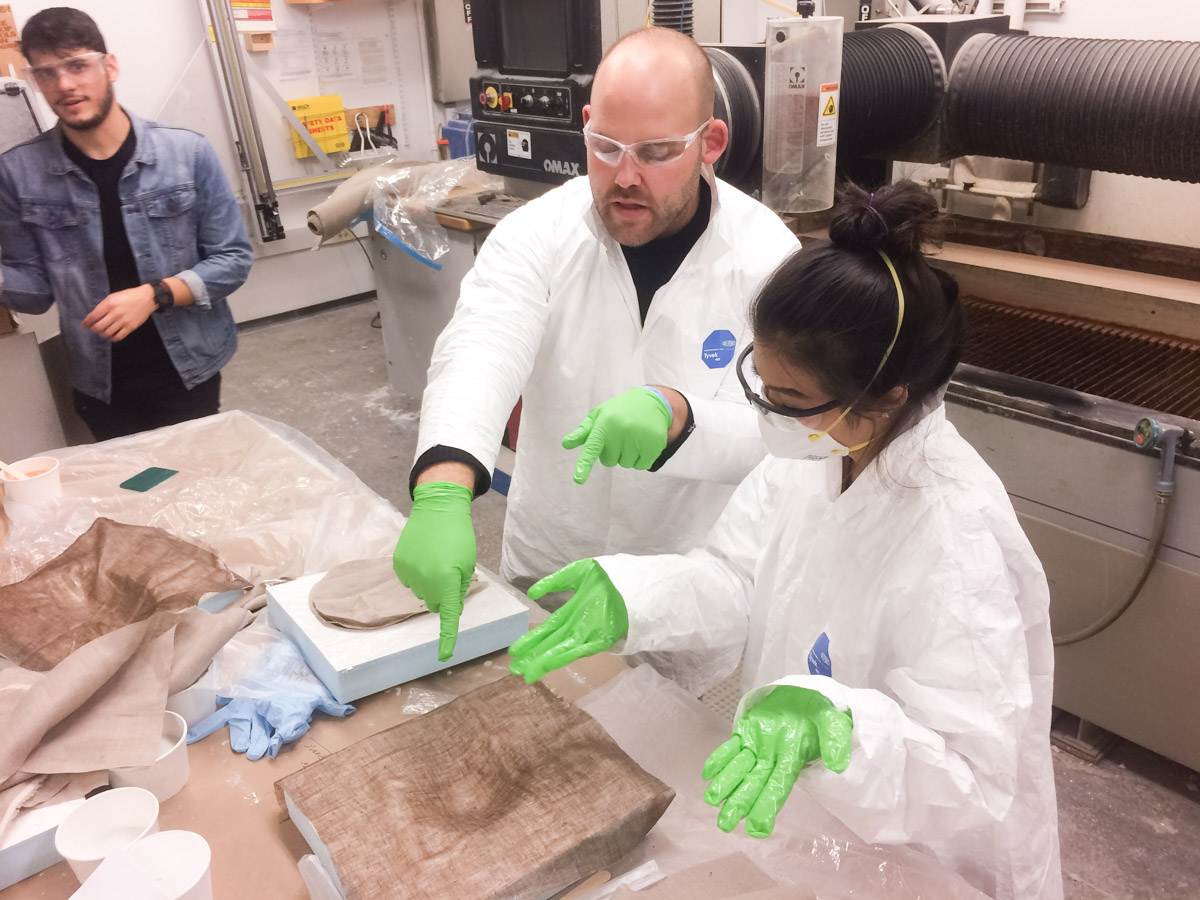
Then we were ready to start the lay up process. First, we weighed and mixed the resin agents for 90 seconds. After doing this, we coated each sheet of burlap and tapped the mold in the center to get the sheets to stay in place.
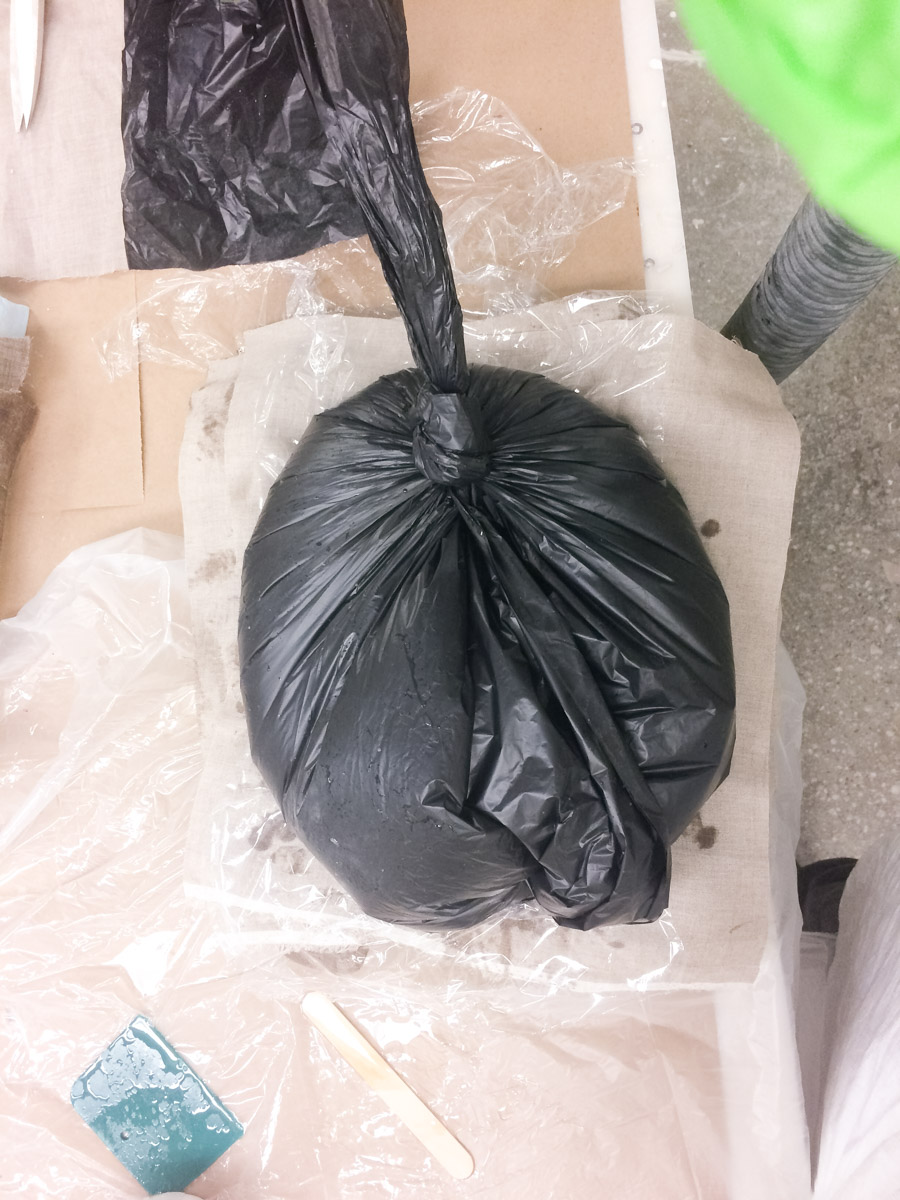
And we wait! While the resin began to cure, we decided to also place a bag filled with water on top of the molds to get the sheets to stick in place.