Computer controlled machining
tunable shelf
One of the shortcomings of industrialized large scale furniture production is the lack of variety that comes with purchasing the same thing by many people. A grim view of the future would be houses that would look the same from inside. I decided to make a shelf that provide some degree of freedom in order to create variability in use. THe relative location of the shelves is normally fixed, but in the design here I tried to make this flexible.
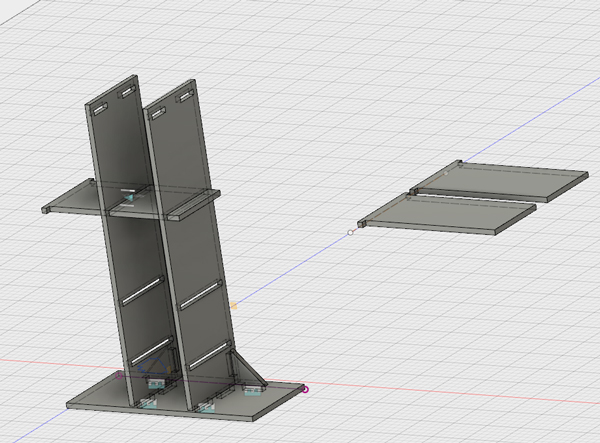
I first started by making a model in fusion and simulating how the shelf movement would look like. Each shelf would have room to move between 3 compartments on left, middle and the right part. In the current design the location of the shelf in vertical direction is fixed but the can become flexible by adding an array of the slot on the vertical bars.
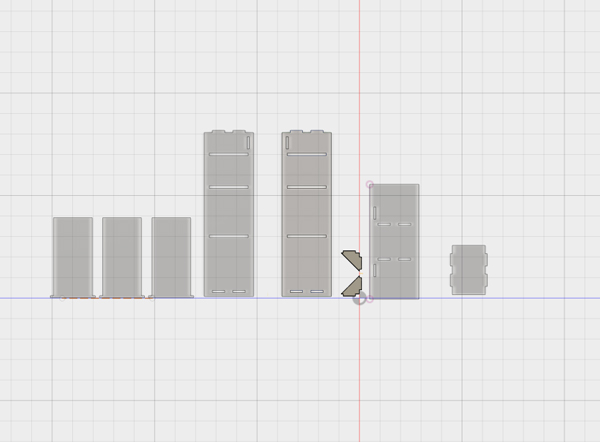
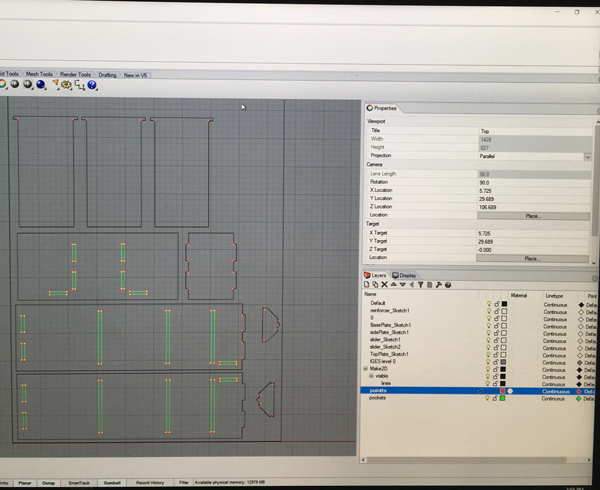
After modeling, I exported the design to Rhino for additional editing and then to MasterCam for tool path generation and final cutting. As the first step, separated the CAD files to 3 different layers, points, pockets and contours. This separation was based on the different operation that the machine would do. The points layer represent the intersection of the edges that can not be milled and instead drilled for creating dogbones junctions. the pockets are reserved for cuts with the components, where directionality of the cut is important. Finally contours are parts that would be milled from the wood.
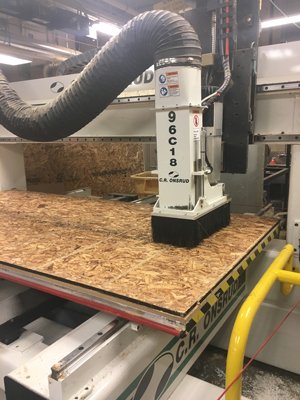
Once the G-code were generated, the machining went quite quick it took about 10 mins to go over all the parts. The ordering of cutting was first points, then contours from inside, and finally contours on outside. Two design consideration were important for safety, first the parts could be cut not all the way through the wood but with an onion skin so the the parts do not detach. Second, for small parts, there would be support and some location to enhance the strength of onion skin. There two features could be easily sanded afterwards.
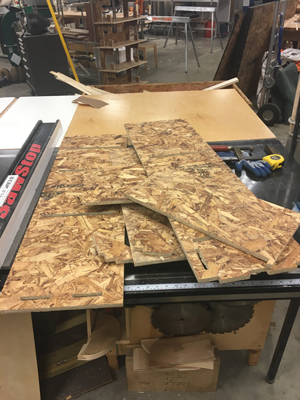
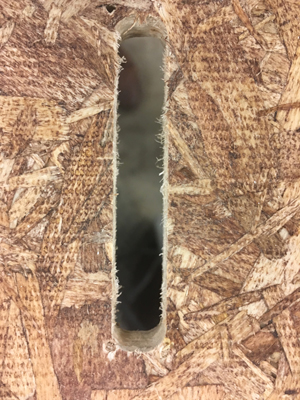
Post processing of the wood required sanding the edges and also correcting for the uncompleted dog-bone drill from the machine. I think the problem was the size of the mill that was chosen for drilling did appropriately scale the one for contour. I used a combination of sanding paper and sanding tools to clean up the outside edges and fix the inside press fit geometries.
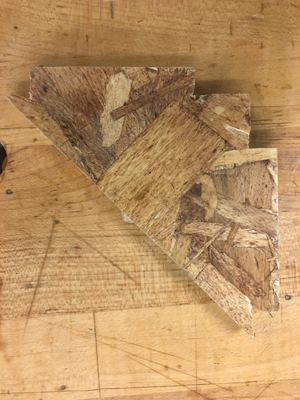
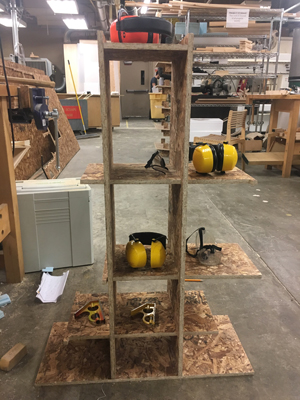
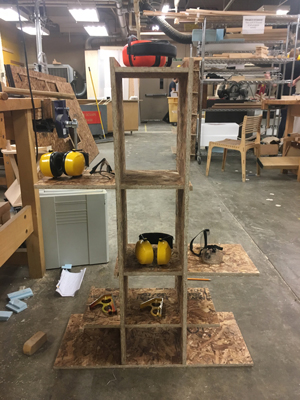
After fixing the machining, I put together the pieces using a wooden hammer to make sure there is no room for movement of the components. The final work was fairly stable given the quality of the OSB. It did not shake as much as I expected, and adding back panel could potentially decrease it. Moreover the shelves moved nicely within the slots and there was minimal wiggle room
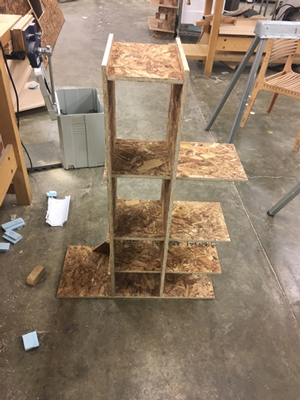
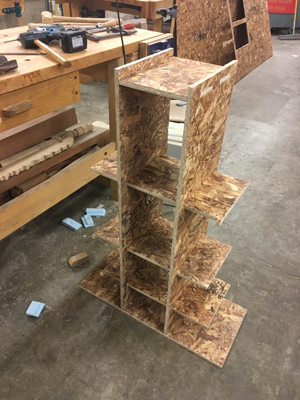

Finally I tested different configurations