Making A Lightbulb
During this week, I learned how to use 3d modeling software such as rhino and Autodesk Fusion 360. I had always been scared of this software becasue I had no idea how to approach it. Turns out, all I needed to learn how to use it was a quick youtube viceod and some sort of academic incentive to get into it.
Group Excercise
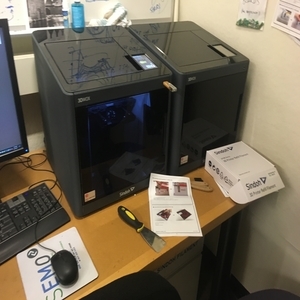
During our group excercise we experimented with the 3d printer in order to find out how to interact with it and we decided to make a ring to see if it would work.
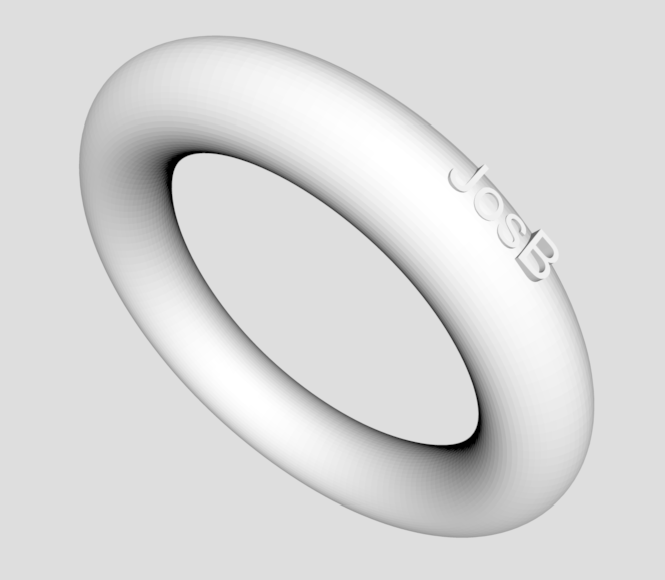
The ring was a simple torus with text engraved into the front side of it.
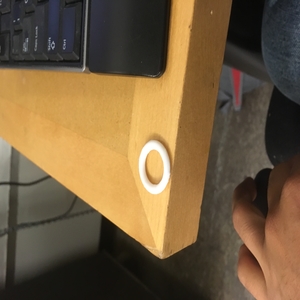
Through our group excercise we actually figured out that the Sindoh printer in the architecture lab can only print to around .4 mm accuracy.
SENSE 3D Modeling
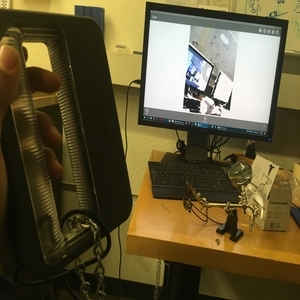
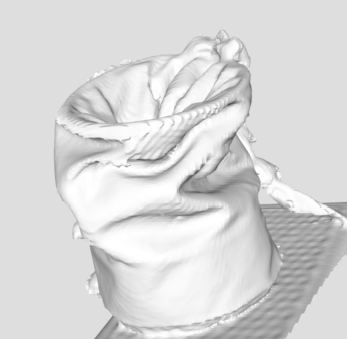
After the group excercise was done I proceeded to go on and play with the SENSE modeling tool.
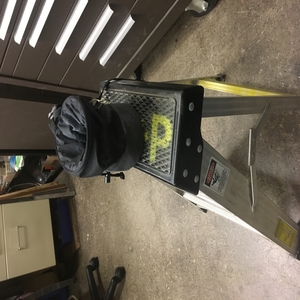
I decided to model my chalk bag and below is the result I got when I used the SENSE 3d scanner.
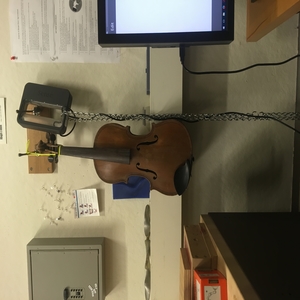
I also played around with a violin model and below I attach images of the orginal image and the one that the SENSE 3d imager picked up.
Model
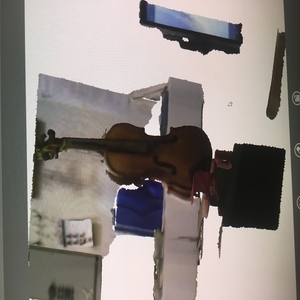
Original
Computer Modeling
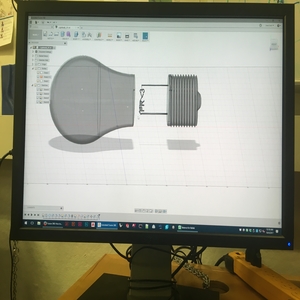
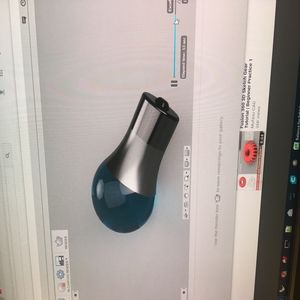
Once I was done playing with the SENSE 3D Modeling I started learning how to use Autodesk Fusion 360. In accordance to the team, of my project I decided that I would 3d print a lightbulb. Above, is the finalized CAD file for my lightbulb.
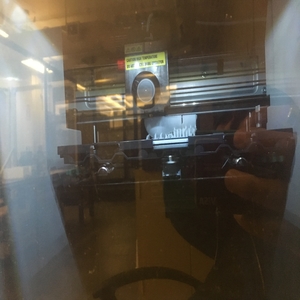
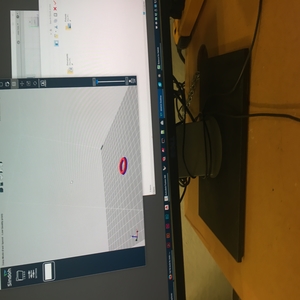
Below is an image of the progress of the lightbulb being printed.
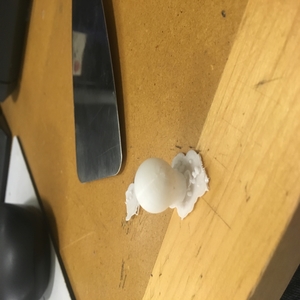
Below is the first iteration of the lightbulb and it failed to be produced well.
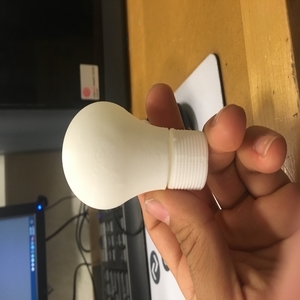
After several attempts, I arrived at a lightbulb of around 75 mm length and 40 mm radius.
This was a very time consuming lab because I had no idea how to use Autodesk but I think it was well worth the time put into it.